Back with the pastel cardstock and my samples for the Kingston Crafts Hobbymaker show that Martin did a few months ago now – but my blog has been busy so only just catching up on blogging some now!

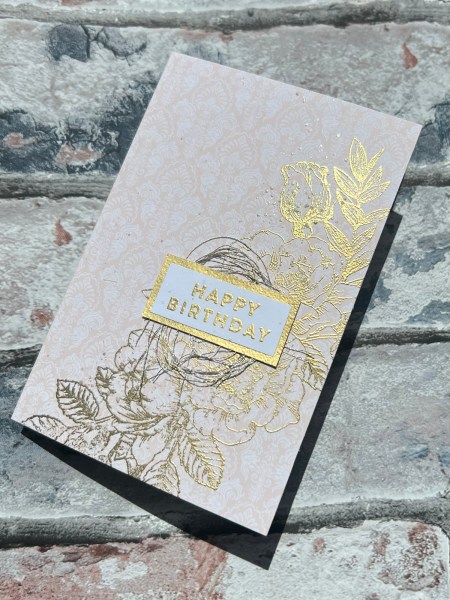
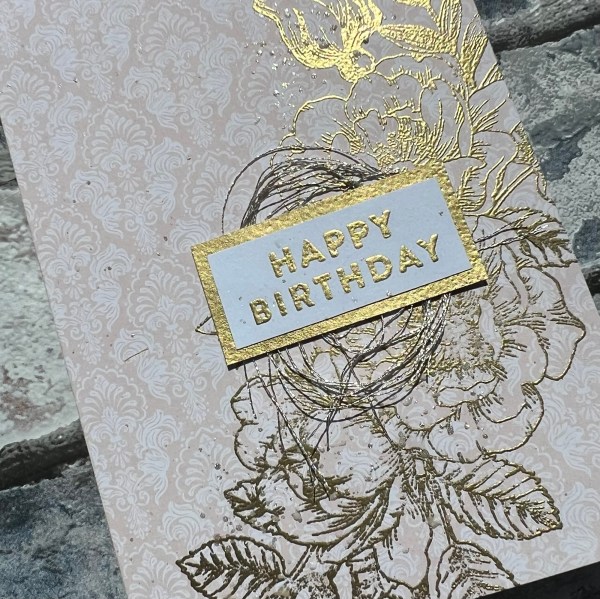
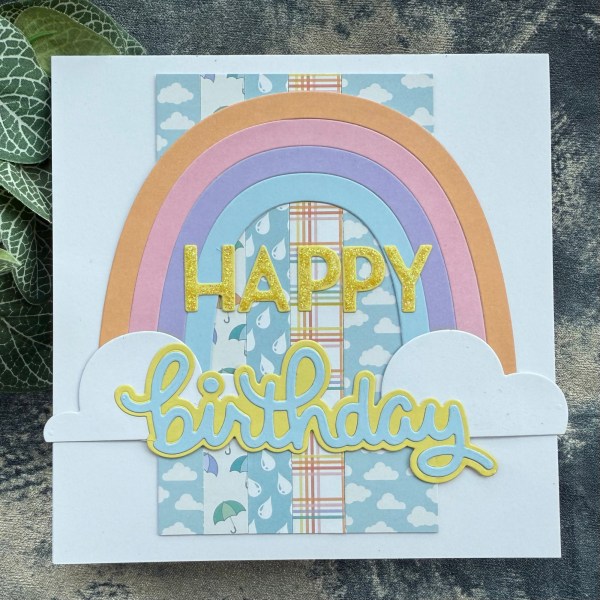
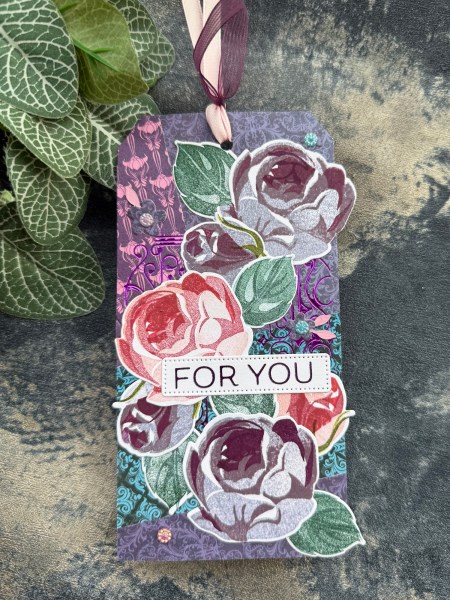
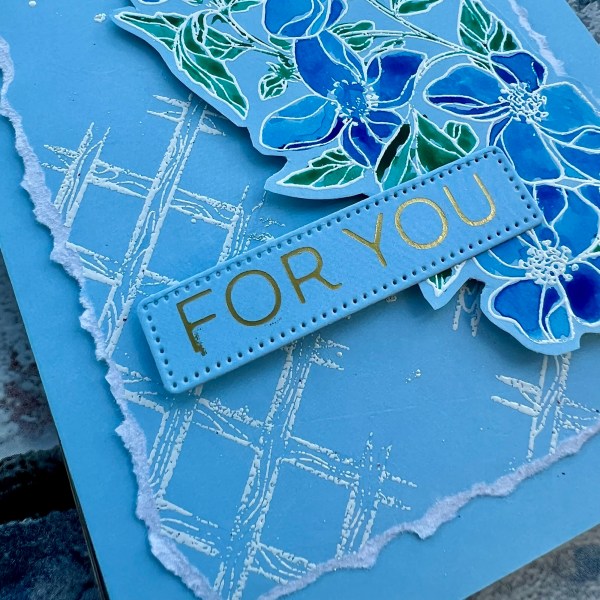
This card came about as I wanted to see how the cardstock handled glimmer foiling for larger than just a sentiment – and the result is a resounding success!

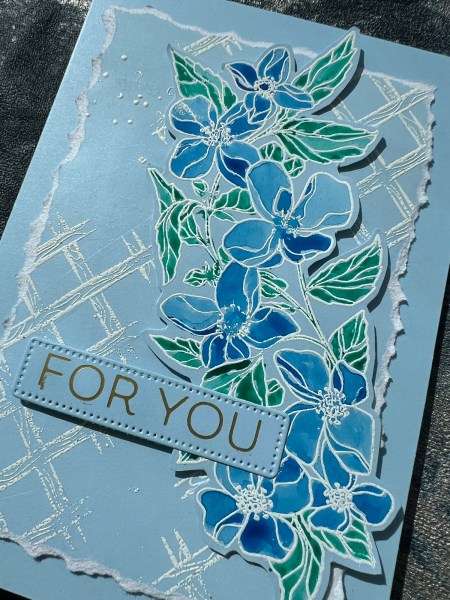
I chose two different lilacs from the pack to make this card and the main foiled panel I also inked with distress inks – again this was me testing out what works and – yes inking works along with splattering with water!
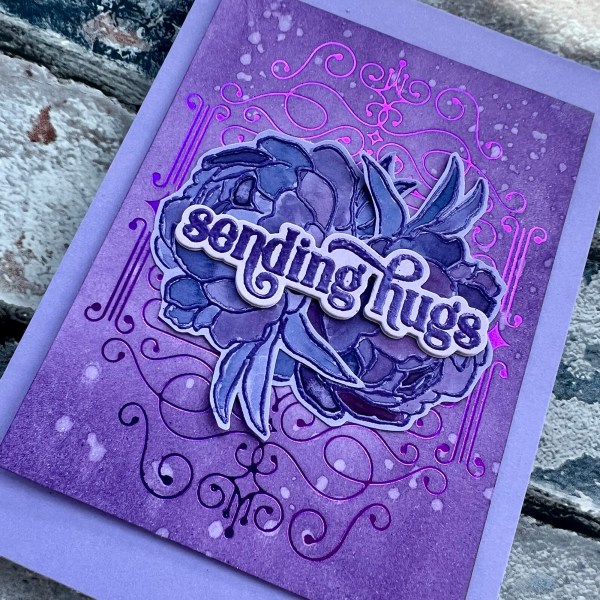
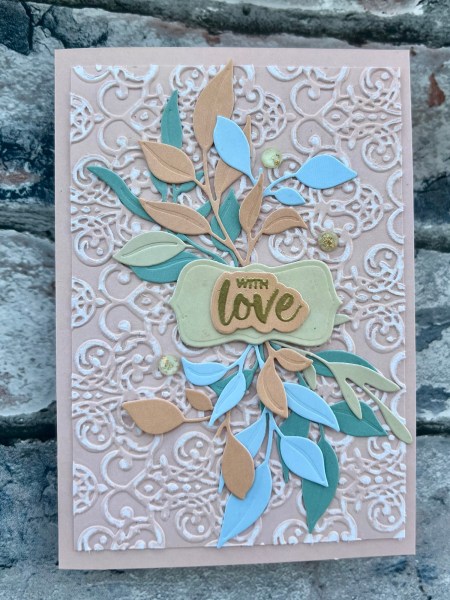
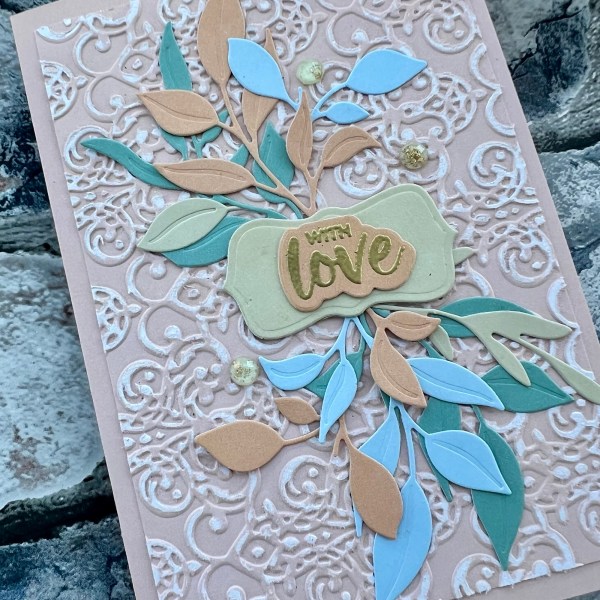
I added this panel to the card base I made from the cardstock and then on the lighter coloured lilac I embossed the two flower images and coloured them with watercolours.

I kept this card monochrome which I think was nice to show off the purples!
The sentiment is also embossed with the purple embossing powder to keep it all similar!
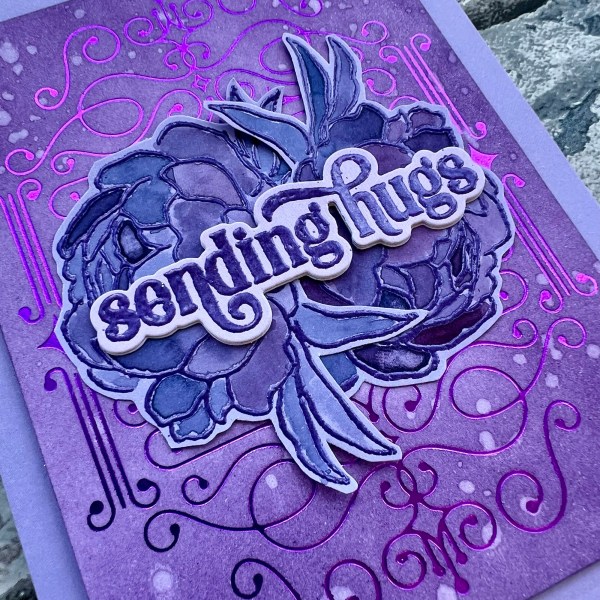
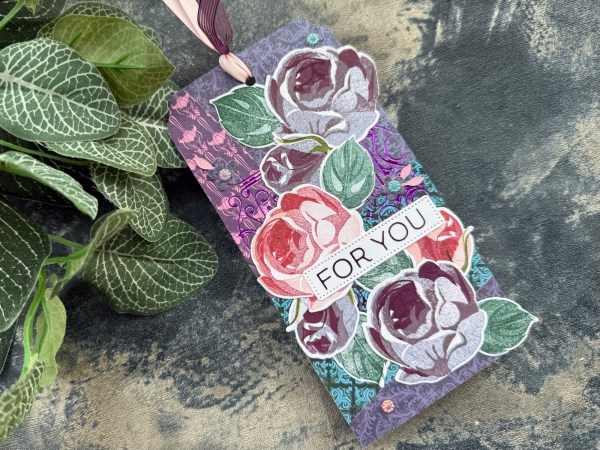
Love how this came out and as the pack of cardstock is huge you can probably imagine how much amazing foiling and inking I am going to do using this stash! ❤️

Happy crafting!
Catherine