Alphabet ATC 277 – 286

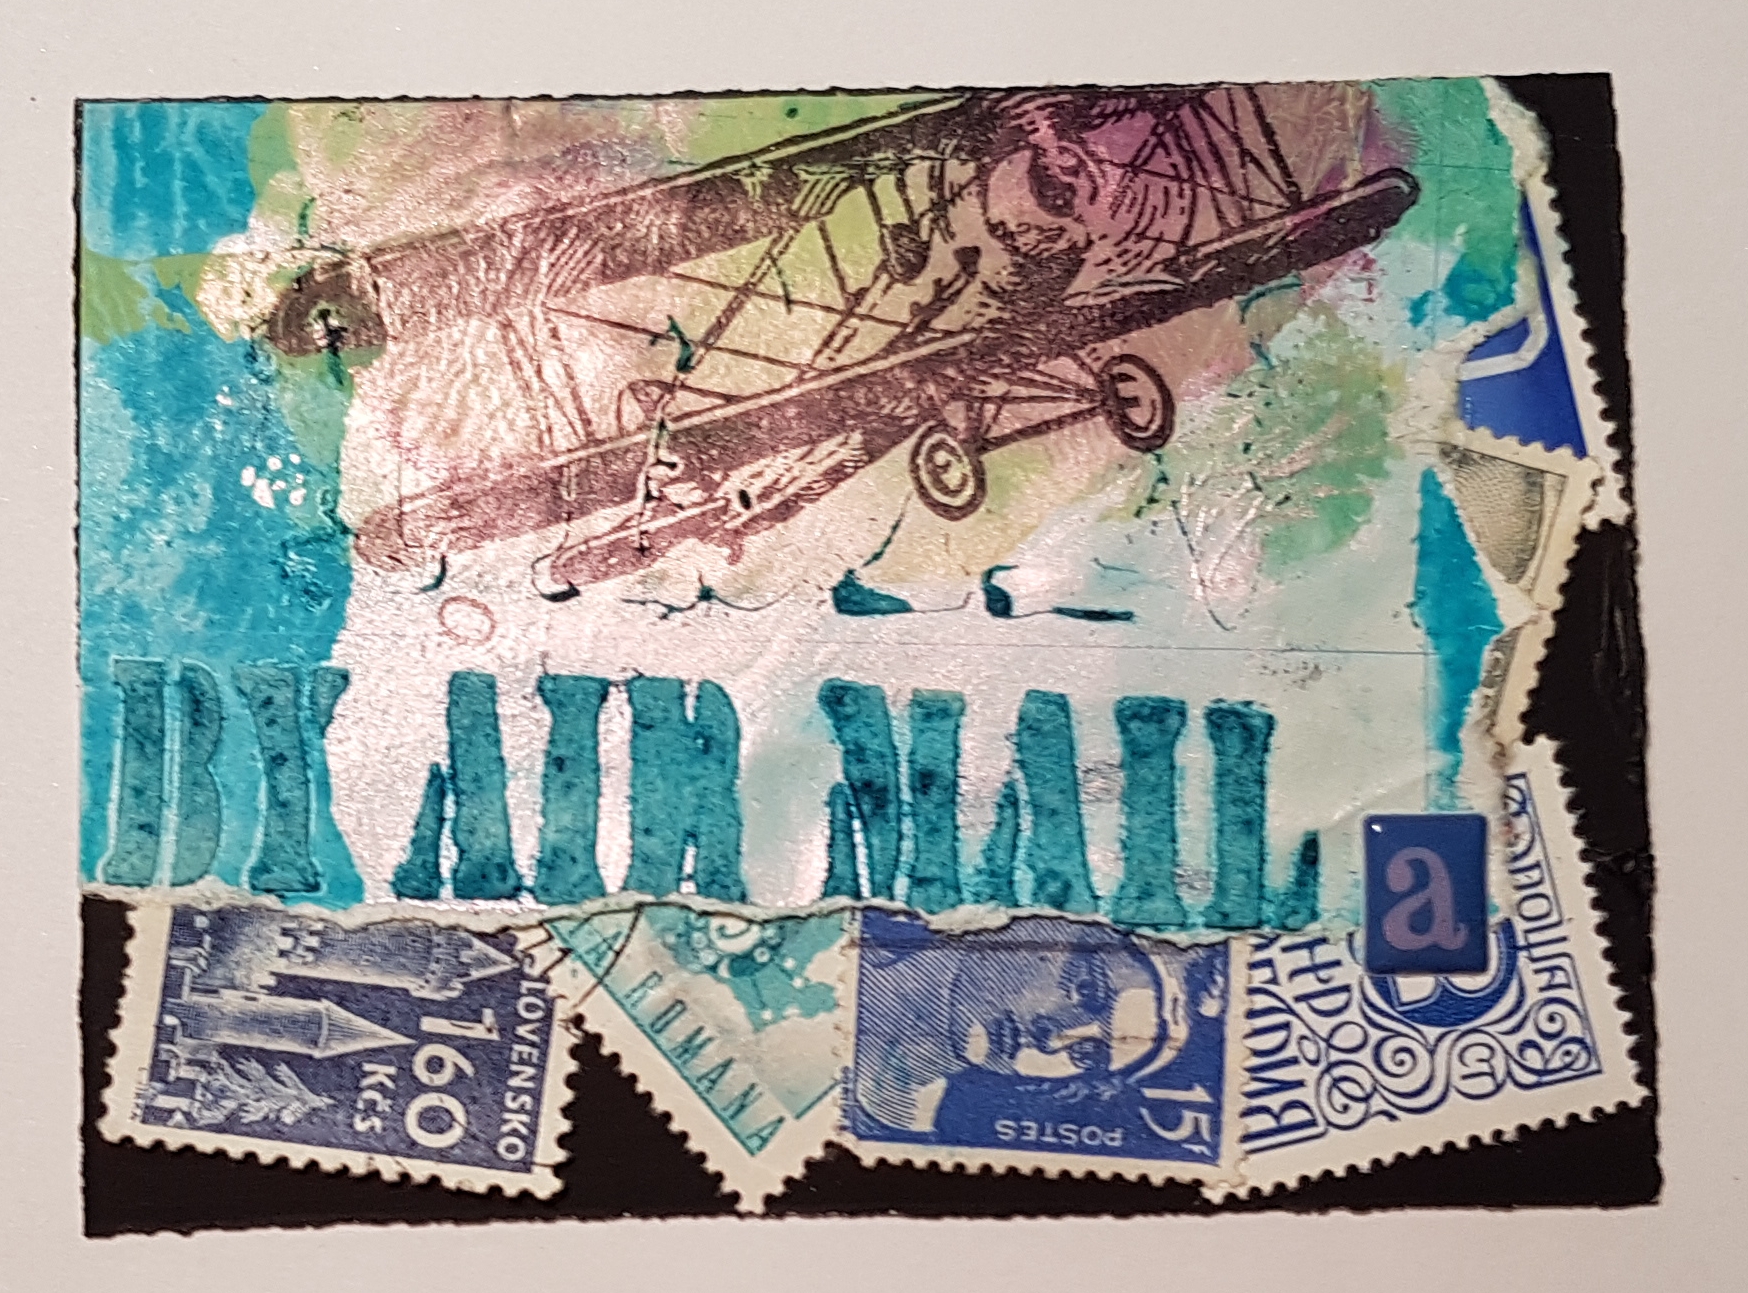
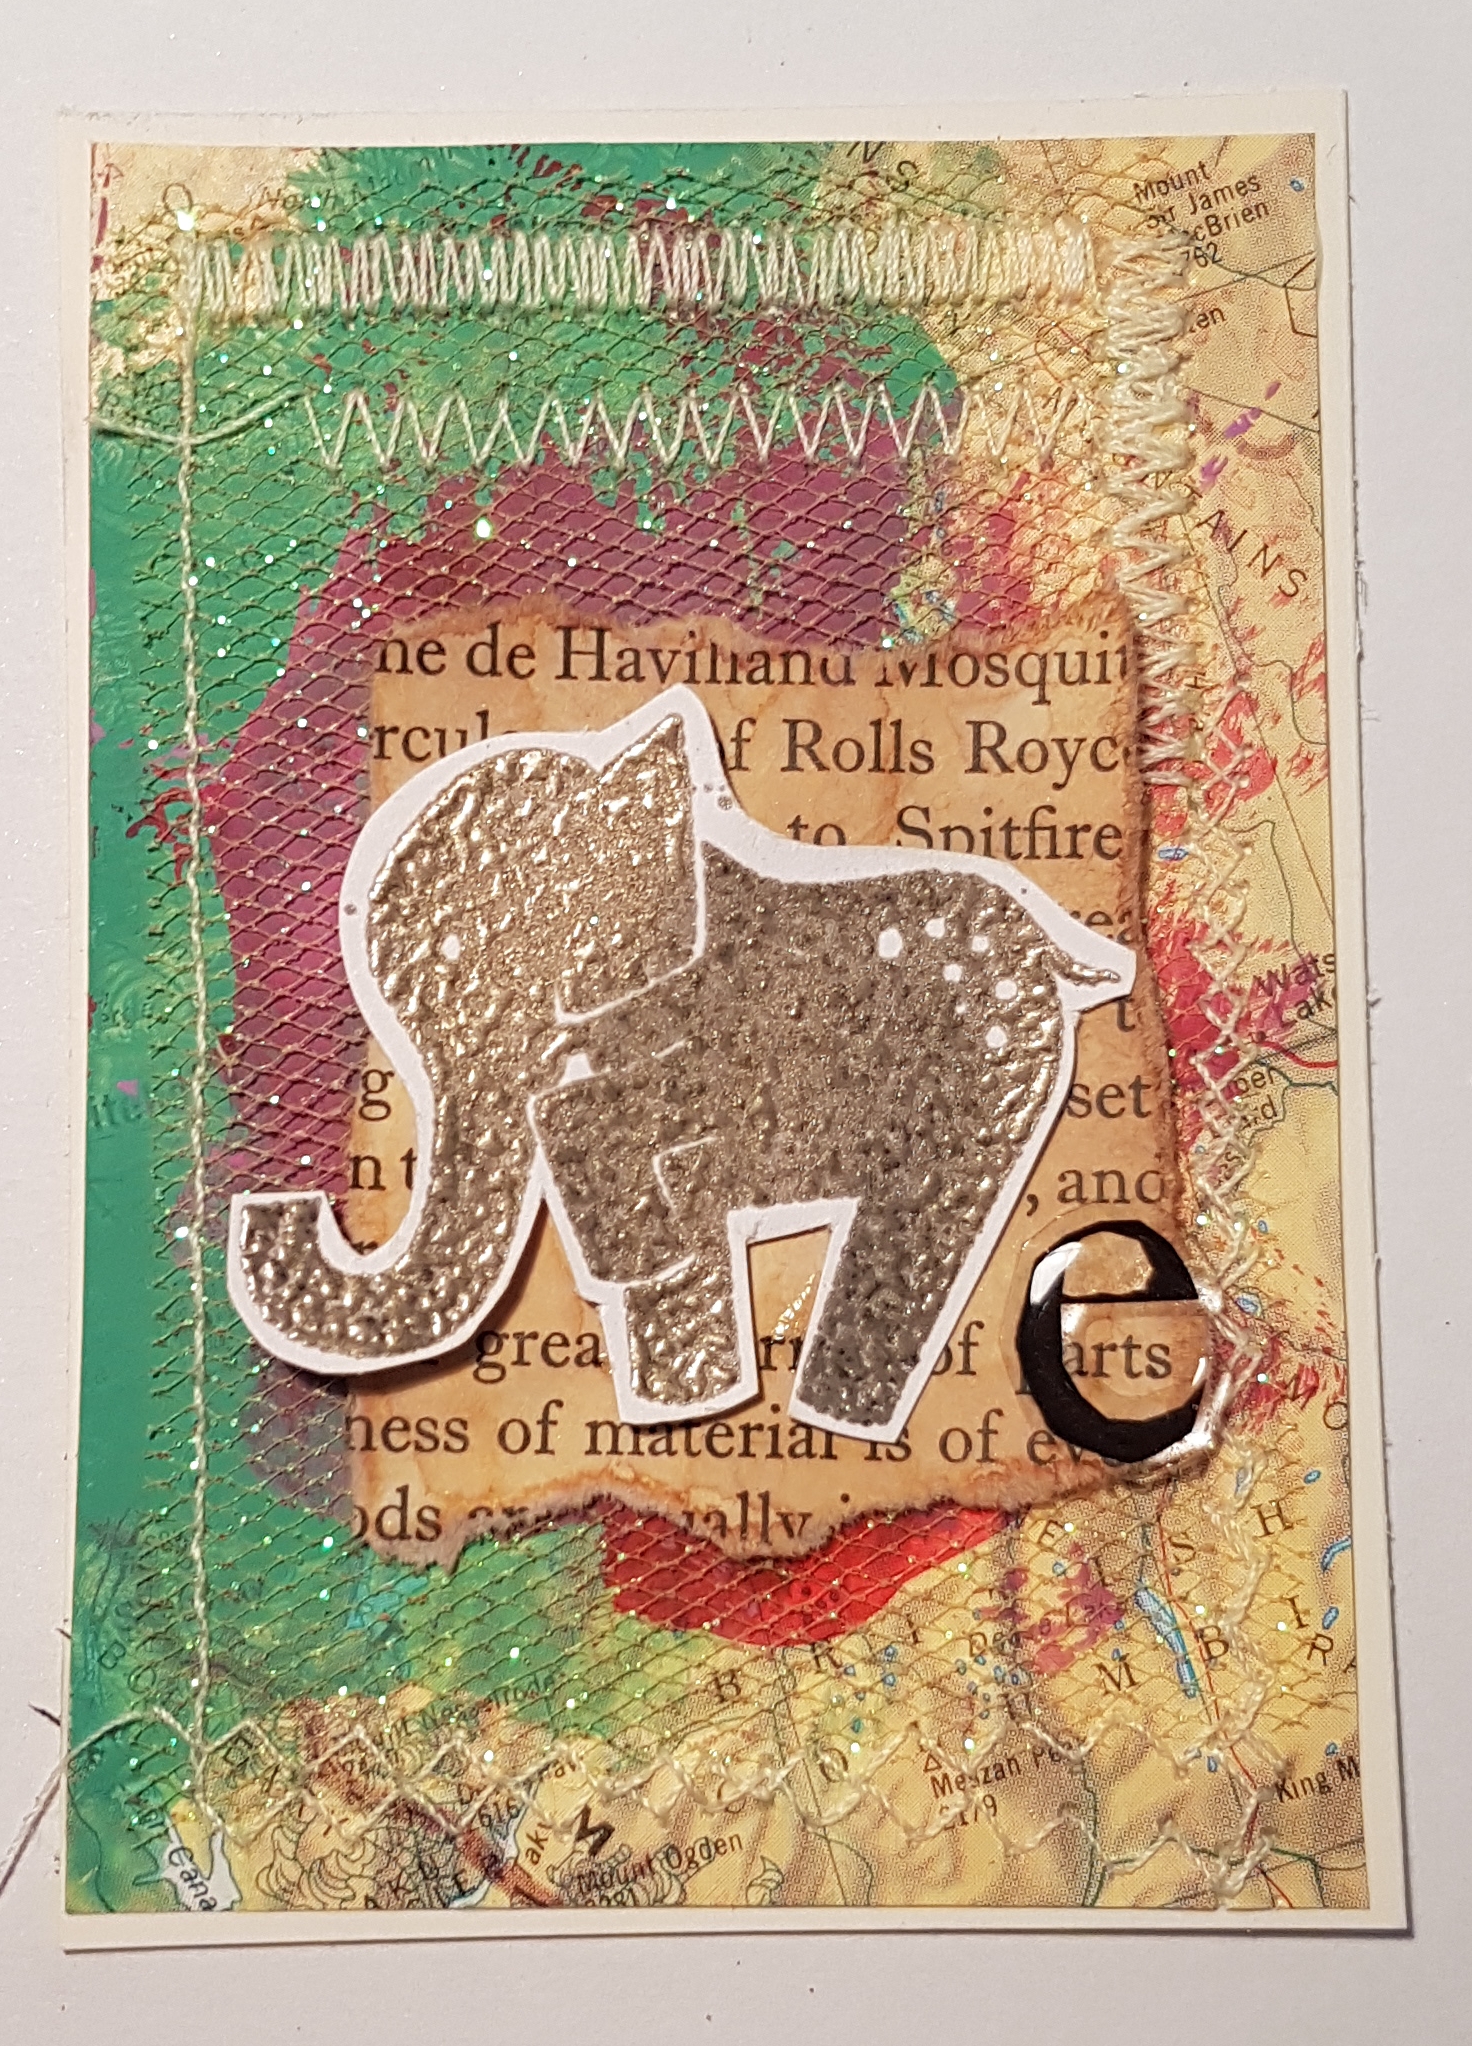
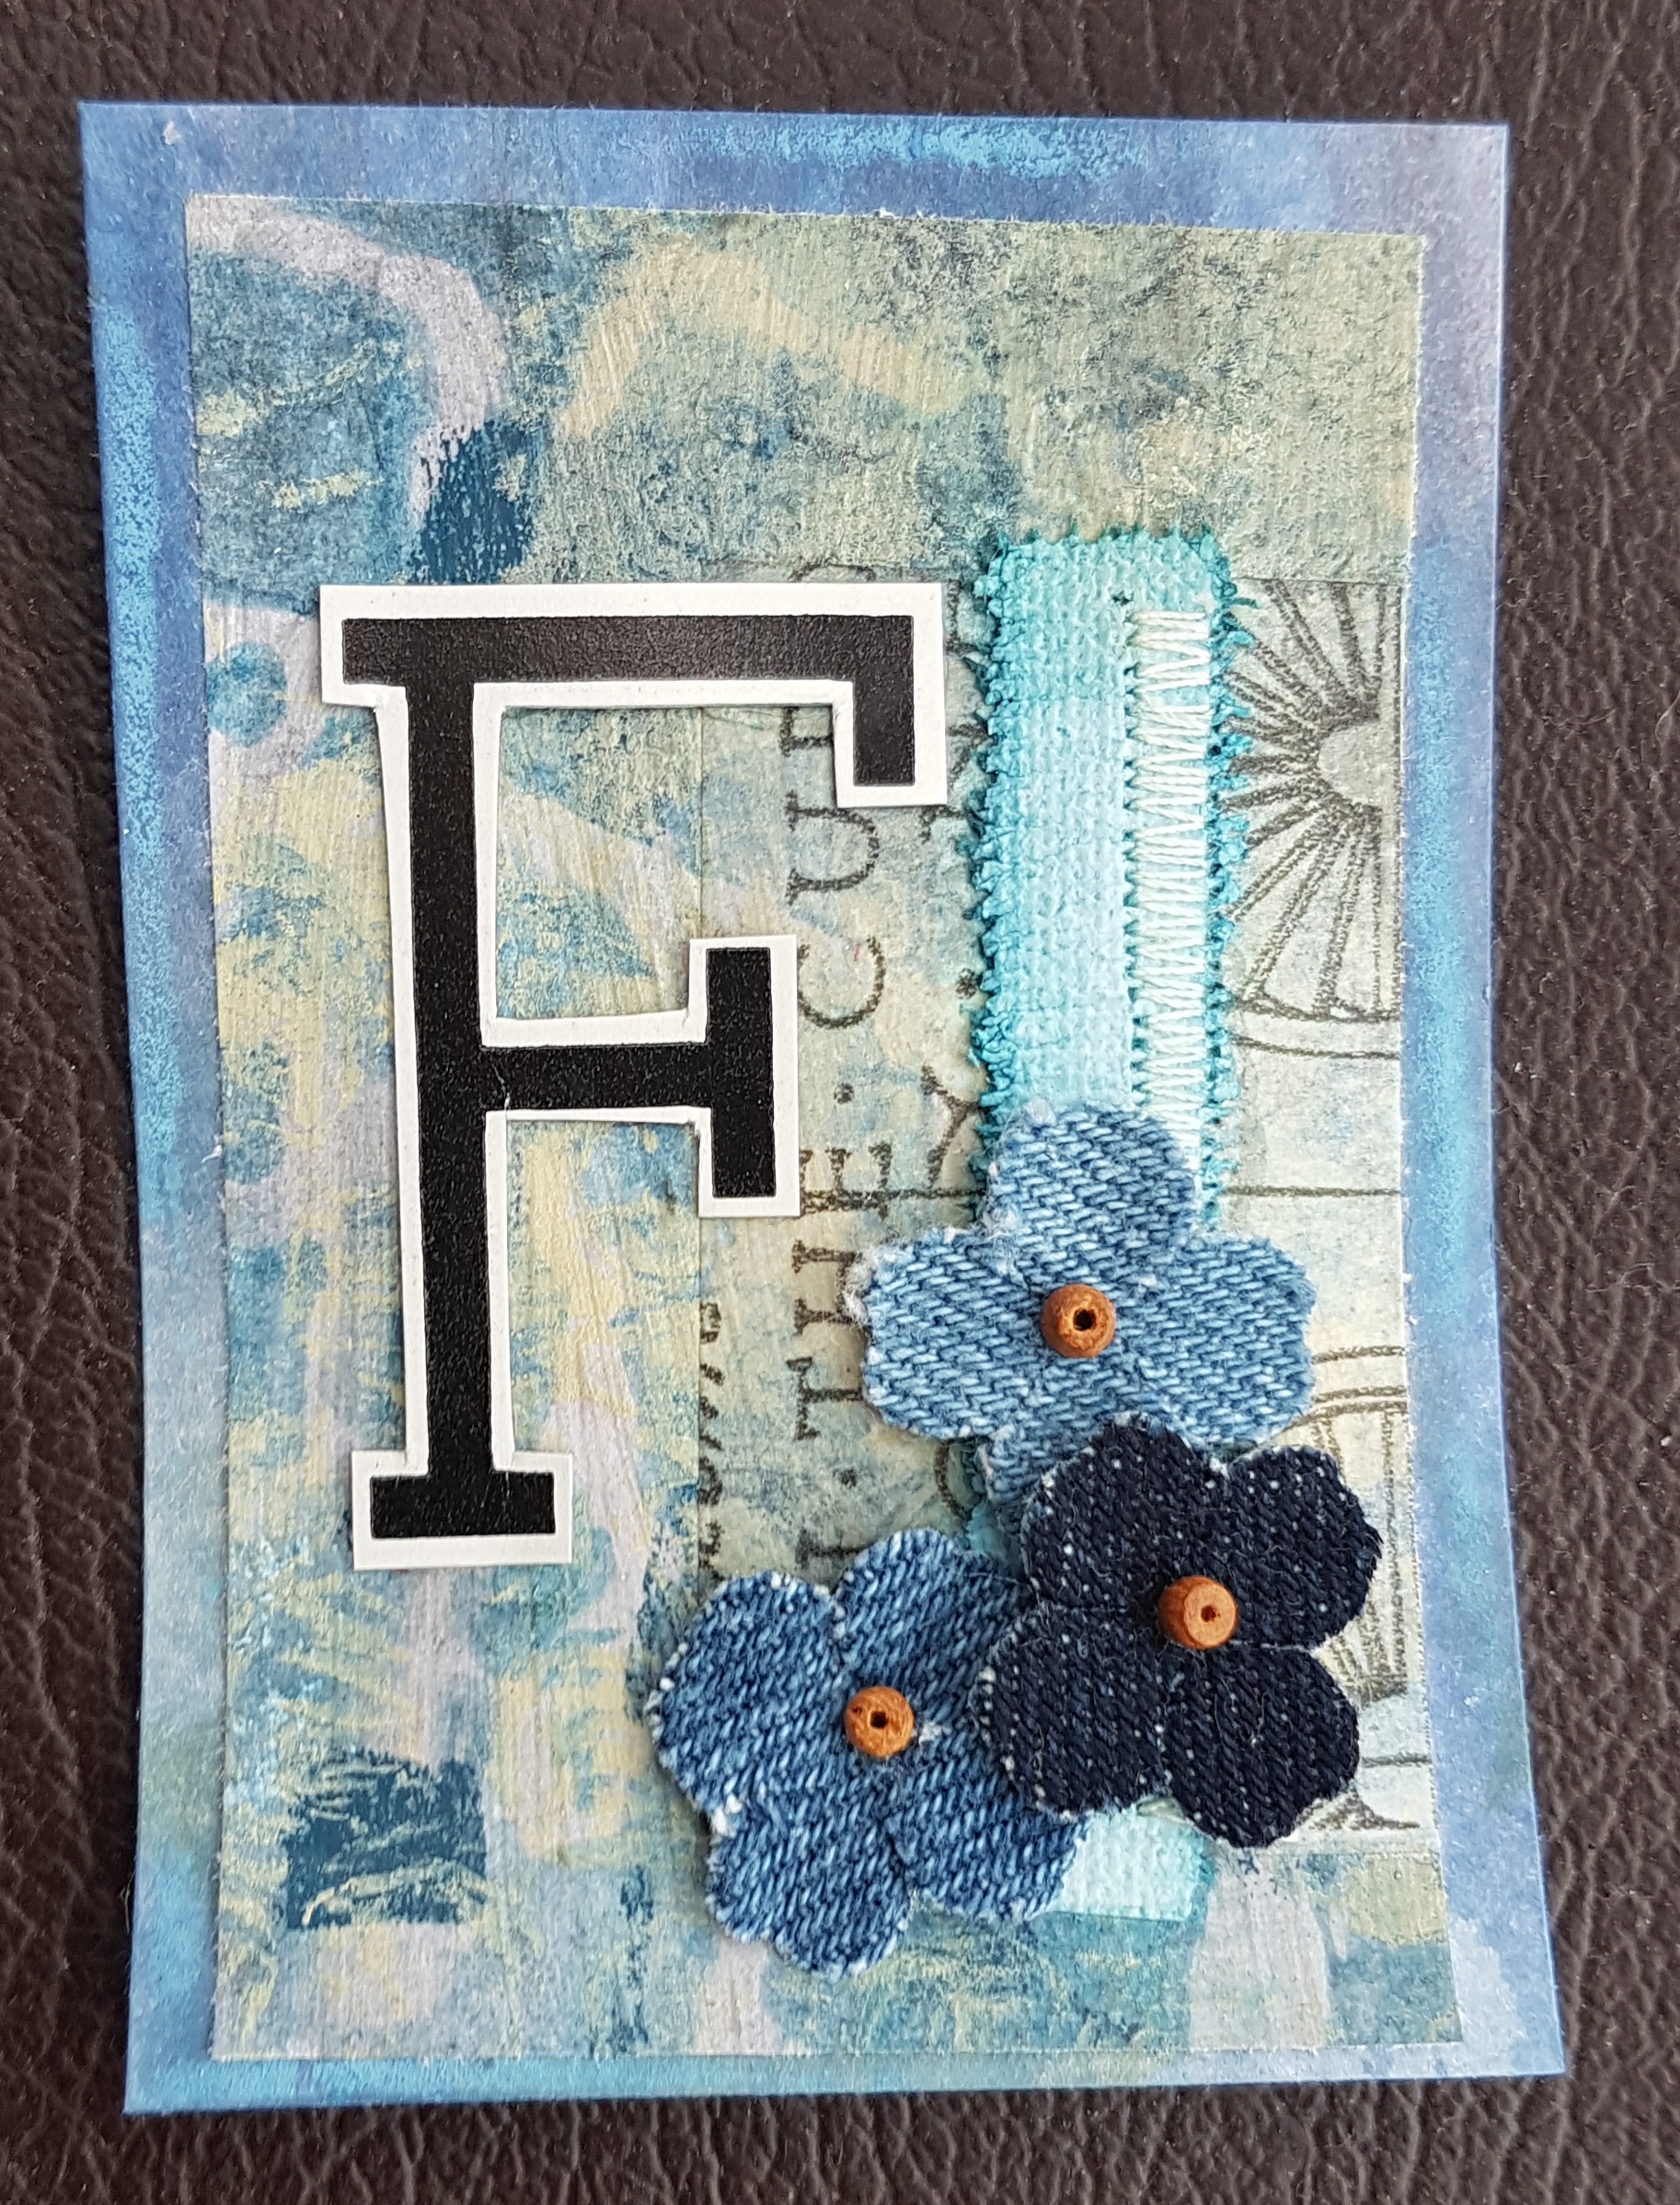
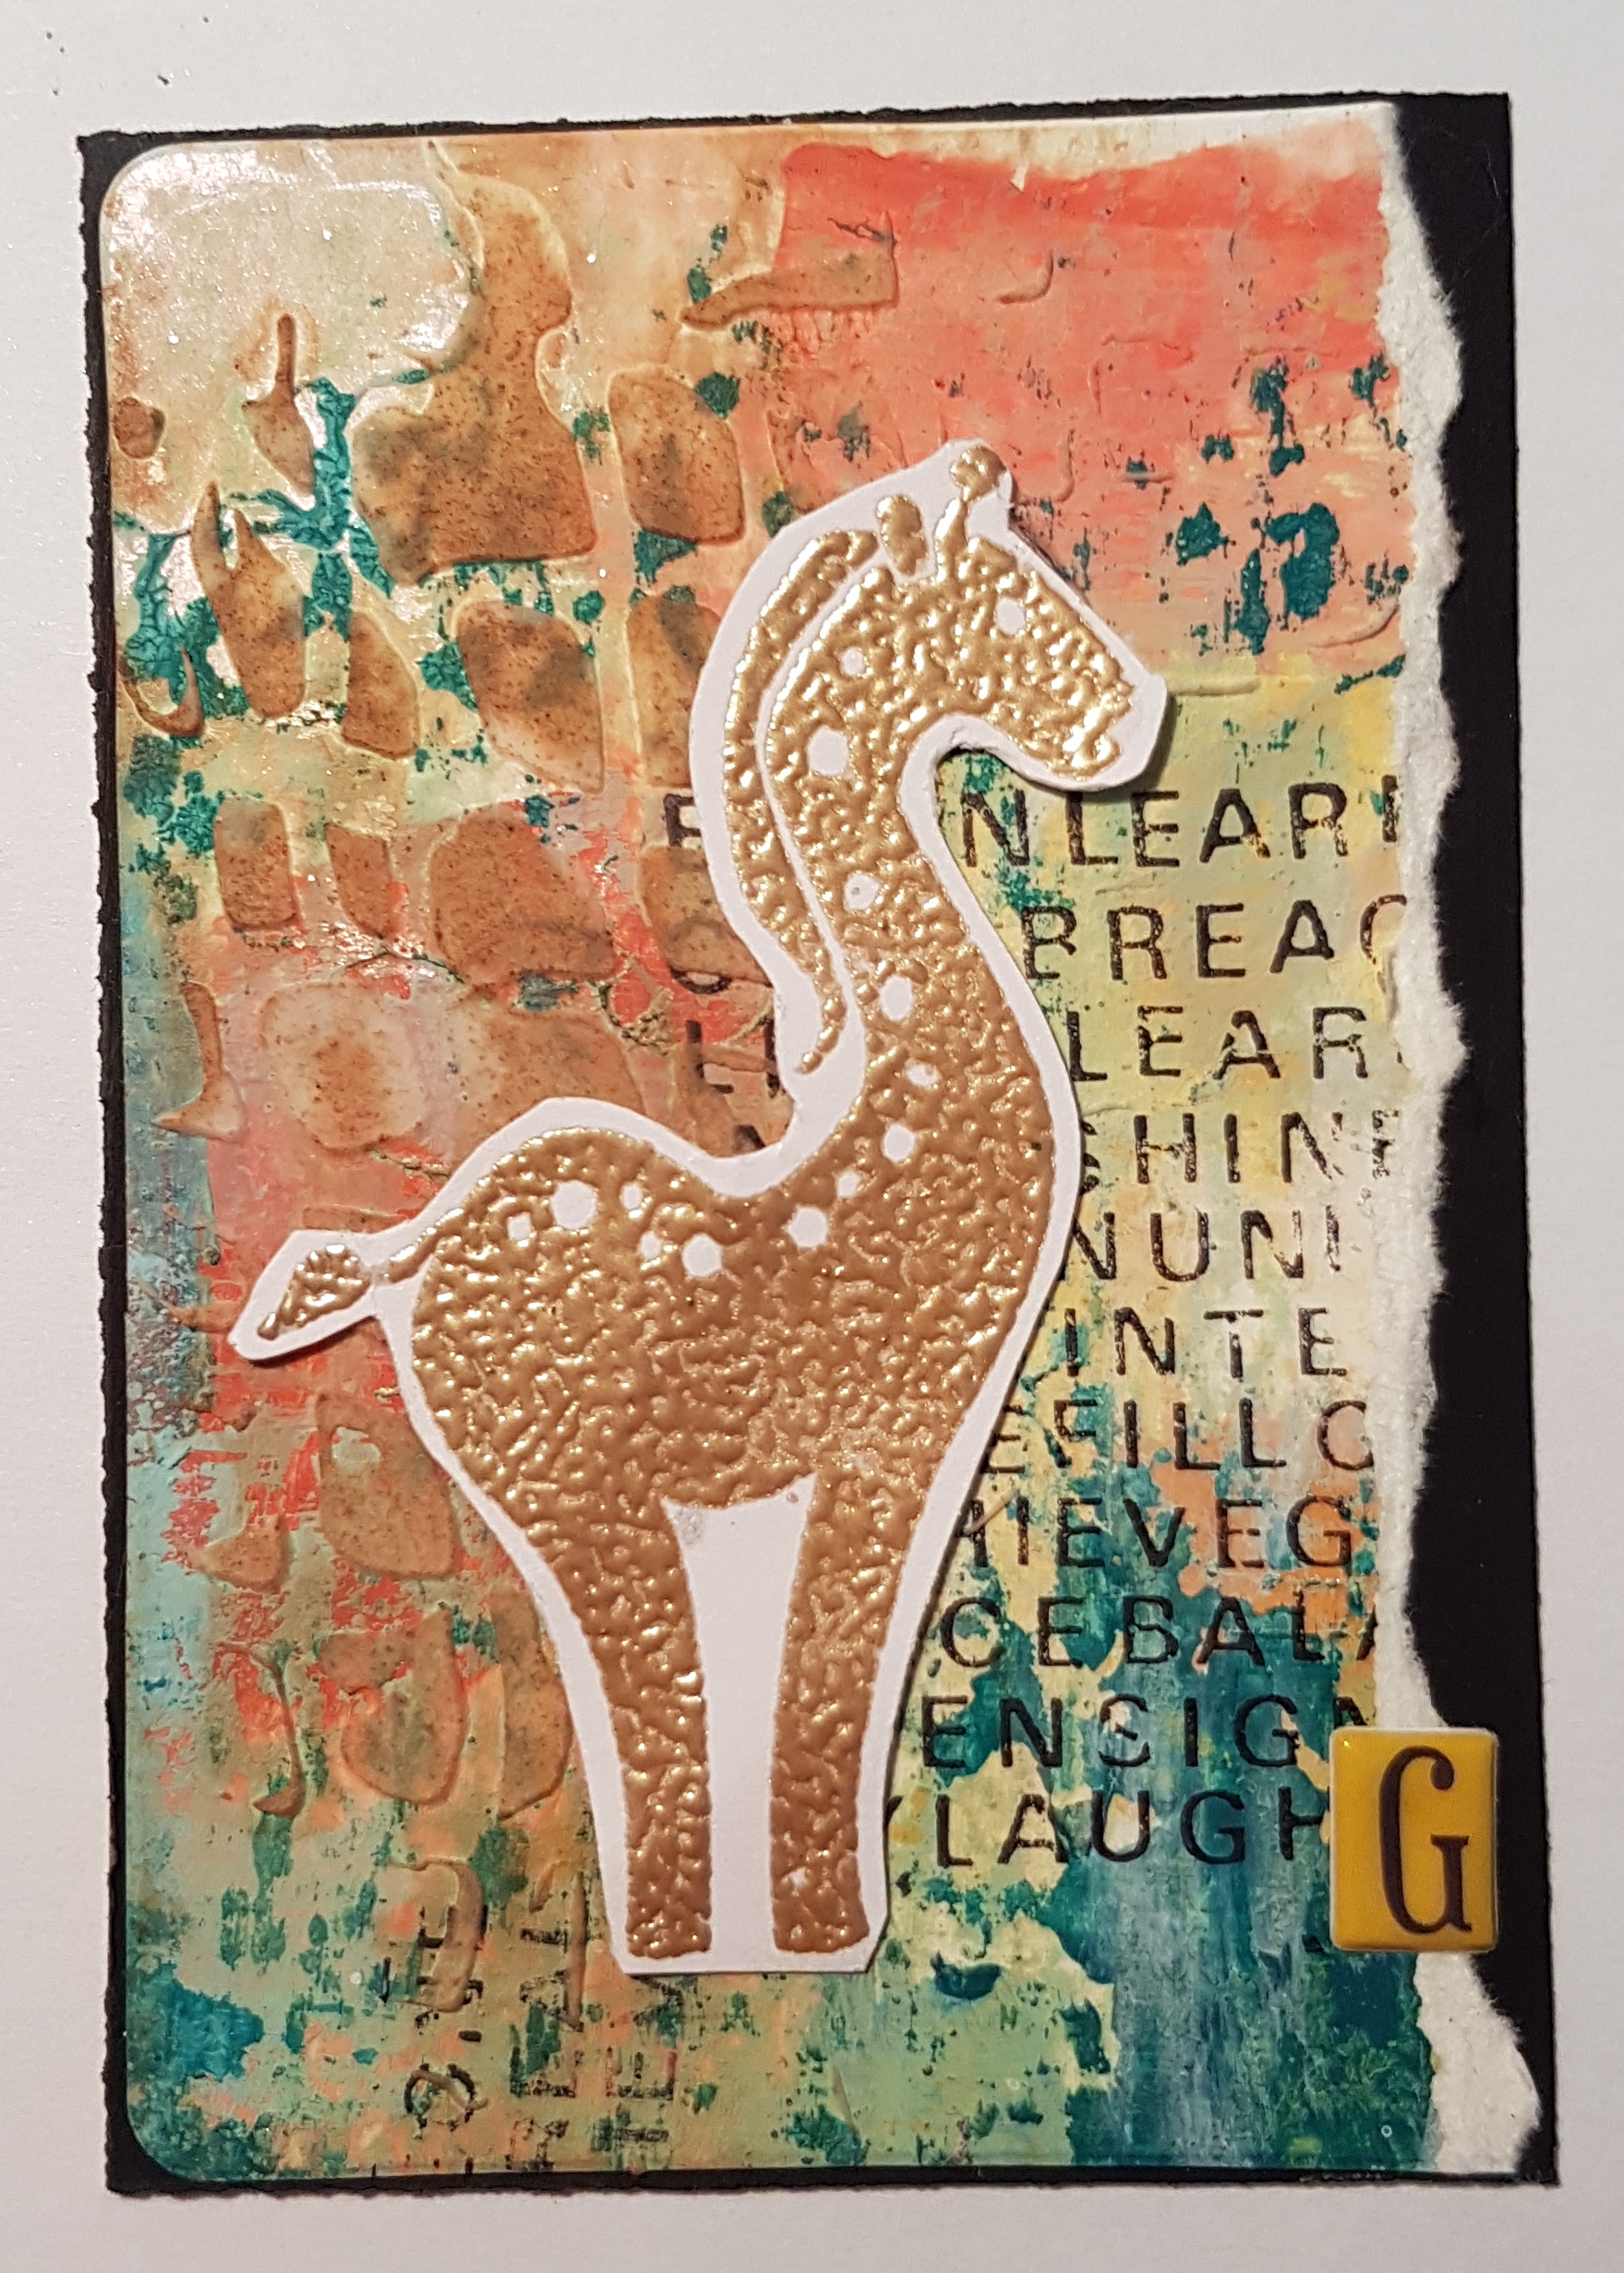
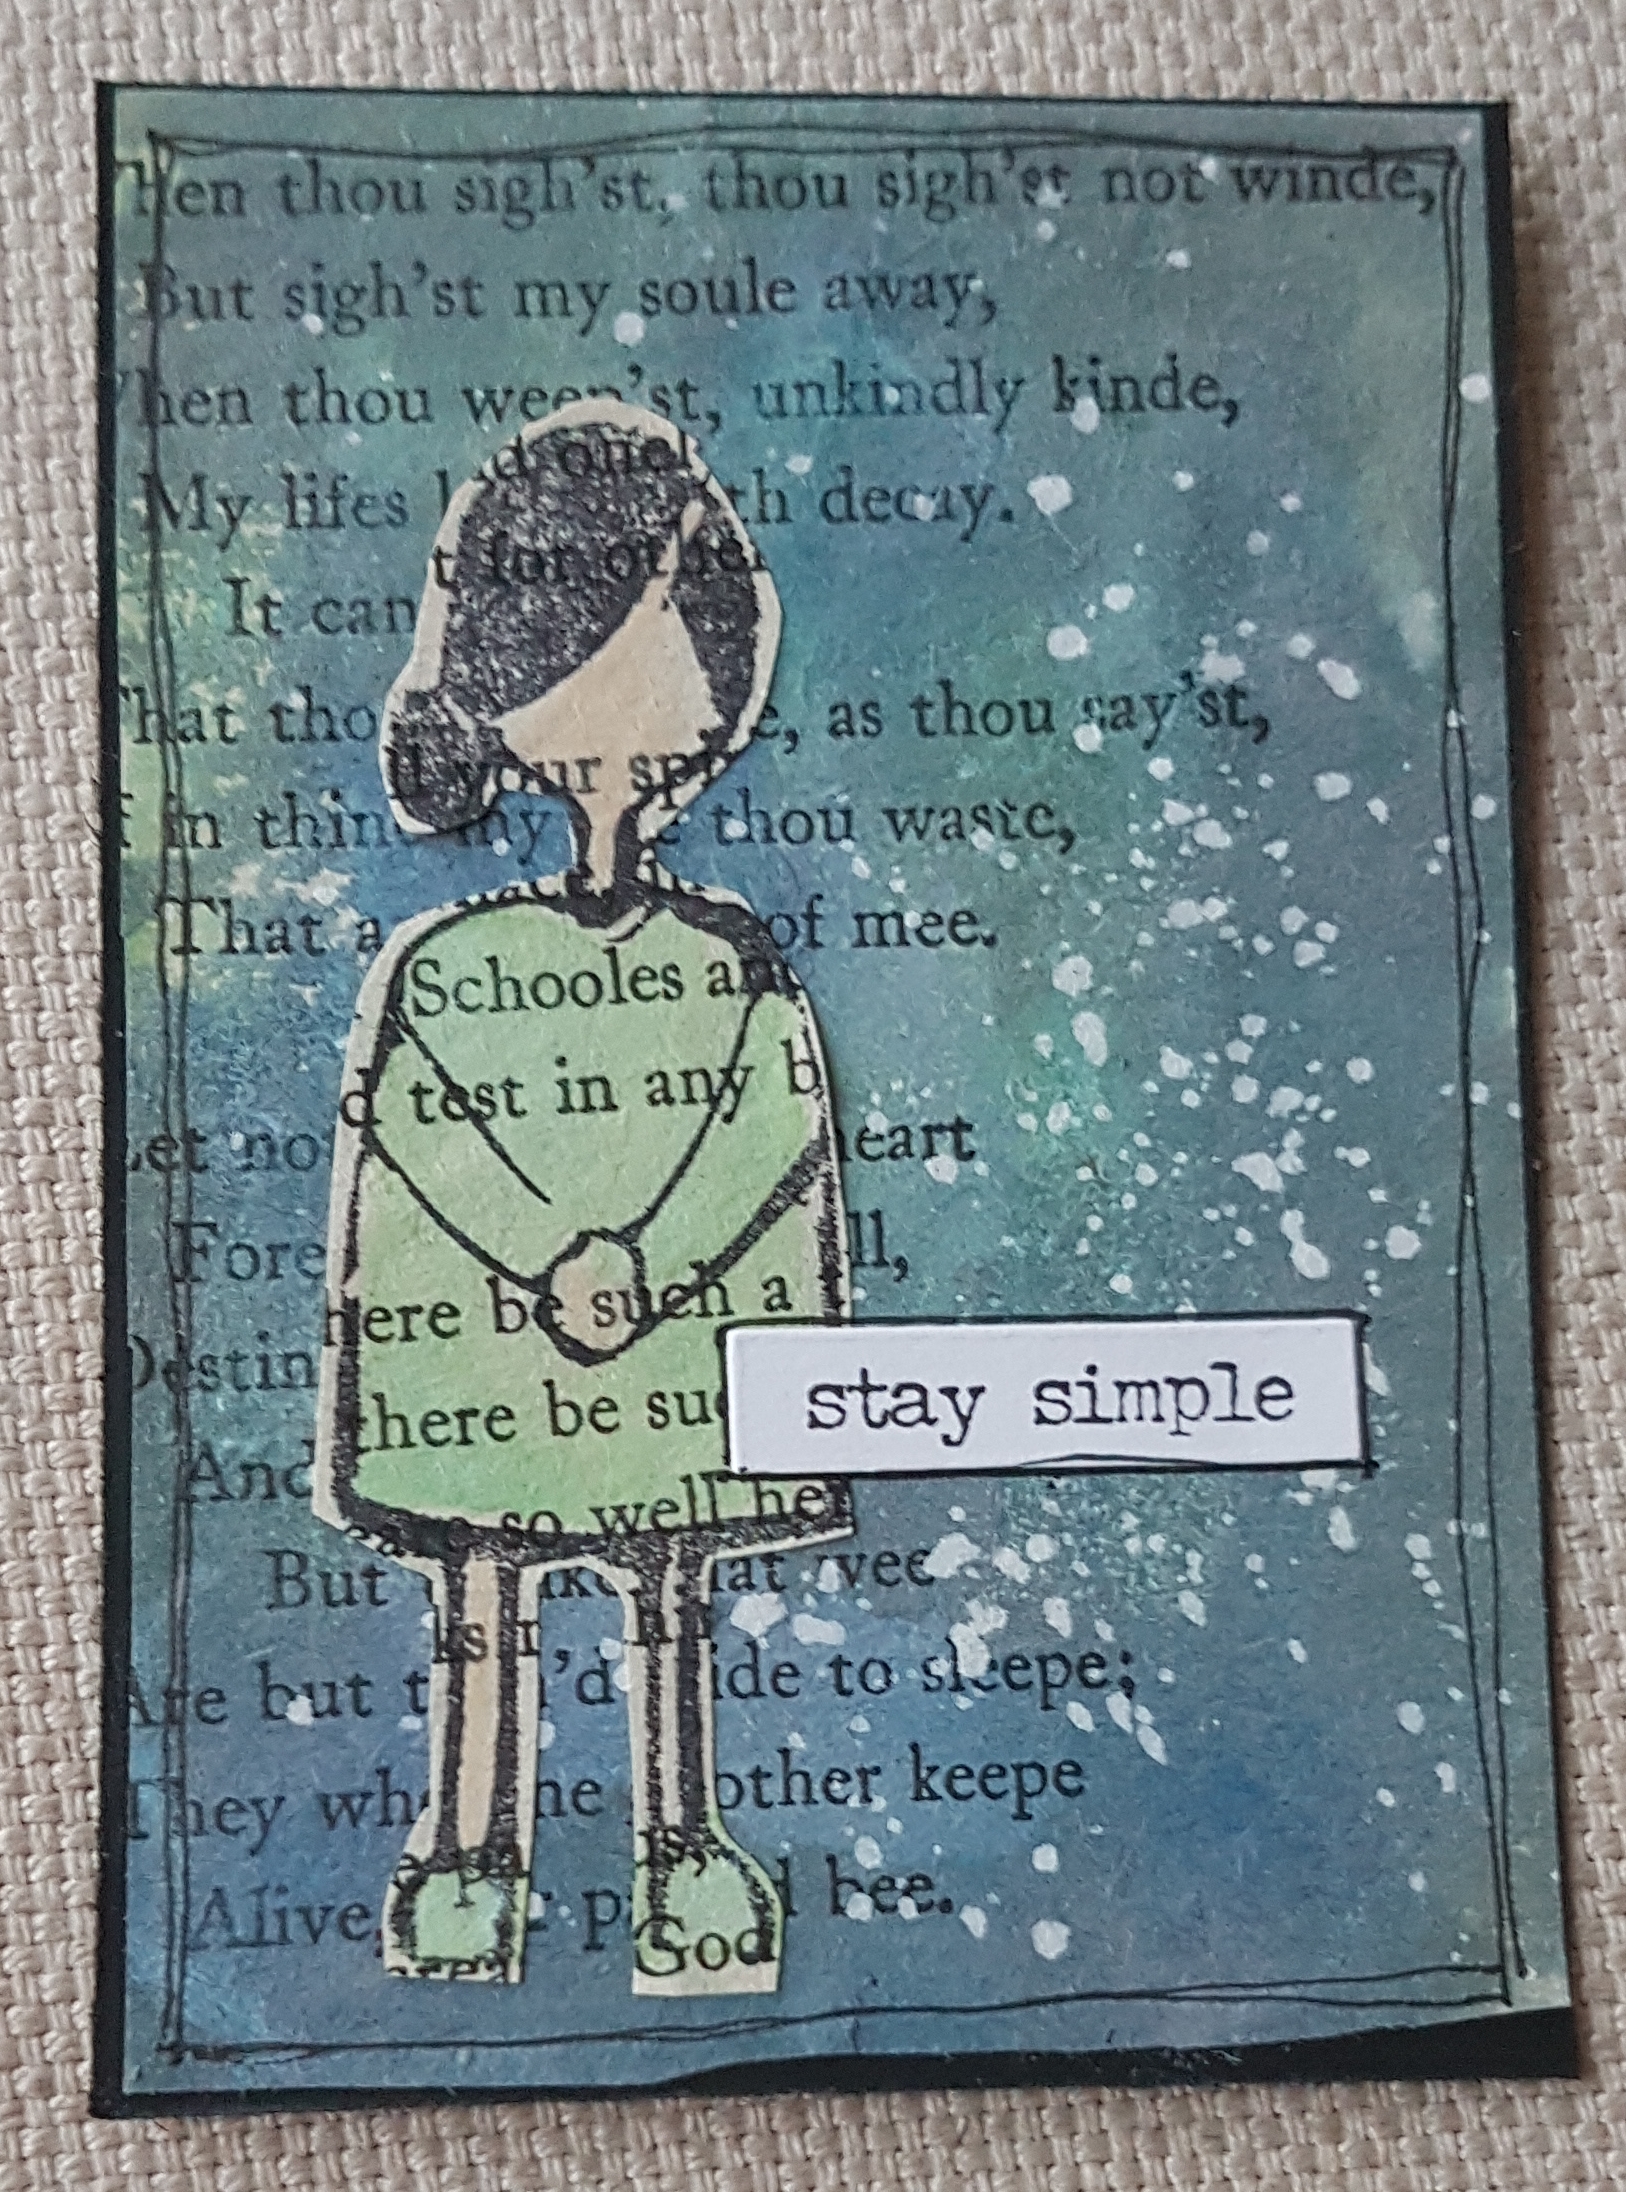
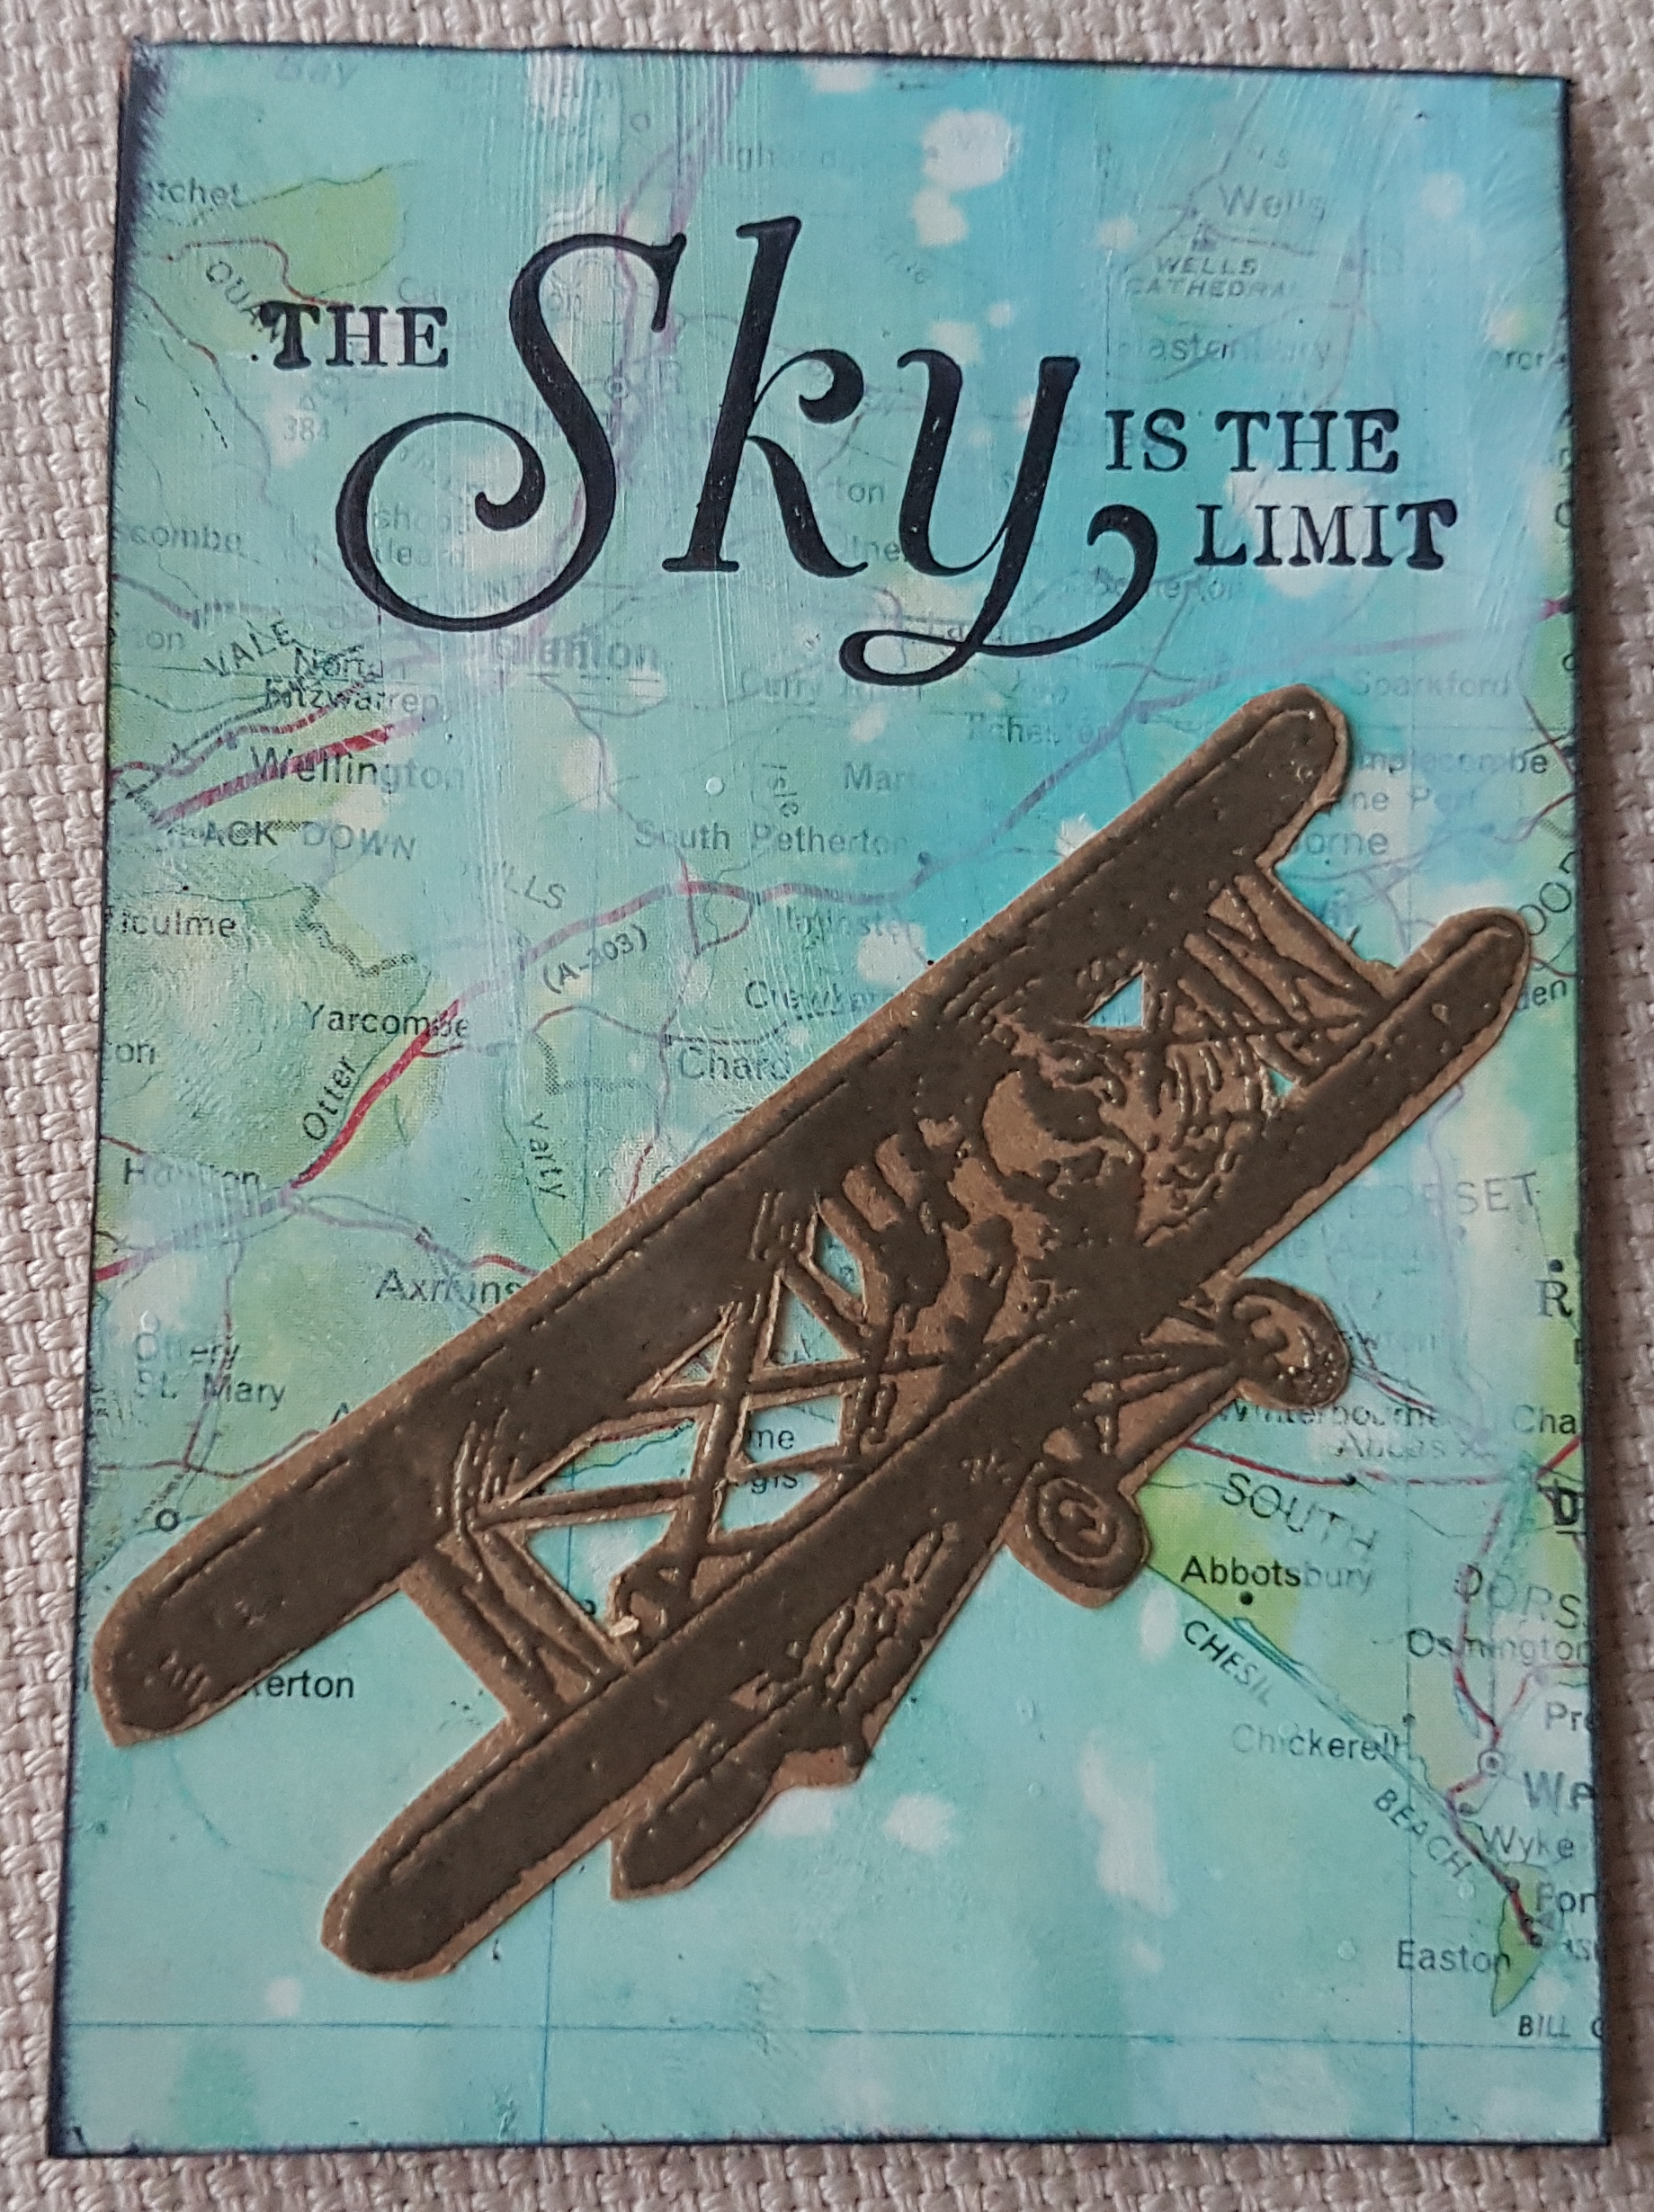
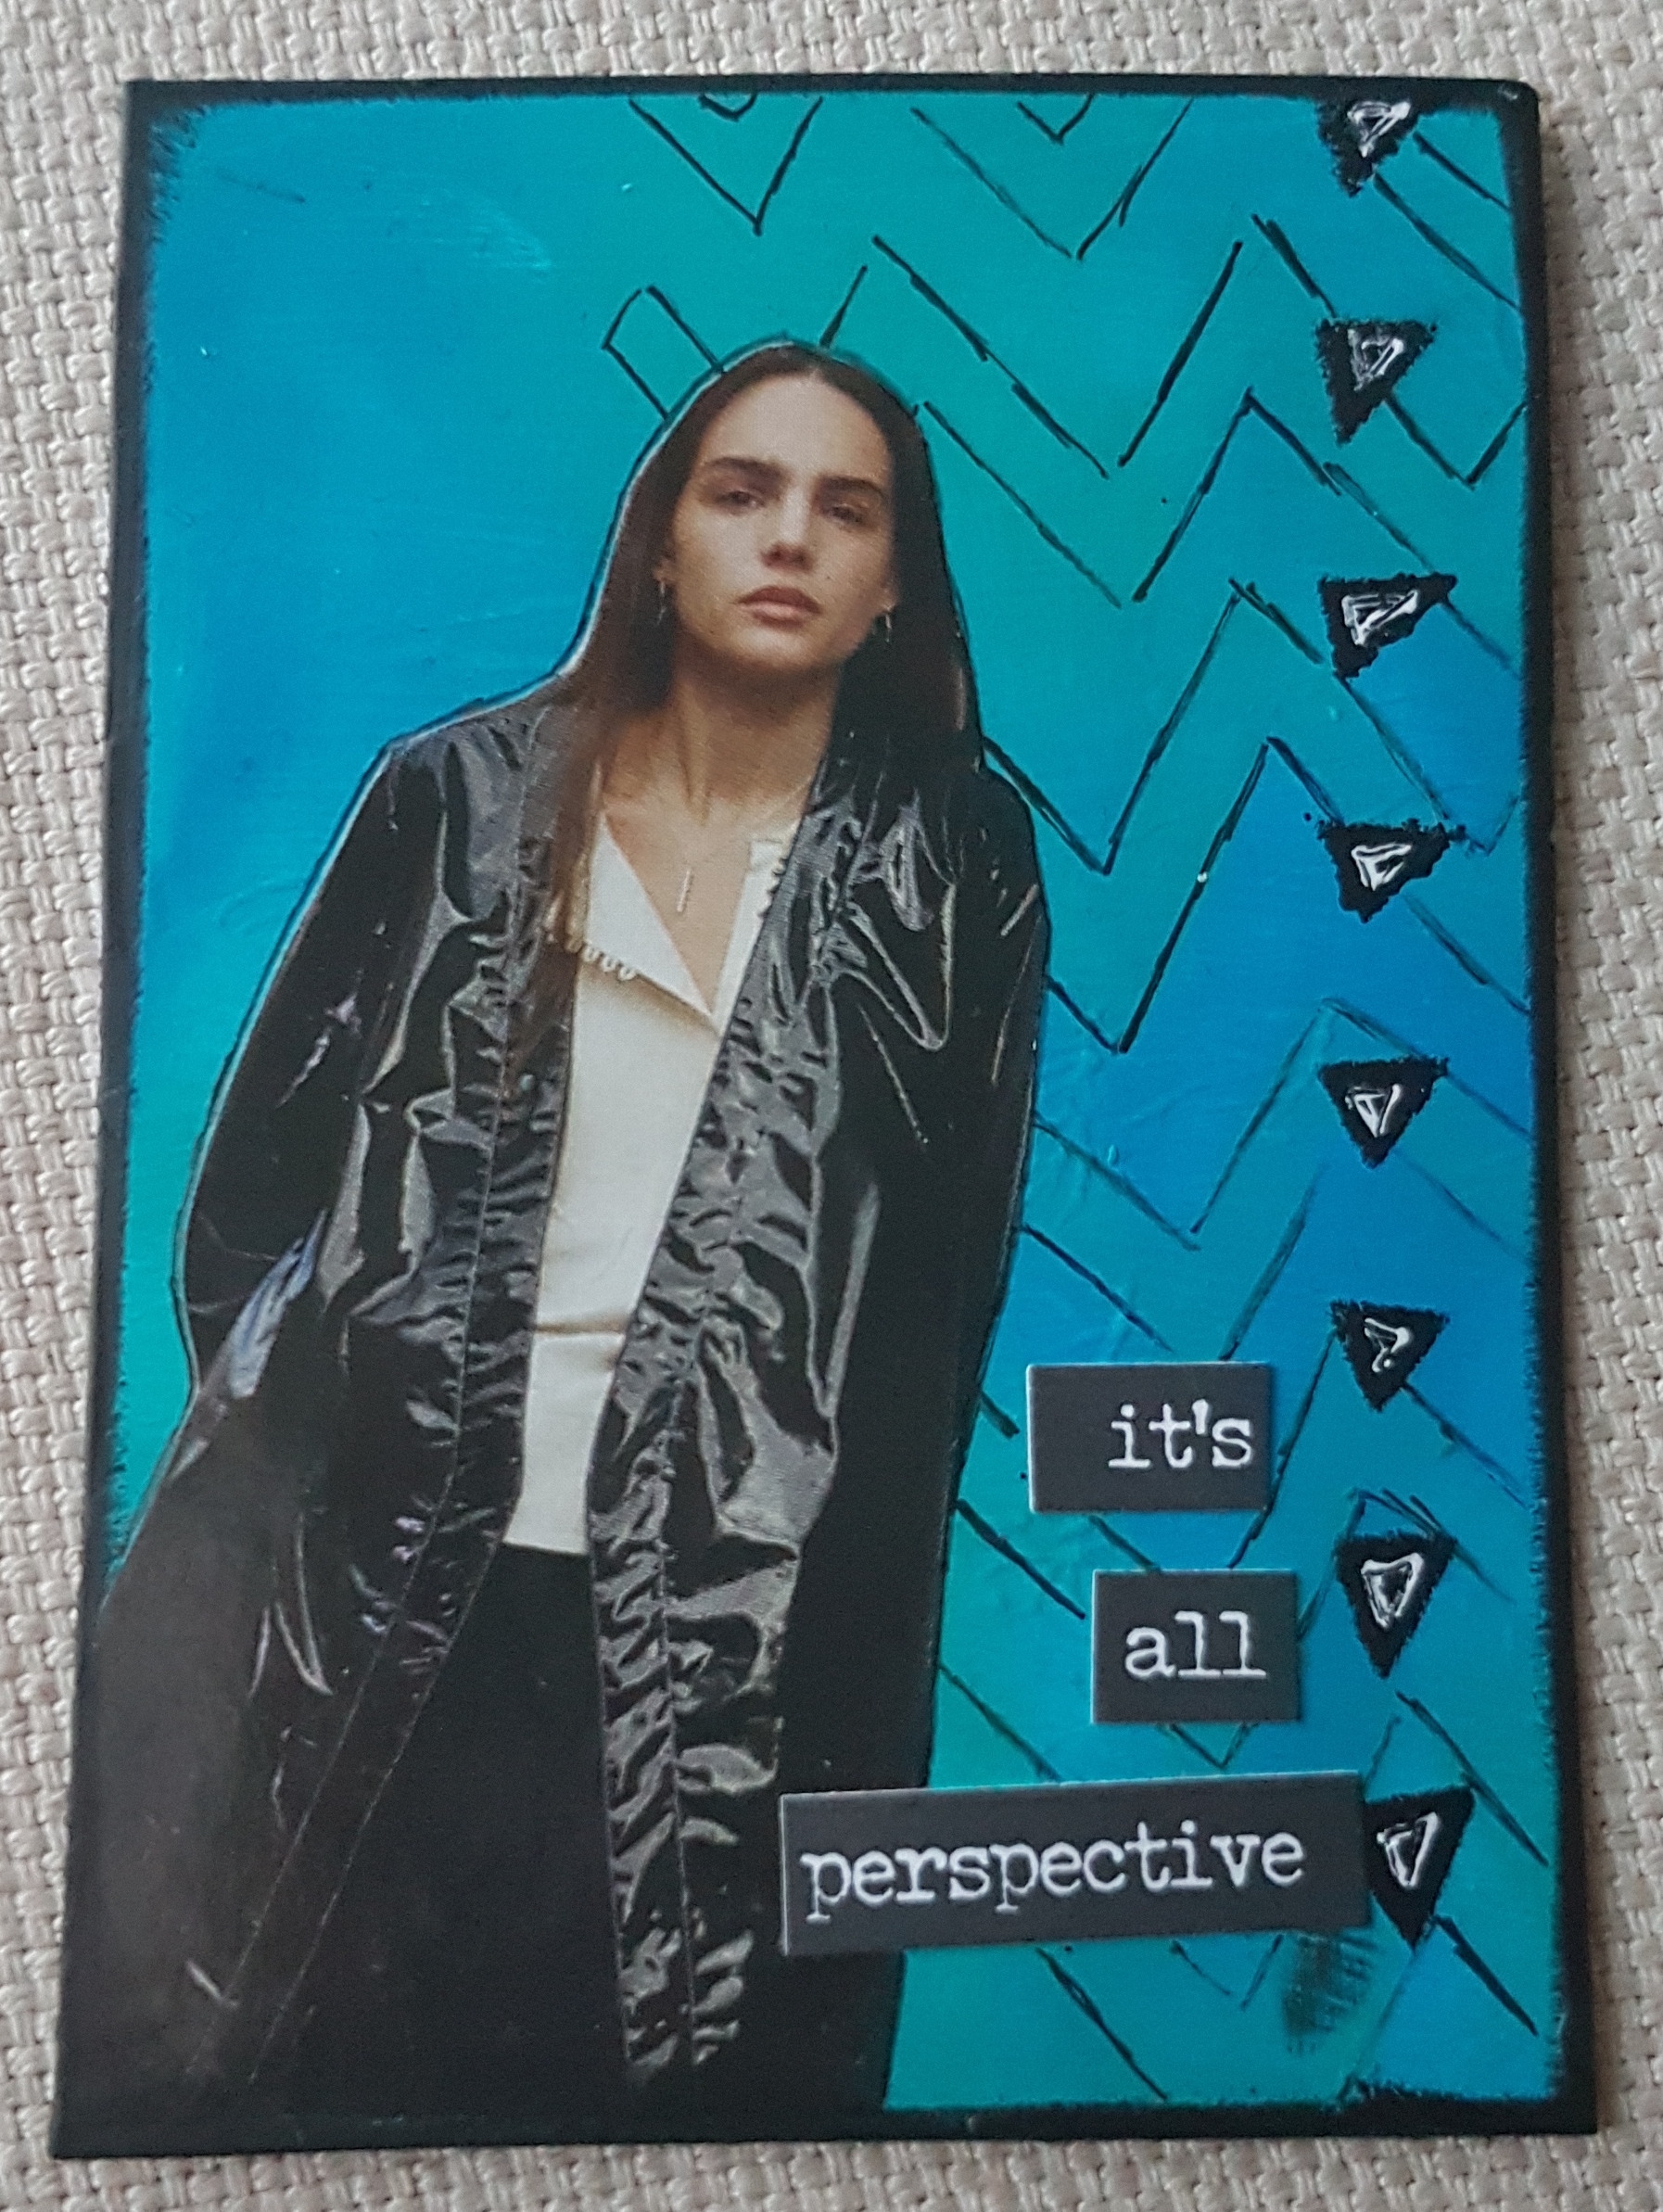
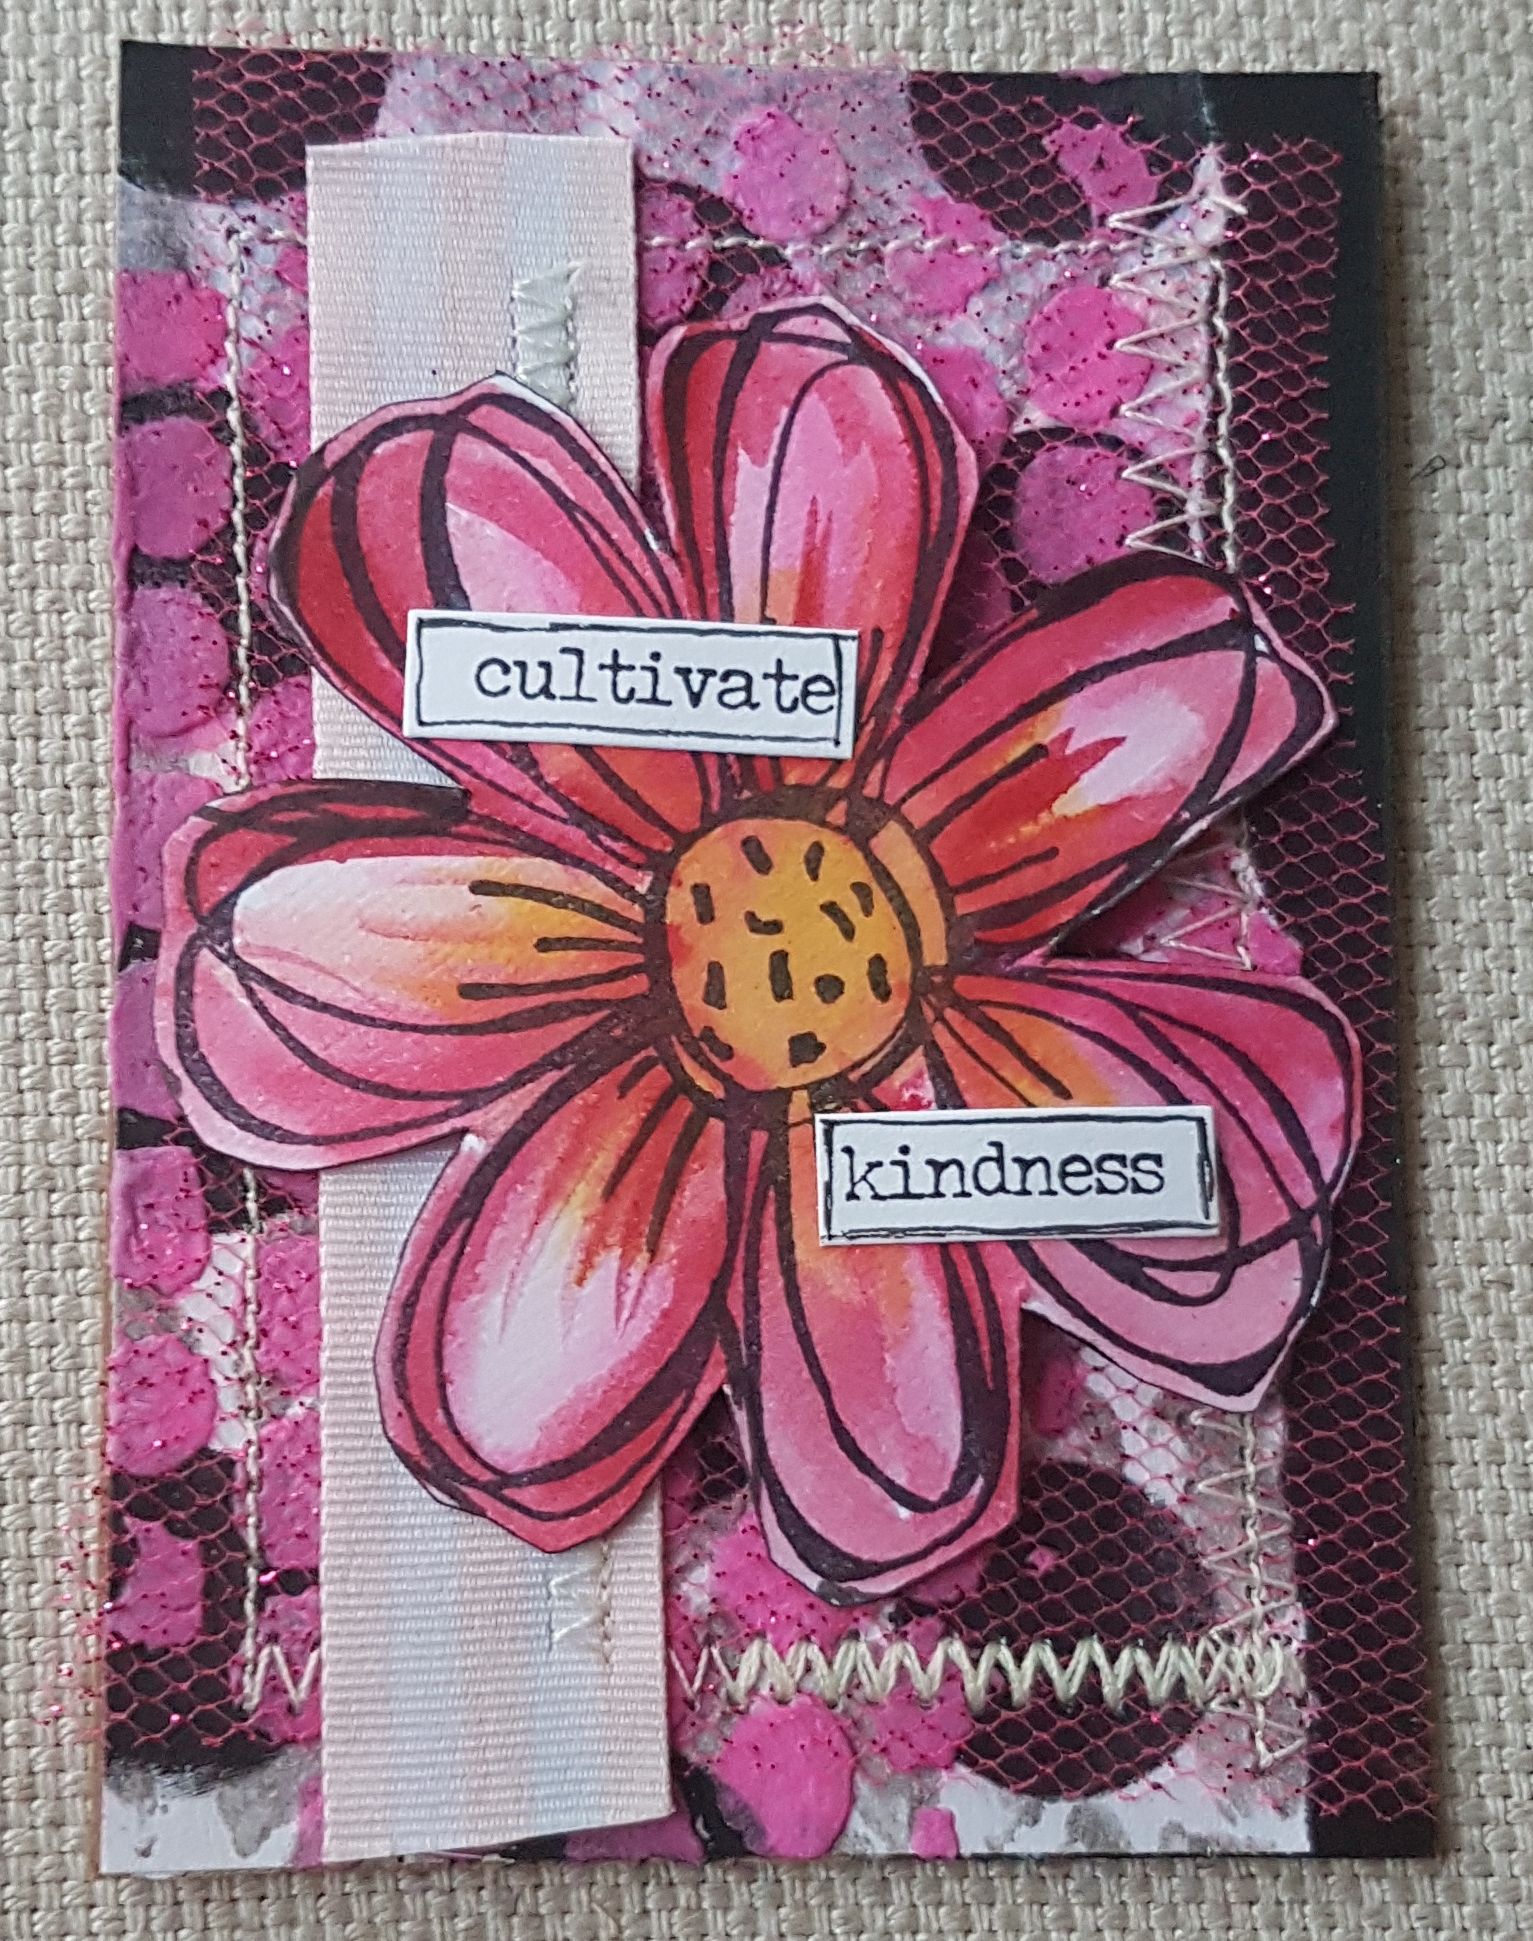
Today I have some ATCs to share today made for a fun swap I am involved in… an alphabet swap!  The plan is to make an ATC for each of the letters of the alphabet… or at least as many as I can… this is where I am up to. 

A is for aeroplane…

B is for butterfly … (this might look familiar as I actually shared this a few days ago!)

E is for elephant…

F is for flowers…

G is for giraffe…

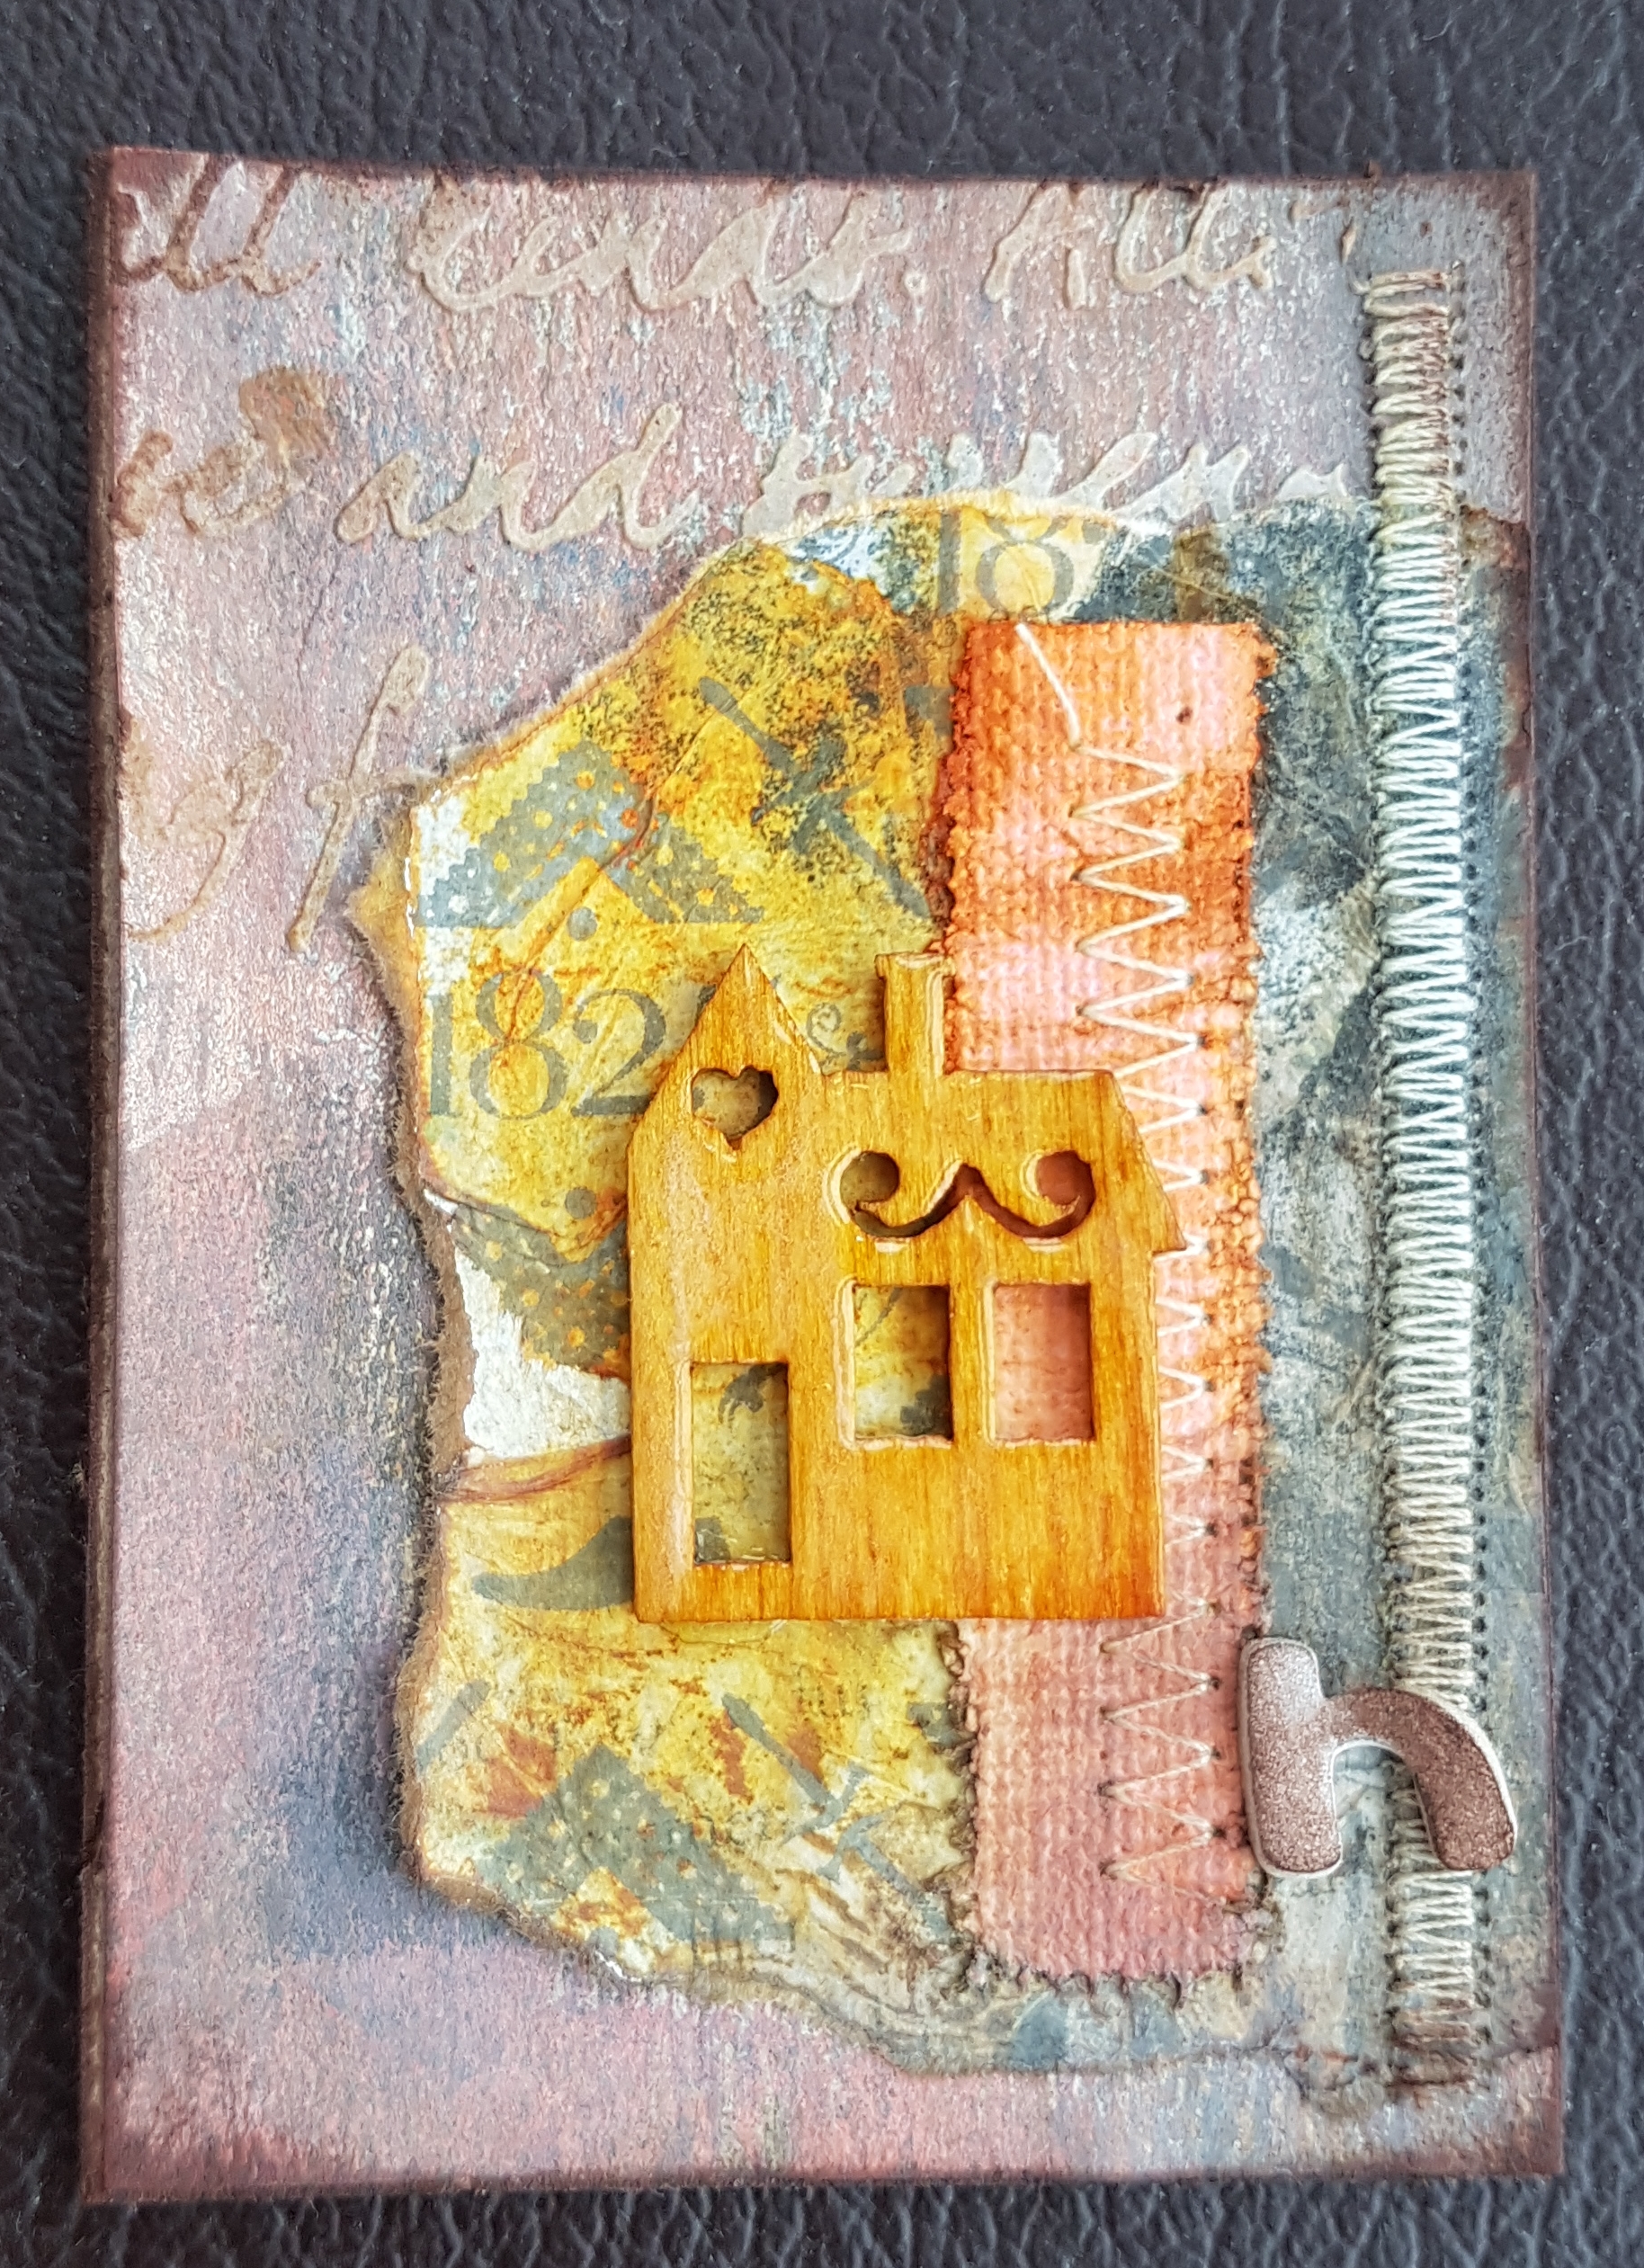
H is for house….

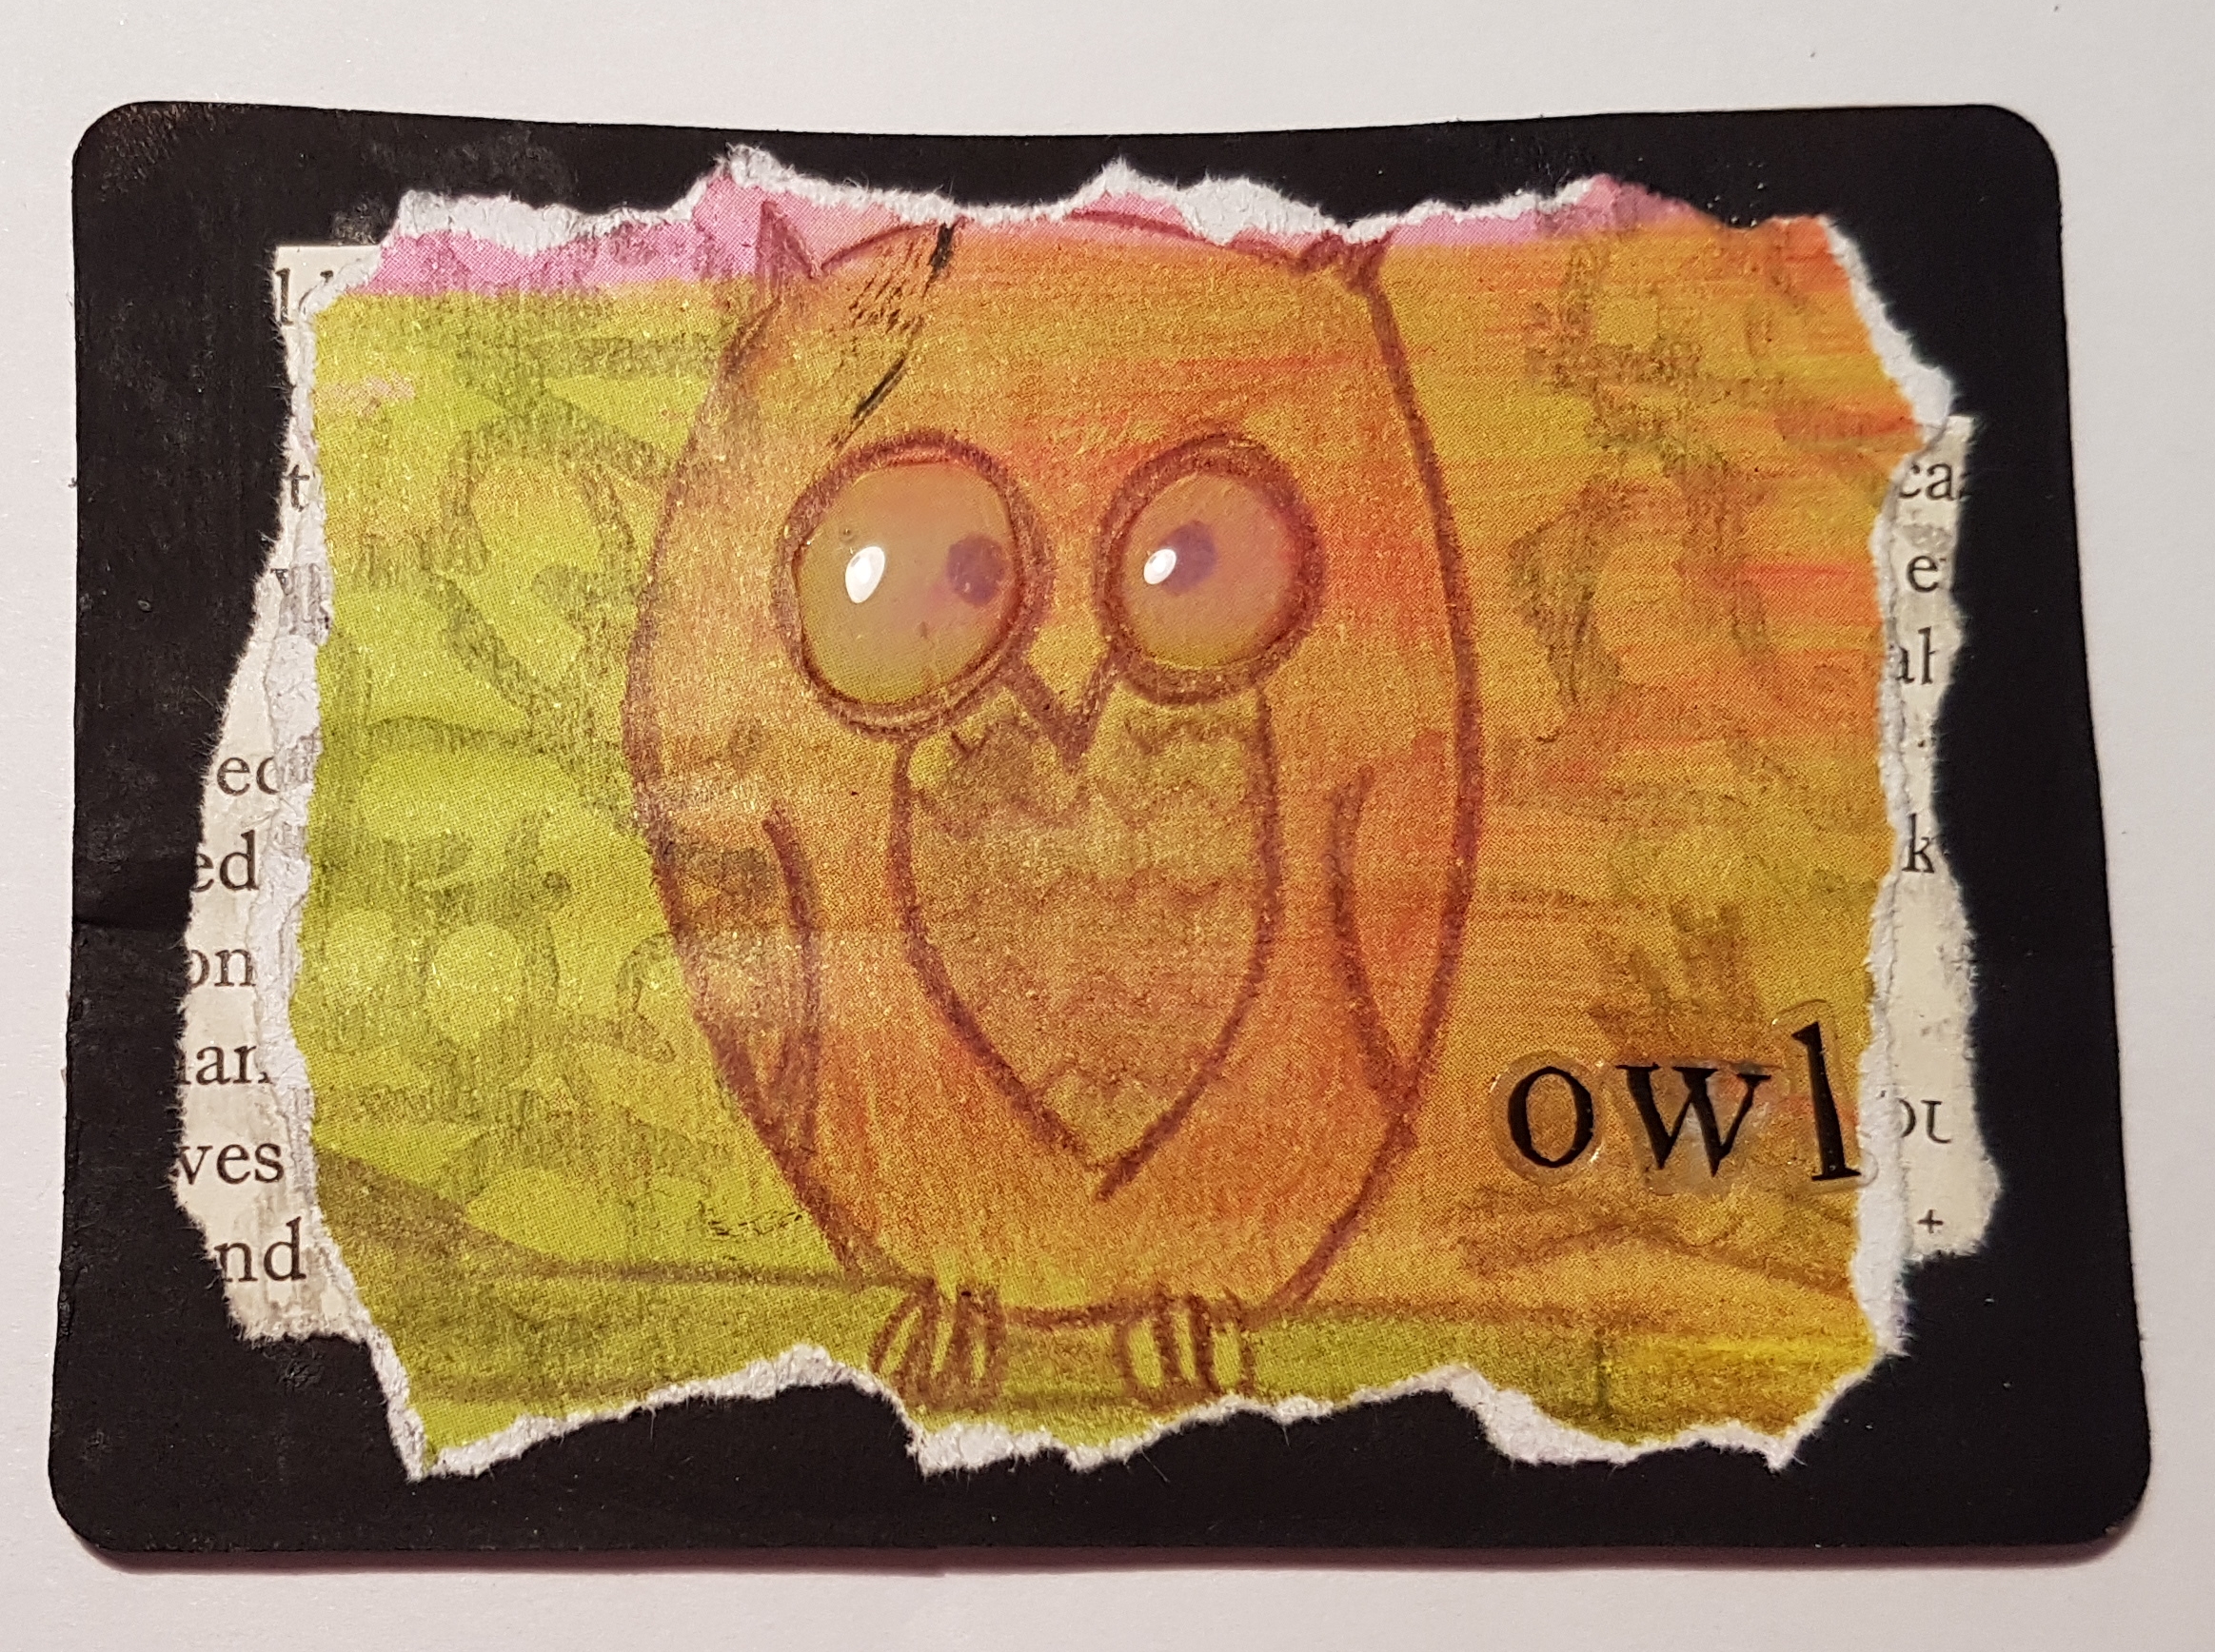
O is for owl… 

P is for puppy…

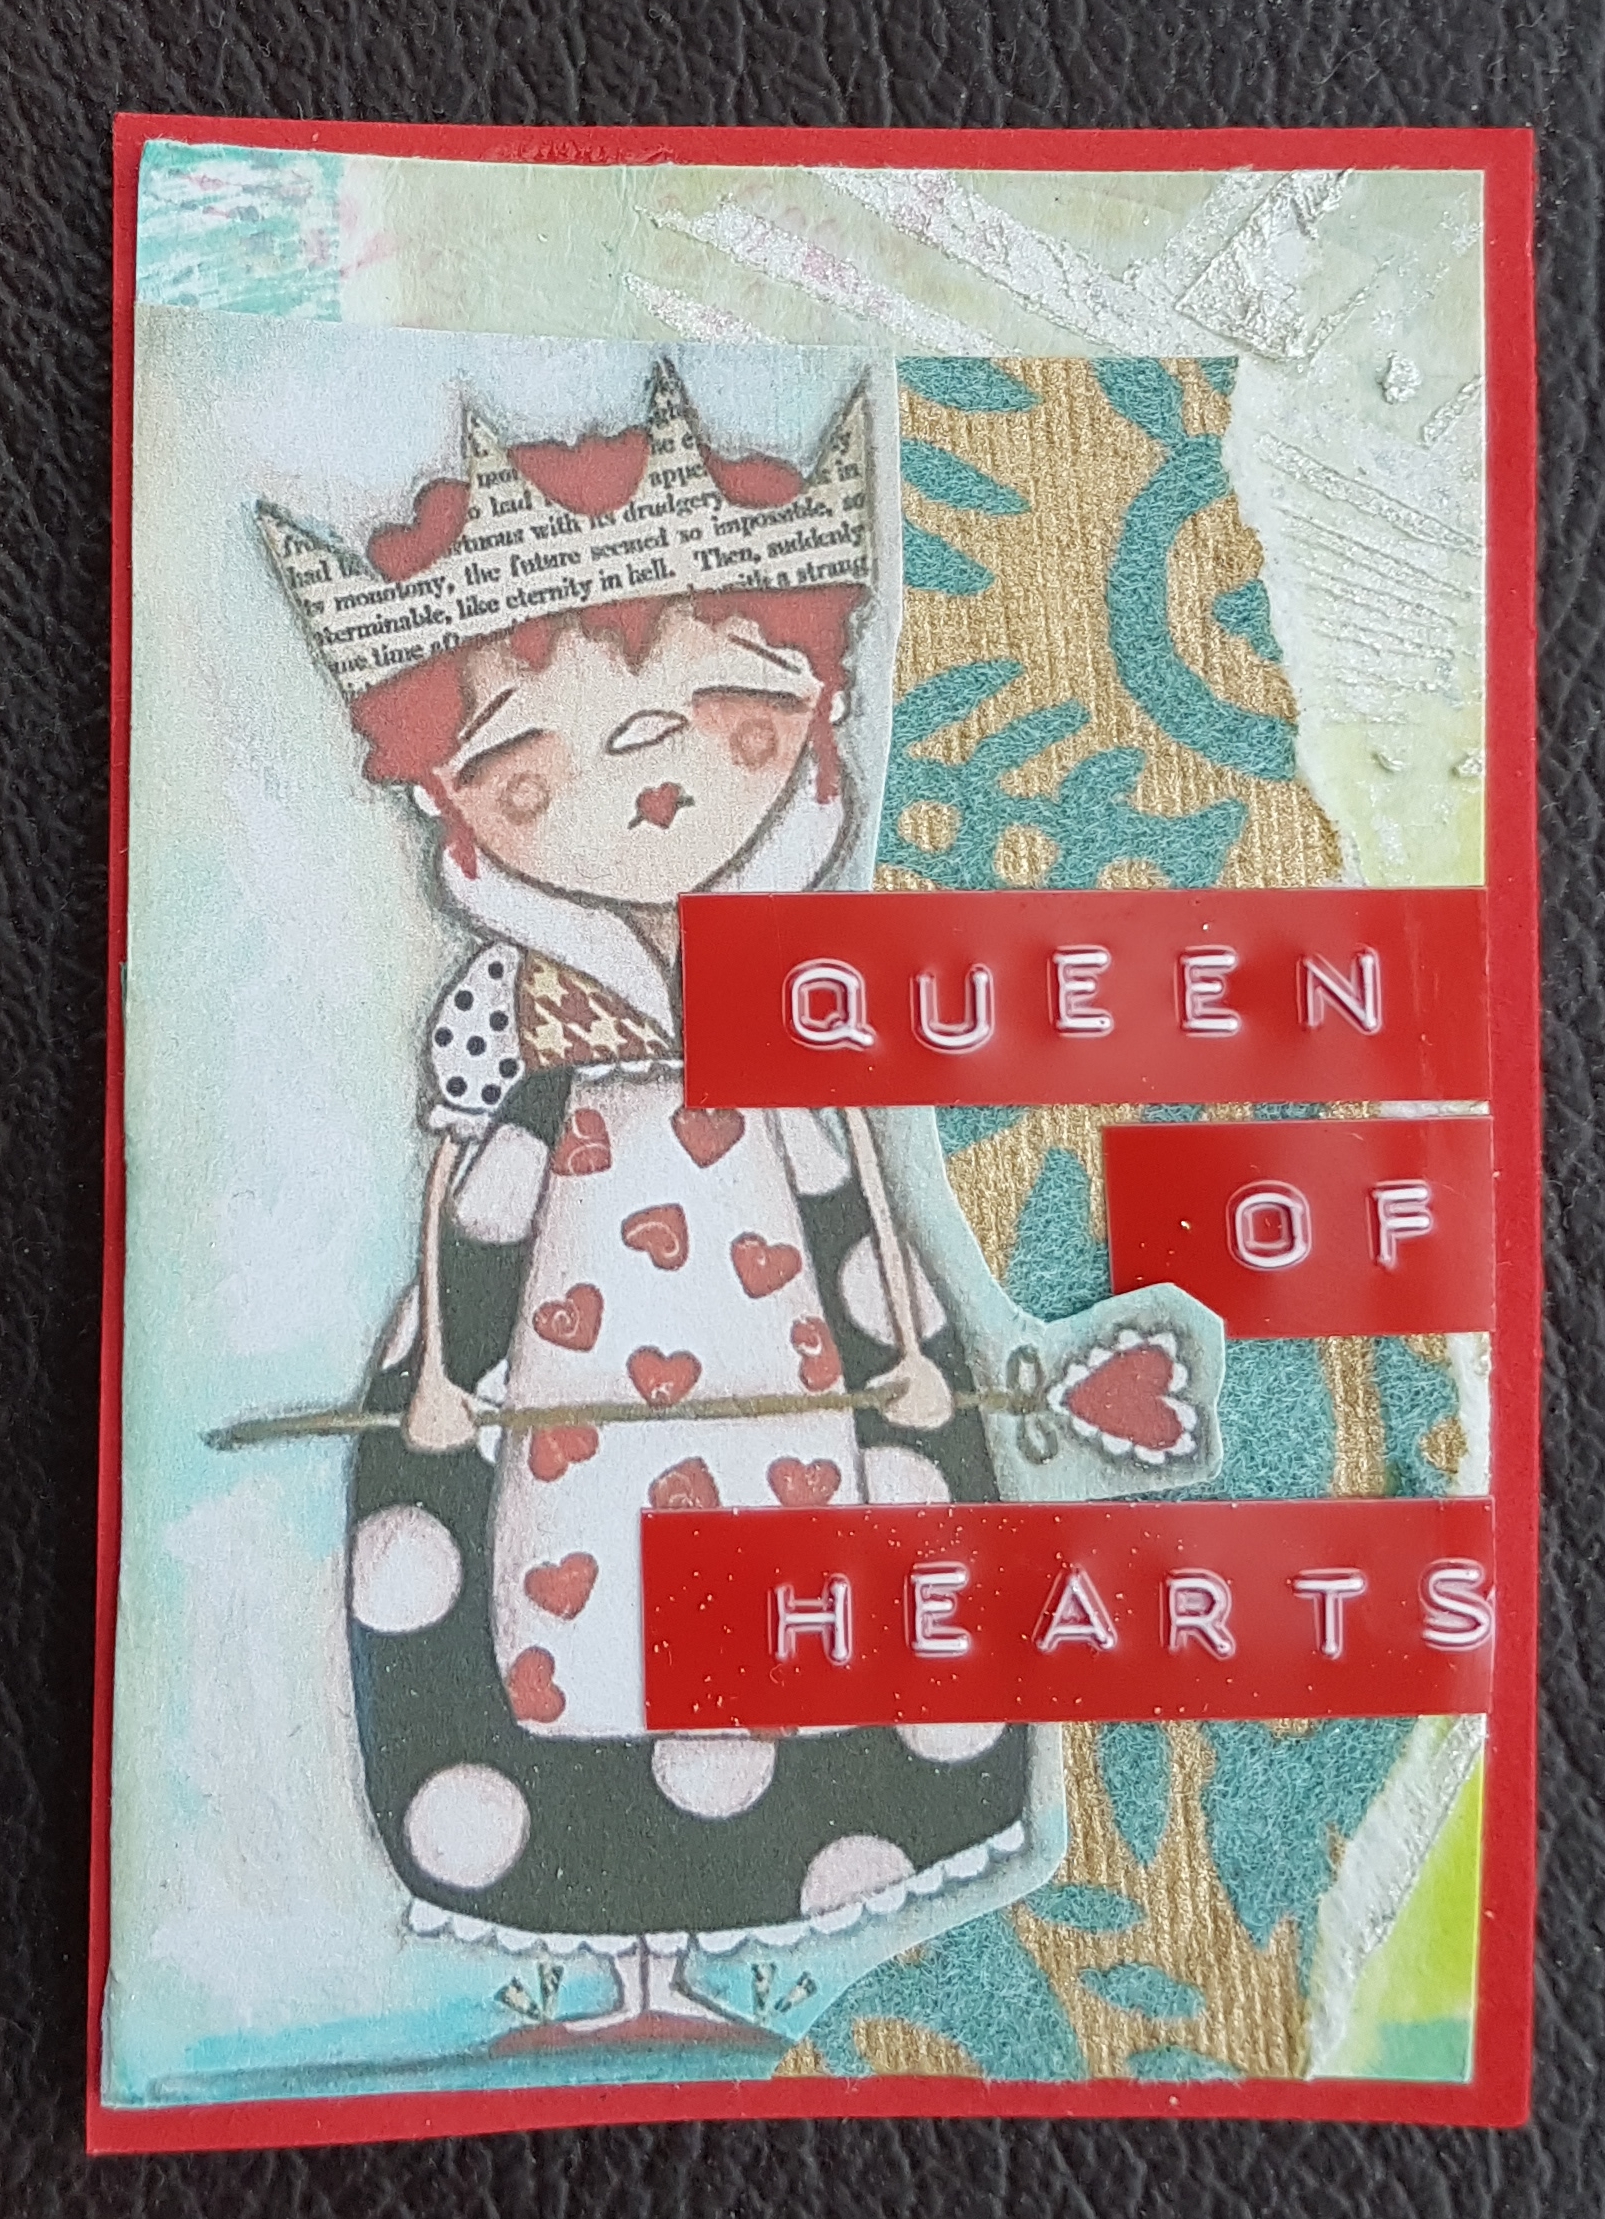
Q is for queen…

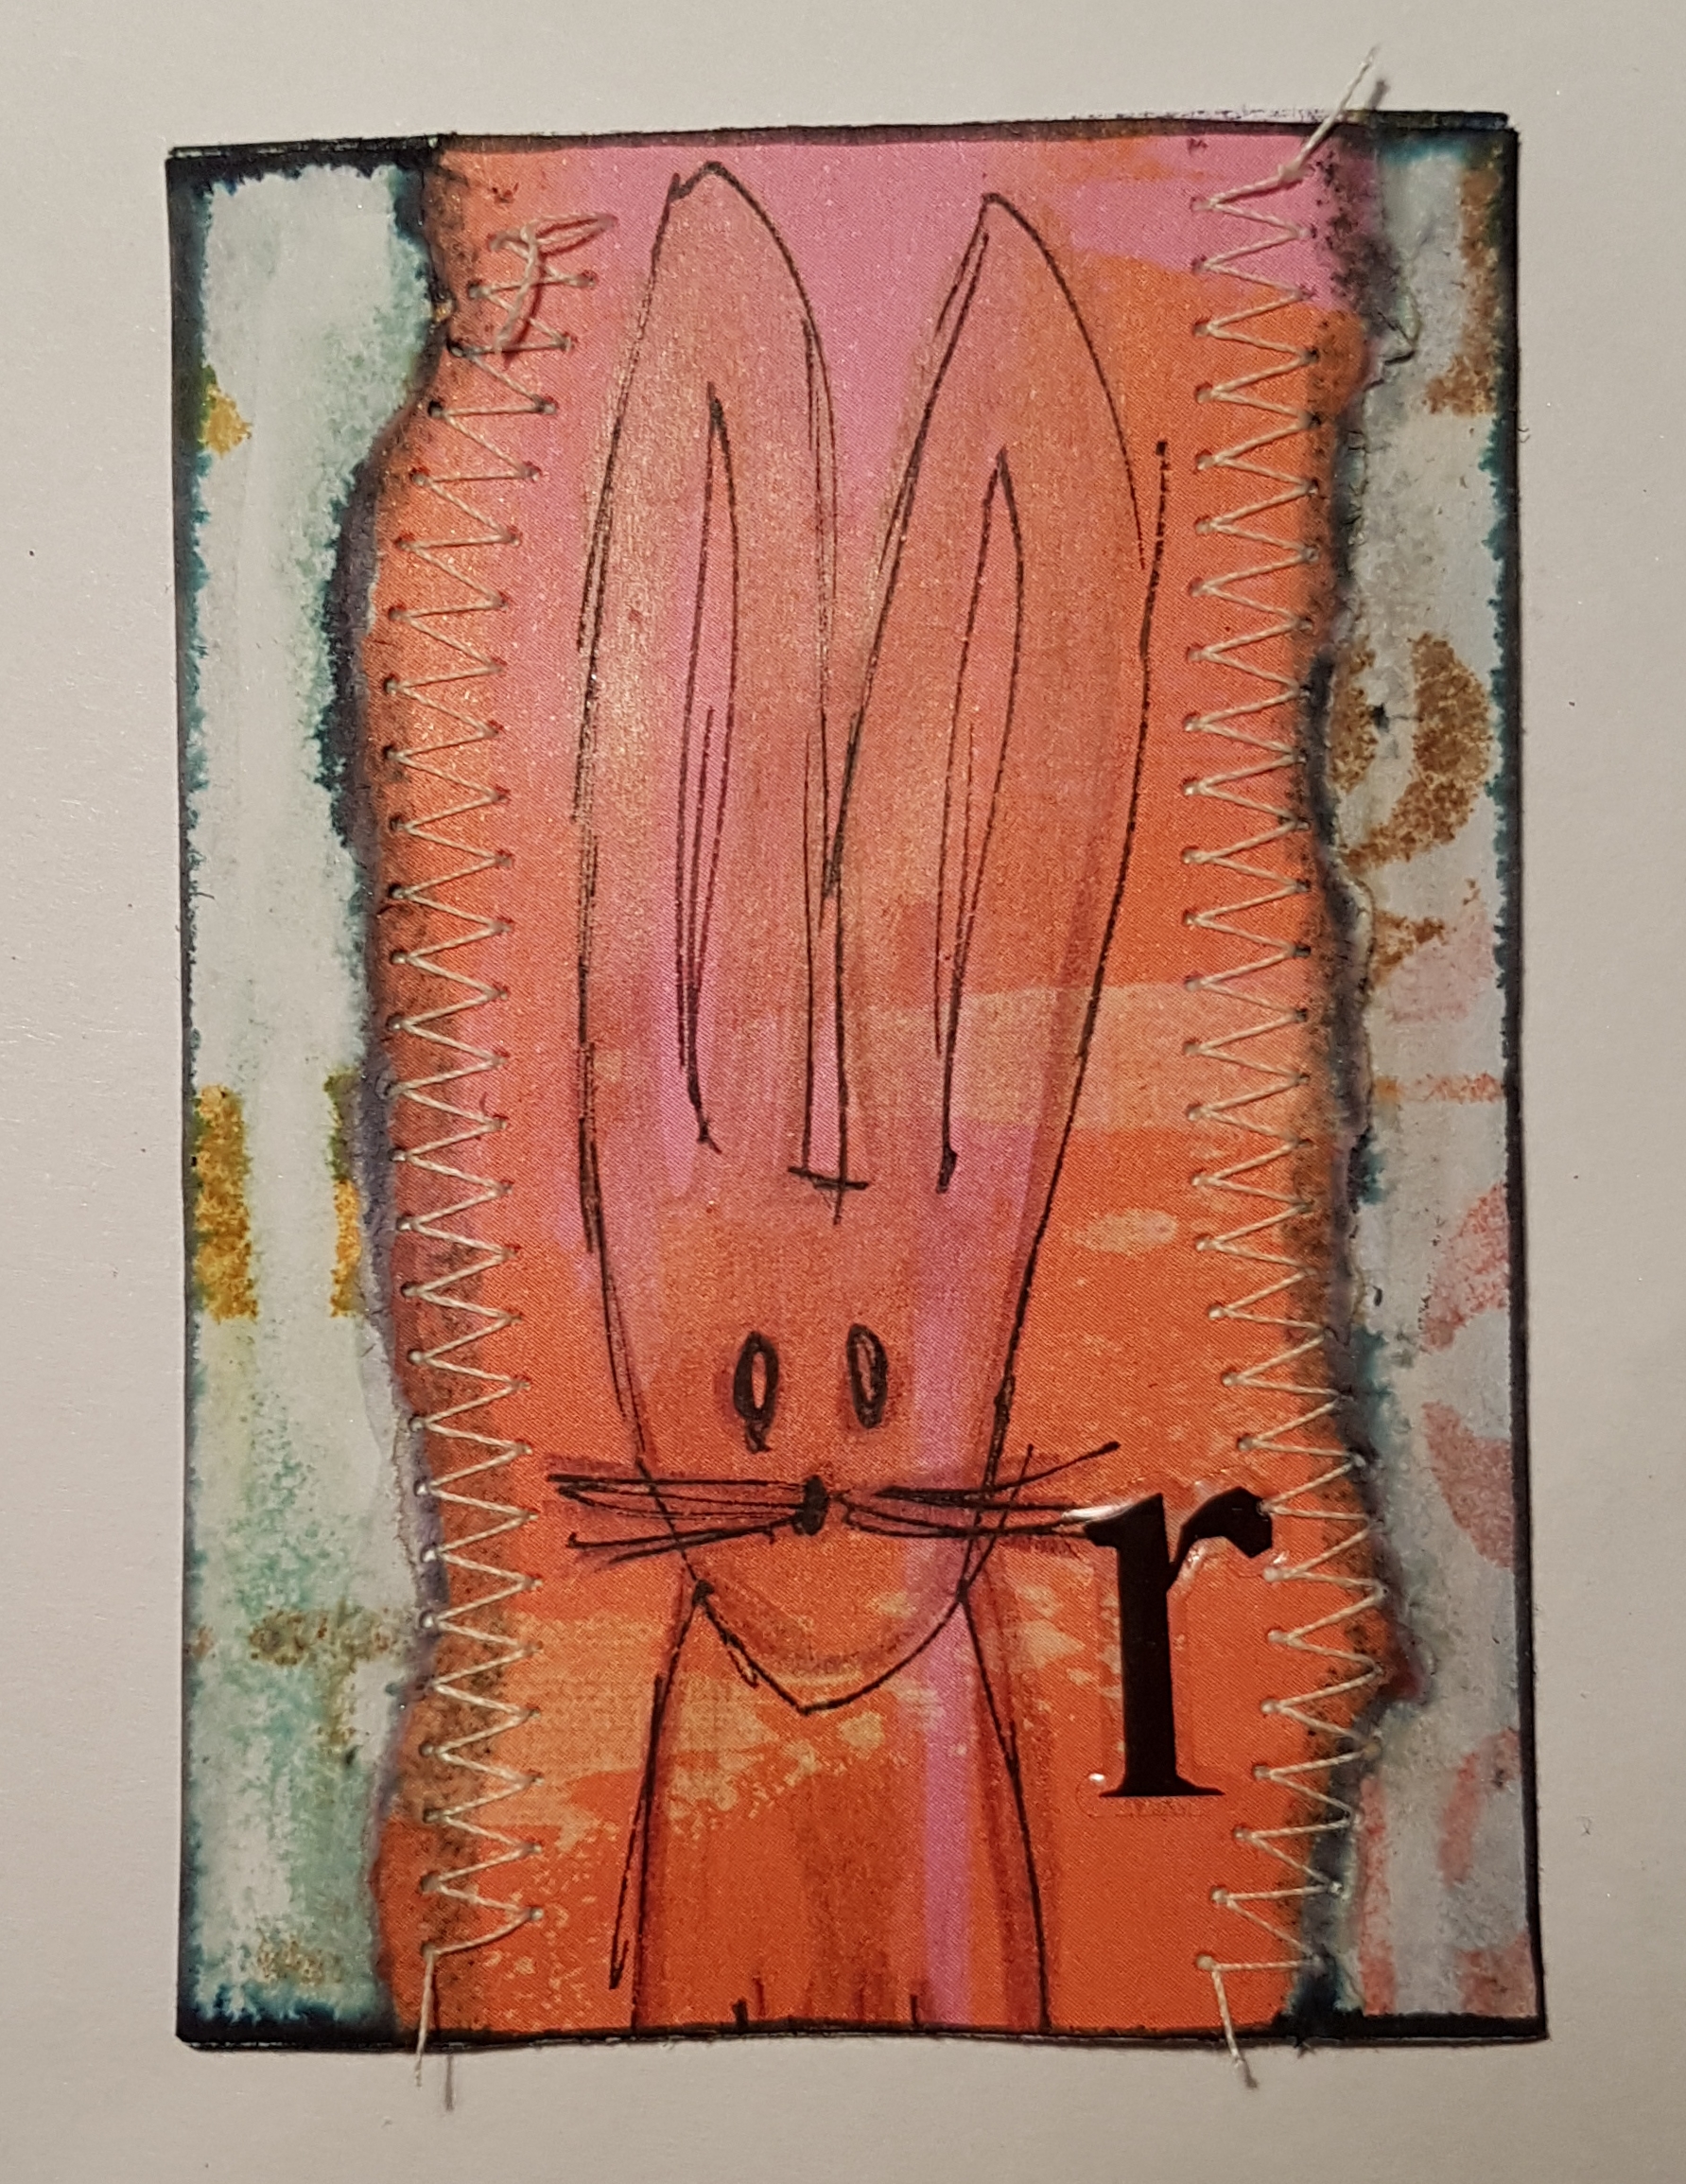
R is for rabbit… 

So this is the progress so far… I have a while before I have to finish the rest and I already have another few in progress. Cam imagine that the more unusual letters will make for some challenges!!!  So pleased I moved away from being OCD and creating them in order… this is so much more fun doing them a bit at a time.

Will make sure I share the next batch when they are finished. 

Happy crafting!

Catherine 

Masterboard card class

Tonight some friends are popping over to mine to make some cards using a masterboard as the basis. 

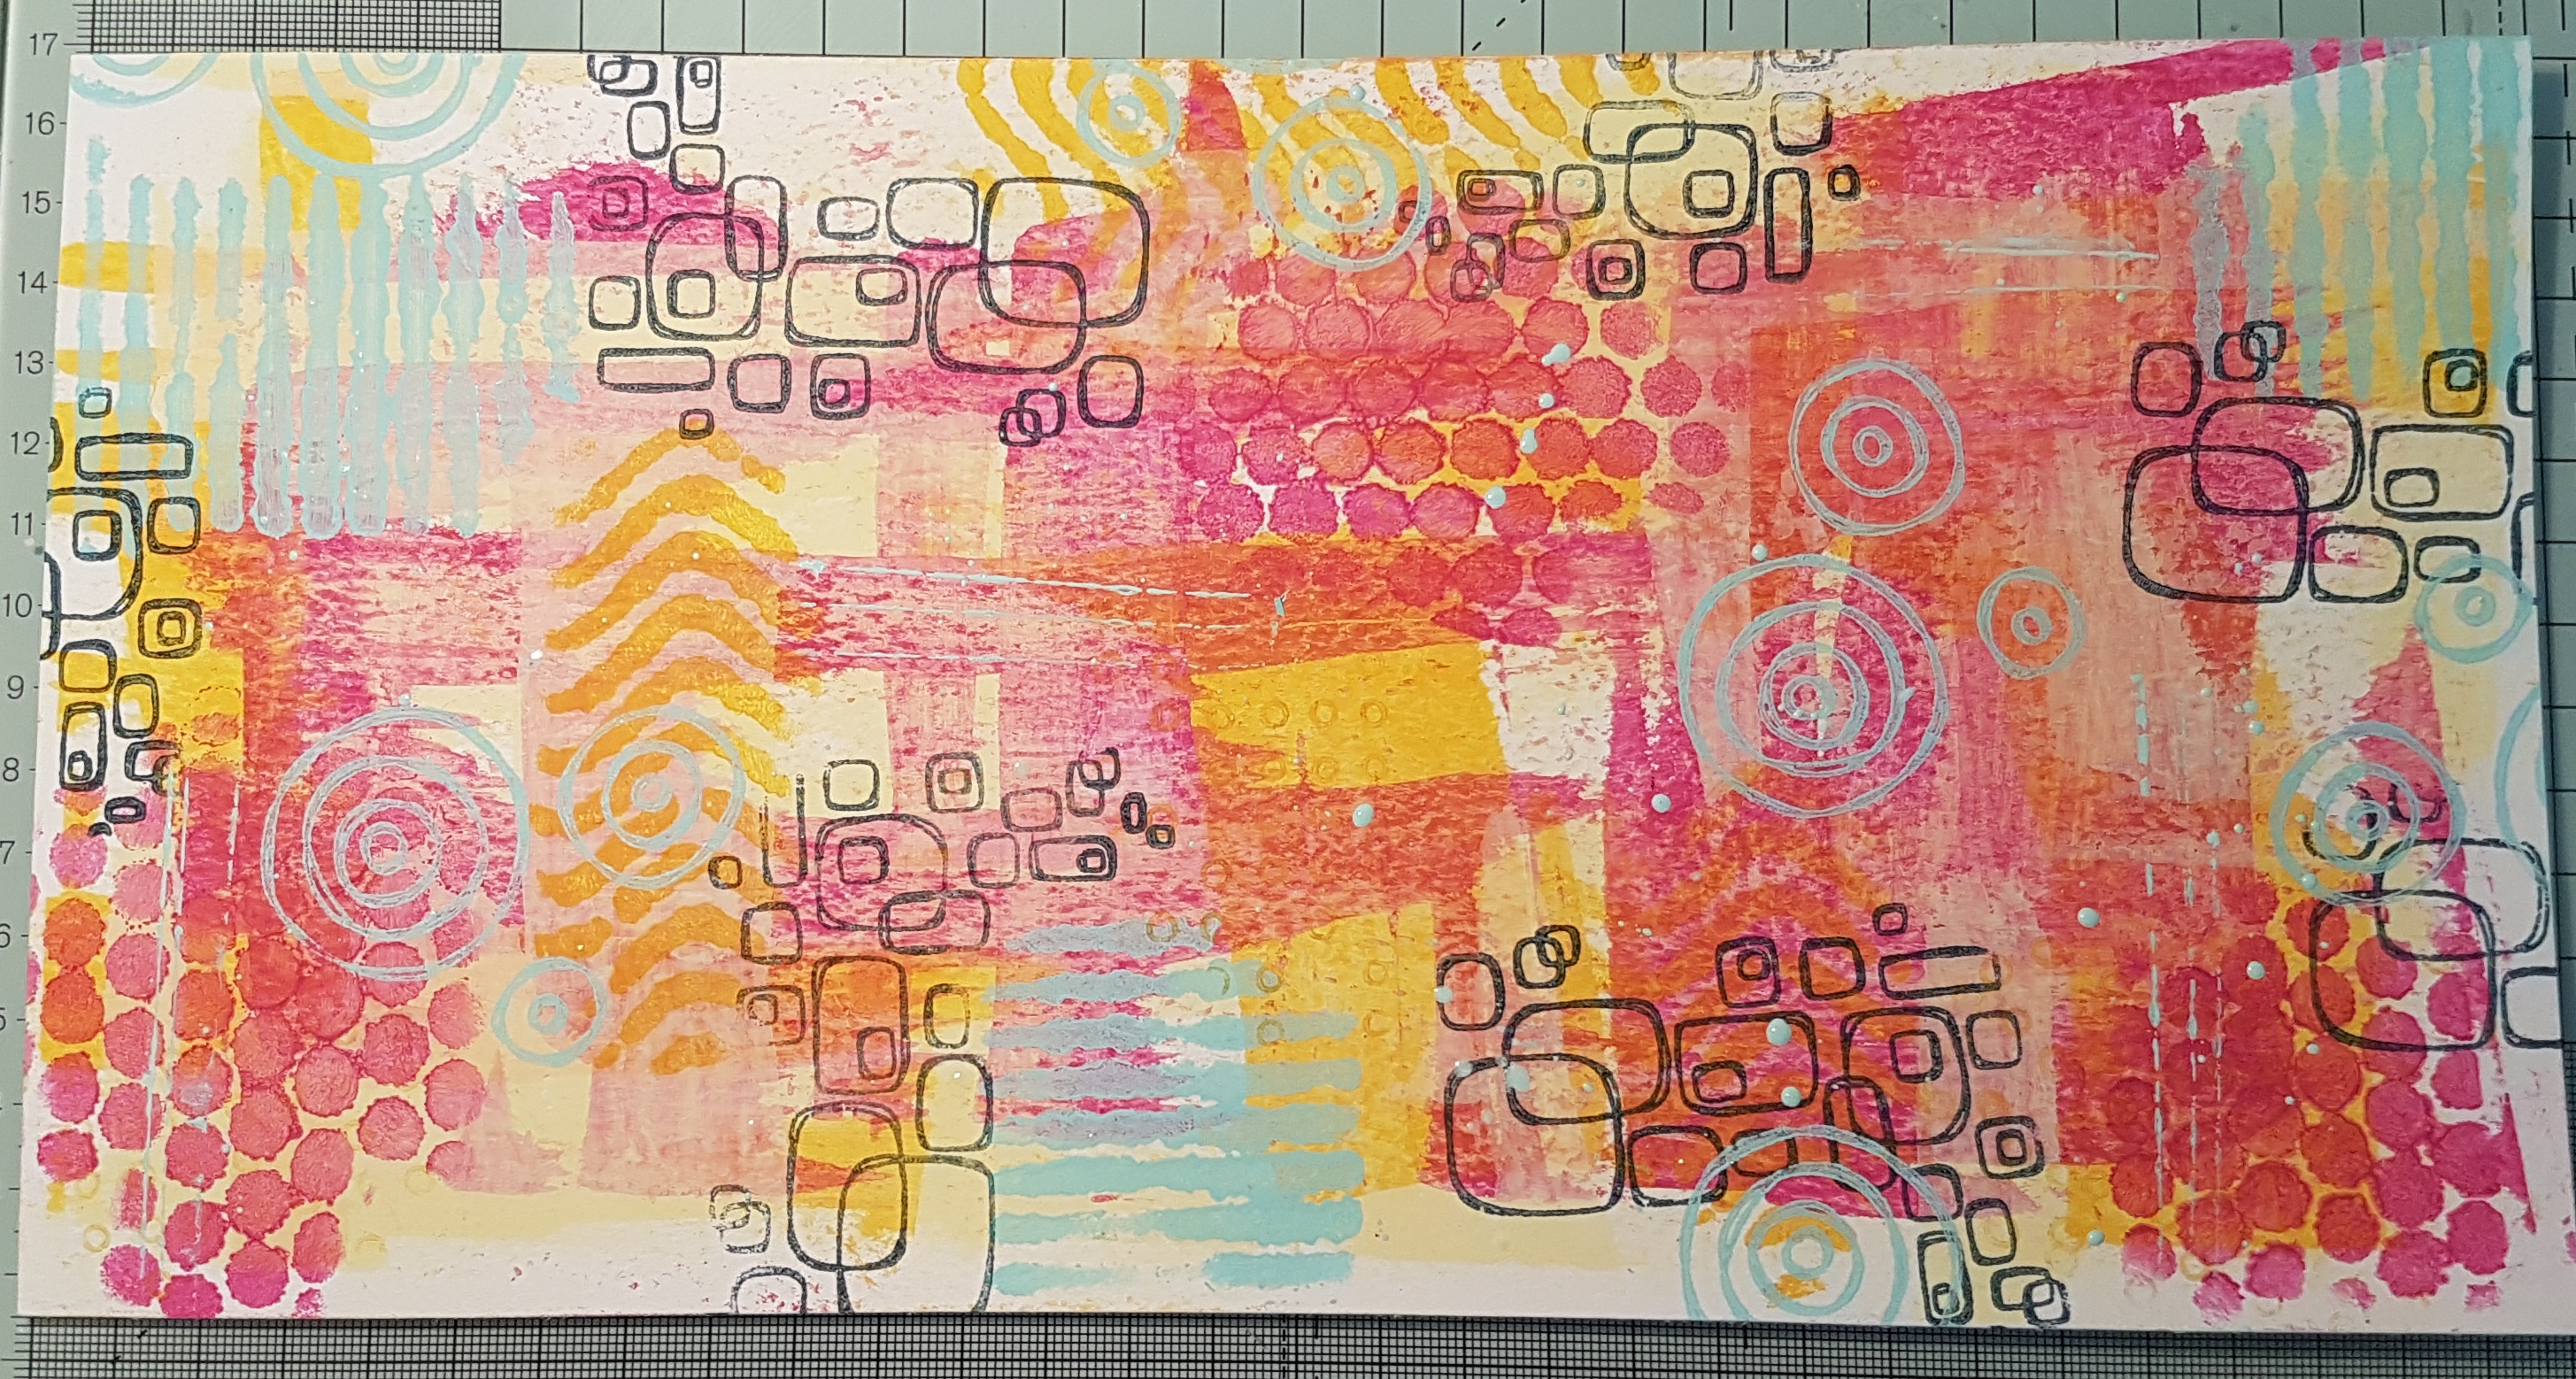
Here is the masterboard I created for the basis of the samples.

I used Paperartsy fresco finish paints and a mixture of stencils and stamps.

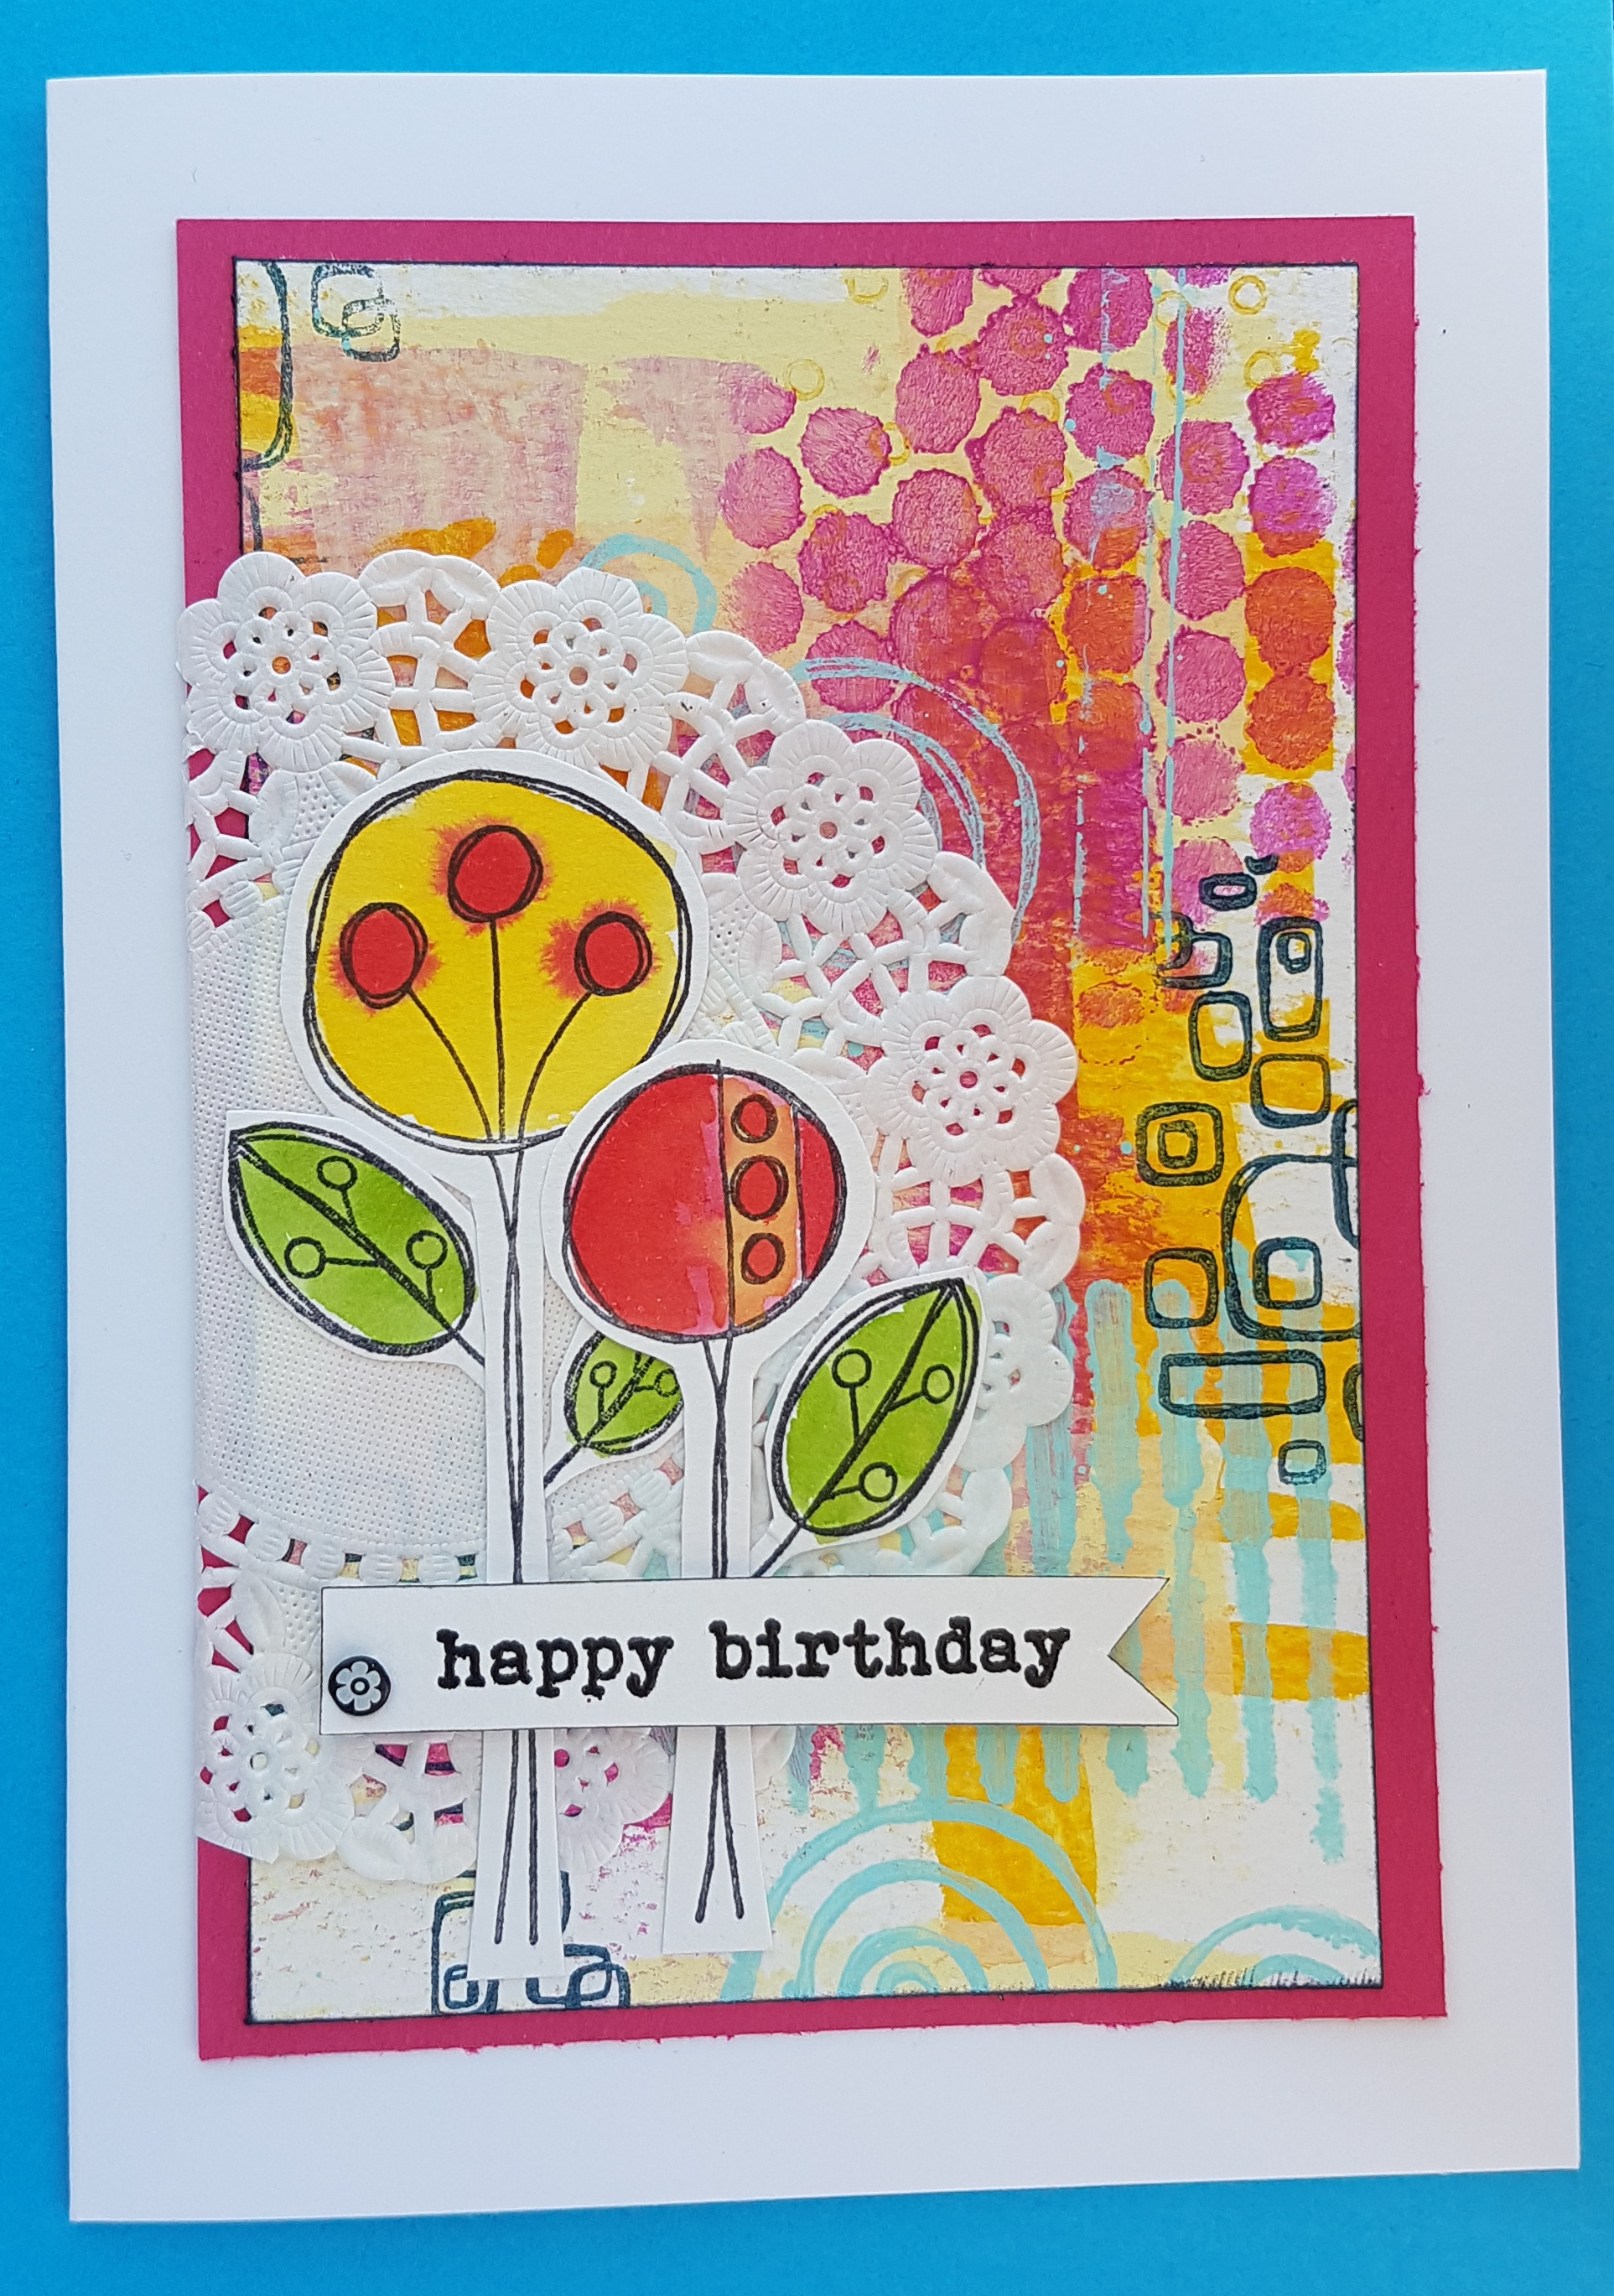
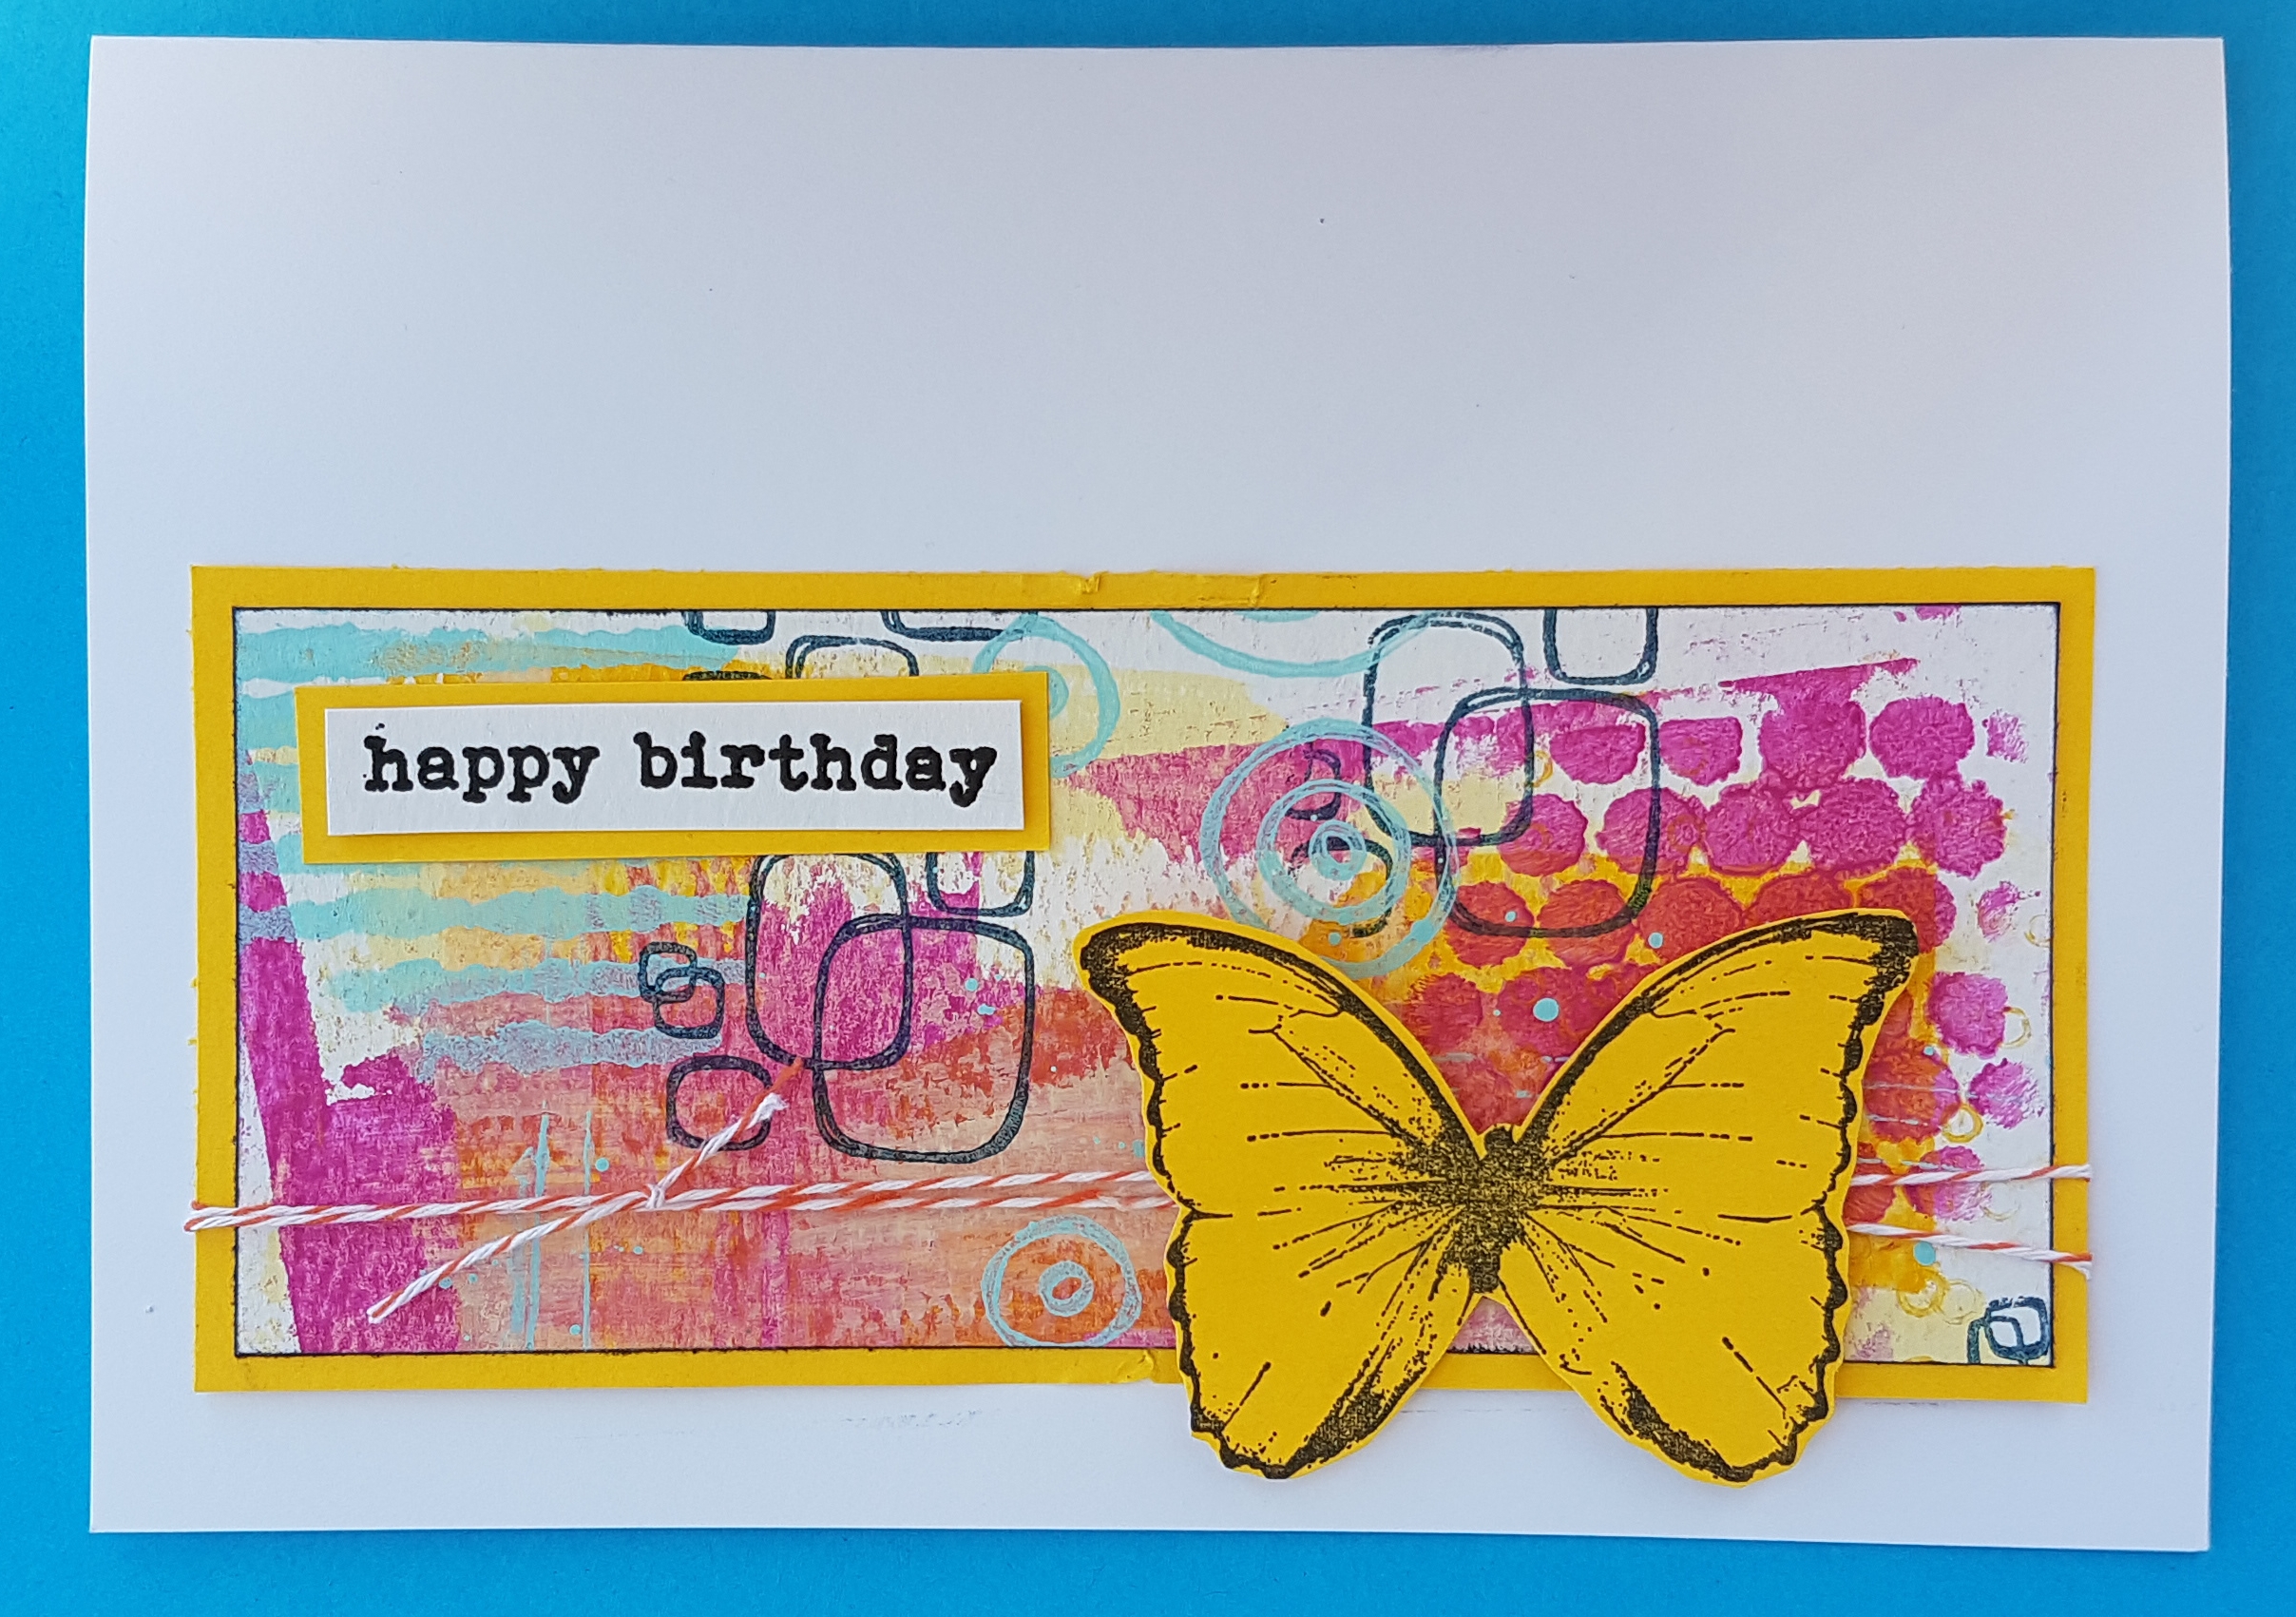
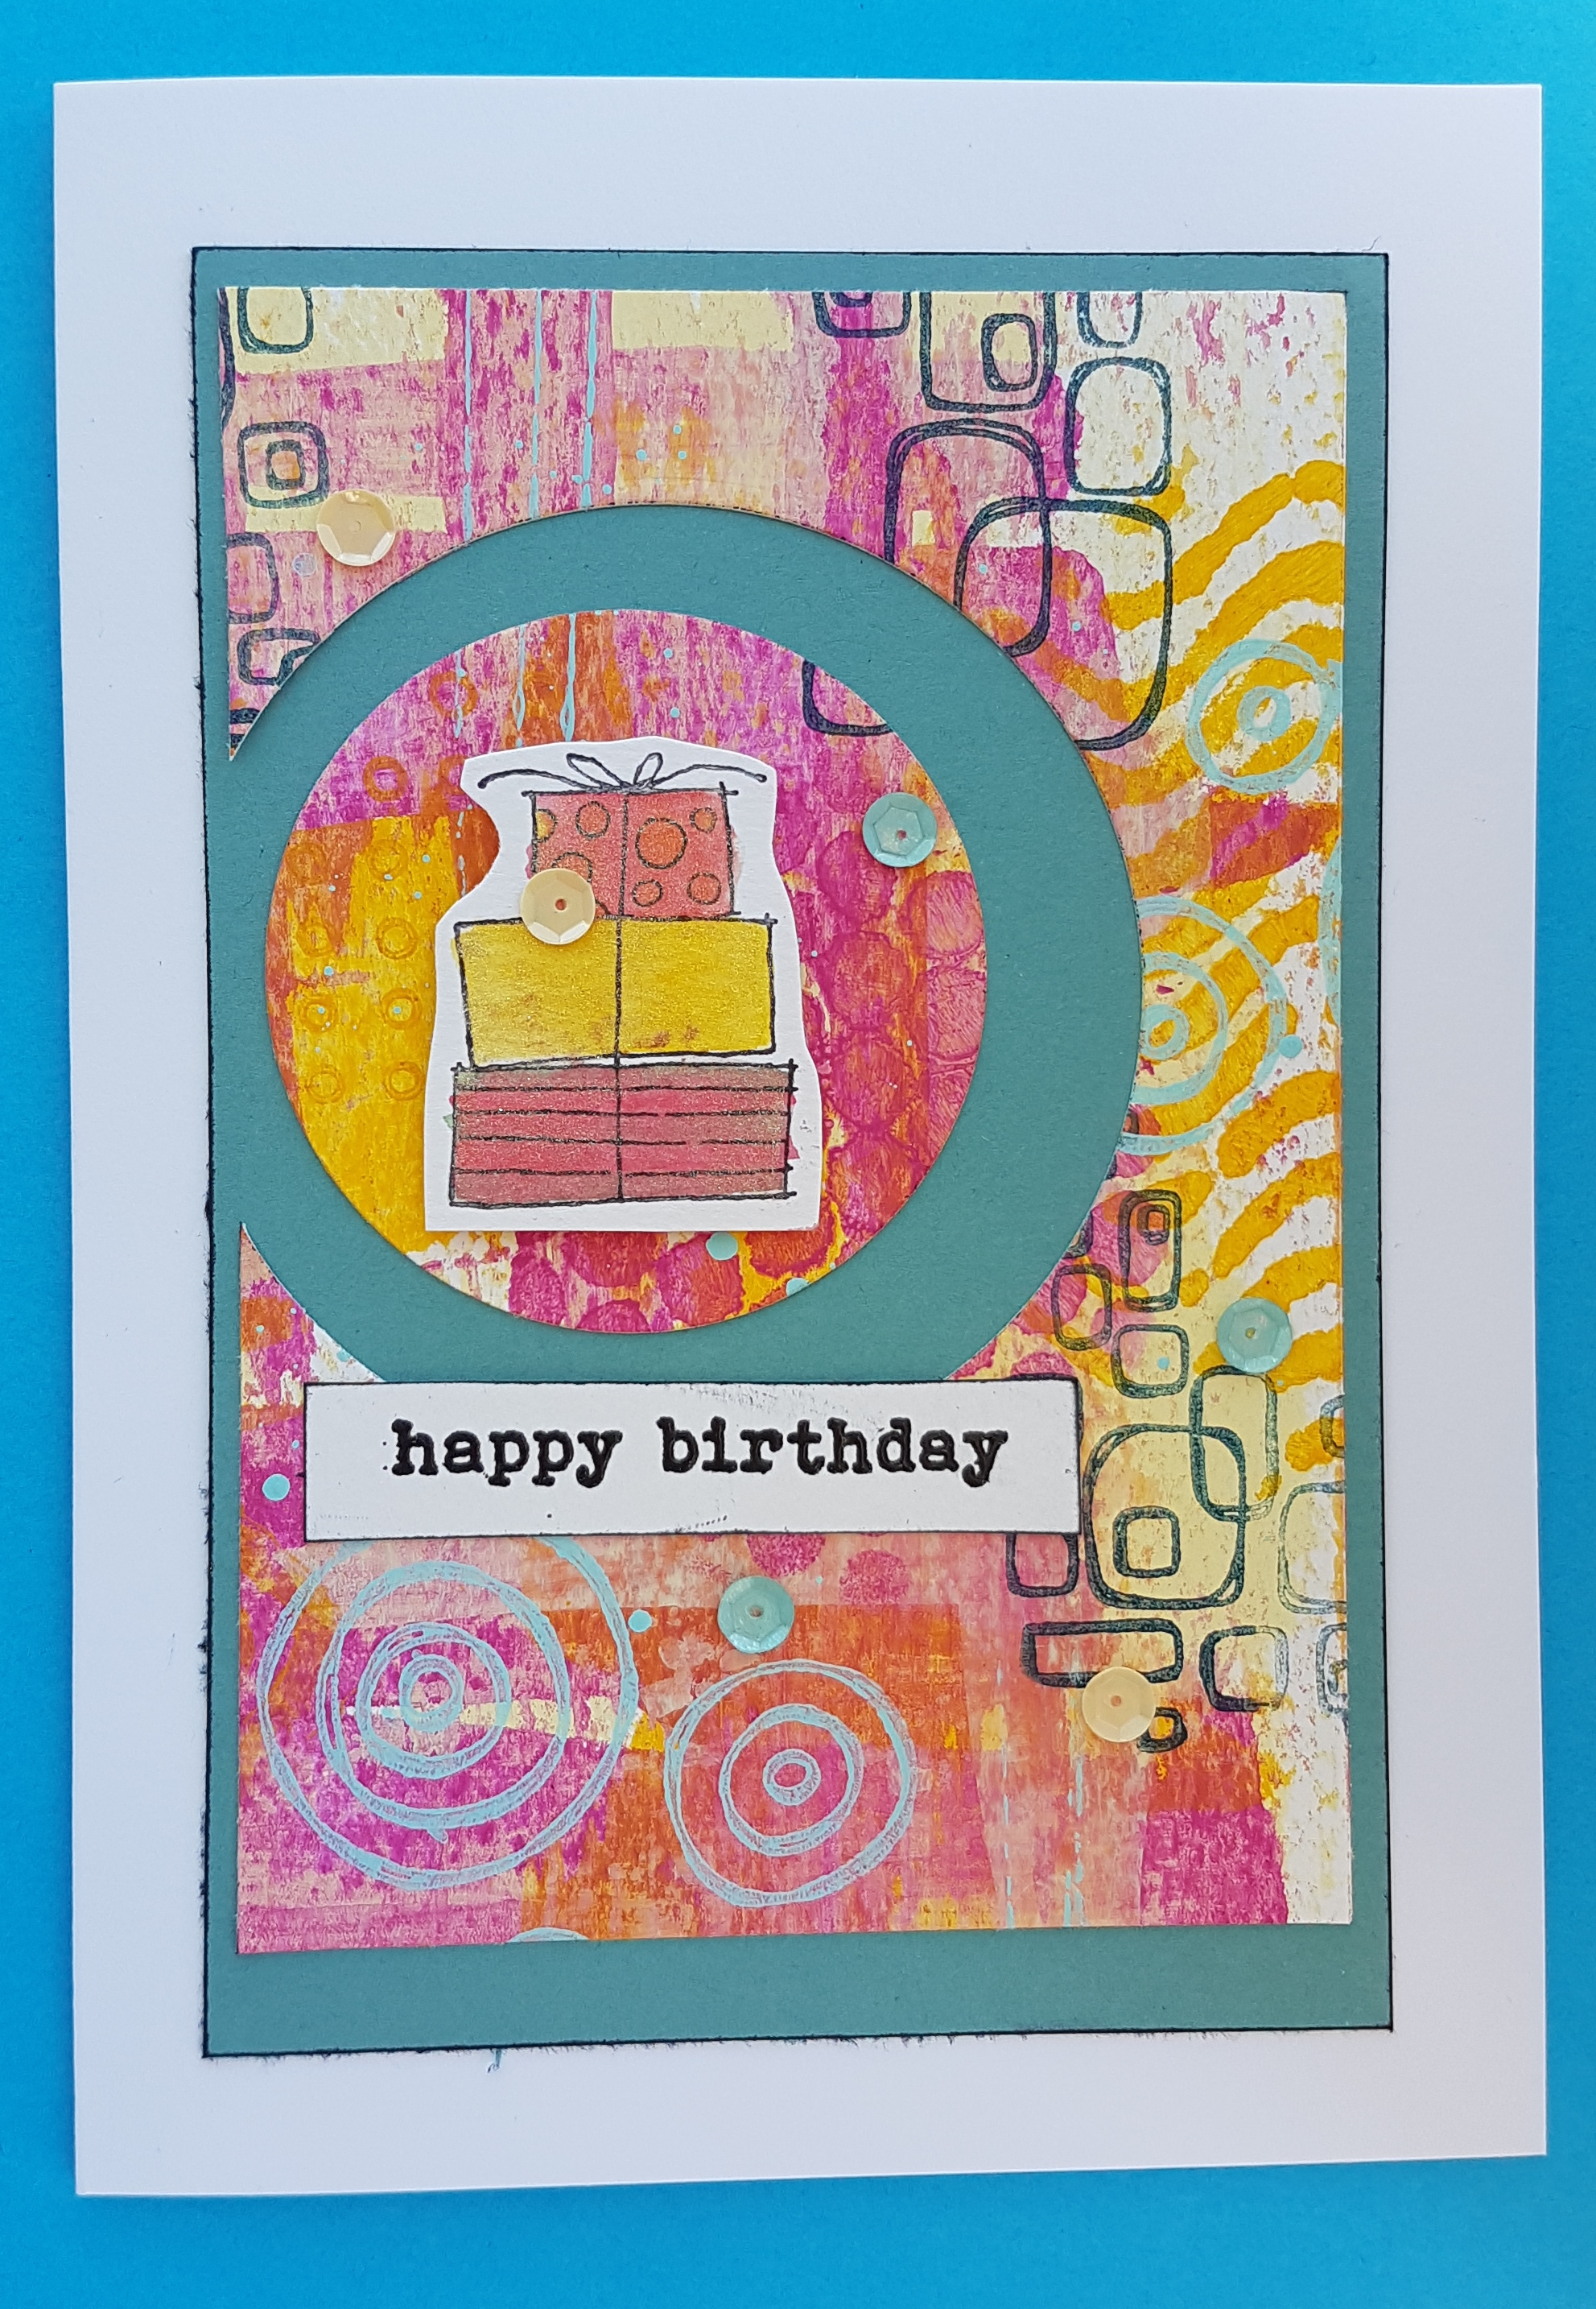
Here are the samples … but obviously the end products may be very different due to the unique nature of creating a masterboard. 

Card one I used Kim Dellow stamps to create the flowers and added a doily to separate the bright blooms from the background. In all except one card the feature image is watercoloured using SU inks and a waterbrush.

Card two uses the finnabair stamp to add the feature stamped onto the same yellow cardstock as the mount to the panel and sentiment.

Card three I decided to jazz up the panel by die cutting a section out. I also added some shimmer ink on top of the watercoloured presents to add some additional shine.

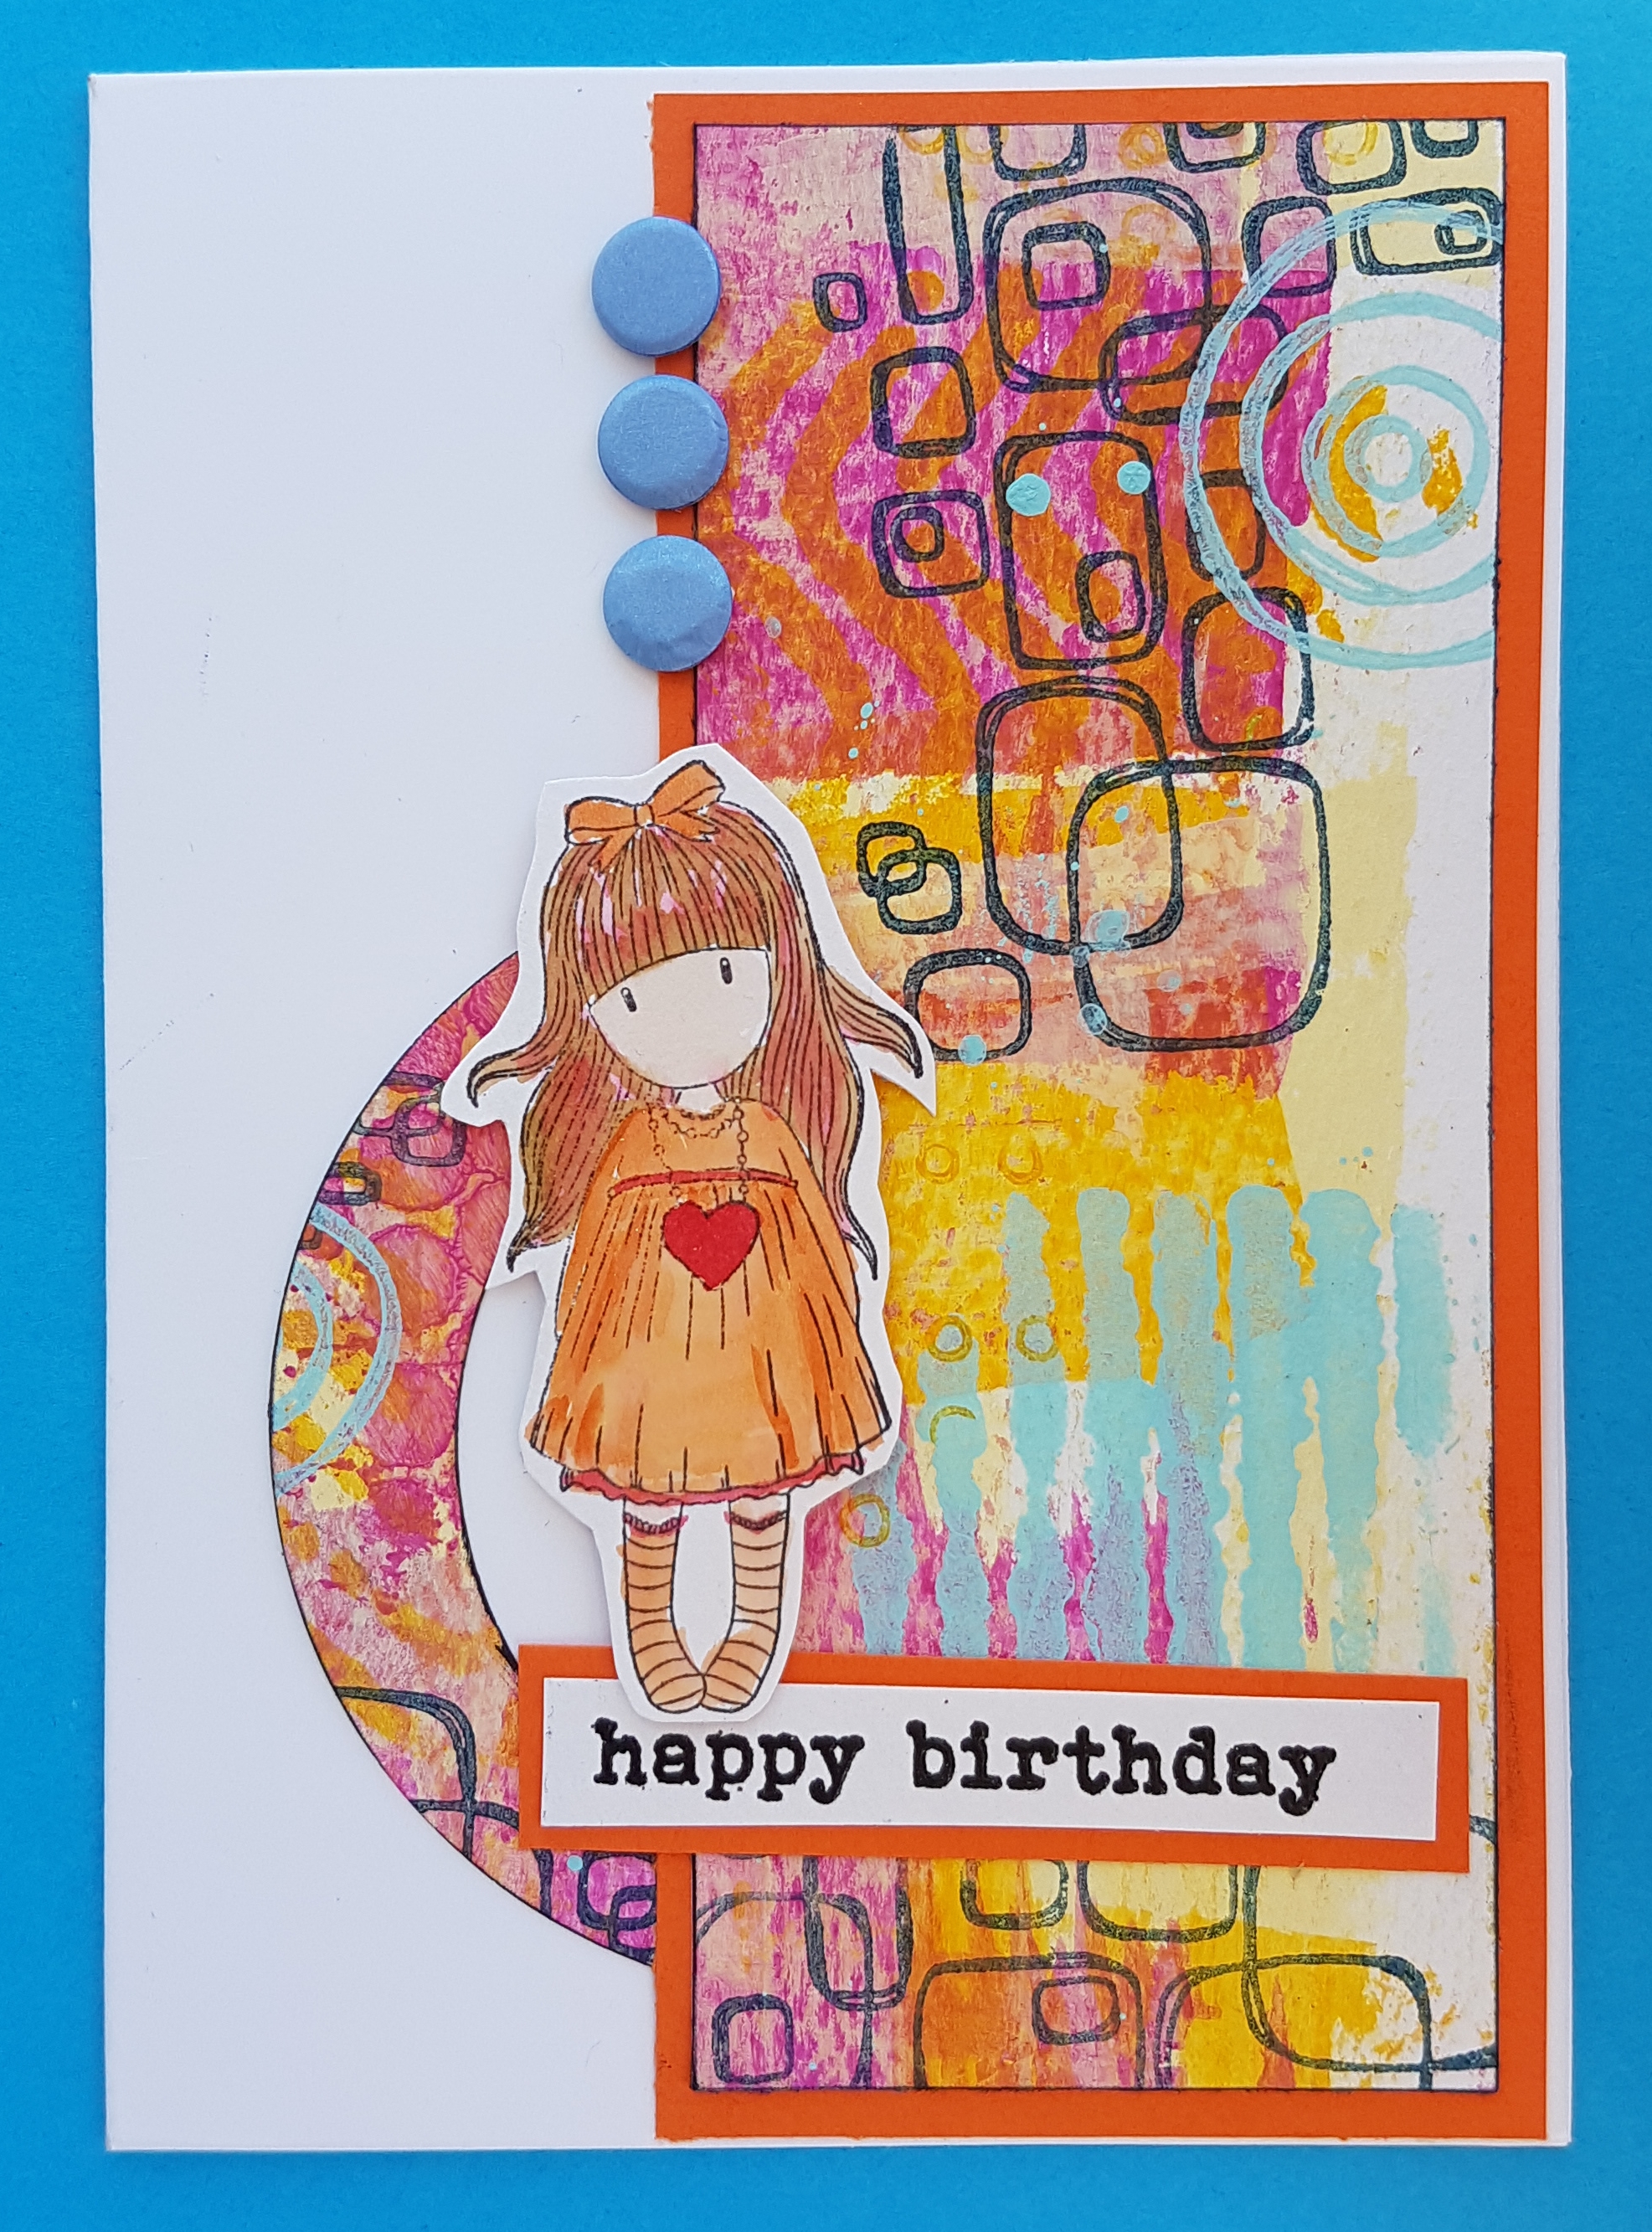
Card four uses the cut out from card three to add interest behind the Gorjuss Girl image.

All in all a fun set of cards made with one piece of 6 x 12 cardstock for the masterboard.

Love this method of making cards.

Happy crafting!

Catherine 

PATWITS circle journal #3

Time for a new circle journal round to start and this time we are making journals where envelopes are the feature.

So here is my journal.  I used some cream envelopes which are 5×7 and stuck them together and then sewed it and added washi tape to the spines. 

I then added a cover from some kraft cardstock and glued the inside of the journal and the cover together. 

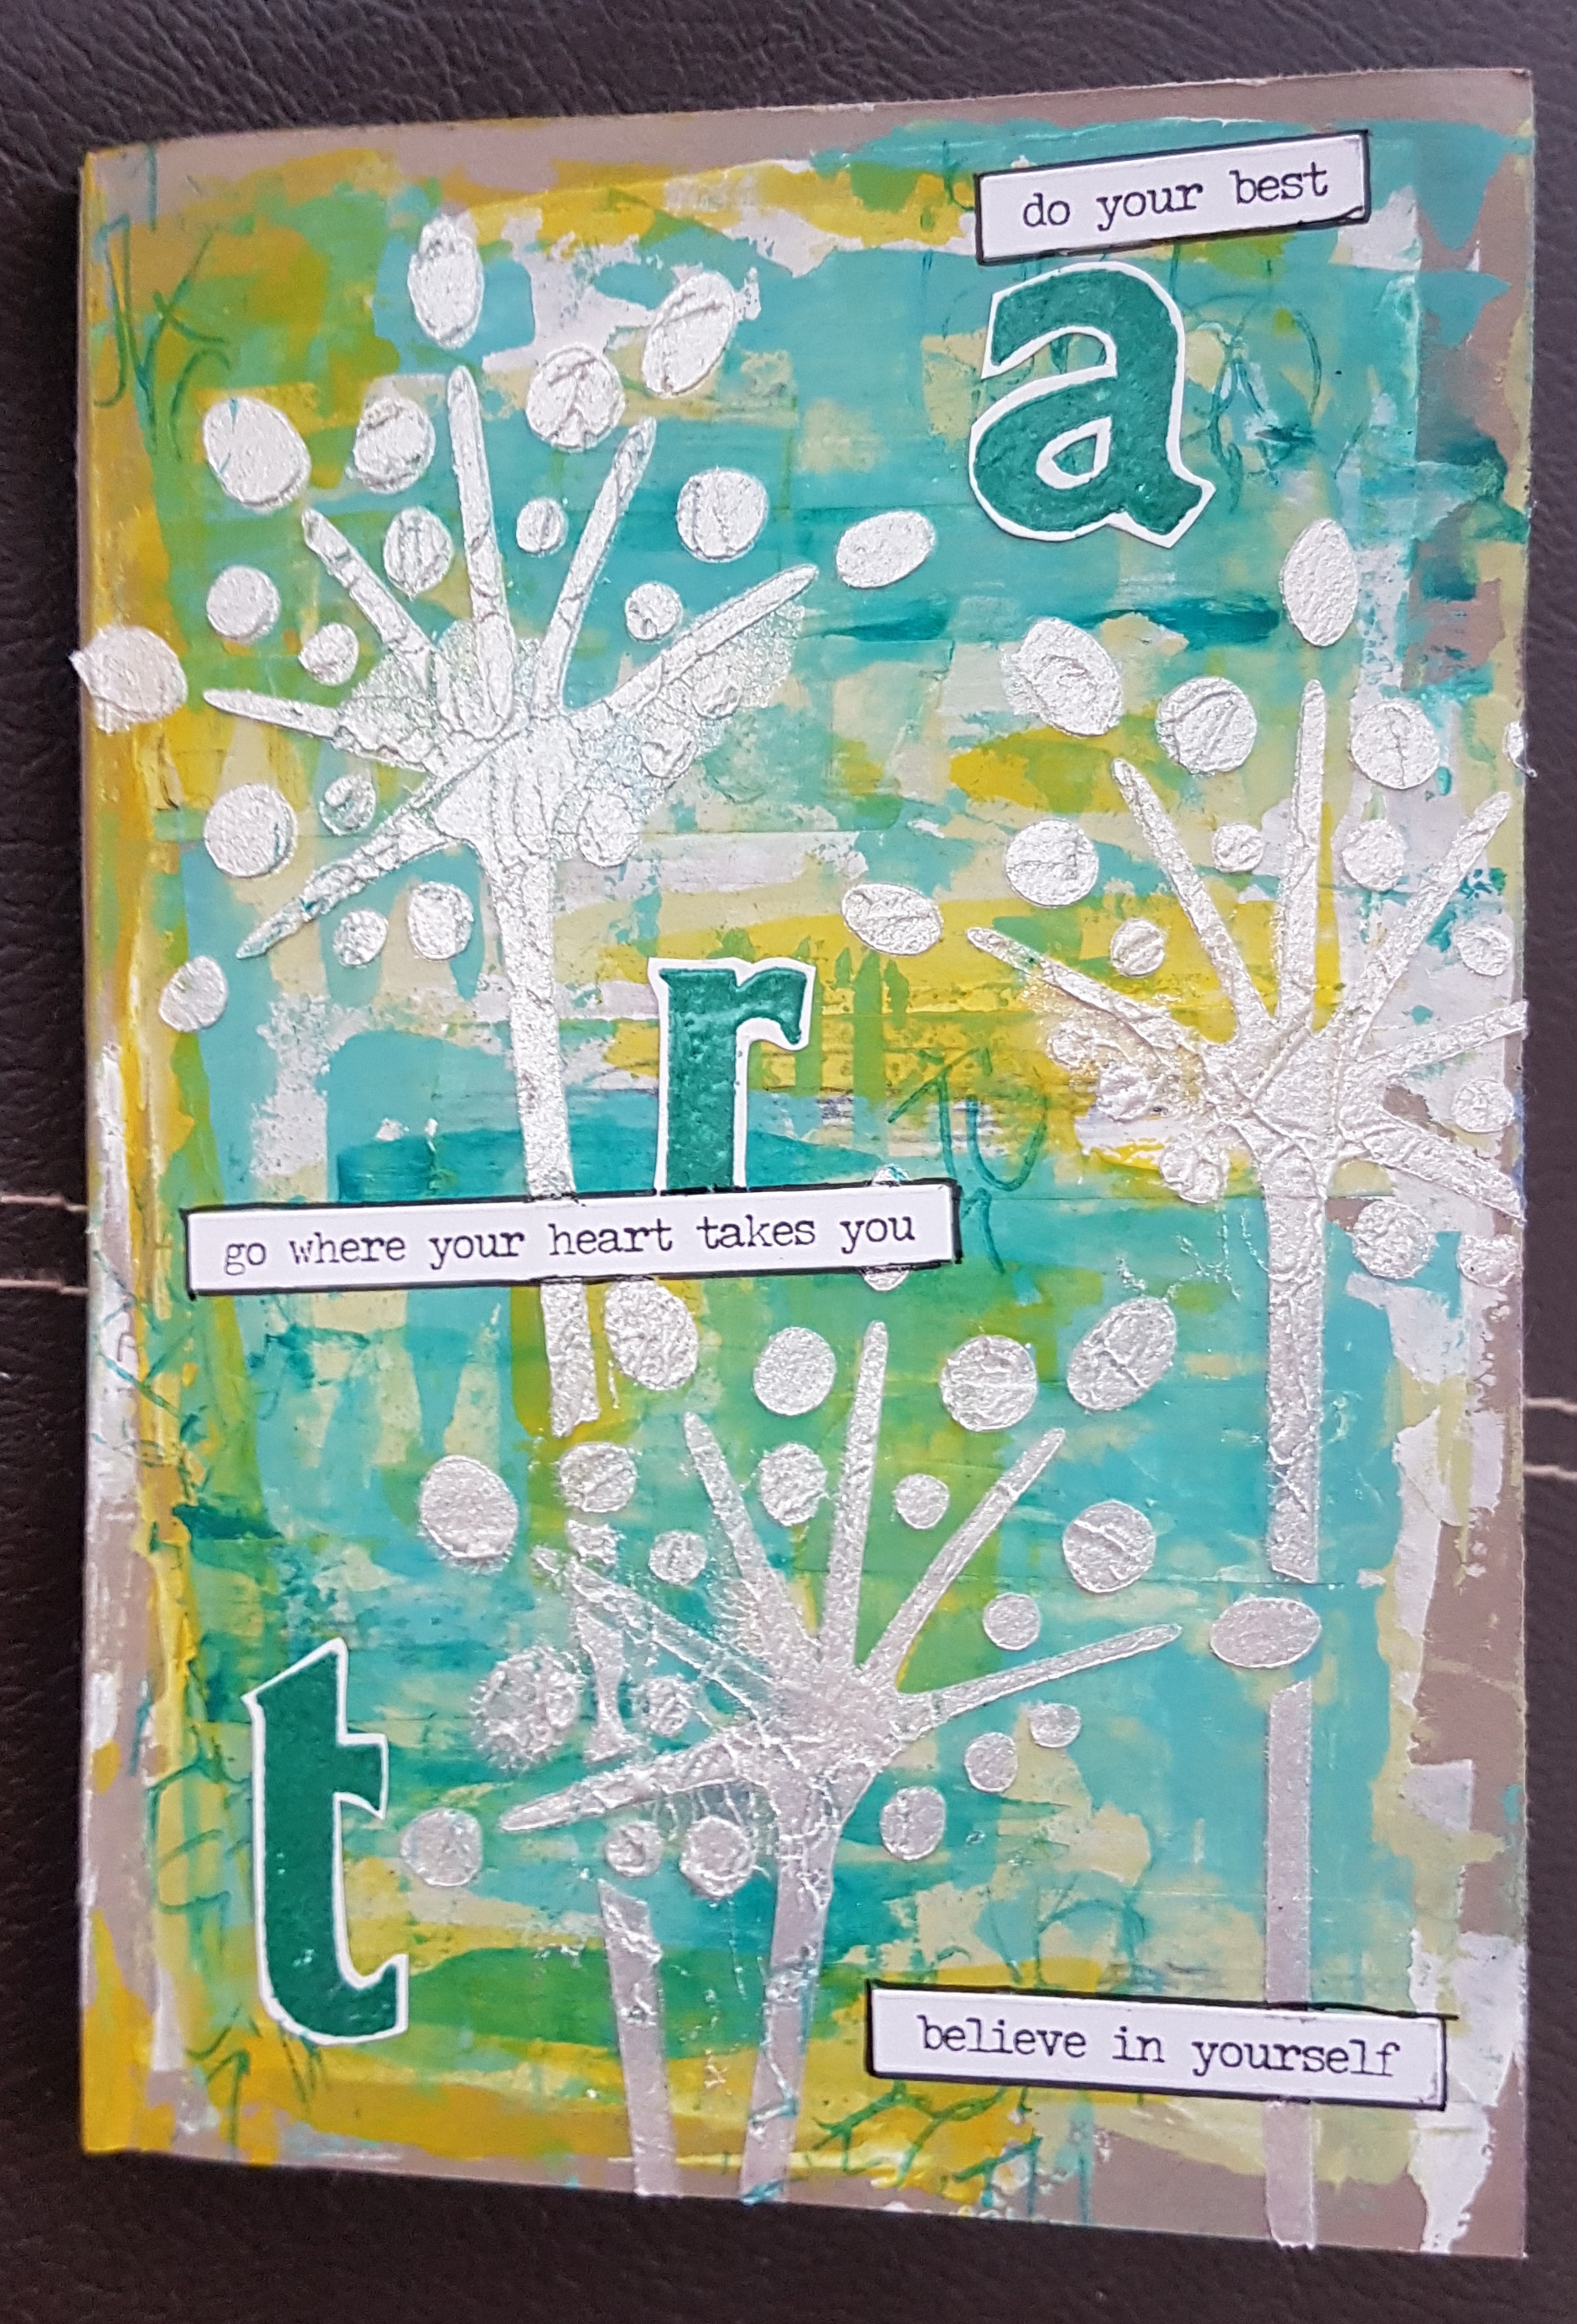
Then I set to on decorating the cover.   I used the fresco finish paints to lay down some colour and then added some stamping in the paint too.  Then I used a Paperartsy stencil to add some iridescent medium.  Then finally I added the title and the stickers. 

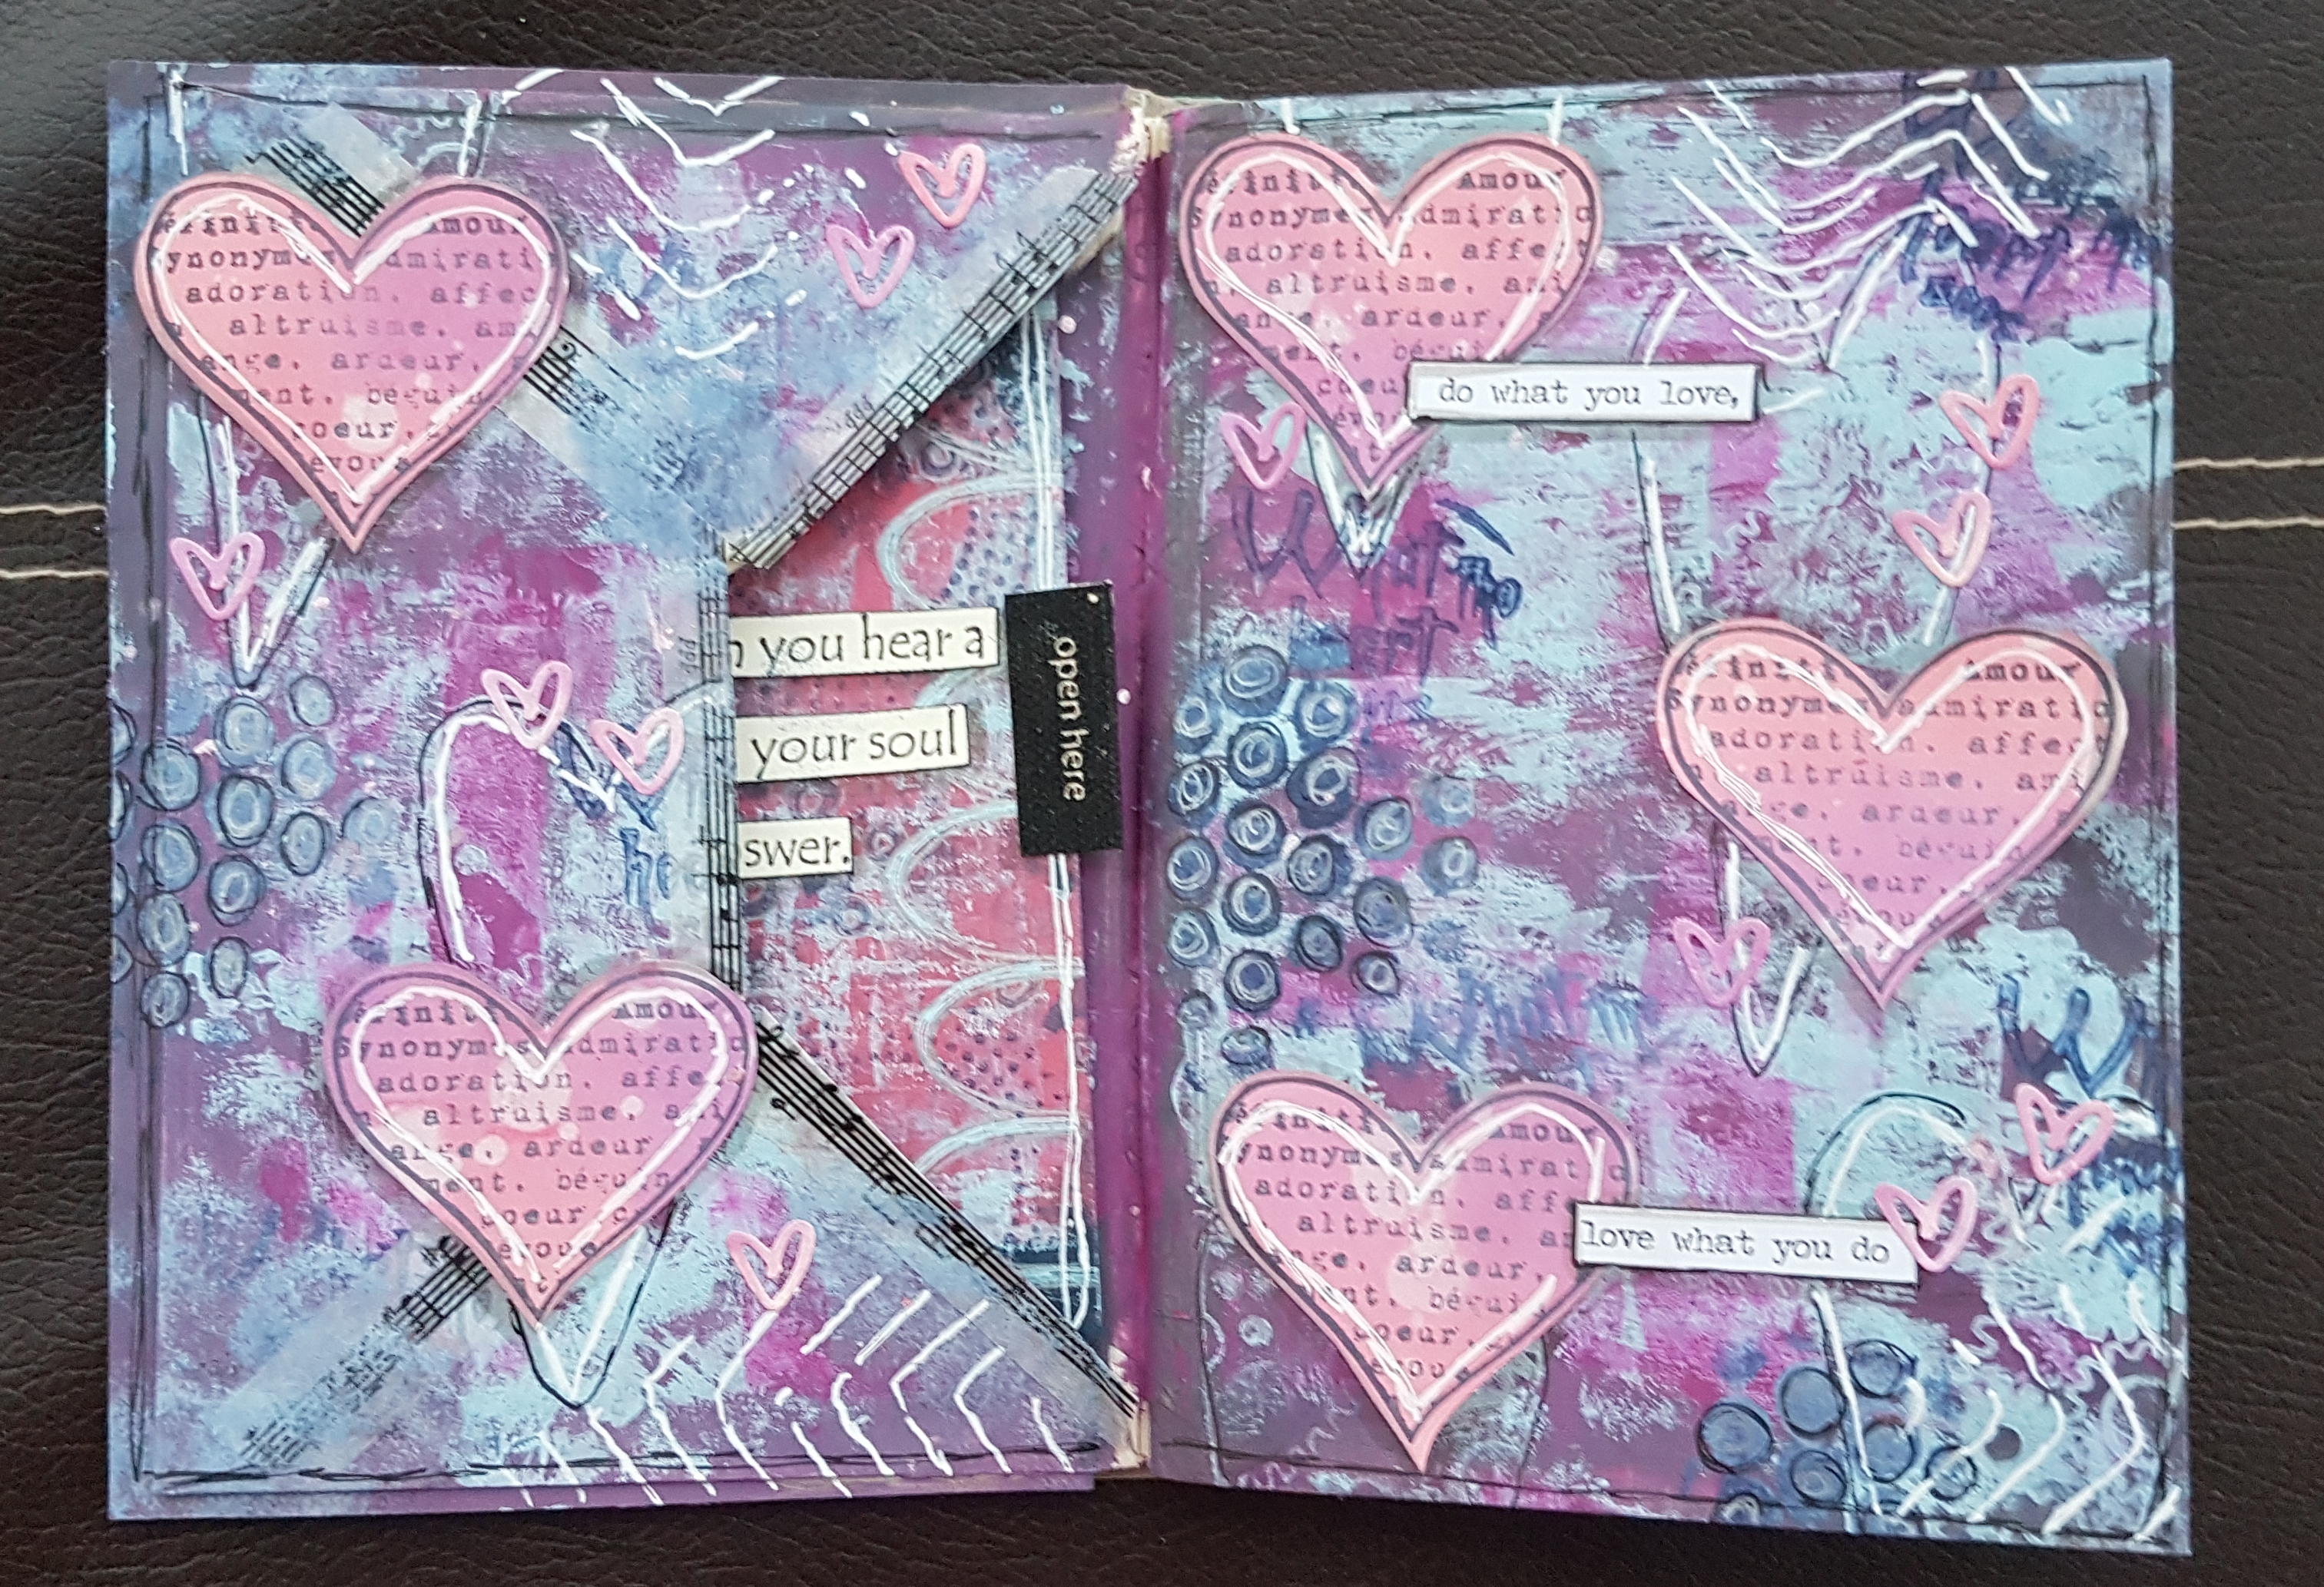
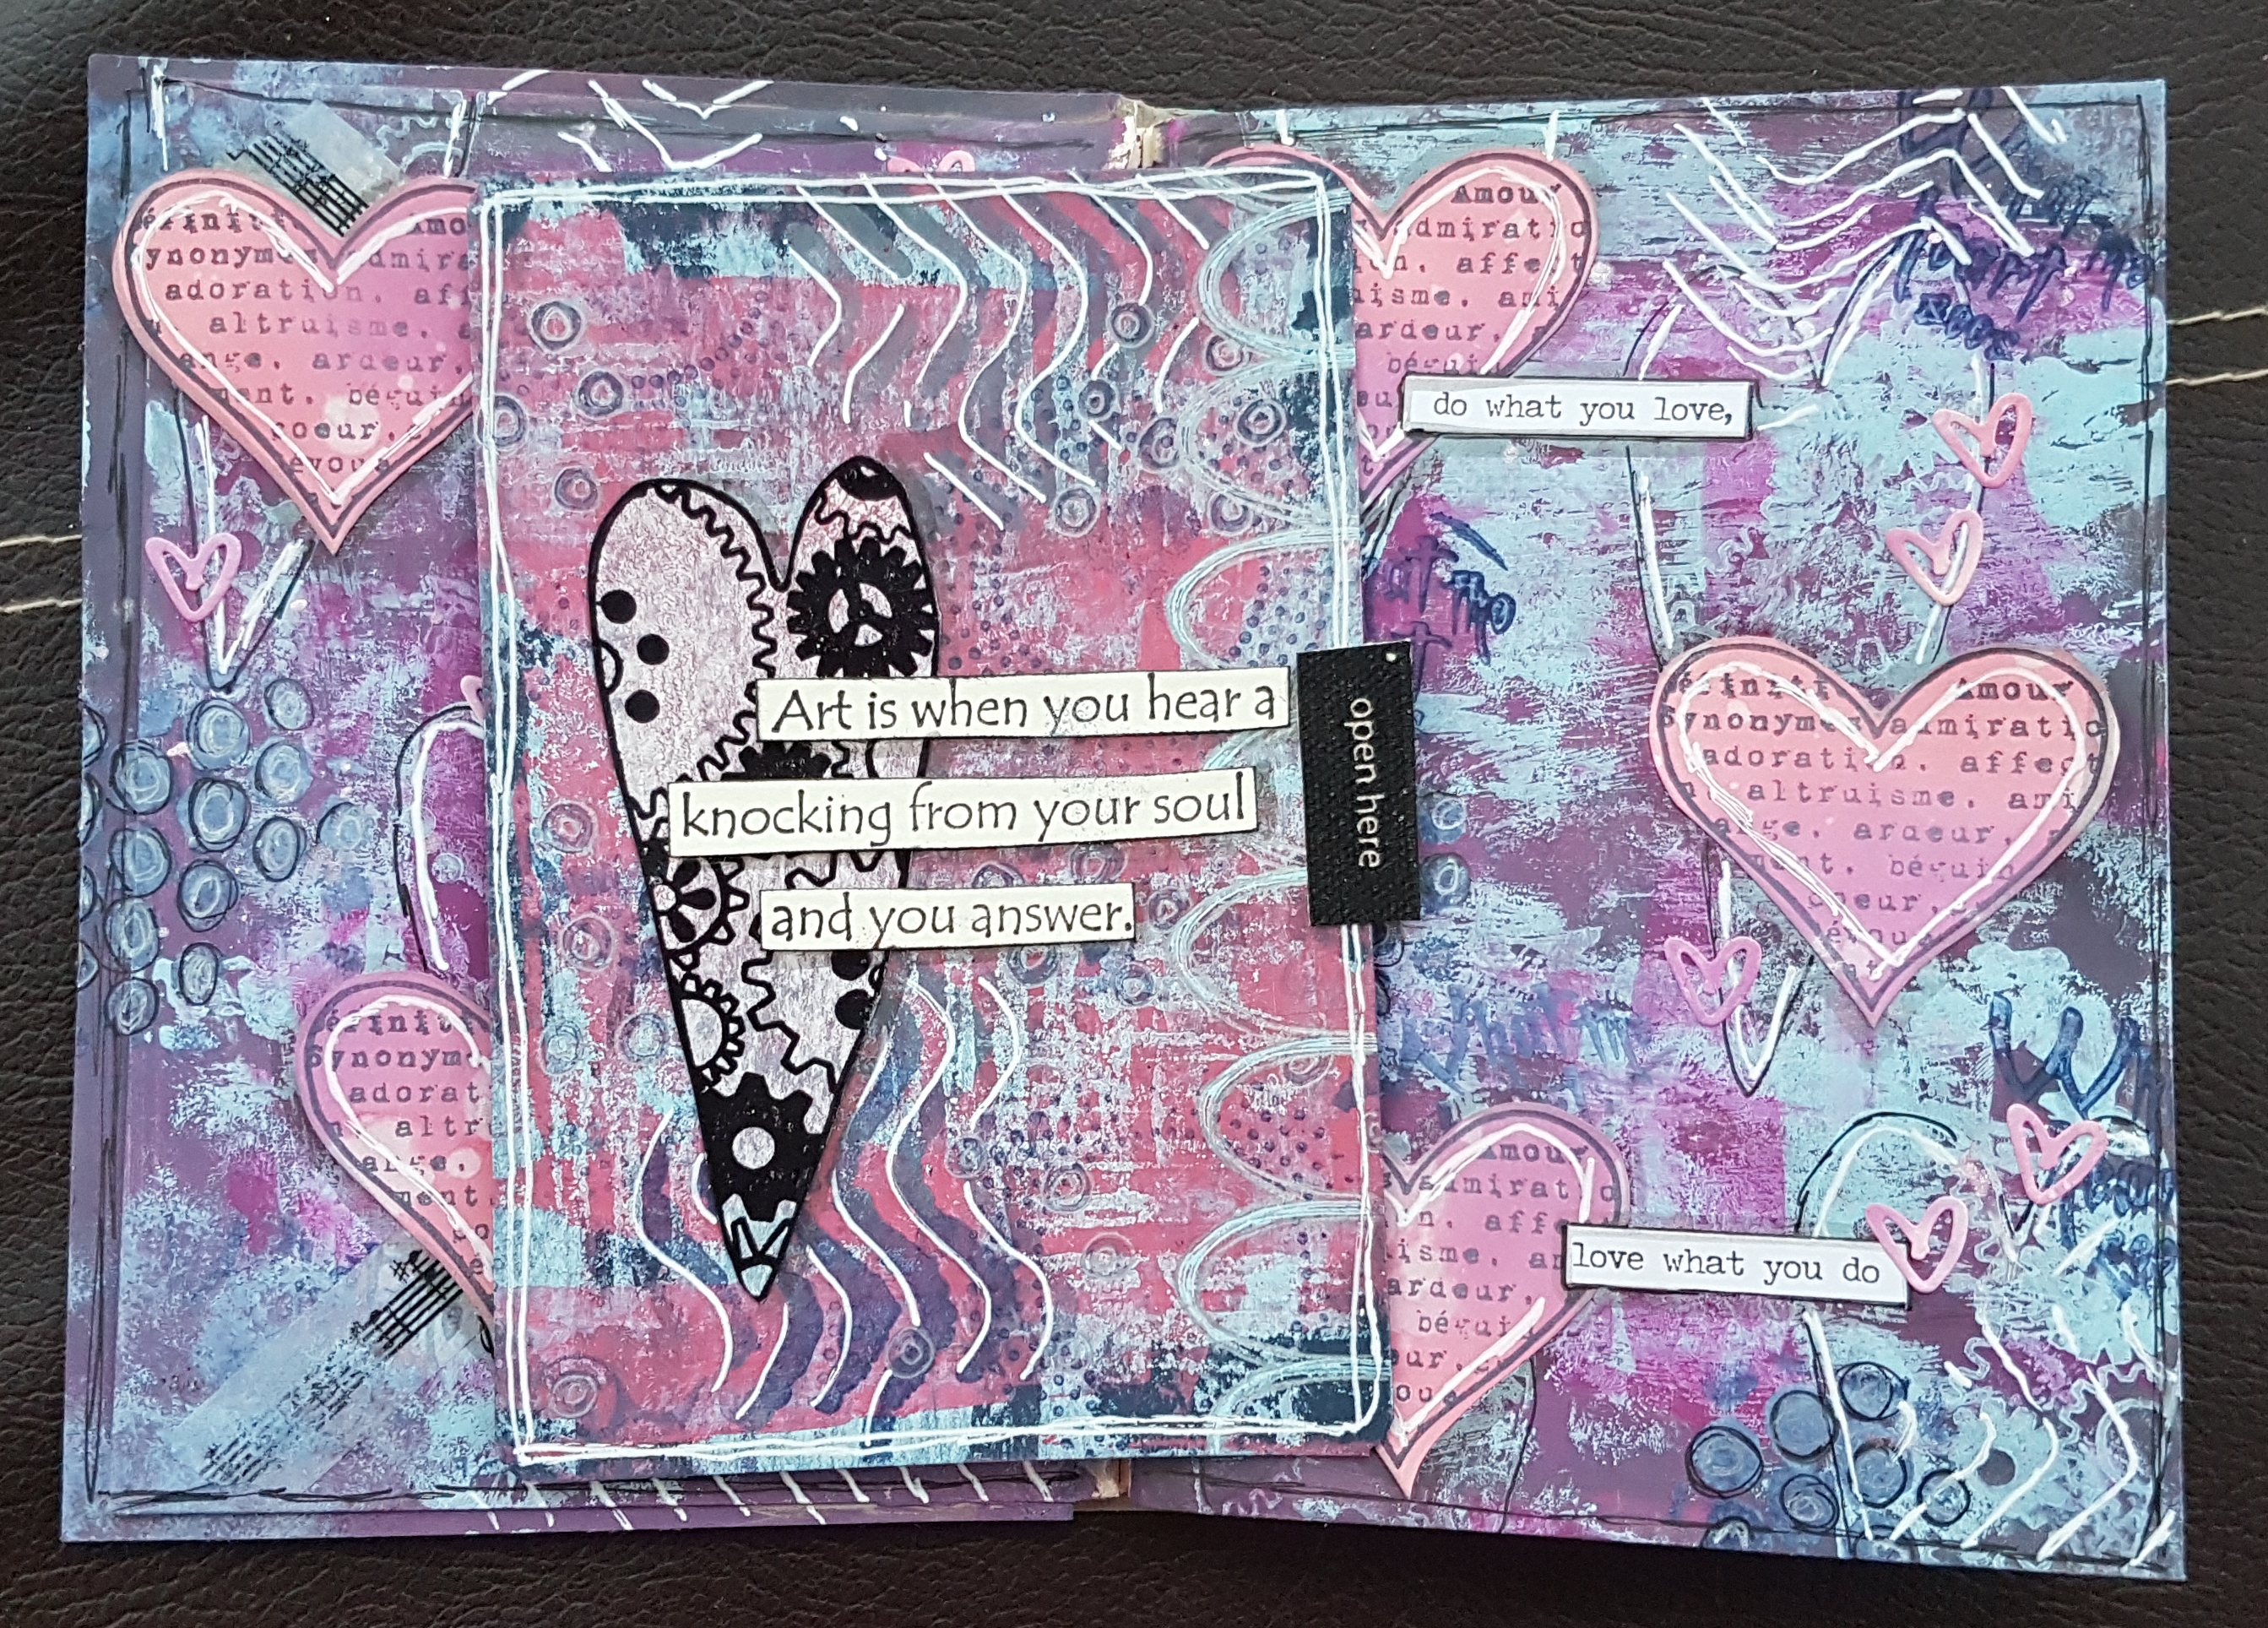
Then the inside page I went for a purple colour scheme. I also went a little Darcy heart crazy! Then inside the pocket created by the envelope I added a card onto the back of which I put my “rules” for the journal.

So my journal is off on a journey to other lovely artists for the next year. Looking forward to seeing what happens to it and to receiving and playing in the journals I get.

Happy crafting!

Catherine 

Butterfly ATC 276

Yesterday I shared a card I made for a DT project. Well I had a few scraps on the desk I couldn’t resist making into something rather than grow them away.  So yes another ATC! 

So there was some of the patterned paper left and the heart trim and as I still had the stamps out the smaller butterfly got added along with some other scraps left on the desk and a button. 

Going to put this ATC to one side for a project I am working on that I will let you know about later in the month. 

Happy crafting!

Catherine 

DT: Craftyhazelnuts patterned paper challenge 

Hello.  How quickly did June go past? Wowser half the year gone! 

So as it’s the first of the month I have a design team project to share with you that I did for Craftyhazelnuts patterned paper challenge. 

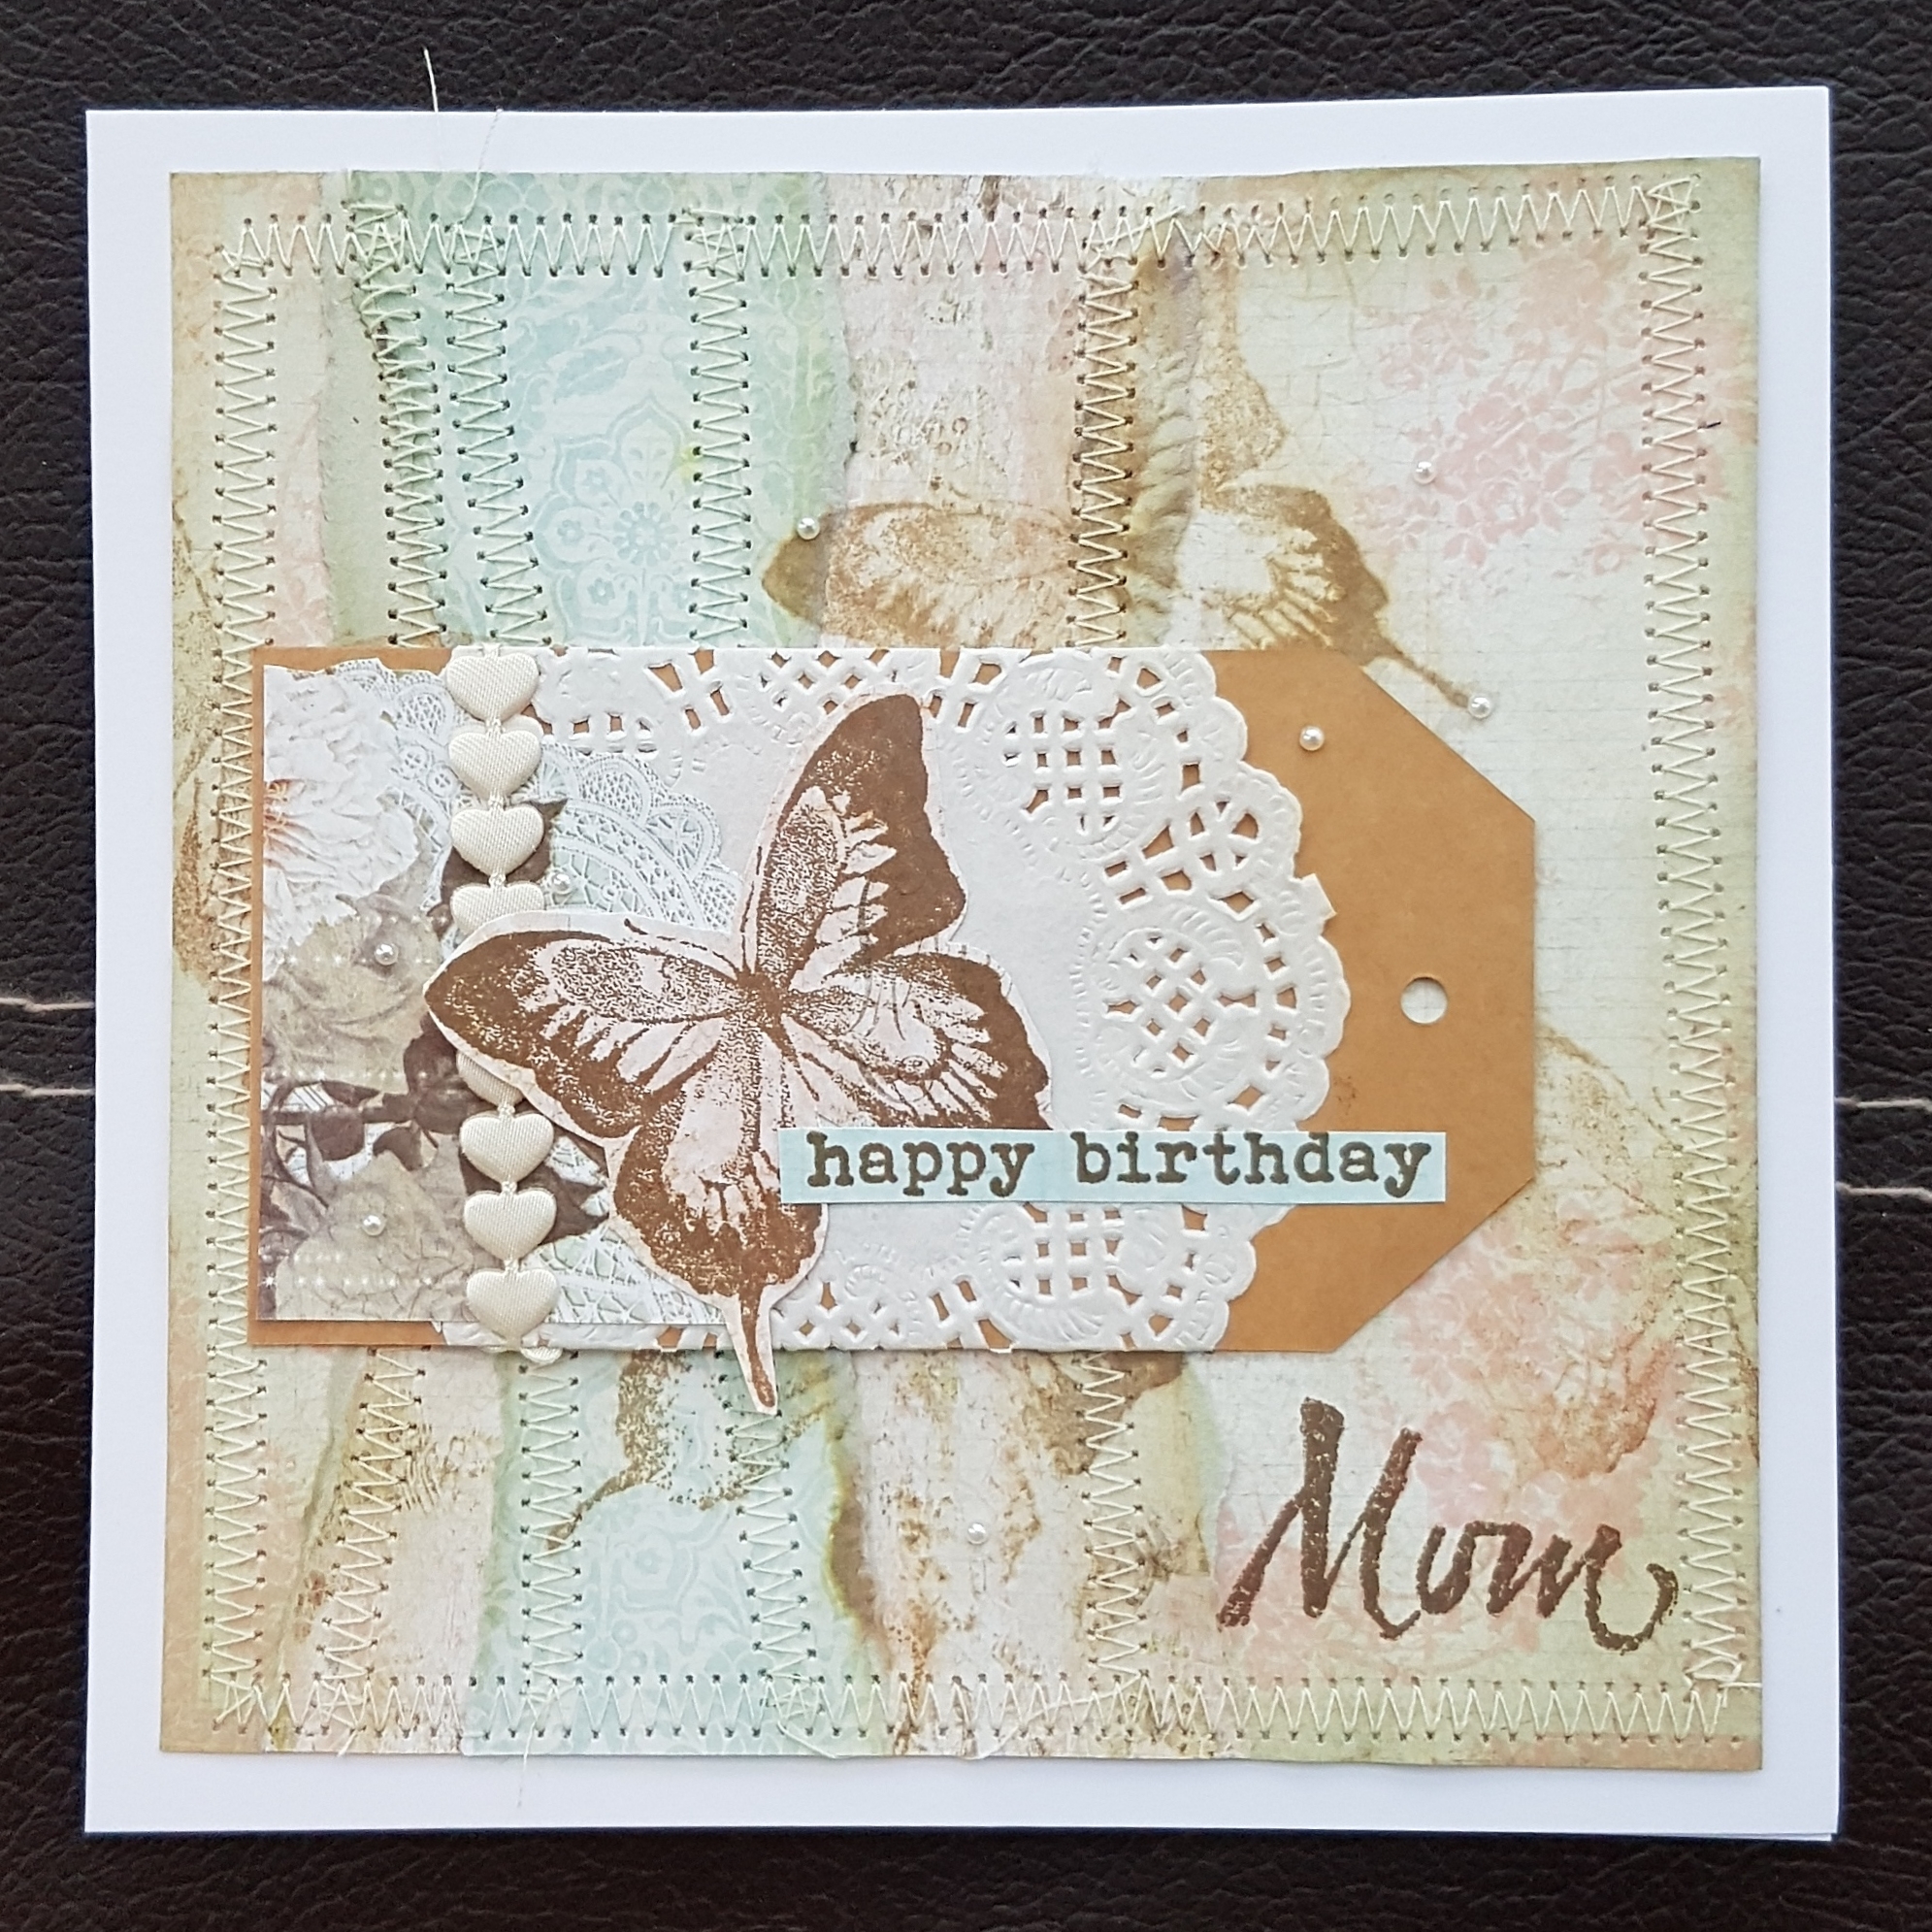
The challenge is to use patterned paper and so I grabbed some of mine from the stash and created a card for my Mums birthday (which isn’t until next month but hey I’m organised for once!). 

I chose three papers from the same pack. Unfortunately forgotten what the name of the pack was and layered them up, inking each of the edges I tore.  I stamped the Tim Holtz butterfly a few times lightly and spritzed it with water to oxidize the background… yes I had used my beloved oxides. I let it dry and then did a mammoth amount of sewing on the machine. I thought this gave it a nice patchwork type effect.

Next I took a kraft card tag and added the doily and part of the patterned paper I had cut out. I added some trim which I had got in a swap and then stamped and cut out another of the butterflies to layer up. 

The sentiment was also stamped on the same patterned paper and then I took a stamp with the word Mum and added that too. 

Finished off with the tiny pearl gems from stampin up scattered across the card. 

Love how this came out. Now off to see what the rest of the DT have been up to this month with their patterned paper stash. 

Happy crafting!

Catherine 

Catch up from Helen’s class last week

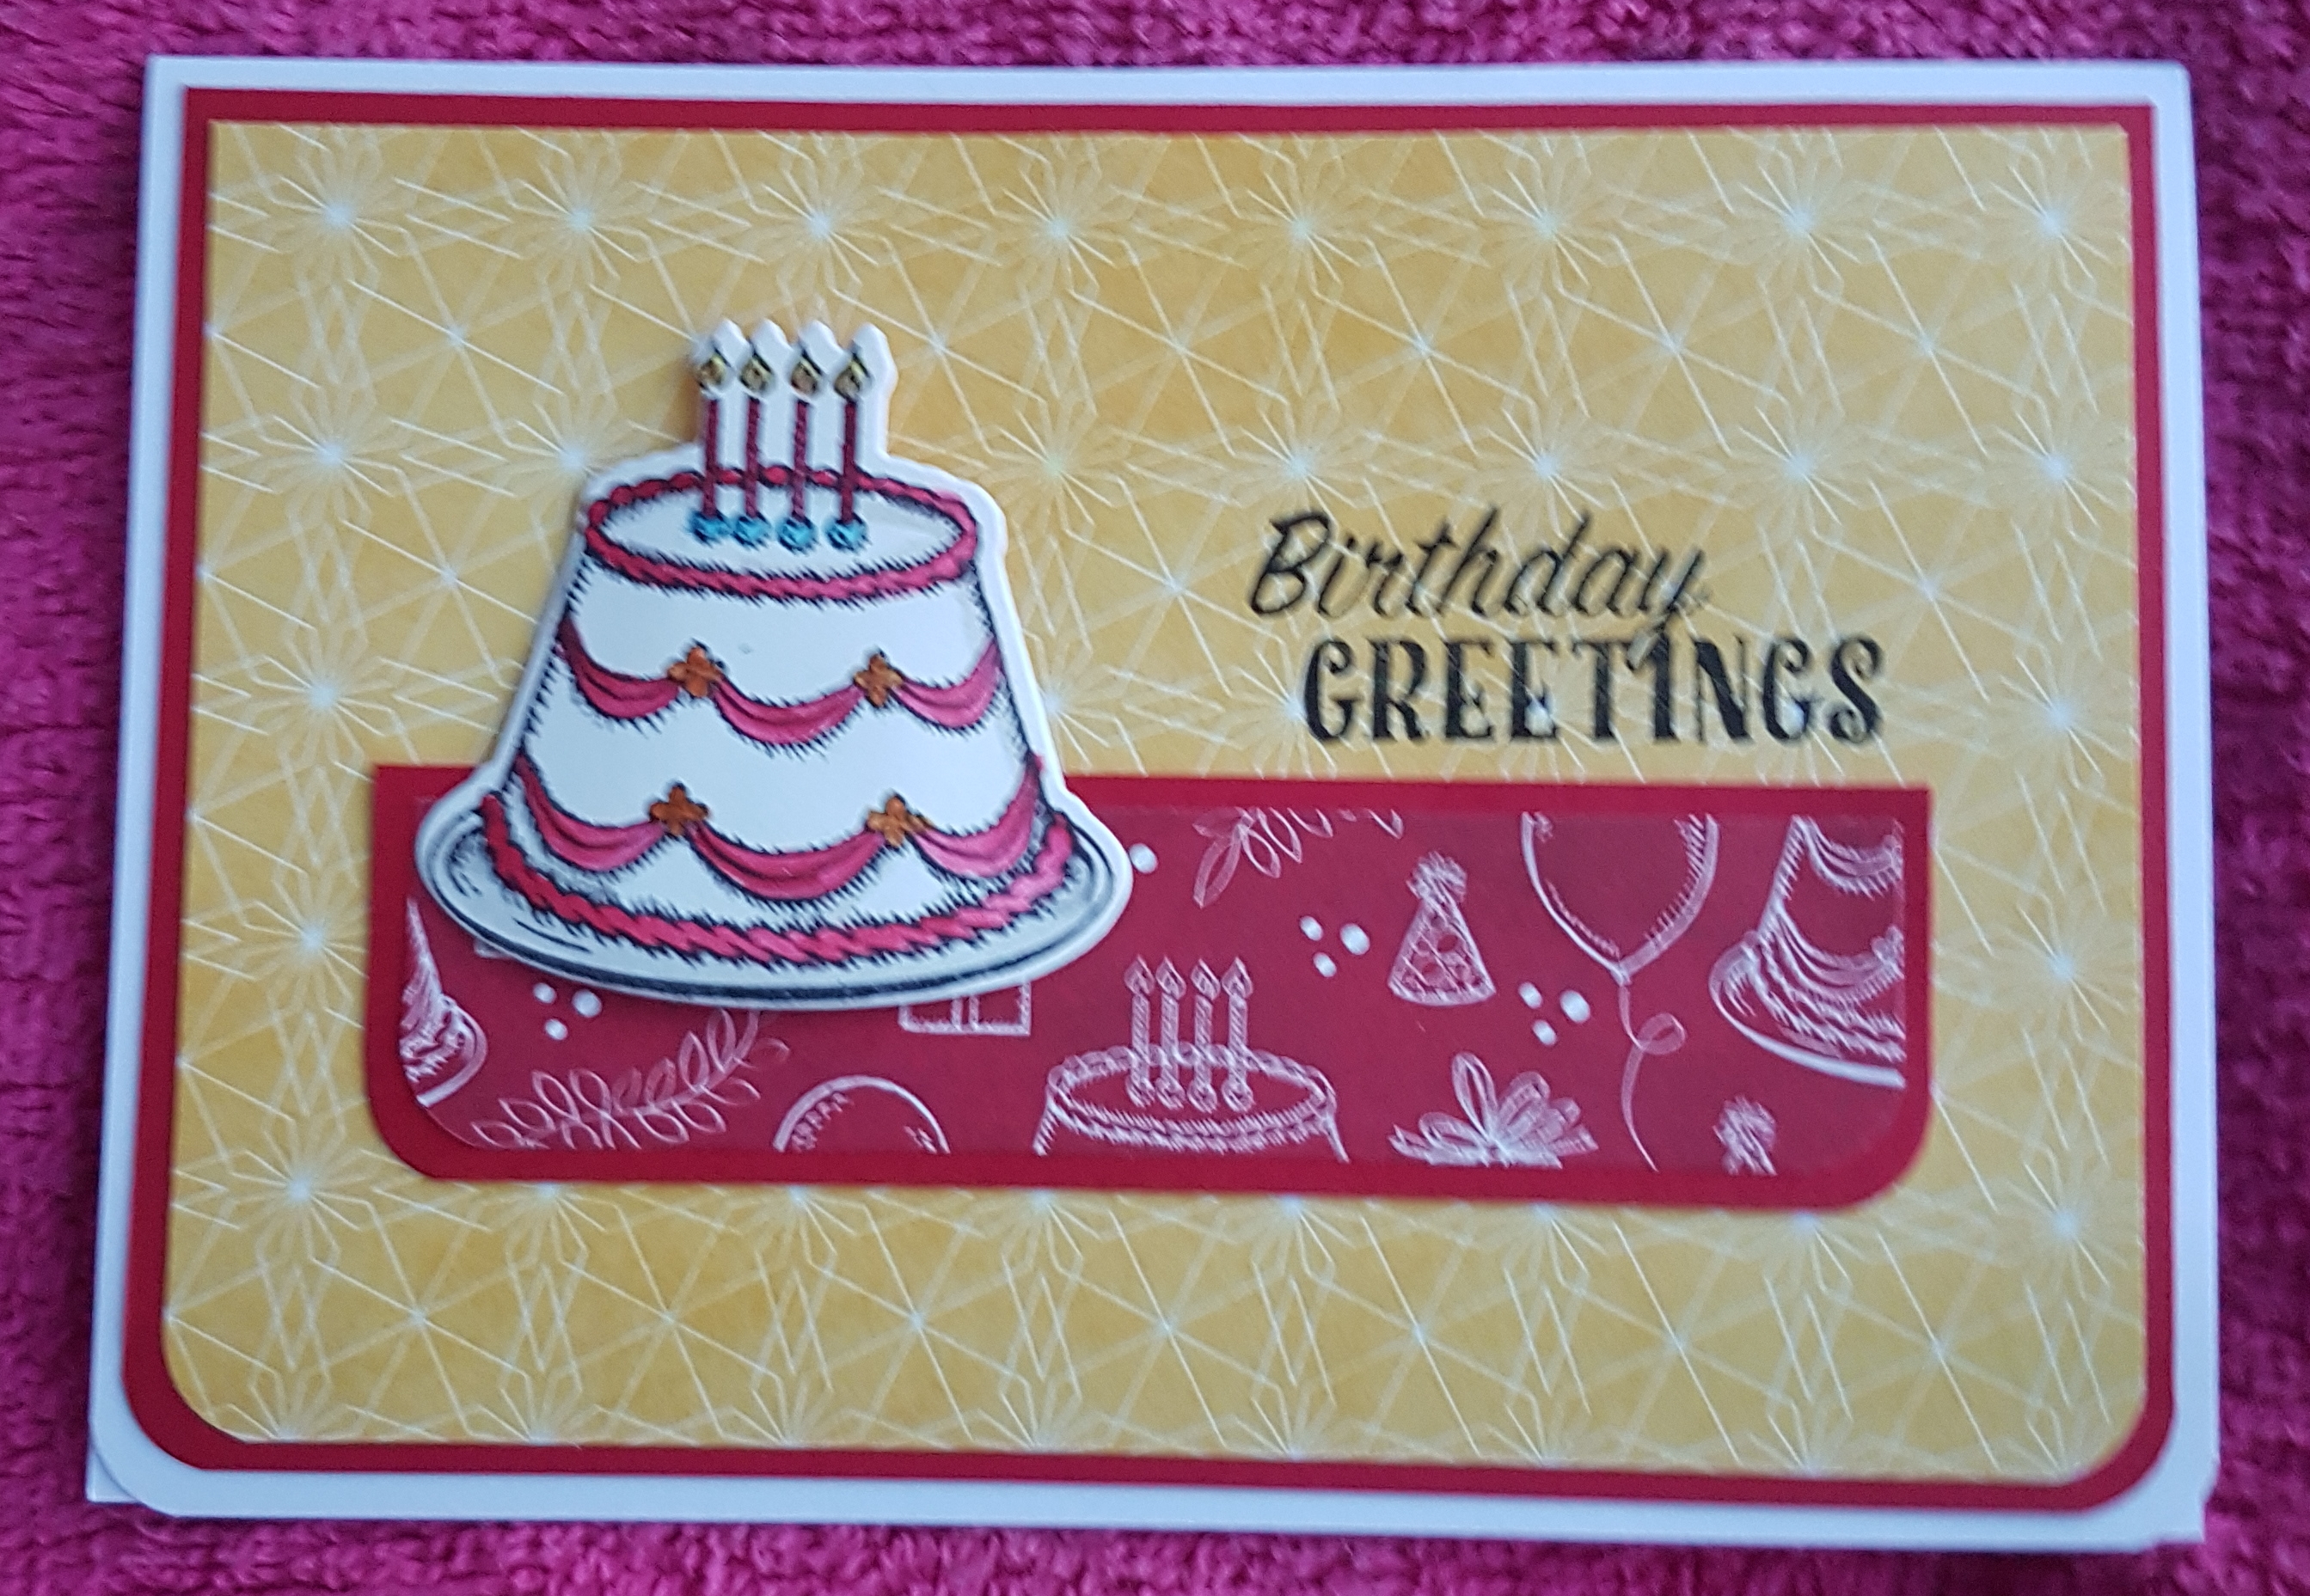
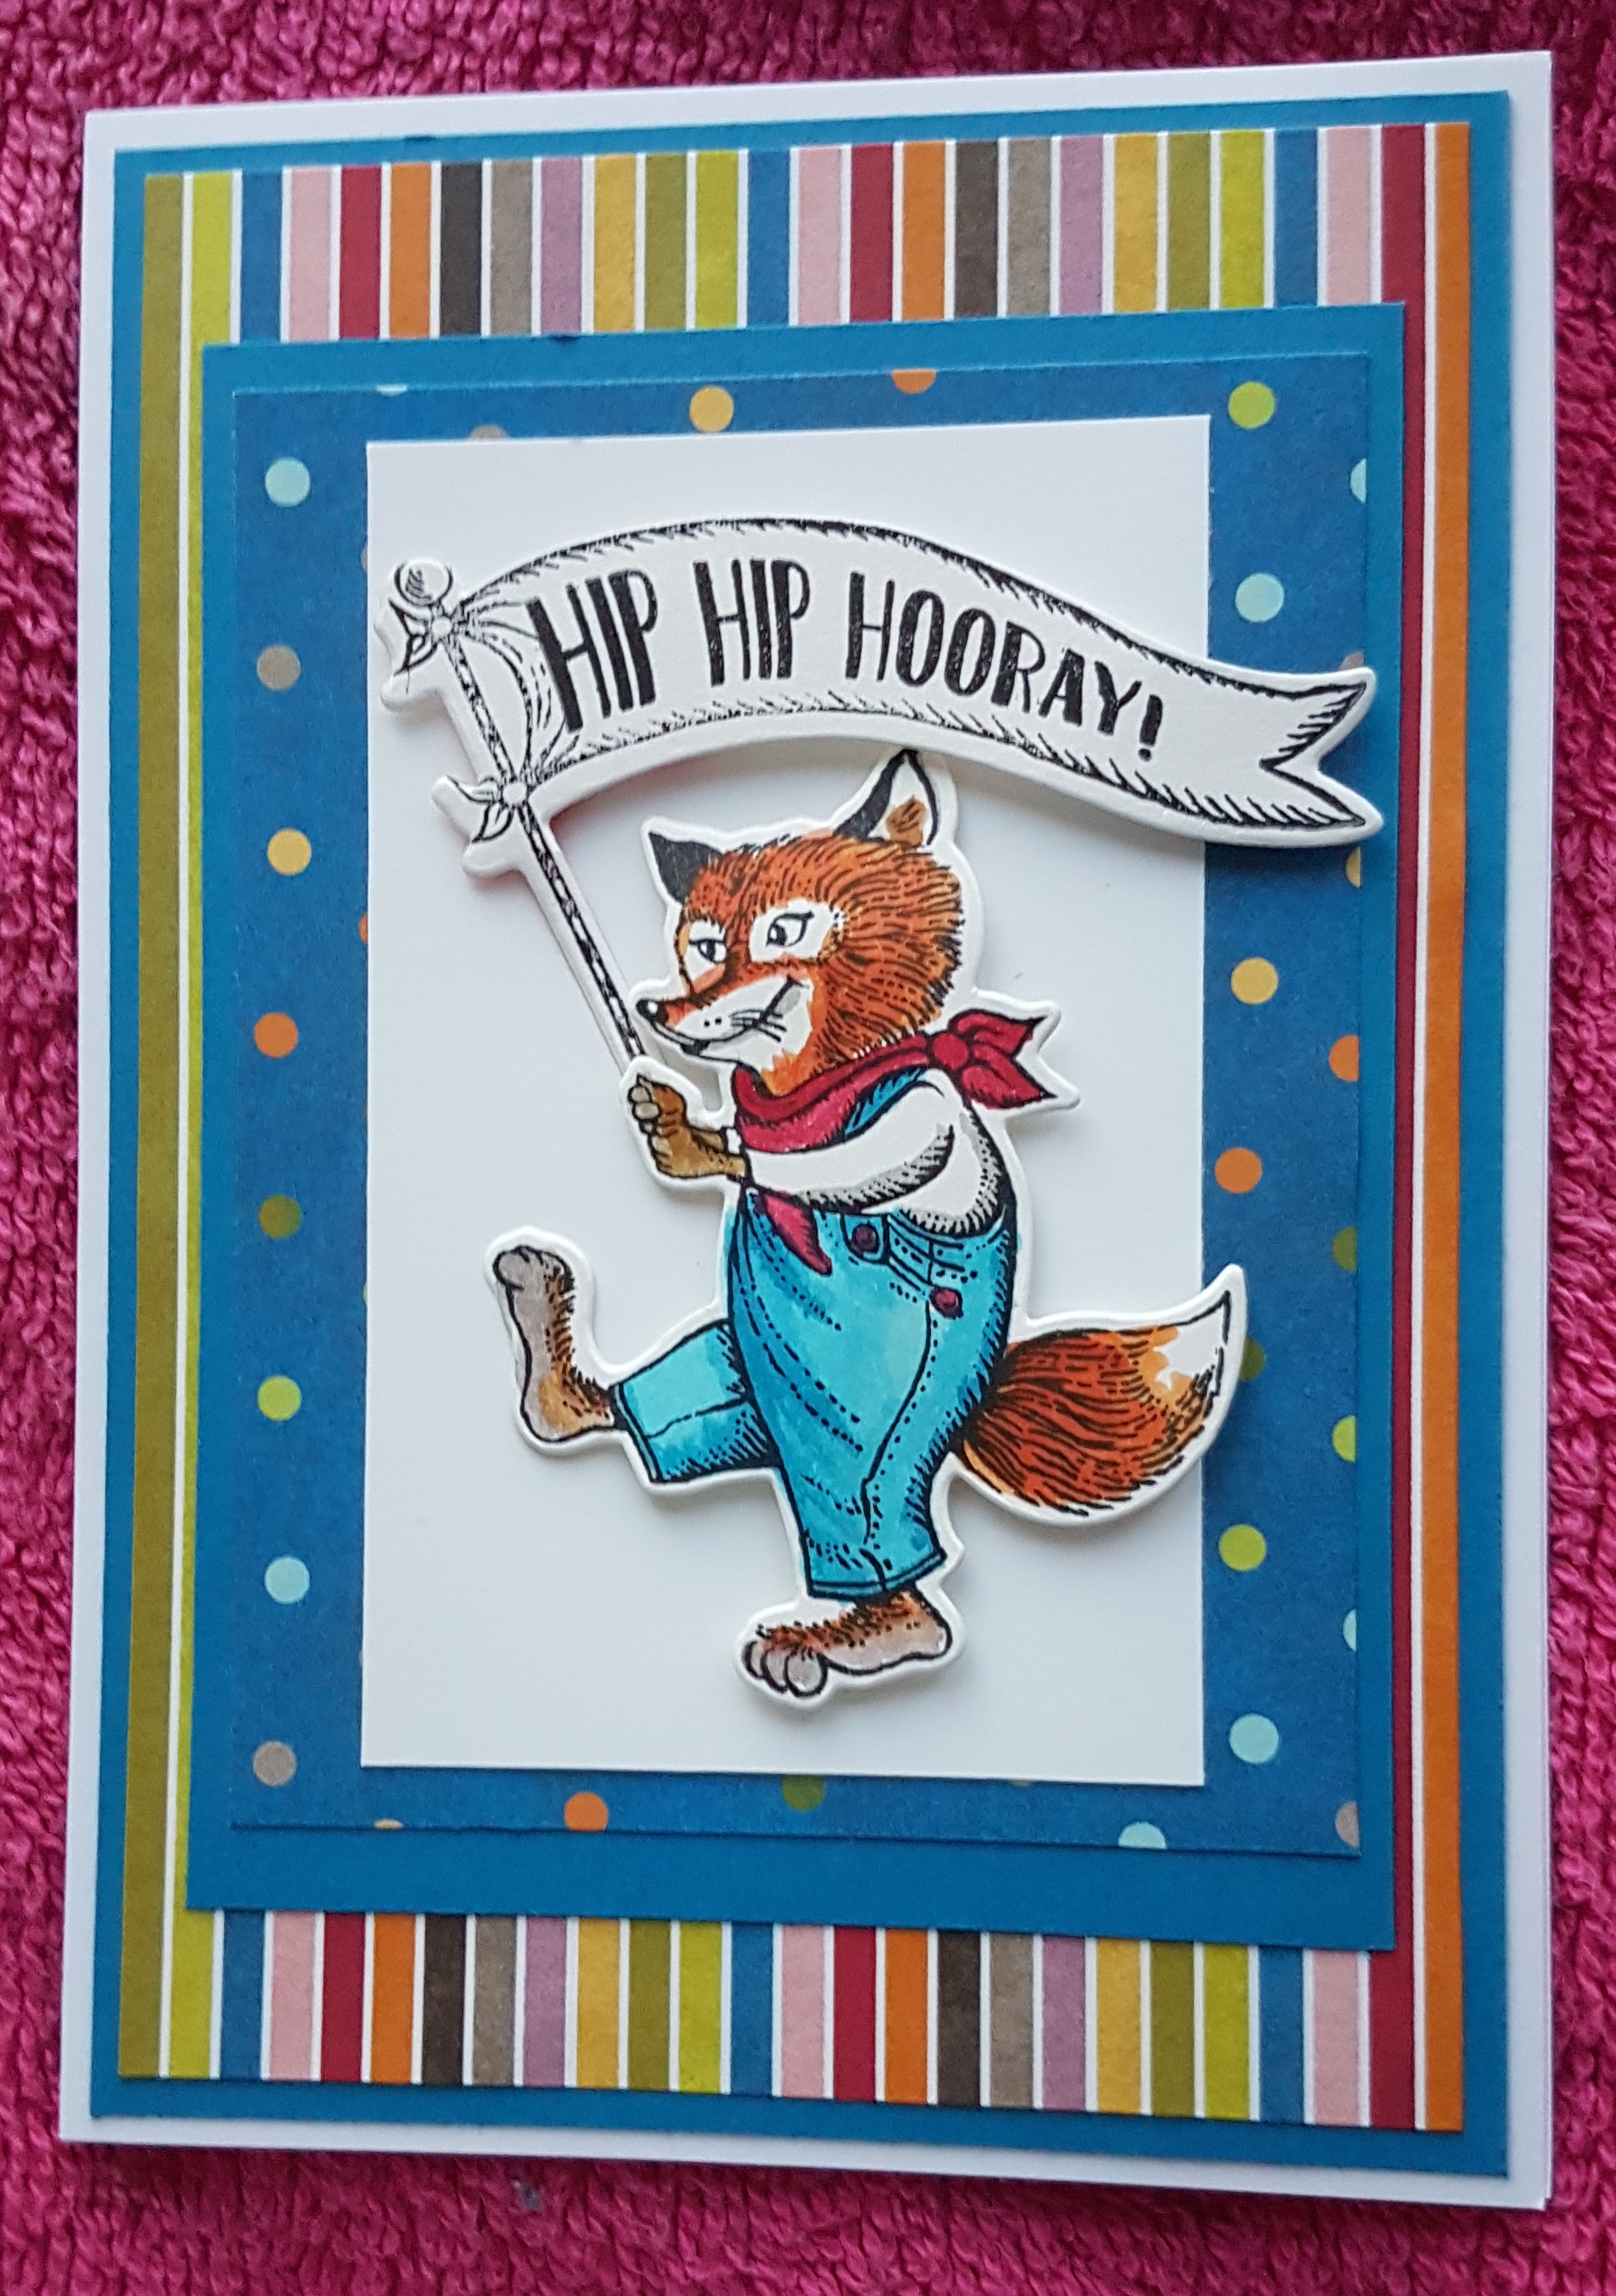
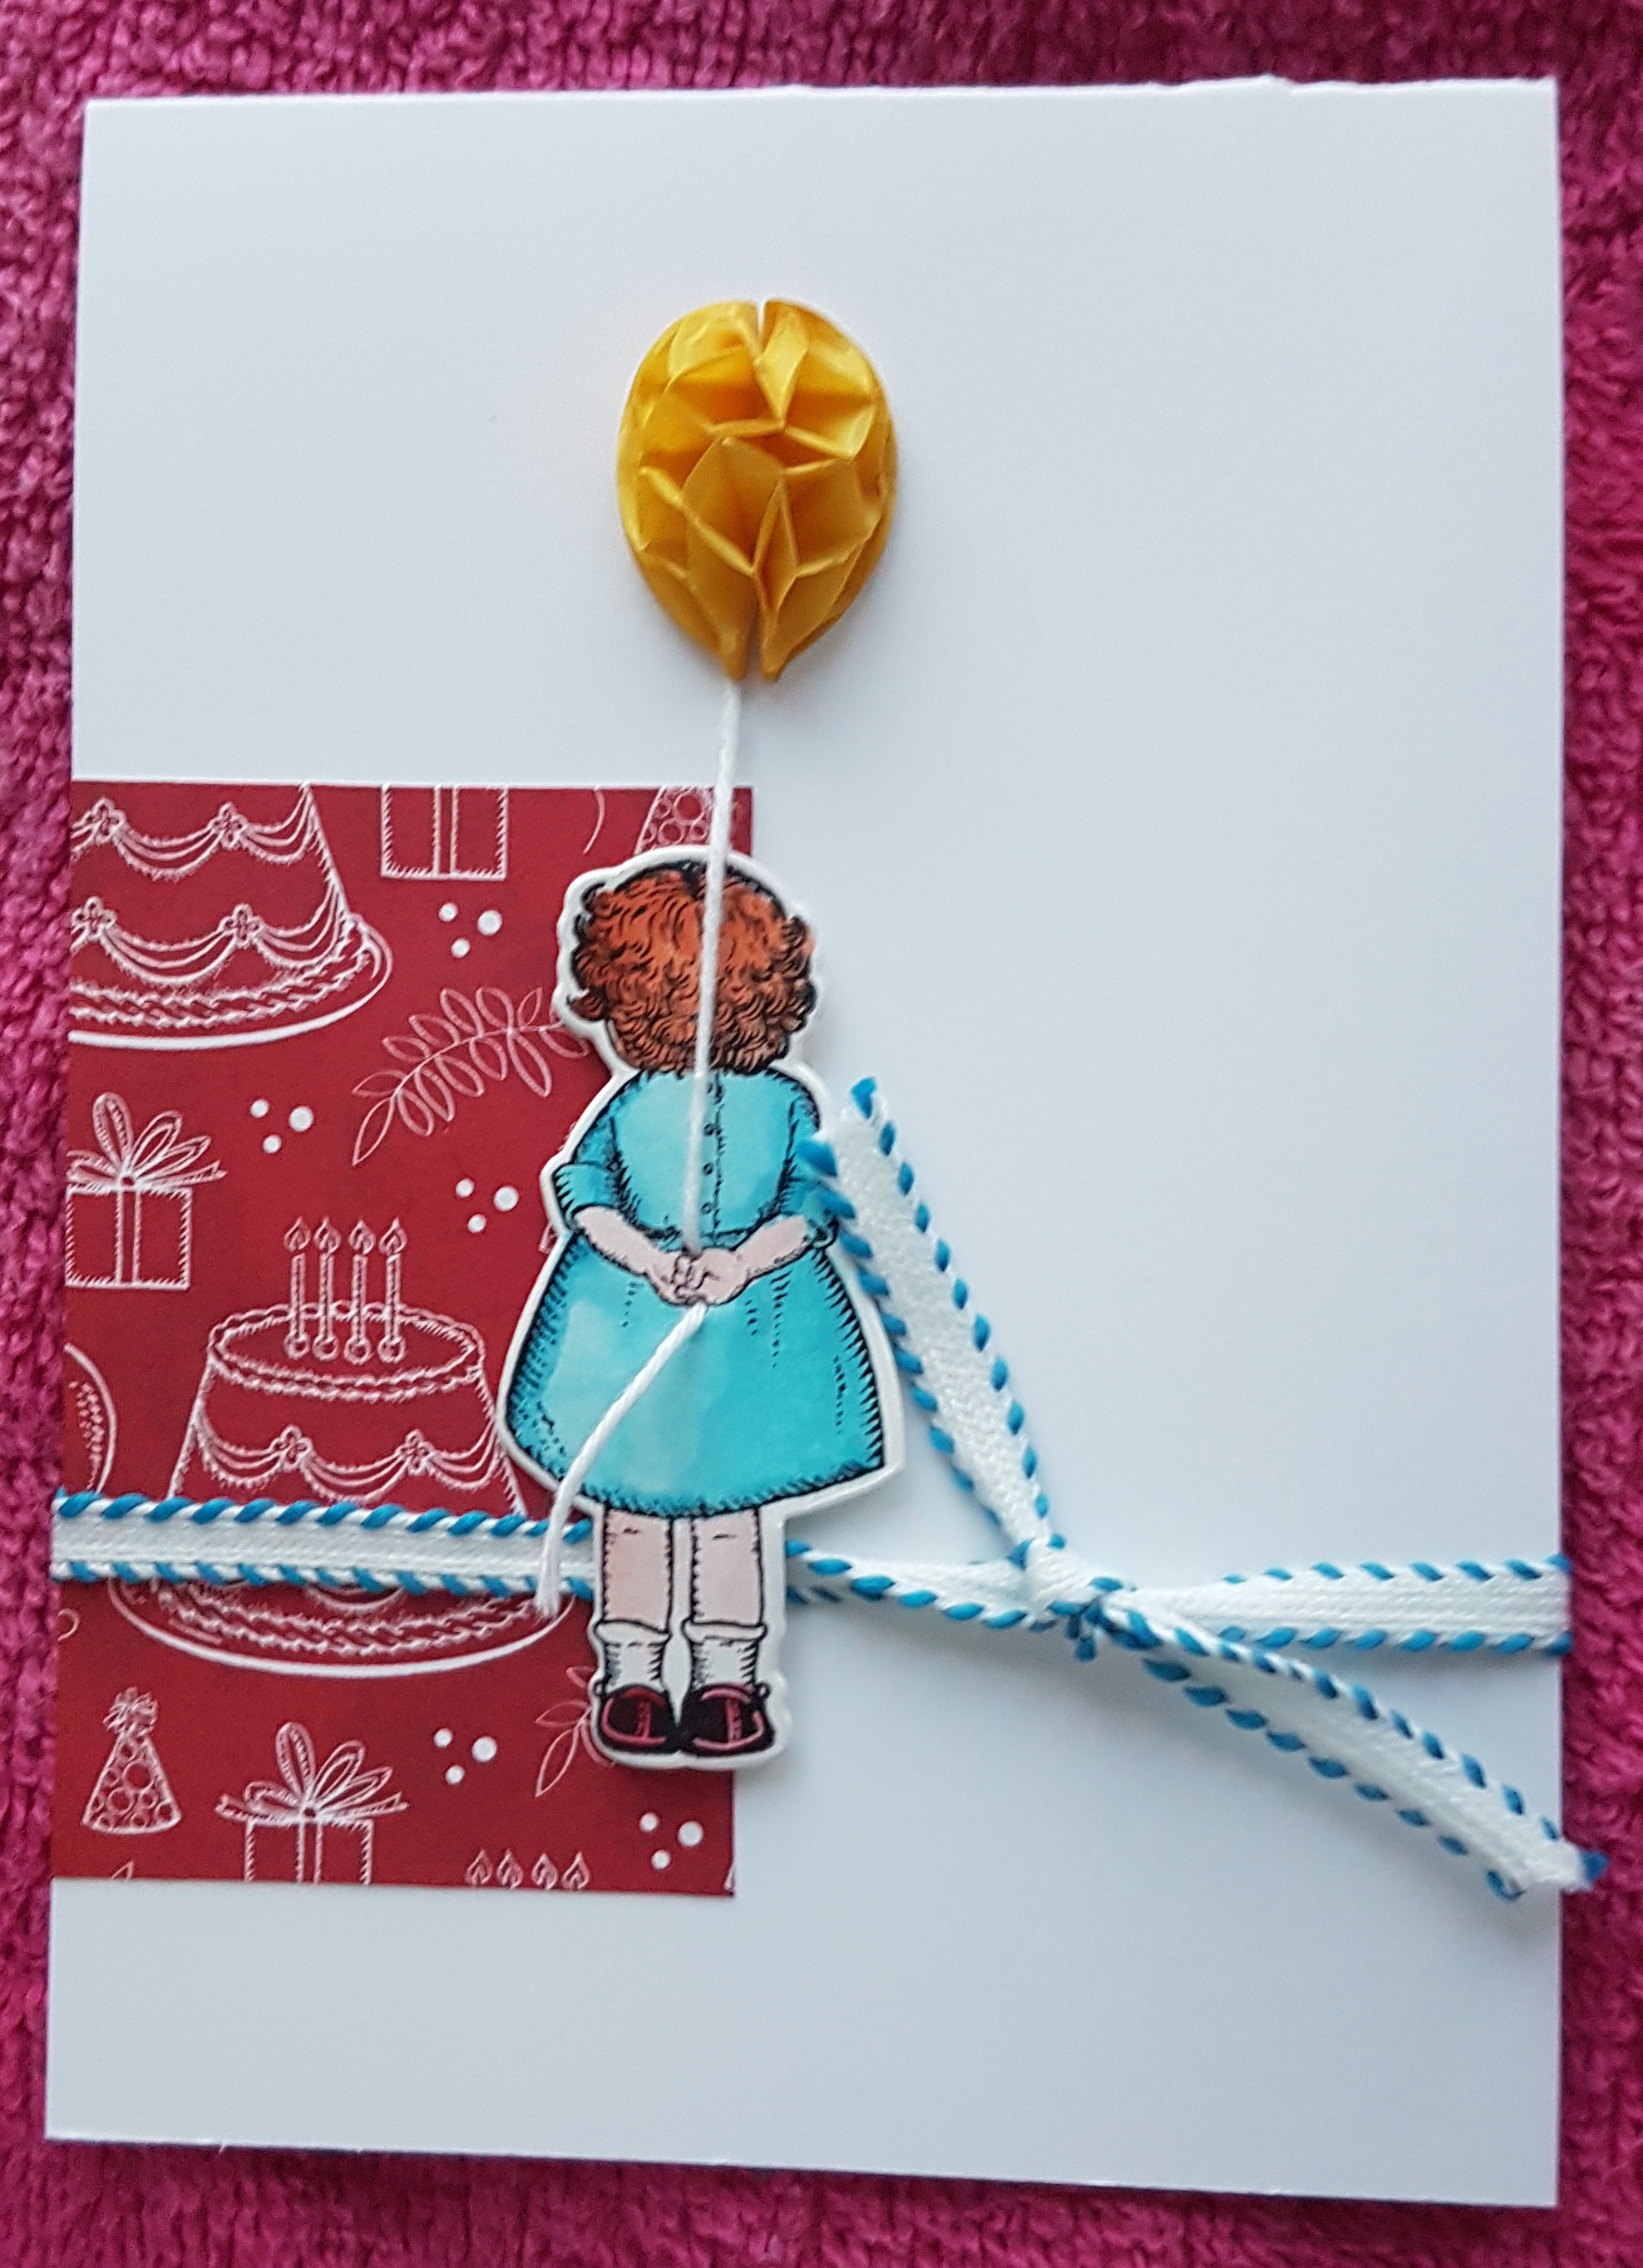
Last week I did a cardmaking class with Helen and I hadn’t quite got round to blogging them until now. We made these really cute cards. We actually made two of each card but half of the set have gone towards the Ronald McDonald card drive.

The set was made using the Birthday Delivery stamp set and some ink to watercolour. We then added some of the Birthday Memories designer series paper.

A lovely cute set. 

Happy crafting!

Catherine 

Random ATC catch ups… 271-275

Here are some ATCs I made using different techniques and bits and pieces off the desk…. I filmed what I was upto… And originally this was for a swap but I missed the deadline for joining in… ah well never mind! Still 5 more in the bag for my 365 challenge! 

This first one is a distress oxide background and watercolouring.

Next up…. distress ink on gesso and some embossing…

Then there is … A doodles background and then a die cut to finish off.

And then a painted background and some magazine collage.

And finally … lots of texture and an inky coloured flower stamp.

So five very different pieces of art and another five for the challenge.

Happy crafting!

Catherine 

Big ATC swap! (259-270)

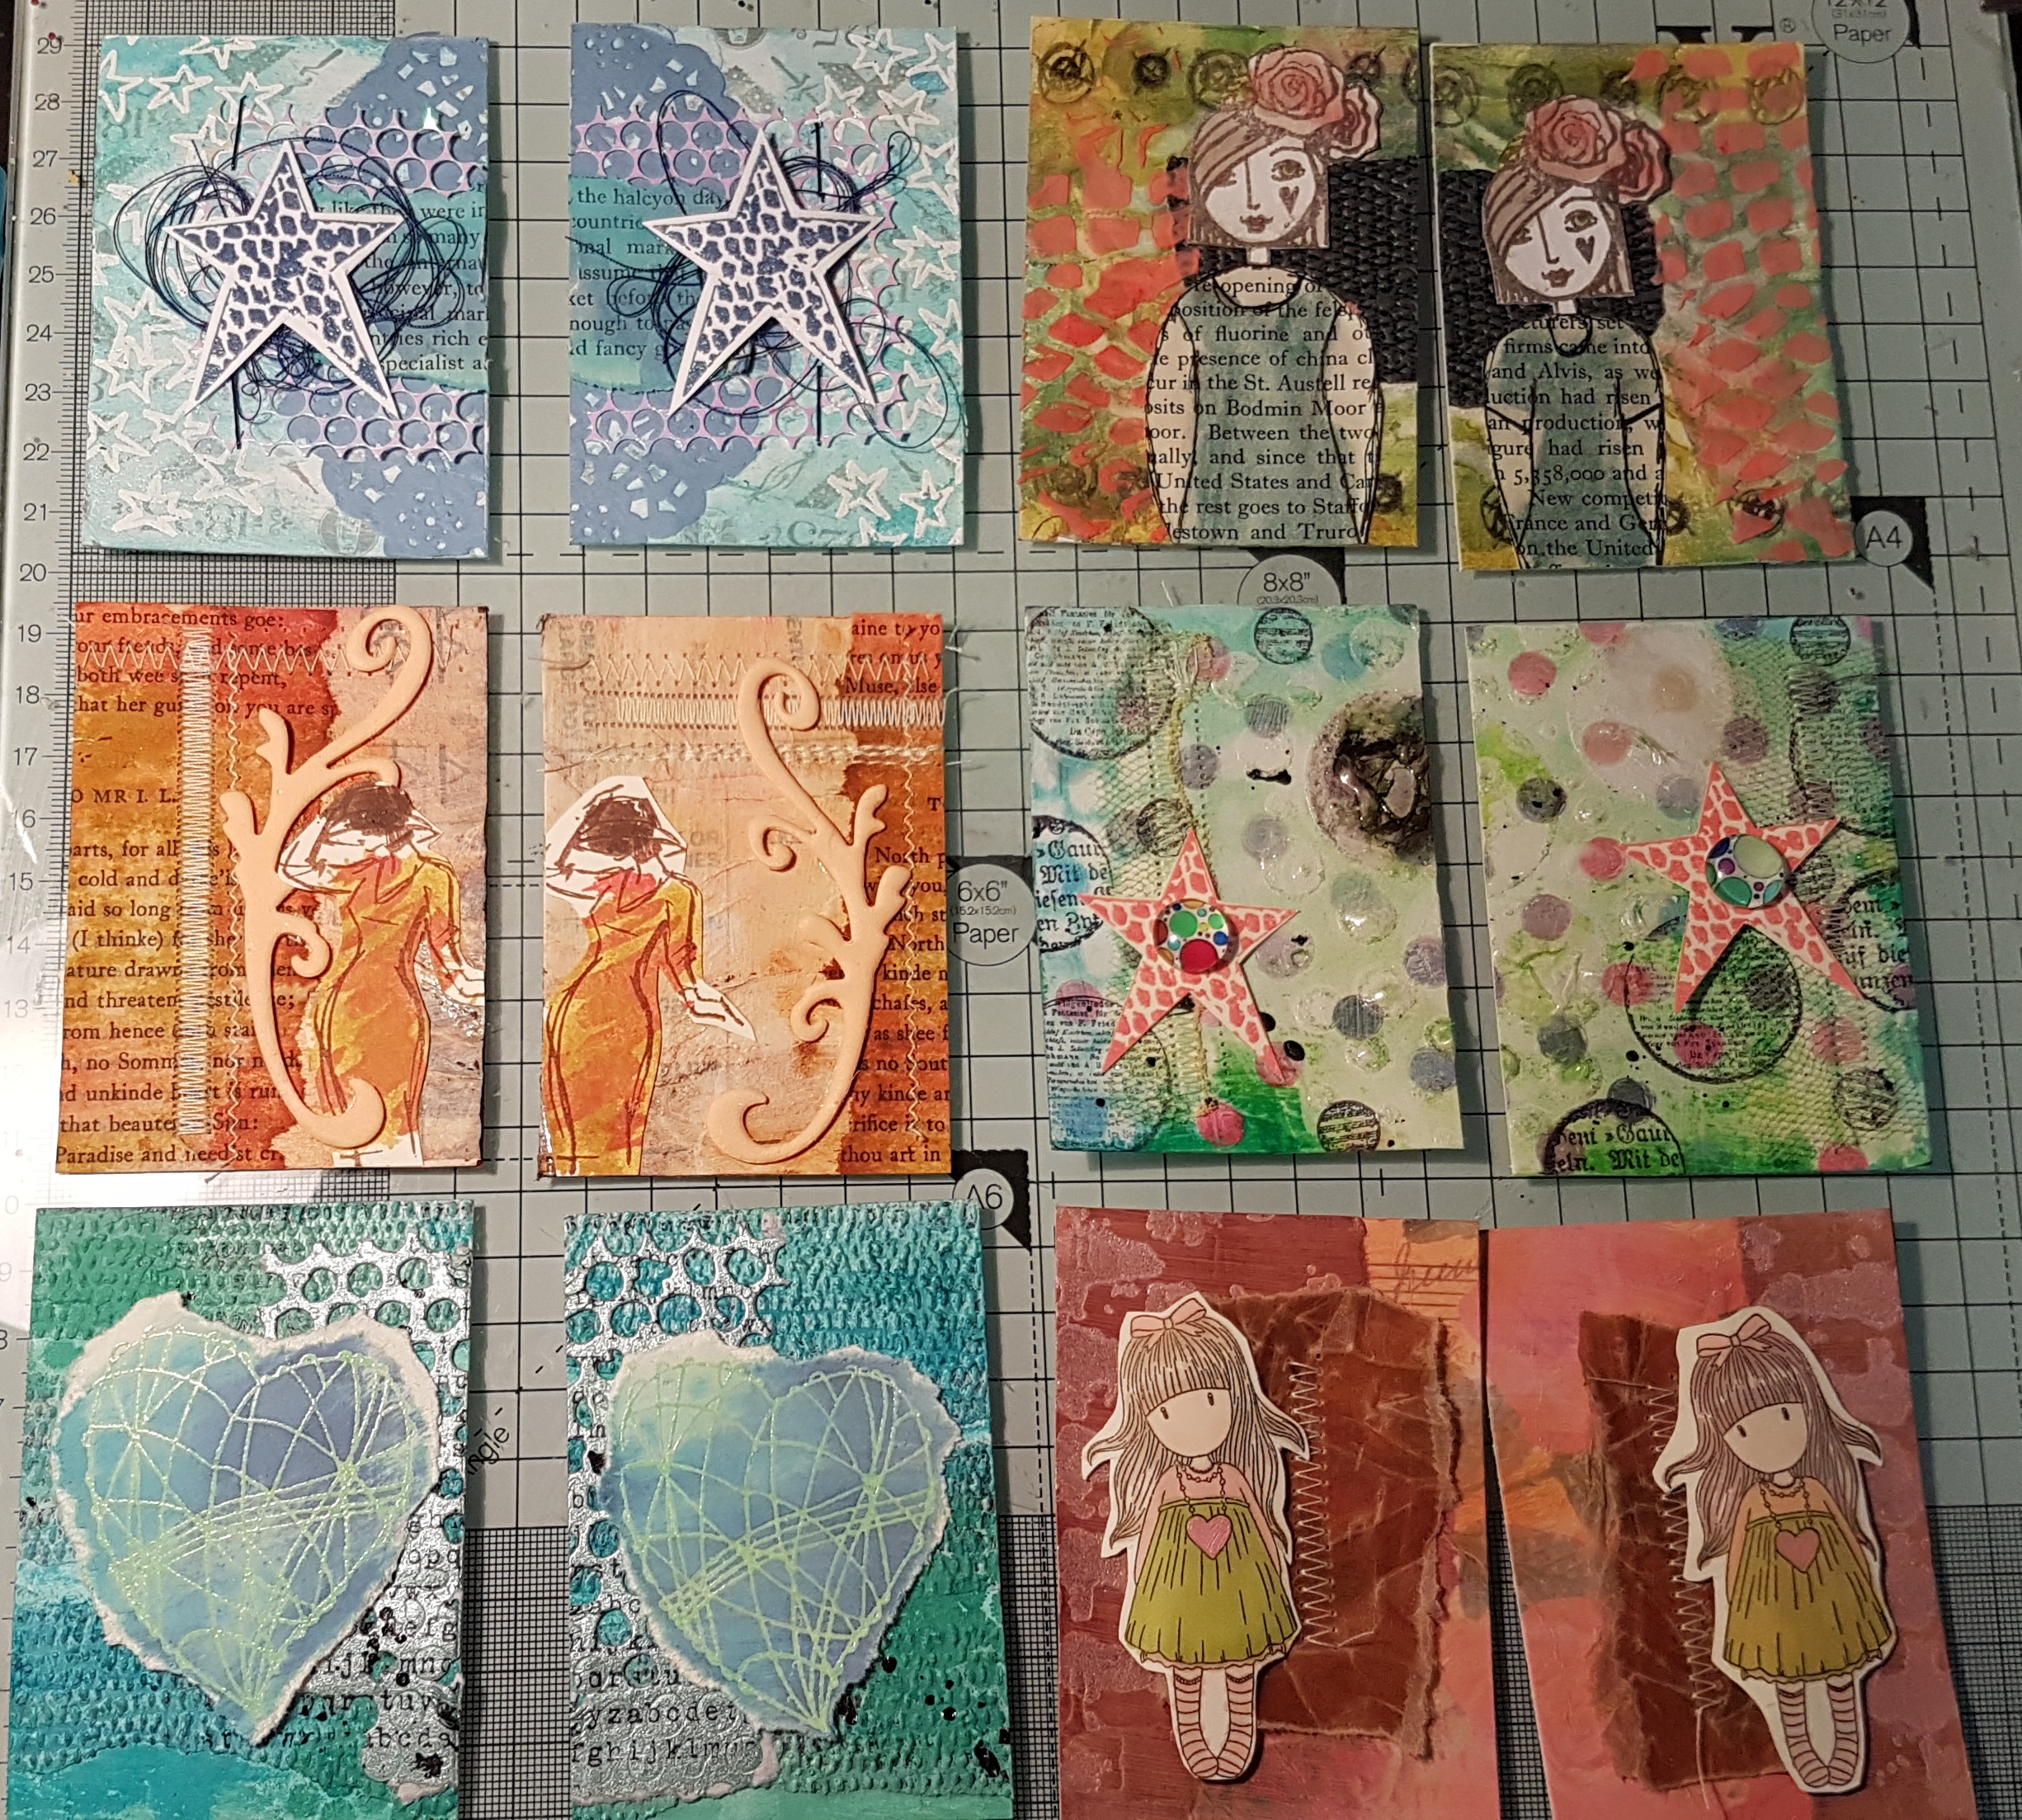
So today I have a mammoth 12 ATCs to share that I made for a swap with the theme of Mixed Media! Of course I can’t make 12 all the same so I decided instead to go with six pairs. 

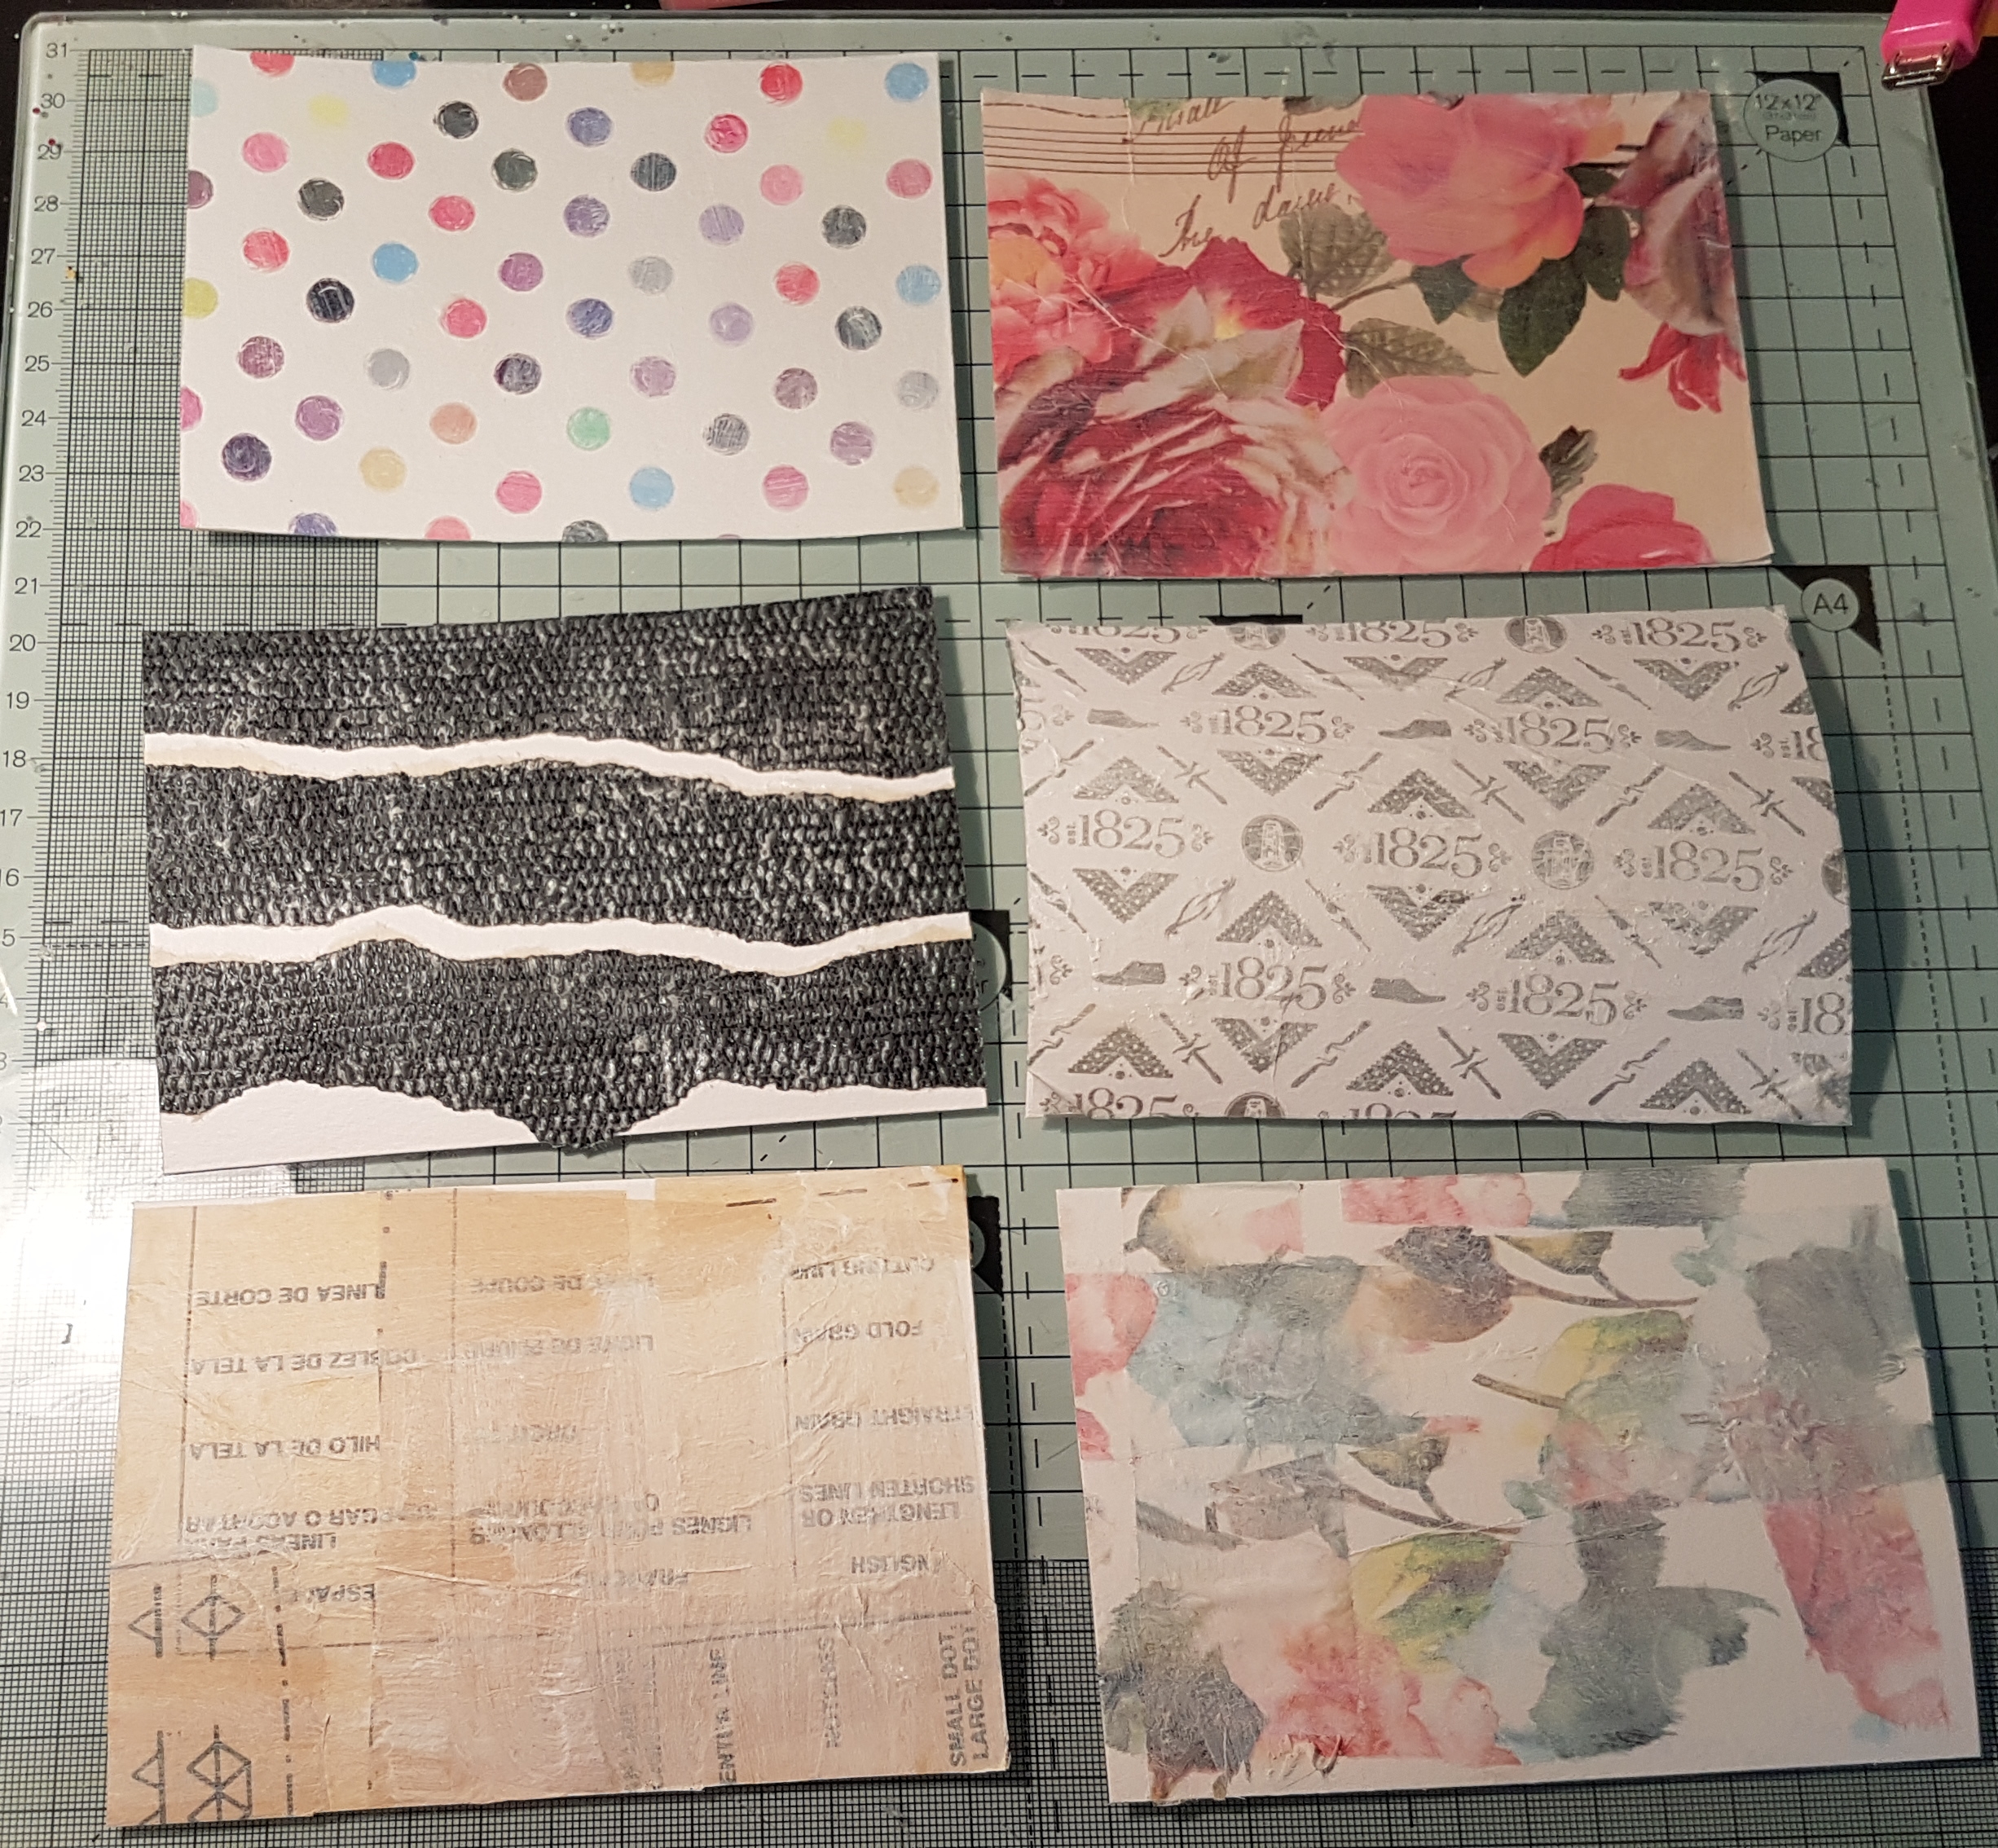
So I cut some mixed media cardstock into six panels of 5 x 3.5 inches and then added either tissue paper, sewing pattern paper or wallpaper to each of them and added some gesso too. 

This gave me the following six panels to work with…
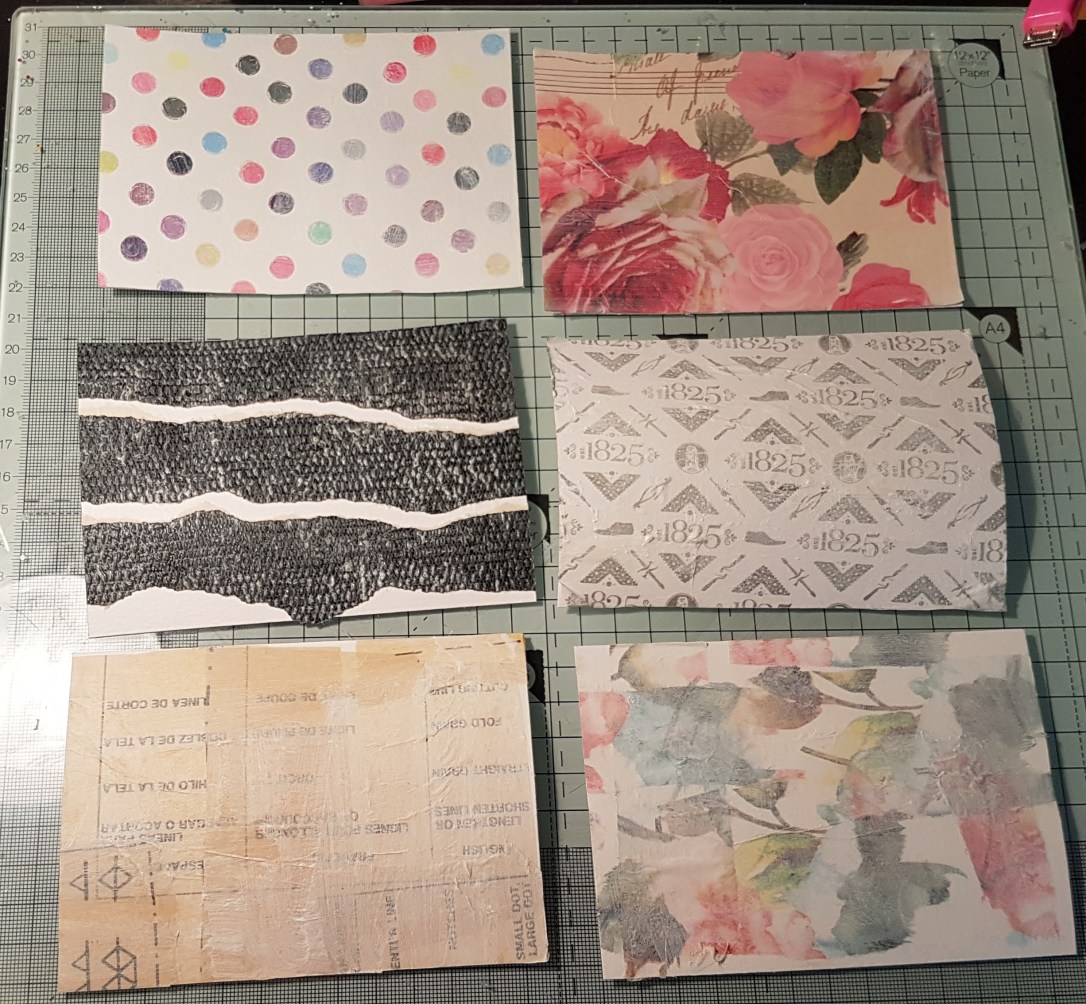
I then worked on each of them at a time adding colour and texture. 

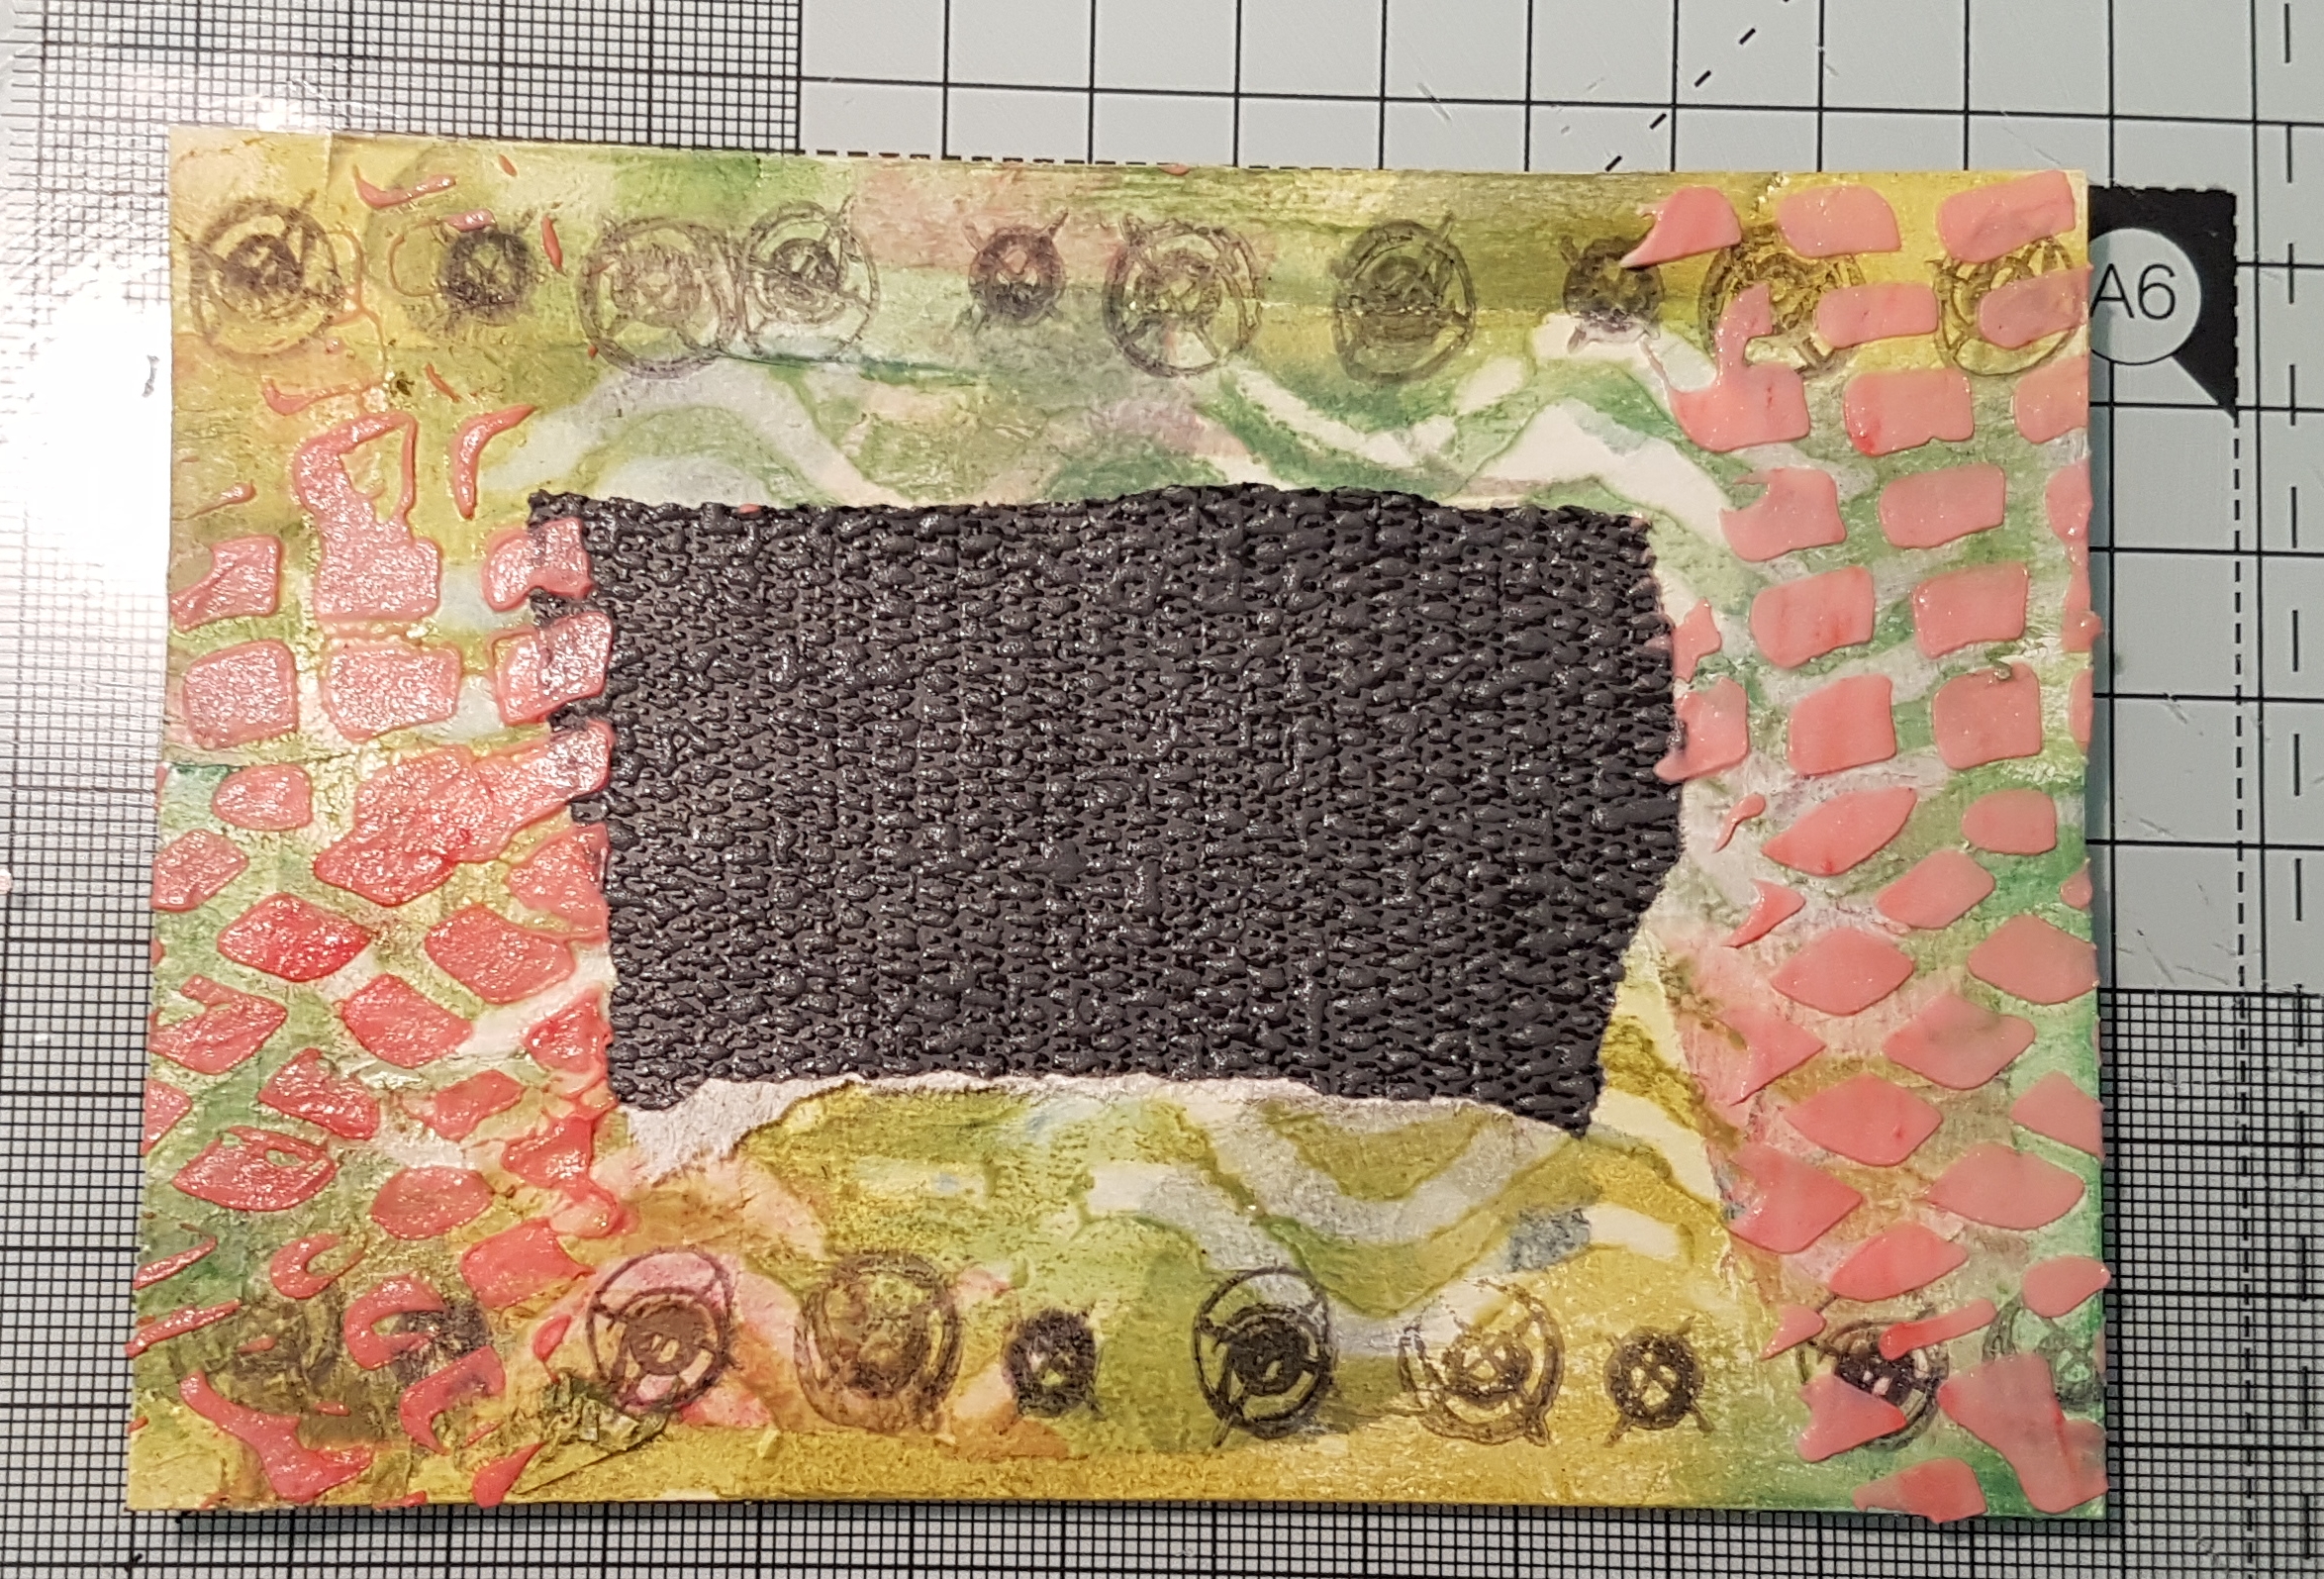
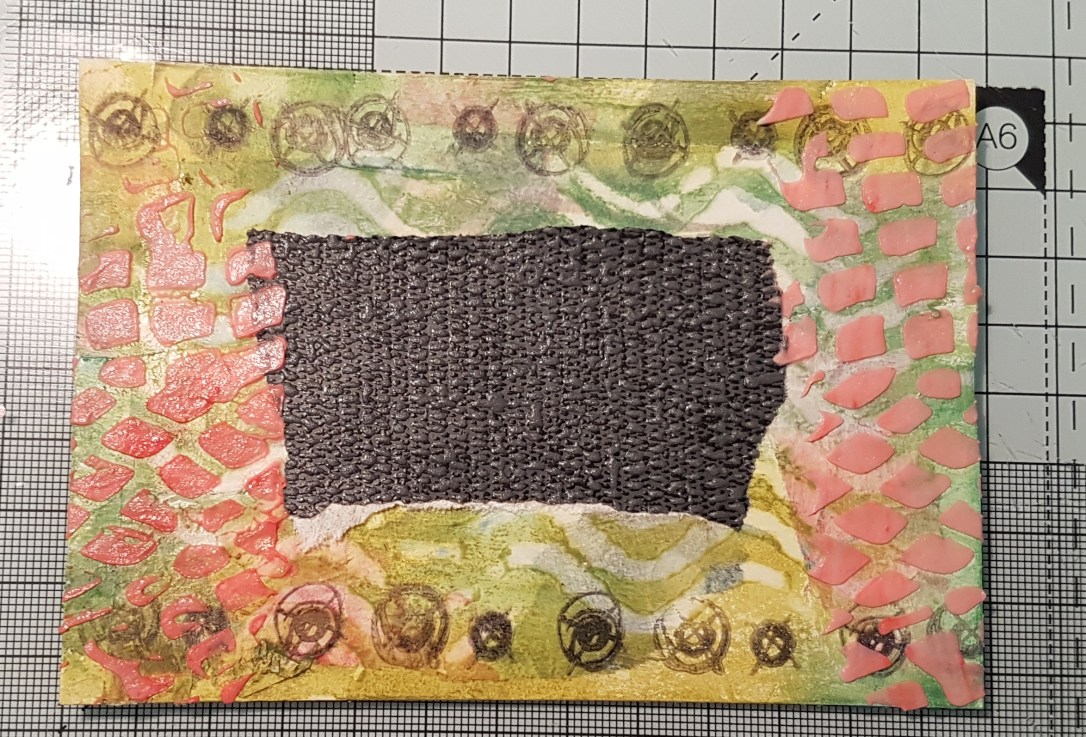
This first one was the floral tissue paper that had come on an artful days goodie box and I added distress crayons over the gesso. 

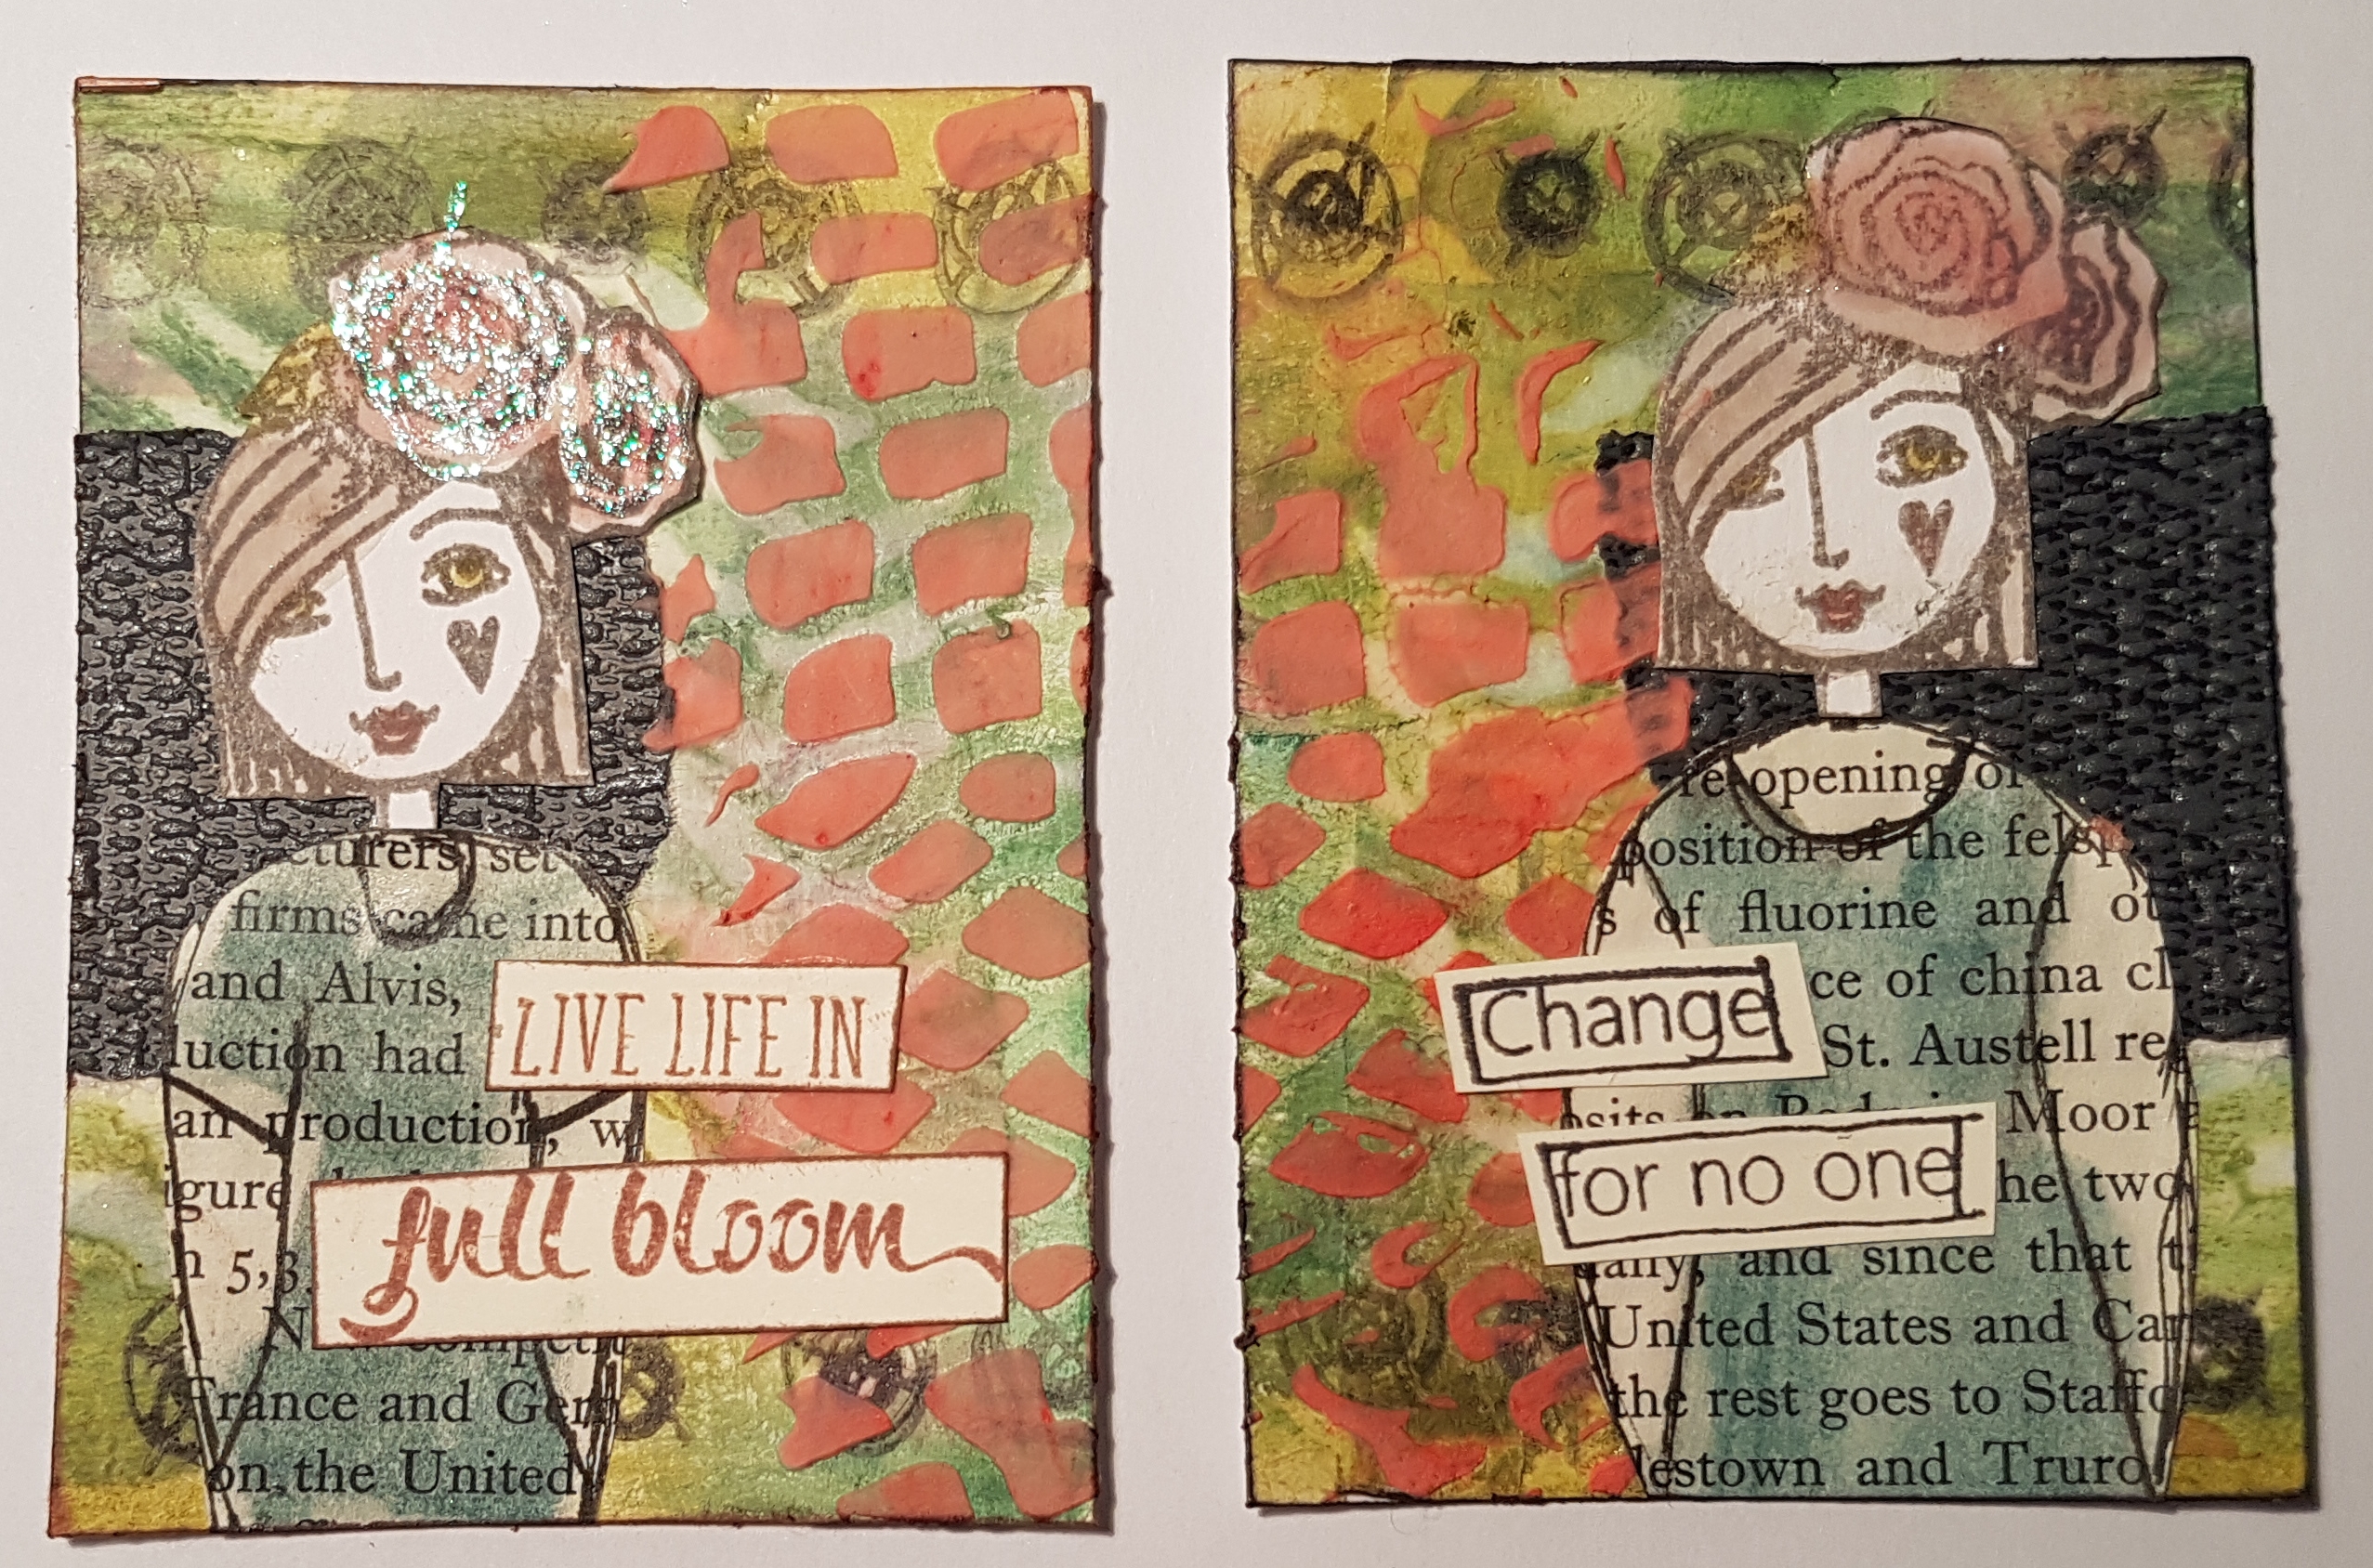
I then added some stamping using the badass chick stamps and a piece of the textured wallpaper in the centre. I then mixed some modelling paste with distress crayon and added it to the card through a stencil.
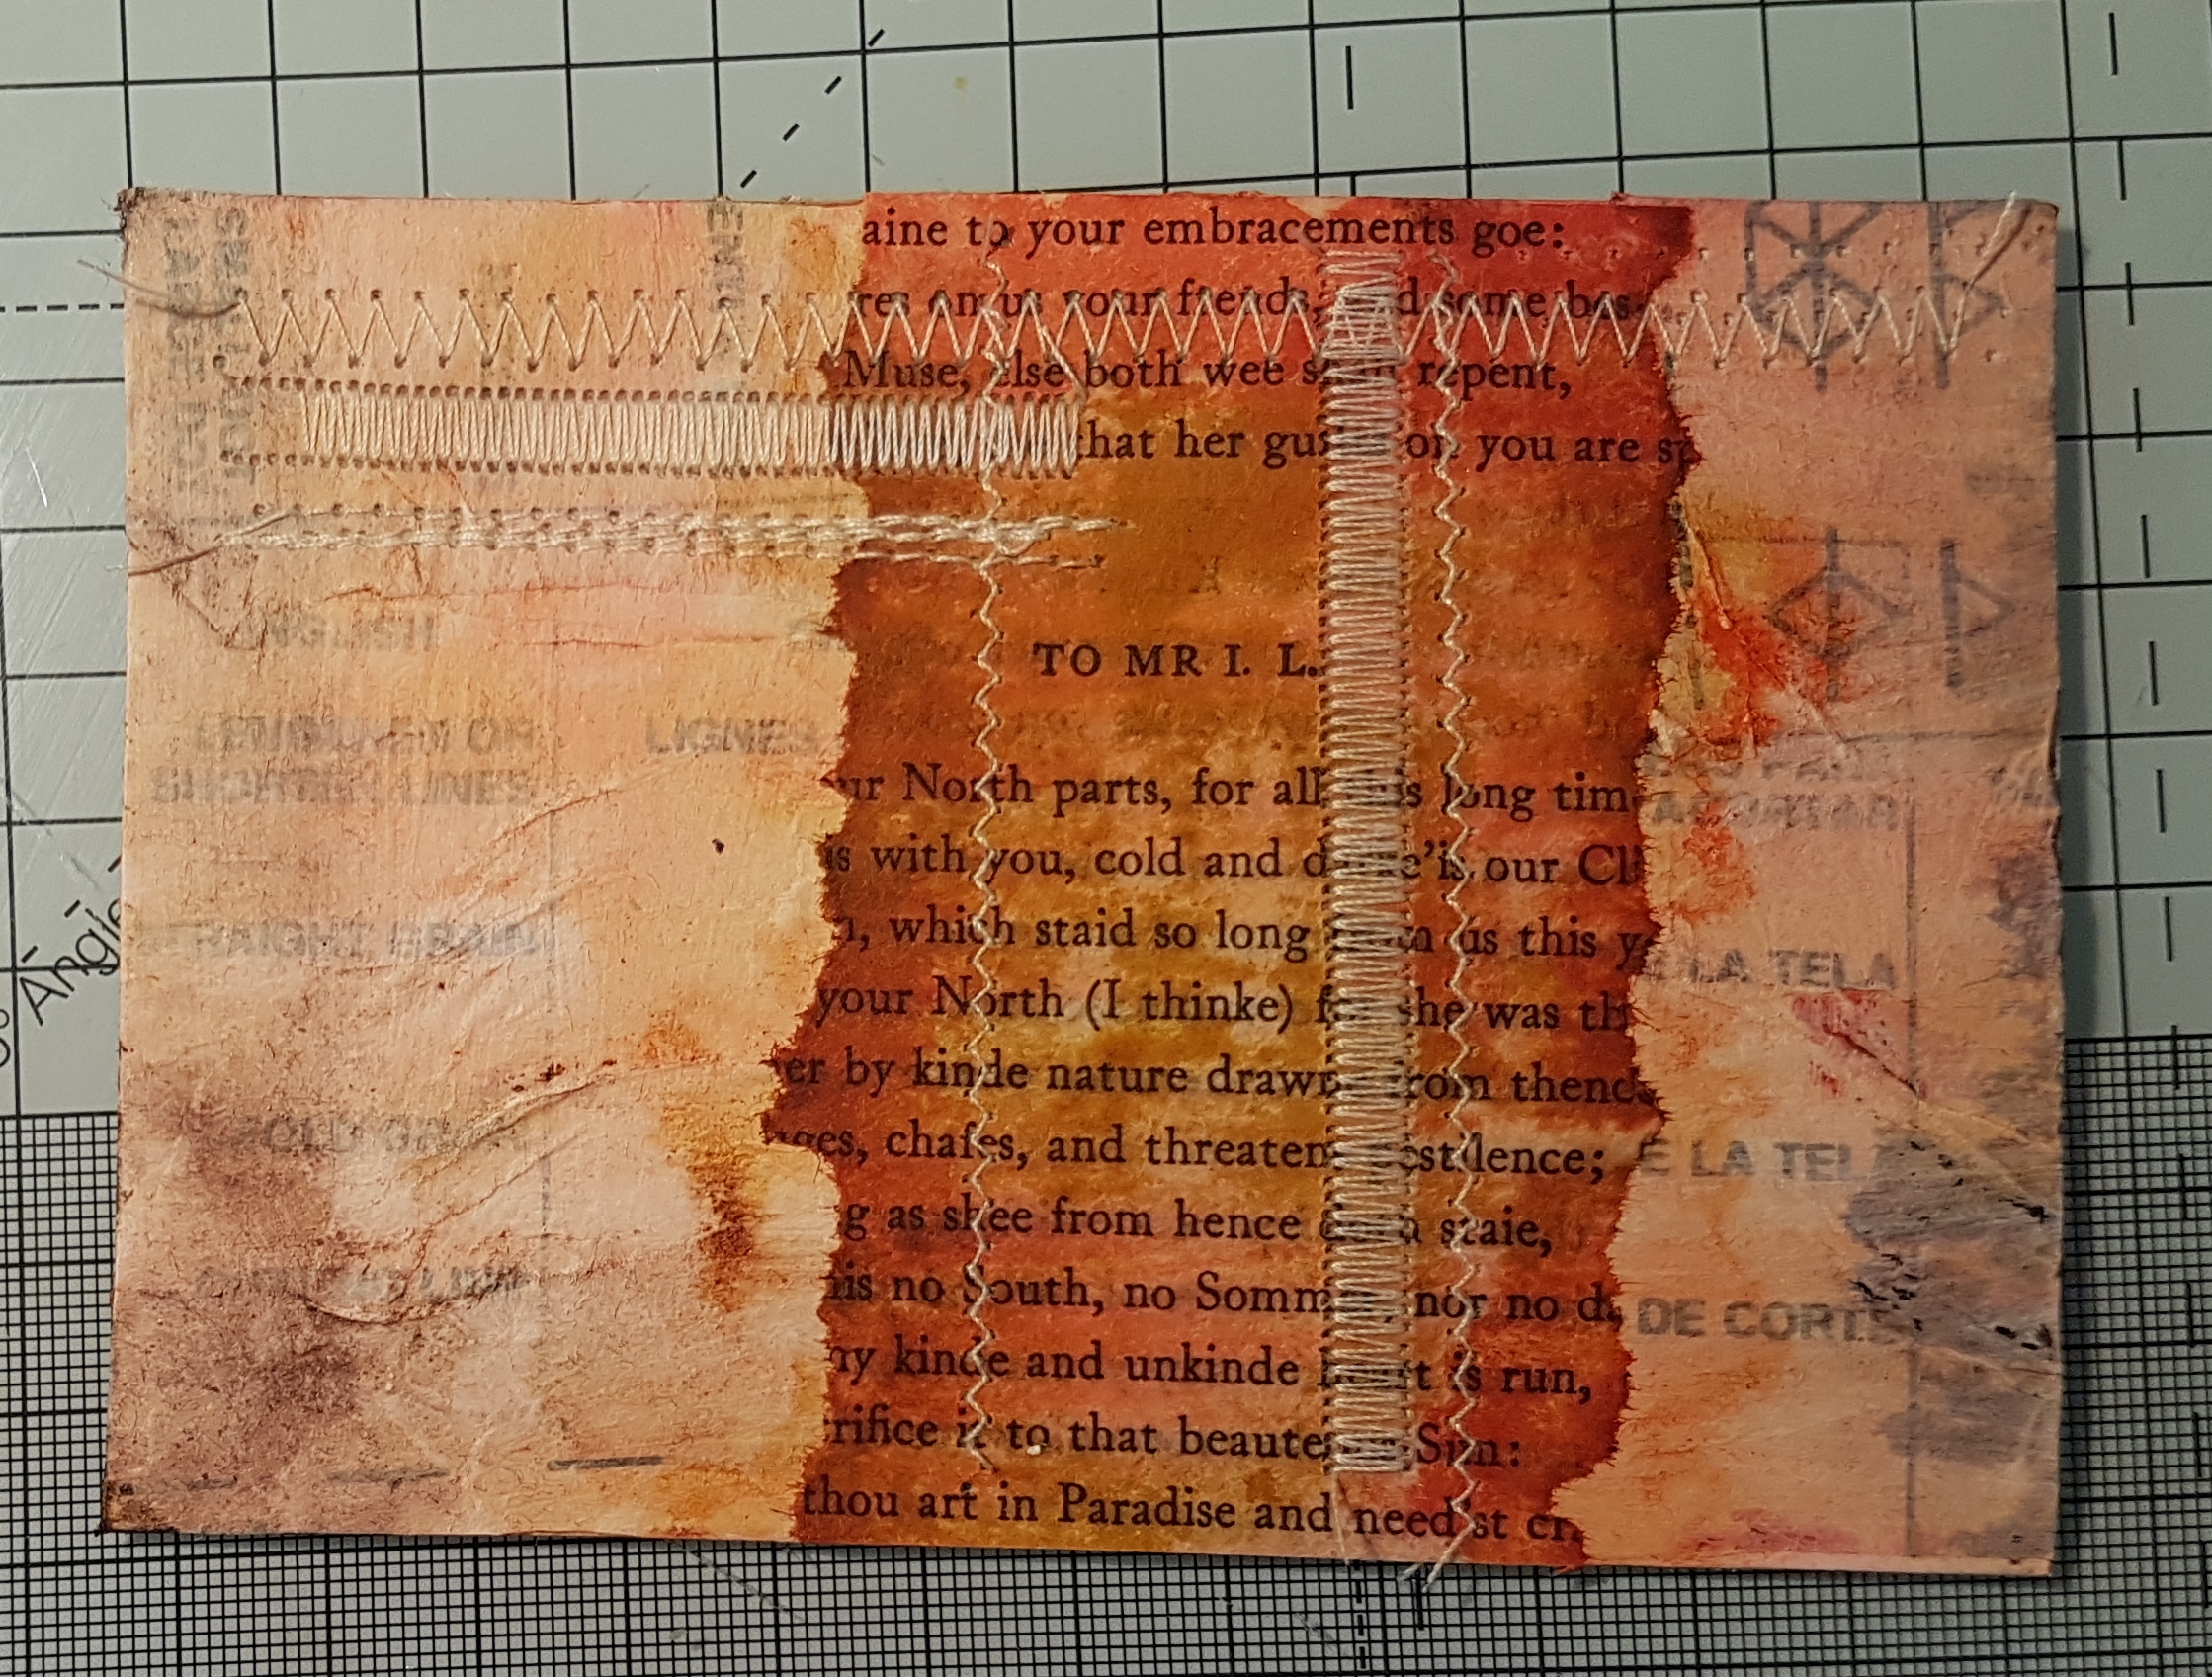
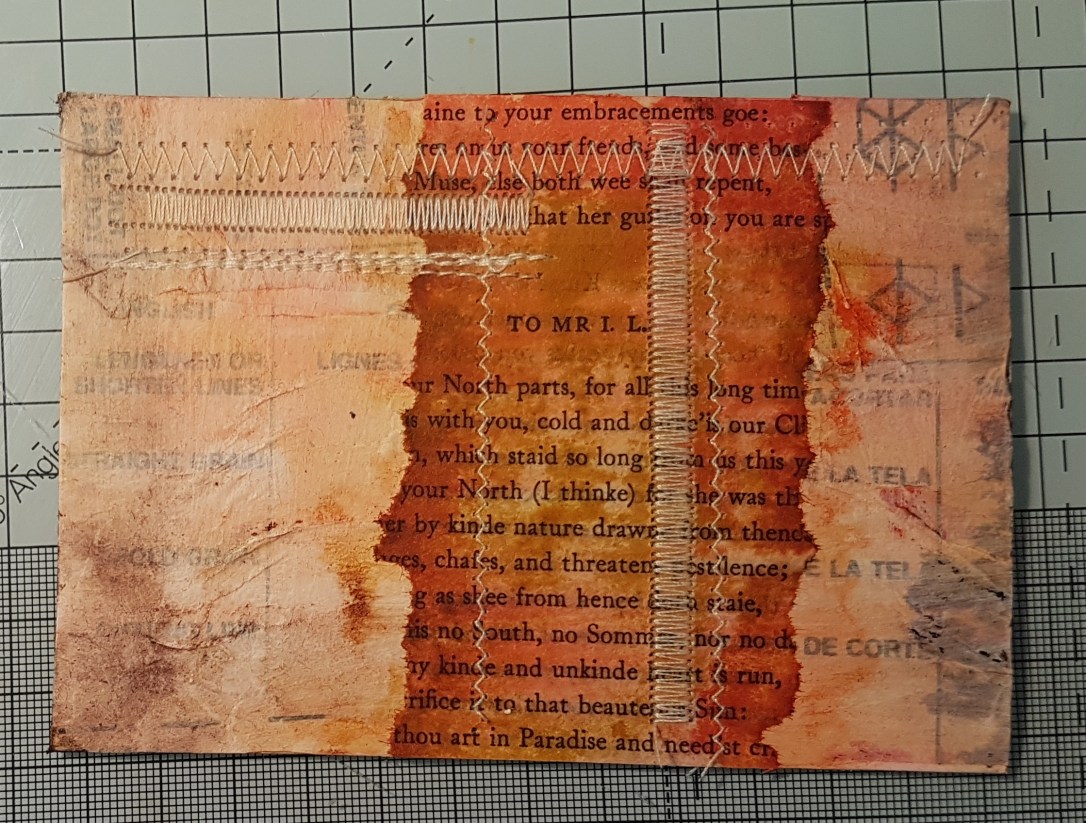
I left that to dry and moved onto the next card. This one had the sewing pattern paper on it. I added some book print and then distress stains. I love the different vibrancy as a result of the gesso and non gesso papers.  I then got out the sewing machine to add some stitching for extra texture.
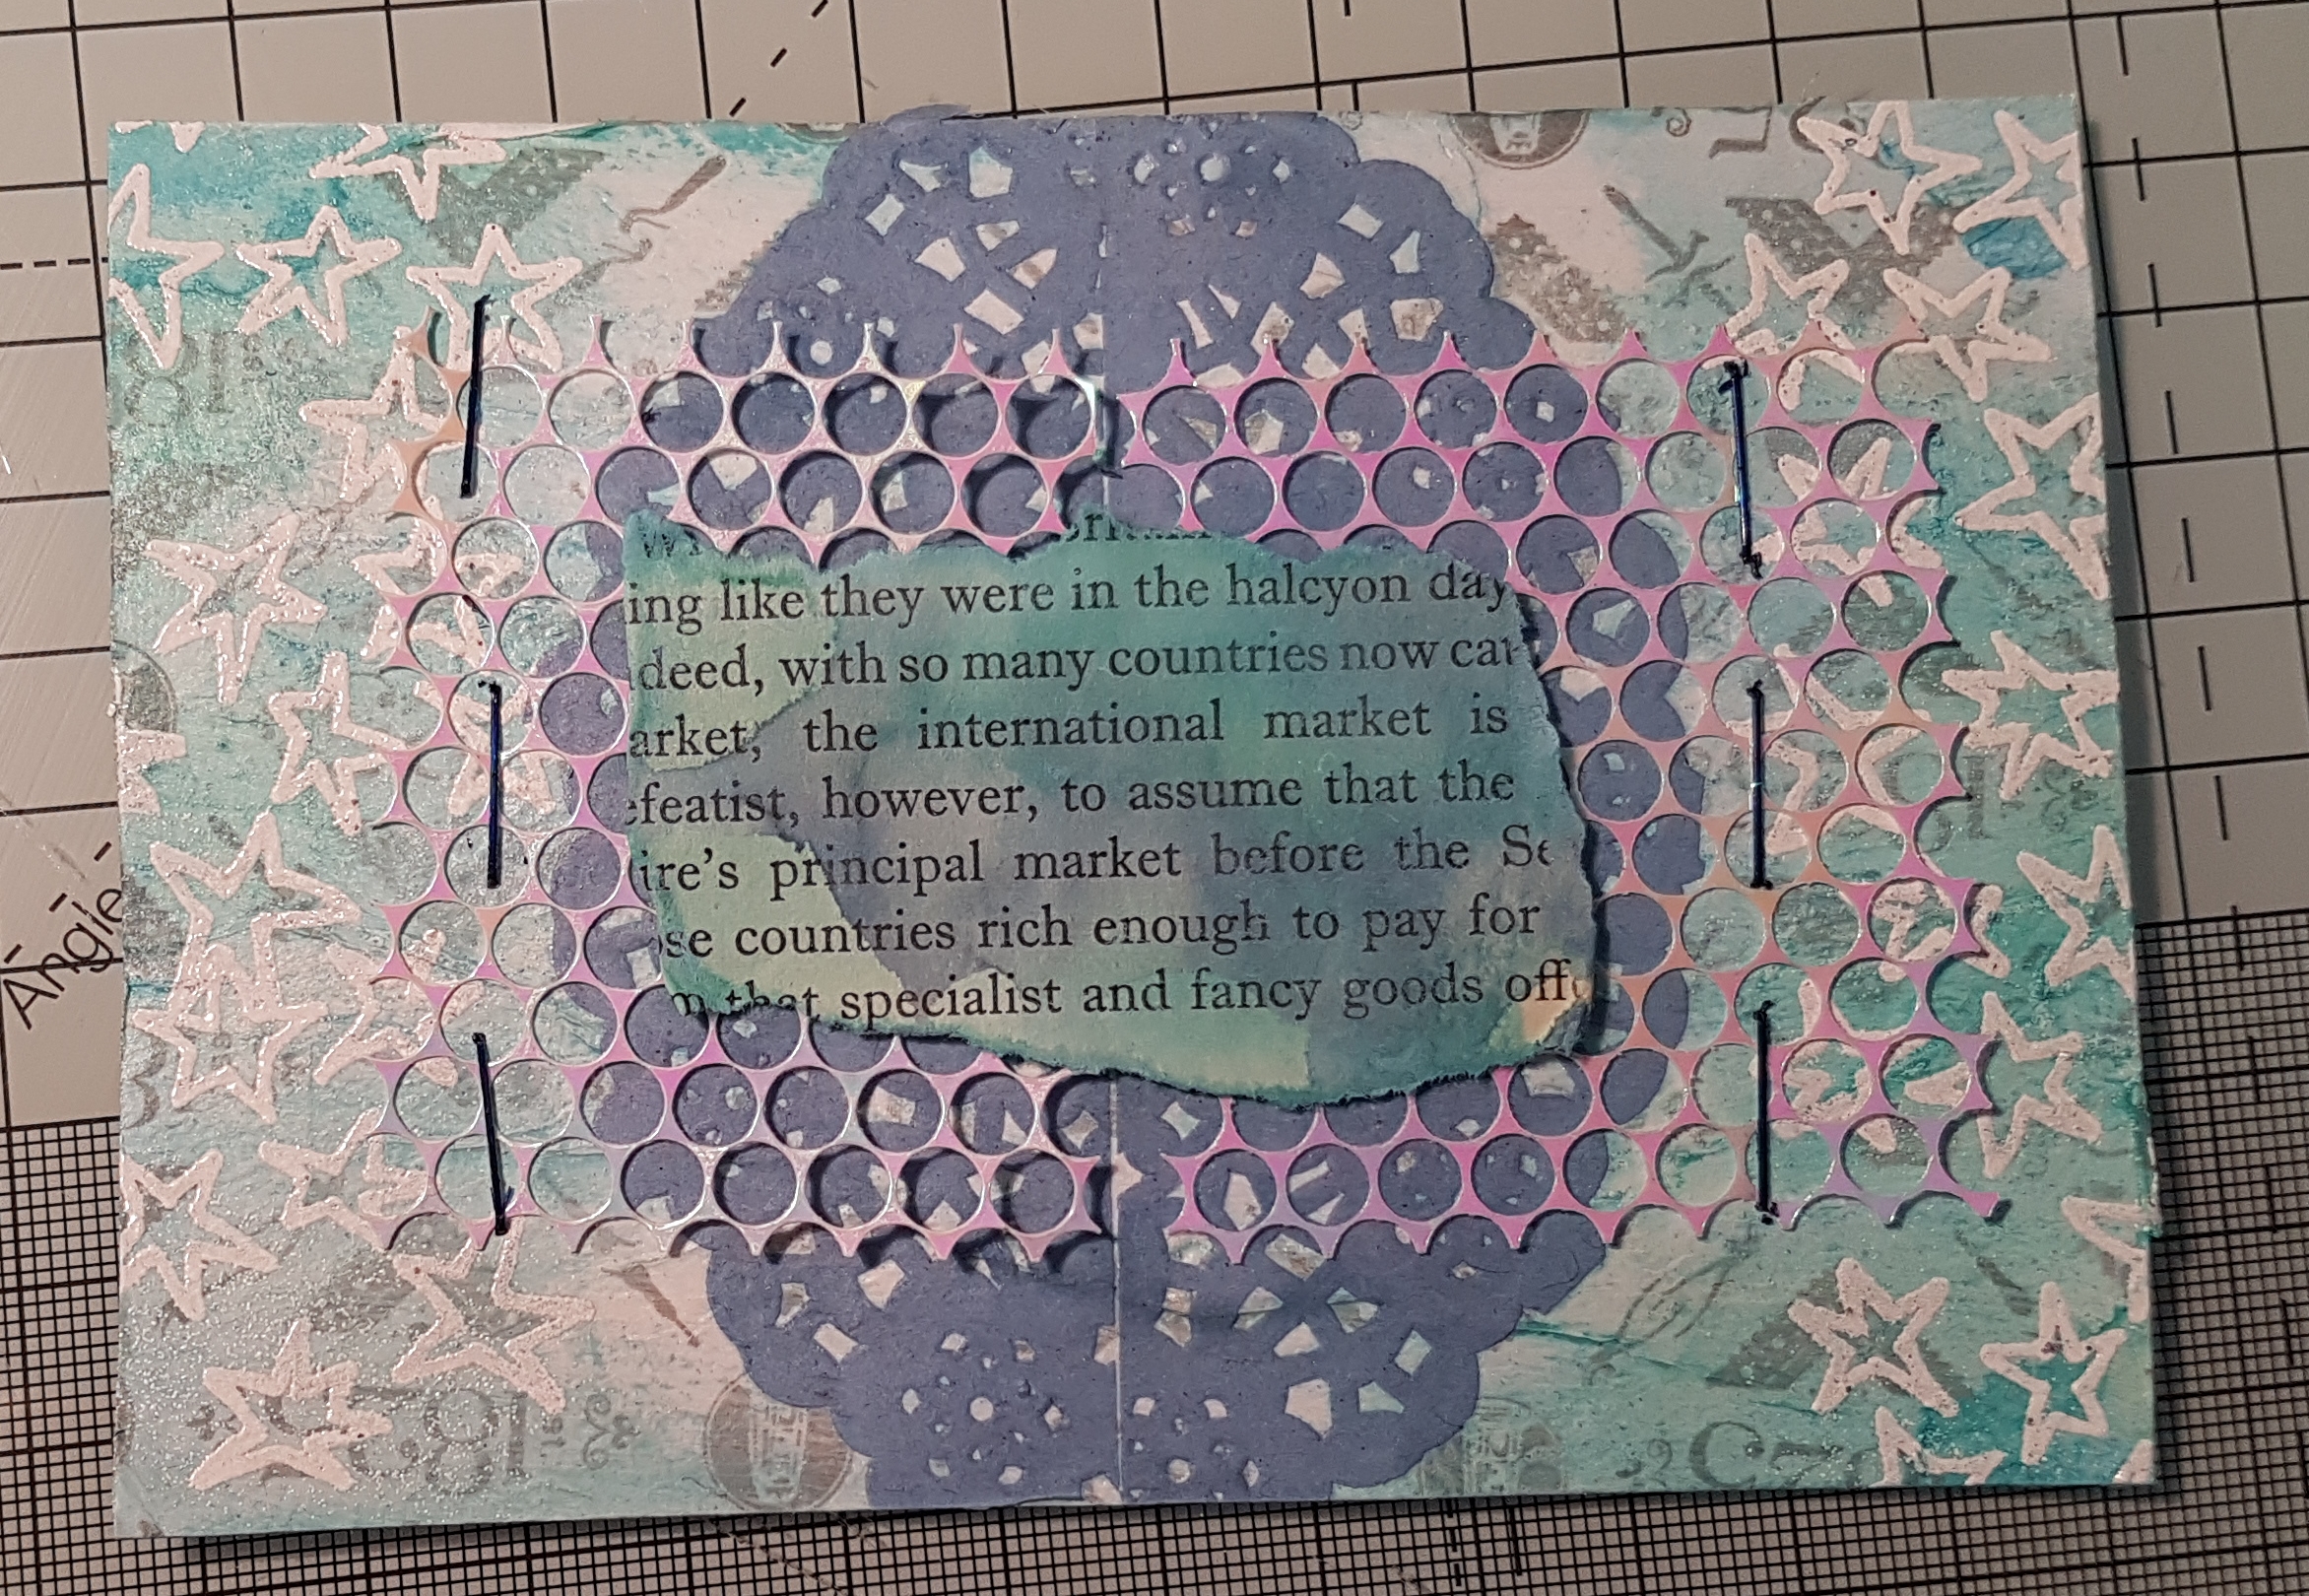
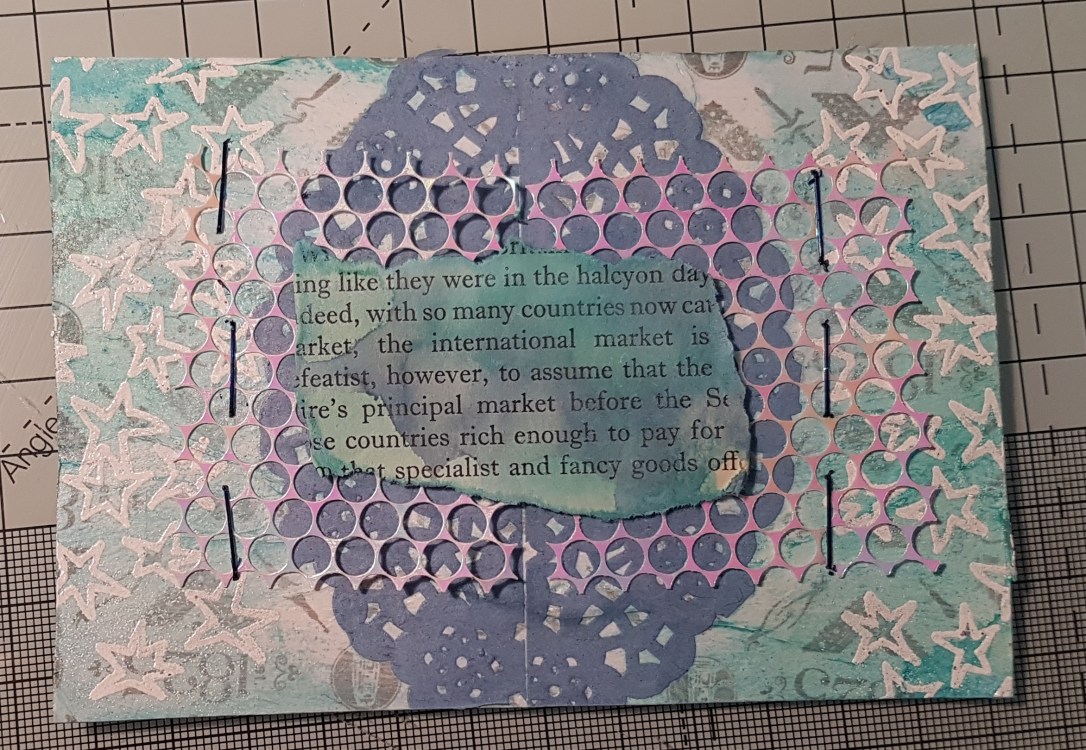
The next one was tissue paper from a shoe box which had some pattern and some numbers on it.  I added blue gelatos to colour and then heat embossed the stars with white powder. Then I added pieces of a blue doily and some sequin waste using some blue staples. Finally I added some book print it had added colour to using distress oxides.
Right onto the next one… 

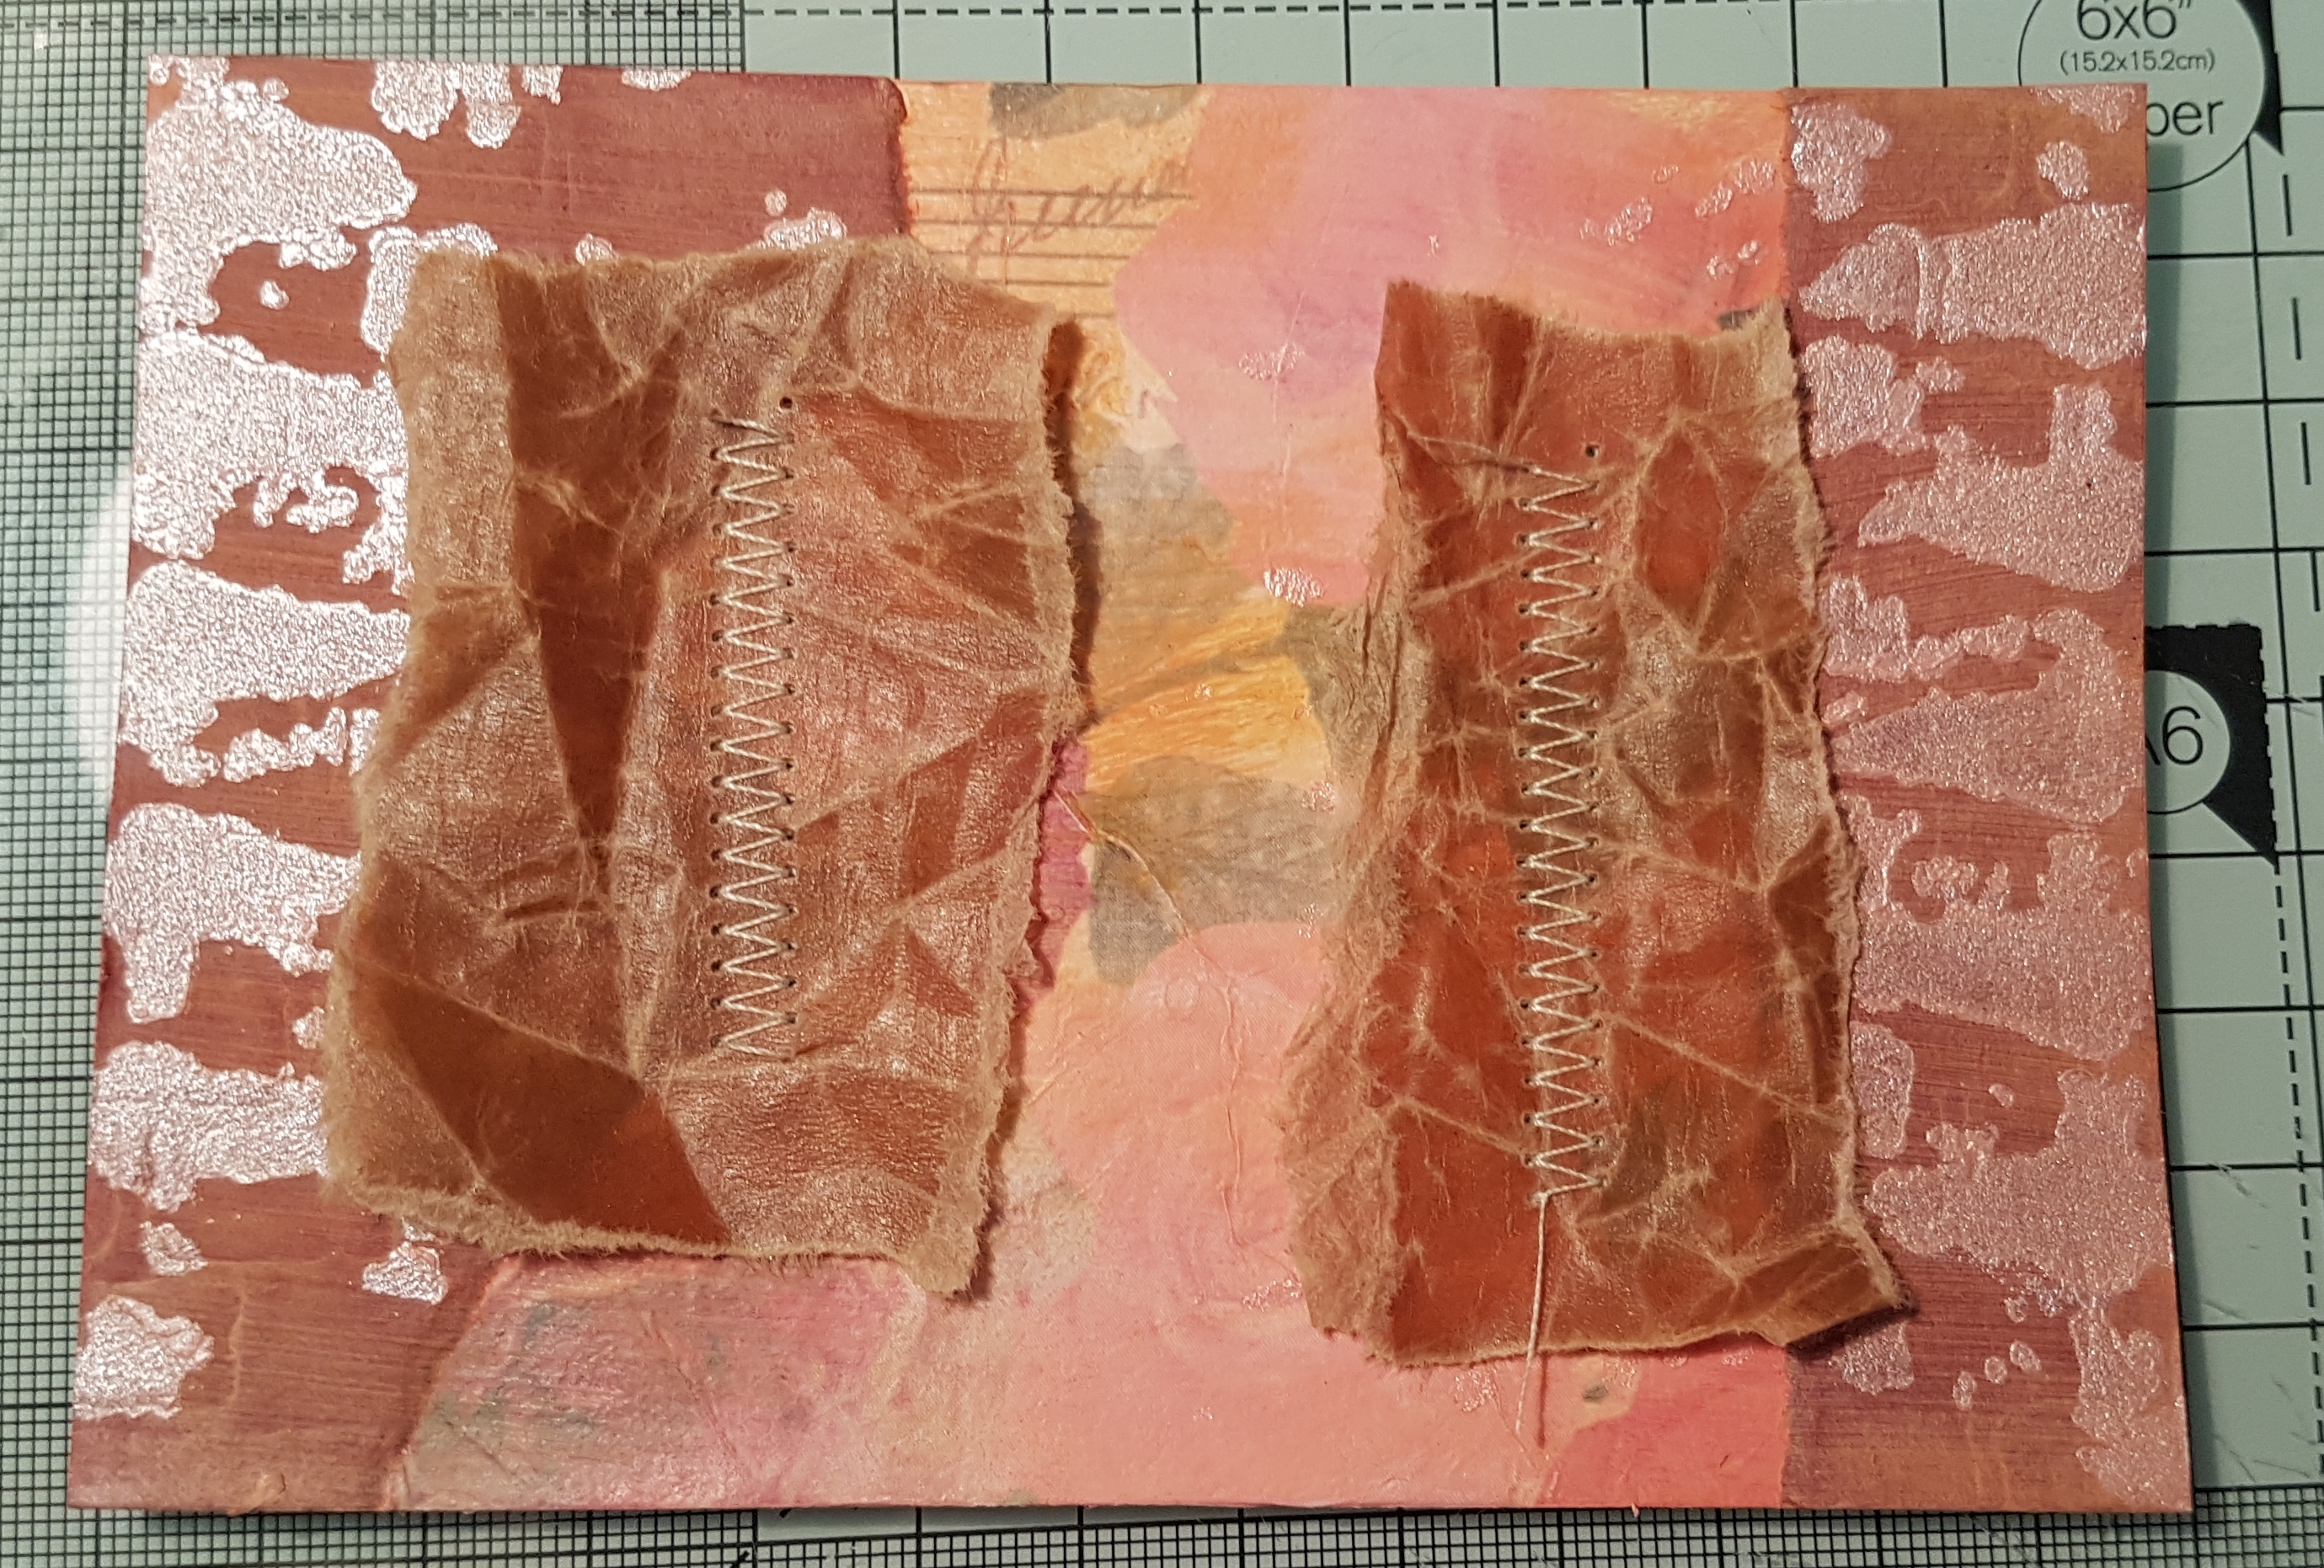
This was some floral vintage style tissue paper. I added some red card that I had impressed a brickwork die onto but by the time I had added gesso over the top and Matte medium this had pretty mich disappeared. I then added some more colour using gelatos and then through a stencil I added some of the art alchemy paint in a pale pink colour.  Finally I added two strips of wax paper that I used the sewing machine to adhere to the panel. 
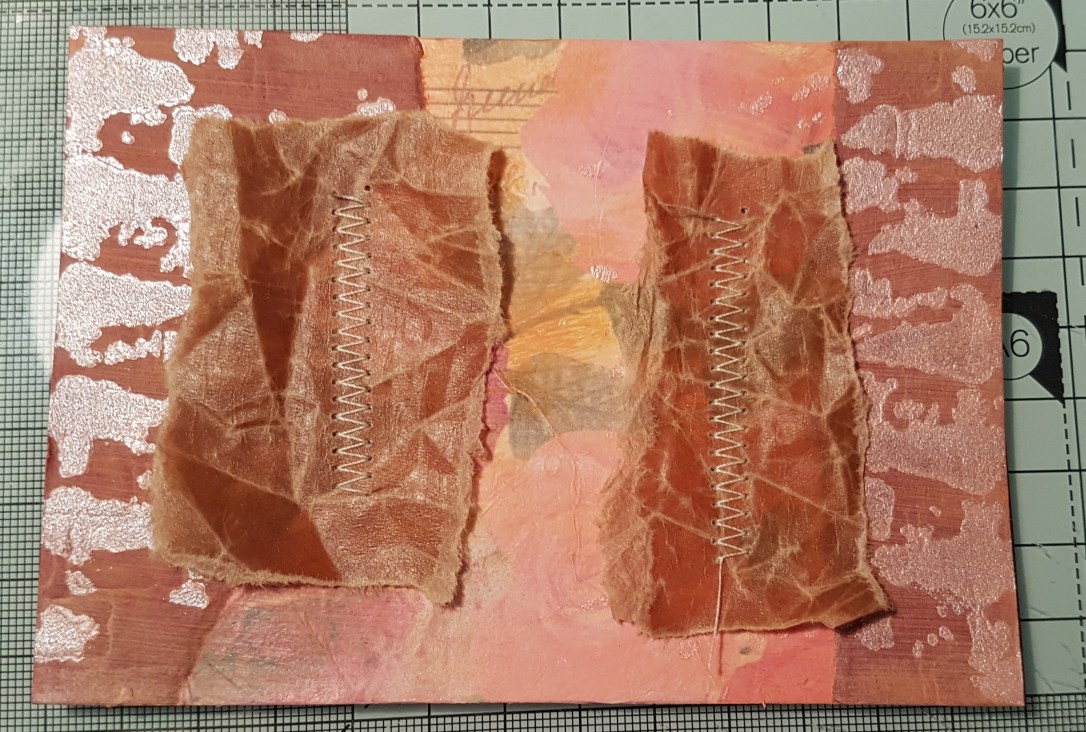
Next I had a bit of a heat him issue with! But still I love it! 

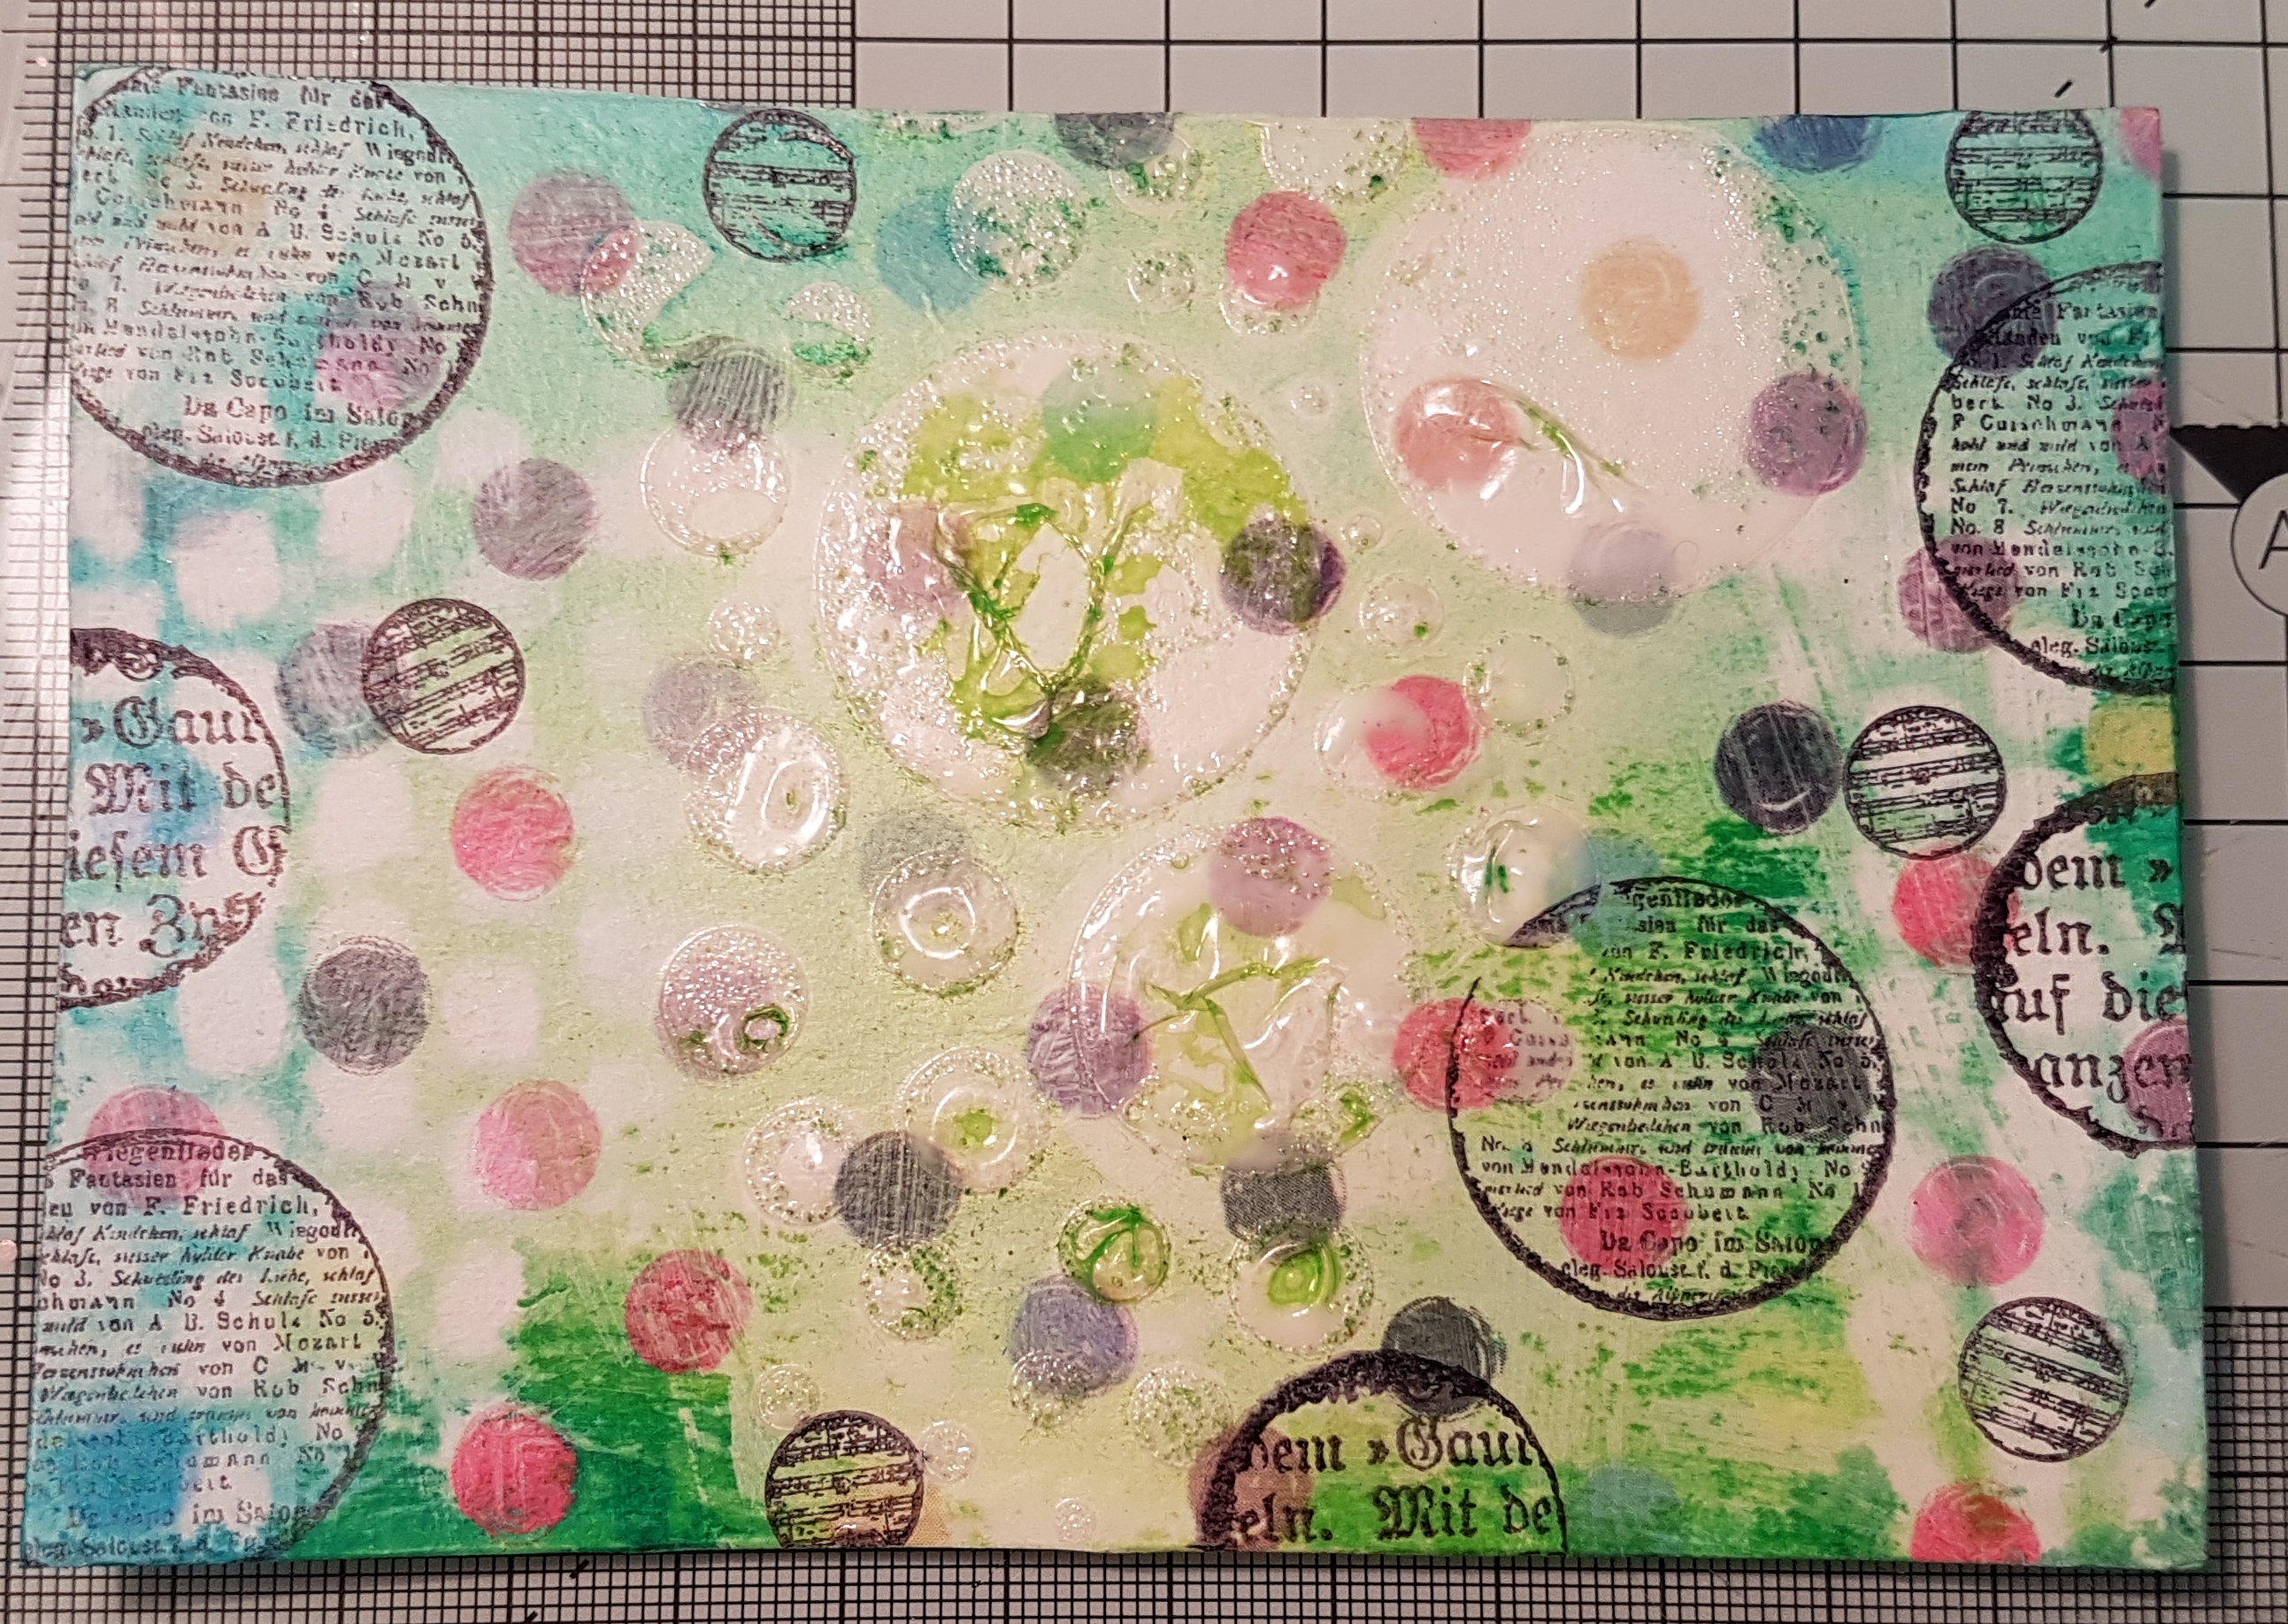
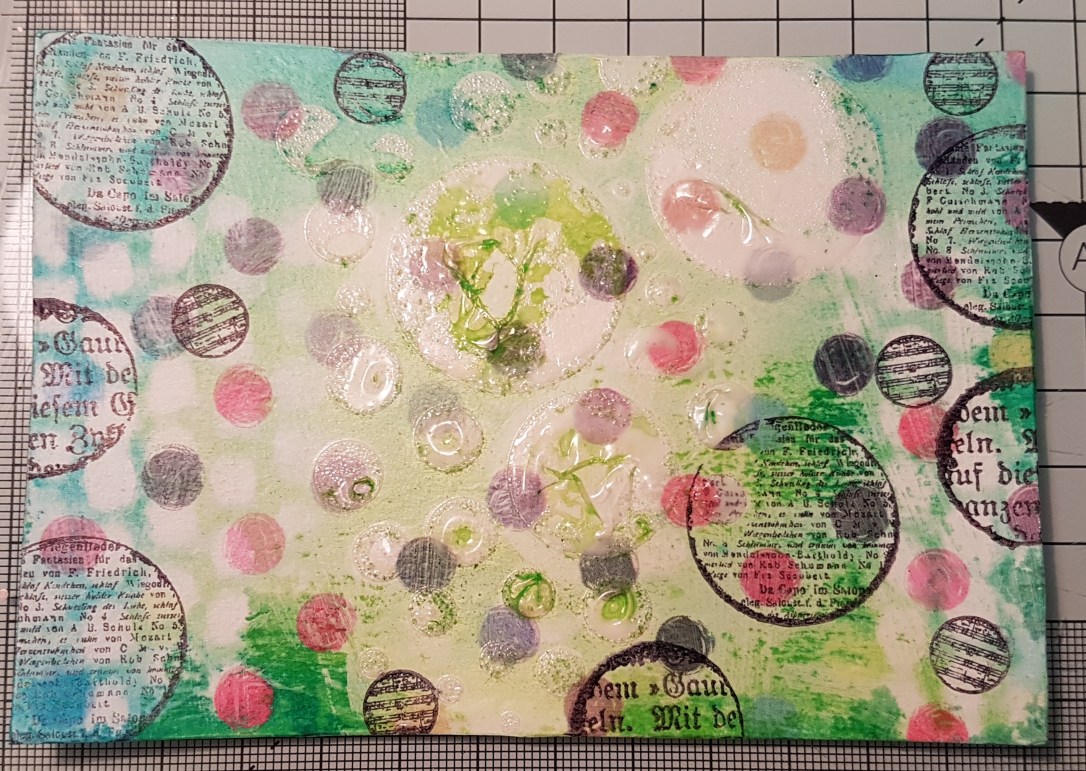
I used some spotty tissue paper on this and after a very light coat of gesso I added some transparent glossy texture paste through a circles stencil. 

This once dry added a lovely resist so then I added distress stain in blues and greens but when impatient for them to dry I took my heat tool to speed things up forgetting that the texture paste doesn’t play with heat so ended up making a bit of a mess of the circles which meant the ink did seem into them. Ah Well! Never mind. To add to the circle theme I wiped some of the ink away through another stencil and then added the Finnabair circle stamps.
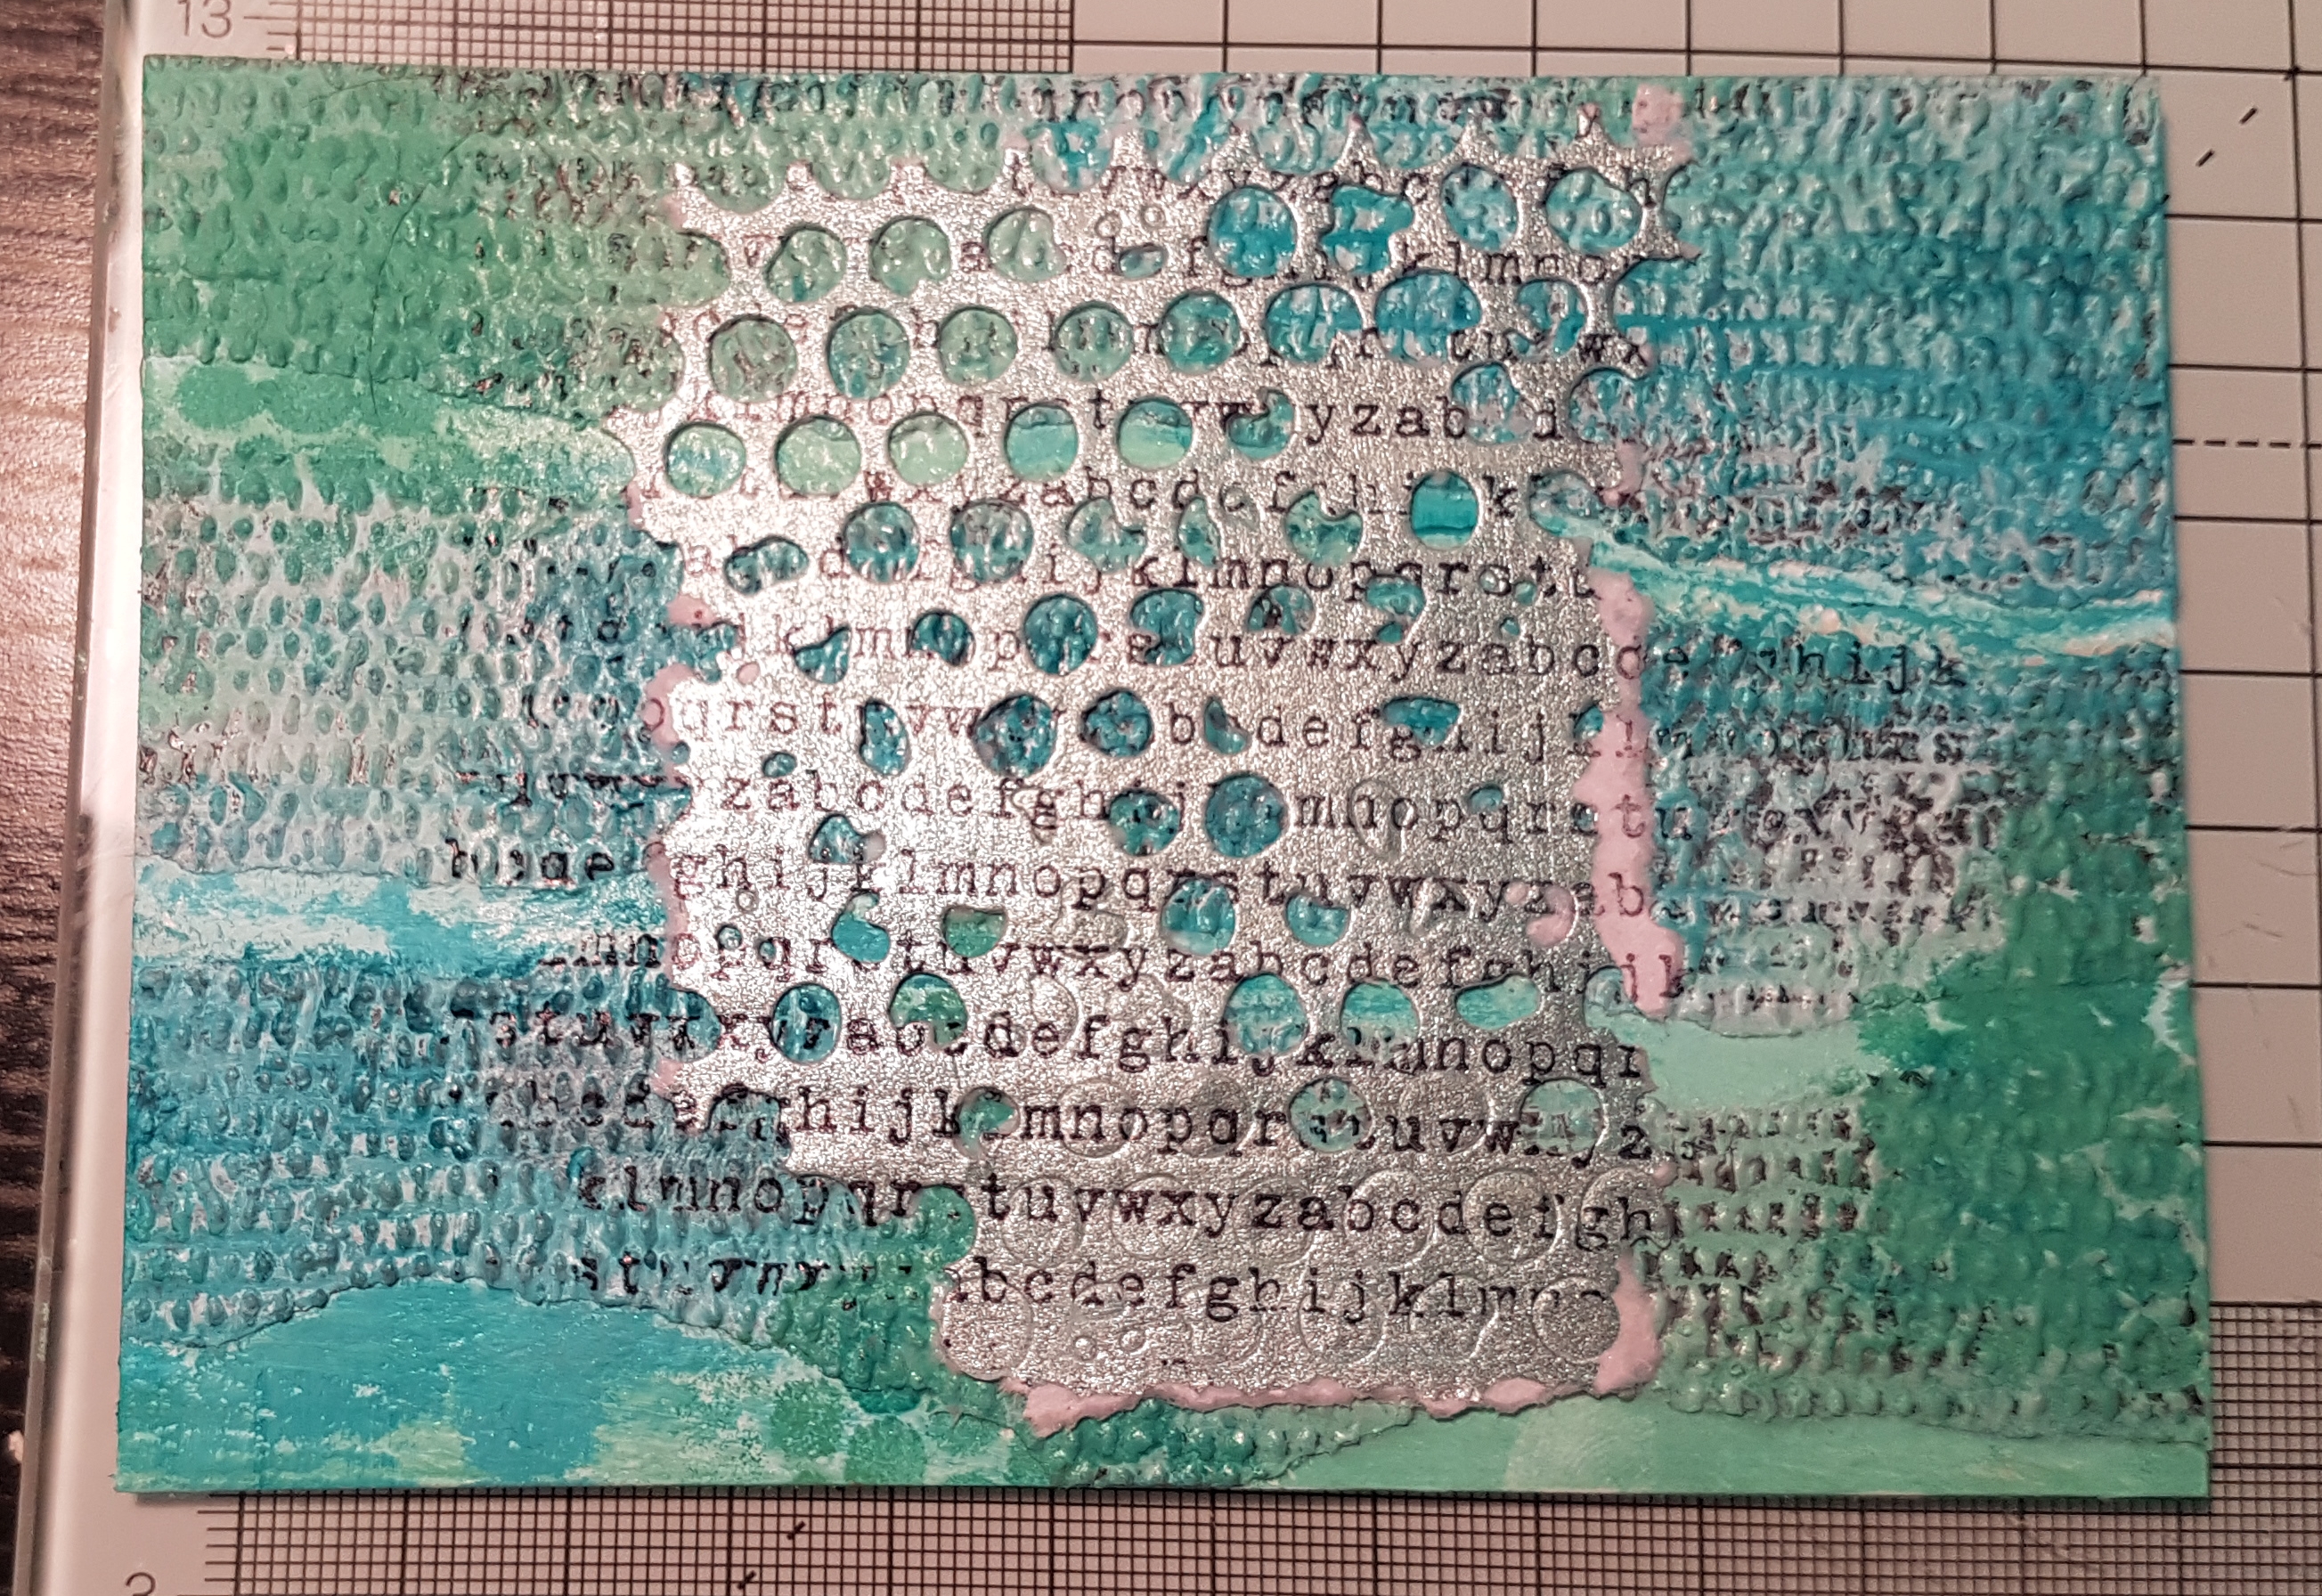
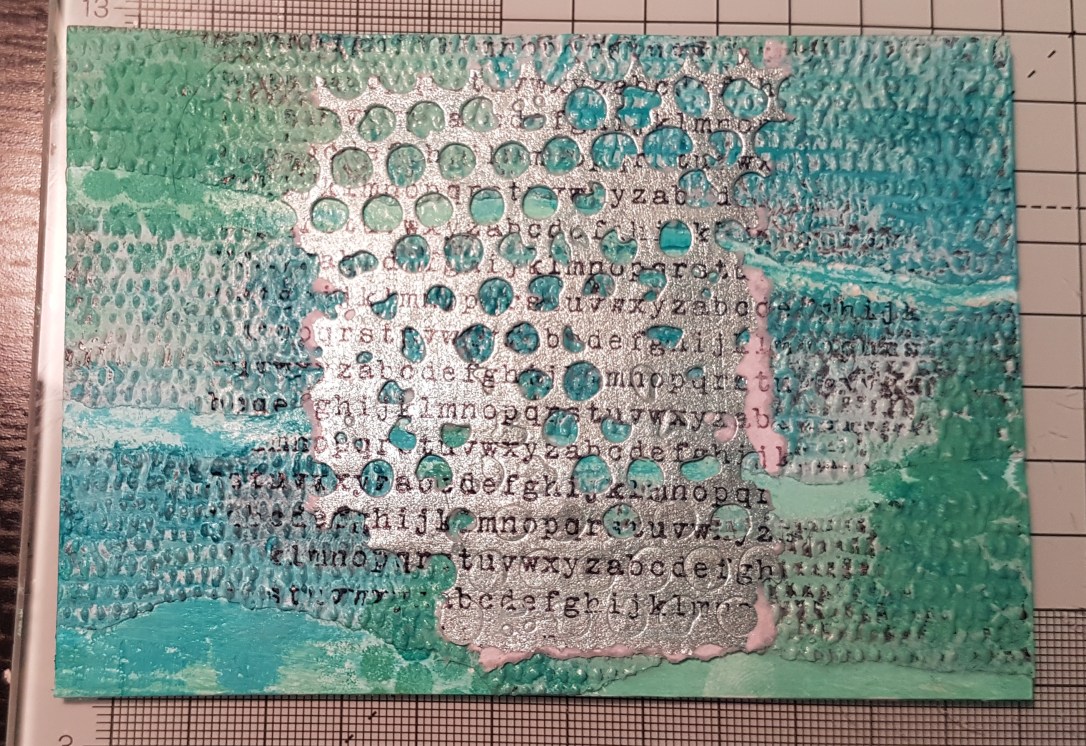
Final one… I had added the textured wallpaper to this one in torn strips. I used the Paperartsy fresco finish paints to add the colour and then used the Art alchemy sparks paint to paint a piece of watercolour paper that I then die cut using a Tim Holtz die. After adhering this I added some text stamping using the Gummipan stamp.
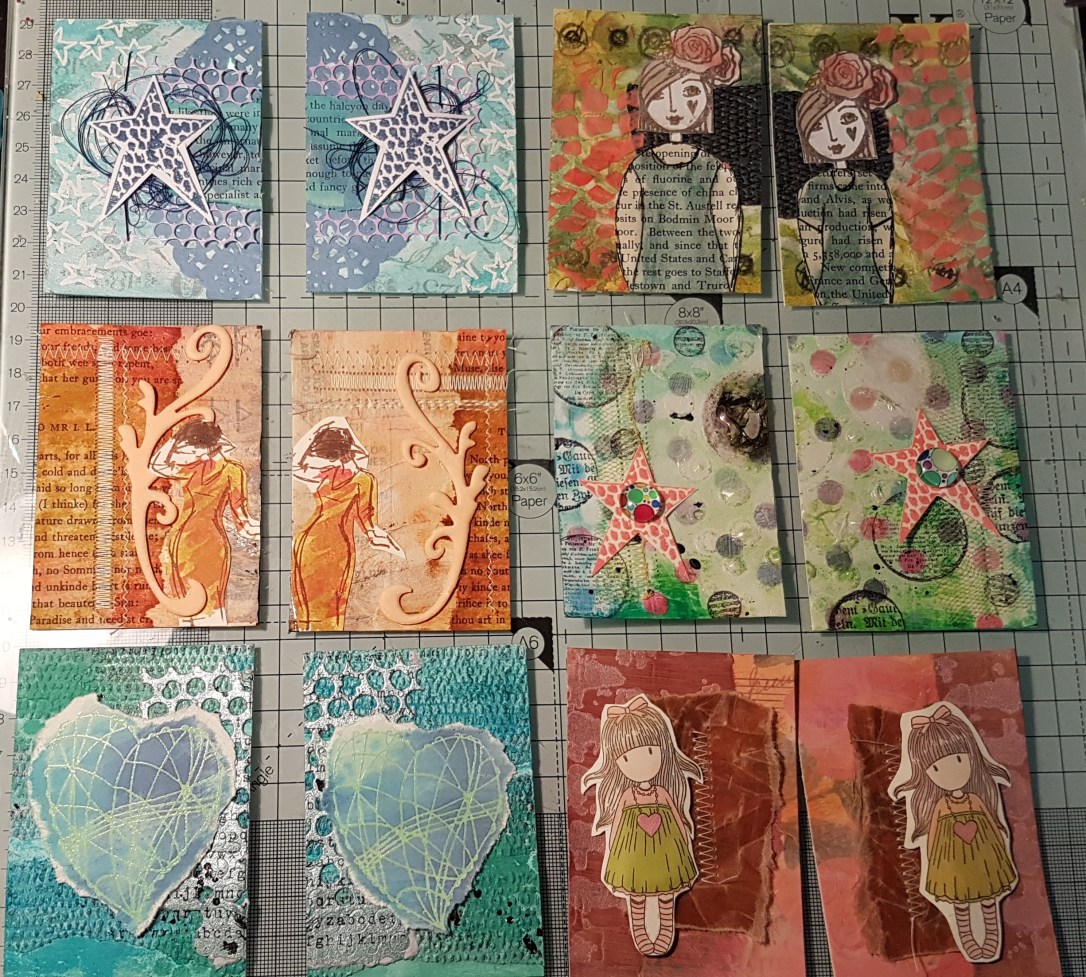
So these were my six panels ready to make into ATCs.  I took each panel and trimmed it to size and then started adding the rest of the pieces on to turn them into mini artworks. I used a mixture of stamps and embellishments to do this.  And this is where they all got organised and adhered. Particularly like the Craft stamper Magazine star that Kim Dellow designed. And I hadn’t used the Clarity tangled heart in a long time! 
Then it was time to finish each piece off.

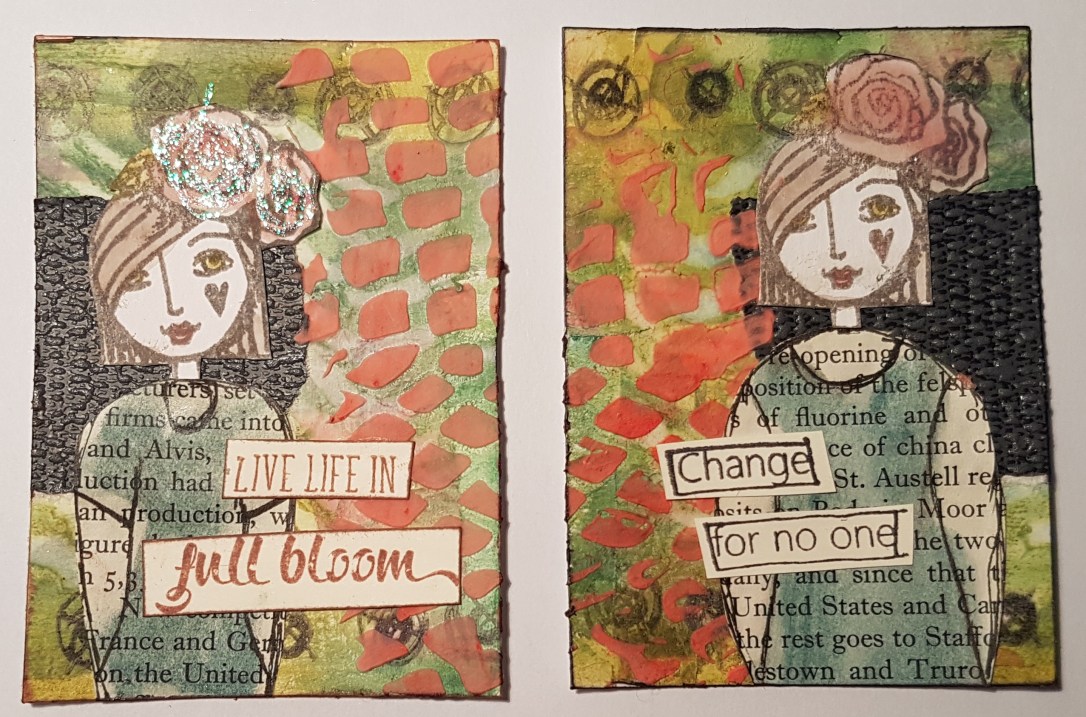
The first panel I added the Badass chicks girl head stamp and gave her a body from book print. I coloured her with distress crayons and then added stickles to one set of the flowers and glossy accents to the other.  I then chose some sentiments for the titles.
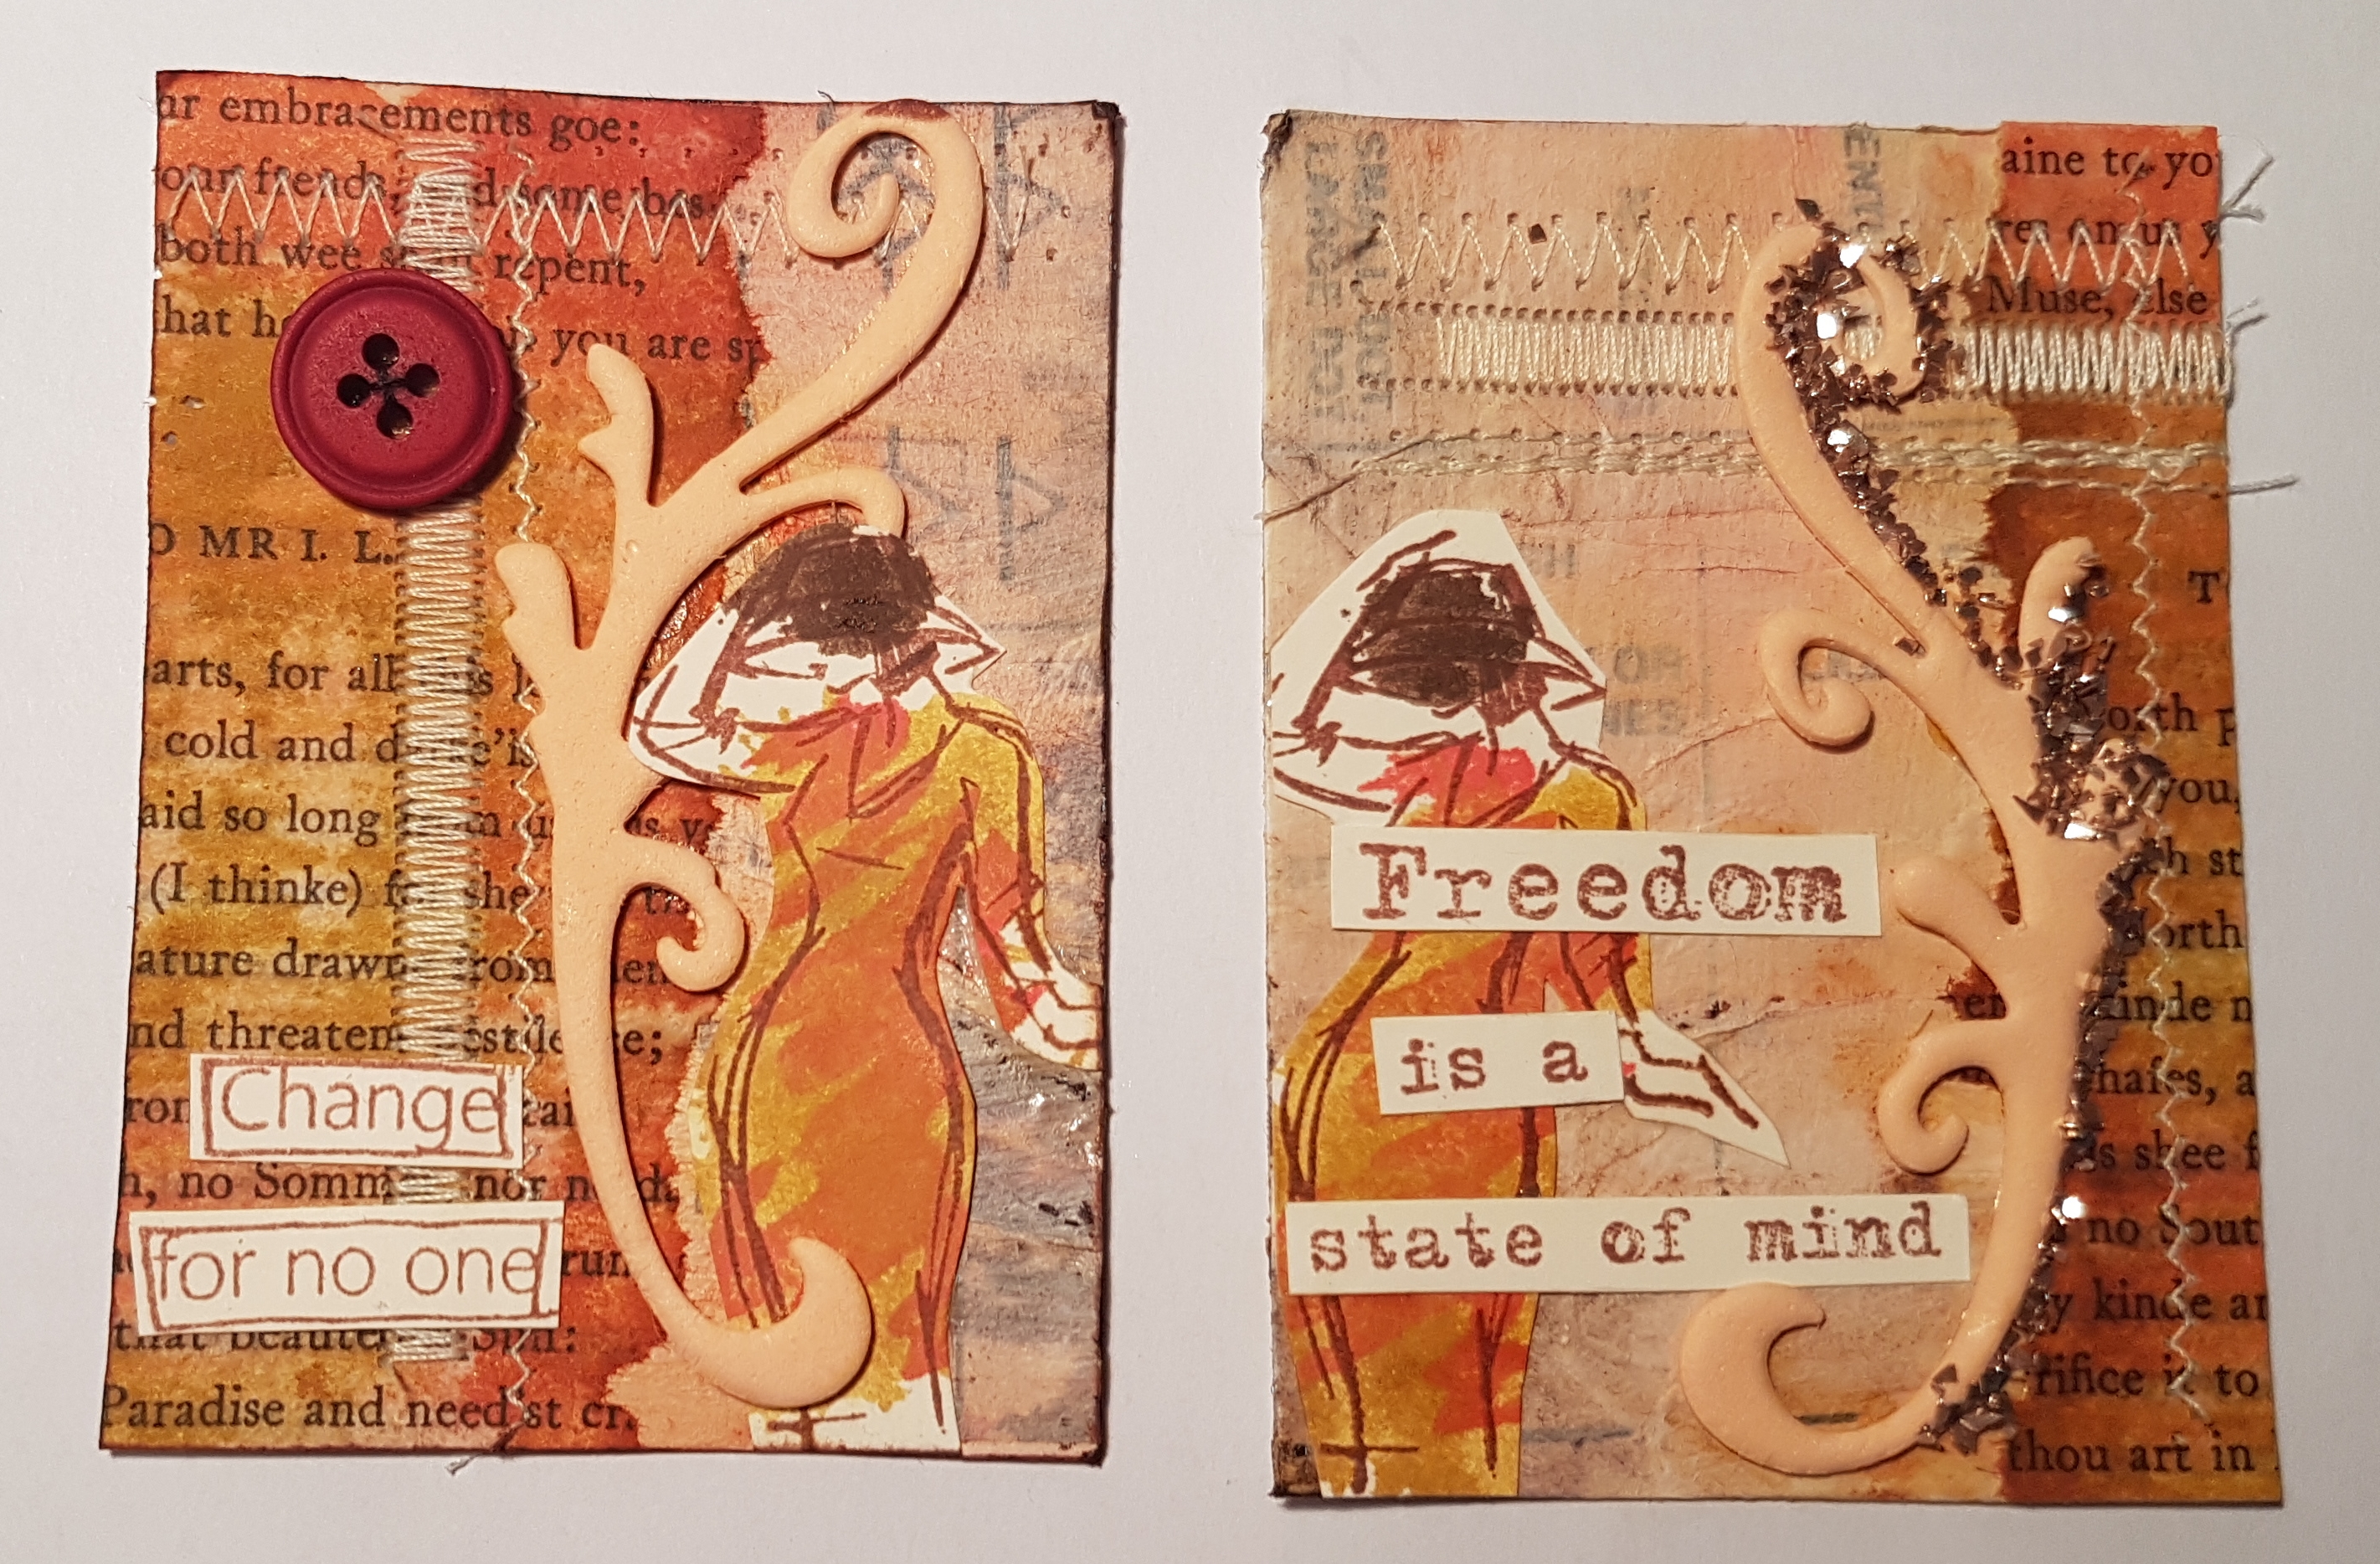
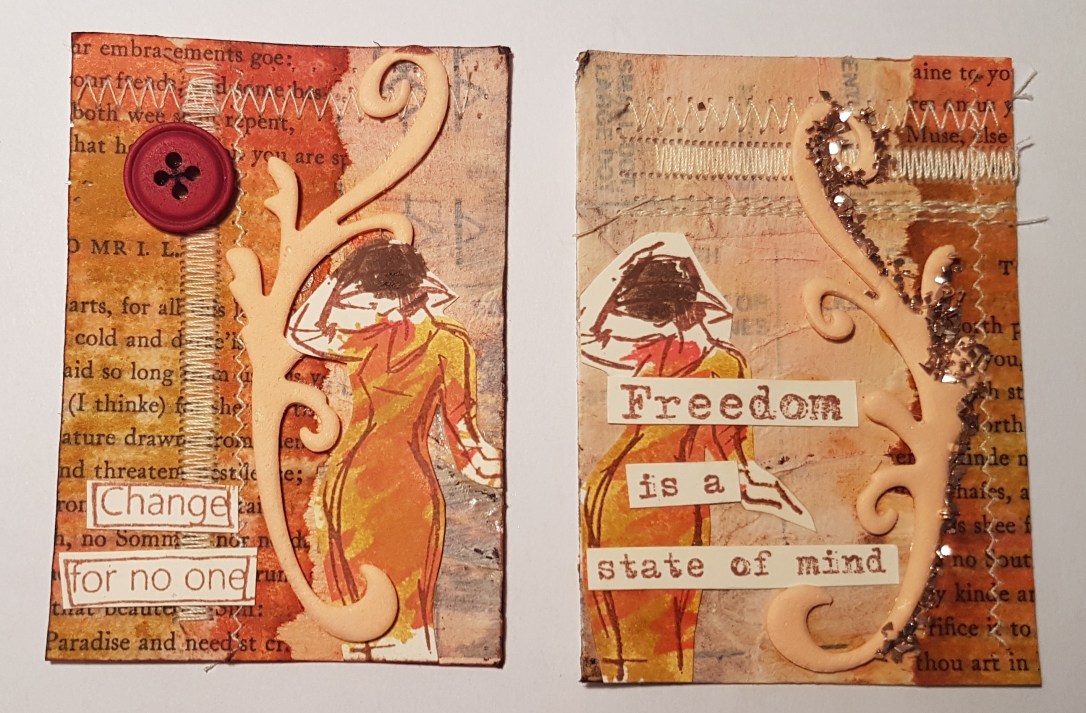
The next one I added some diecuts from craft foam and one of the stamped girls from the Stampin Up Beautiful You set.  I also added a sentiment for each. Then on one I chose to add the glitter flakes and the other got a button.
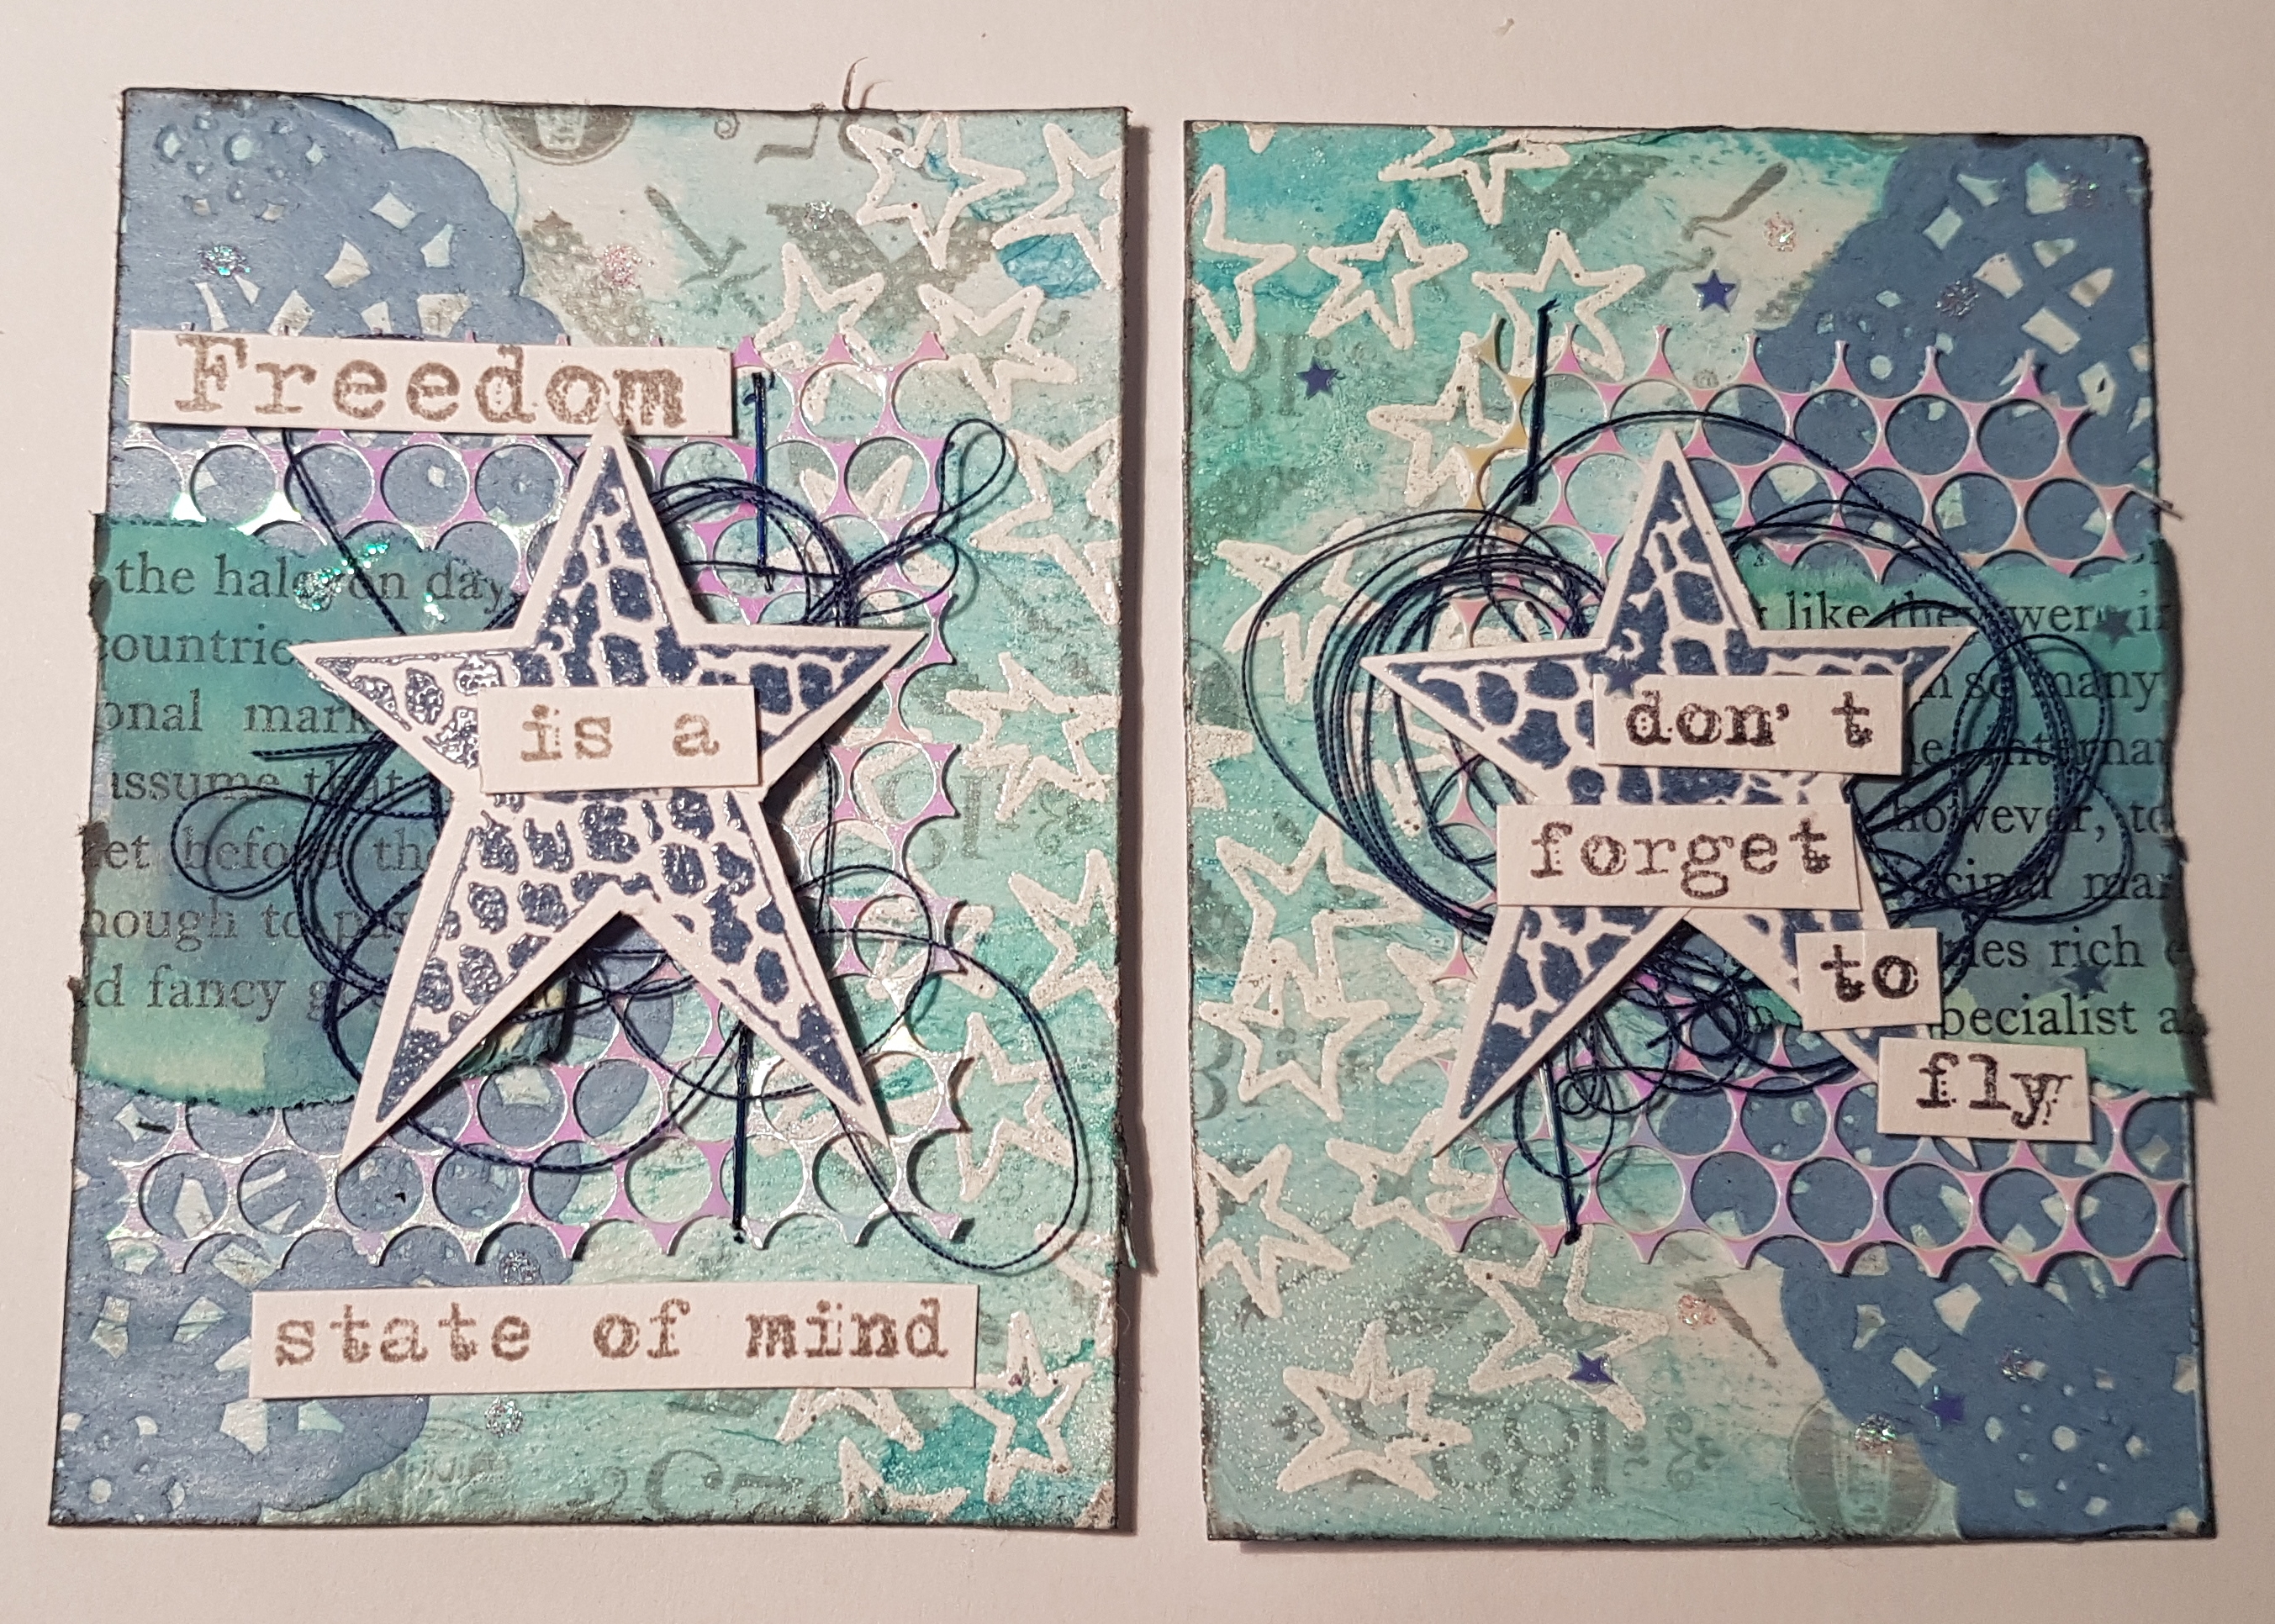
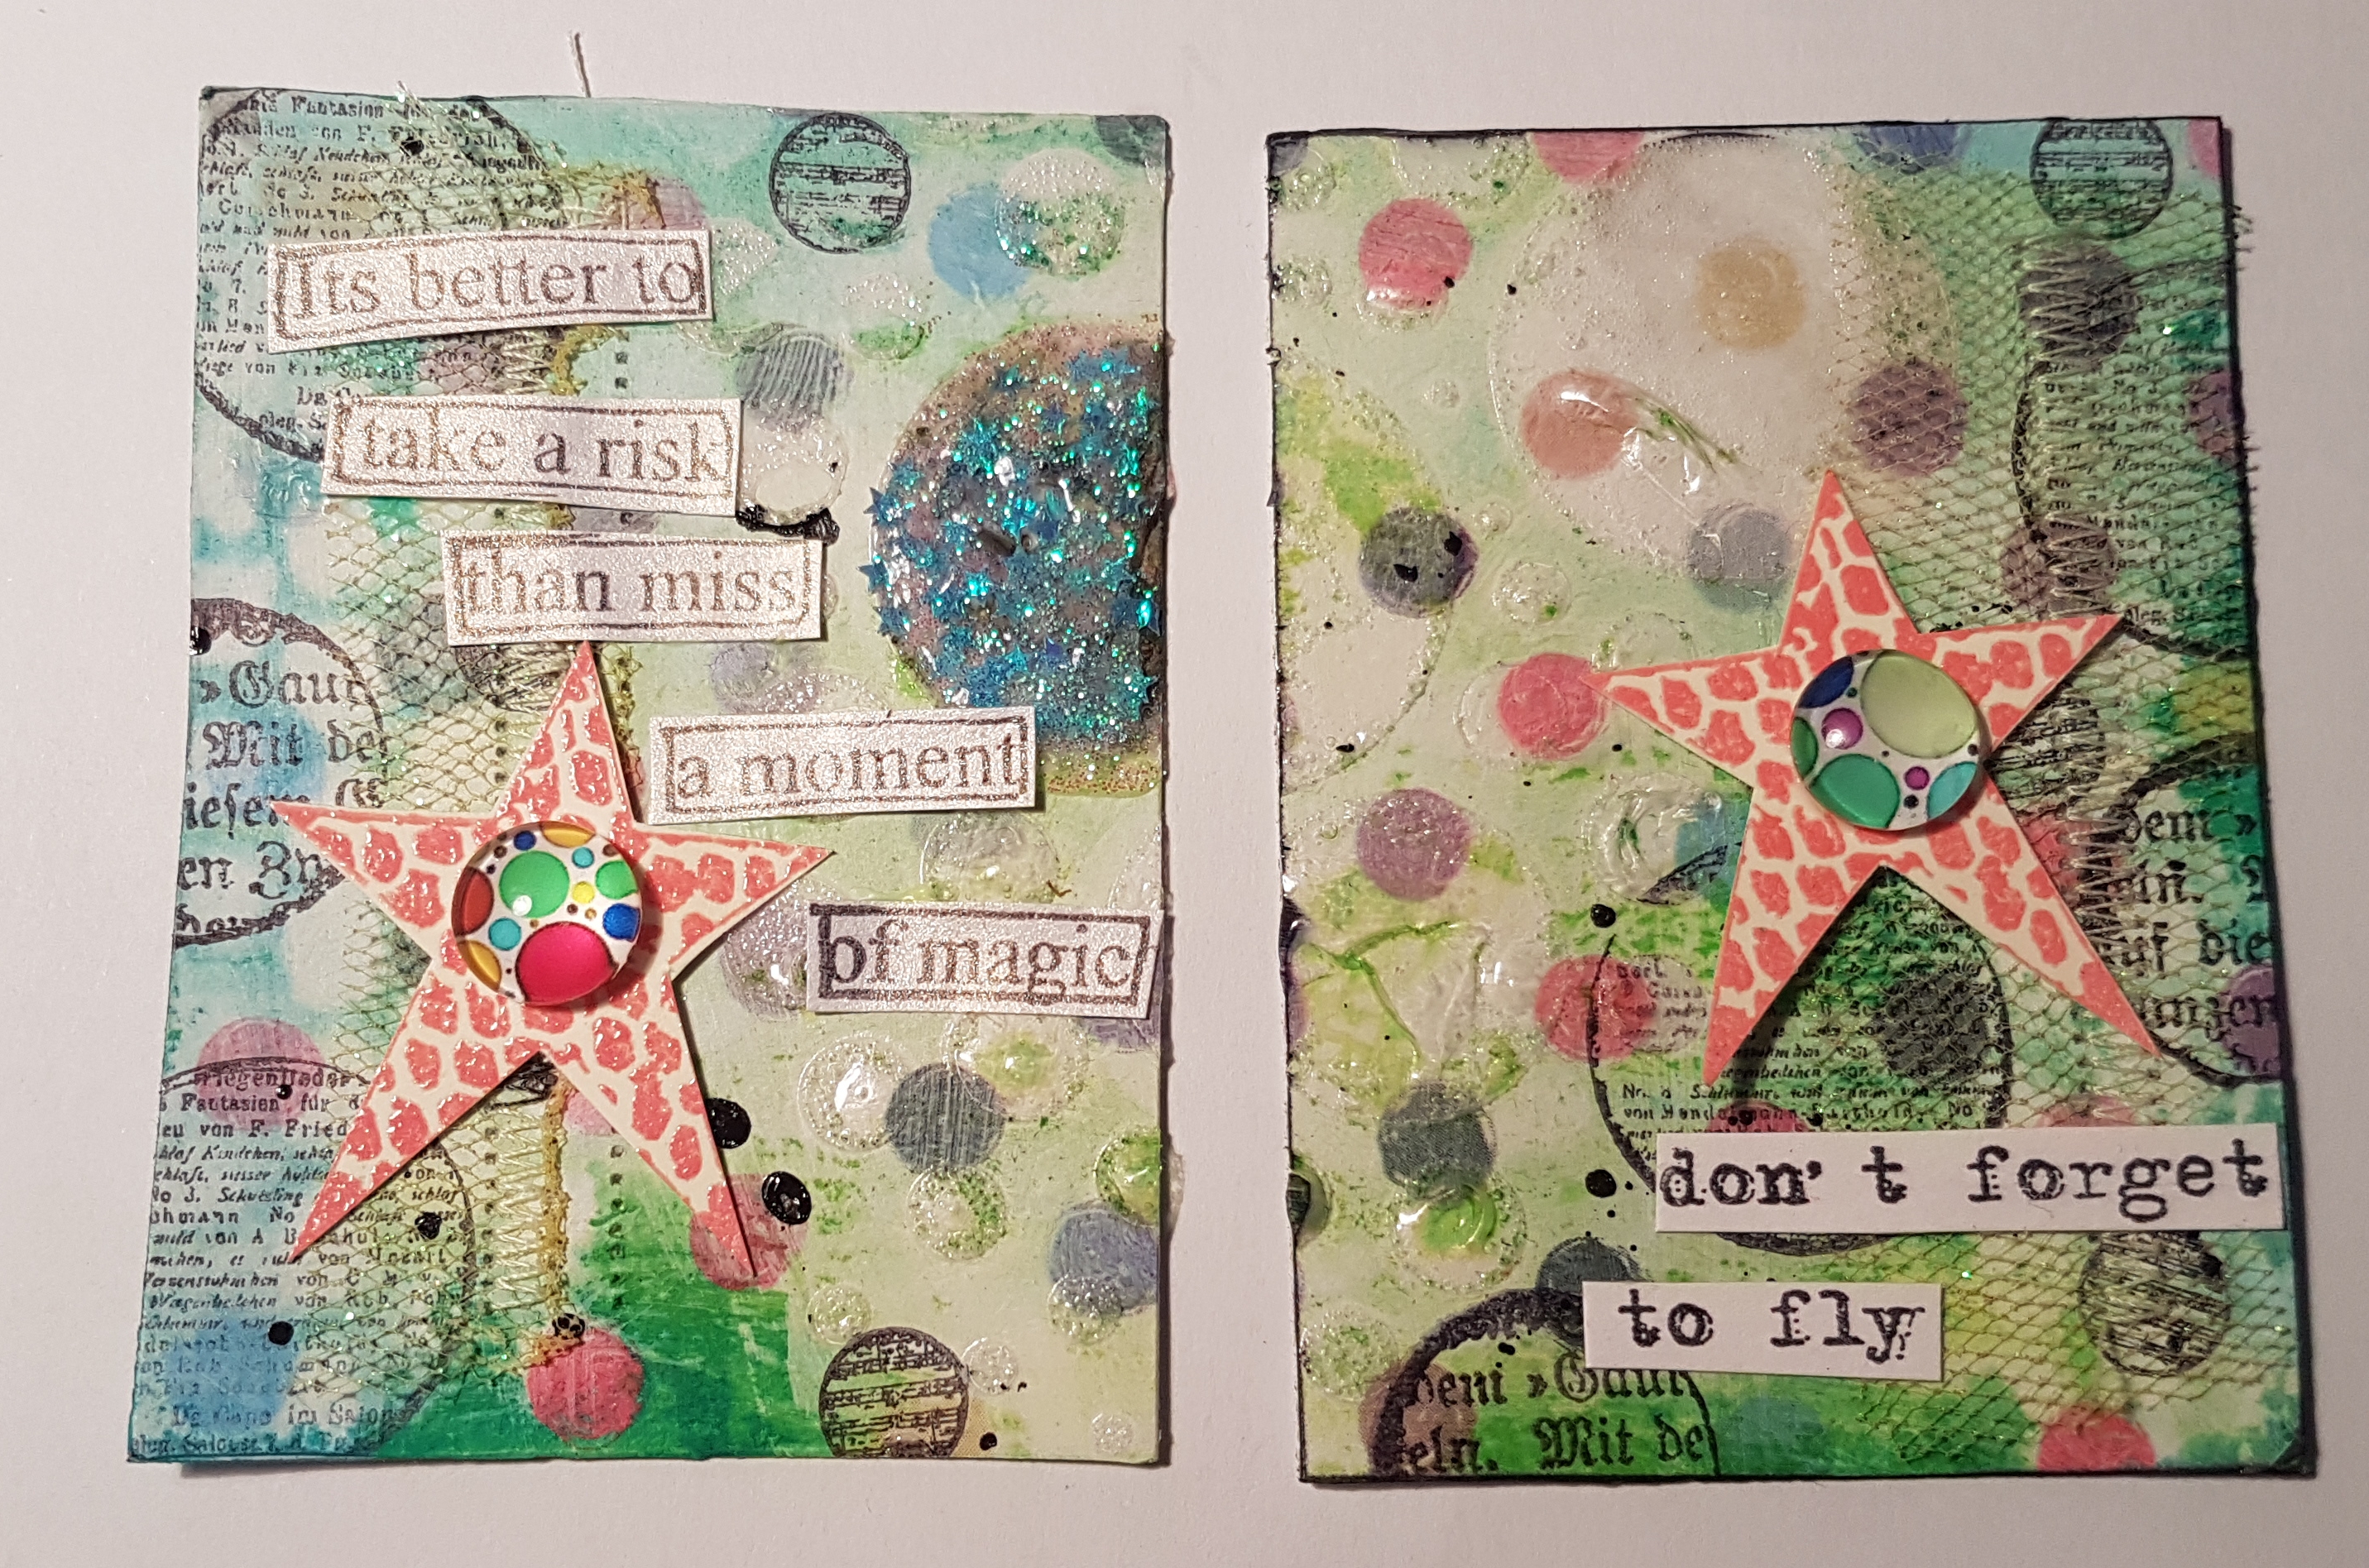
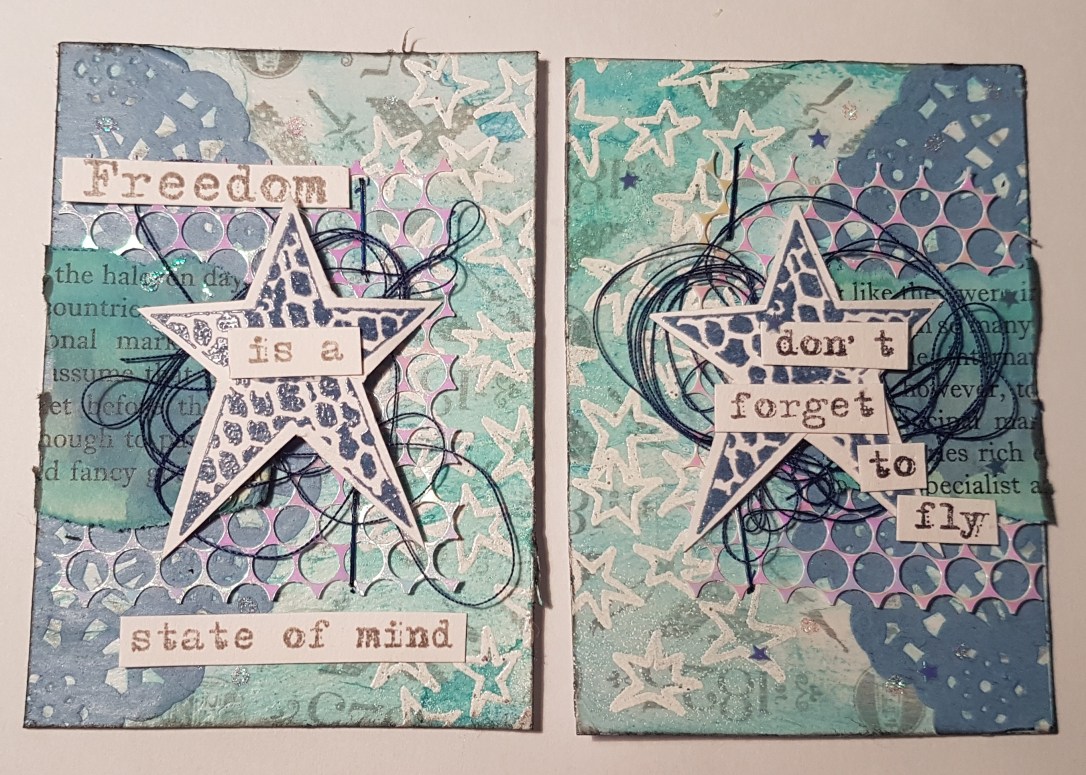
I think this next set might be my favourite. I added some navy thread behind the stars that I stamped in distress oxide and heat embossed with clear powder. I then added some spots of glitter and on one of them I also added some tiny star sequins. I then added the sentiments.
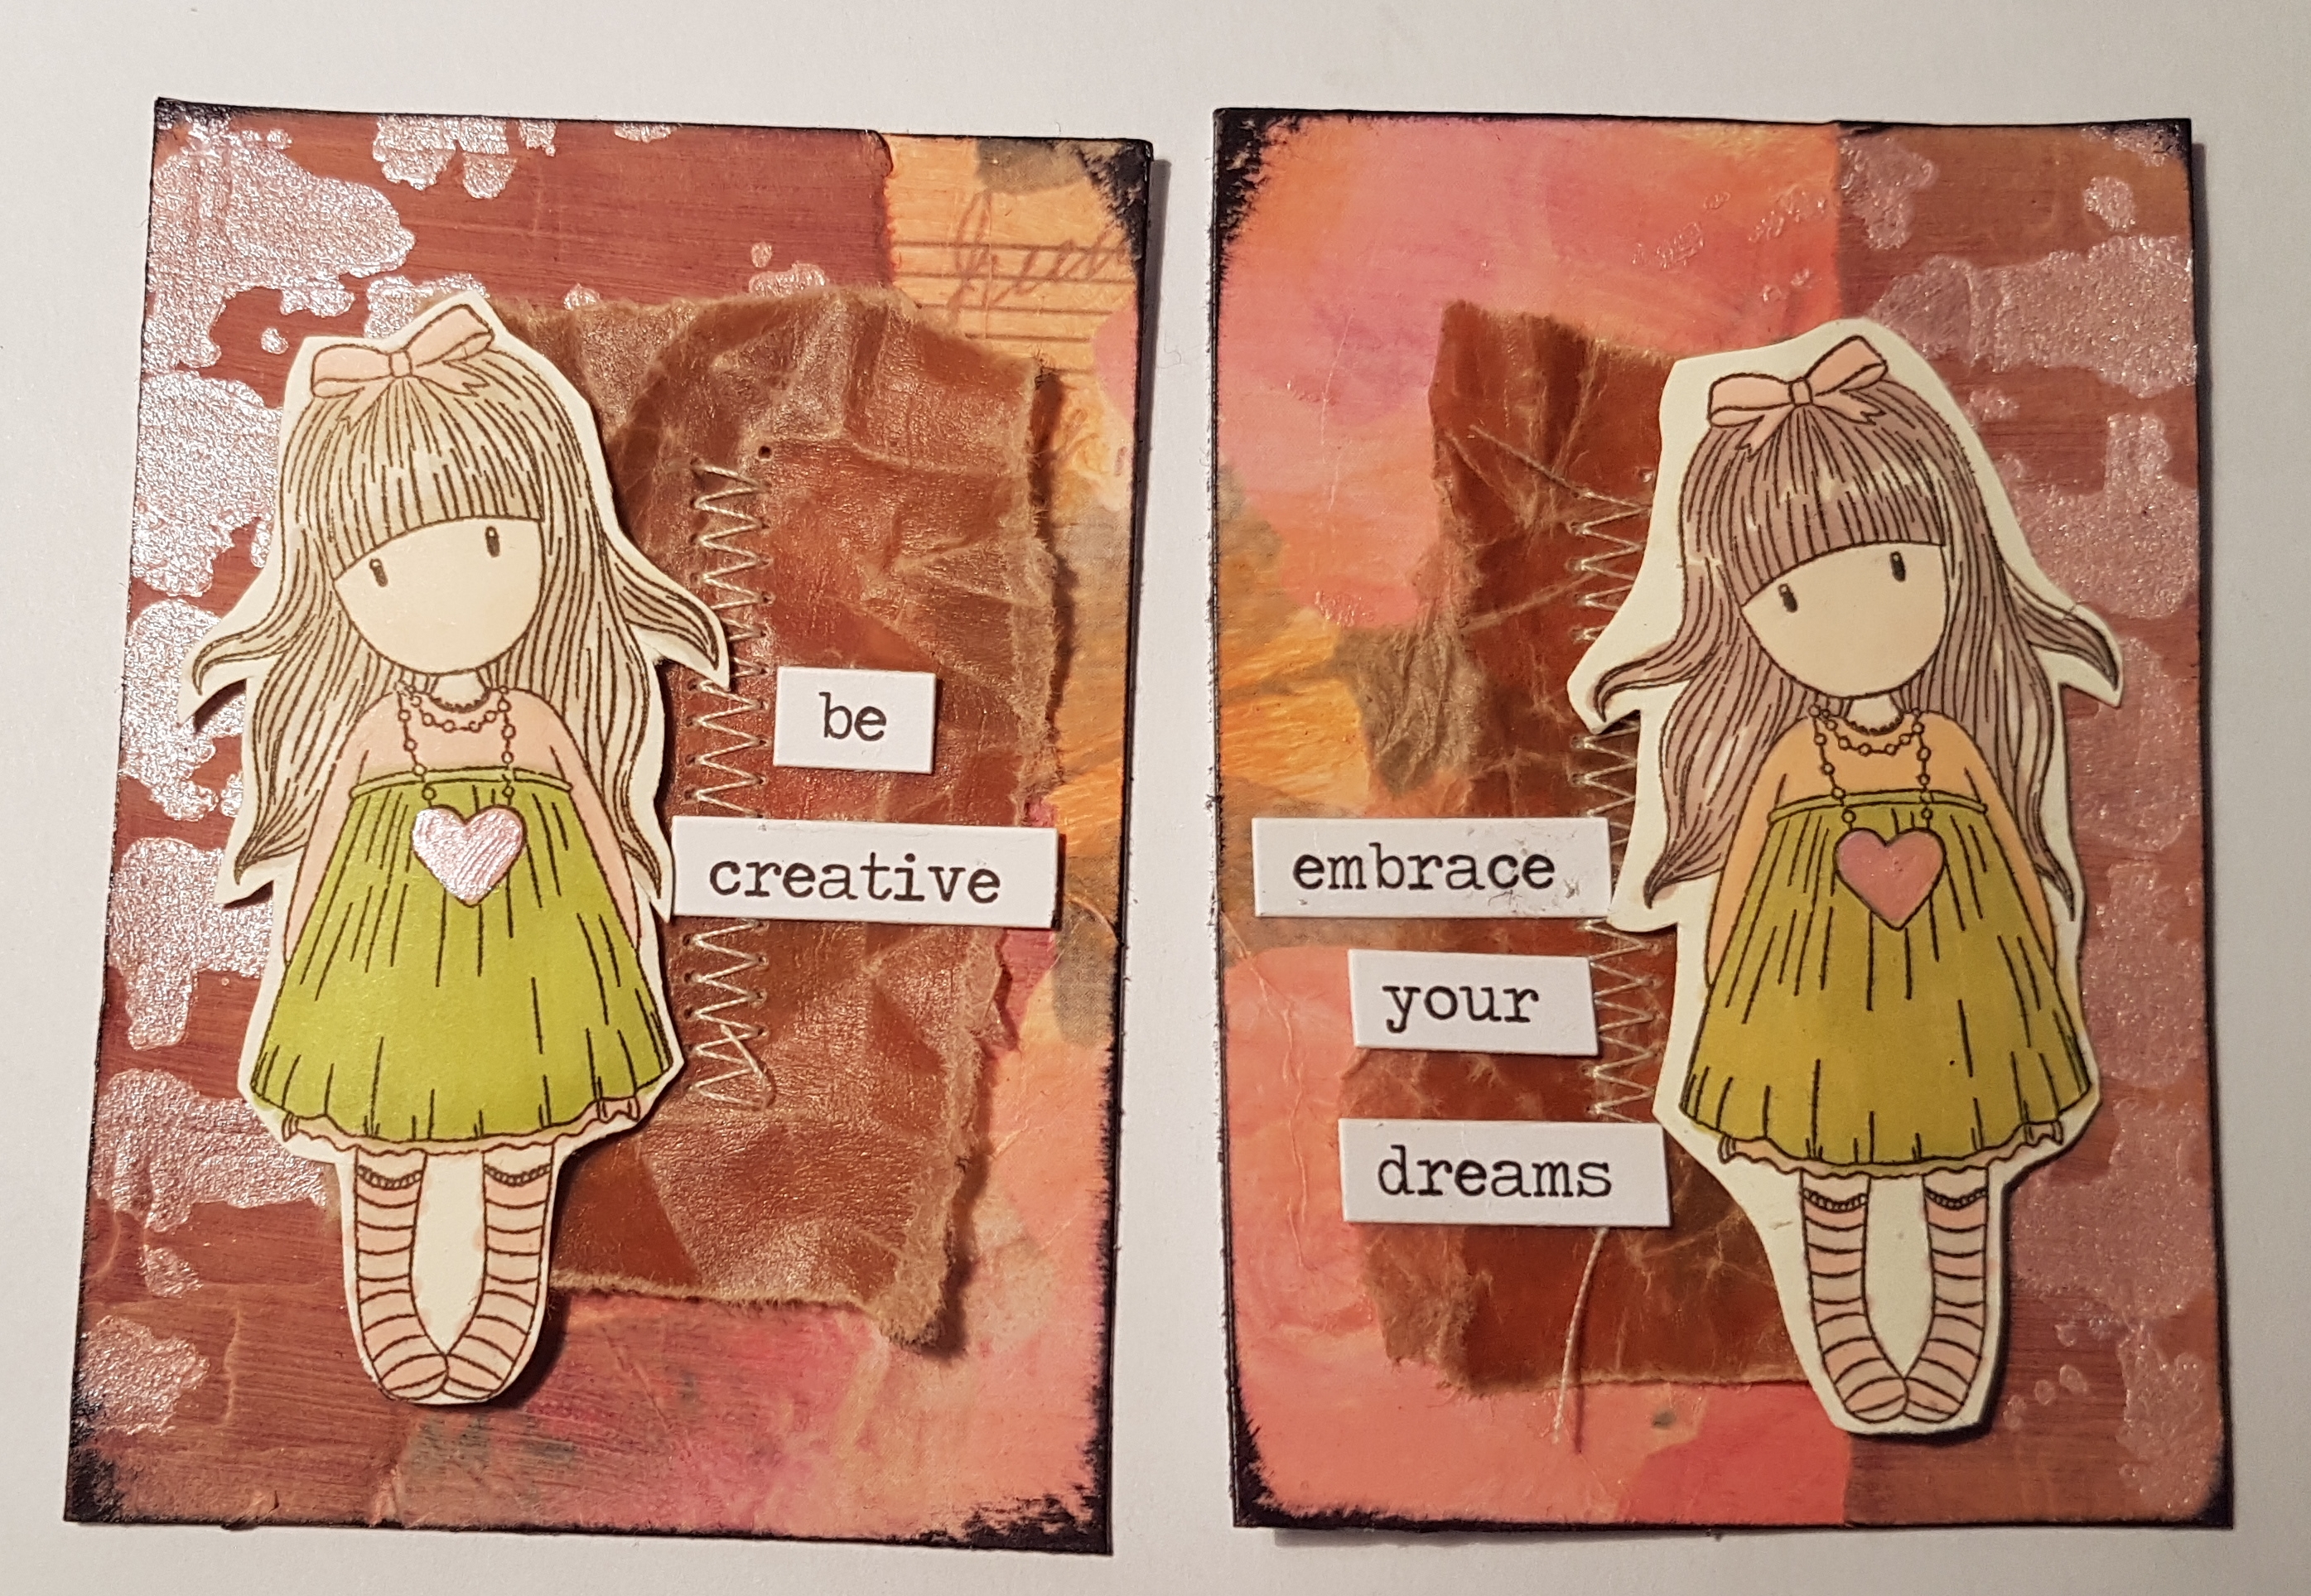
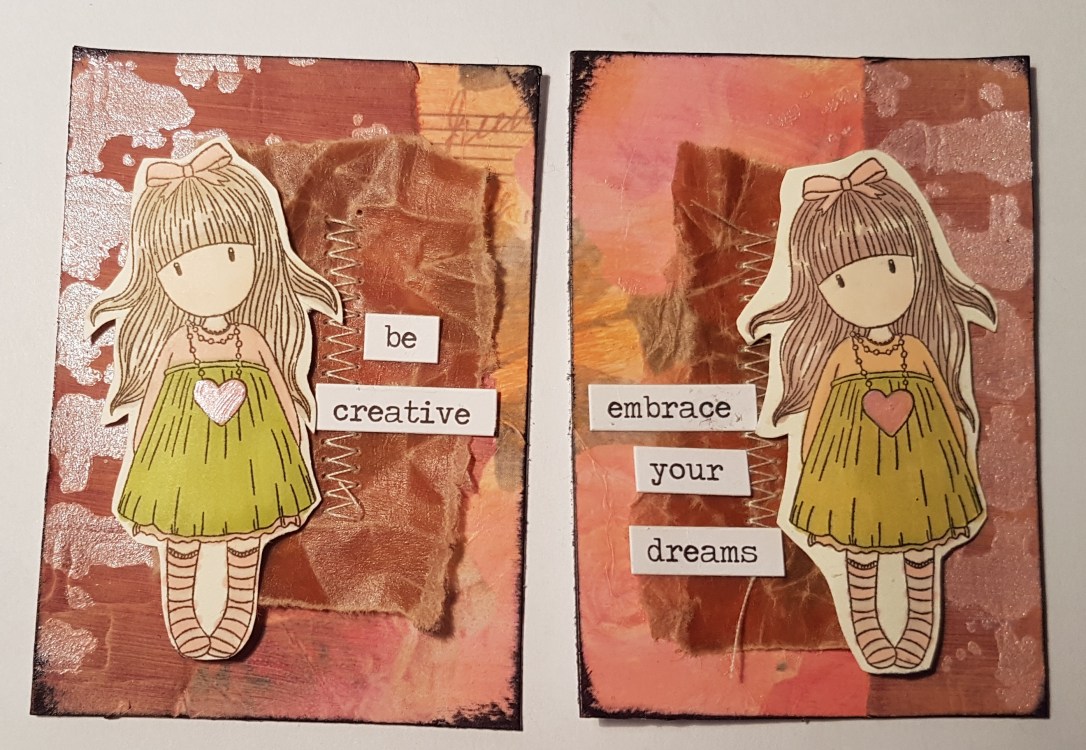
I didn’t add much to these except two Gorjuss girls and Tim Holtz sentiment stickers.
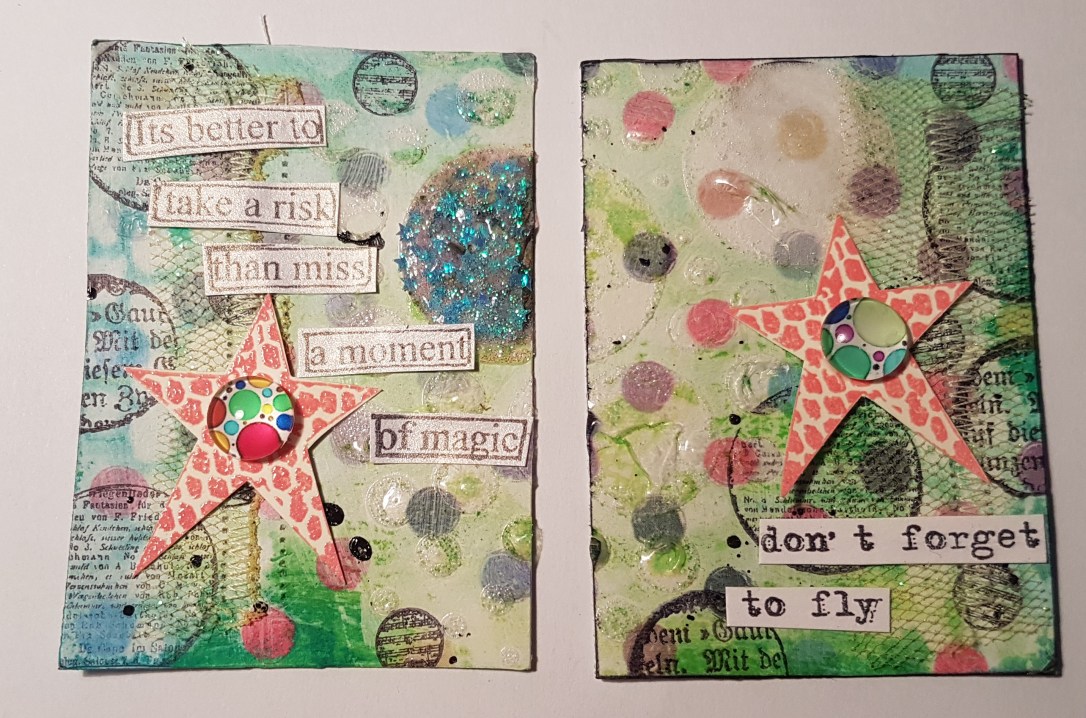
I ended up adding some netting to these next ones and some more sewing. Then I added the star stamp which again was stamped with distress oxide and heat embossed.  I then added the gems from the artful days goodie box.  Then on the one on the left I added some of the blue stars and some glitter glue. 
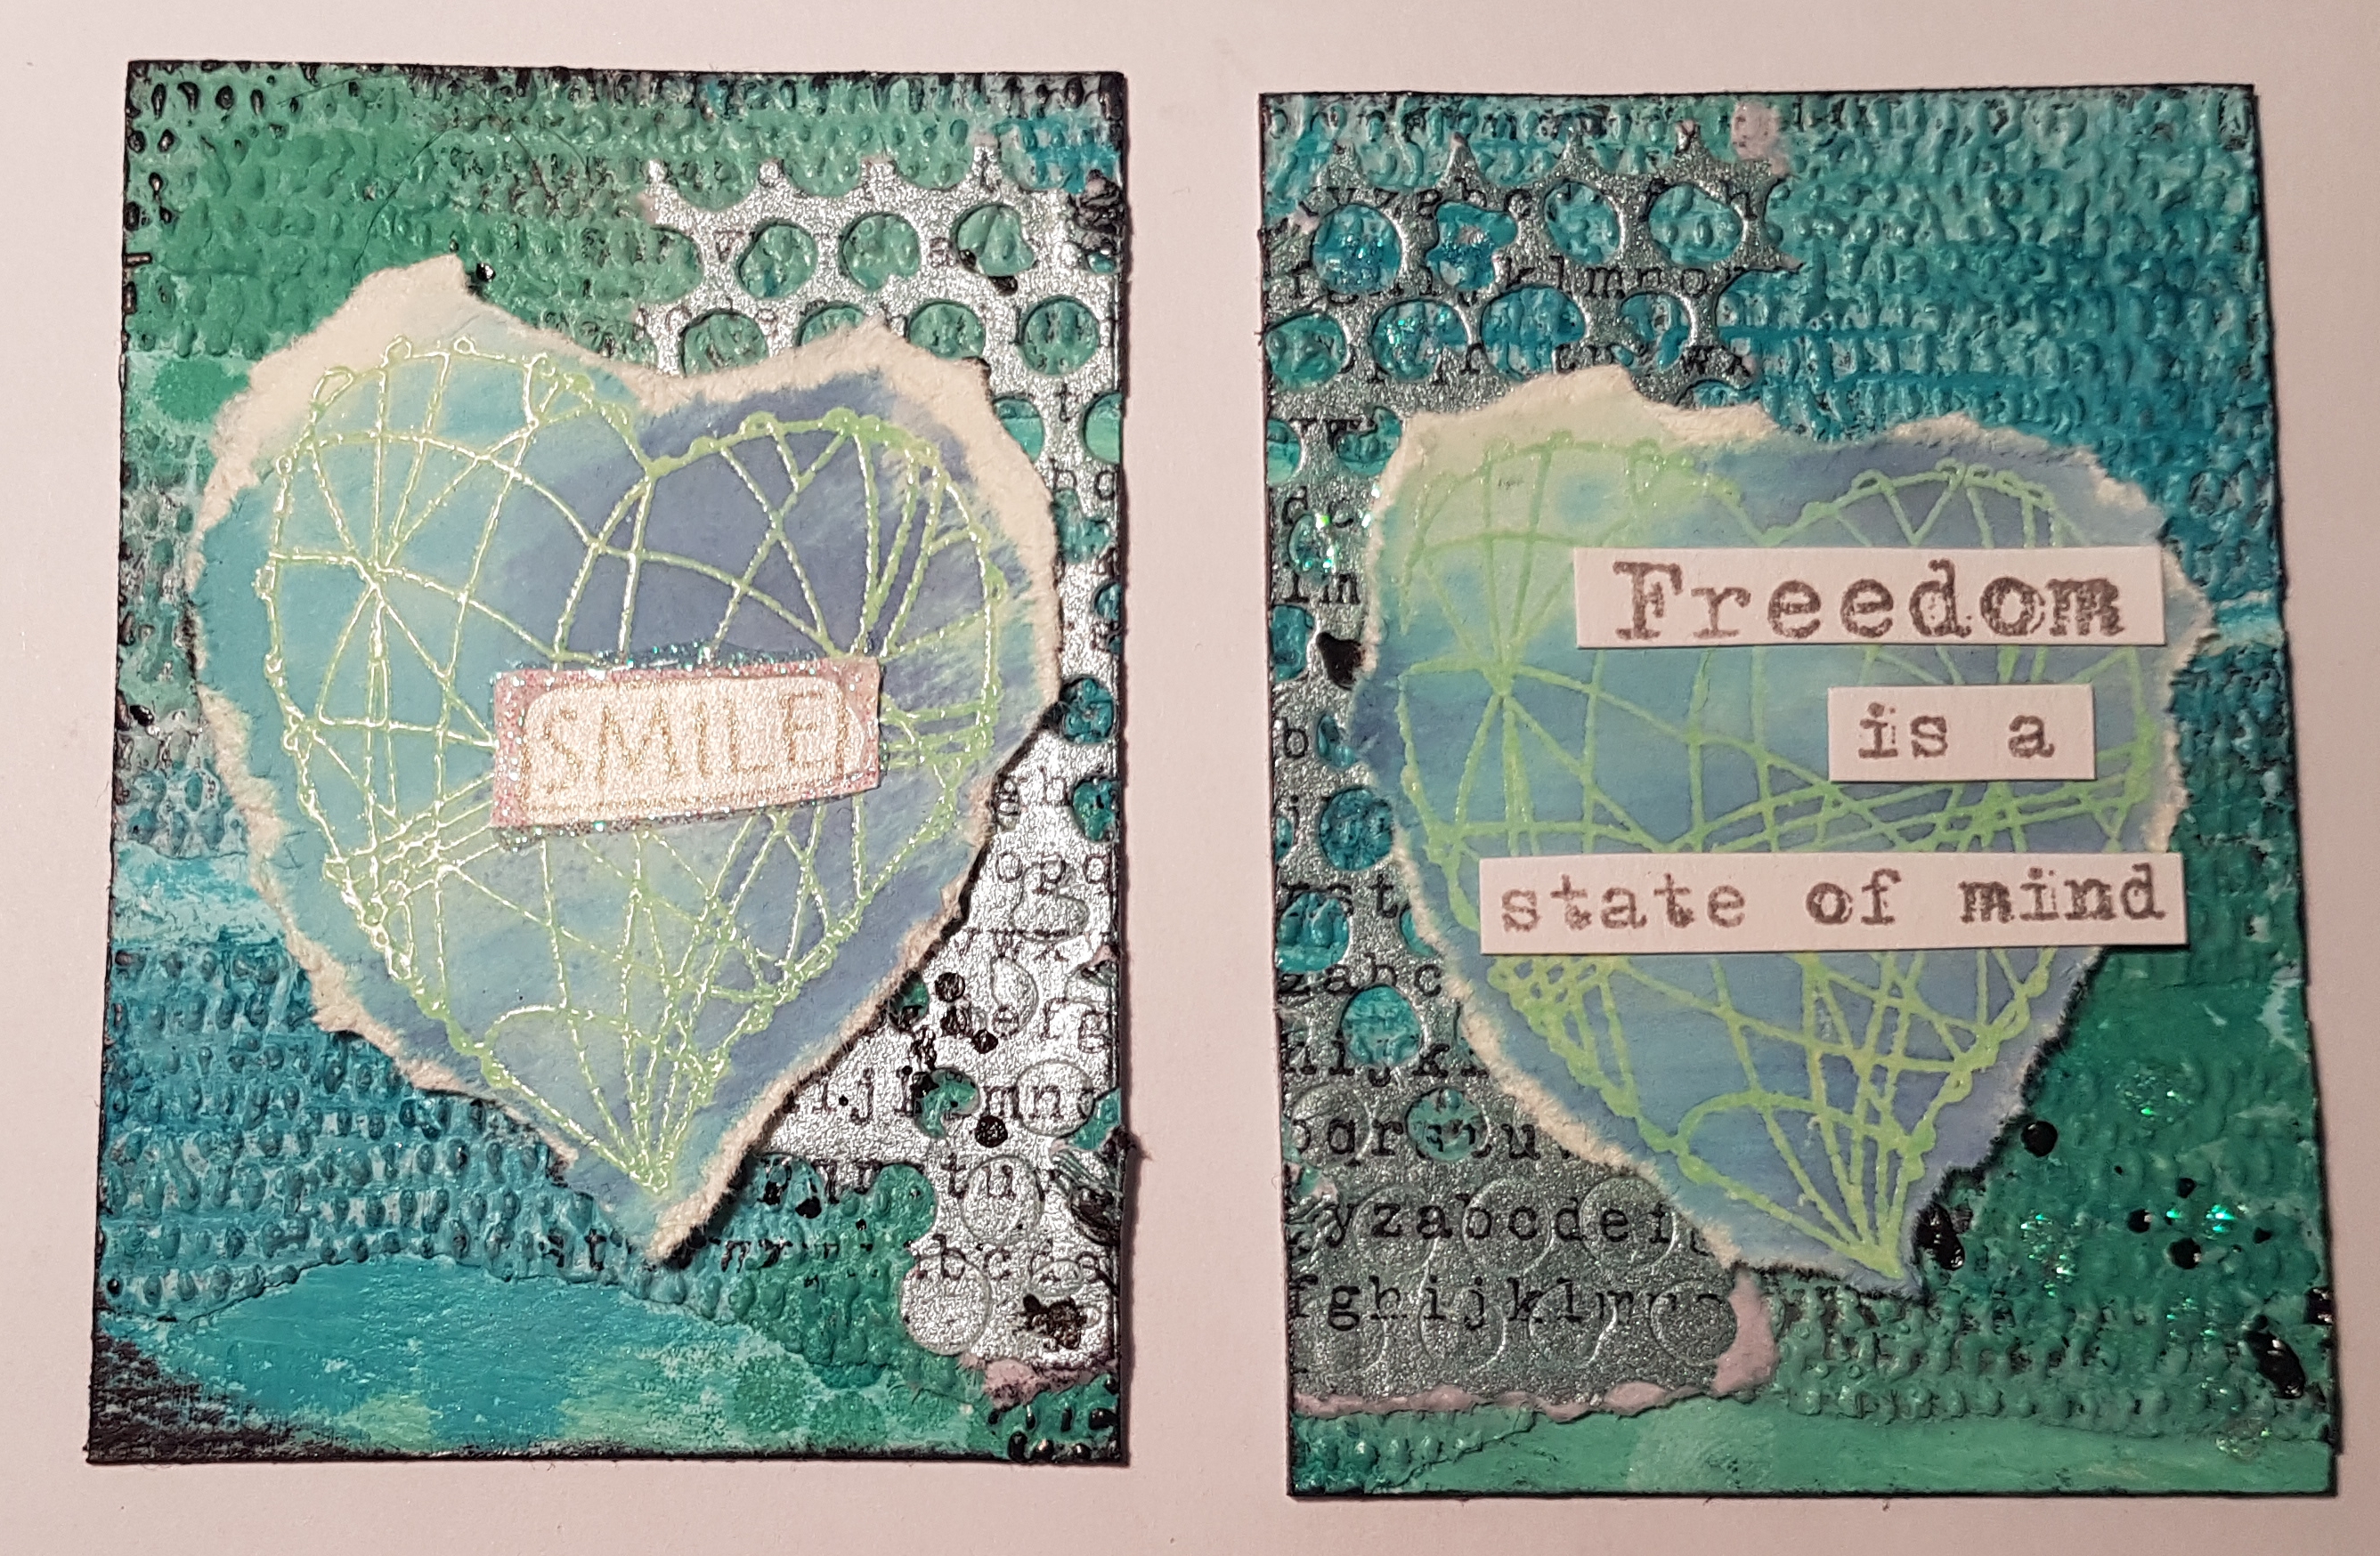
And the final set… I heat embossed the heart and then added distress oxides.
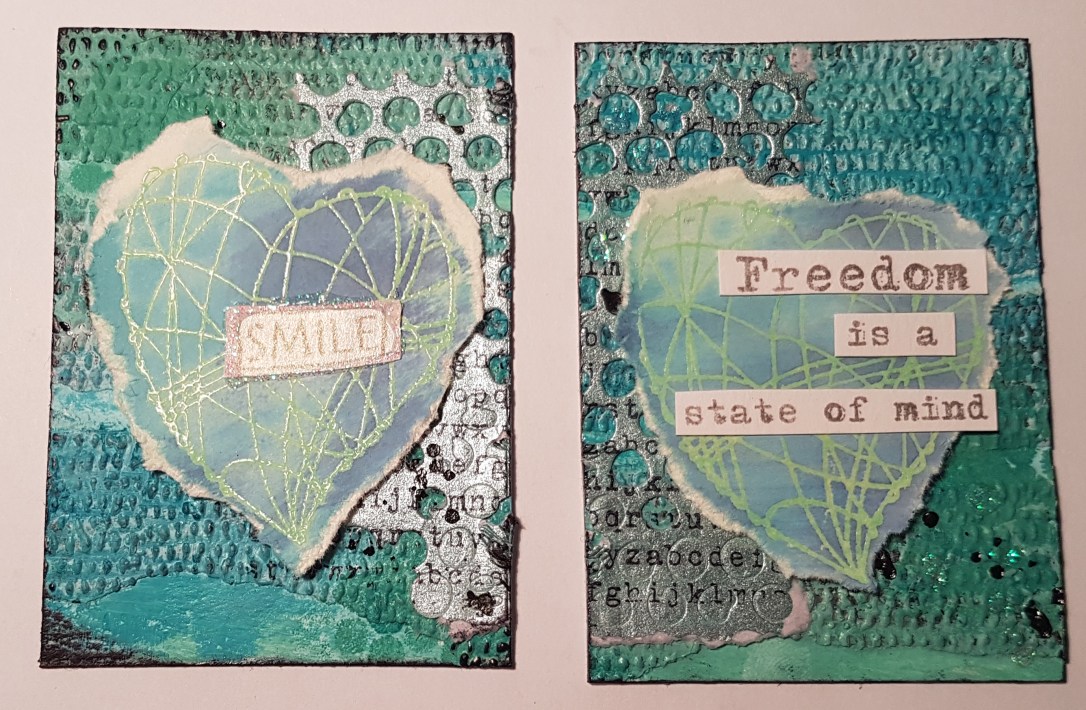
So happy with all of these and how I managed to make them all different! 

Happy crafting 

Catherine 

Nautical themed ATCs – 254-258

Today I’ve got 5 ATC’s to share with you with the theme of Nautical. They were made for a Facebook swap in a group I am in. I’m excited to see what comes back from others too. 

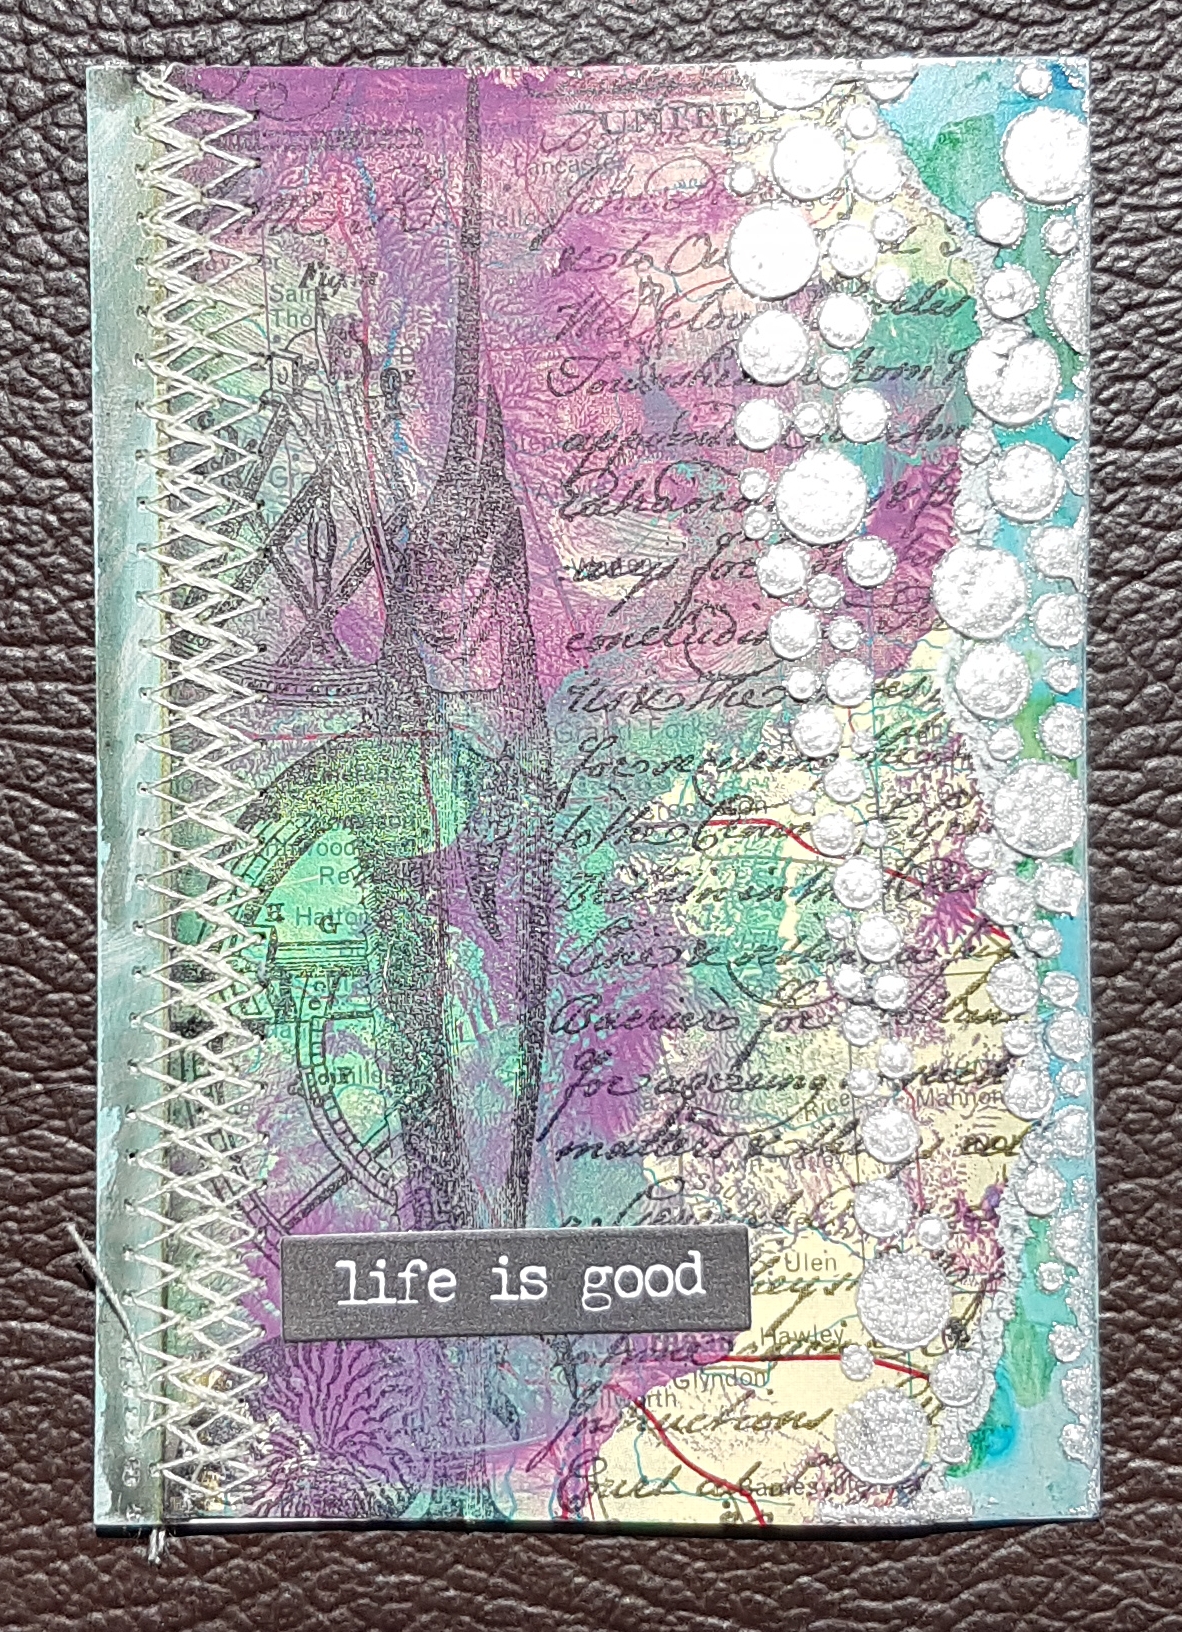
This first one started as a piece of map that I added some acrylic paint to. I then added some stamping to it using a Hot Picks Paperartsy stamp which features a fish.

I added this paper to a plain background and added some sewing along the edge to add some texture and made sure it was adhered. Then along the other side I added some iridescent medium through a stencil that looks like bubbles.

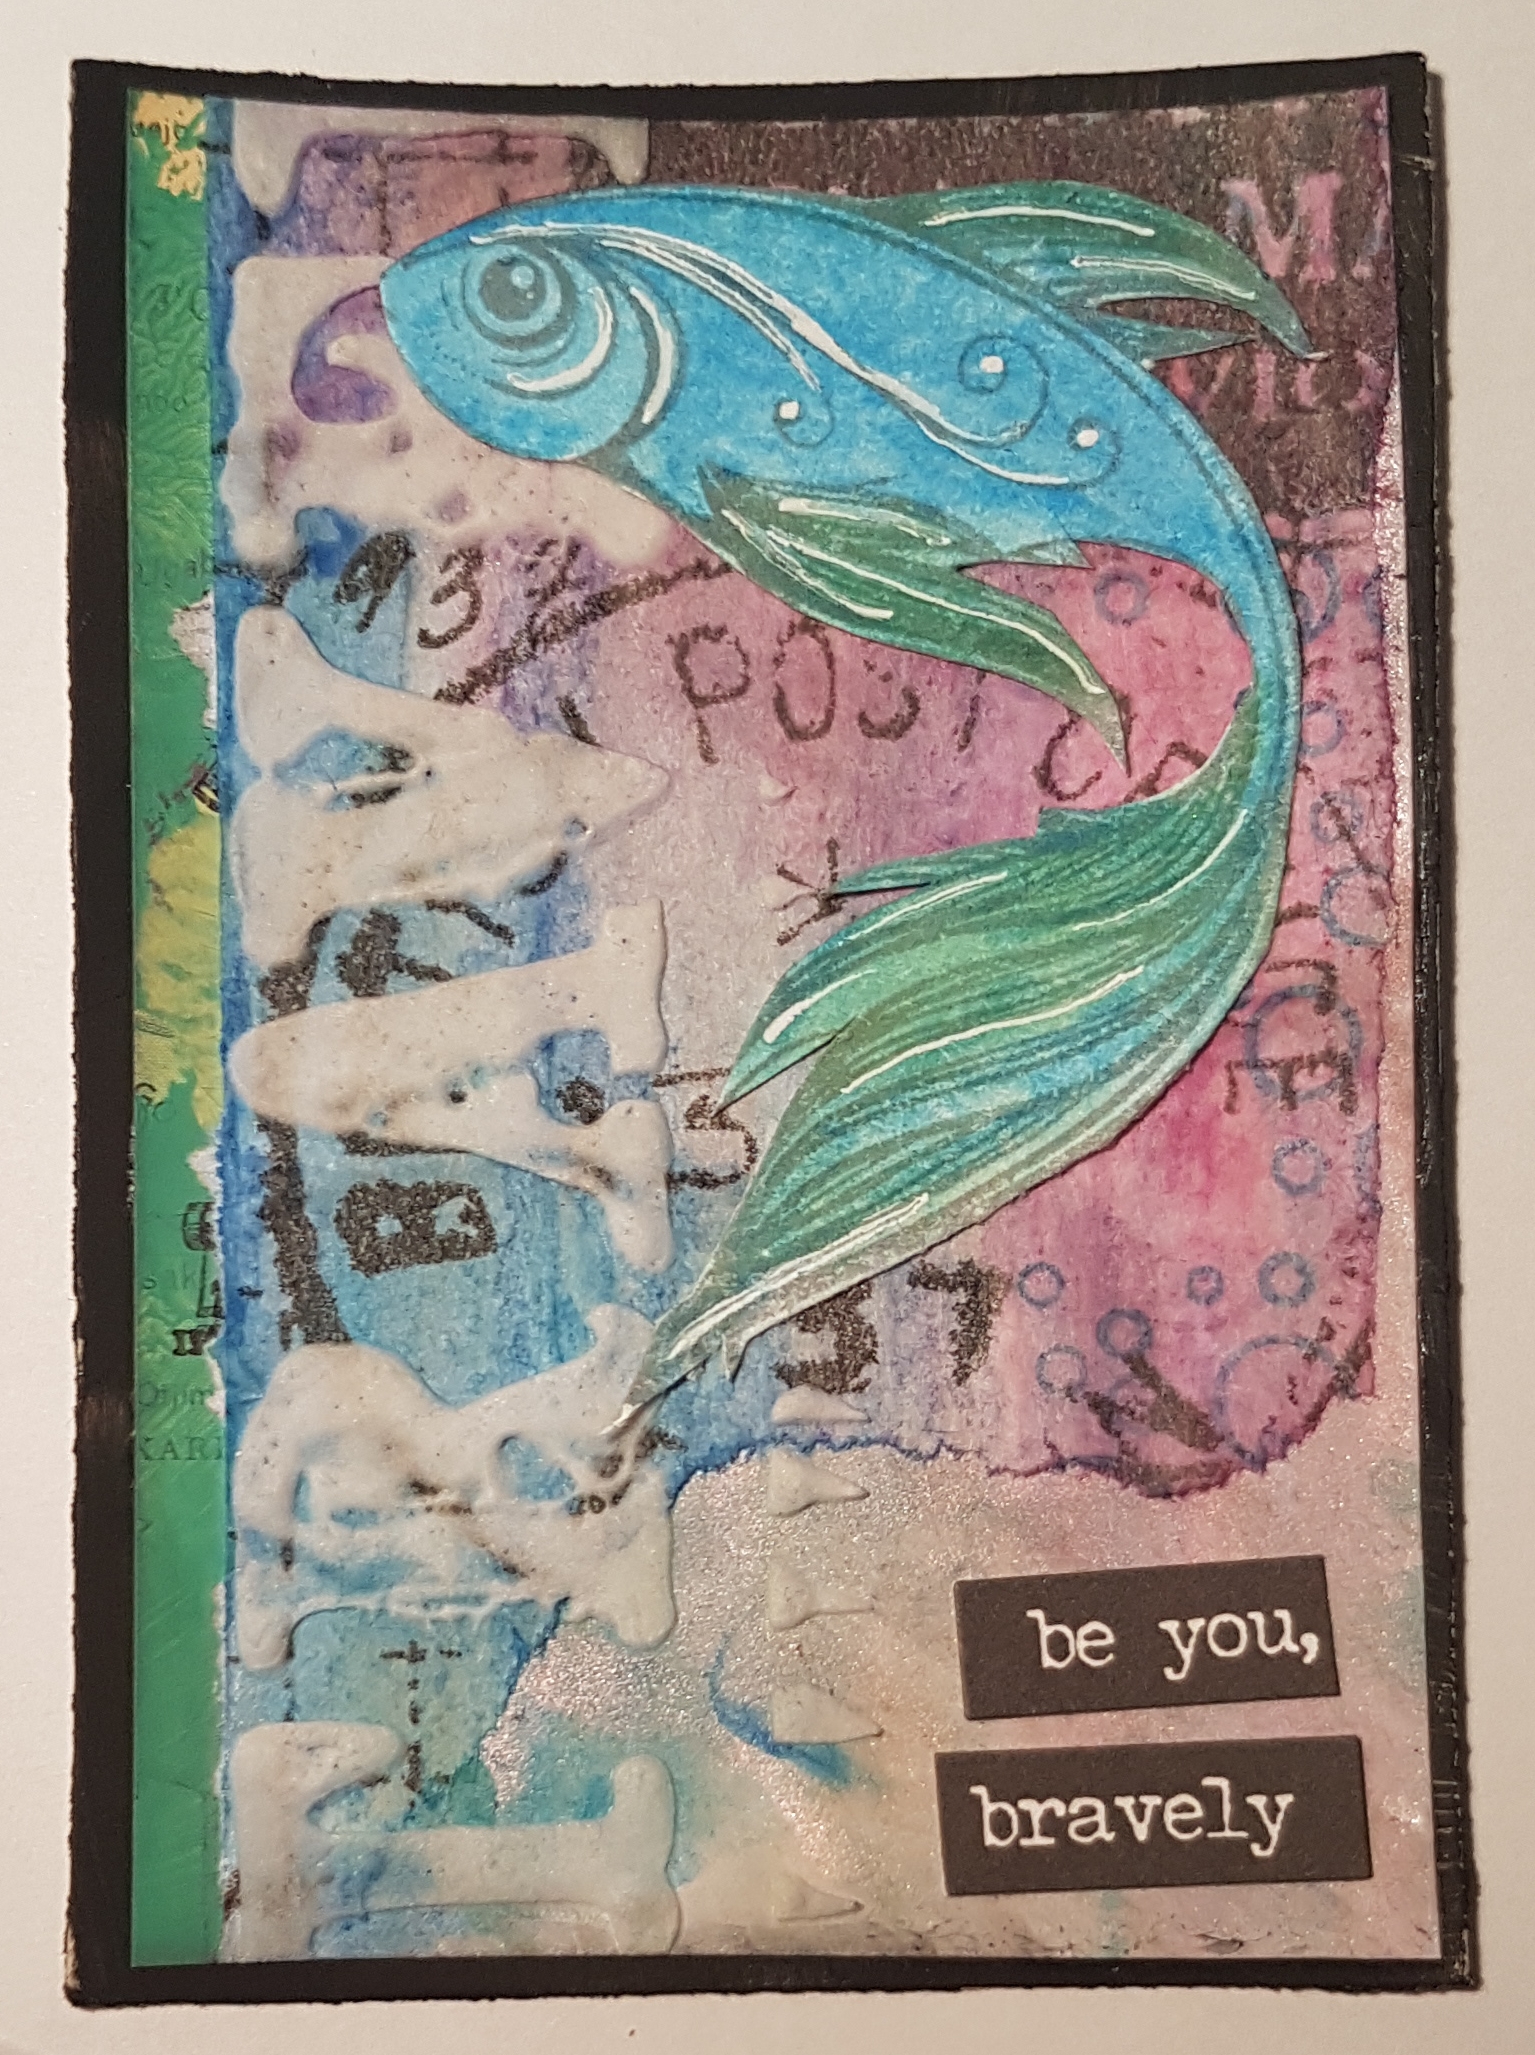
The next one has some of the Tim Holtz tissue wrap on it and some of the opal magic art alchemy paint underneath. This gives part of the card some sheen which is lovely.

I added the word travel through a stencil using modelling paste which provides some nice texture.

The feature image is the lovely fish from Indigo Blu and then I layered the paper onto another painted paper and then onto a black gessoed card.

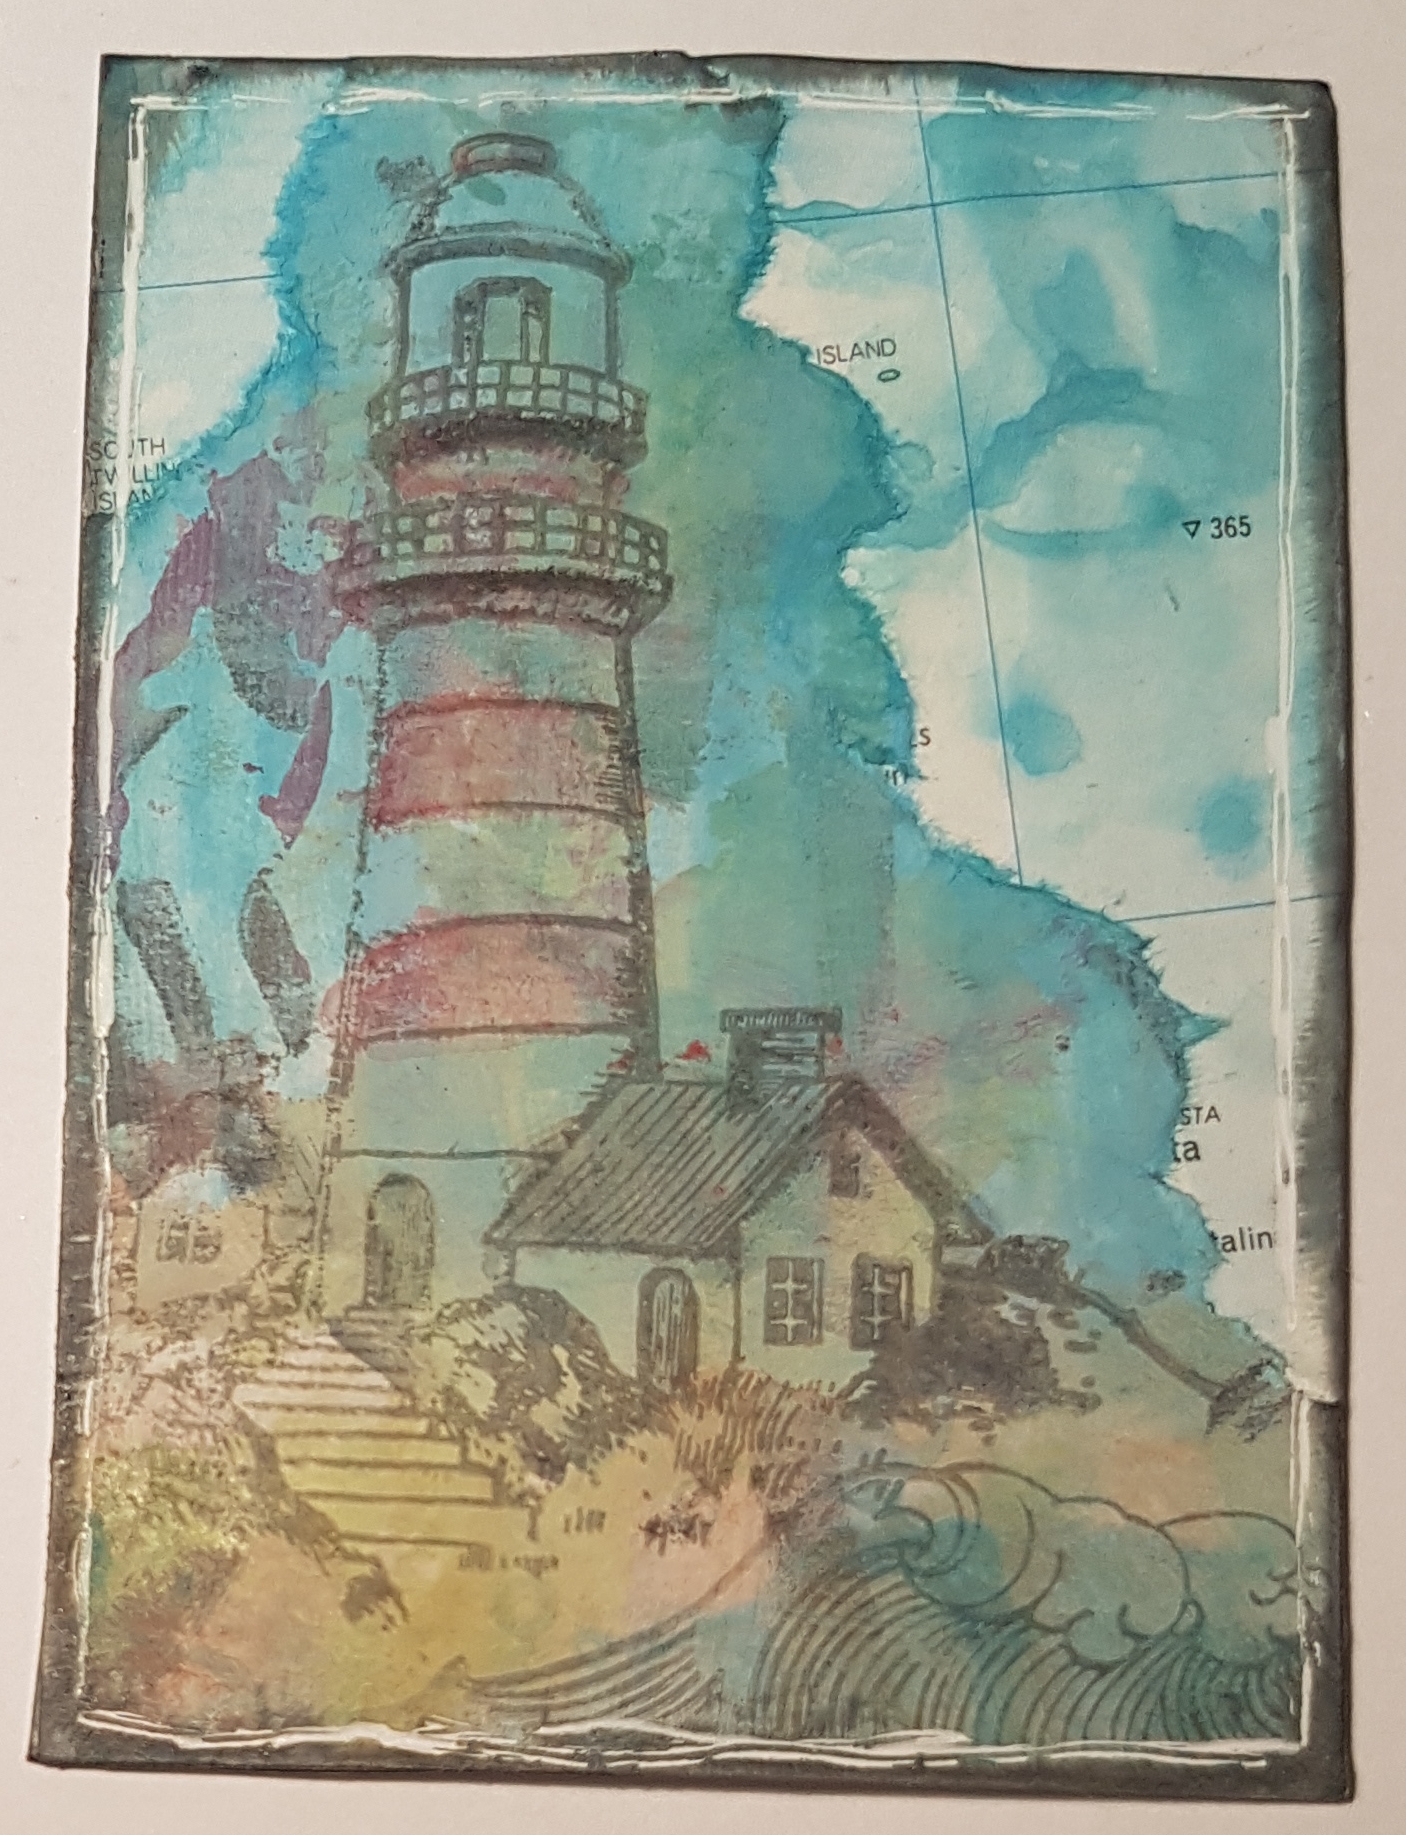
Next are two lighthouse ATCs … this first one is distress oxides on a map and then the stamps from Creative Stamping magazine. These were added onto a piece of paper which had some gelli printing bits on it too.
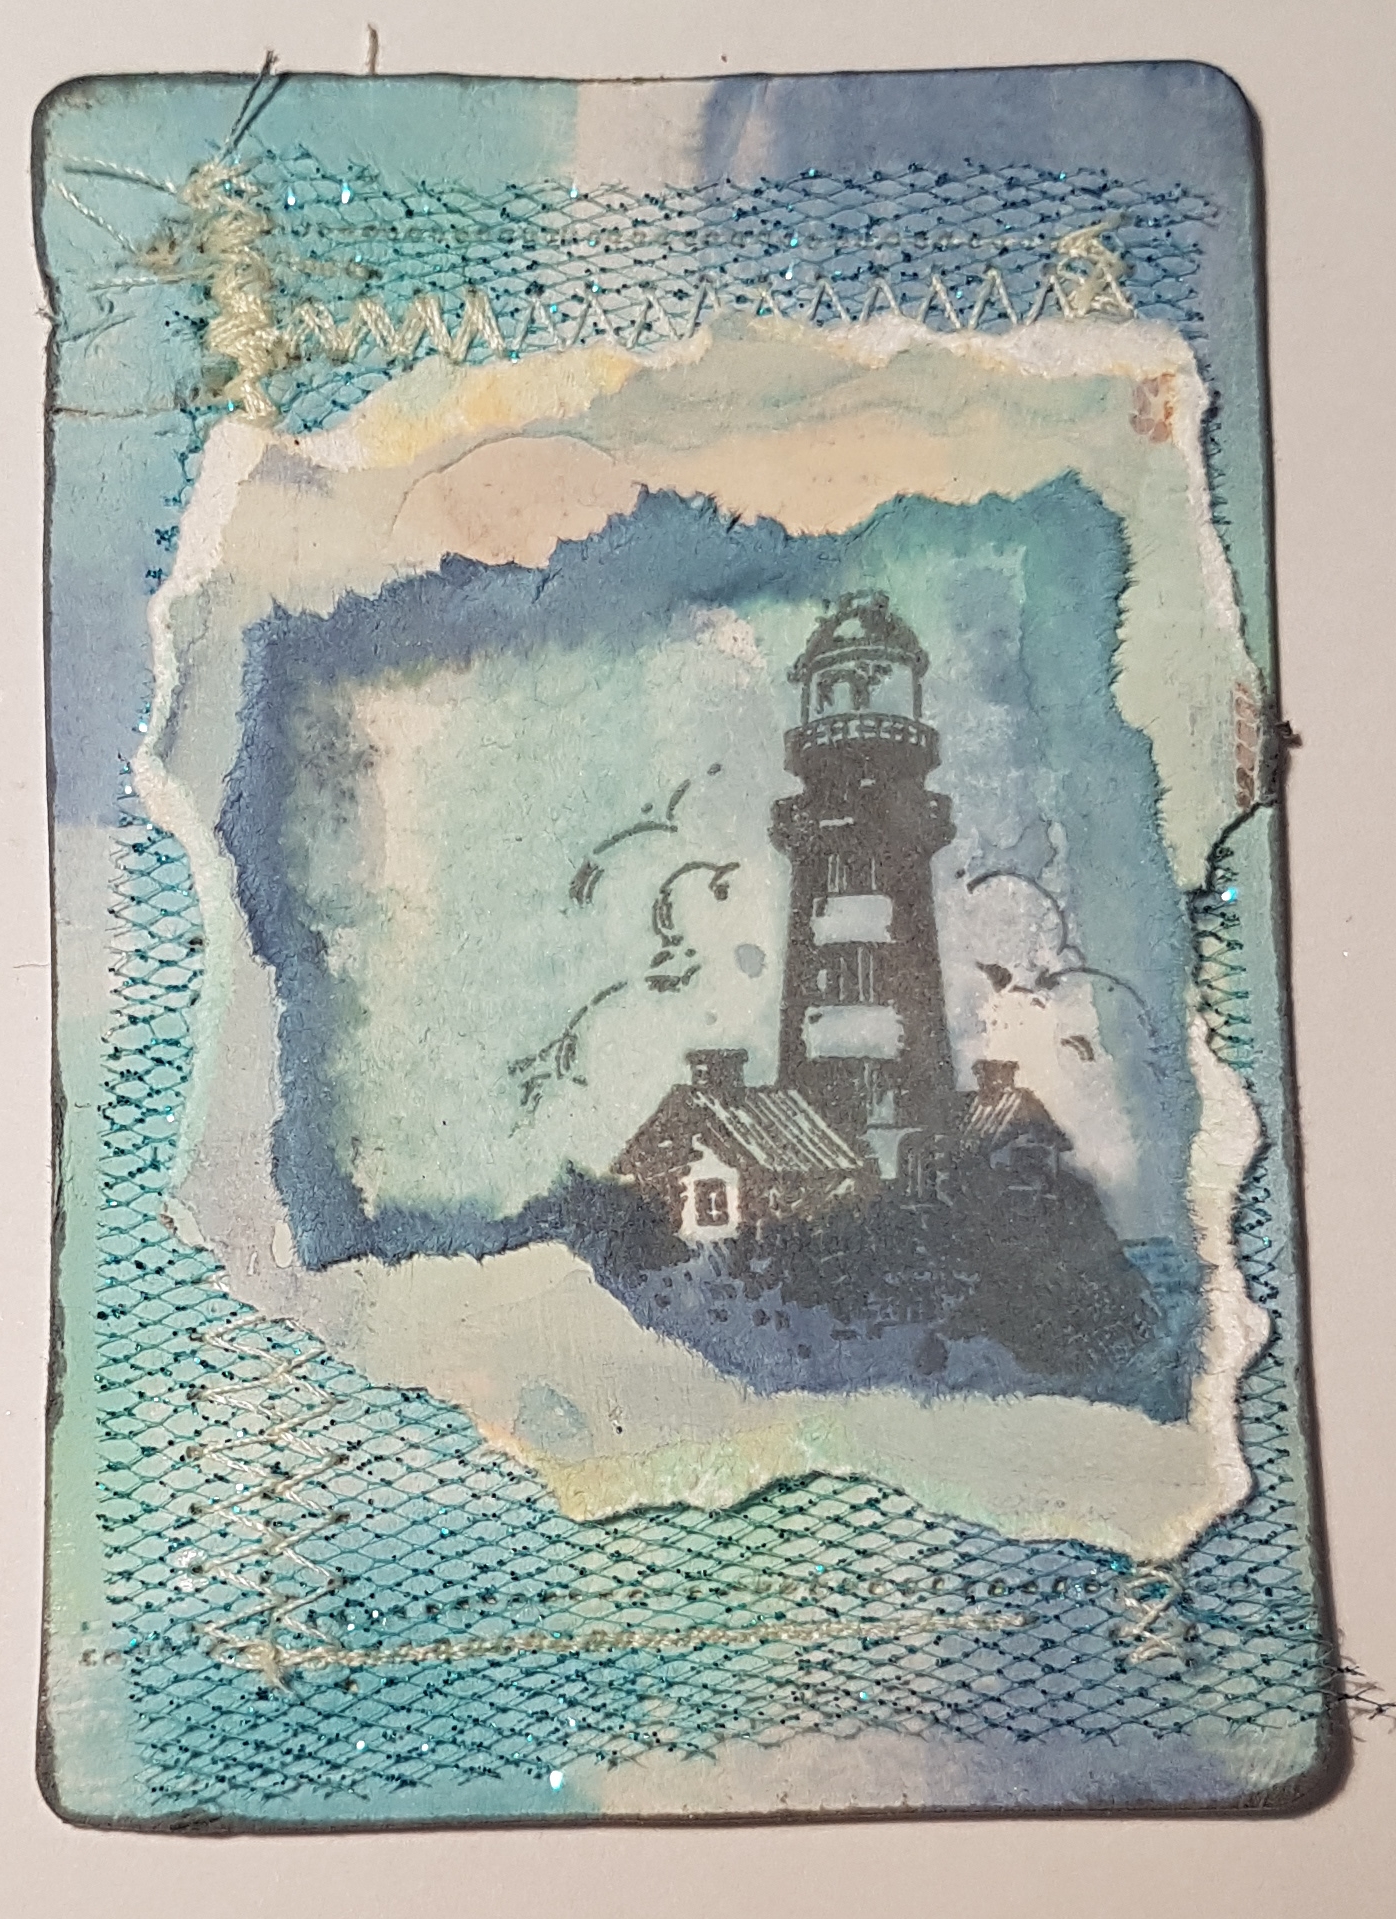
The second one is also distress oxides as a base but also some netting and machine sewing. I love all the layers and soft finish to the image and colour. 

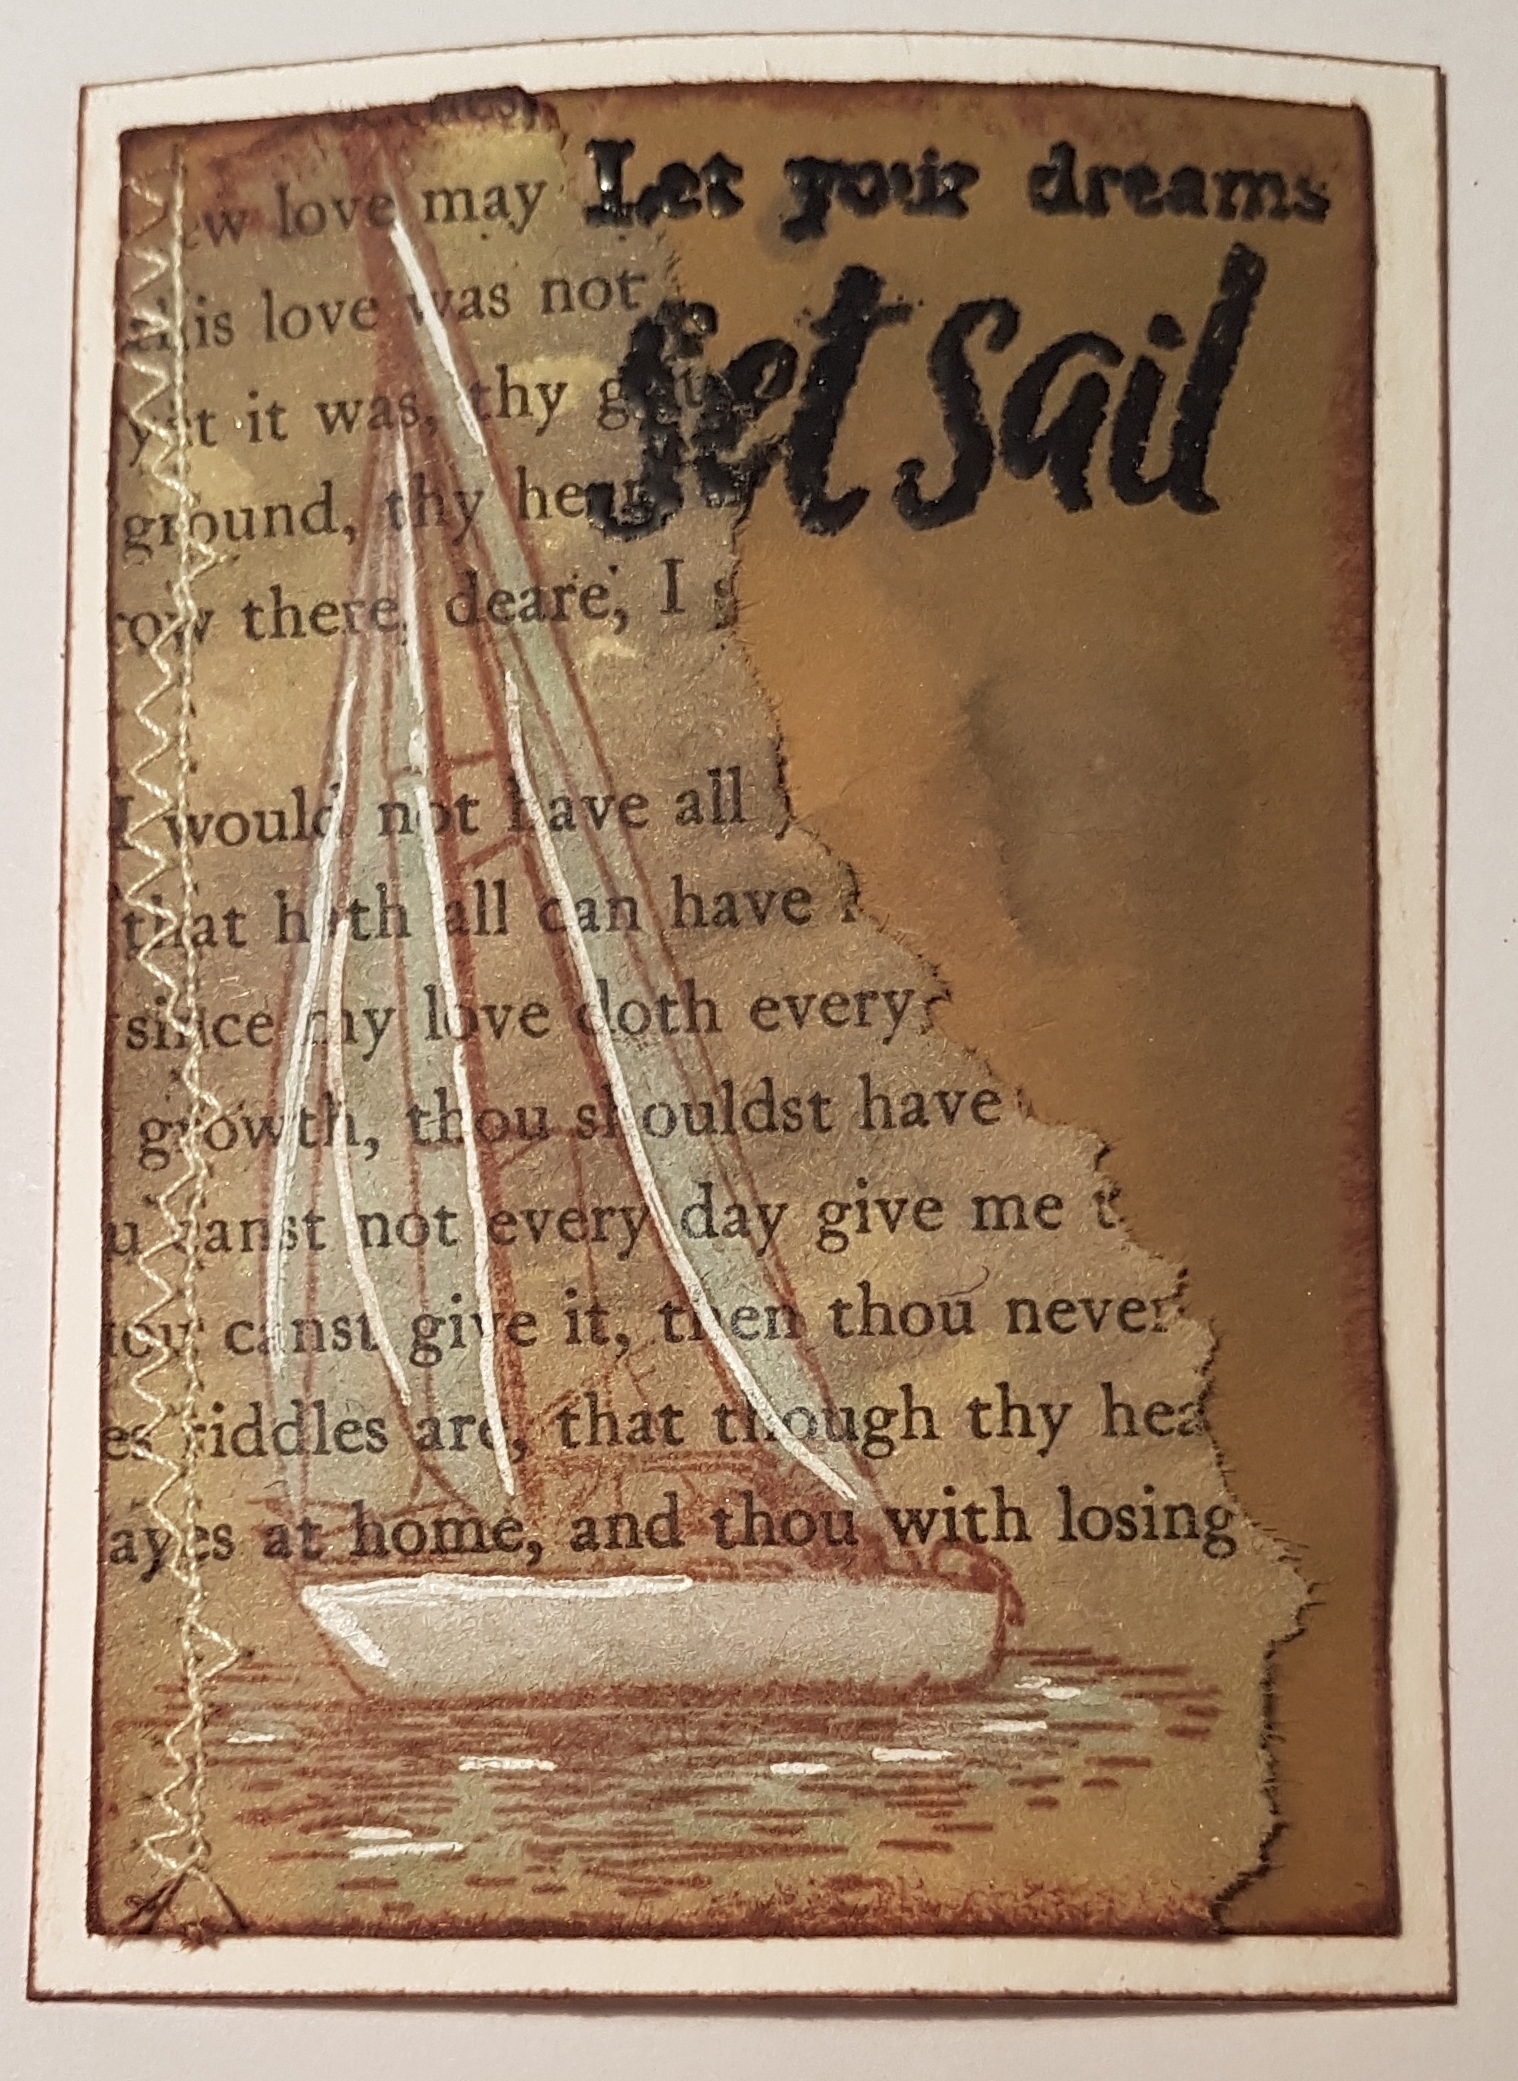
Finally a sepia one… book print onto some cardstock and plenty of distress inks.  Then added a little painting with cracked pistachio distress oxide onto the boat.

Also added sewing to this too and some white gel pen. 

So these were my five nautical themed cards.

Happy crafting! 

Catherine 

Shine wall hanging

Yesterday I spent a fair amount of the day getting messy and having fun in the craft room. This is one of the projects I made. 
I wanted to play with my artful days goodie box stash and so pulled out some stash and then set to on having fun being creative. 

I filmed the whole process so you can see how the artwork came together… here is the link.

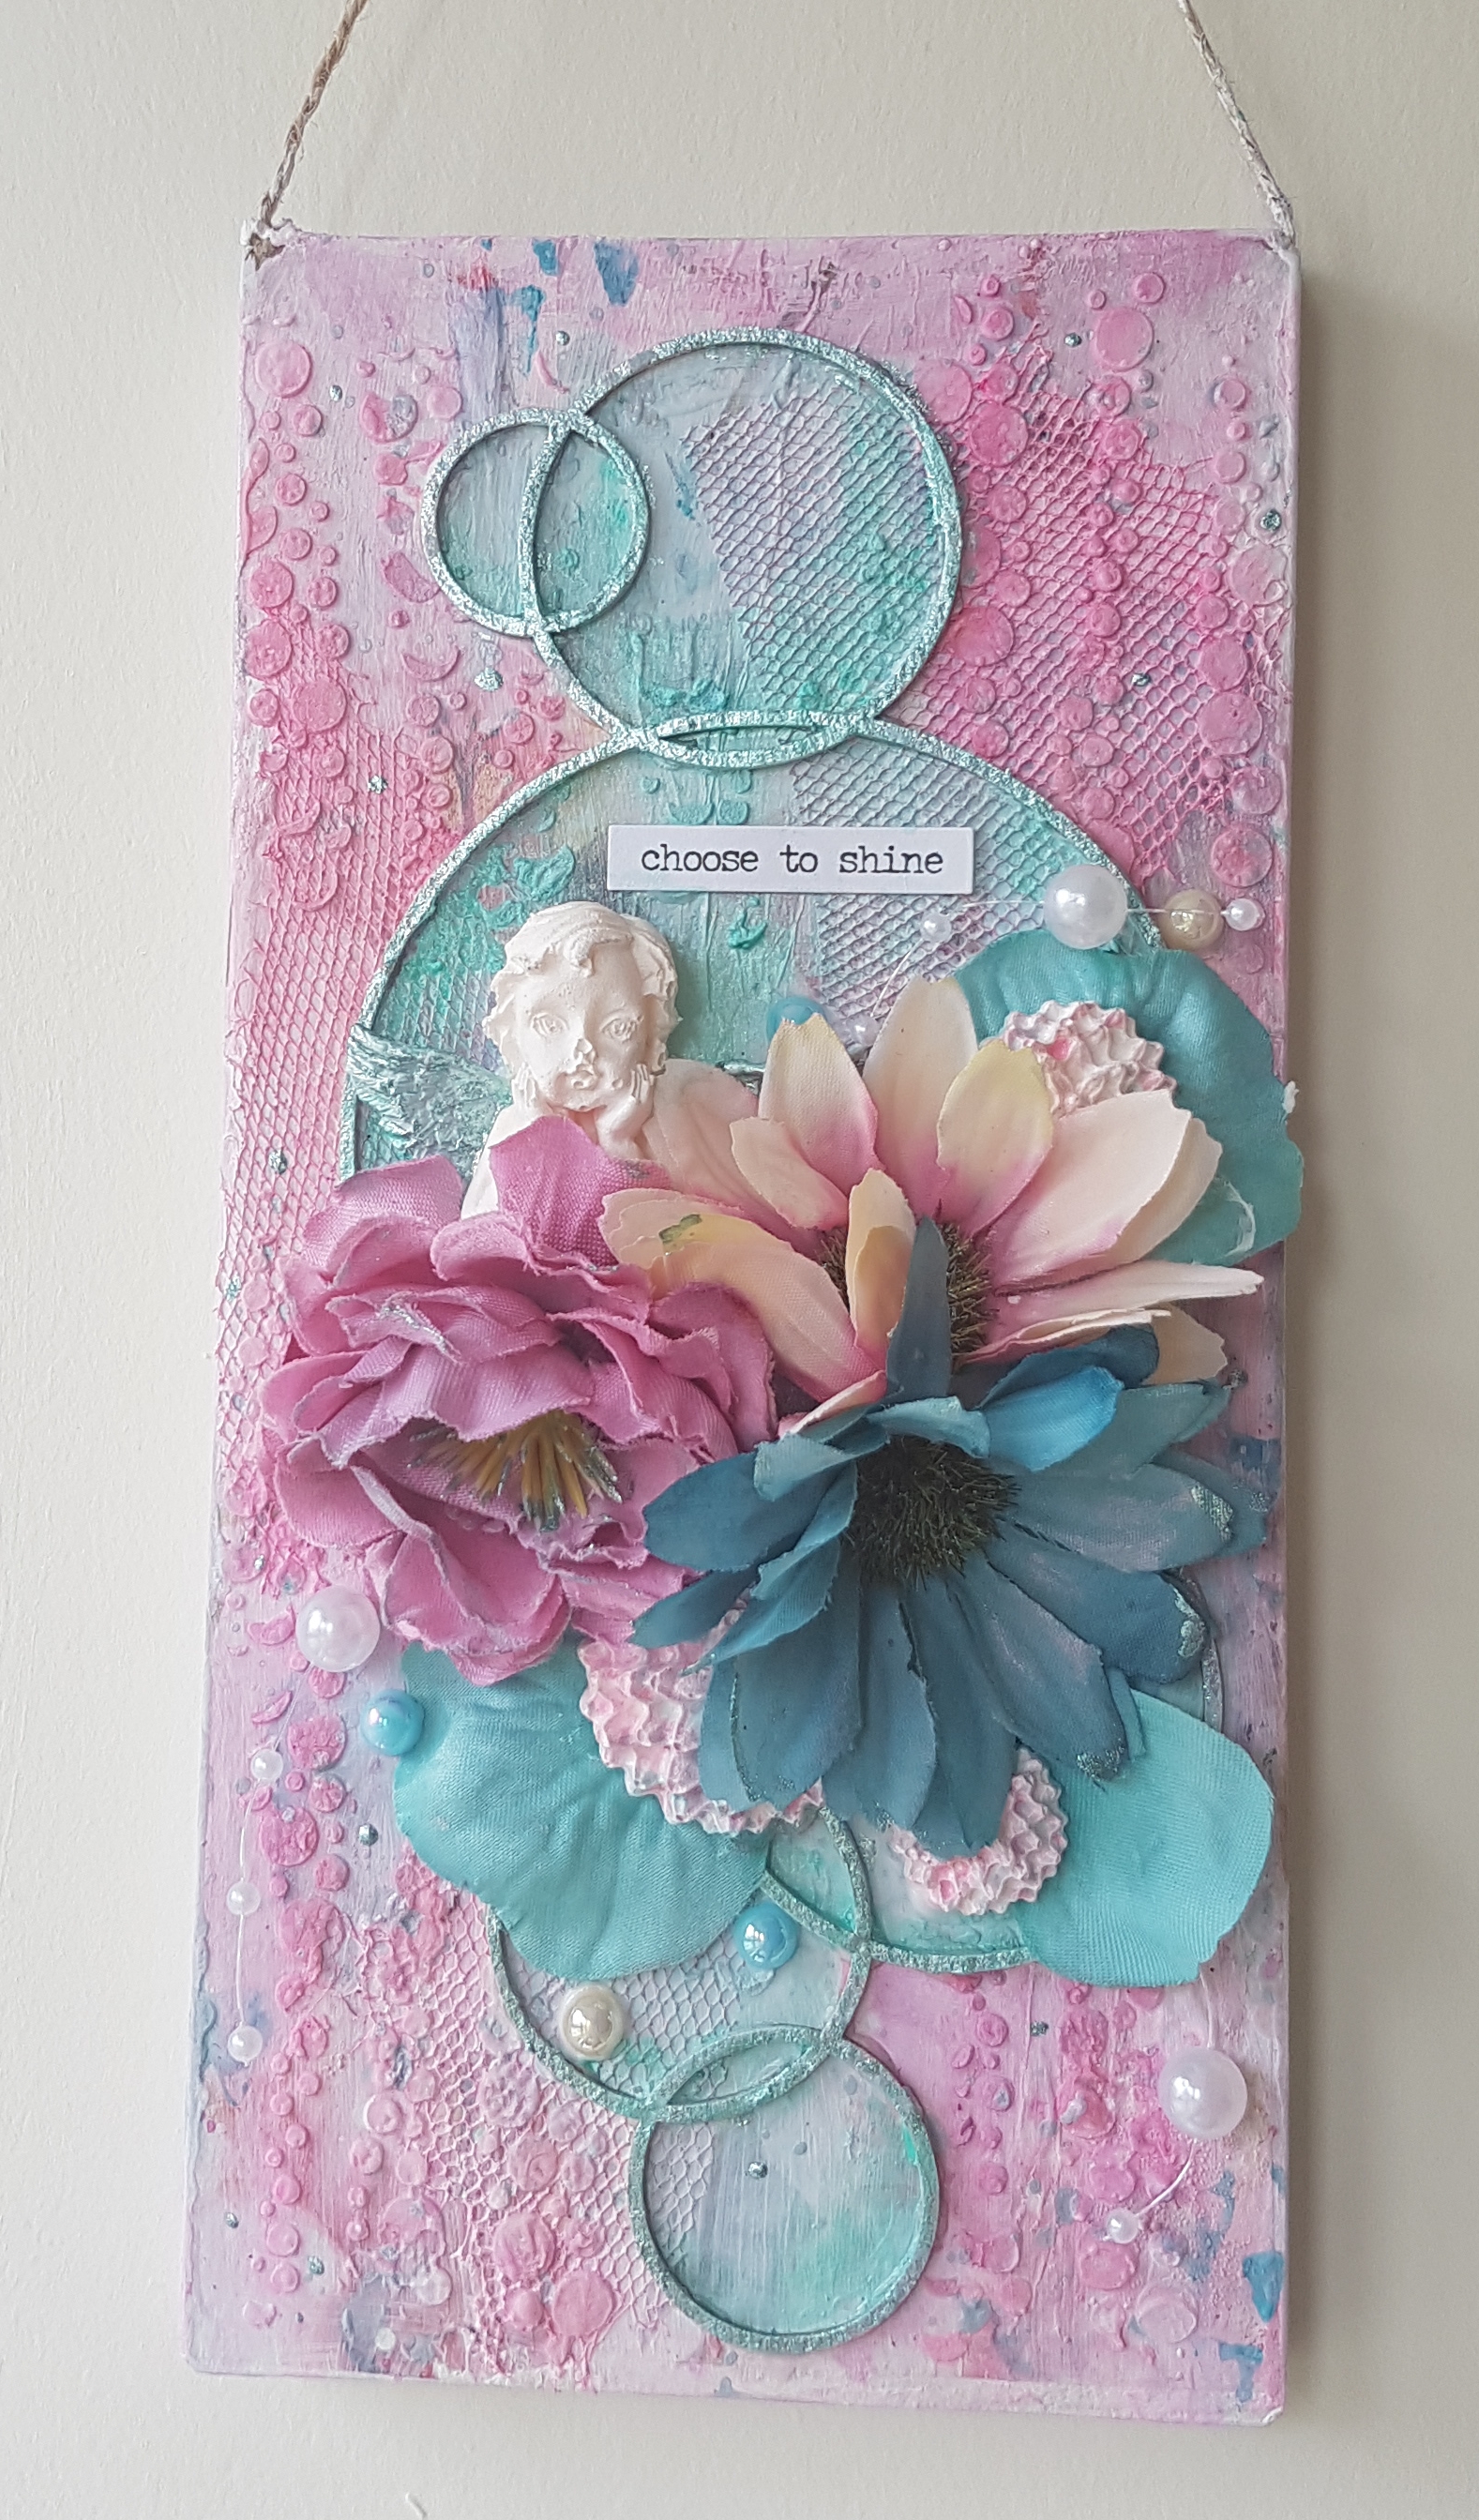
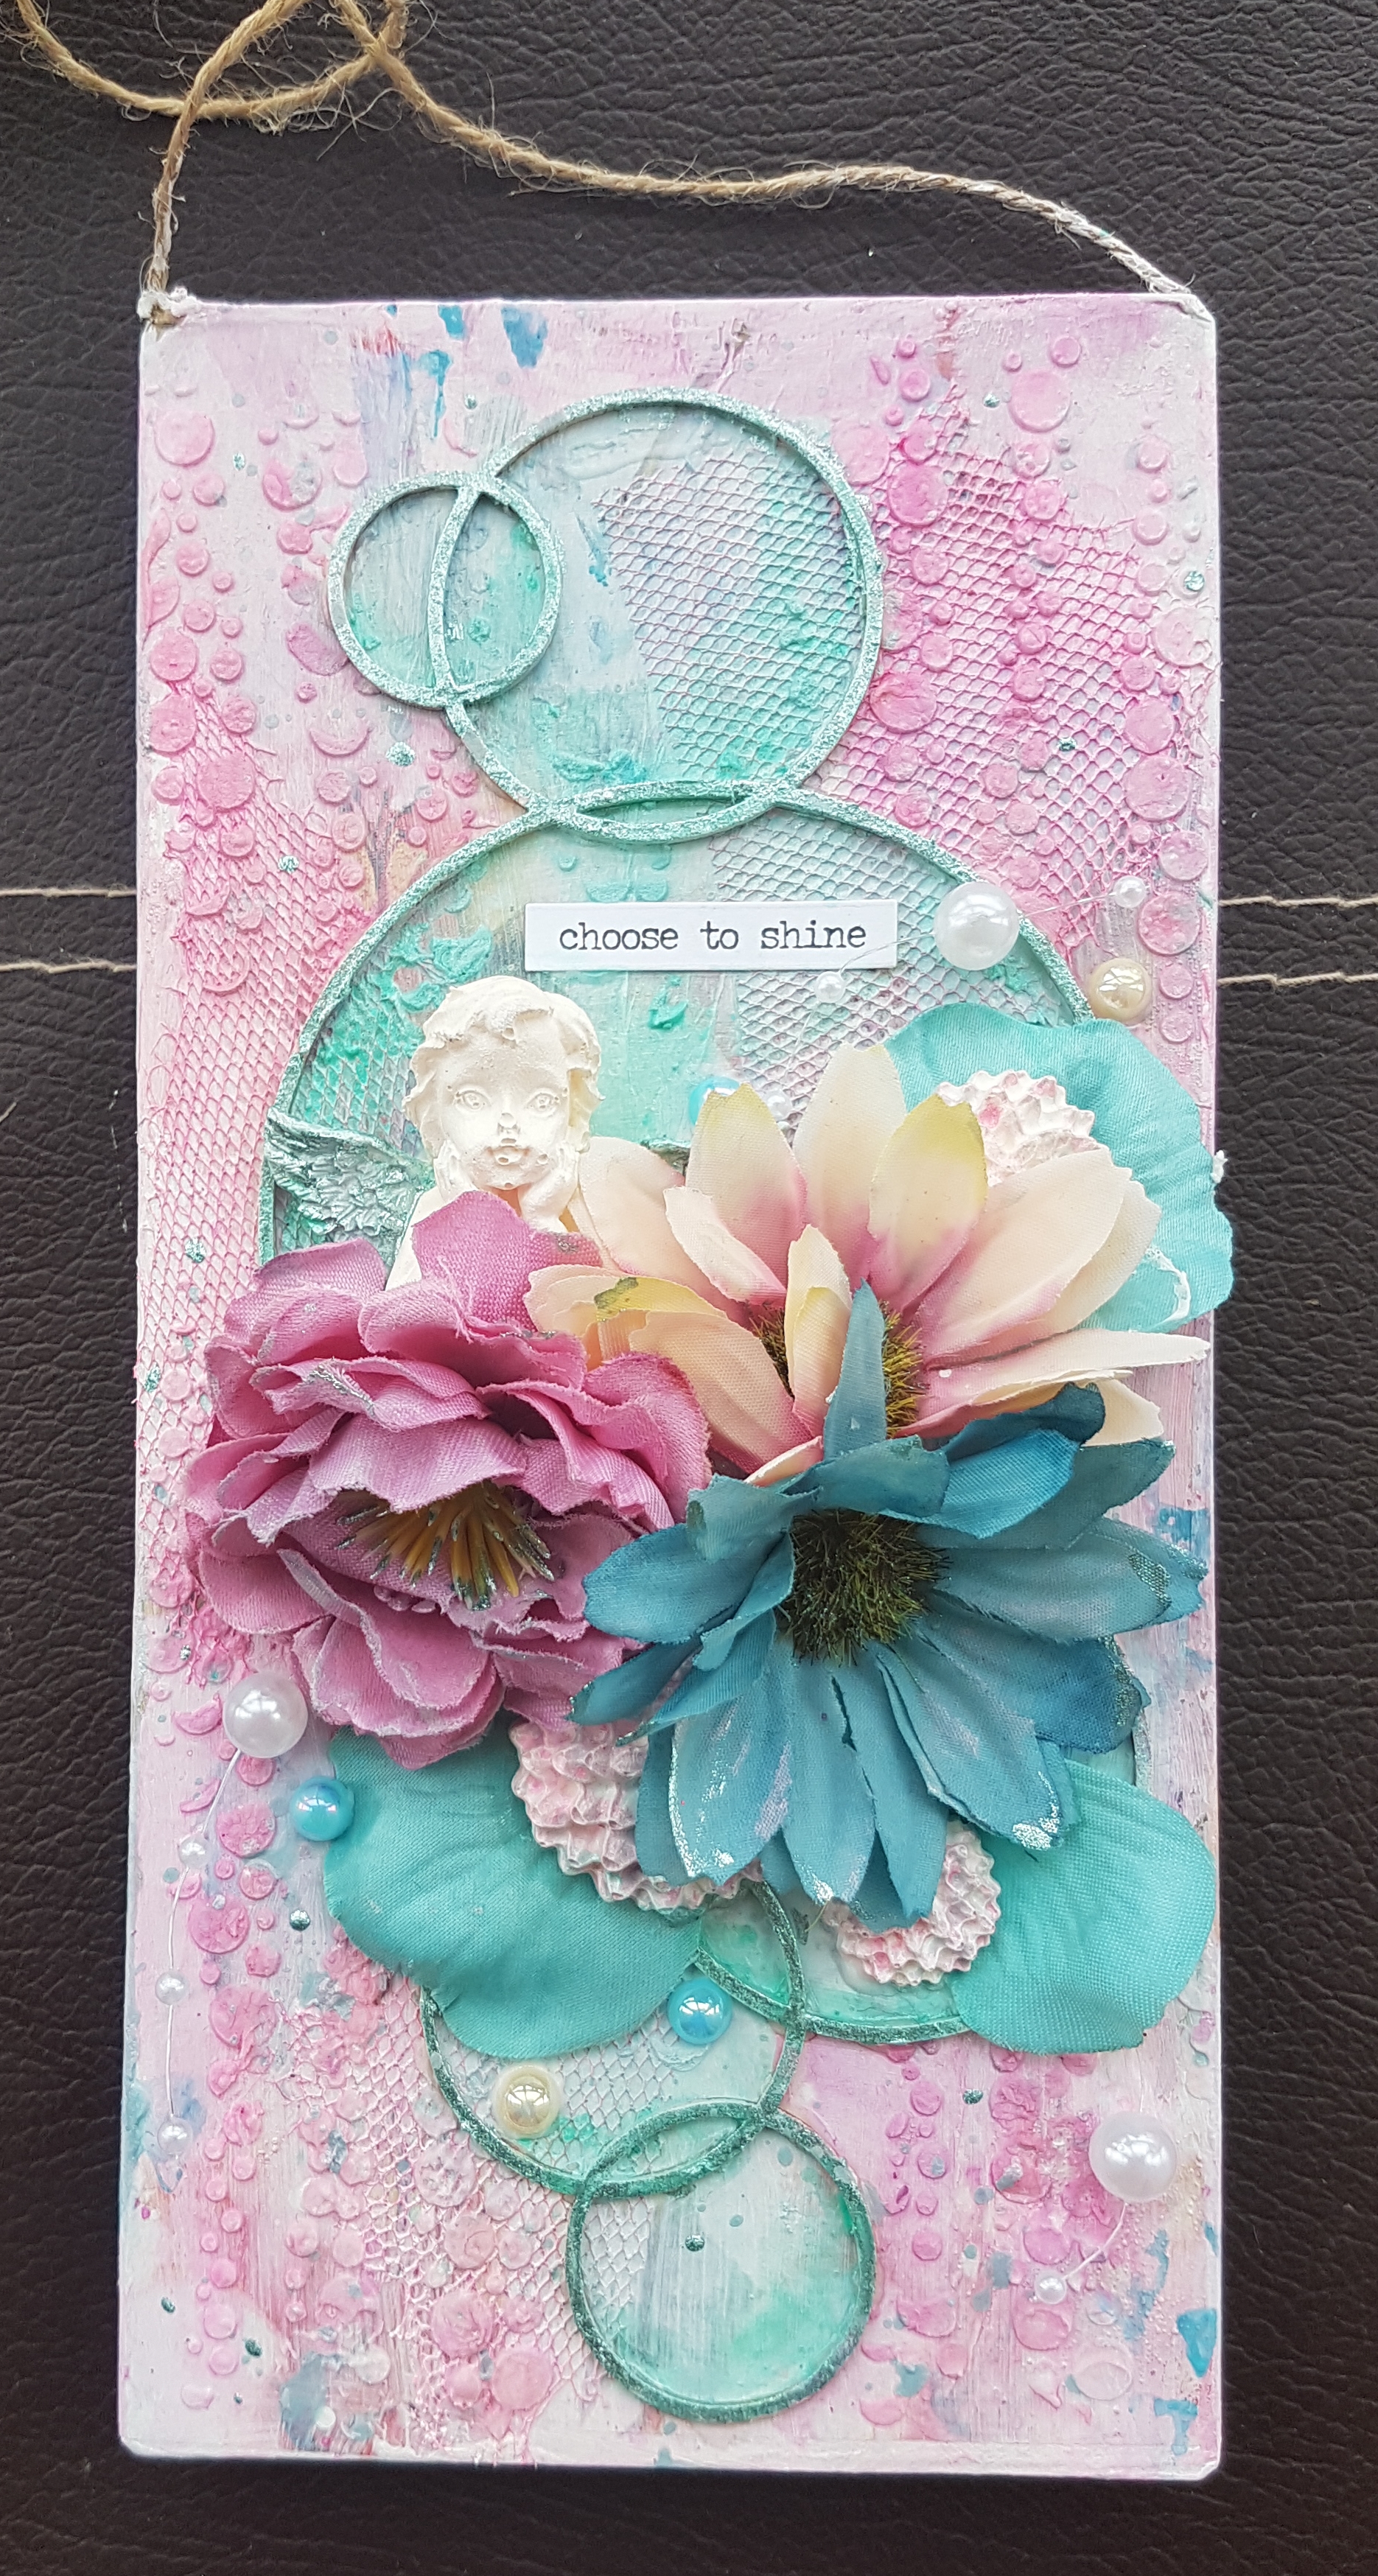
And here is the actual project.

Love how pretty this turned out to be … such a change from more recent crafting endeavours to make something bigger than an ATC too! 

Happy crafting!

Catherine