Brusho 6 ATC fun! (141-146)

Today I’m sharing a project I was working on over a few weeks. I just grabbed time as and when I could to get them done. 

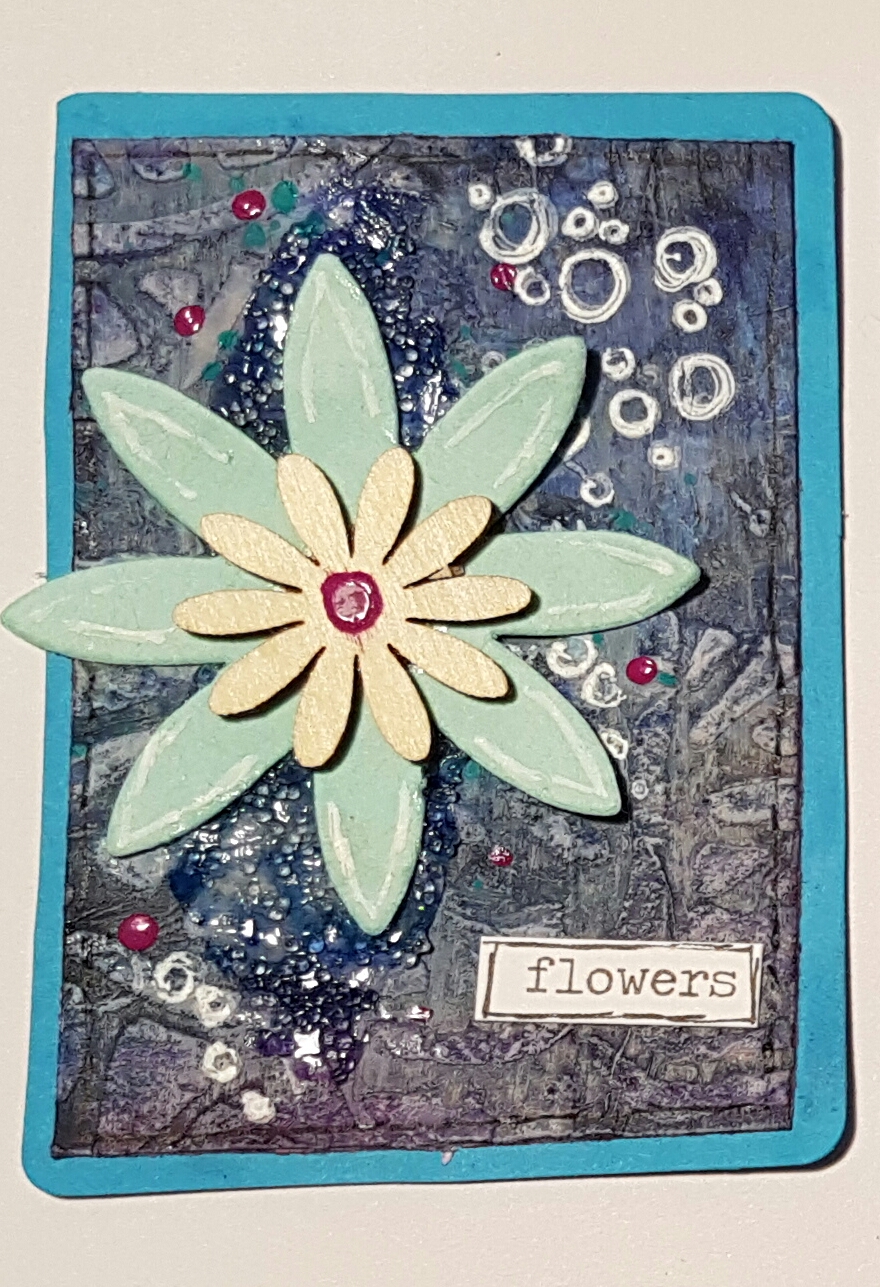
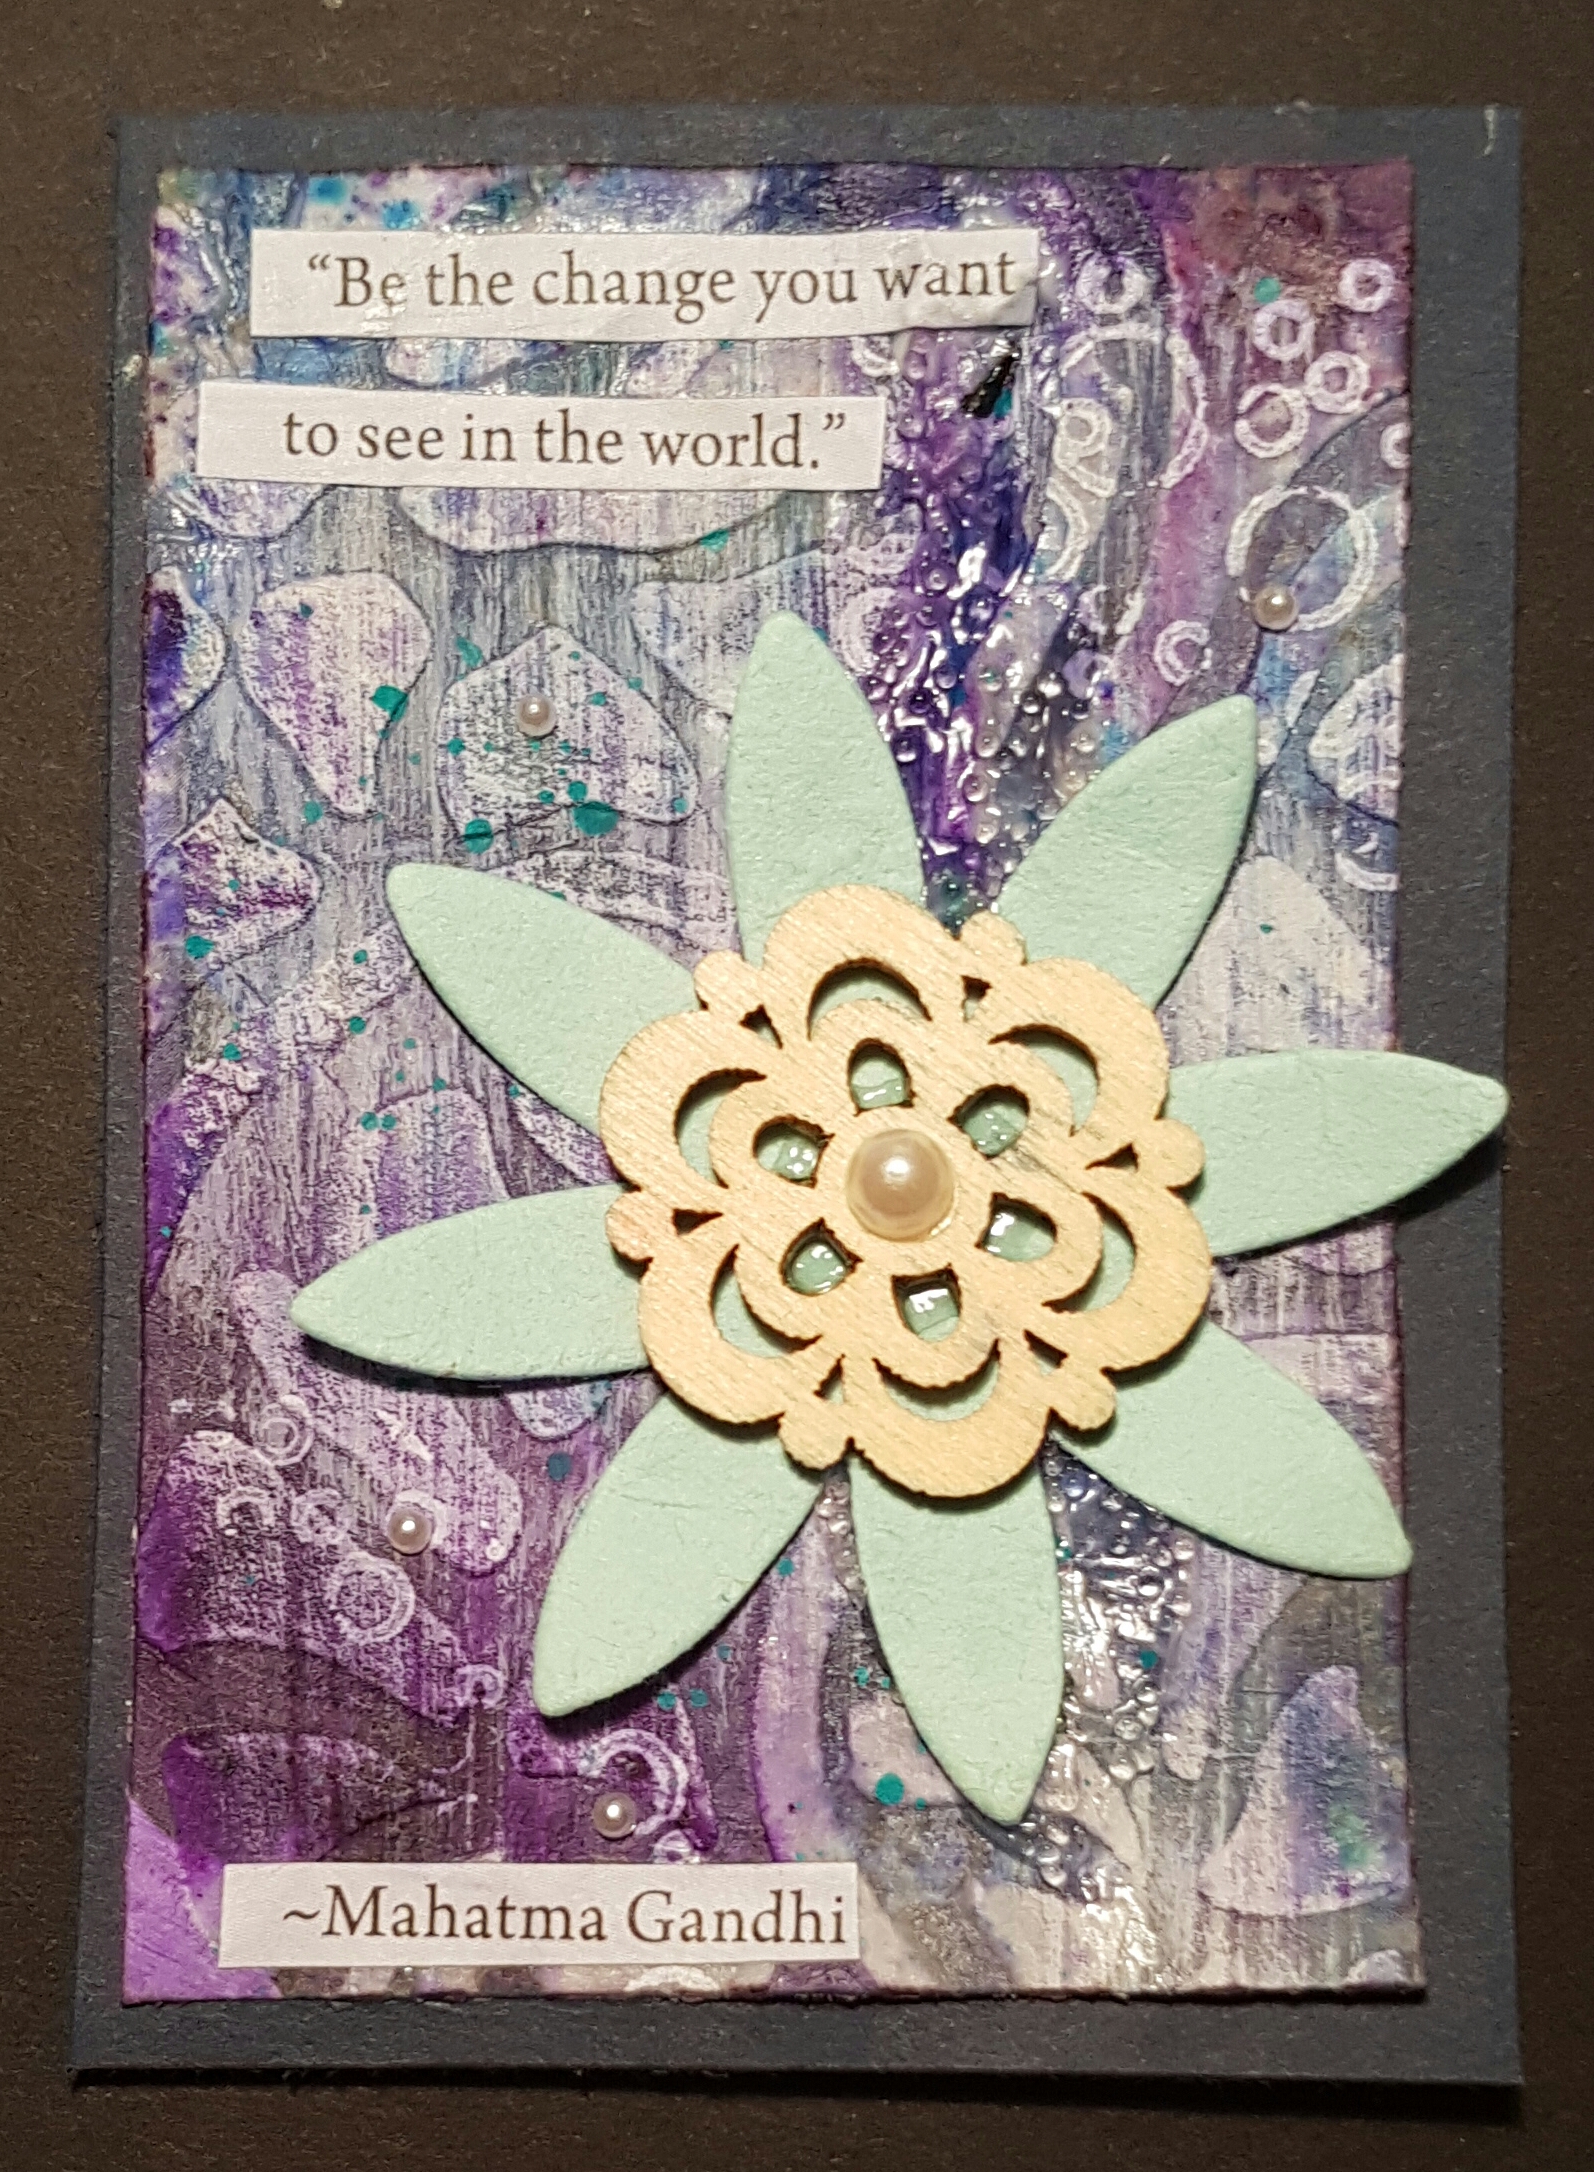
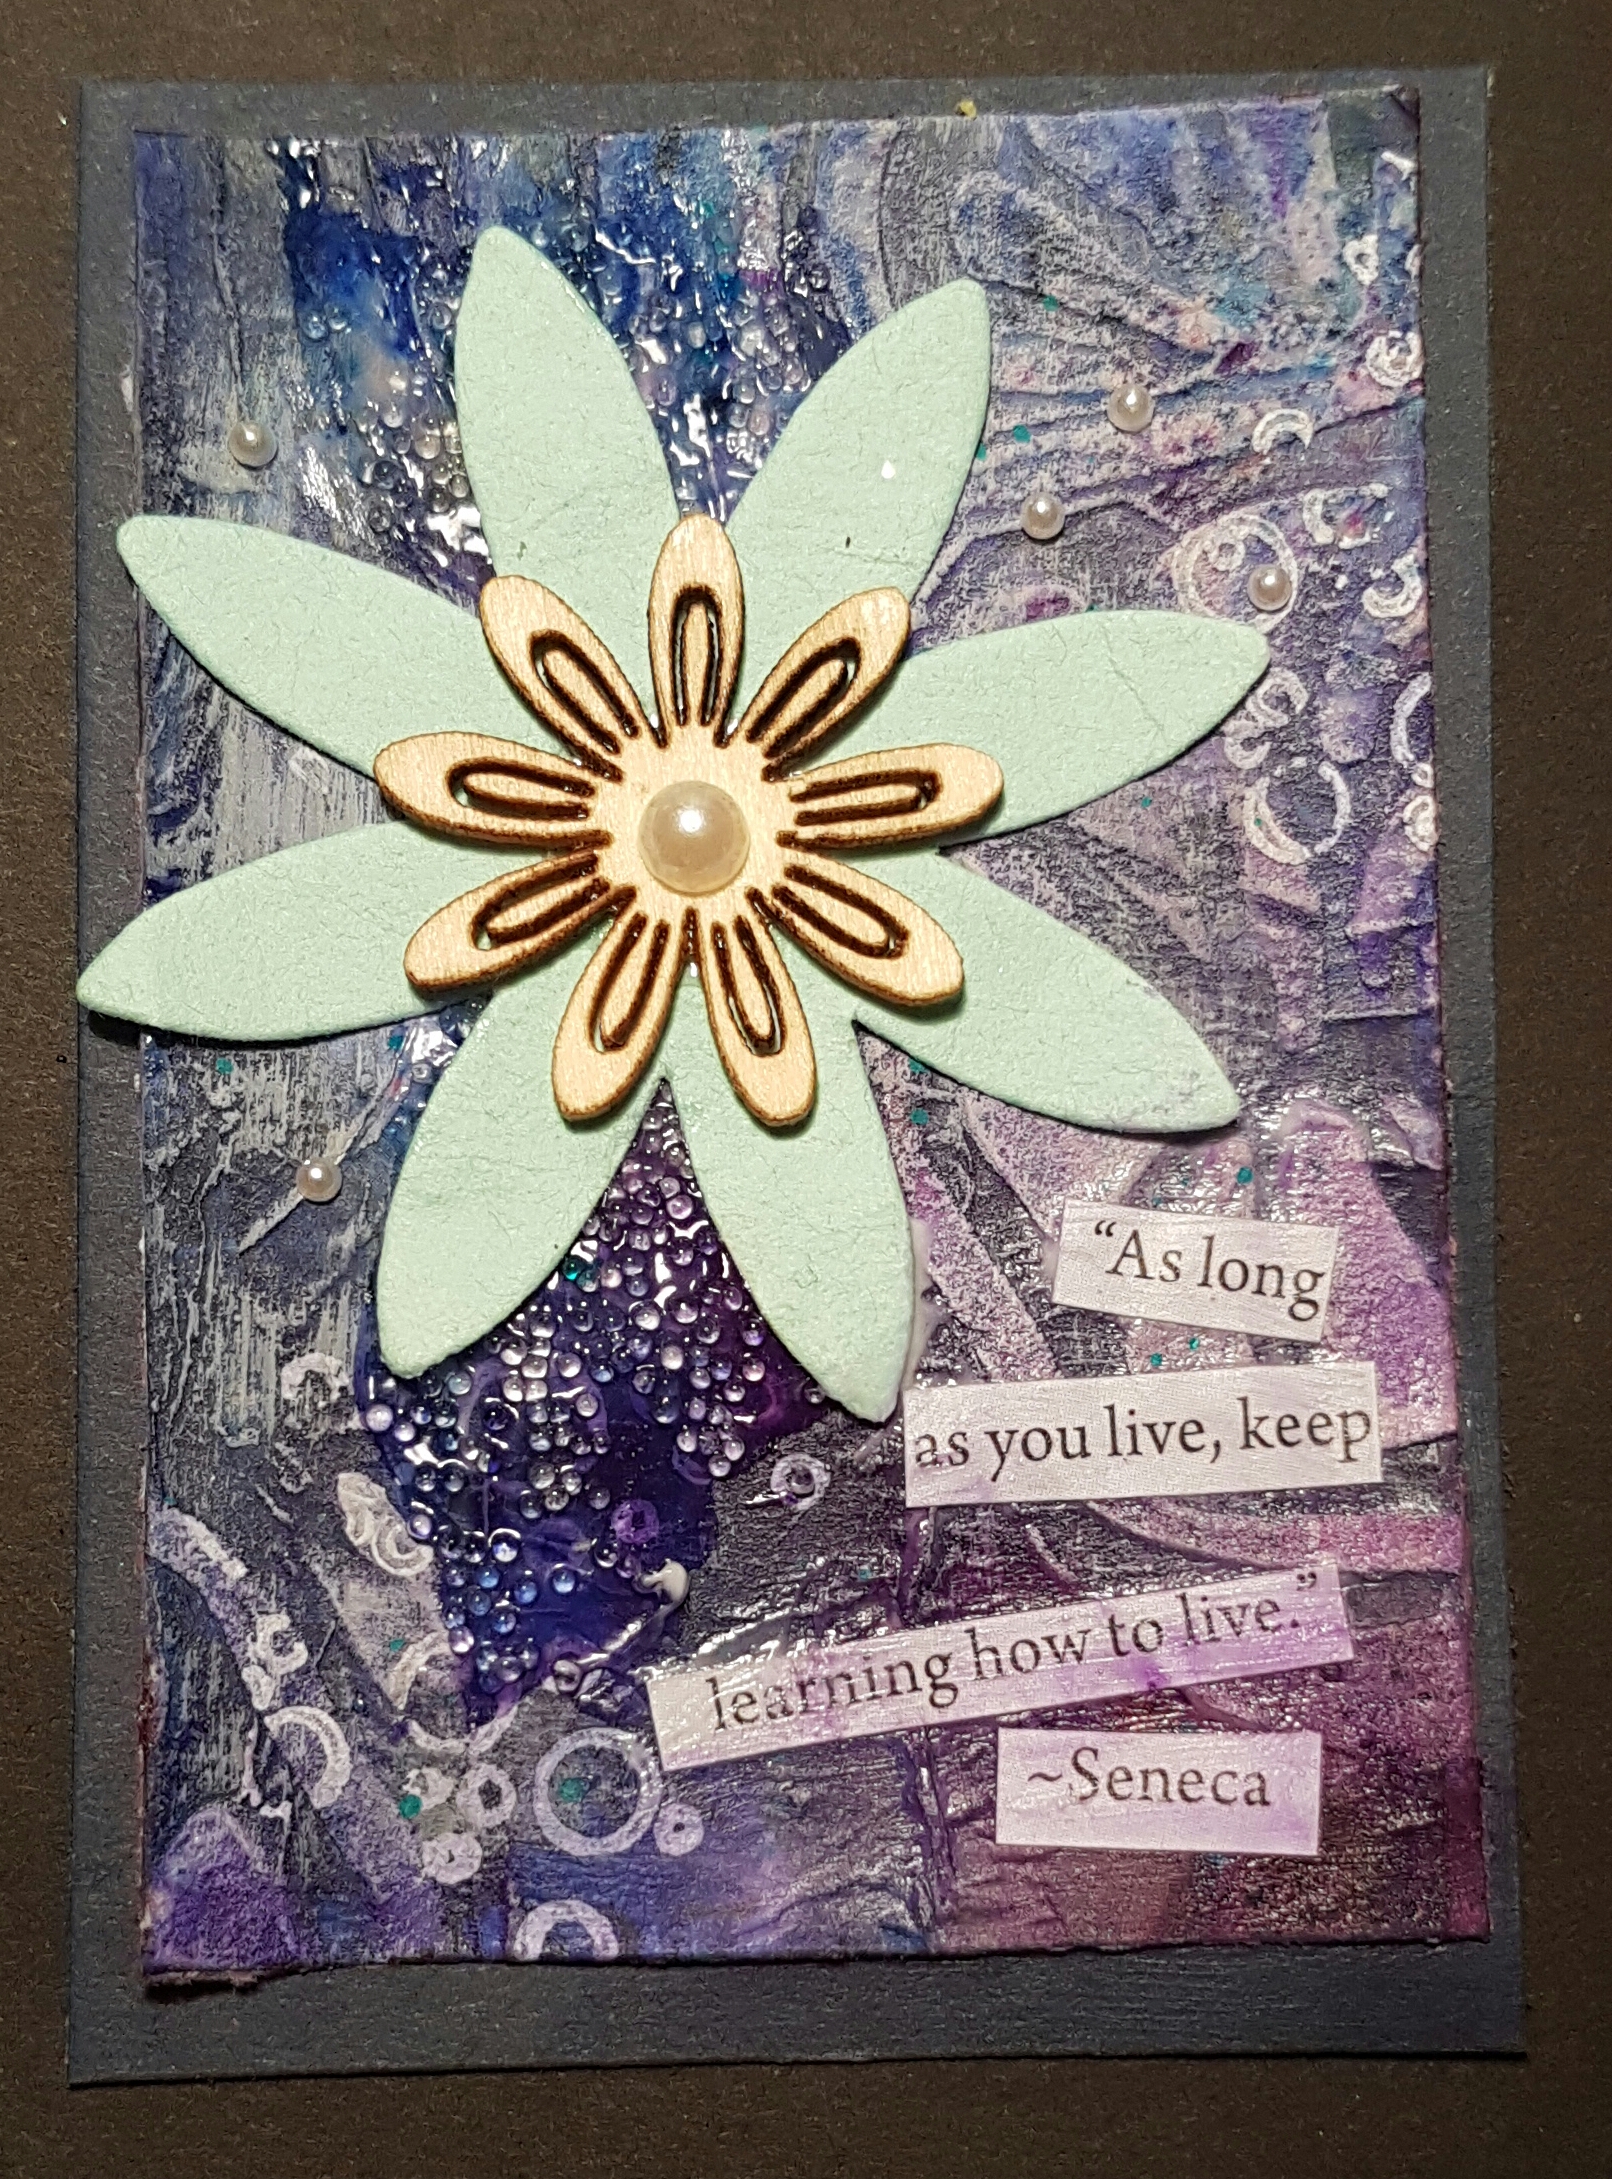
I started with a piece of patterned paper which had a marble effect on it and a chunk cut out for another project. 
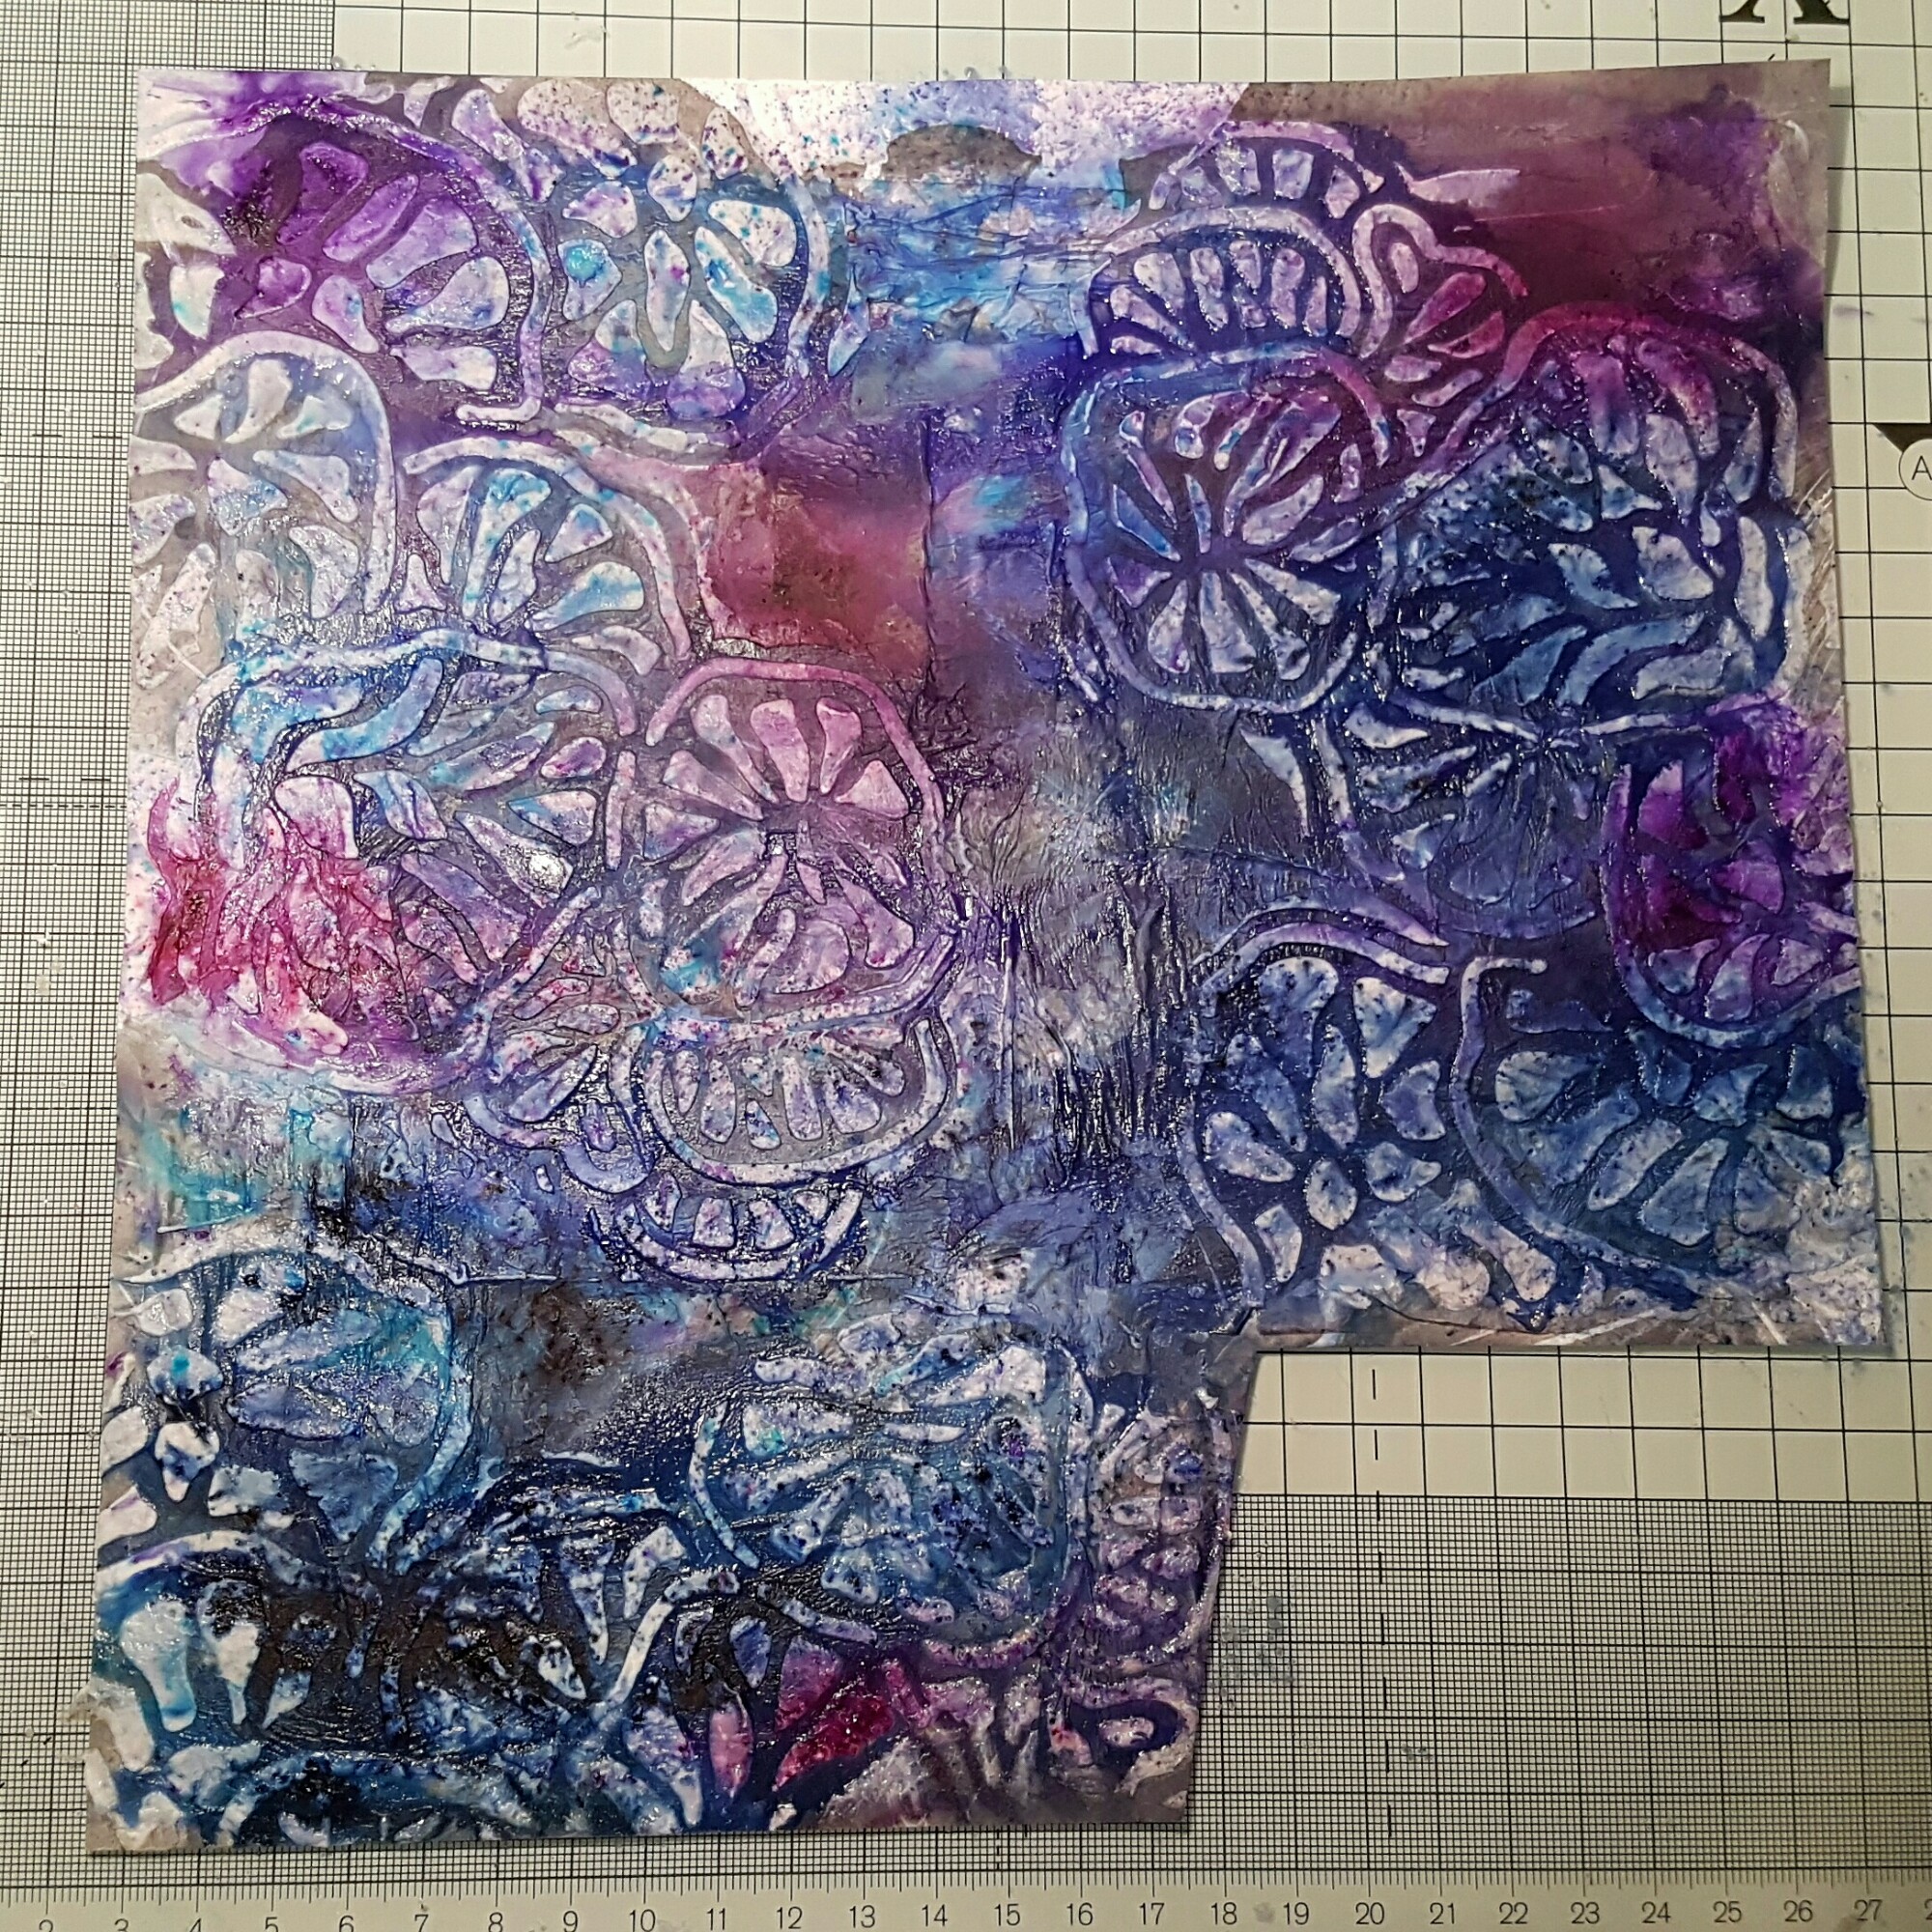
To this I added texture paste through a stencil and lots of Brushos. 

Our centre dry I cut it into six ATC size panels. 
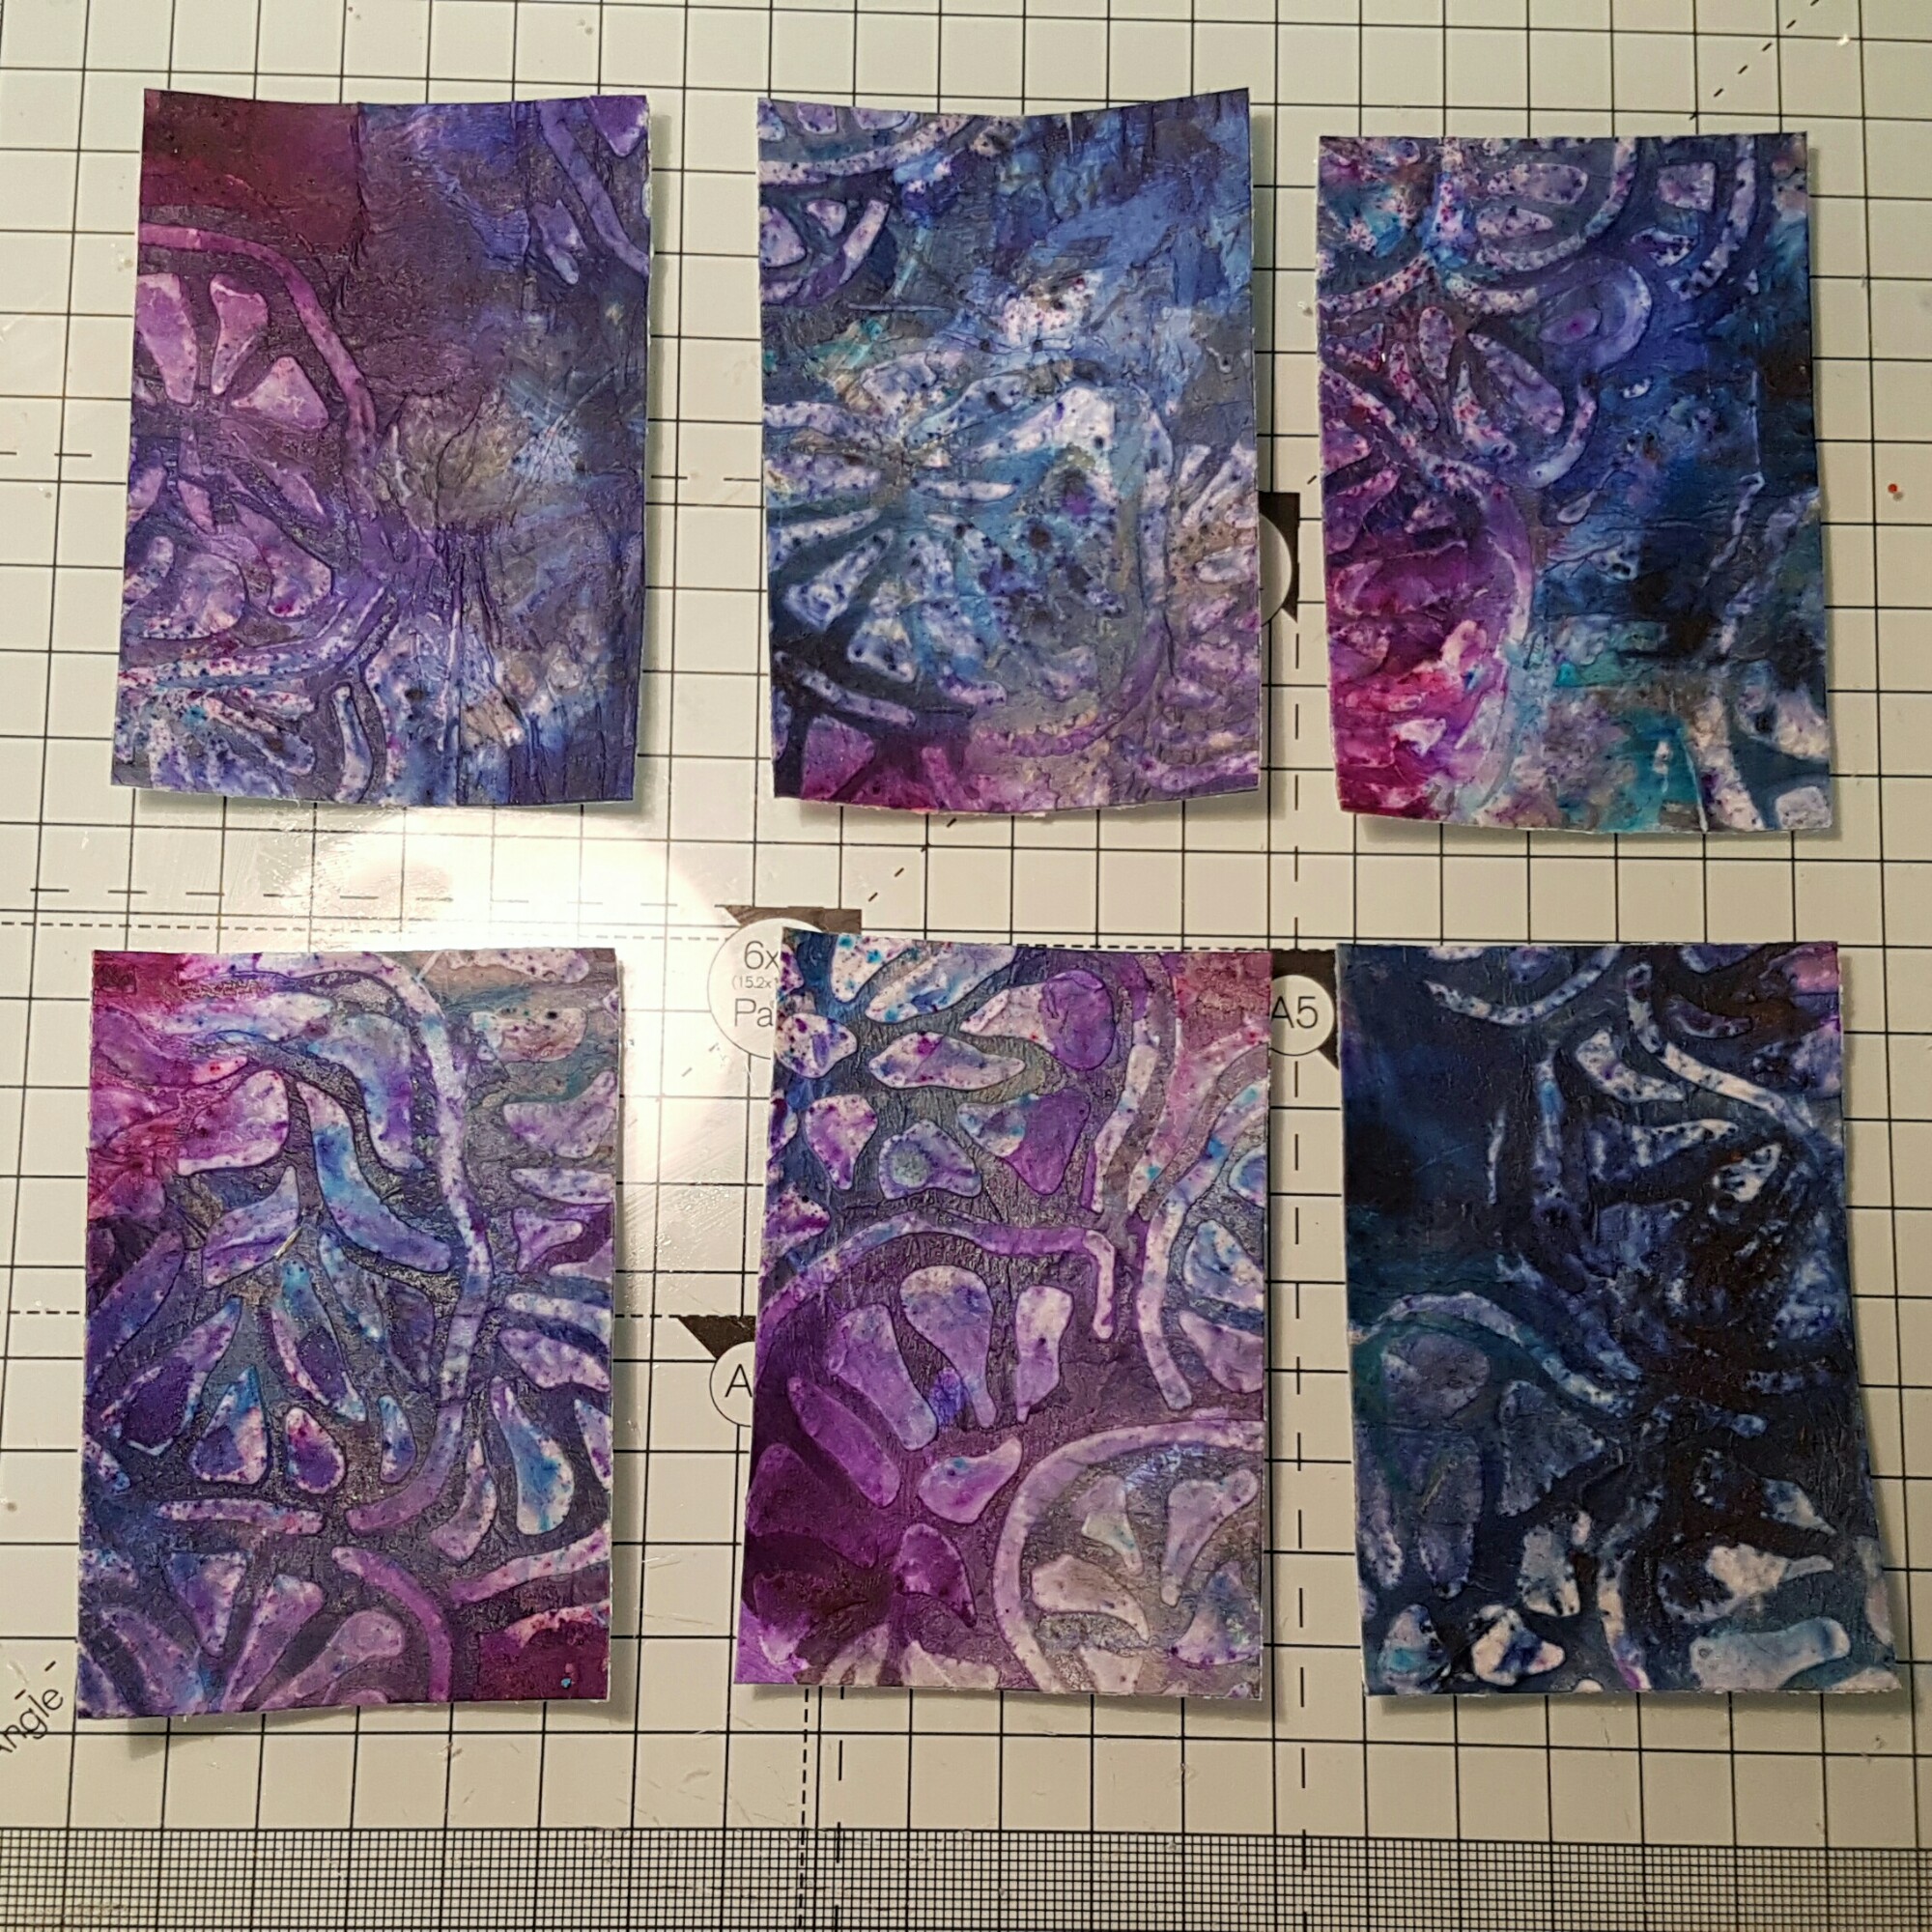
I then started gathering bits and pieces for them… sone turquoise paper flowers as the main feature with a wooden flower centre.
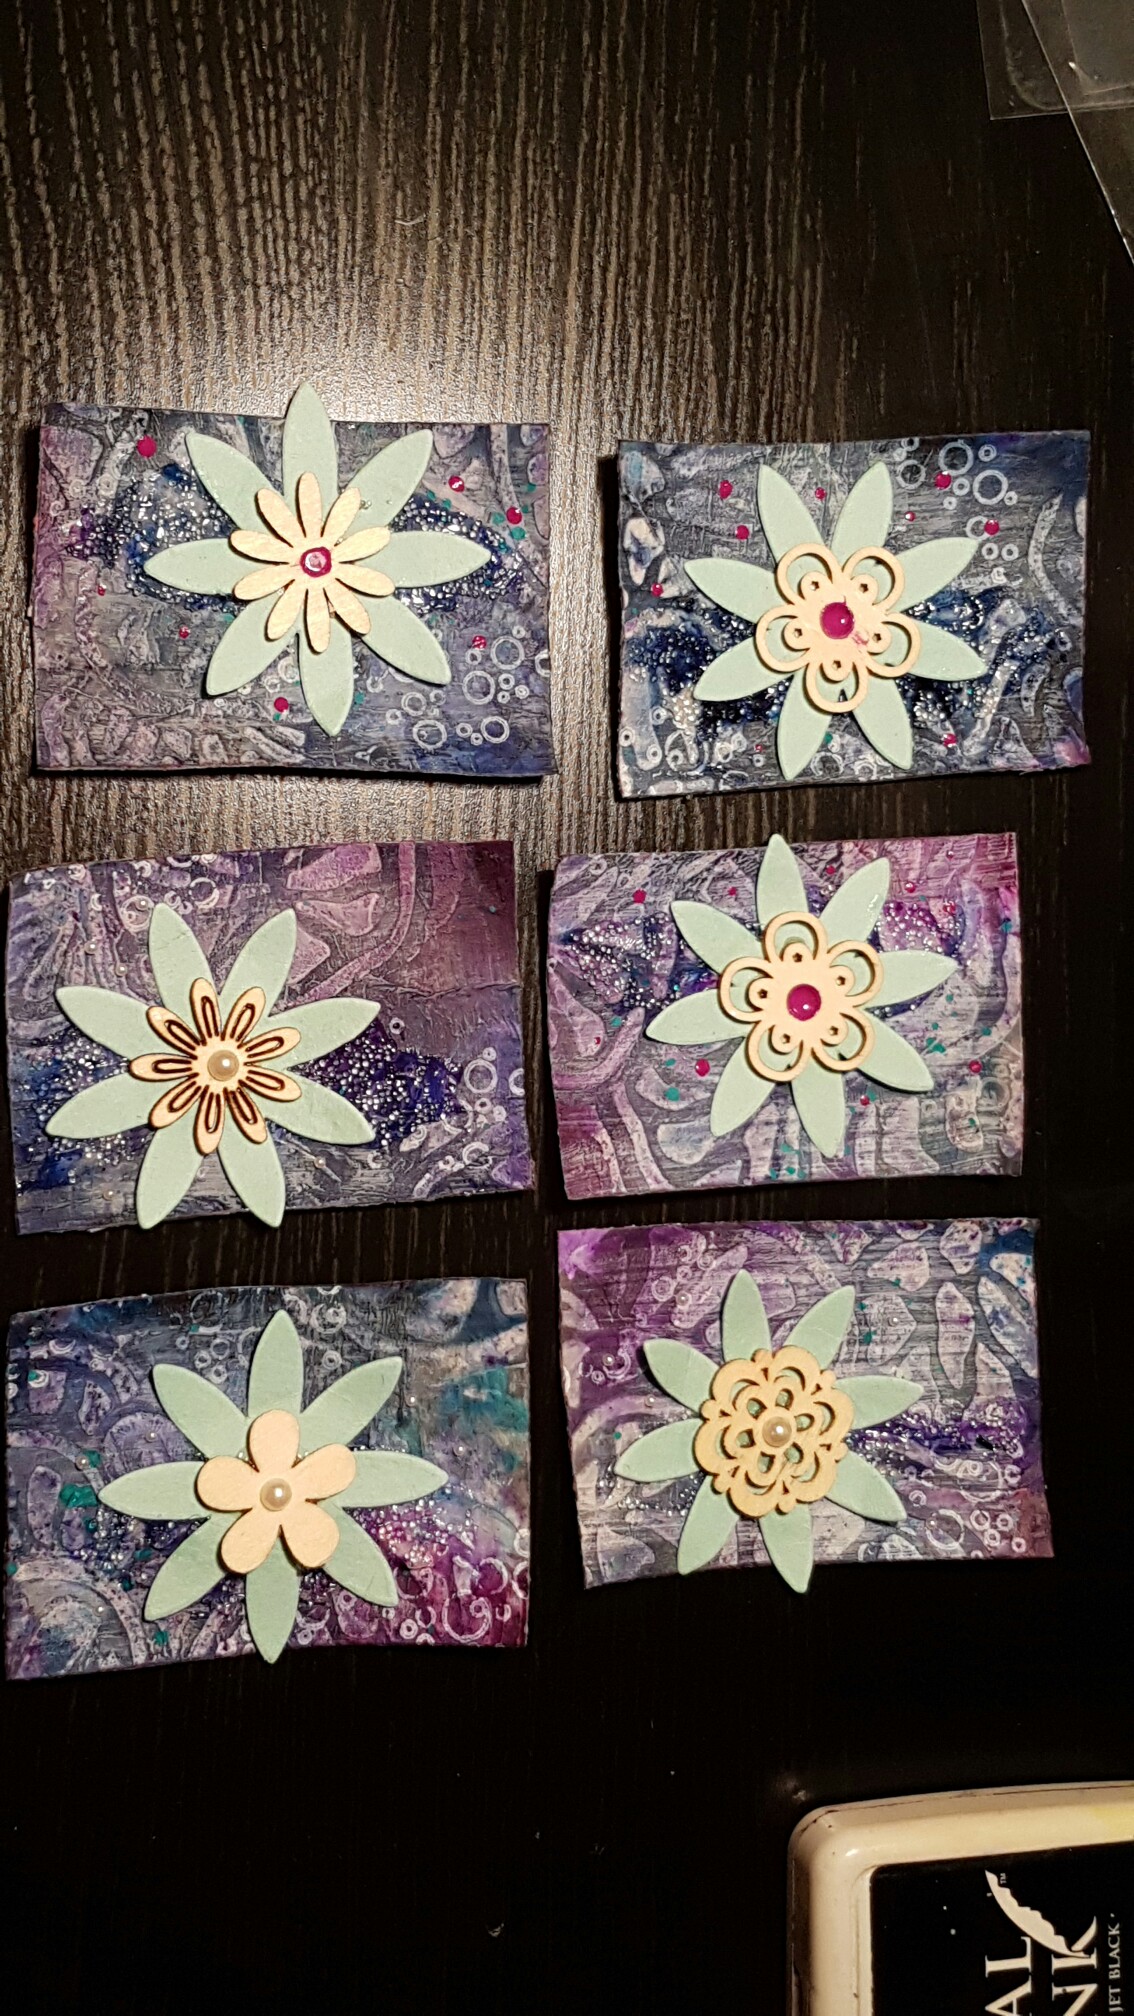
To three I added pearls and to three I added purple enamel accents.  The purple ones I mounted onto a bright turquoise atc base. 
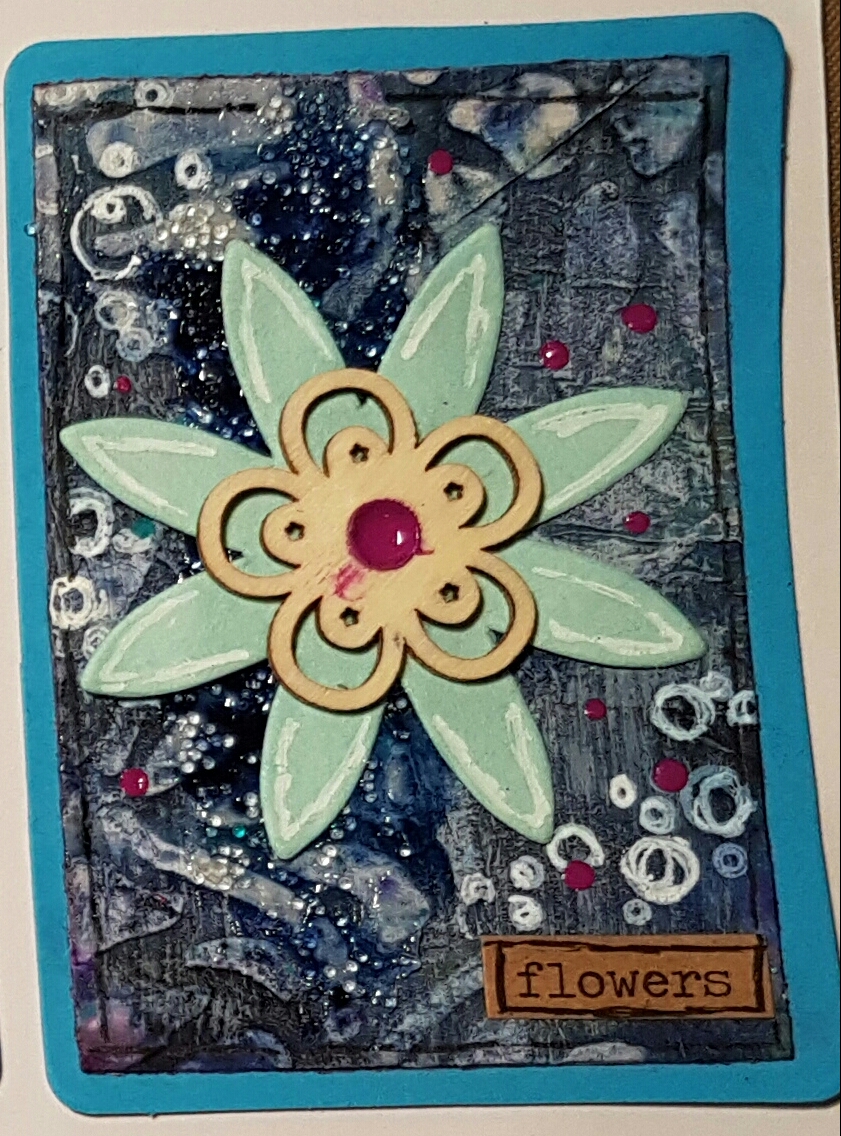
I also added Tim Holtz stickers for the titles and some gel pen doodles 

The other three got left a week or so and then got added to navy bases. 
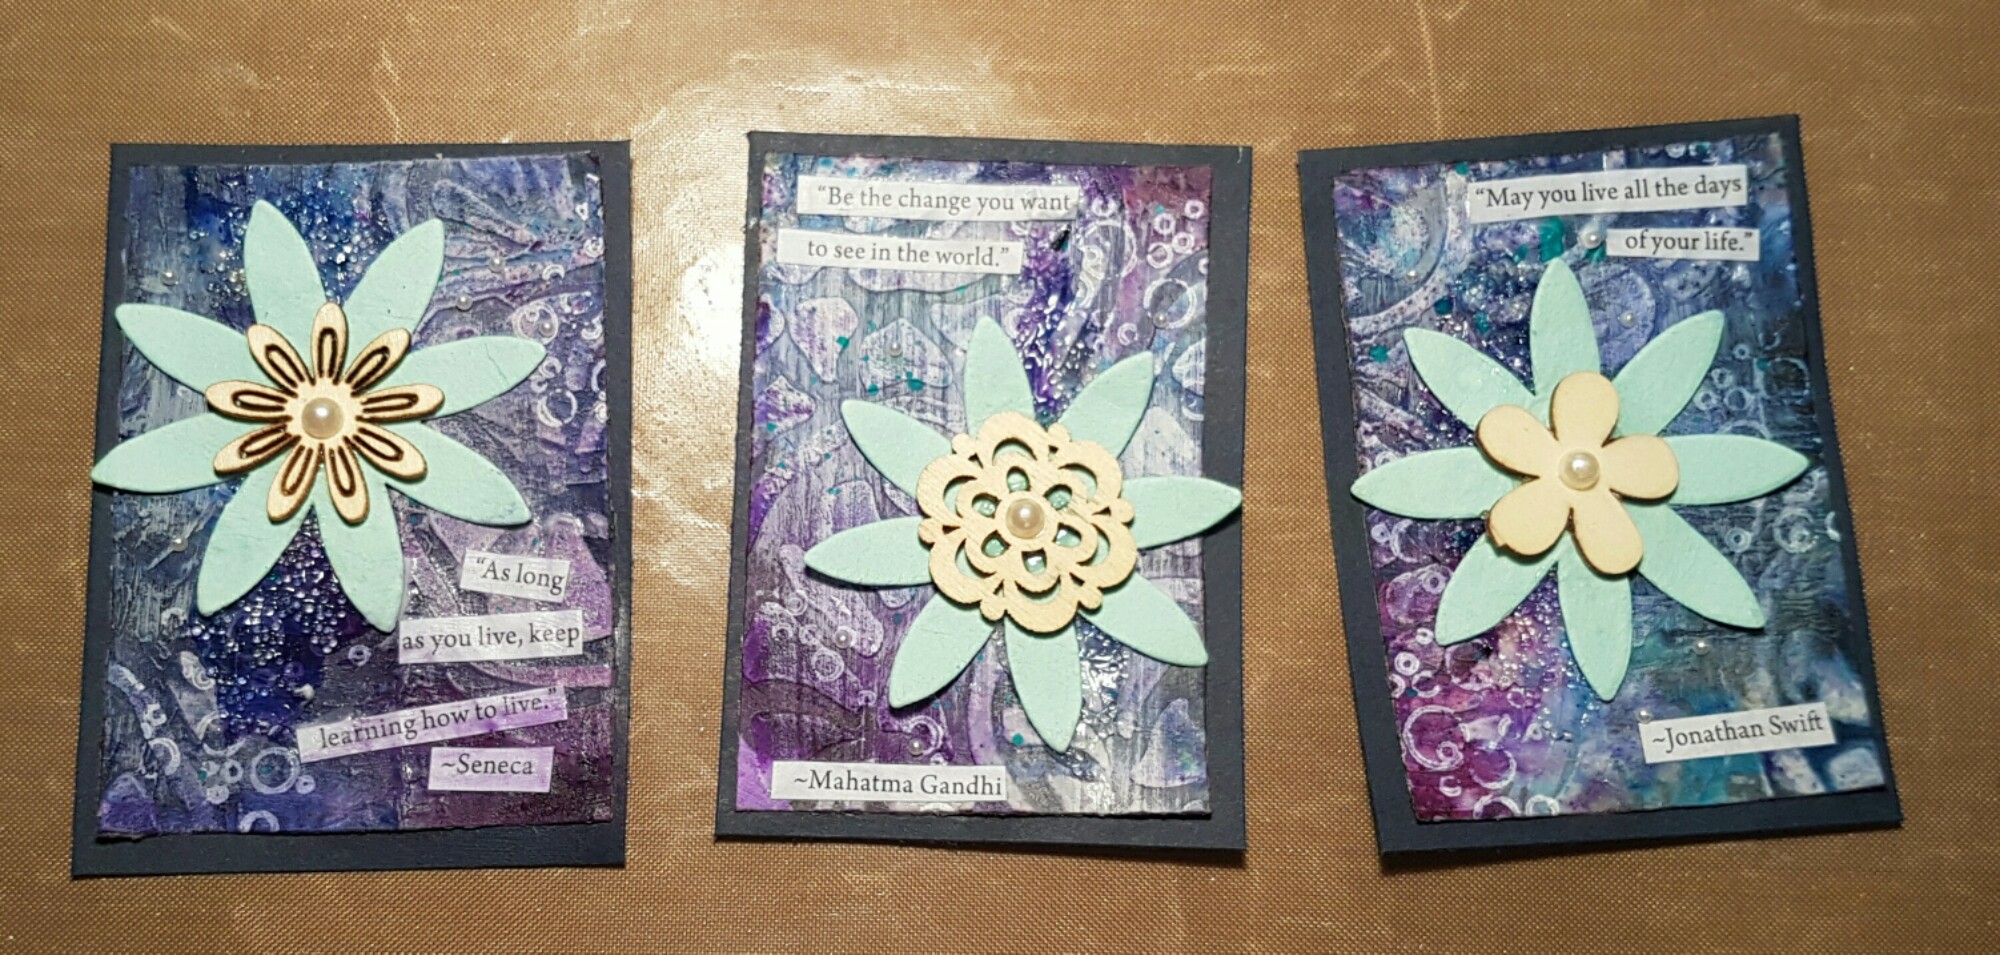
These had quotes added cut from an old calendar and I added glass bead gel too.
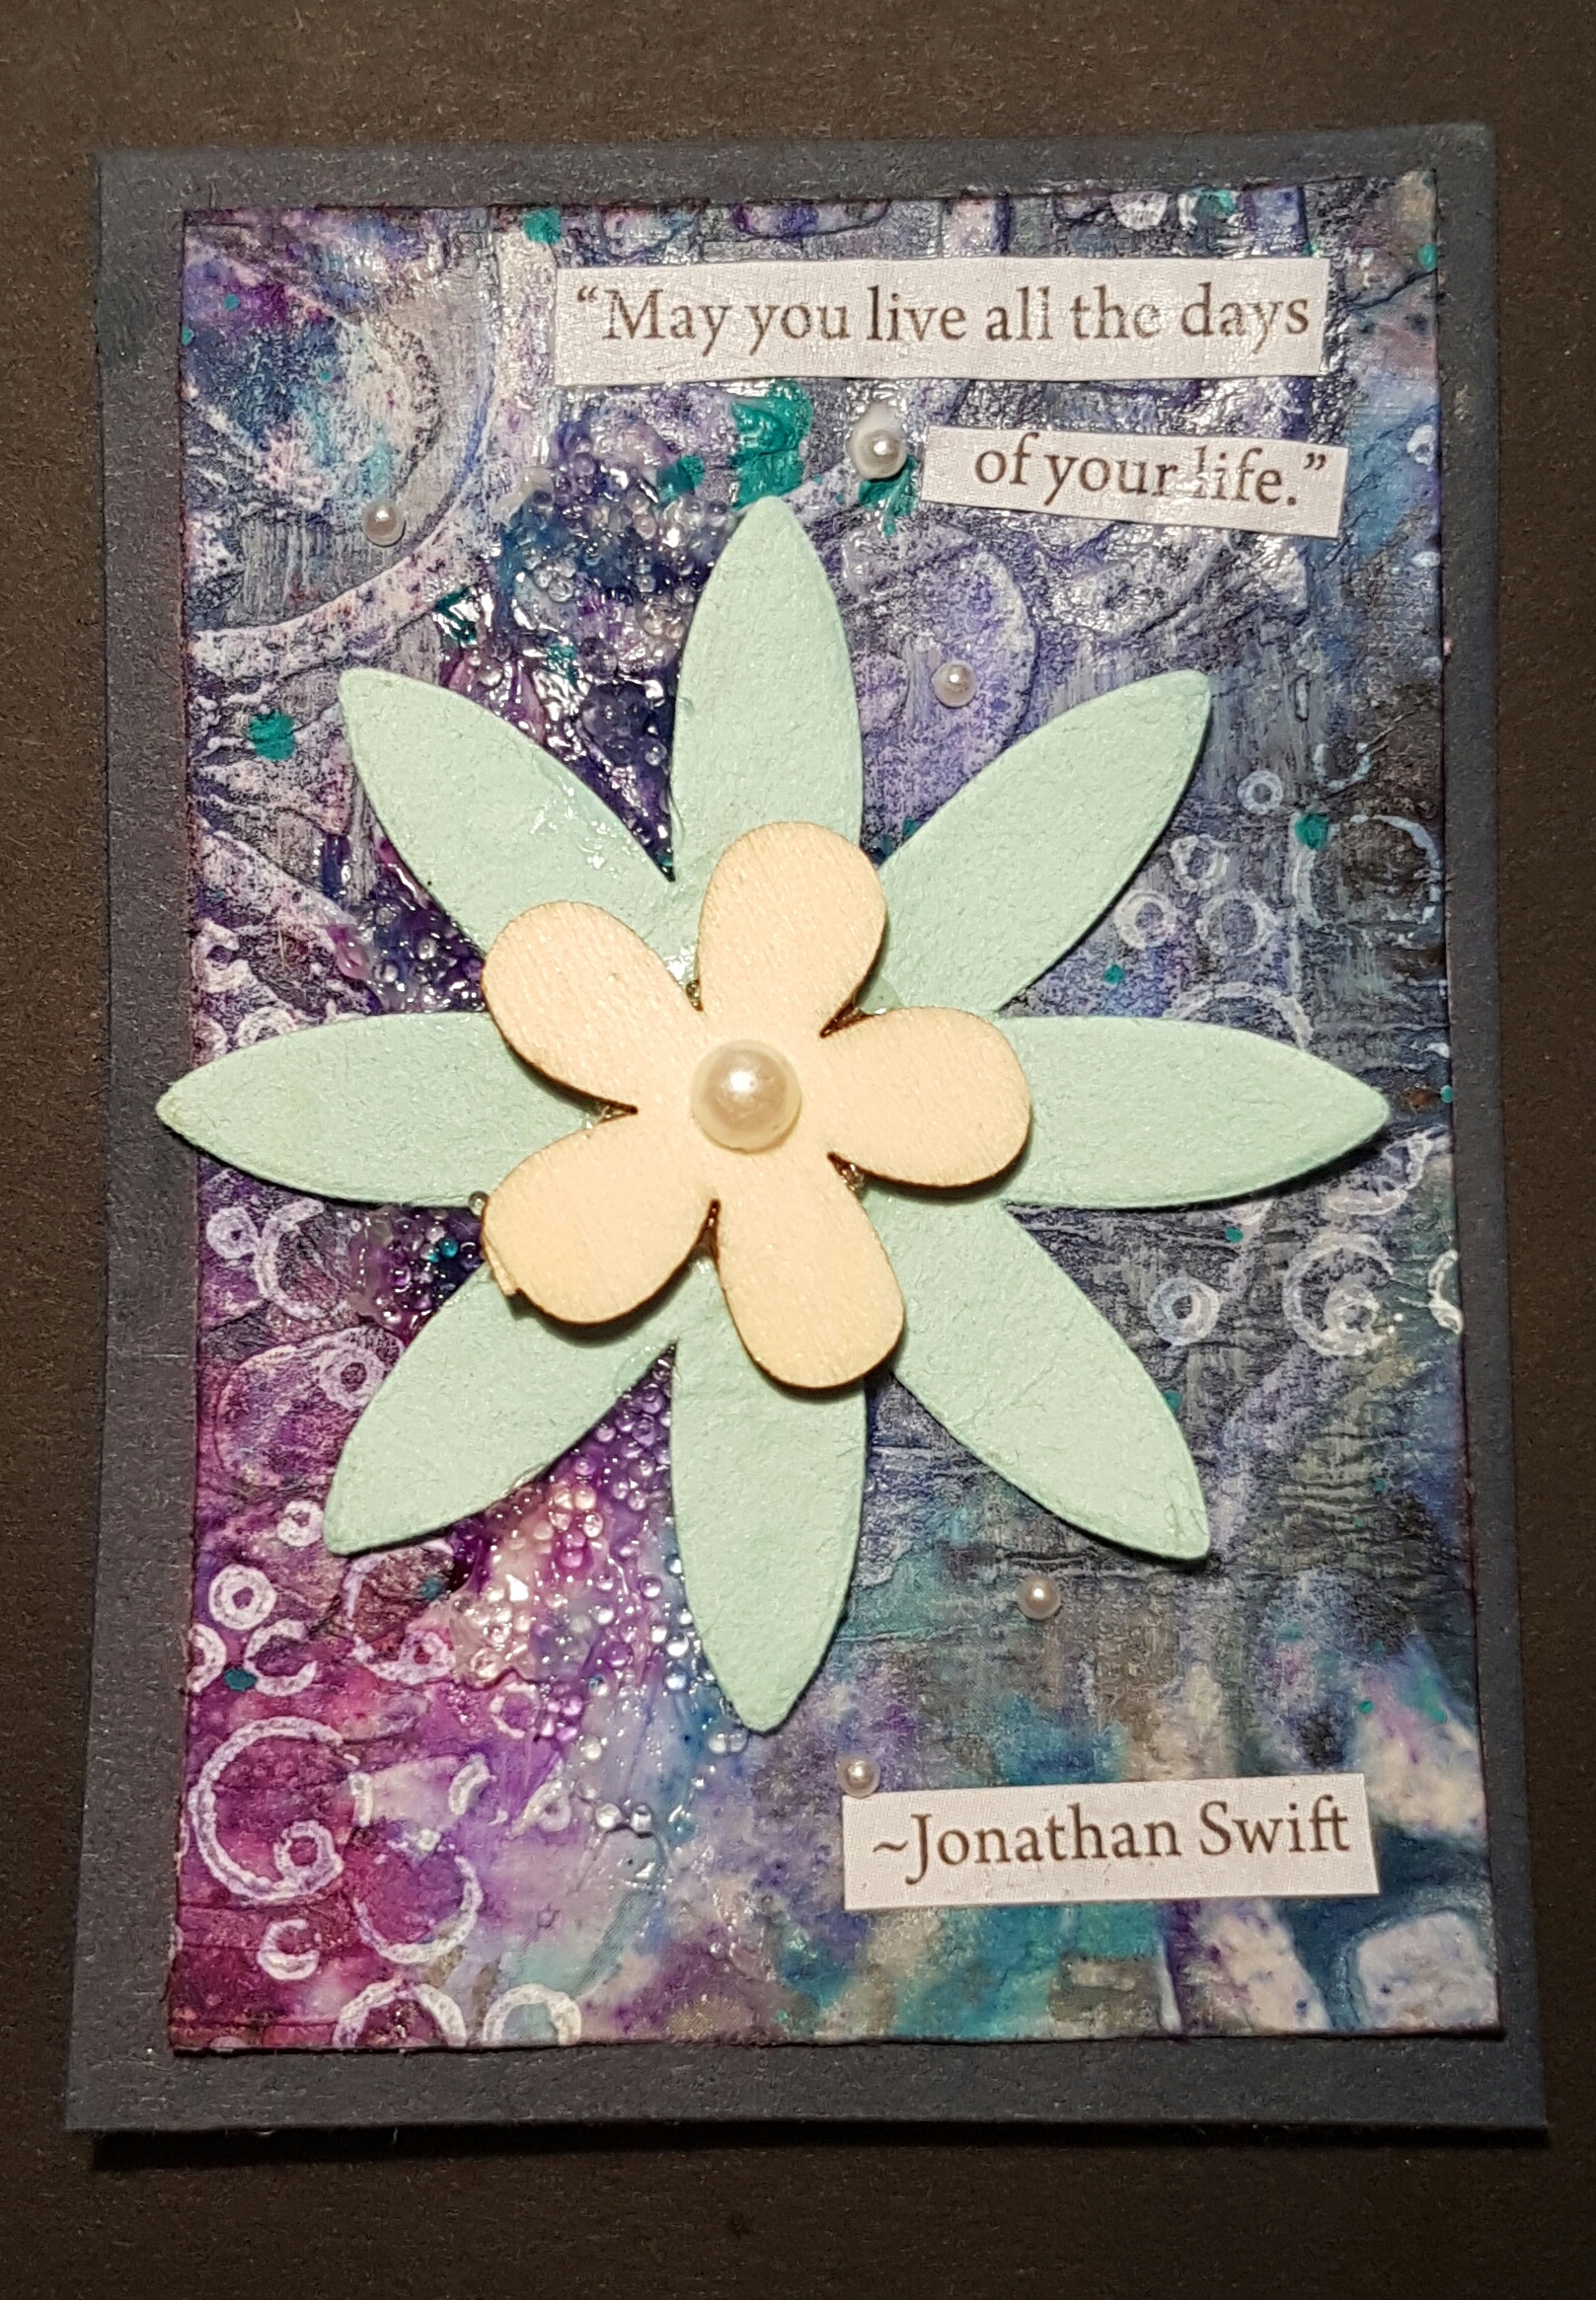
I love how the different finishes changed the look of the same base paper. Very cute and positive quotes are my favourite! 

Happy crafting! 

Catherine 
The last Patwits circle journal round 2

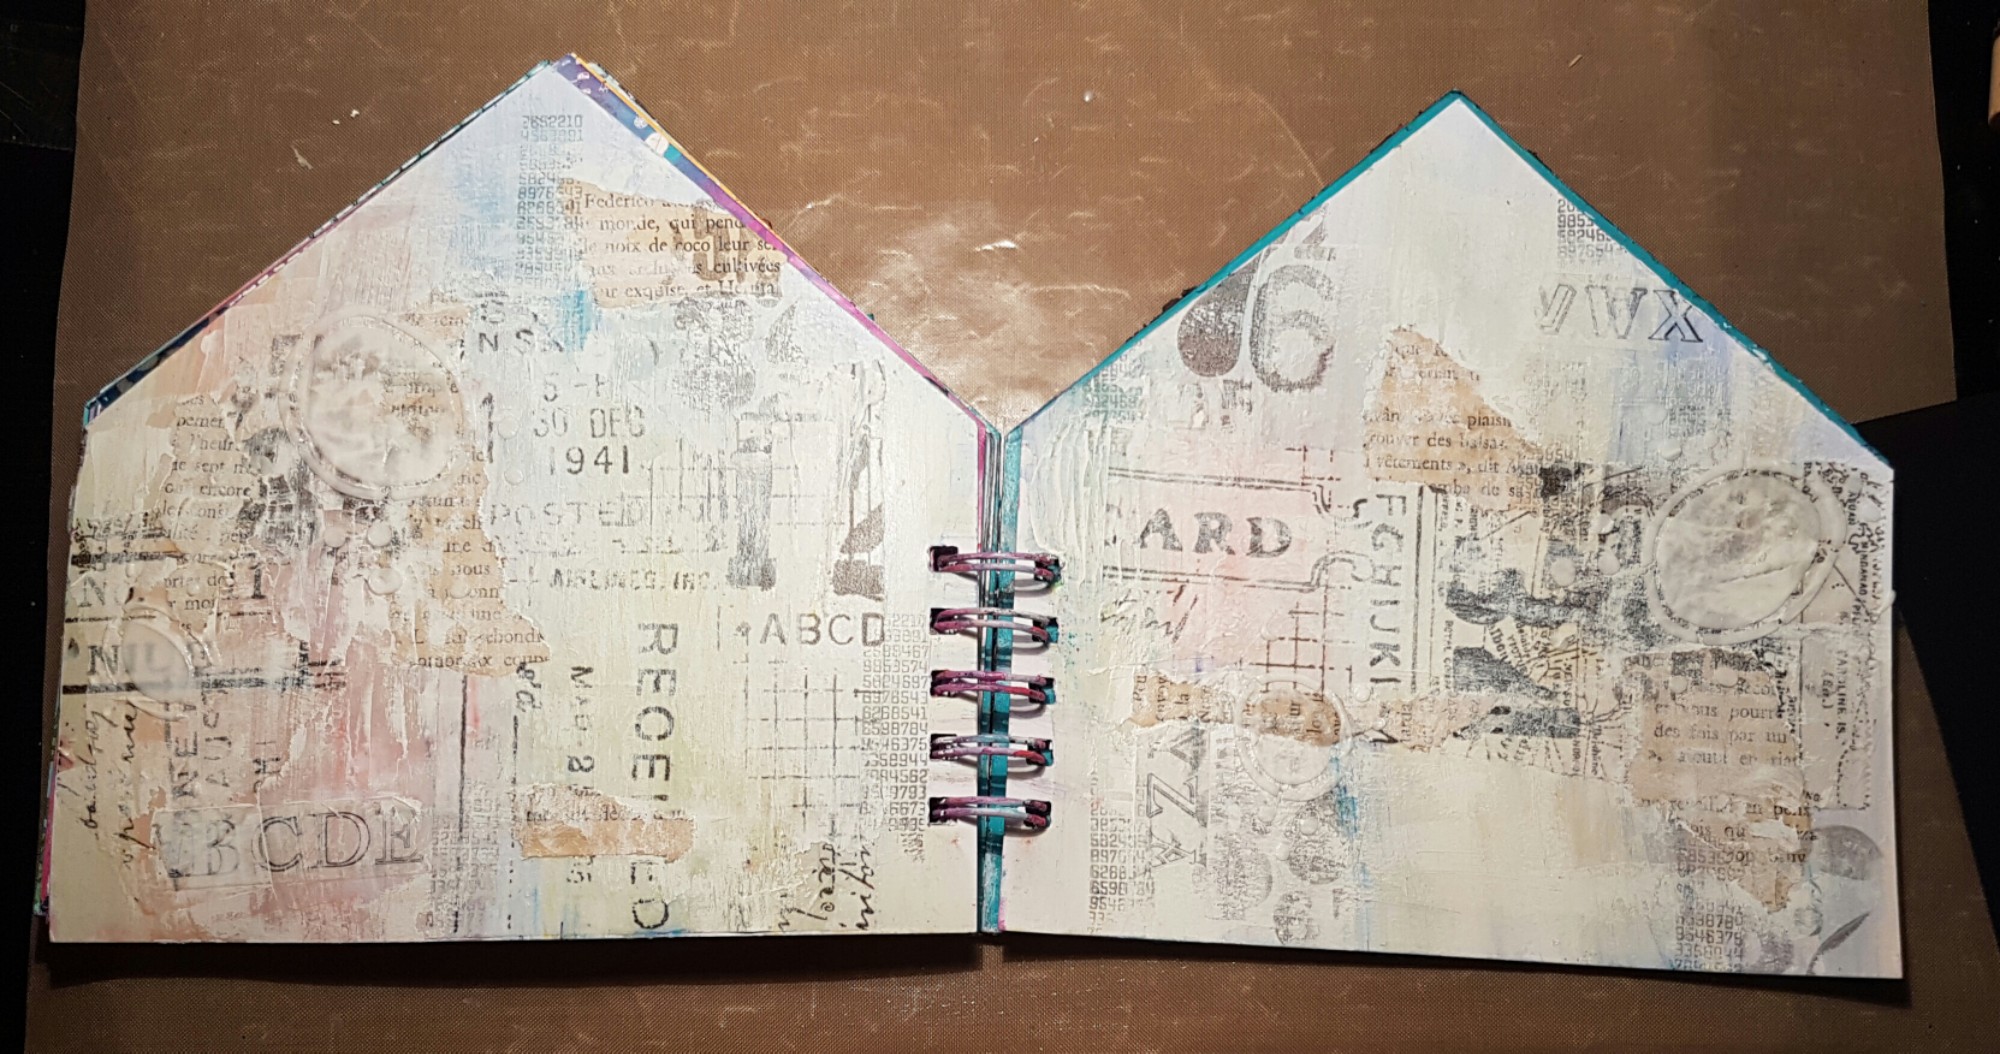
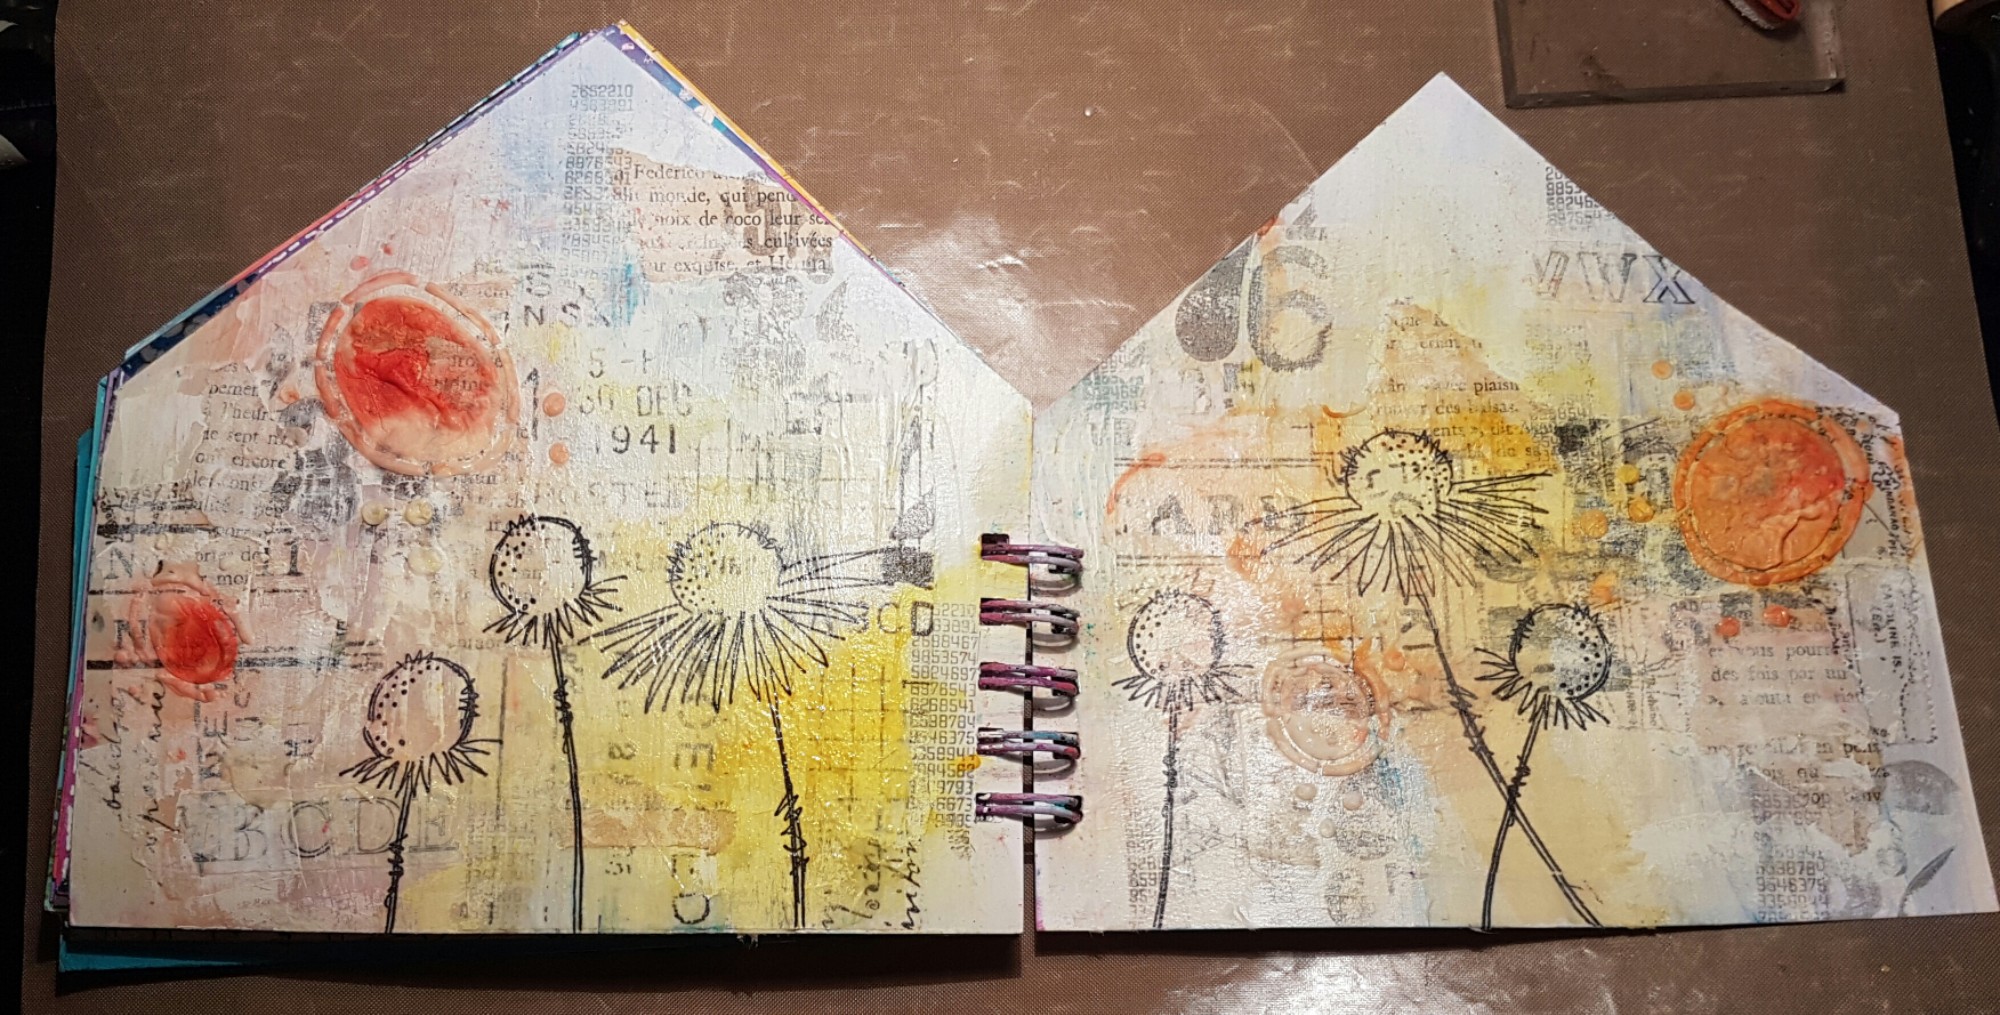
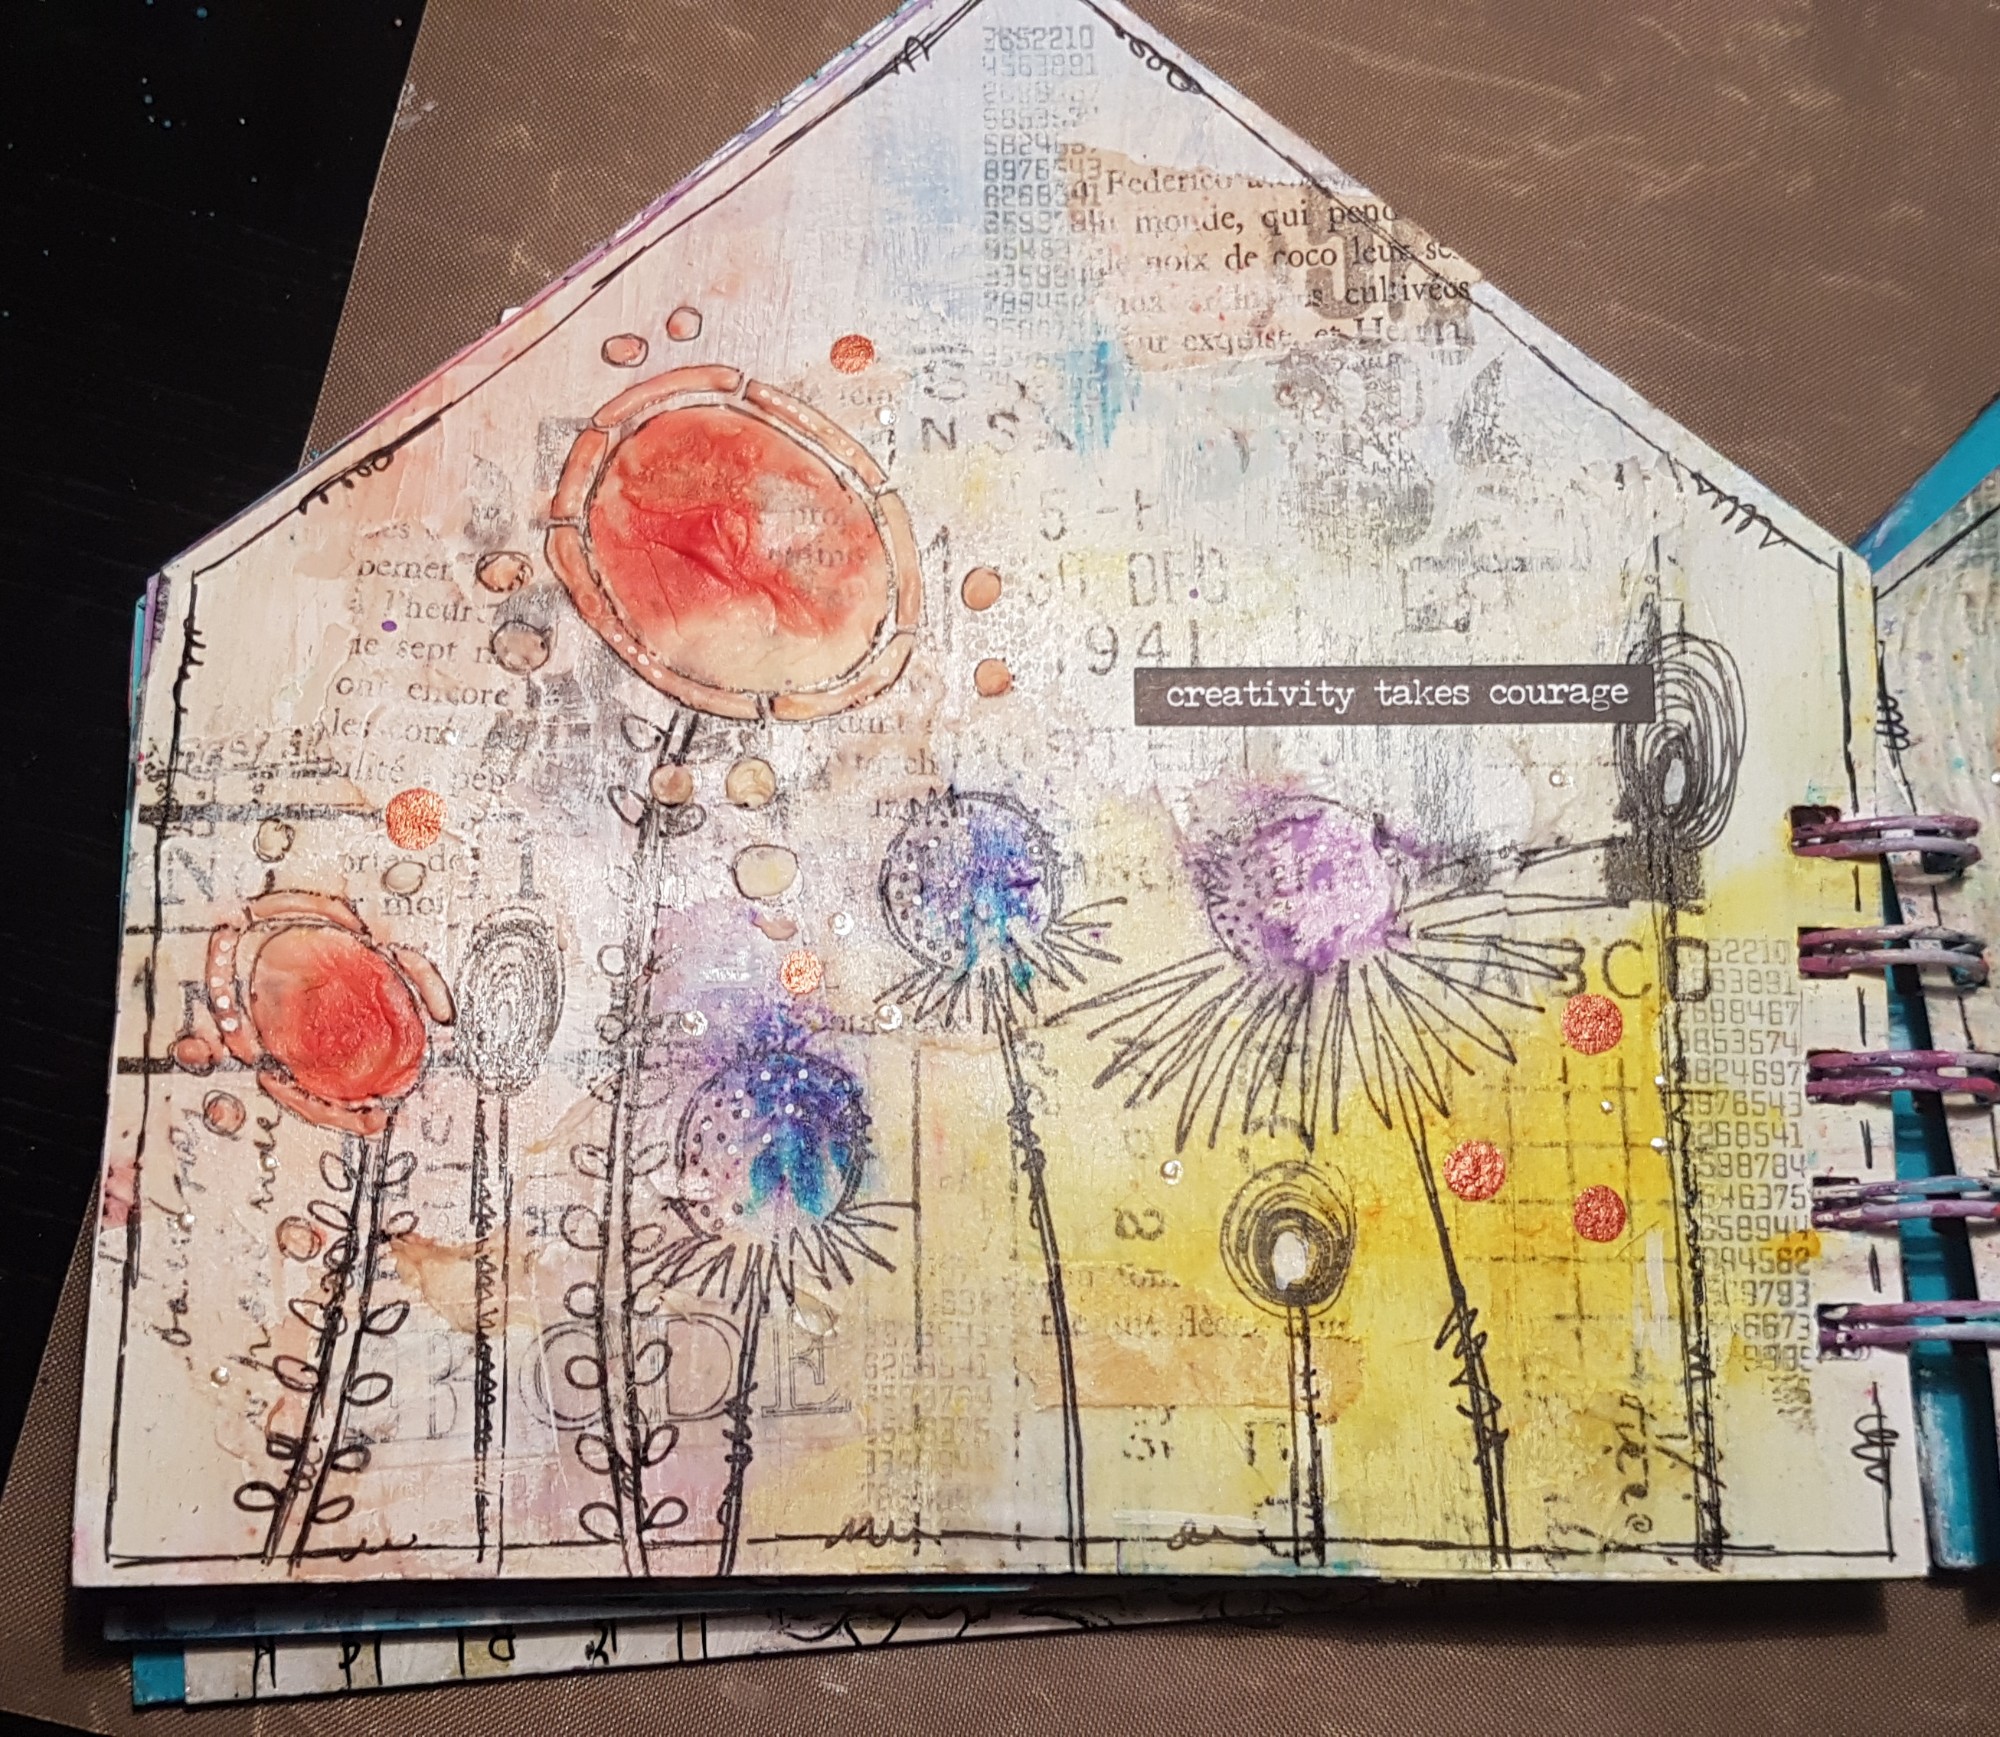
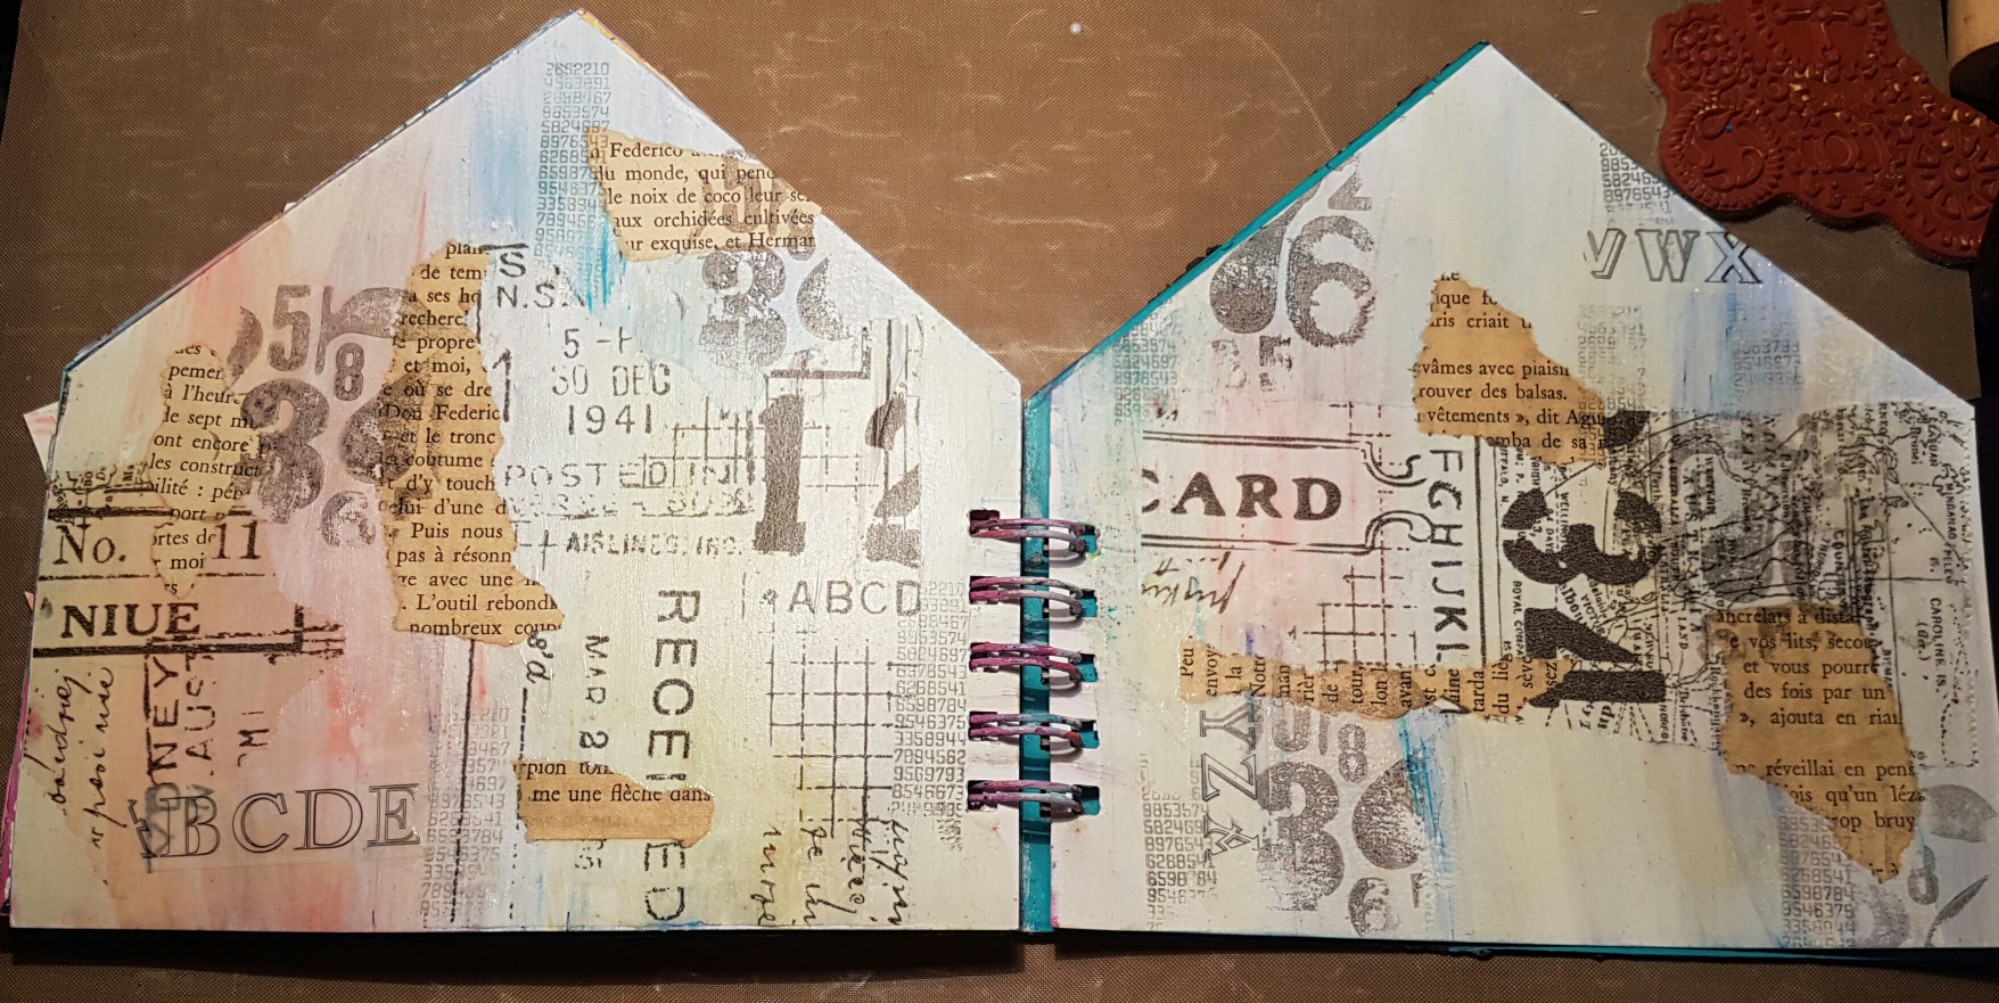
Hello. One last journal spread to share with you in round two of the Patwits circle journal project. This time it is Claire’s fab house shaped journal. 

I started with layering down different papers. I used the Tim Holtz tissue wrap, book papers, washi tape and then some stamping too using Hot picks stamps.

Then I added gesso. This made the background more unified. 

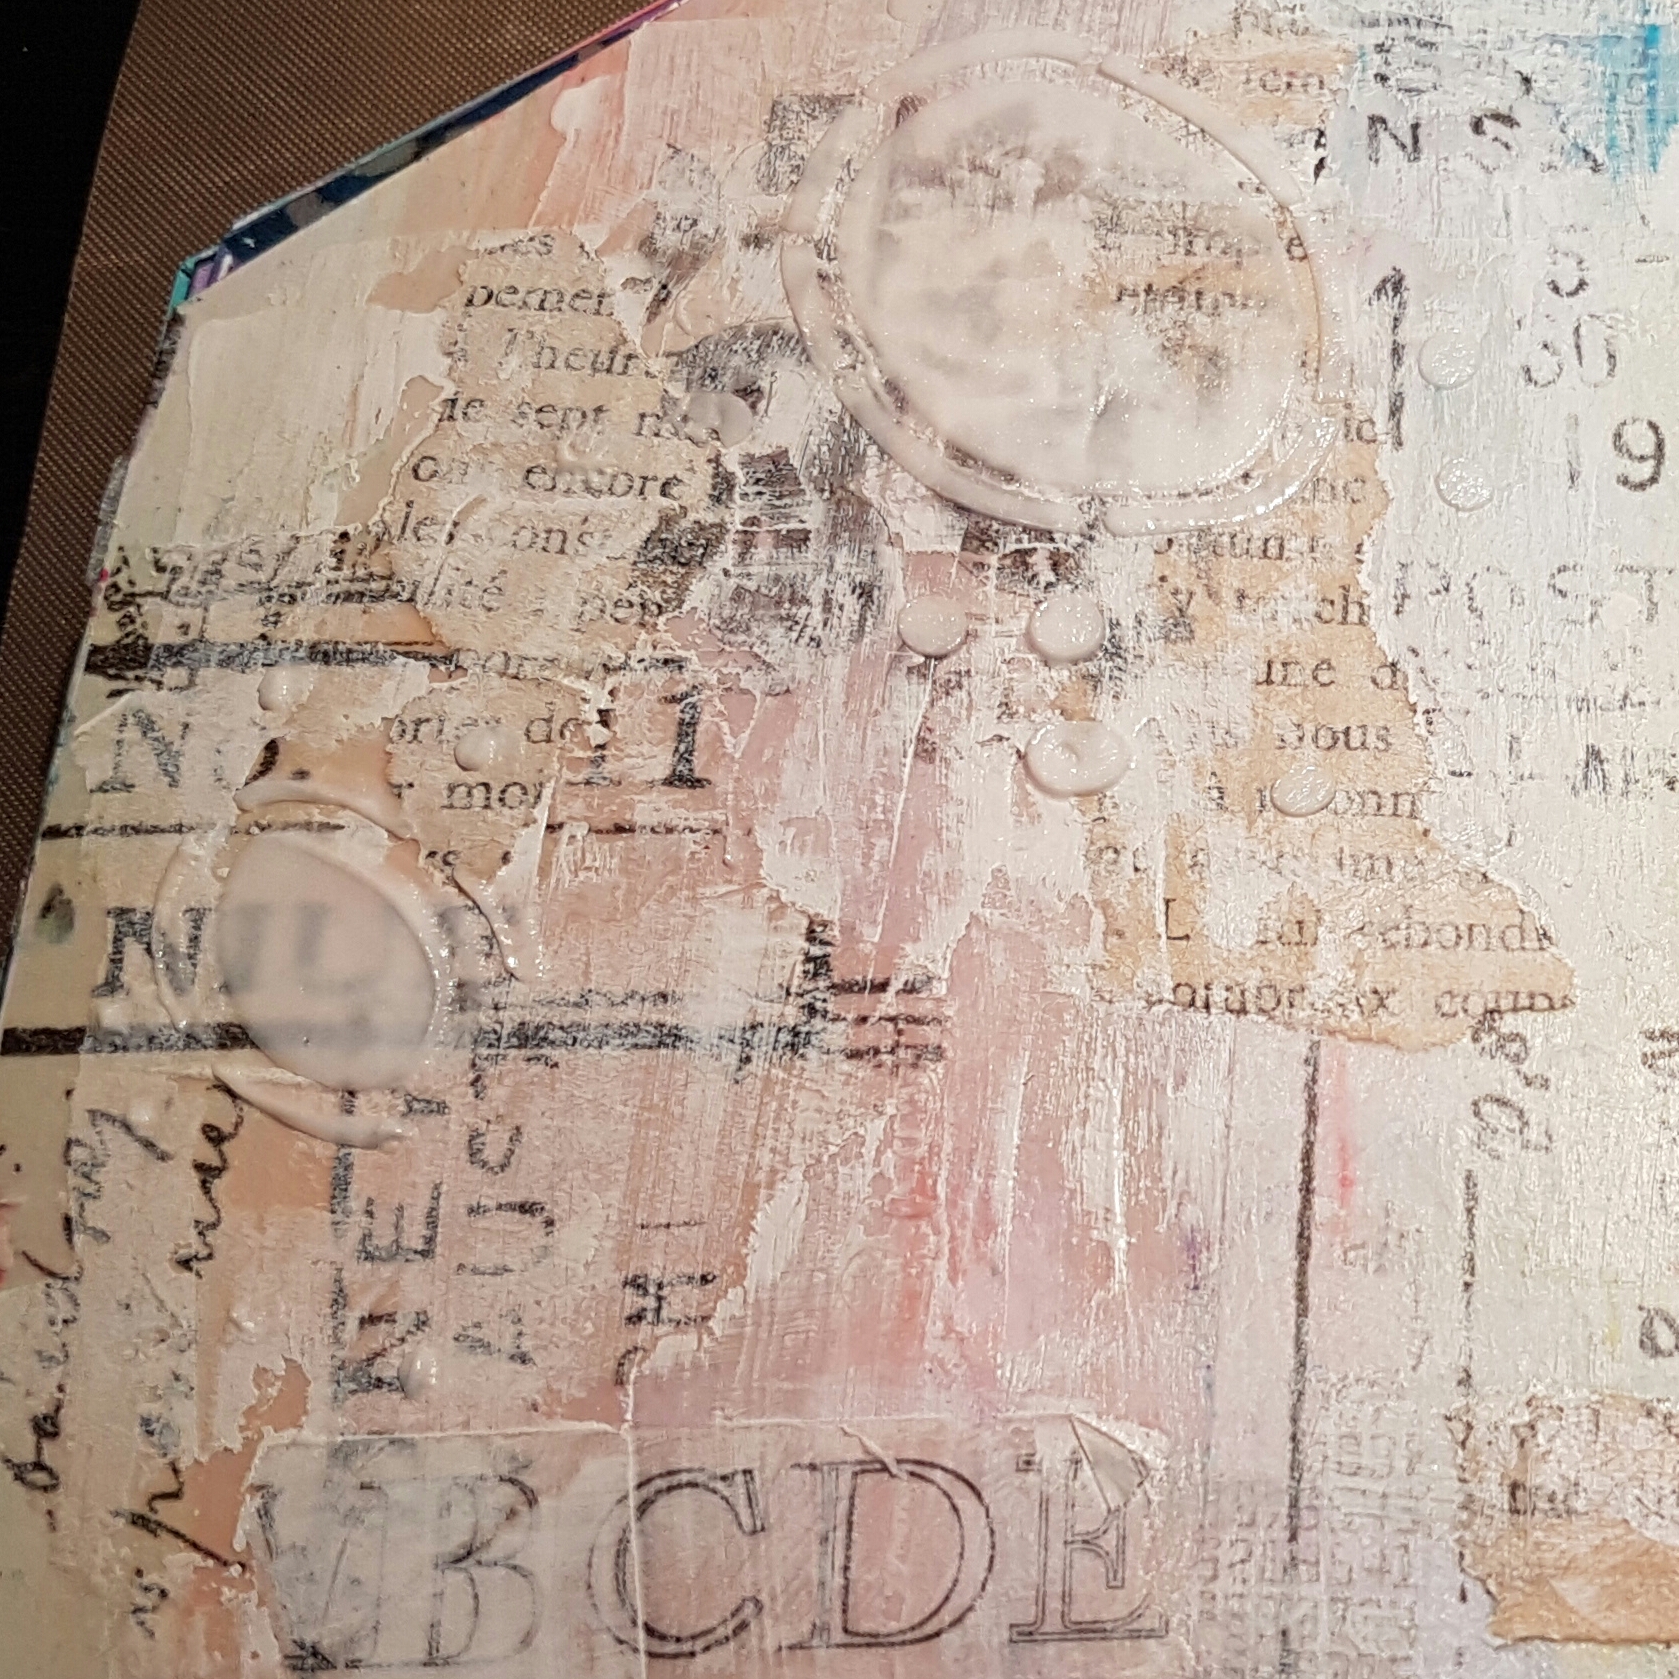
I also added some stencilling using modelling paste but it’s not very clear on the picture above.  Might be clearer on the close up below.

Next it was time for colour and I chose to use my Brushos. I chose warm colours to start and then also added the Jofy flowers. 

More colour… This time I was more specific in adding colour to the flowers. Once it was dry I added doodling.

I turned the stencilled pieces into flowers and added some doodles flowers too. 

There are also some liquid pearl and some copper acrylic ink spots too to add some shine and shimmer. 

The quotes are Tim Holtz stickers and I thought they finished off the page nicely. 

So that’s my last spread in this round and soon it will be time for me to get mine back too. I can’t wait to see and stroke all the amazing artwork. And then … off we go with round number three. Exciting! 

Happy crafting! 

Catherine 
Postcard swap number 2!

I’ve gotten myself into another swap… and it’s another postcard swap! 

This time the theme is things with Wings. I have plenty of winged thing stamps so didn’t think much of it at the beginning as I knew I would come up with something so instead I jaunt let myself play! 

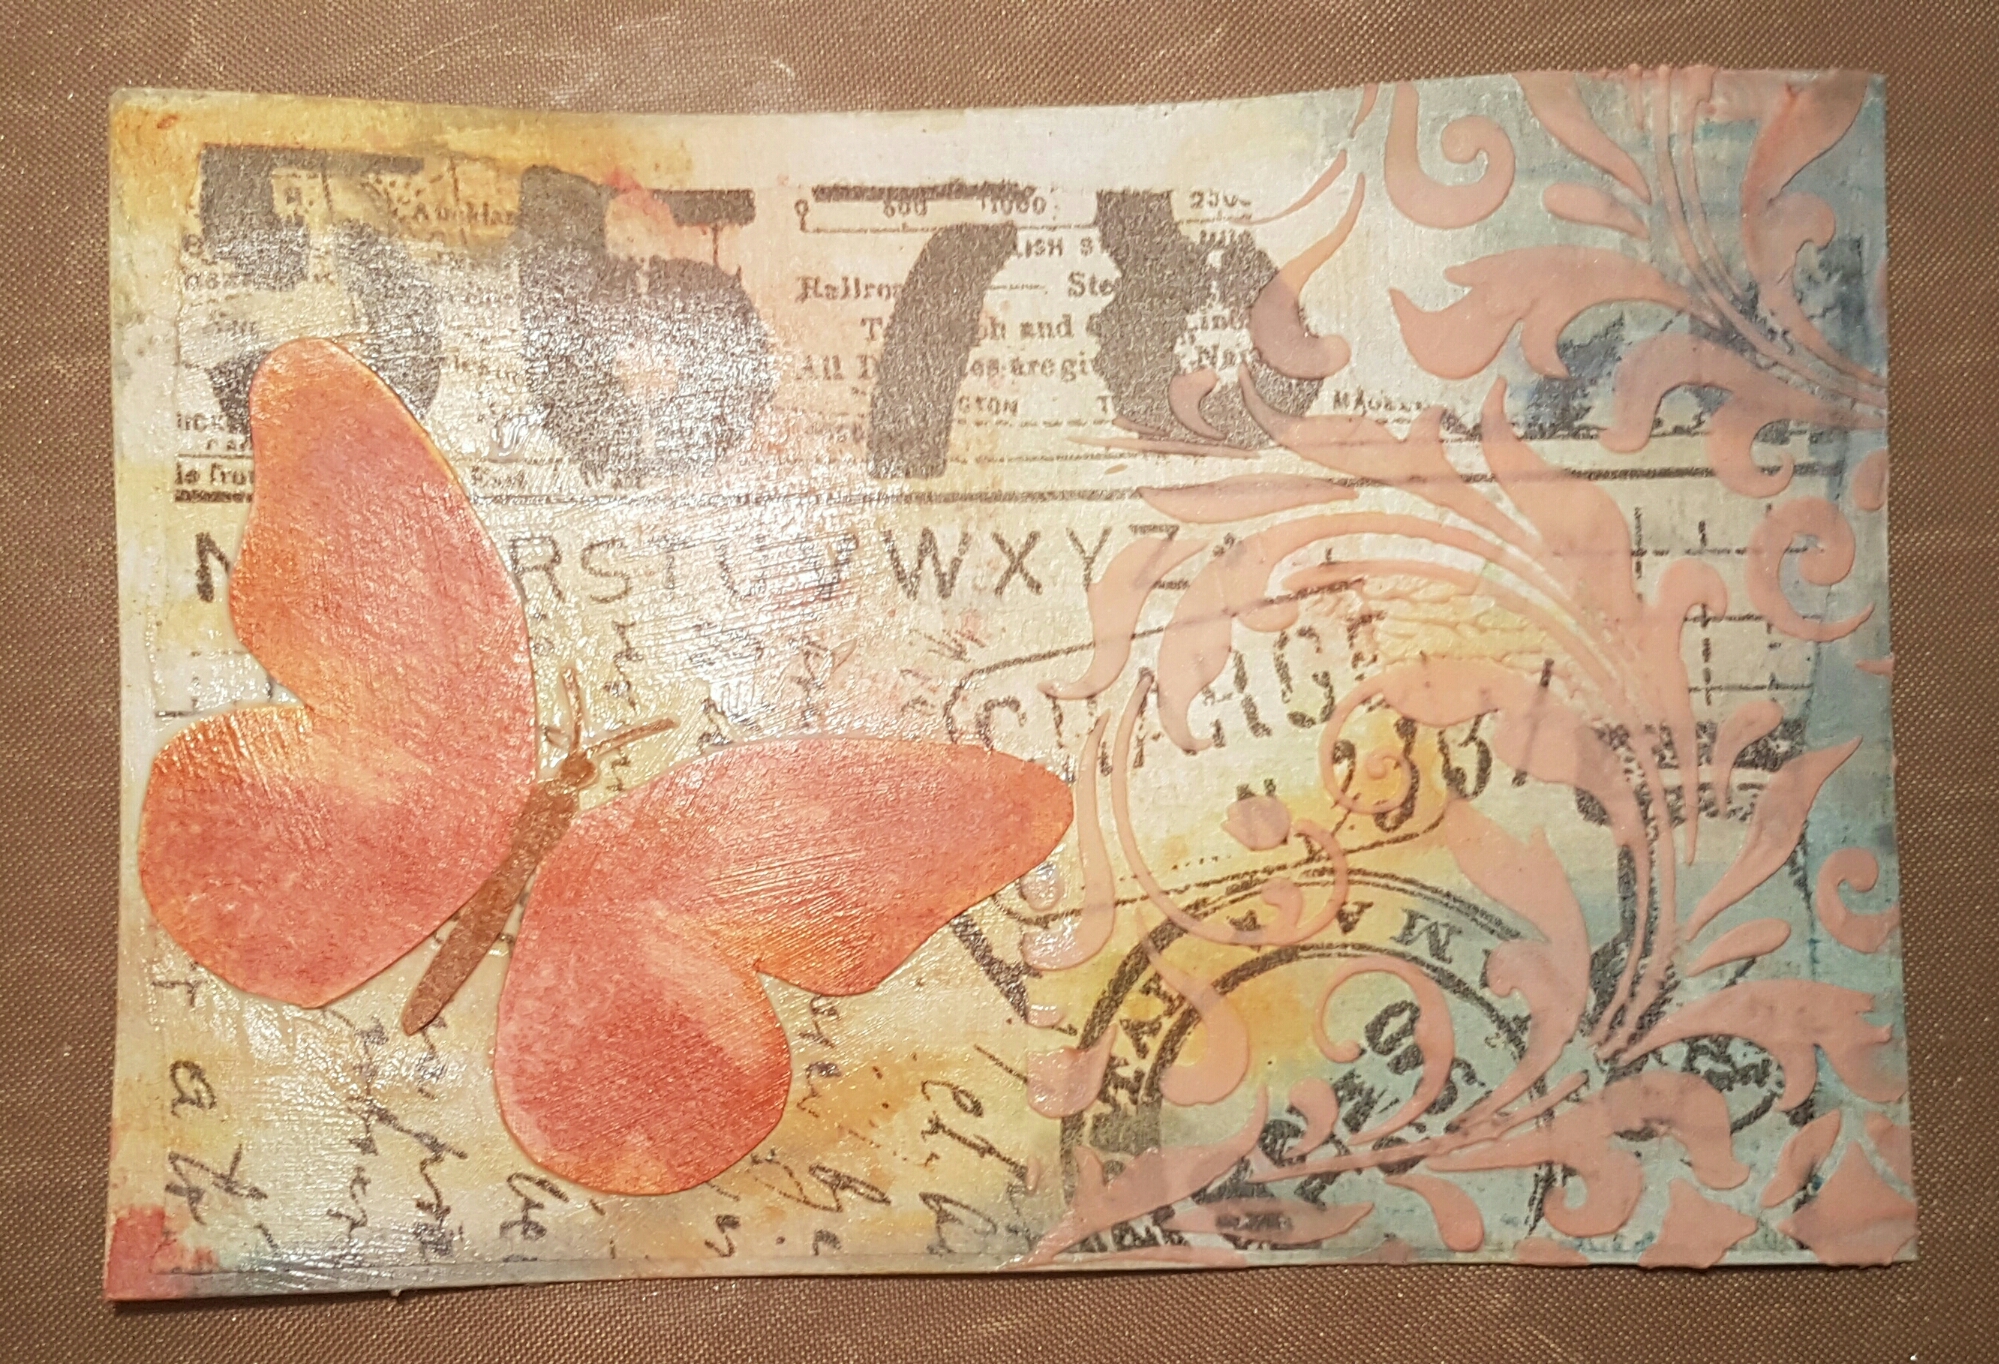
I chose a postcard which I had already mopped up some ink on and then adhered this Tim Holtz tissue wrap to it using Matt medium. Then I started layering up distress oxide inks. 

Just love how easy these inks make layering colour to projects. Ranger really have come up with an amazing product.

Next it was time to add texture… I decided to use some abandoned coral distress stain to colour the modelling paste and then use a Tim Holtz stencil.

This was it when it was still drying.

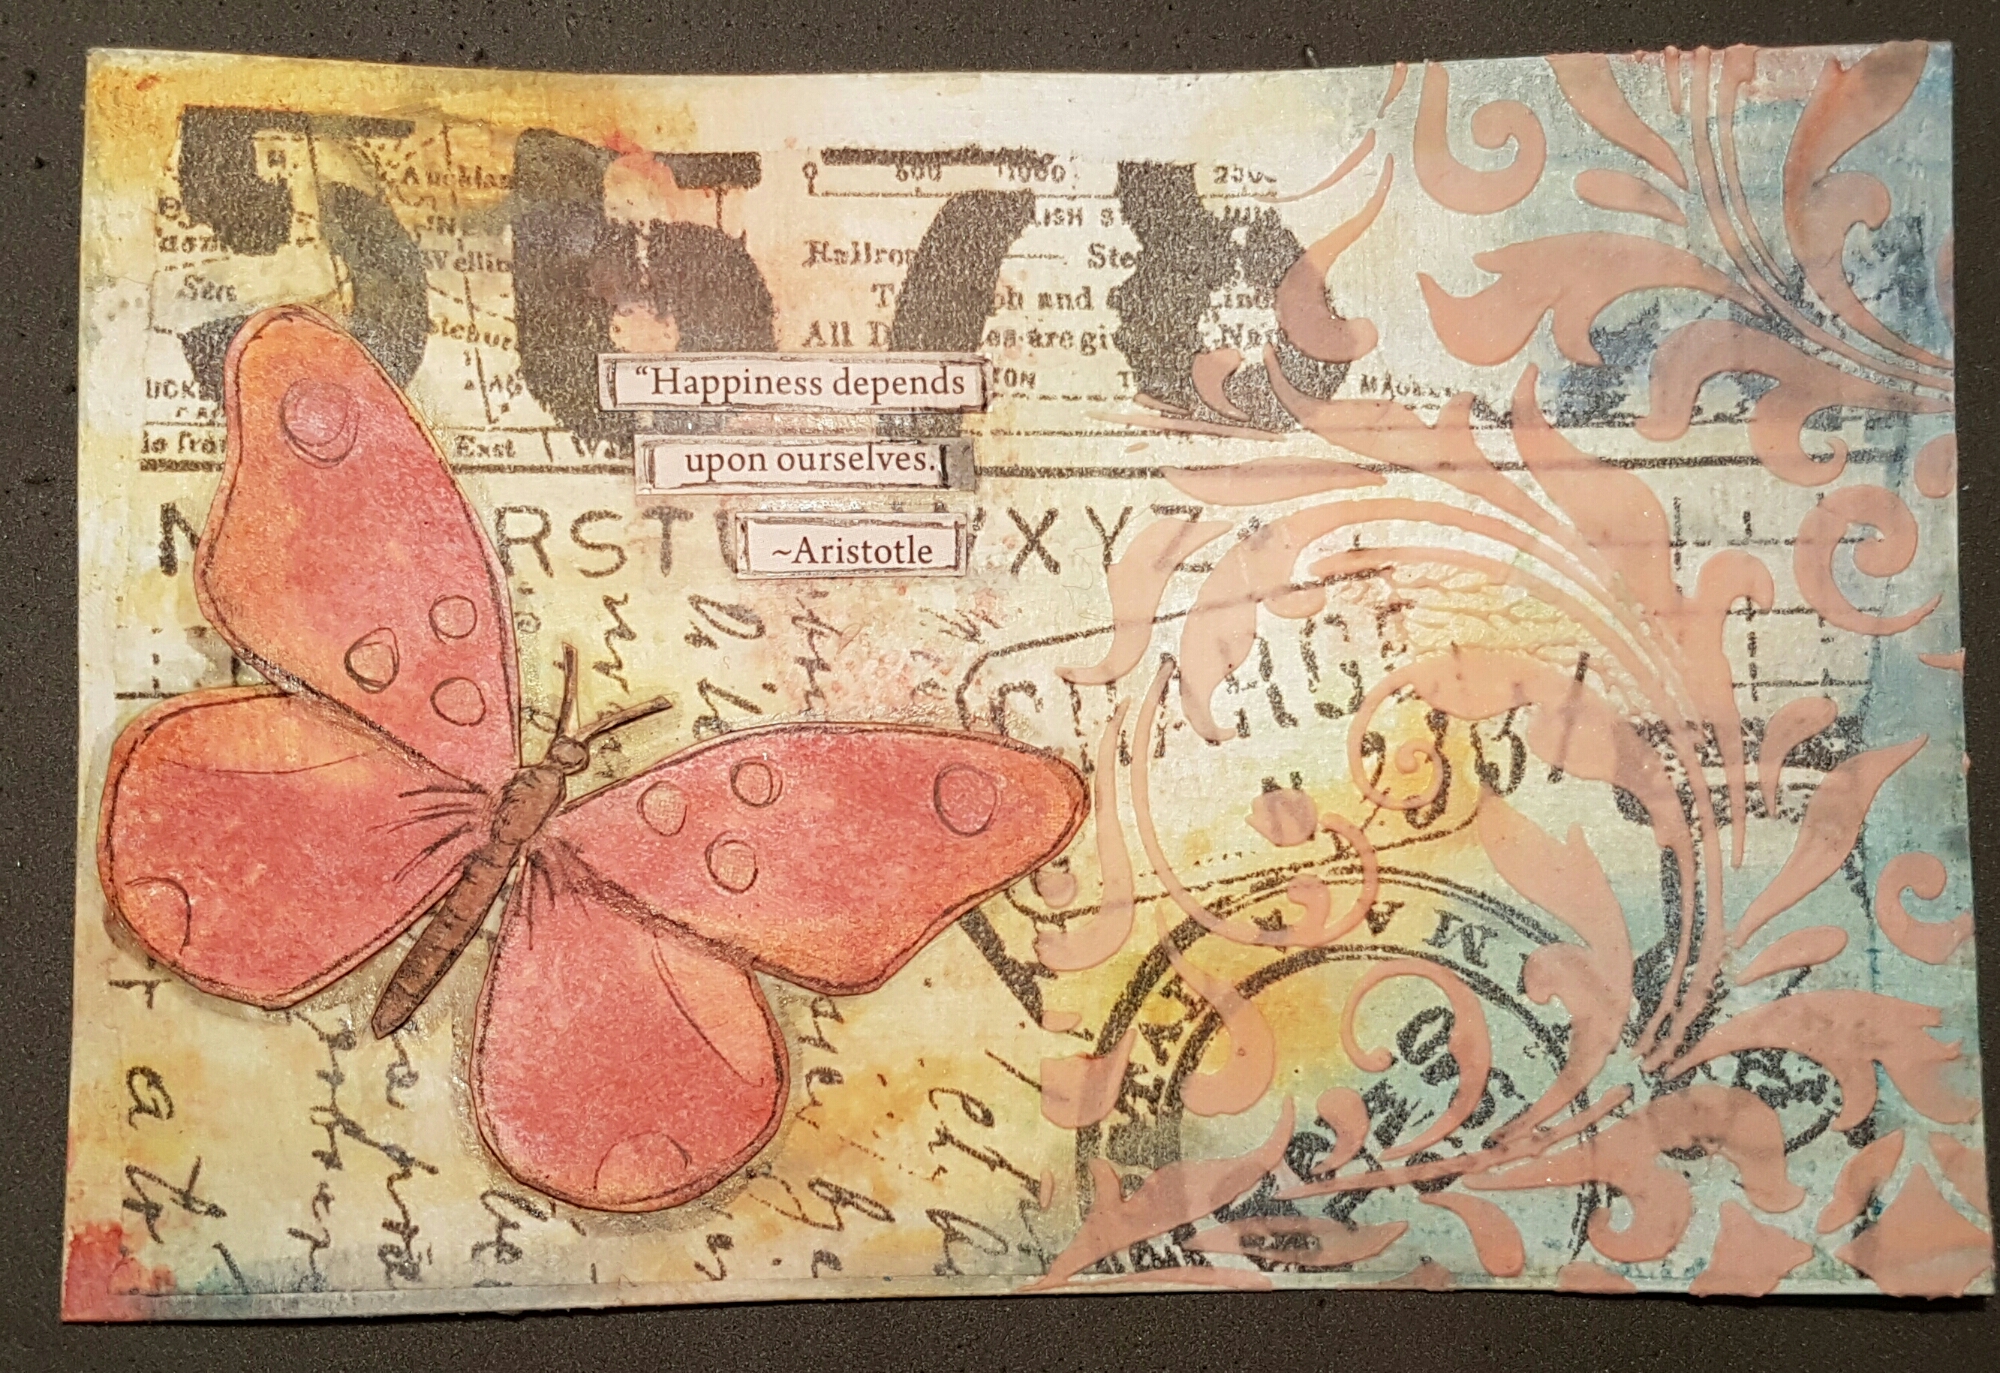
Once it was dry I chose to add a Watercolour wings butterfly I made in one of the distress oxide videos. That became my thing with Wings. 

I added this with gel medium and left it to dry for the rest of the day. The next day I then added some doodling with pen and the title of the art. 

I used Faber-Castell pens to add some shading too which makes the butterfly pop more. 

Really really happy with this final look. It came together so nicely and was good to feel like I was just playing.  

Happy crafting!

Catherine 
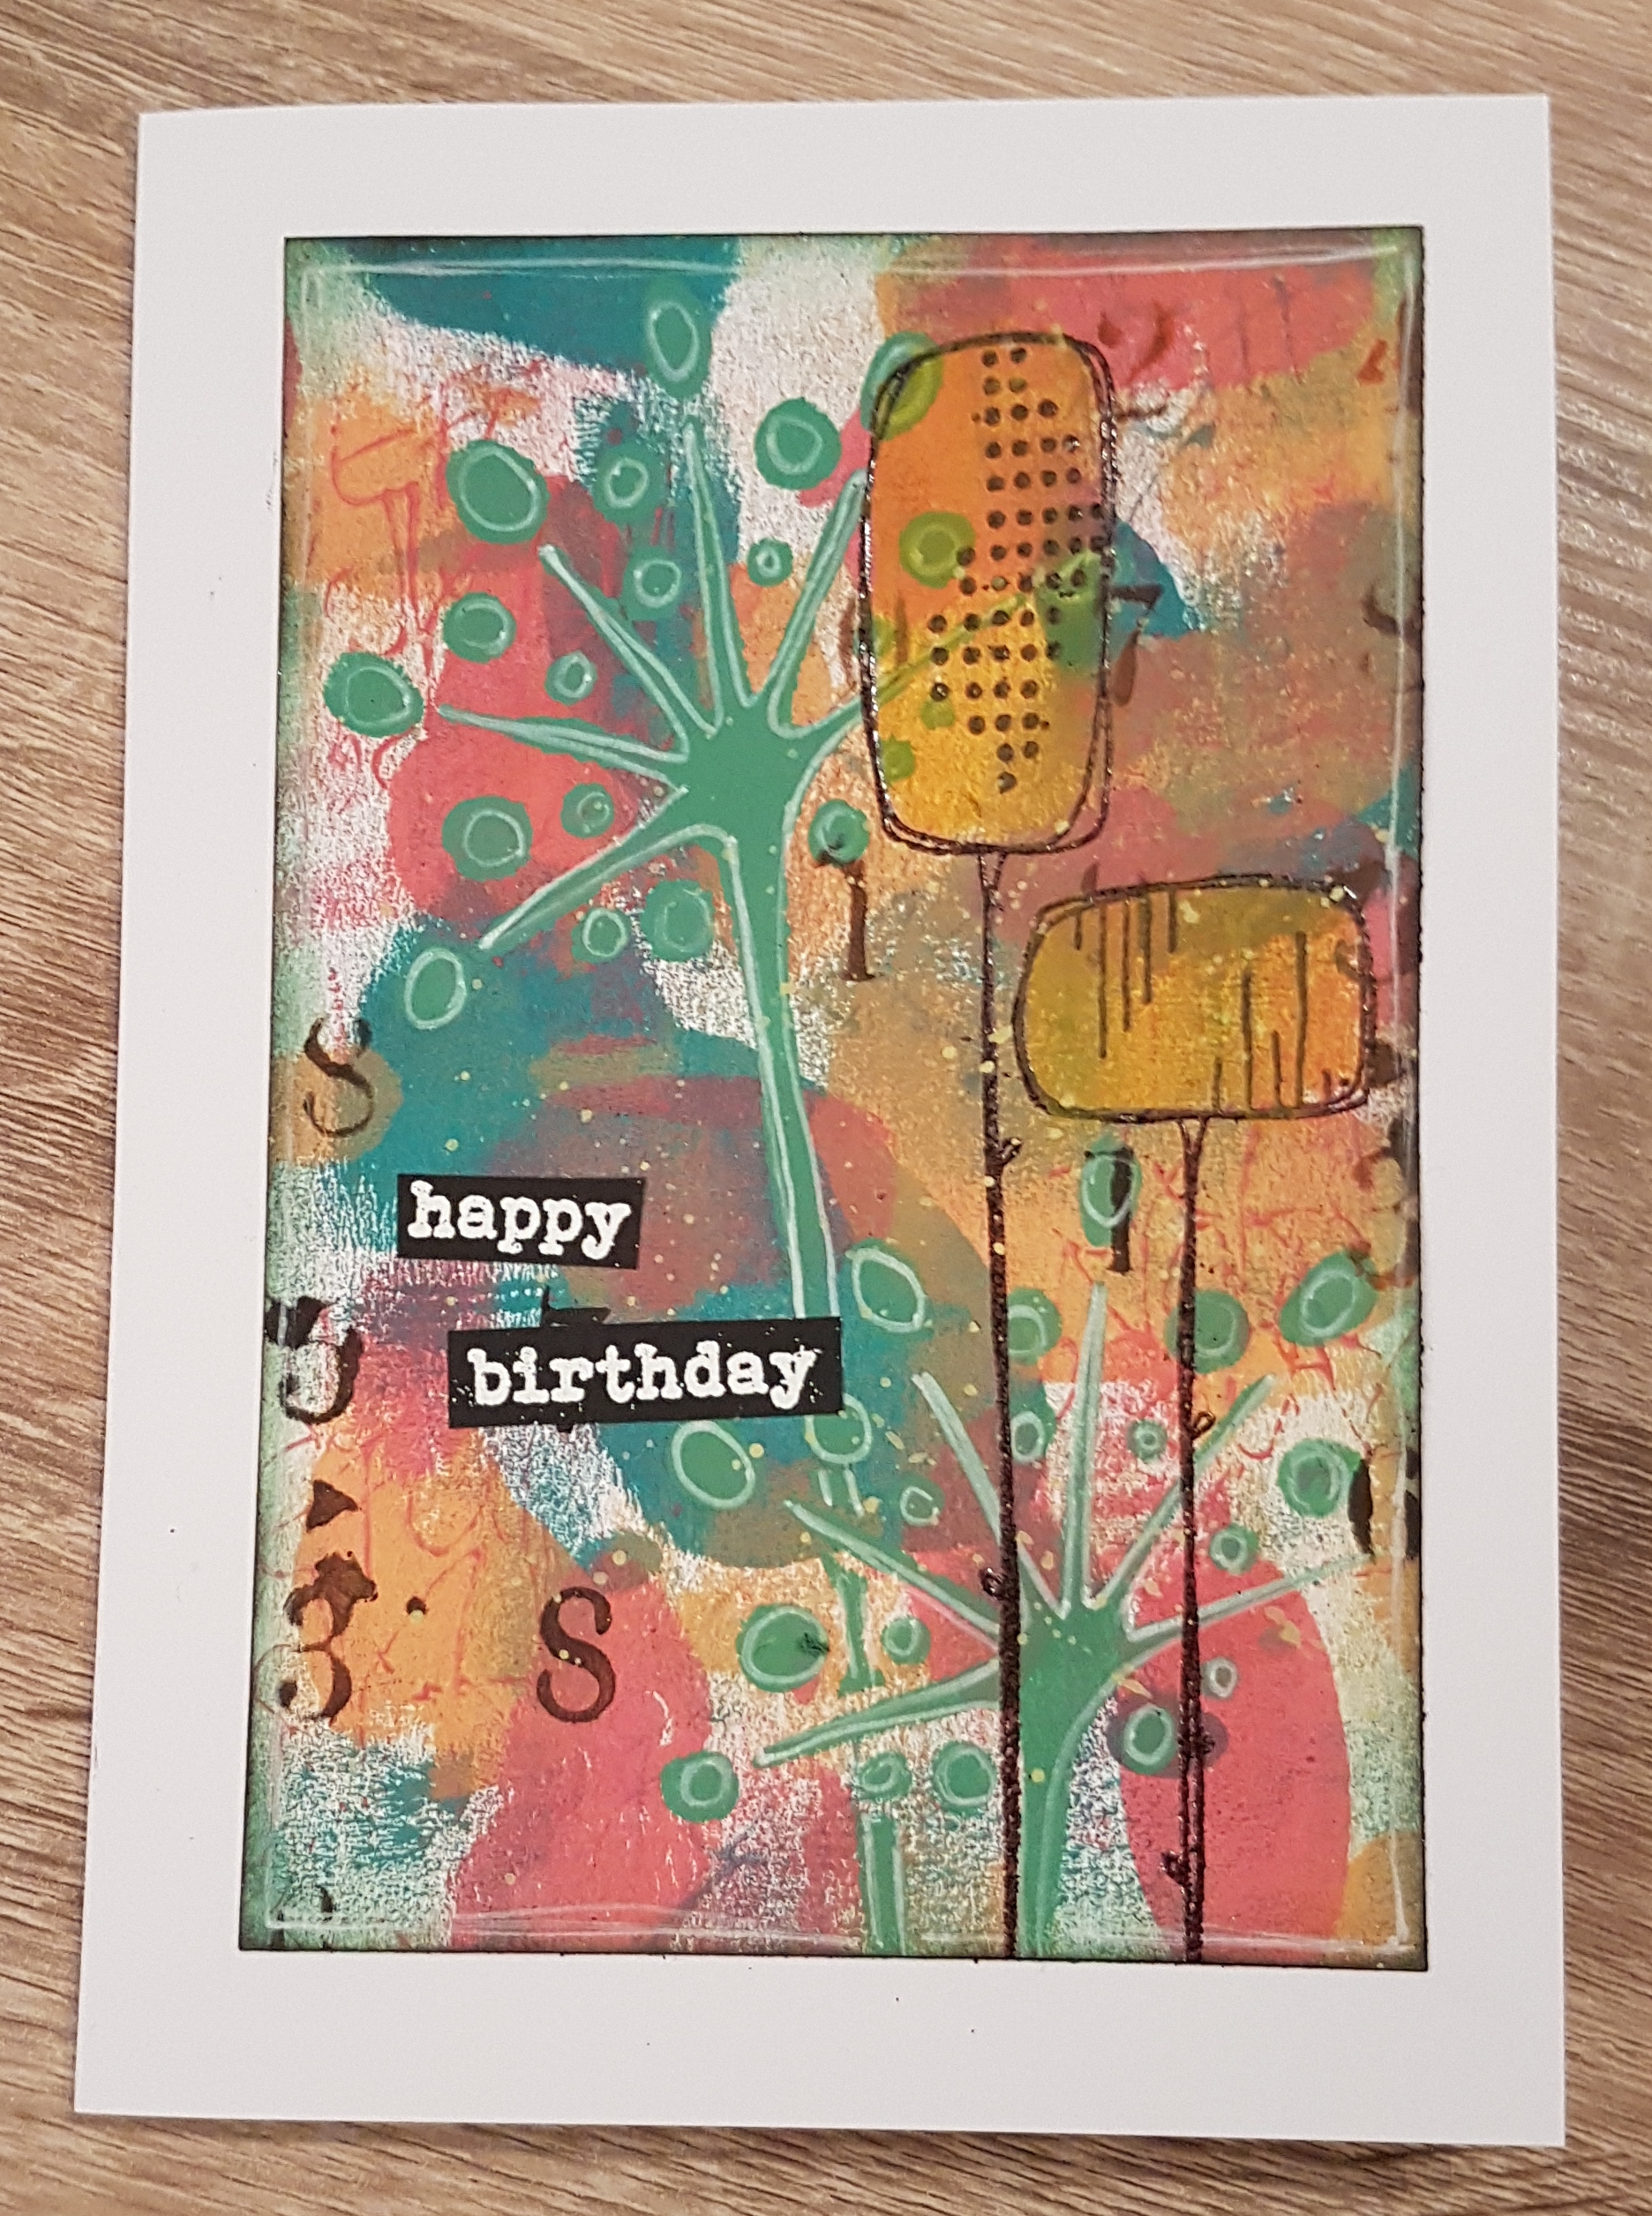
Playing with fresco paints again!

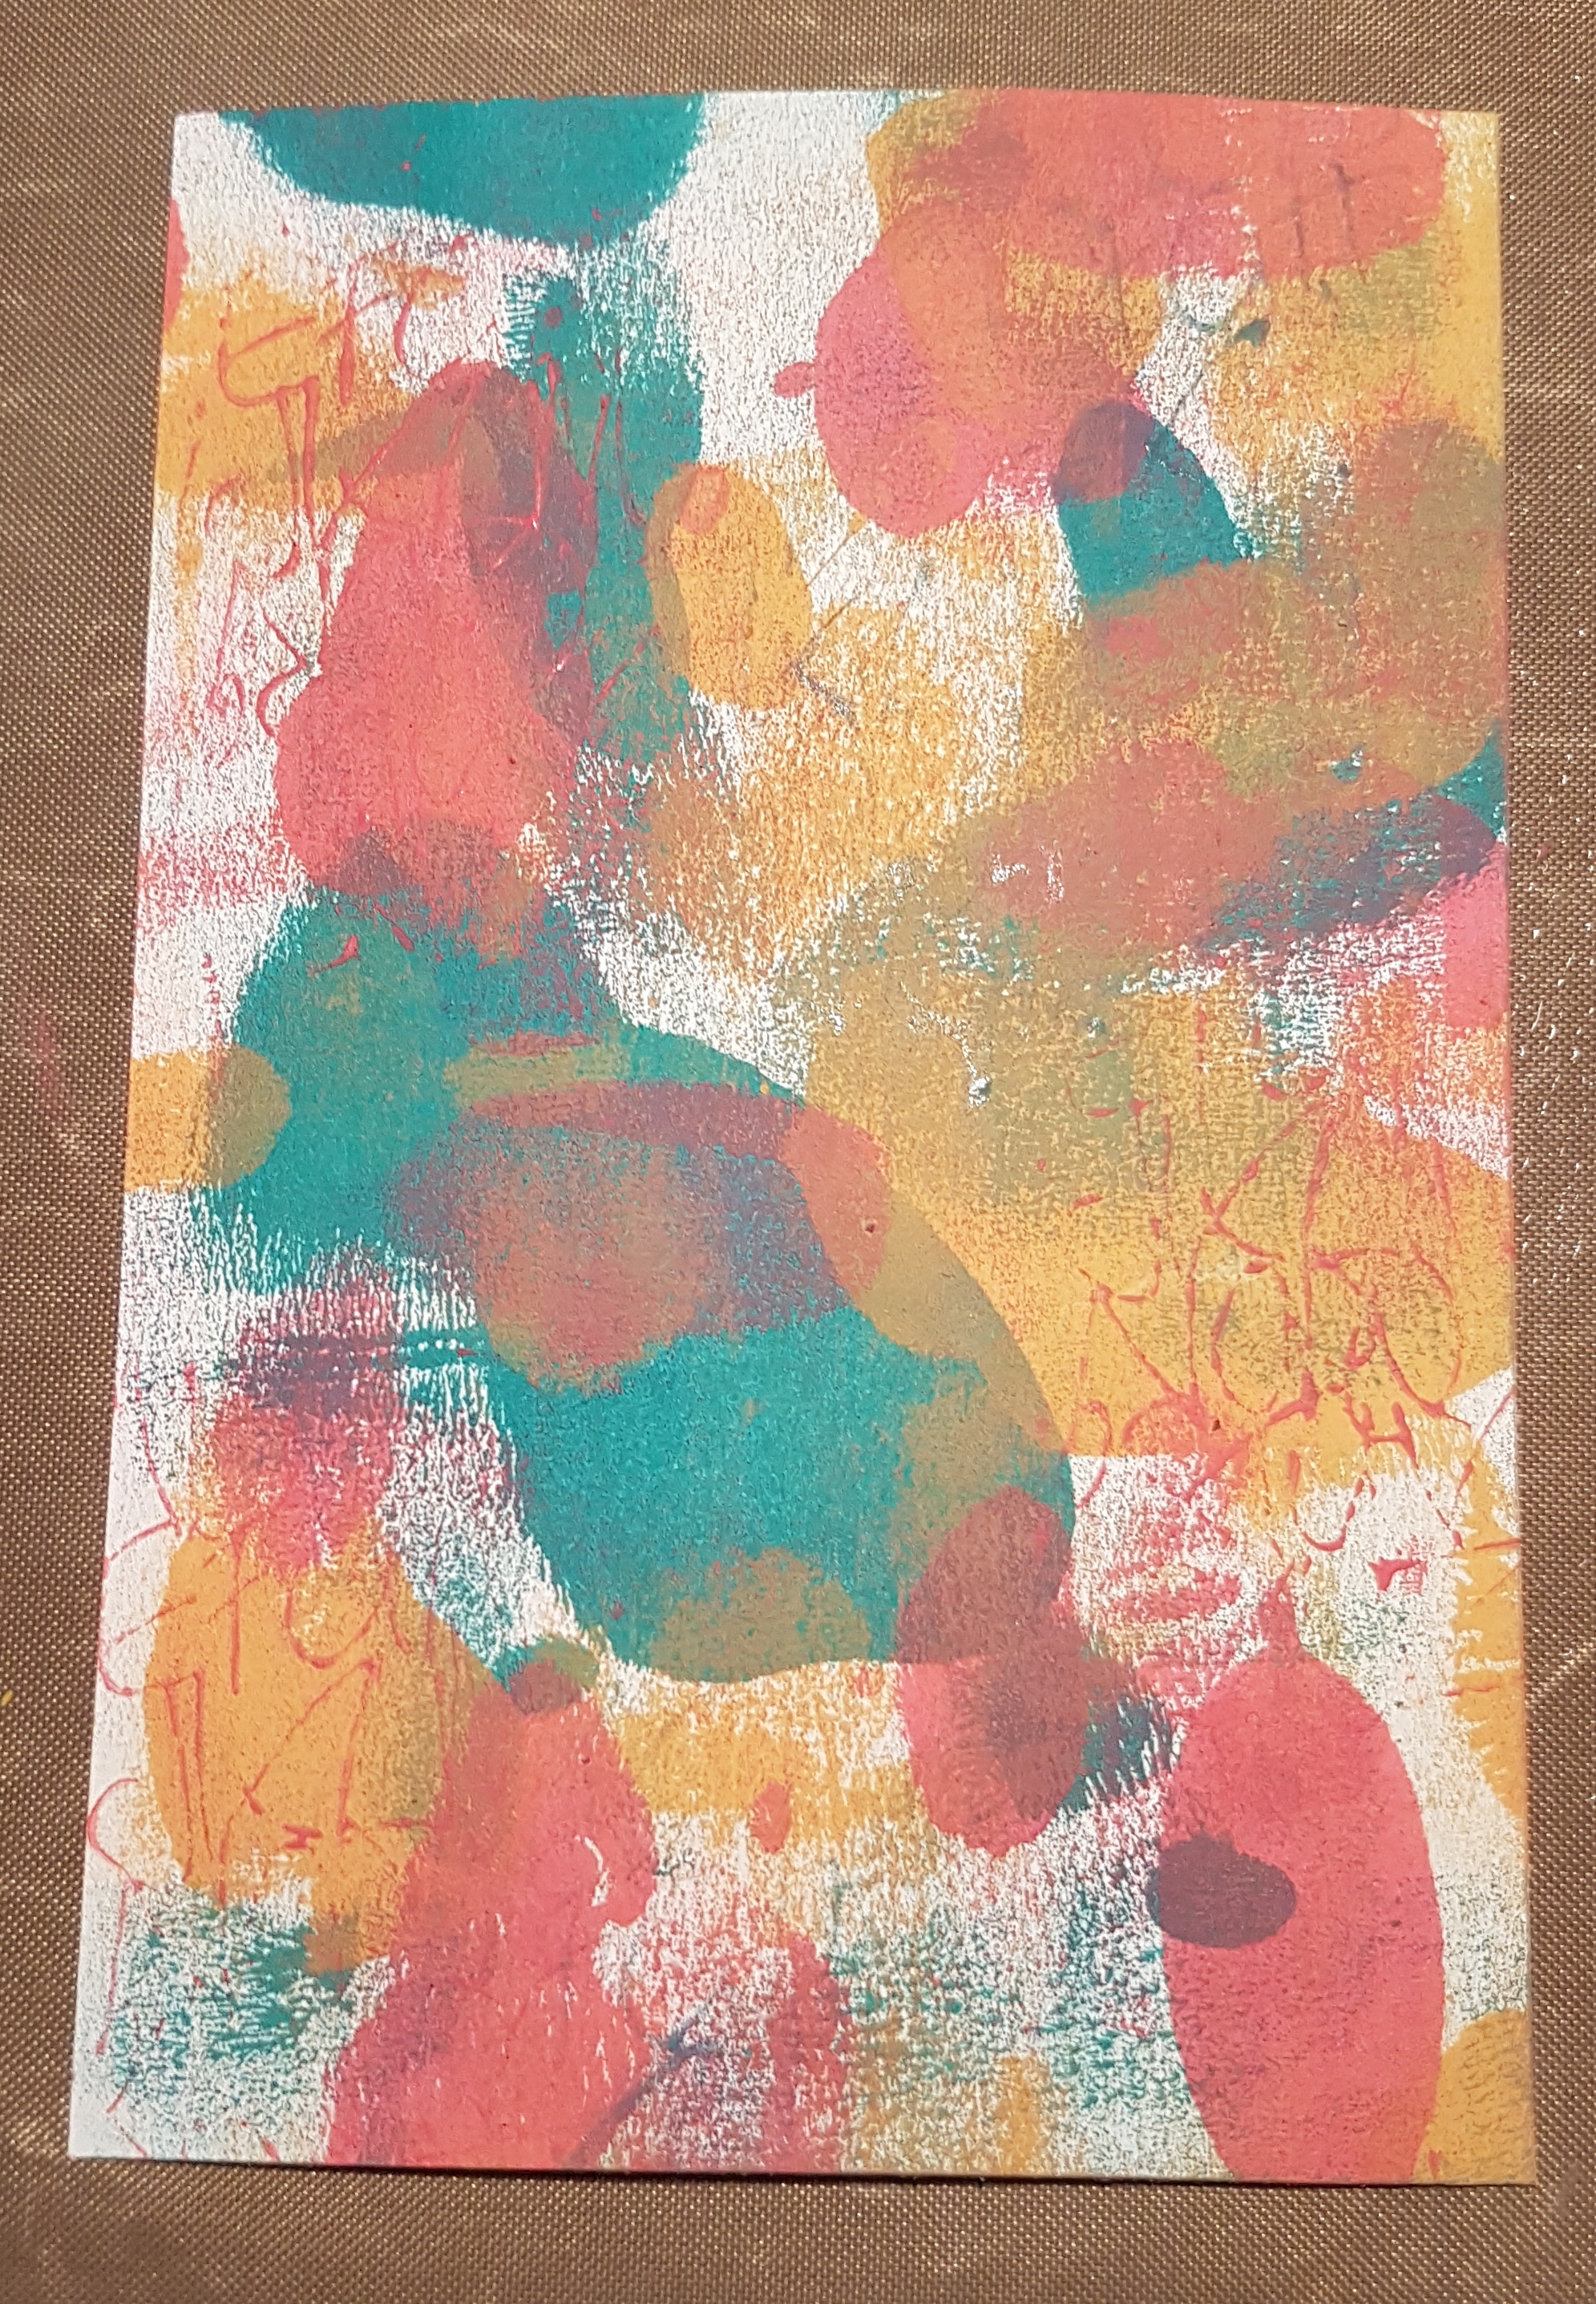
I managed to fit a little bit of crafting tonight and had a lovely play with the fresco paints again. This time I started with the Tracy Scott ones and added in some of the Seth Apter ones later on. 

I used the brayer to add the colour around the panel of mixed media cardstock and then also did a little bit of stamping using the jofy alphabet mini stamp. 

This technique means very little control and resulted in a blotchy pattern for the background. I love it. Even if others might think it looks like a big mess! 


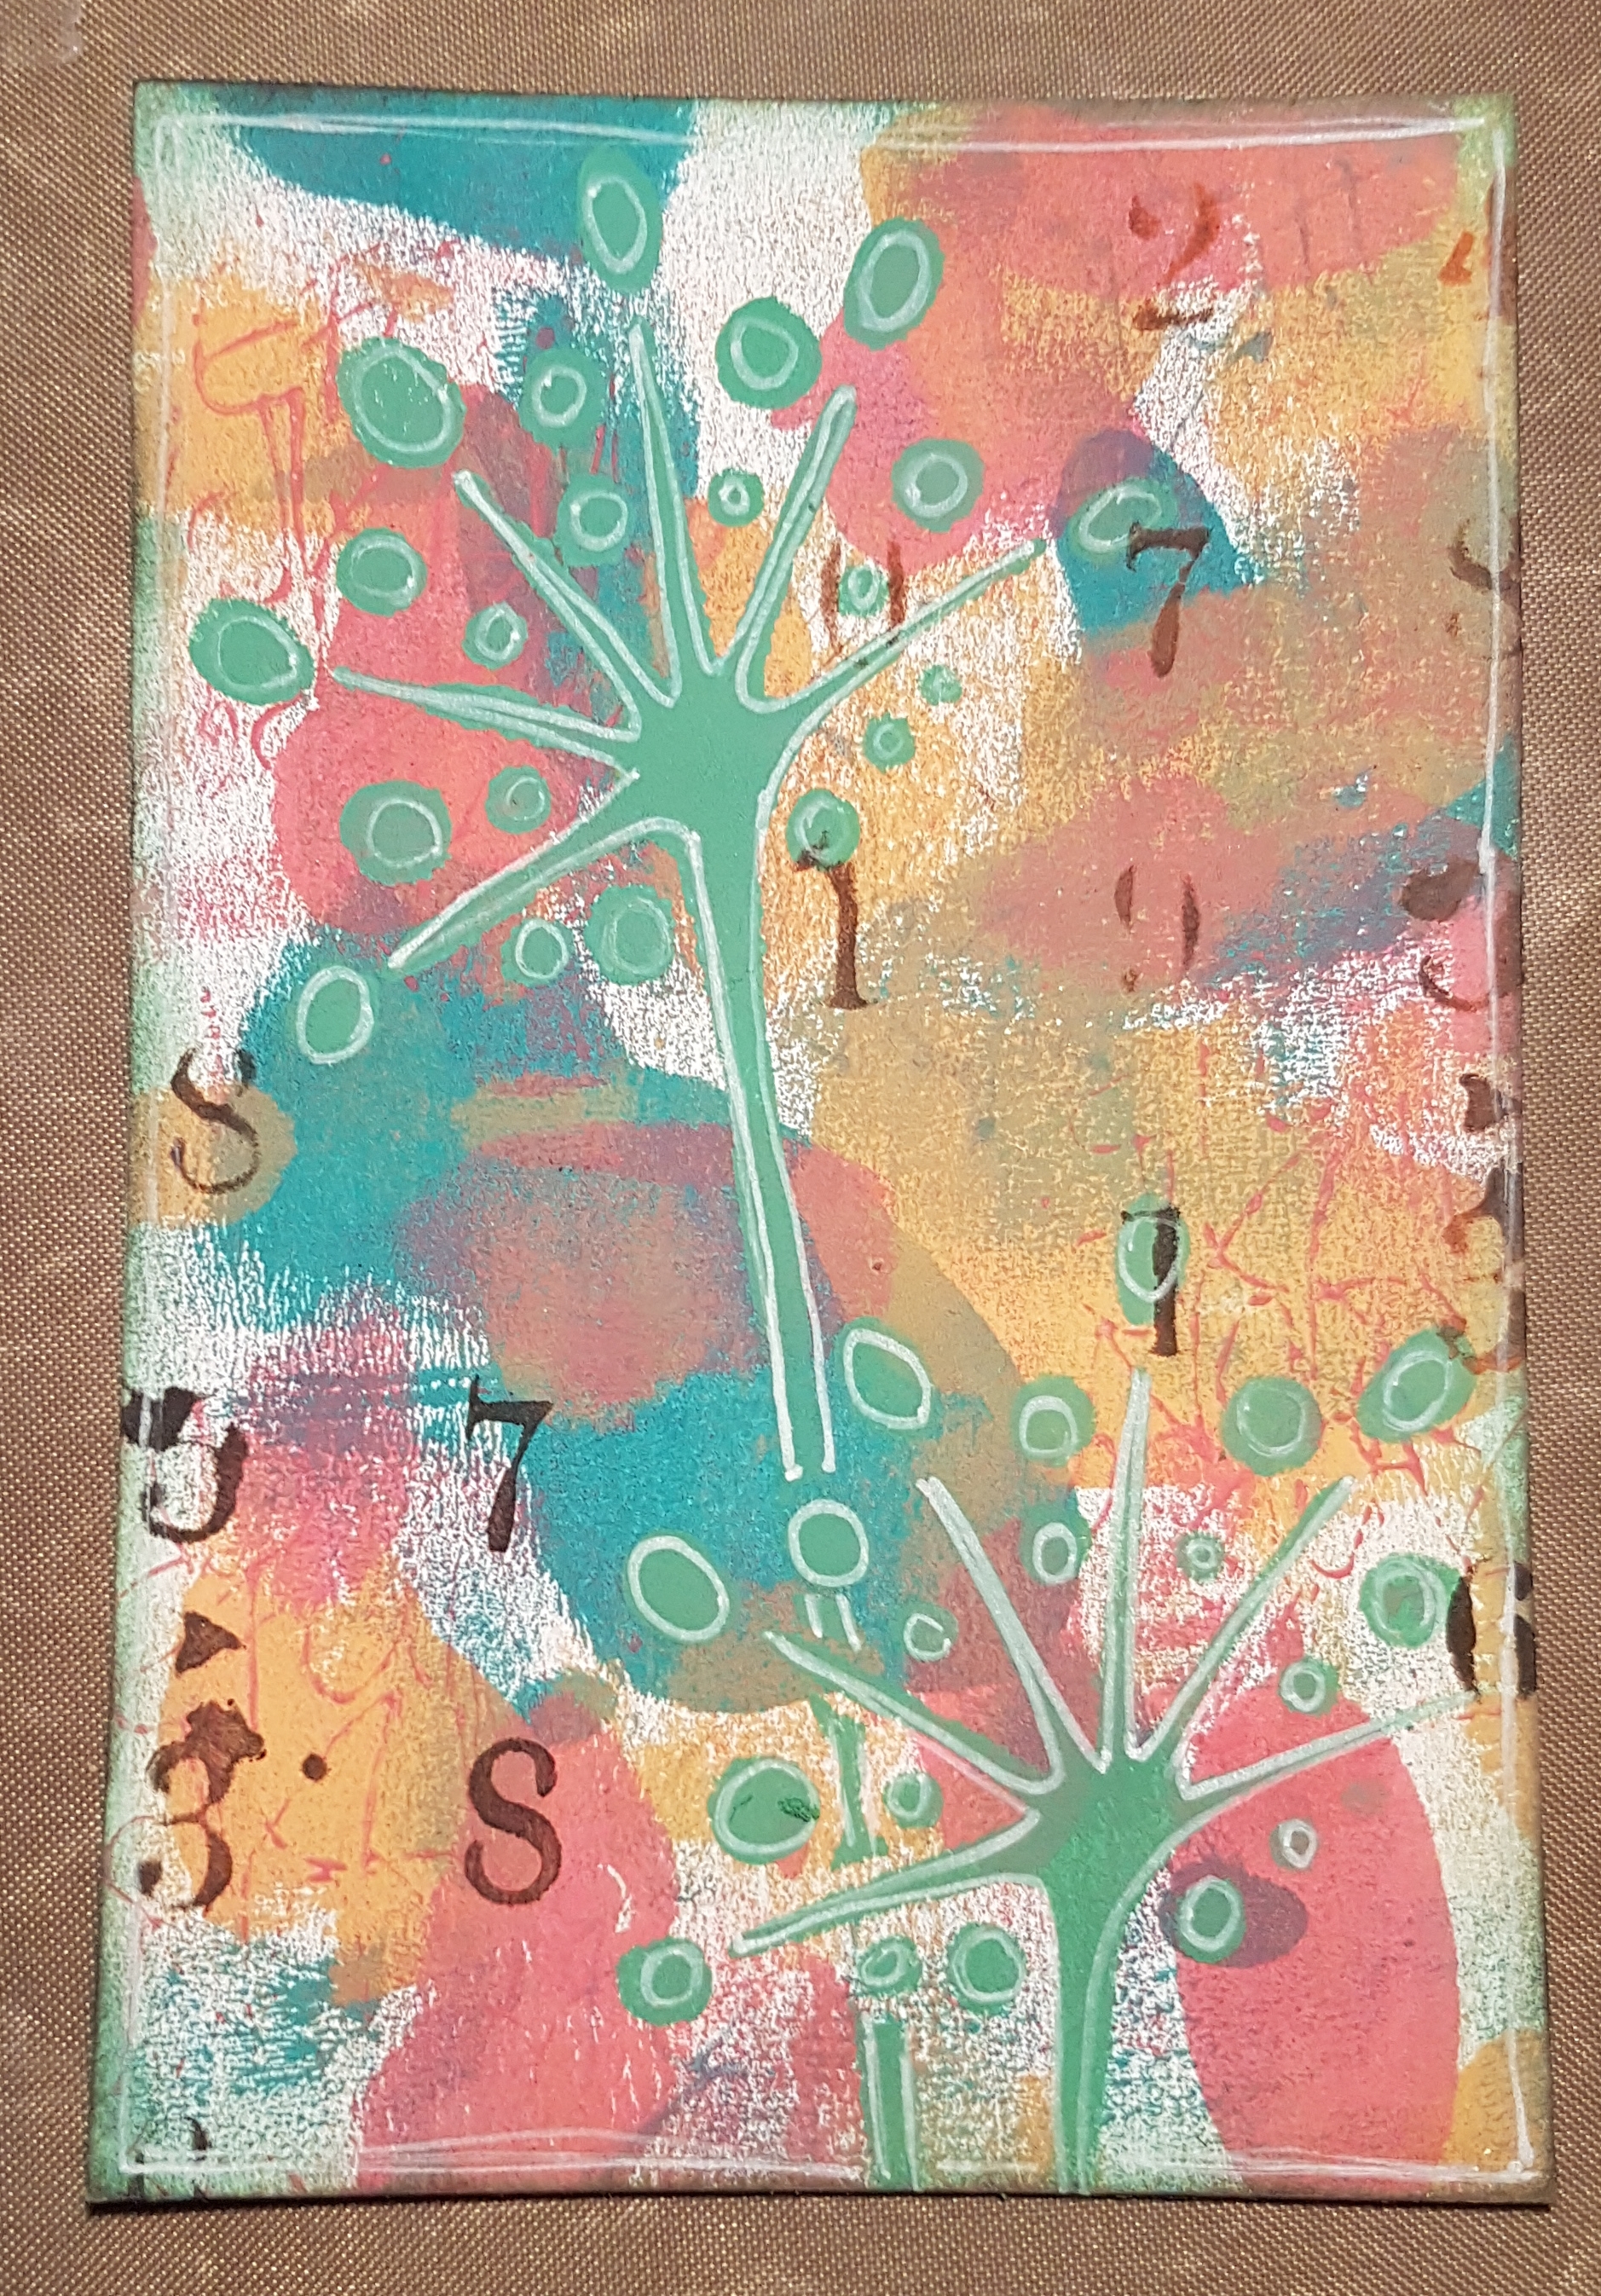
Next I grabbed a new Jofy stencil and the green patina paint to create the fan type flowers in the background. On this one I added white doodling and also the number stencilling. 

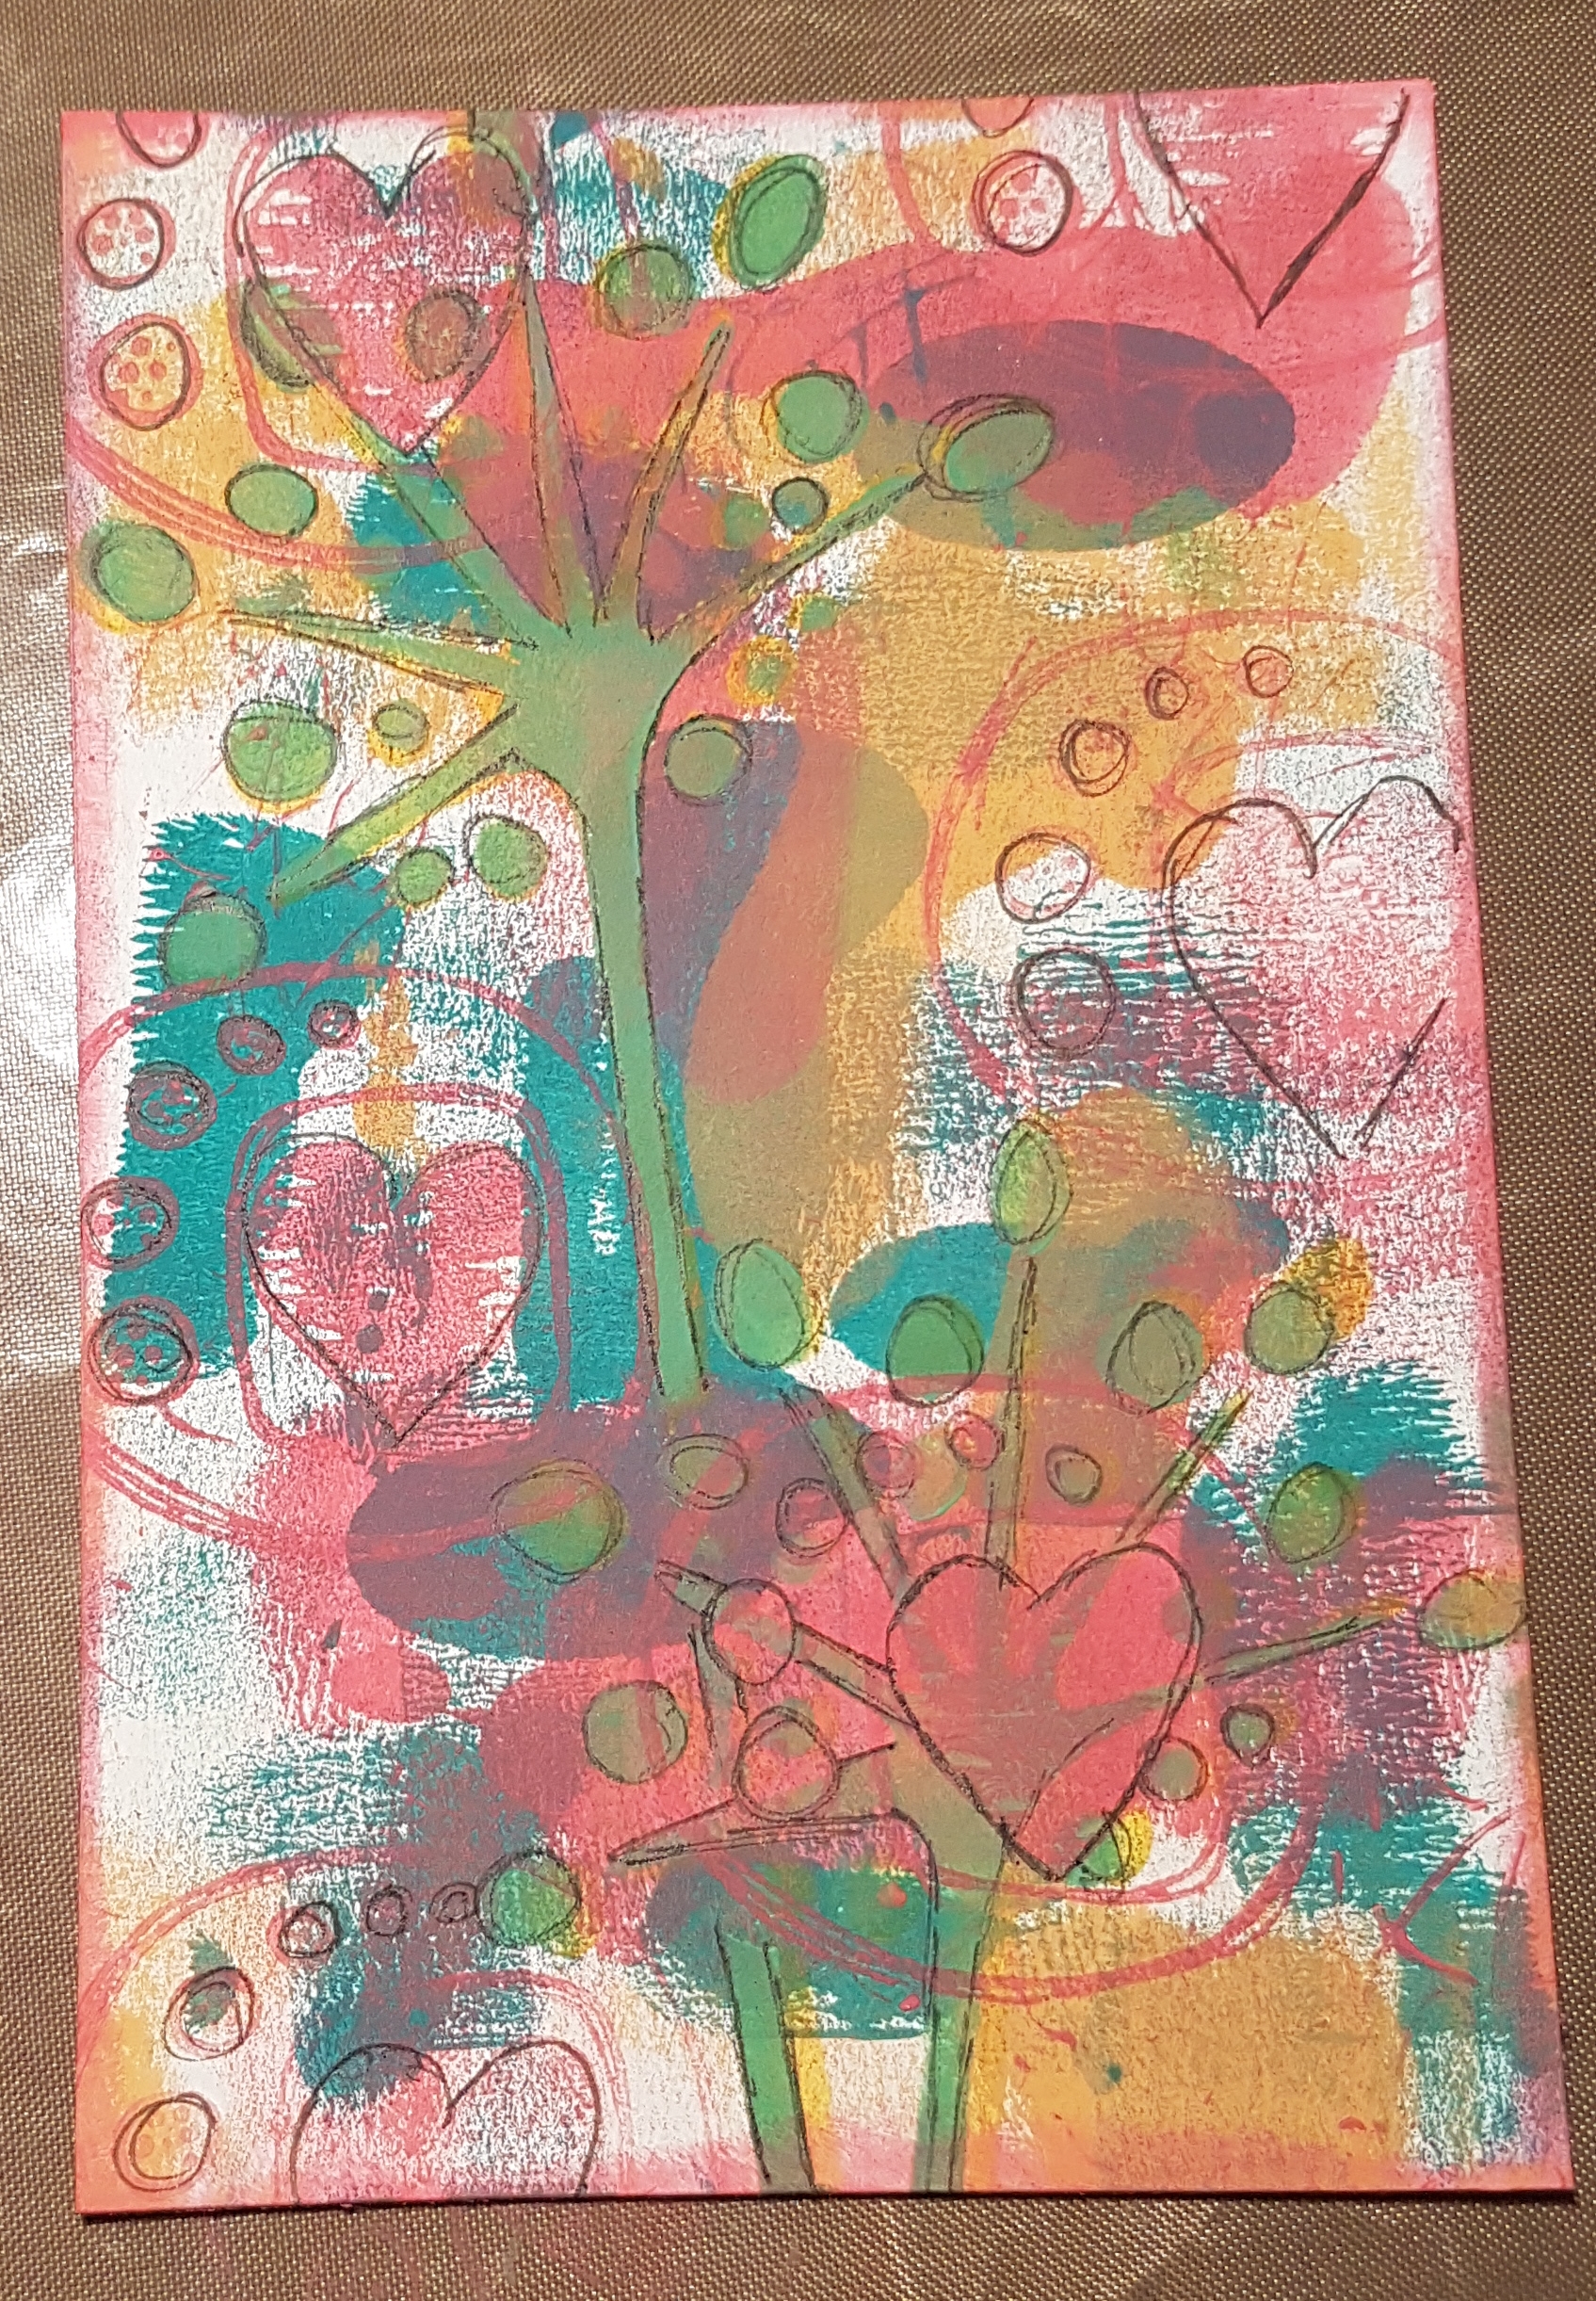
This one I added some more stamping with Kim Dellow stamps and doodling with a black pen round some of the elements. 

On both I edged the panels with paint, a different colour for each and also then added black archival too. 

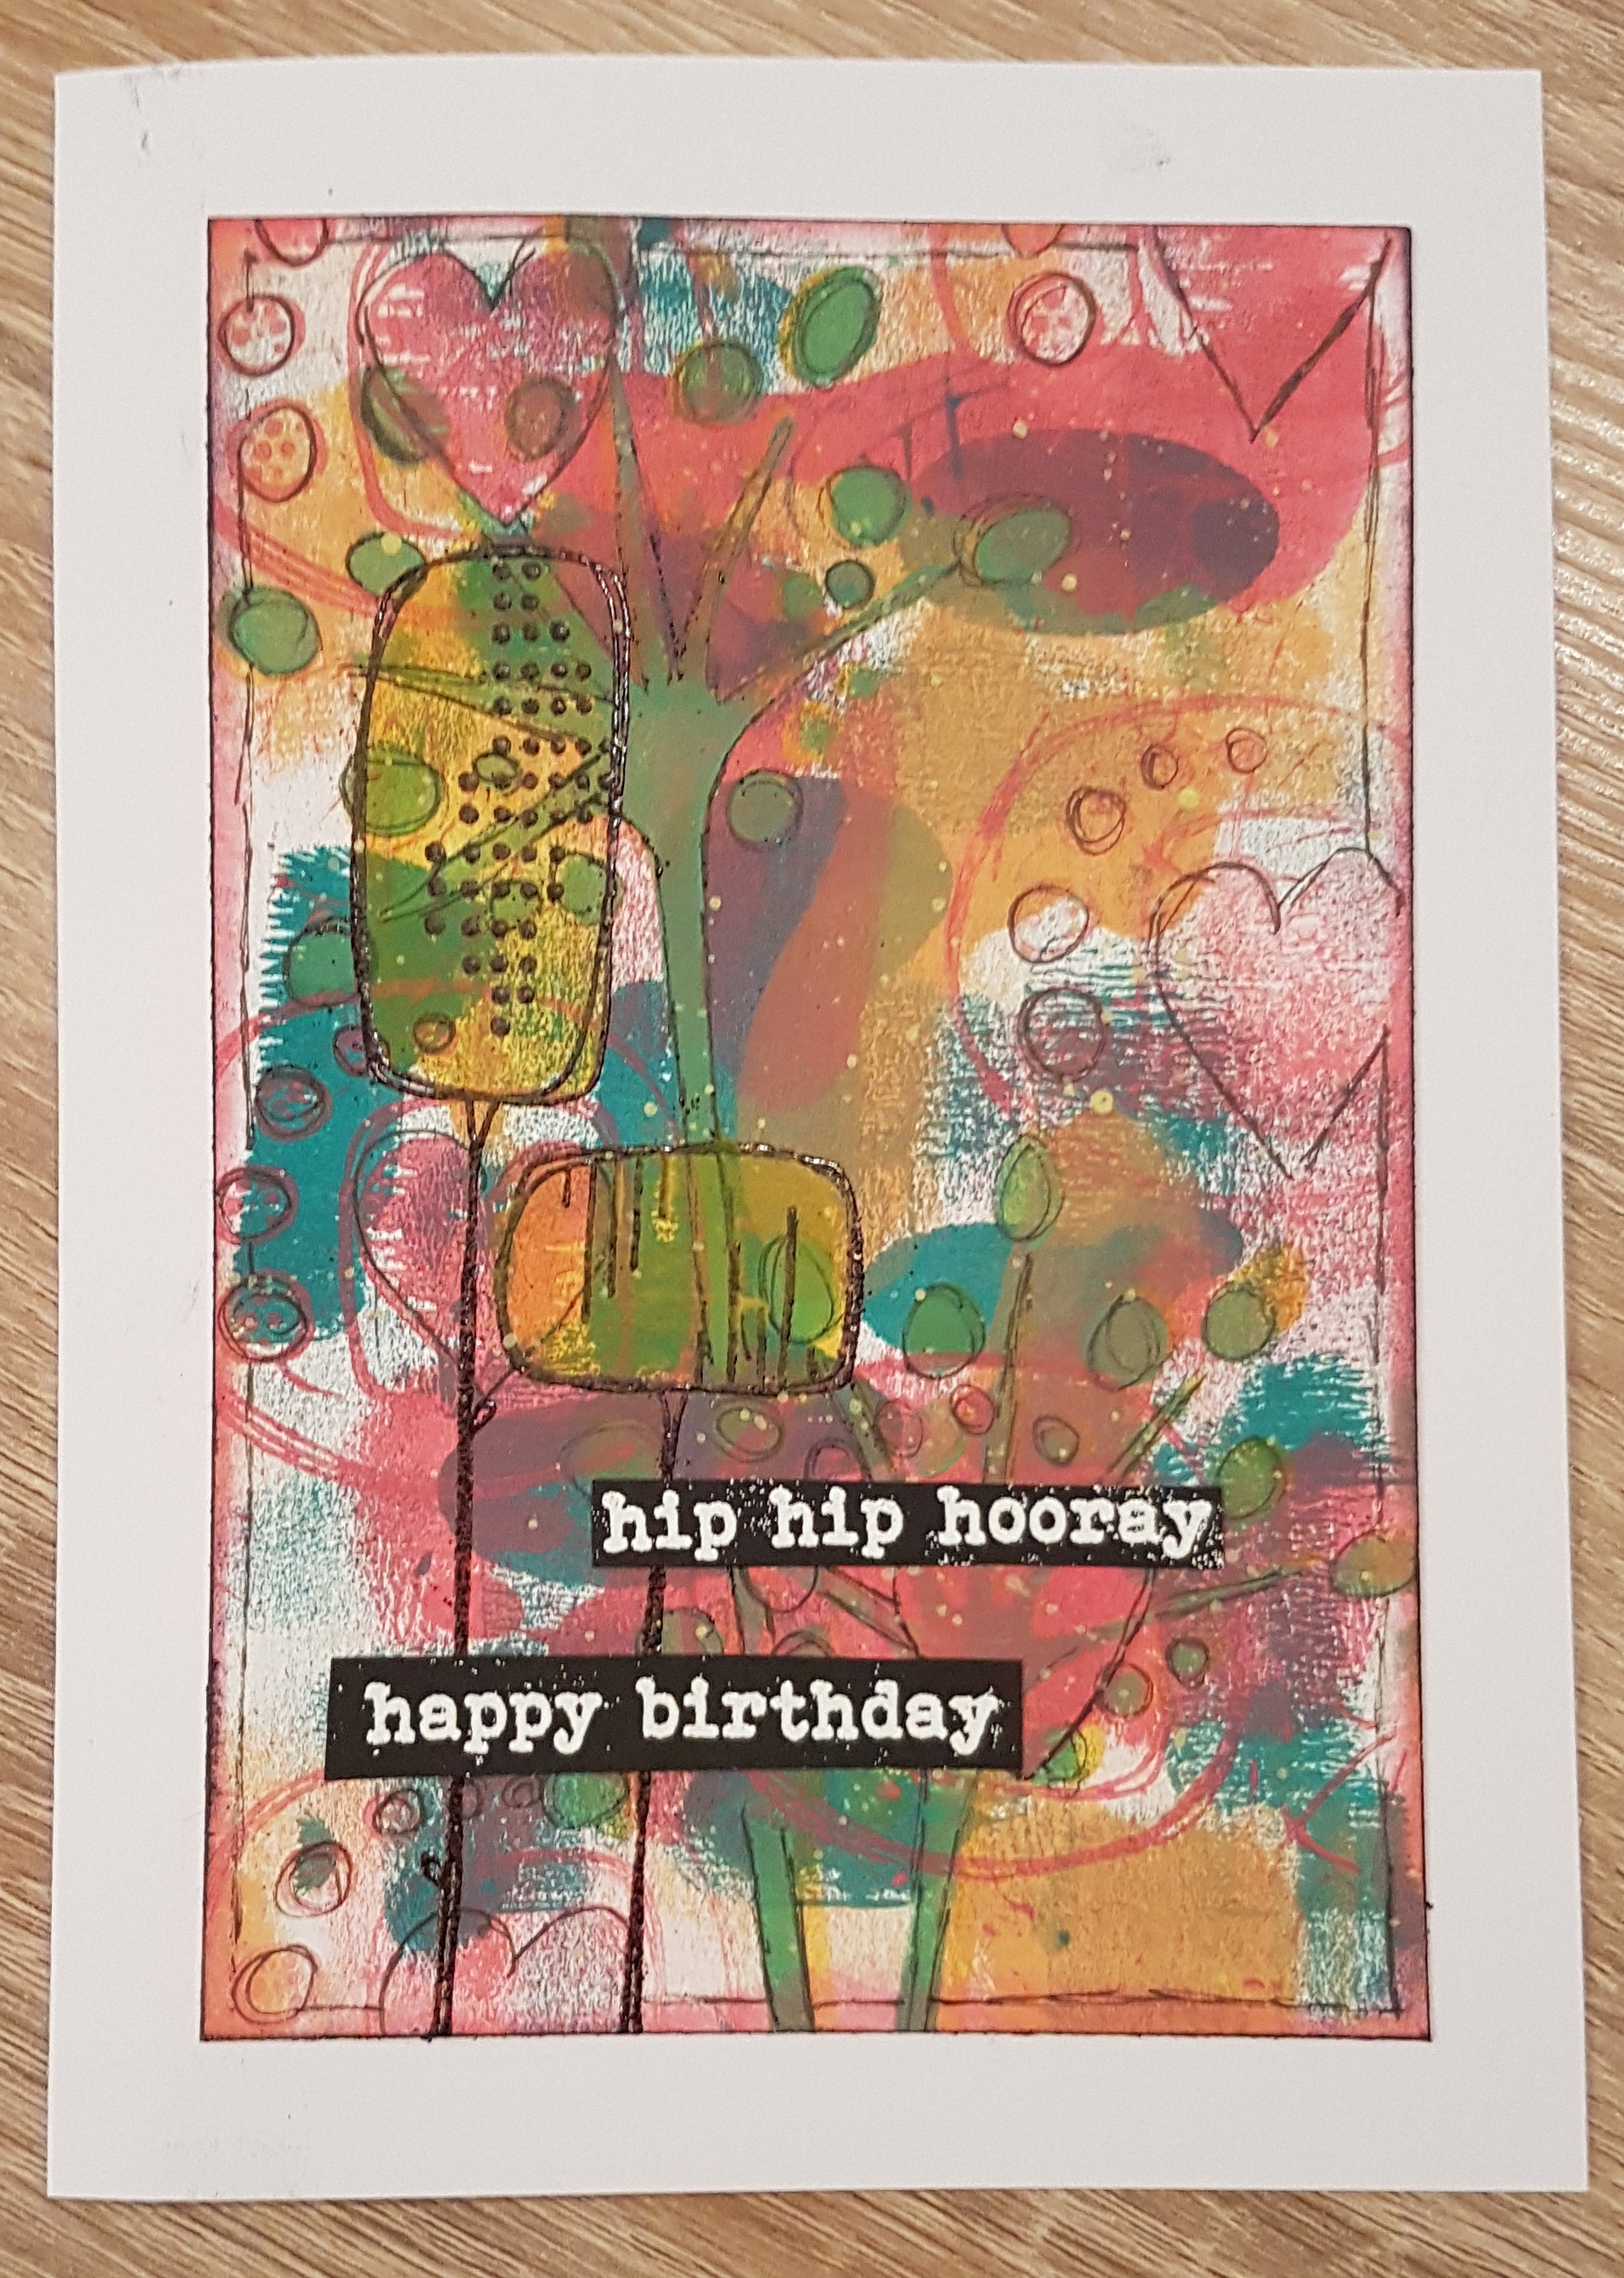
To finish I added Kim Dellow stamped flowers using embossing and then coloured the flowers using the translucent paint and added some flicks of the paint too. 

The sentiments are the Emma Godfrey and I used Kirsten Sheridans idea of white on black with white embossing. Love how they pop on the busy background. 

A nice and quick play to make these bright cards for the stash! 

Happy crafting! 

Catherine 

Happy birthday H & M

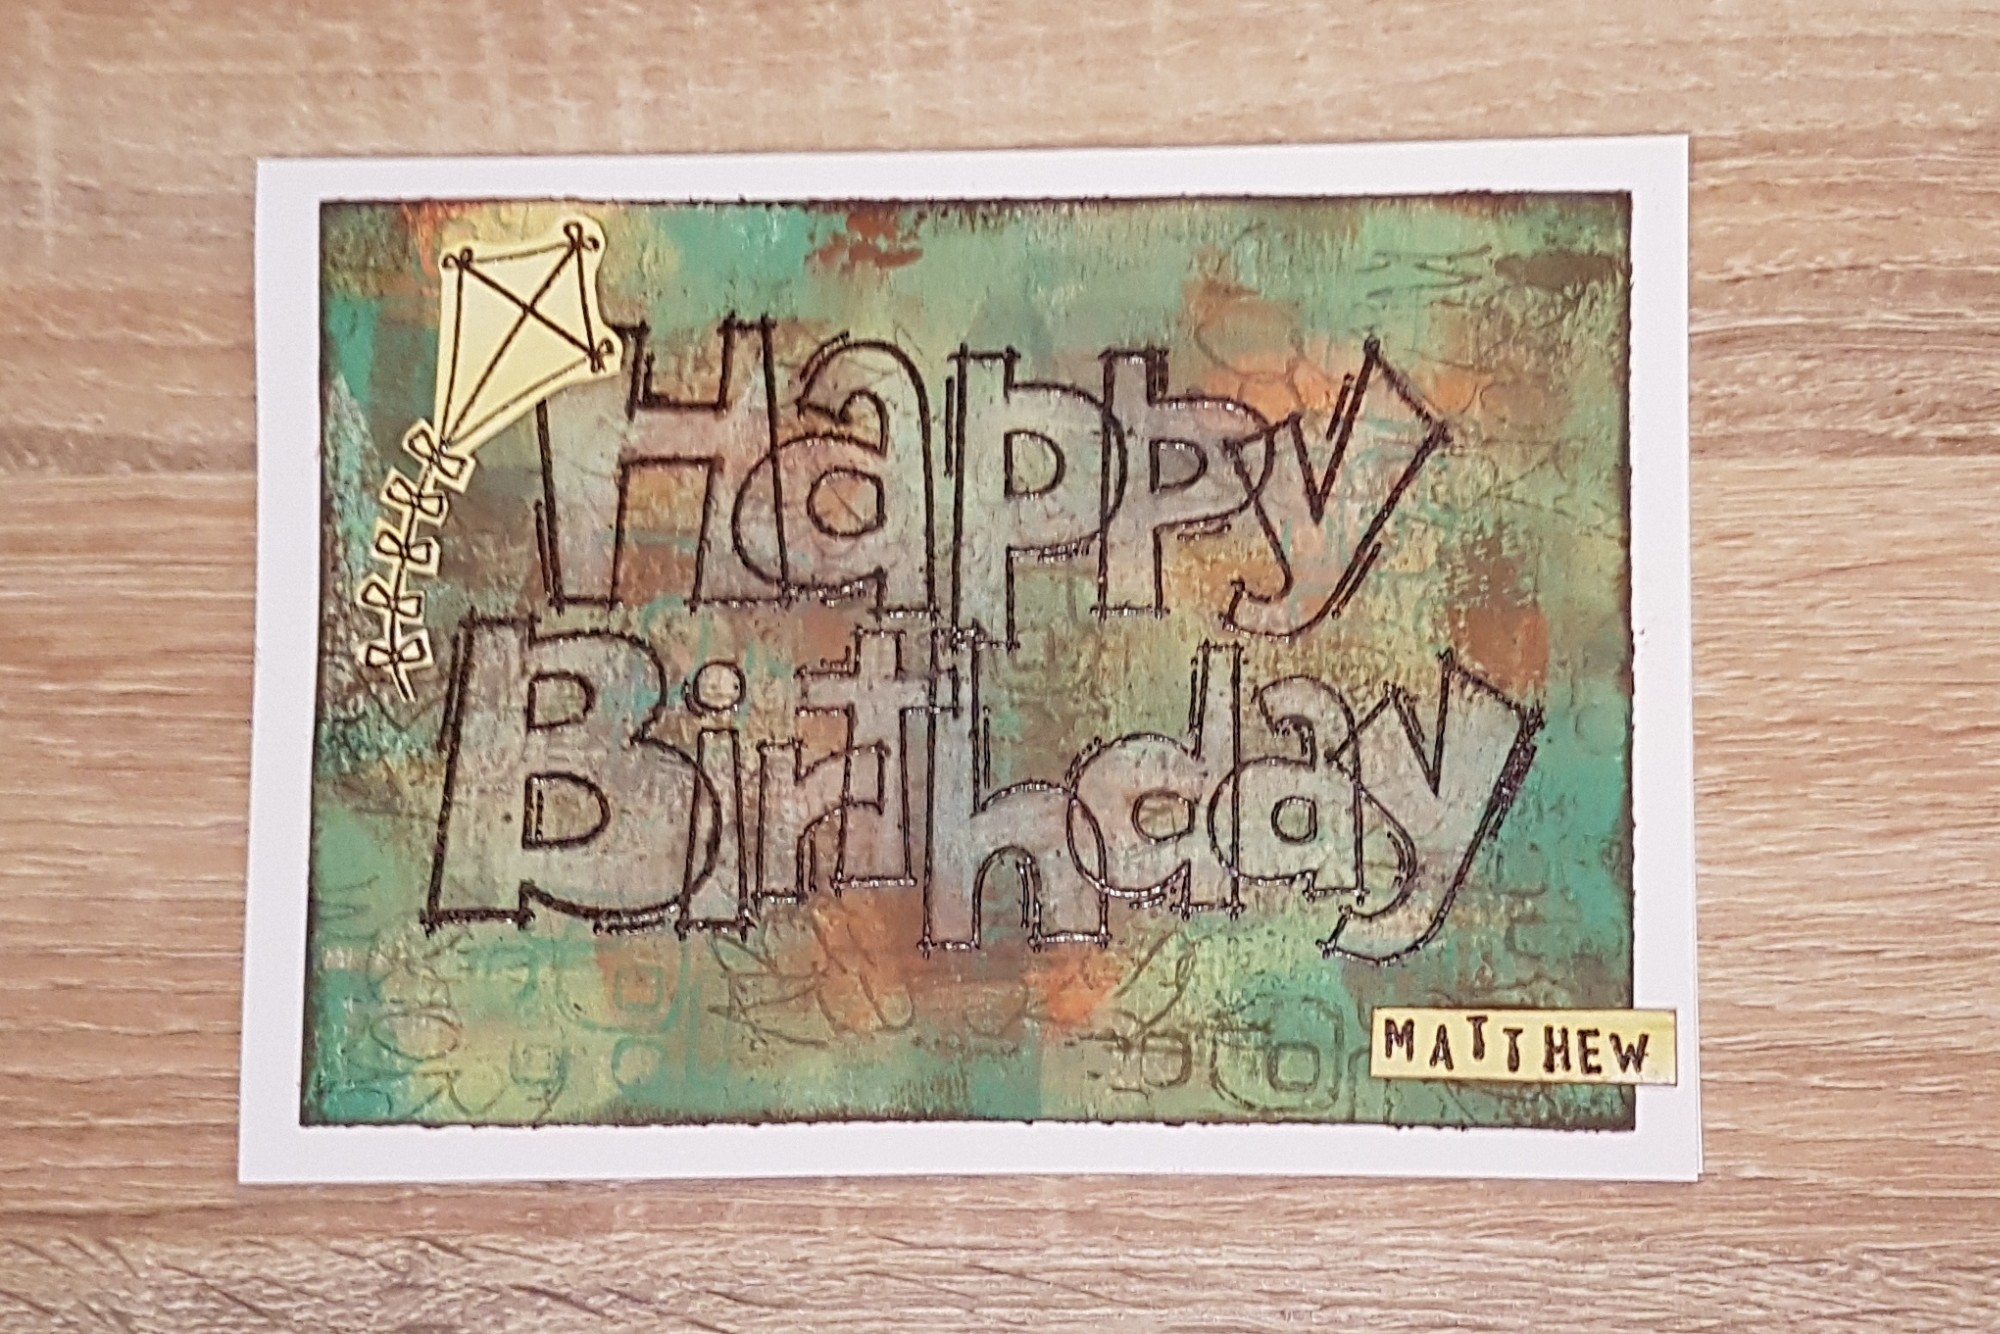
Yesterday was the birthday of one of the princesses friends and her twin brother.  So I had two cards to make… So decided to film the process… especially as I had new stash to play with! 

Yes new Paperartsy Paint is in the house. 

Here are the two cards I made. 

The one for Hannah uses the bright palette from Tracy Scott.

The one for Matthew uses the earthy colour palette Seth Apter chose for his second set of paints. 

Both lovely and I’m really happy with how they both came out. 

Happy birthday H and M!

Happy crafting! 

Catherine 
Inchies…. they’re really quite small! 

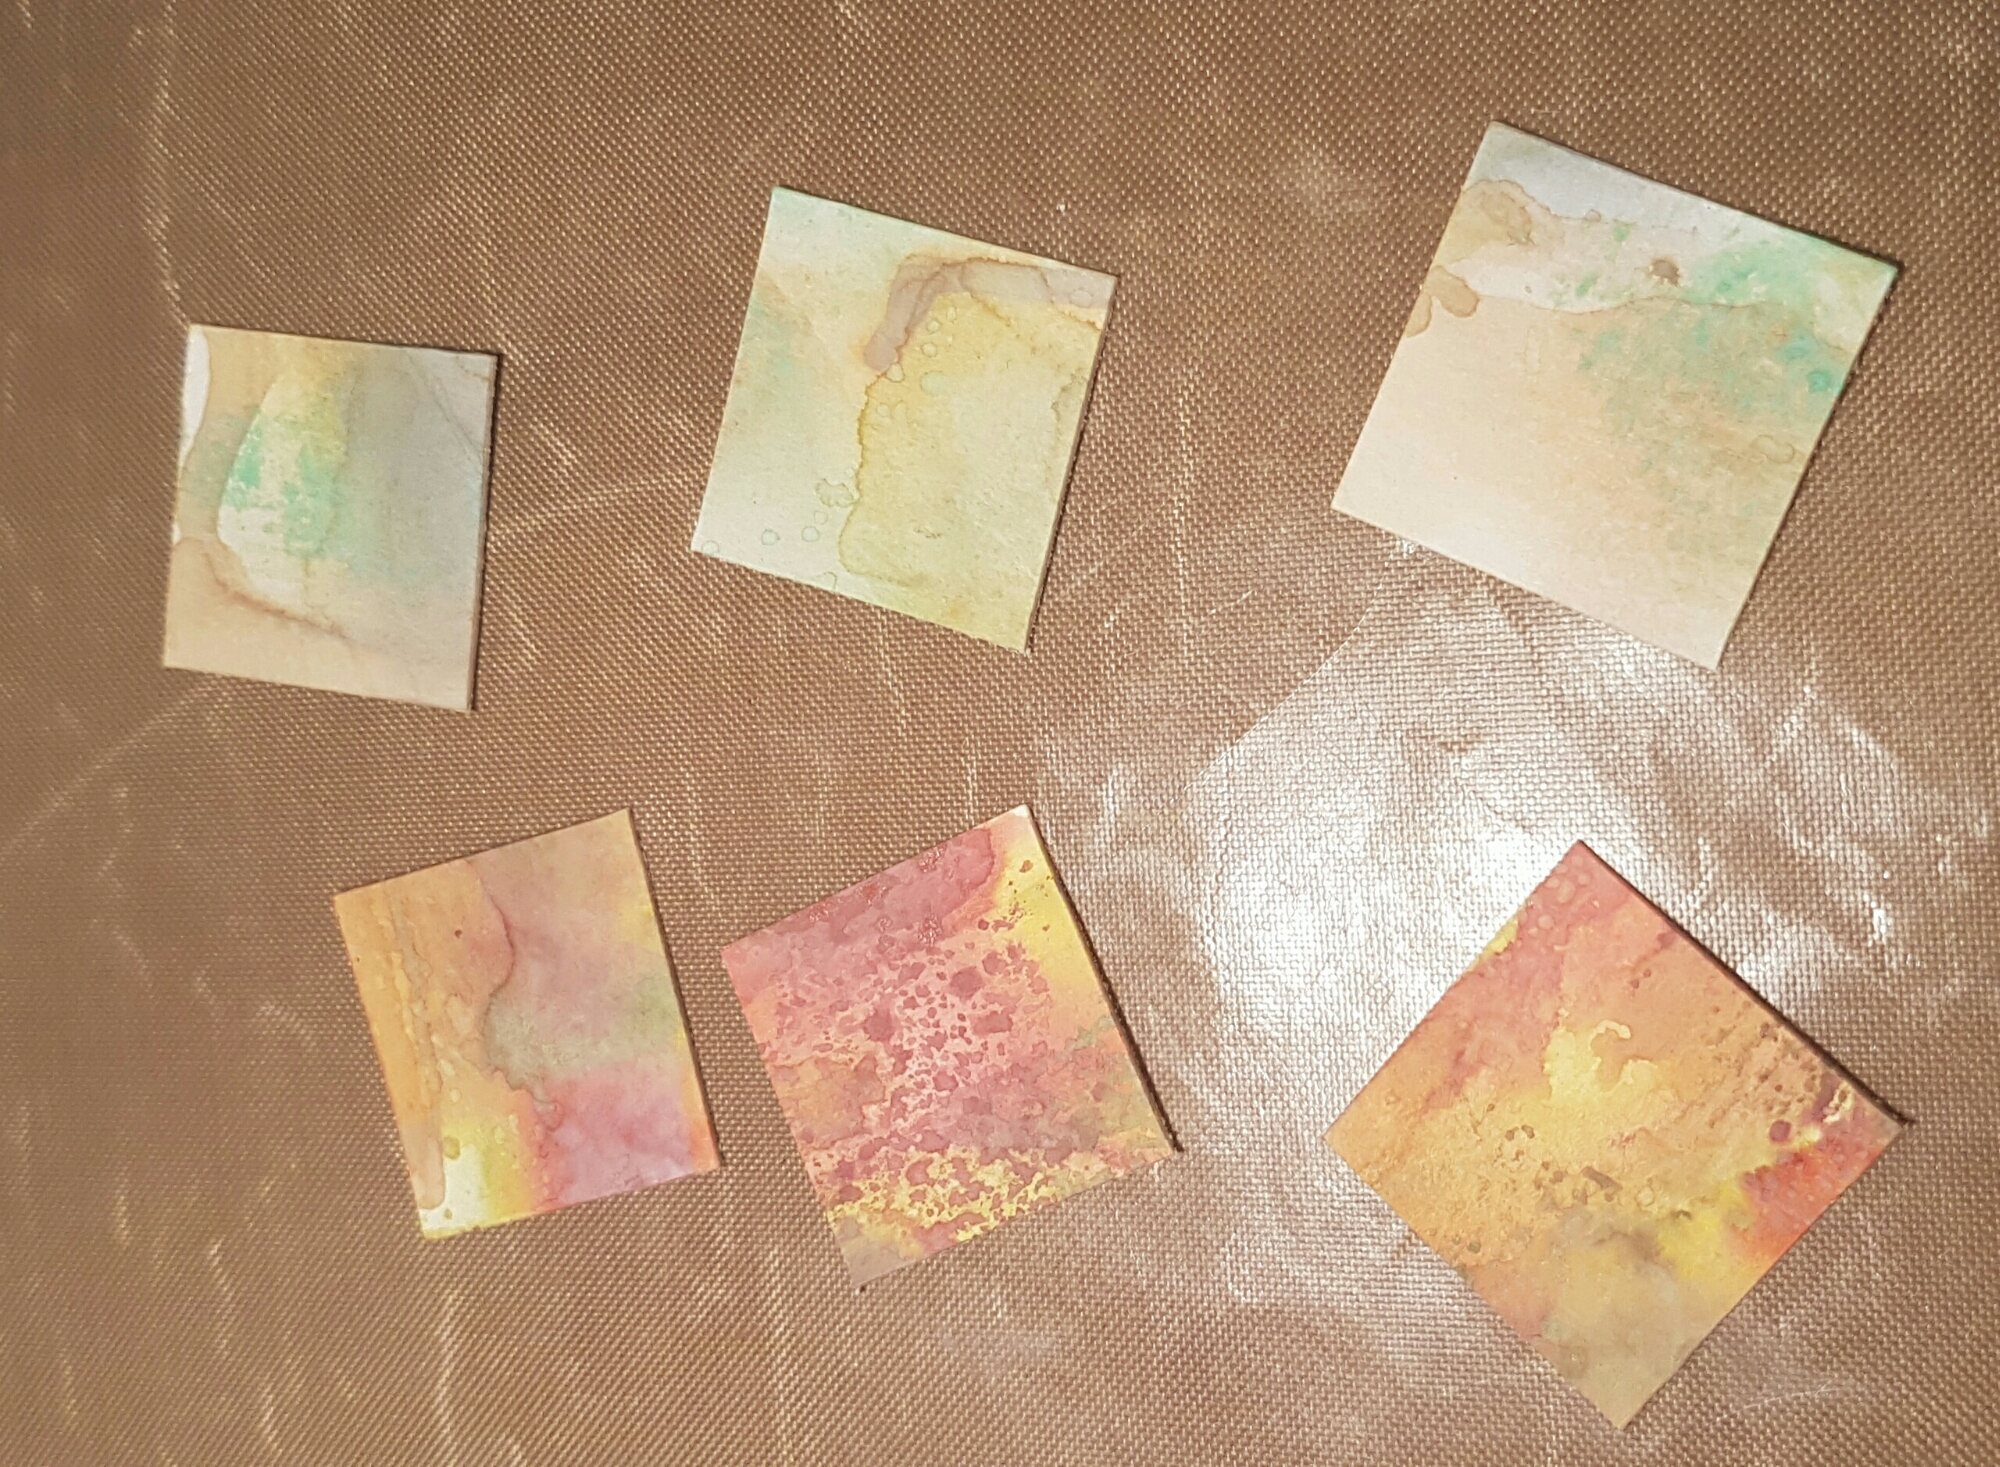
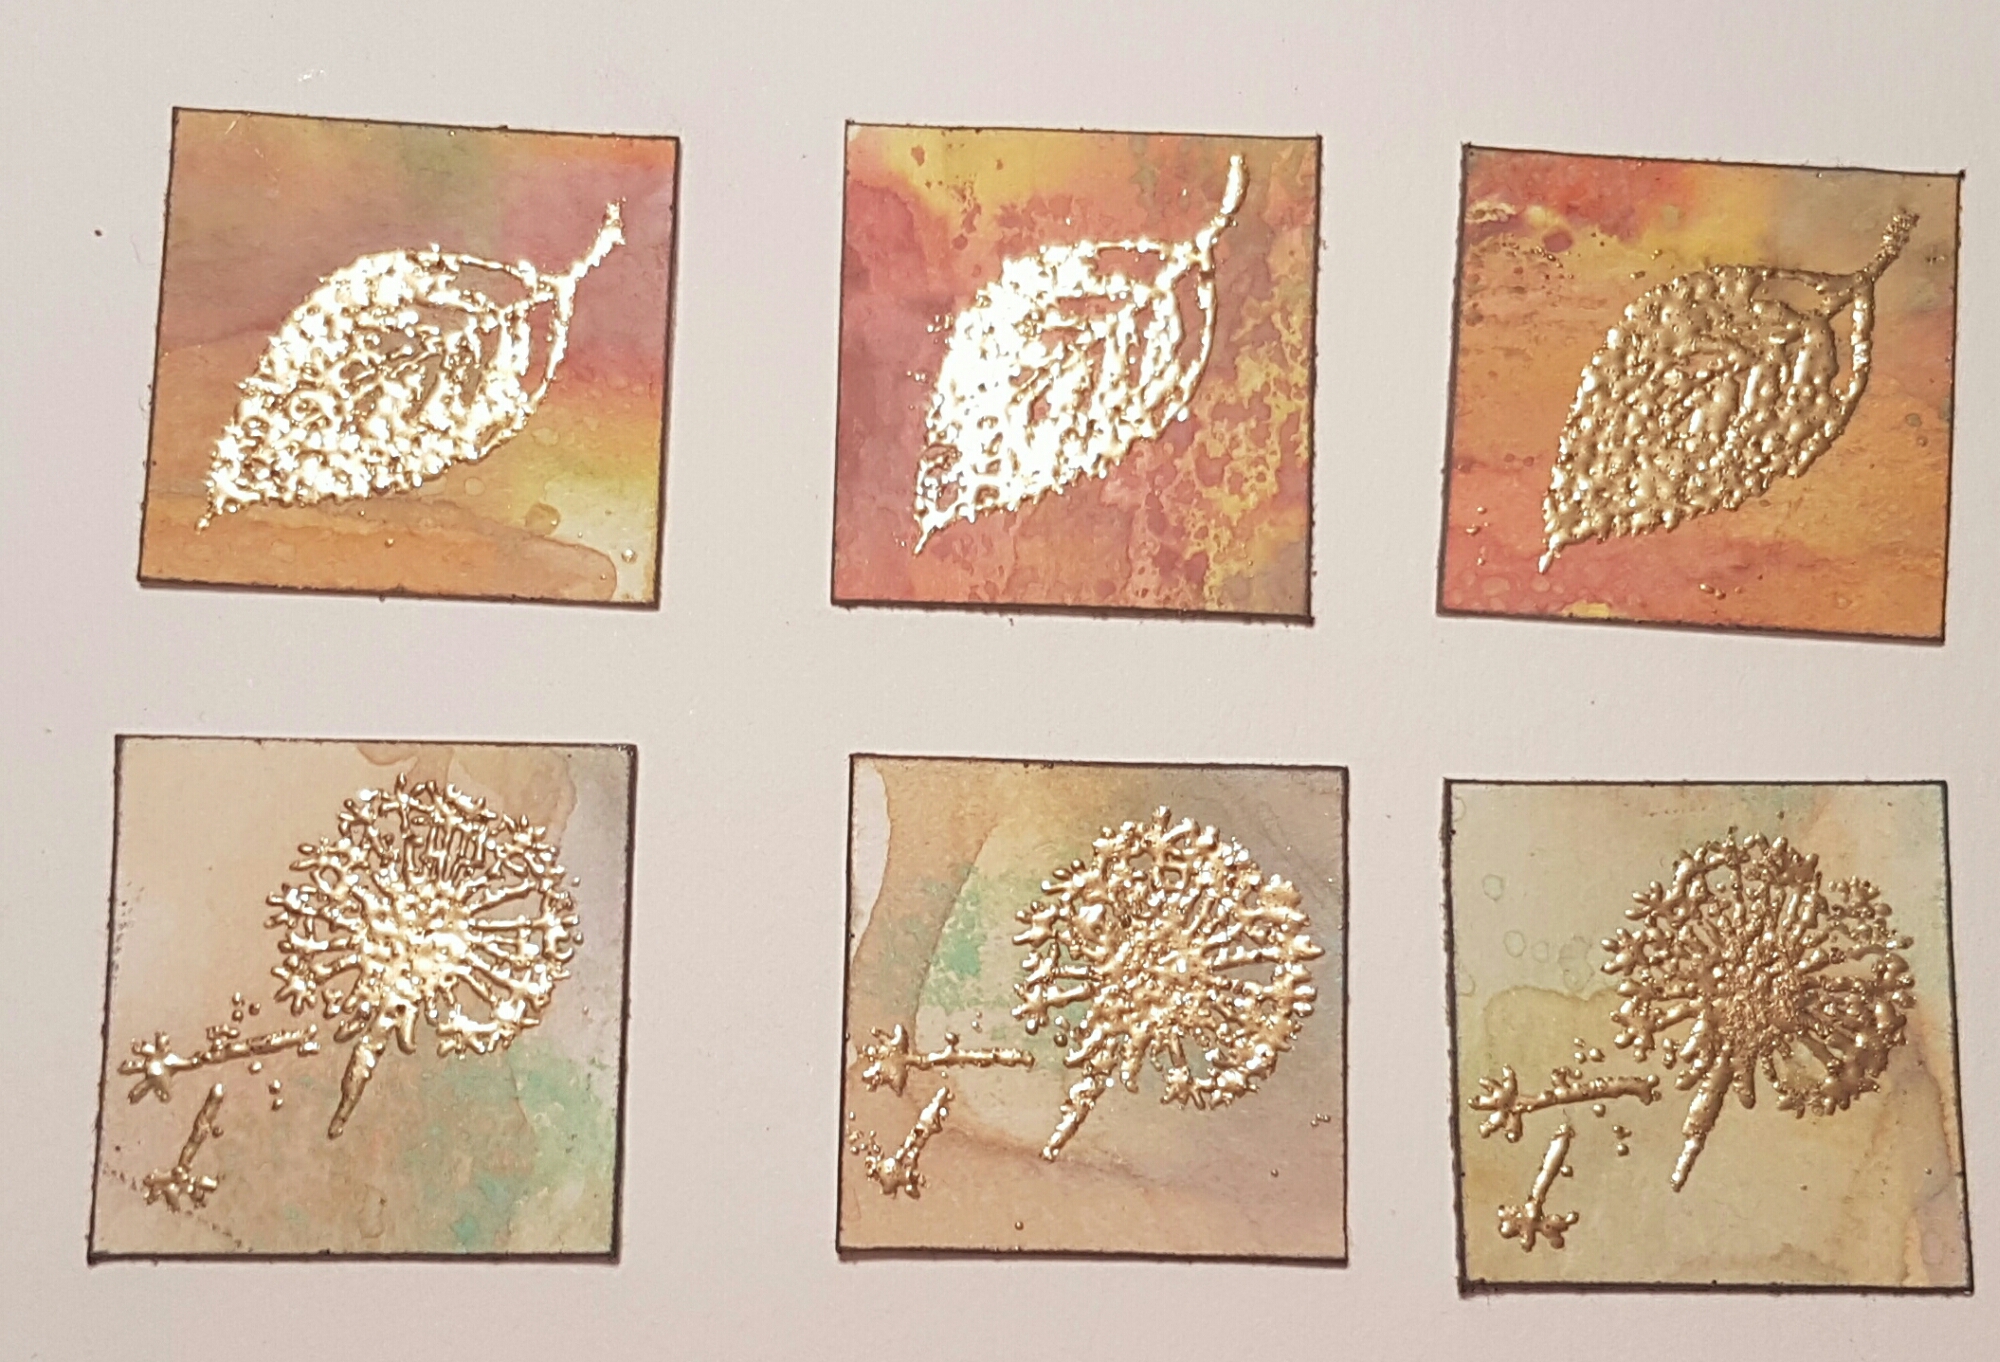
I’ve never made inchies before but joined in on a swap to make six. When it got to the point of cutting them to size  (1″x1″) I was shocked as to how small they actually are. I know that sounds strange but it was only when I had cut them did I realise that the size was quite restrictive.

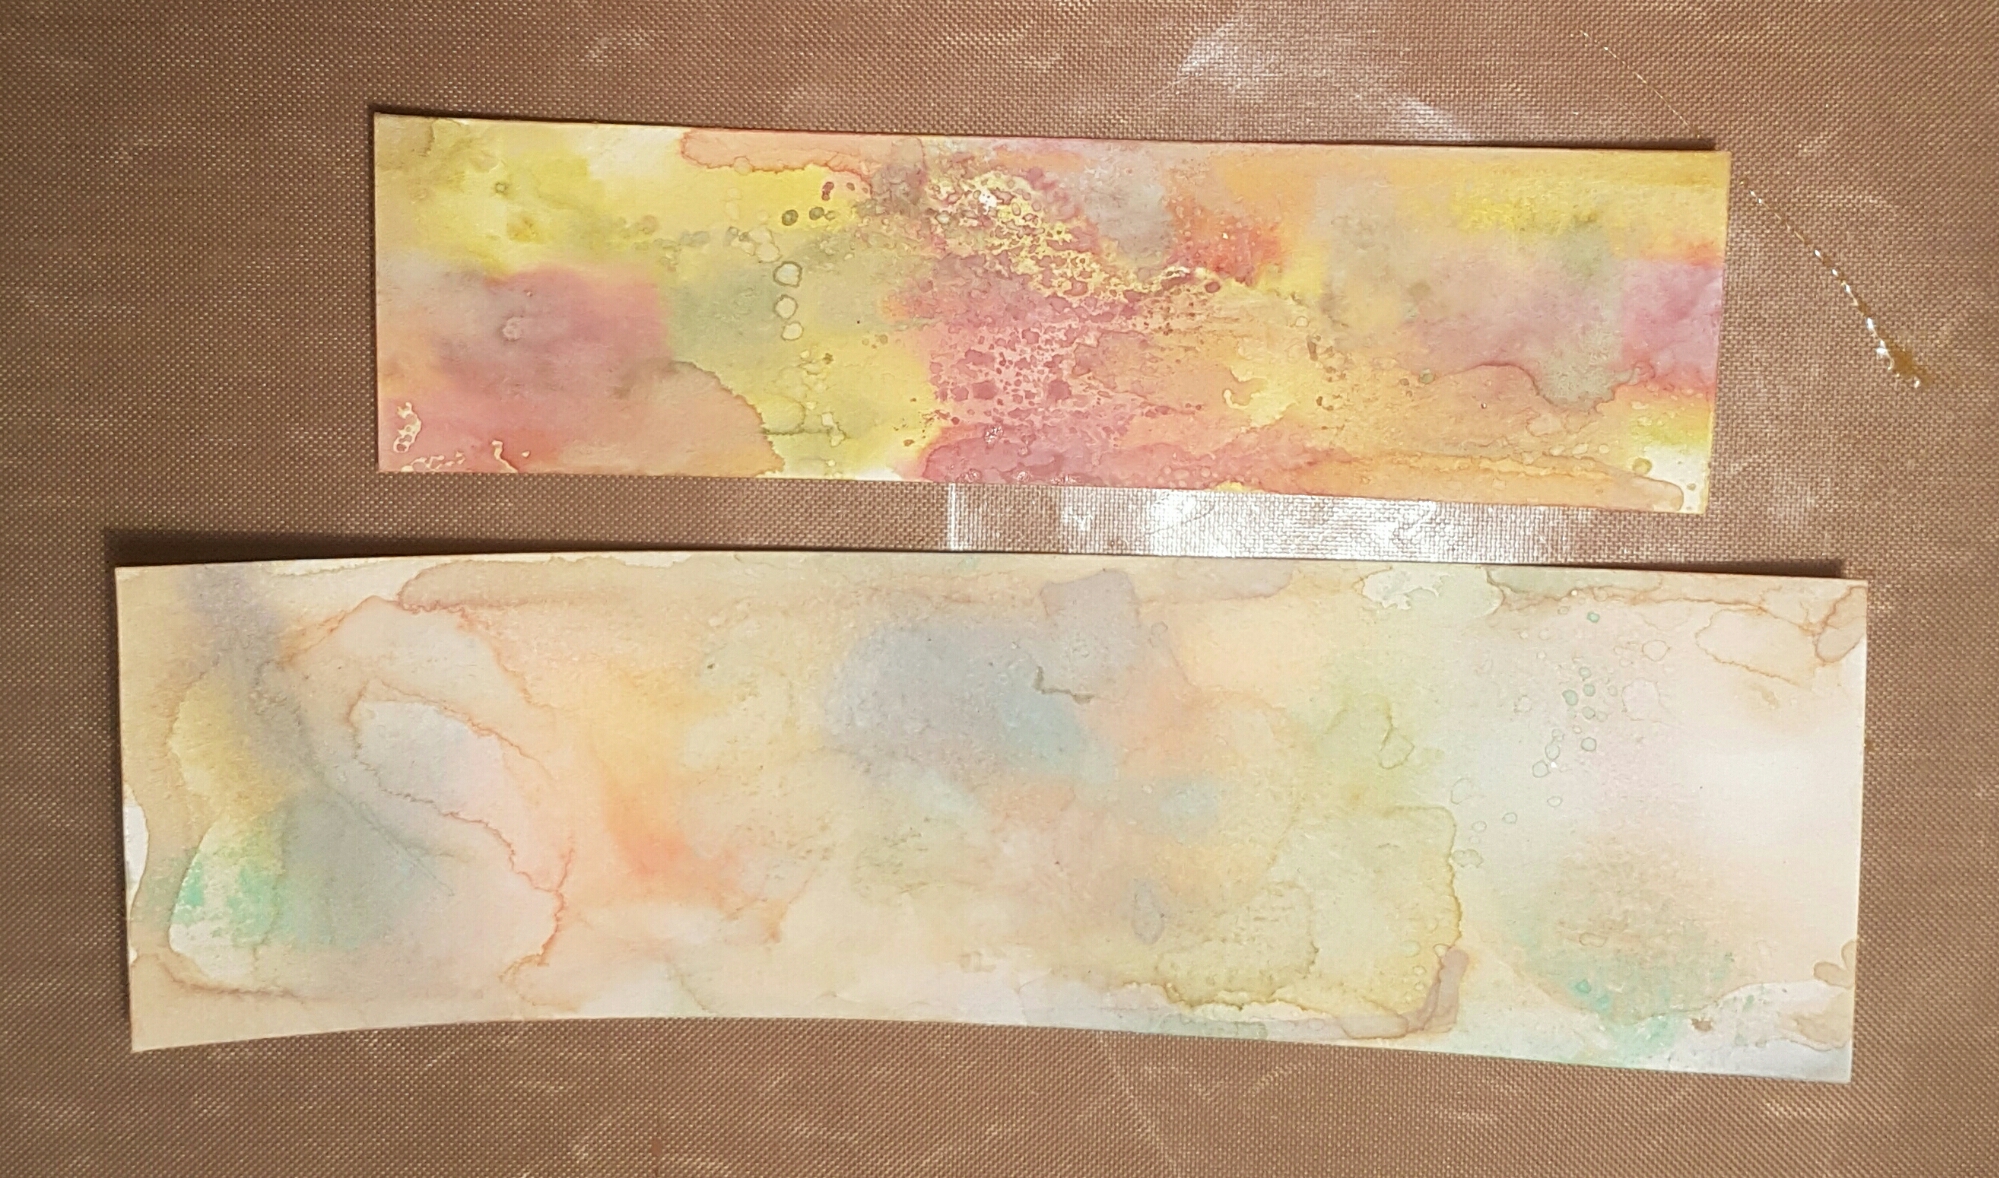
Anyway I started with my Distress oxides and some scraps of mixed media cardstock. 

I did two different colour palettes and then cut three from each. 

Now for the stamping. I chose a stamp set from Crafters Companion and chose a couple of stamps that fit the small space! 

I chose to emboss the image with gold embossing powder. Then I edged each tile with sepia archival ink. 

Love how these turned out but not sure that inchies are my thing. Think I’ll stick to atcs as my mini artworks from now on! 

Happy crafting! 

Catherine 
Scrapping, Gelatos and YouTube 

I did some scrapping last weekend.  For the first time unprompted and I had such fun. I even did it on camera! Yes another YouTube video for you!

The main plan was to use gelatos and some of the February Artful Days goodie box stash.. and just to play. 

So happy with how this ended up. Definitely inspired by Missy Whidden YouTube videos and loving the mixed media style.  So many textures and colours. 

Thanks for getting me back into scrapping Helen. 

Happy crafting! 

Catherine 
Postcard Art swap… tick took clocks

Hi

Today I’ve got a postcard swap to share with you.  This year does seem to have involved a lot of swaps so far! 

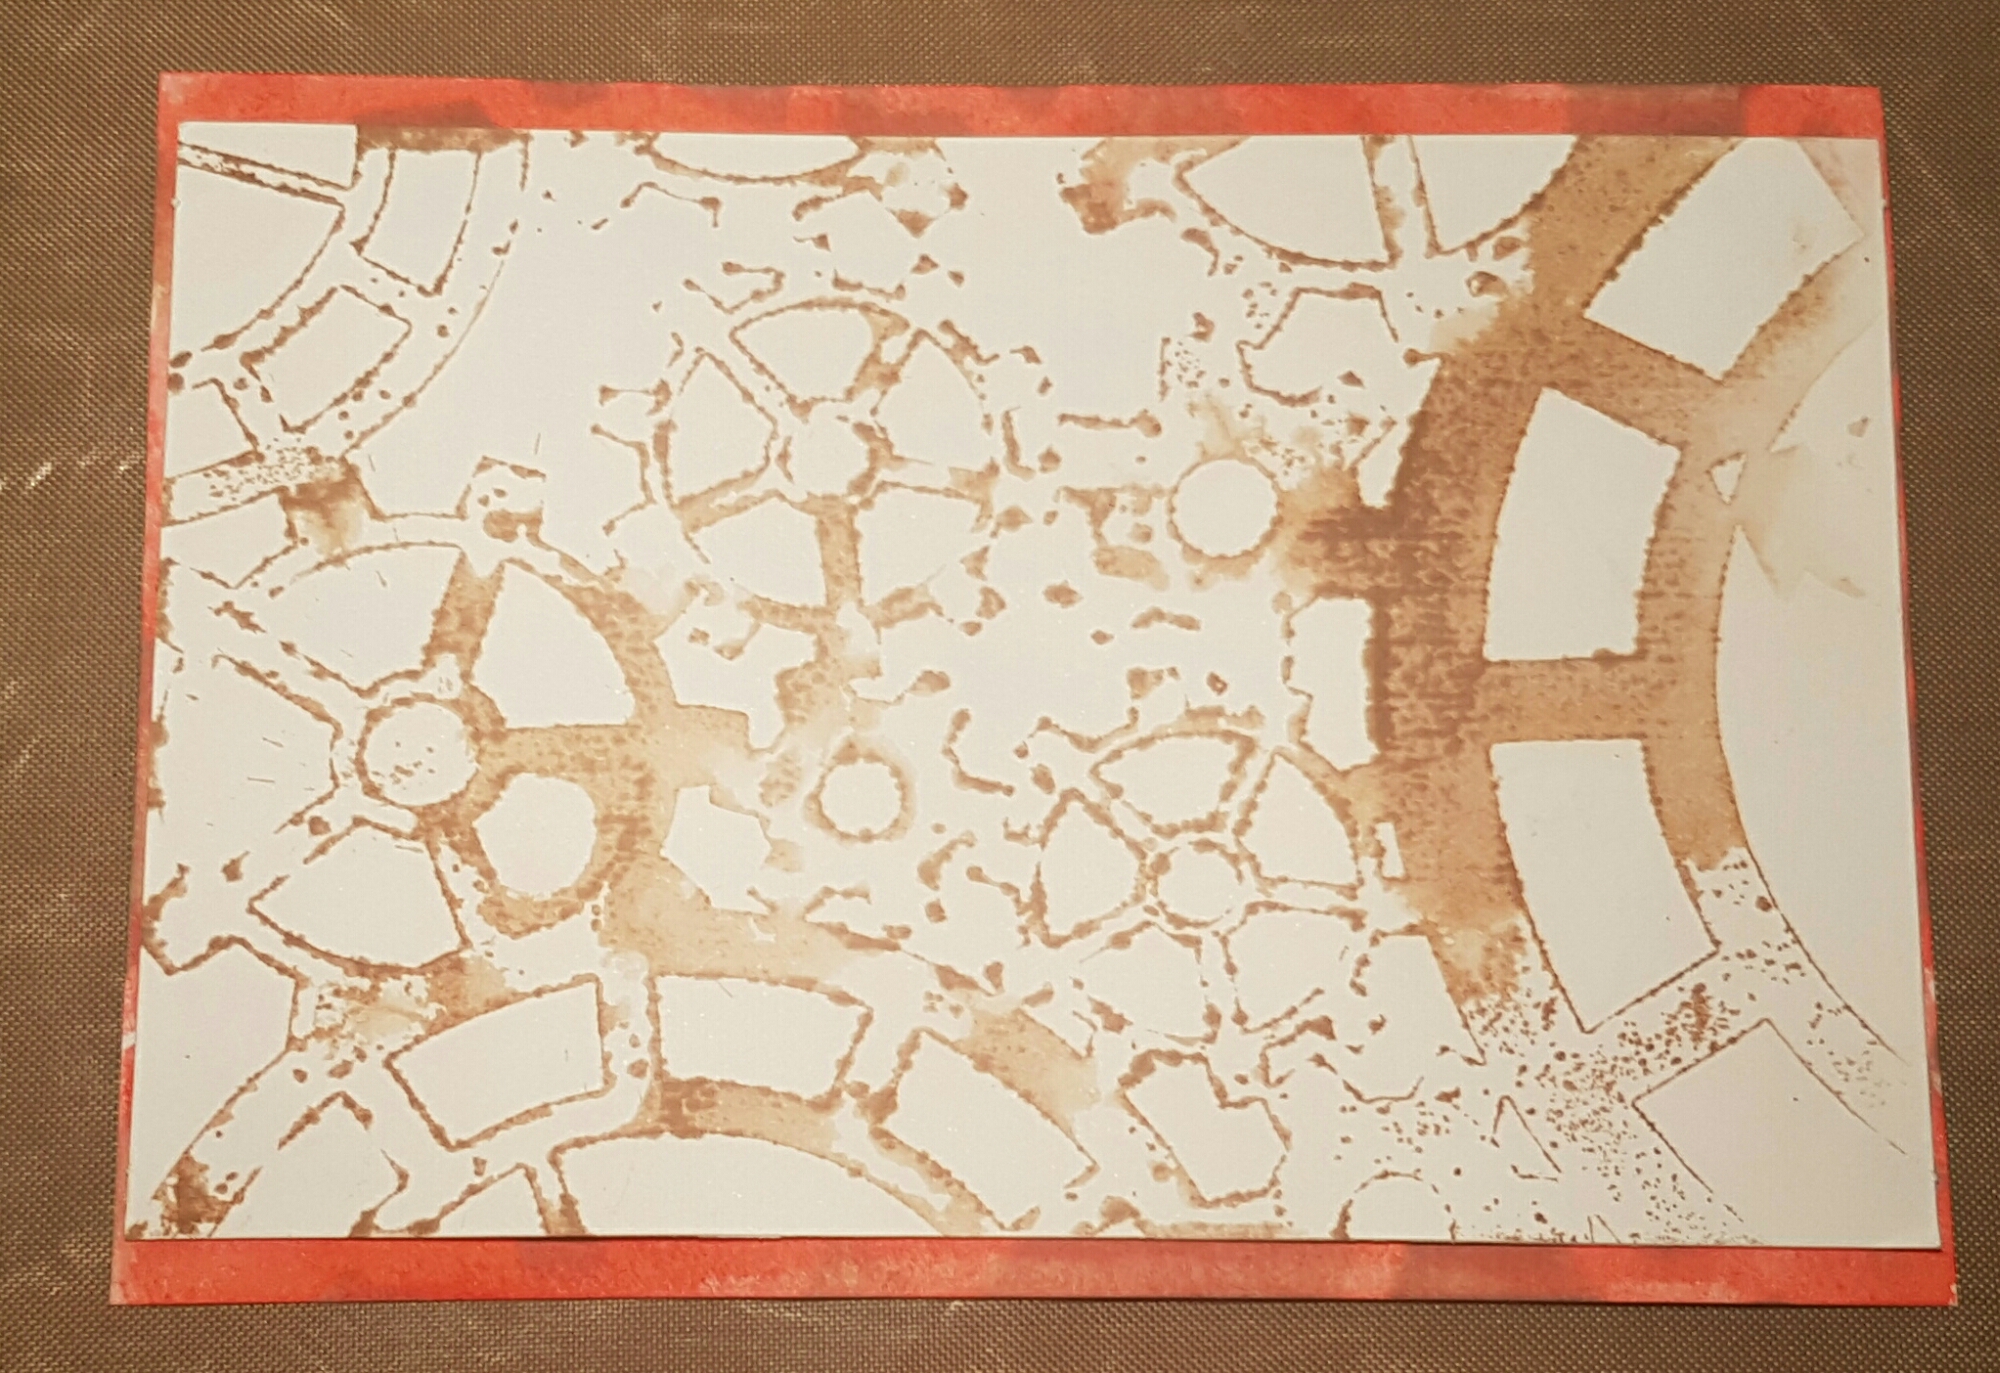
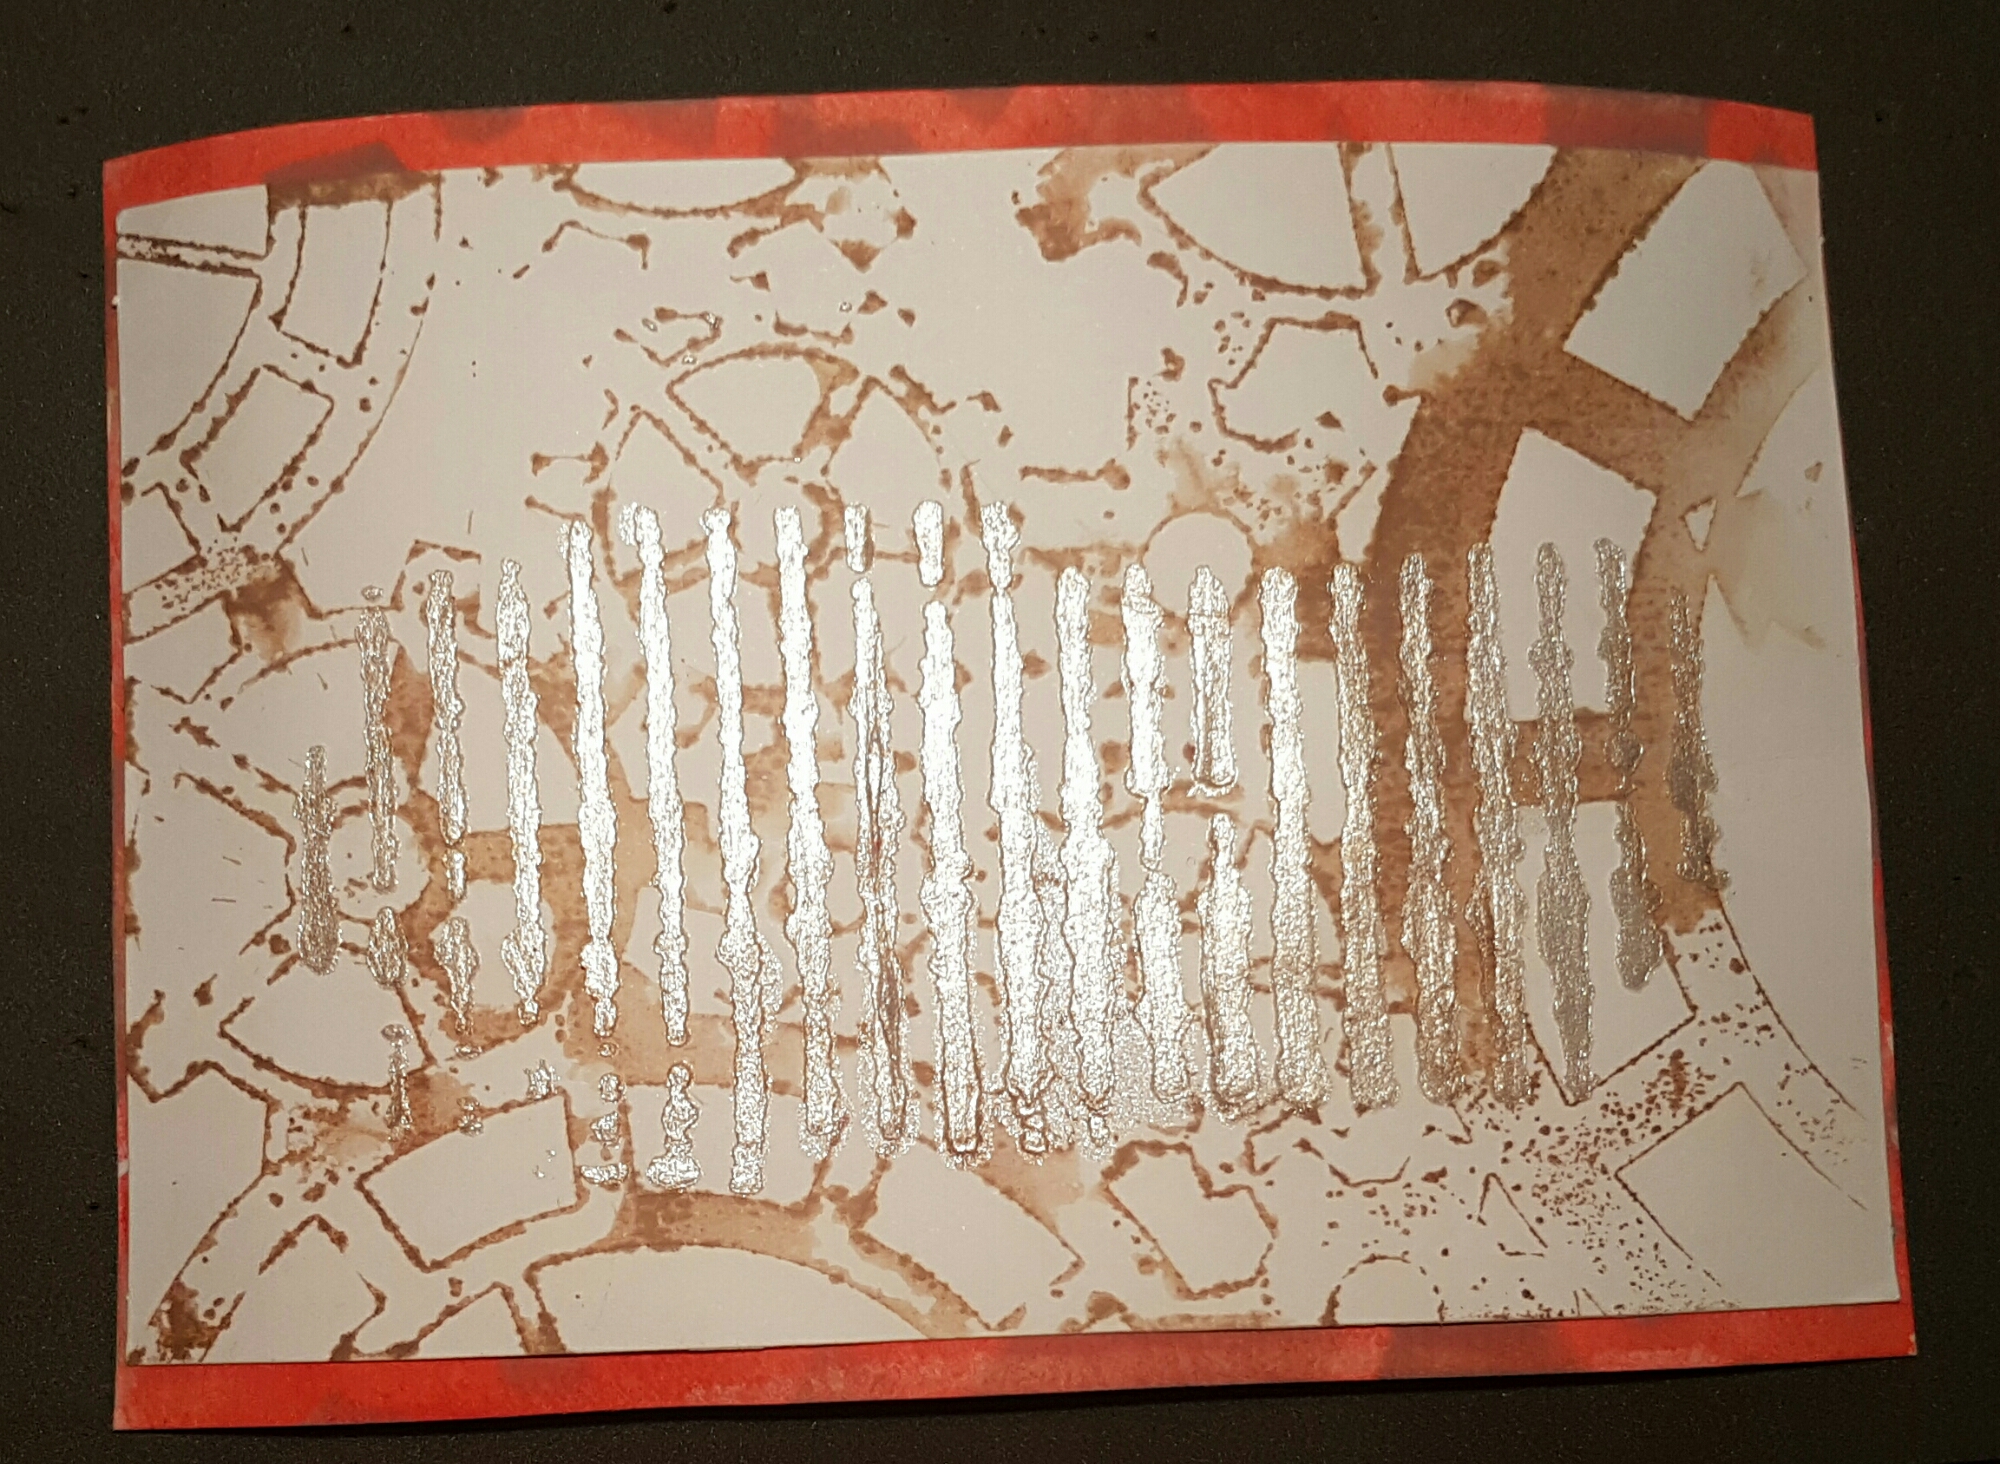
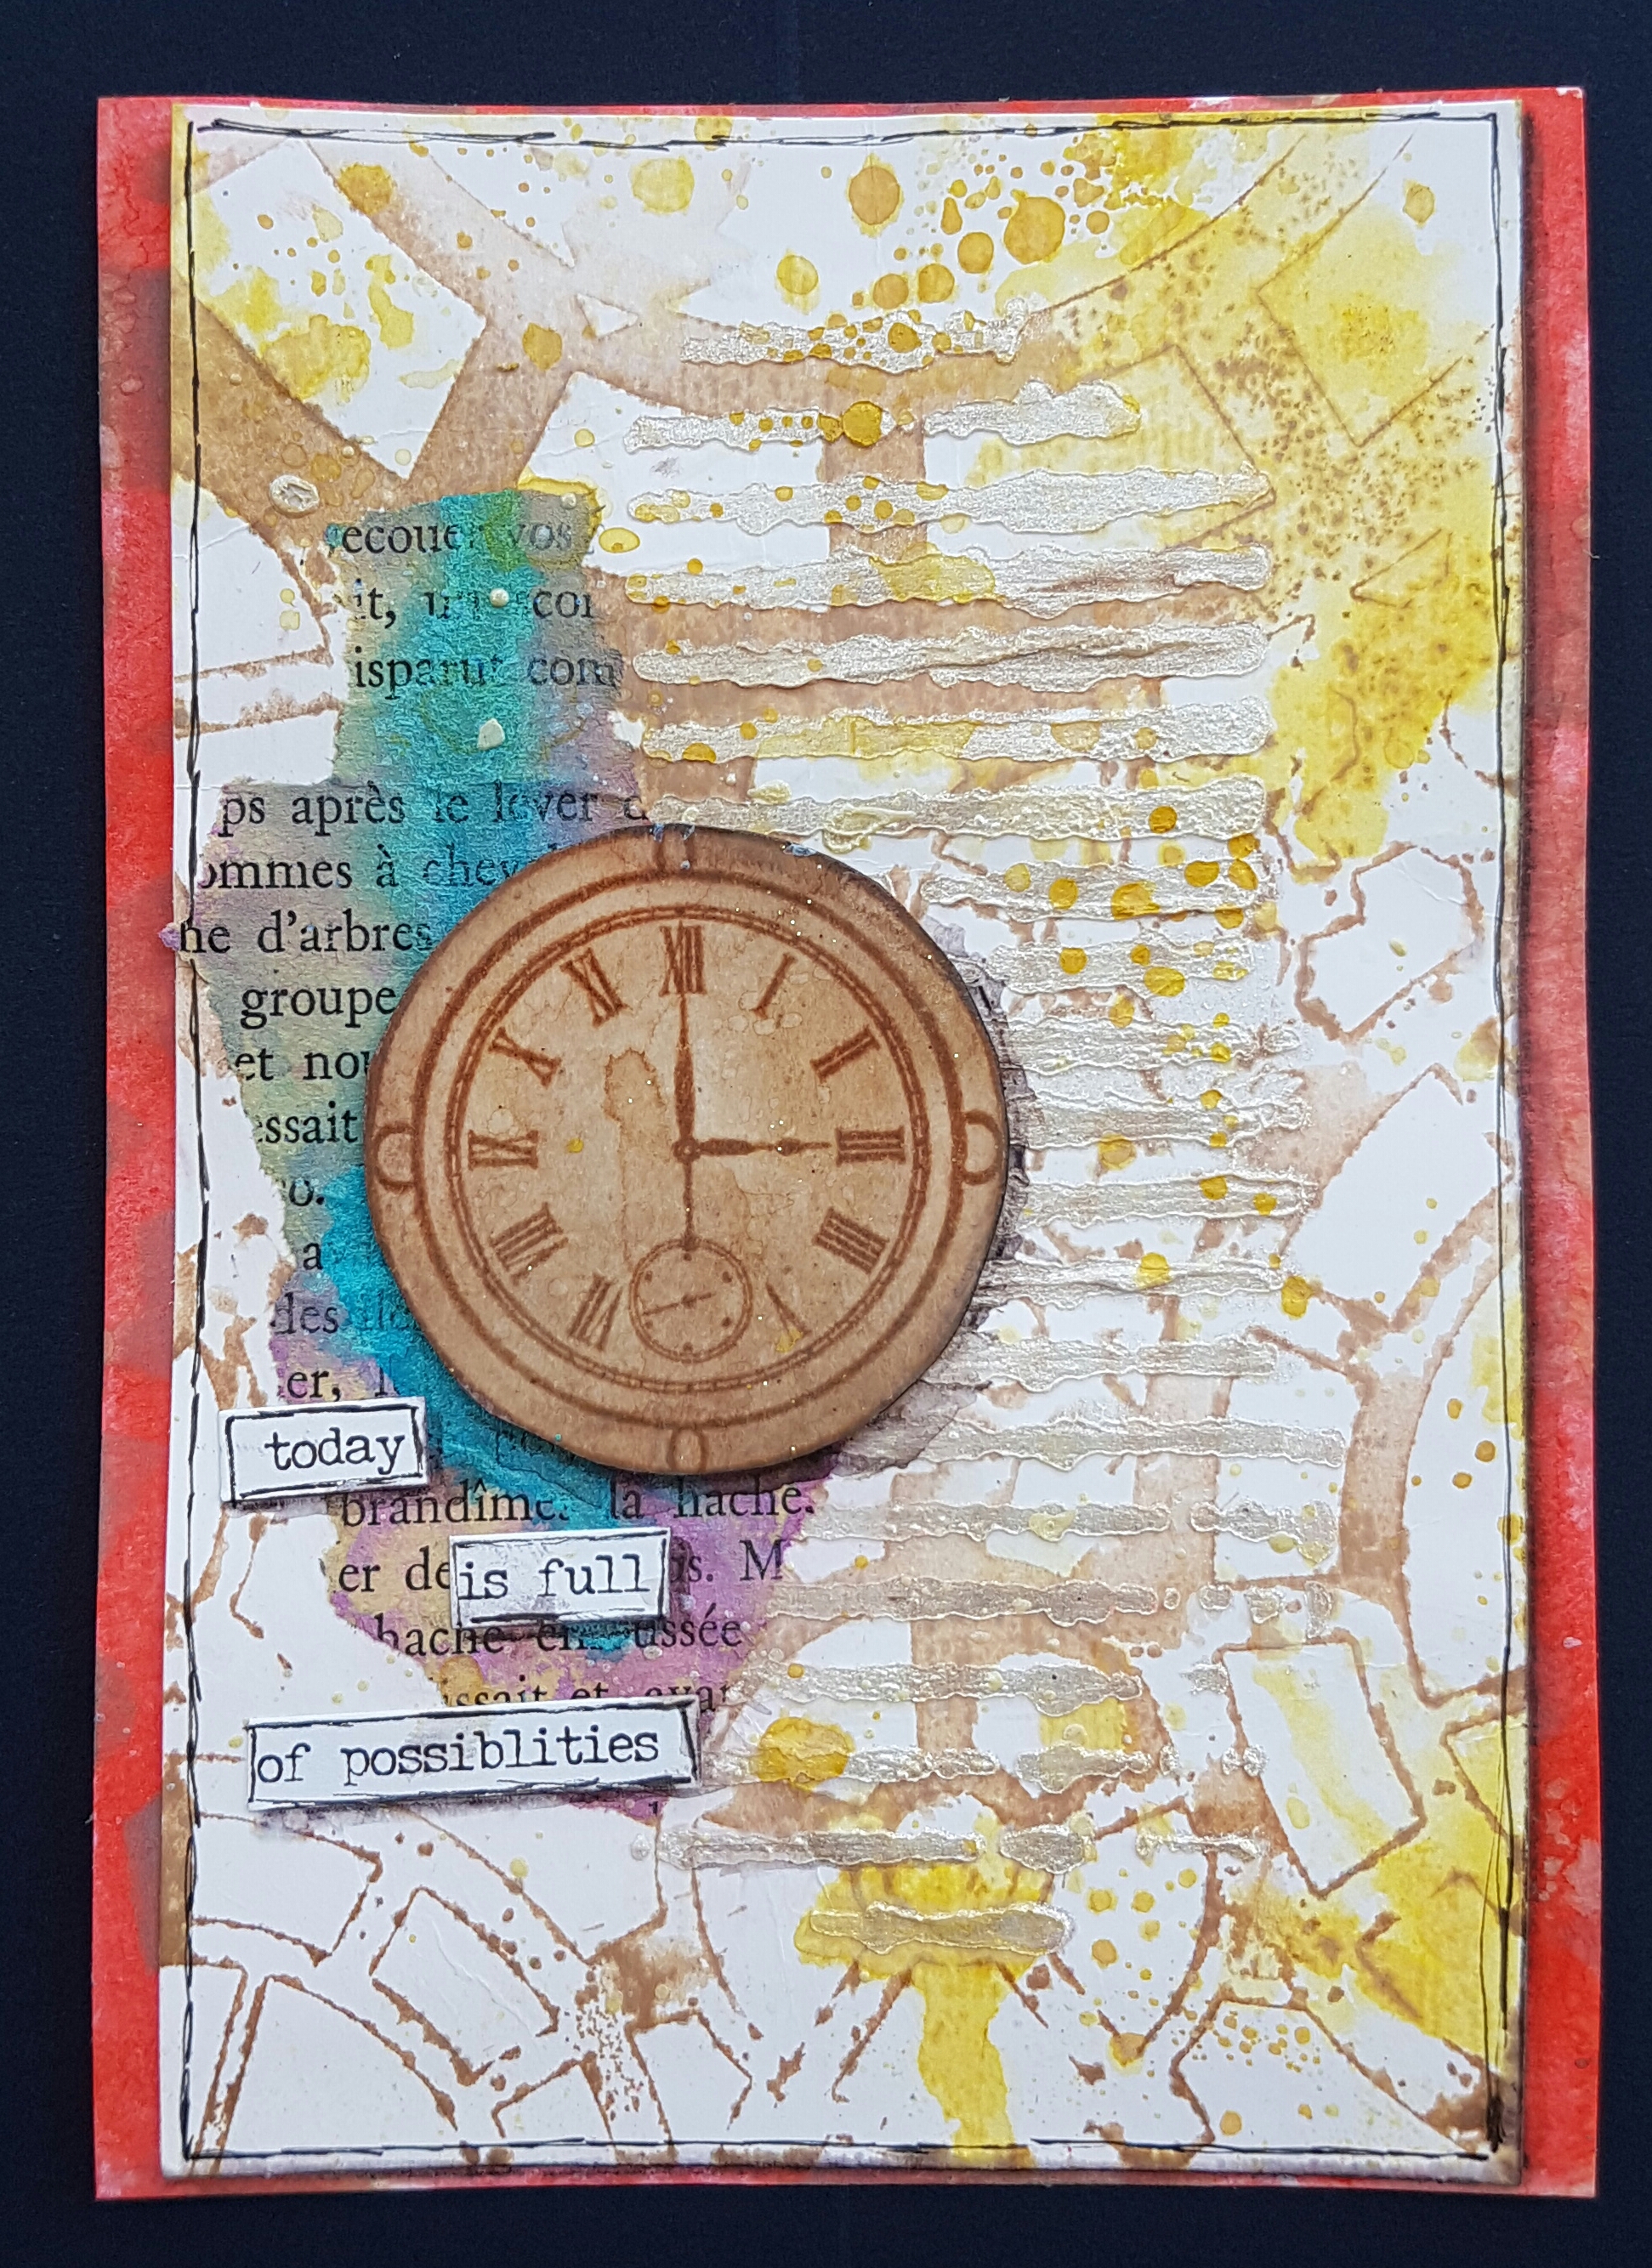
The theme for this one was clocks. I started with the base card and coloured it with distress stain in abandoned coral. I did try to then bleach a pattern with water but it didn’t work… Can’t seem to get the timing right! Never mind… So instead I stencilled using the distress oxide over the top… but didn’t like the look of what I had done so covered most of it with another panel.

This is the same stencil but I spritzed the distress oxide and laid it down on the panel. I love how this came out with the cogs and clock parts. Next another stencil and this time iridescent medium.

Wasn’t sure at this point if I wanted it landscape or portrait. But once I started on the feature images I decided on portrait. Of course I also got carried away and forgot process pics! 

I added a strip of book print that I had added paints to and then some splotches of Fossilised amber distress oxide.

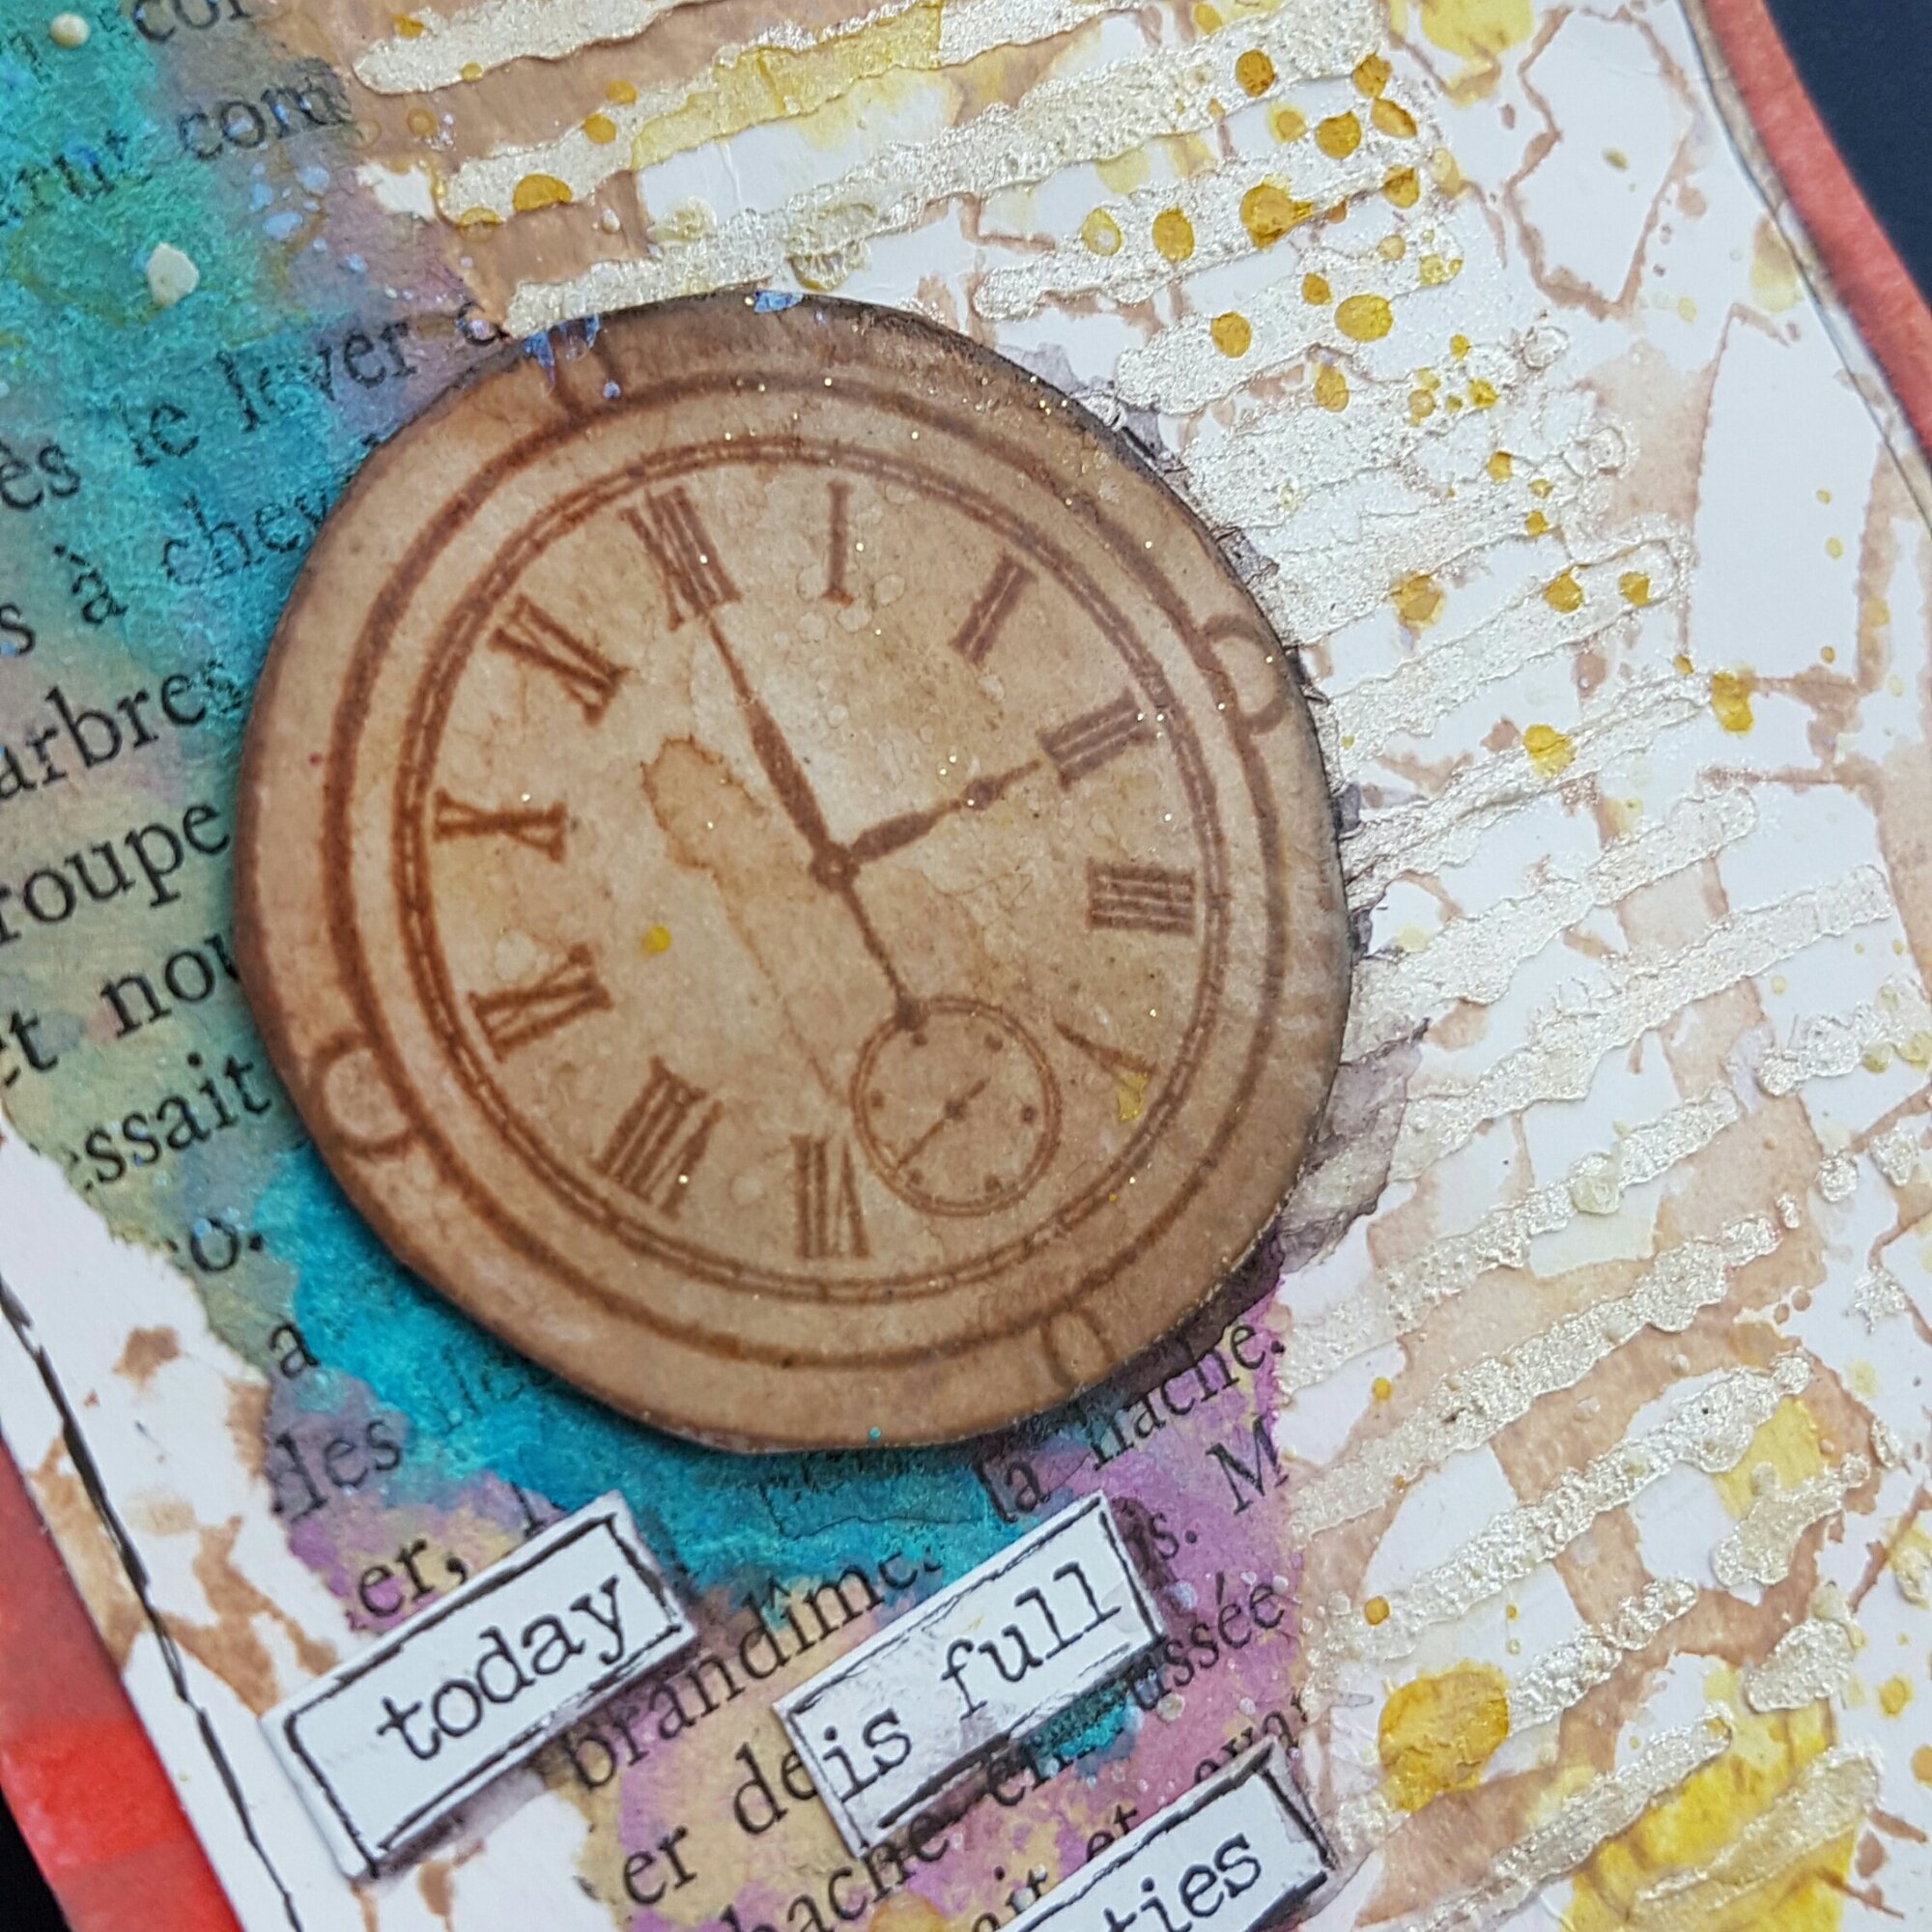
I then stamped the clock on a piece of cardstock and used the distress oxide to colour it adding lots of water. Once dry I cut it out and heat embossed the whole piece with clear powder. 

I doodled a border and then once I’d added the sentiment sticker and the clock I had stamped, I used Inktense to add some shading and a final splotches session with the distress oxide. 

The finishing touch was some opal magic flicks onto the whole piece to add some glimmer.

Love all the layers and colour this has.  Really pleased with the end result… the beginning was a little worrying if I am honest! Goes to show perseverance is the key when the mojo is failing.

Happy crafting! 

Catherine 
Two ATC’S… one gets made into a card! 137 & 138

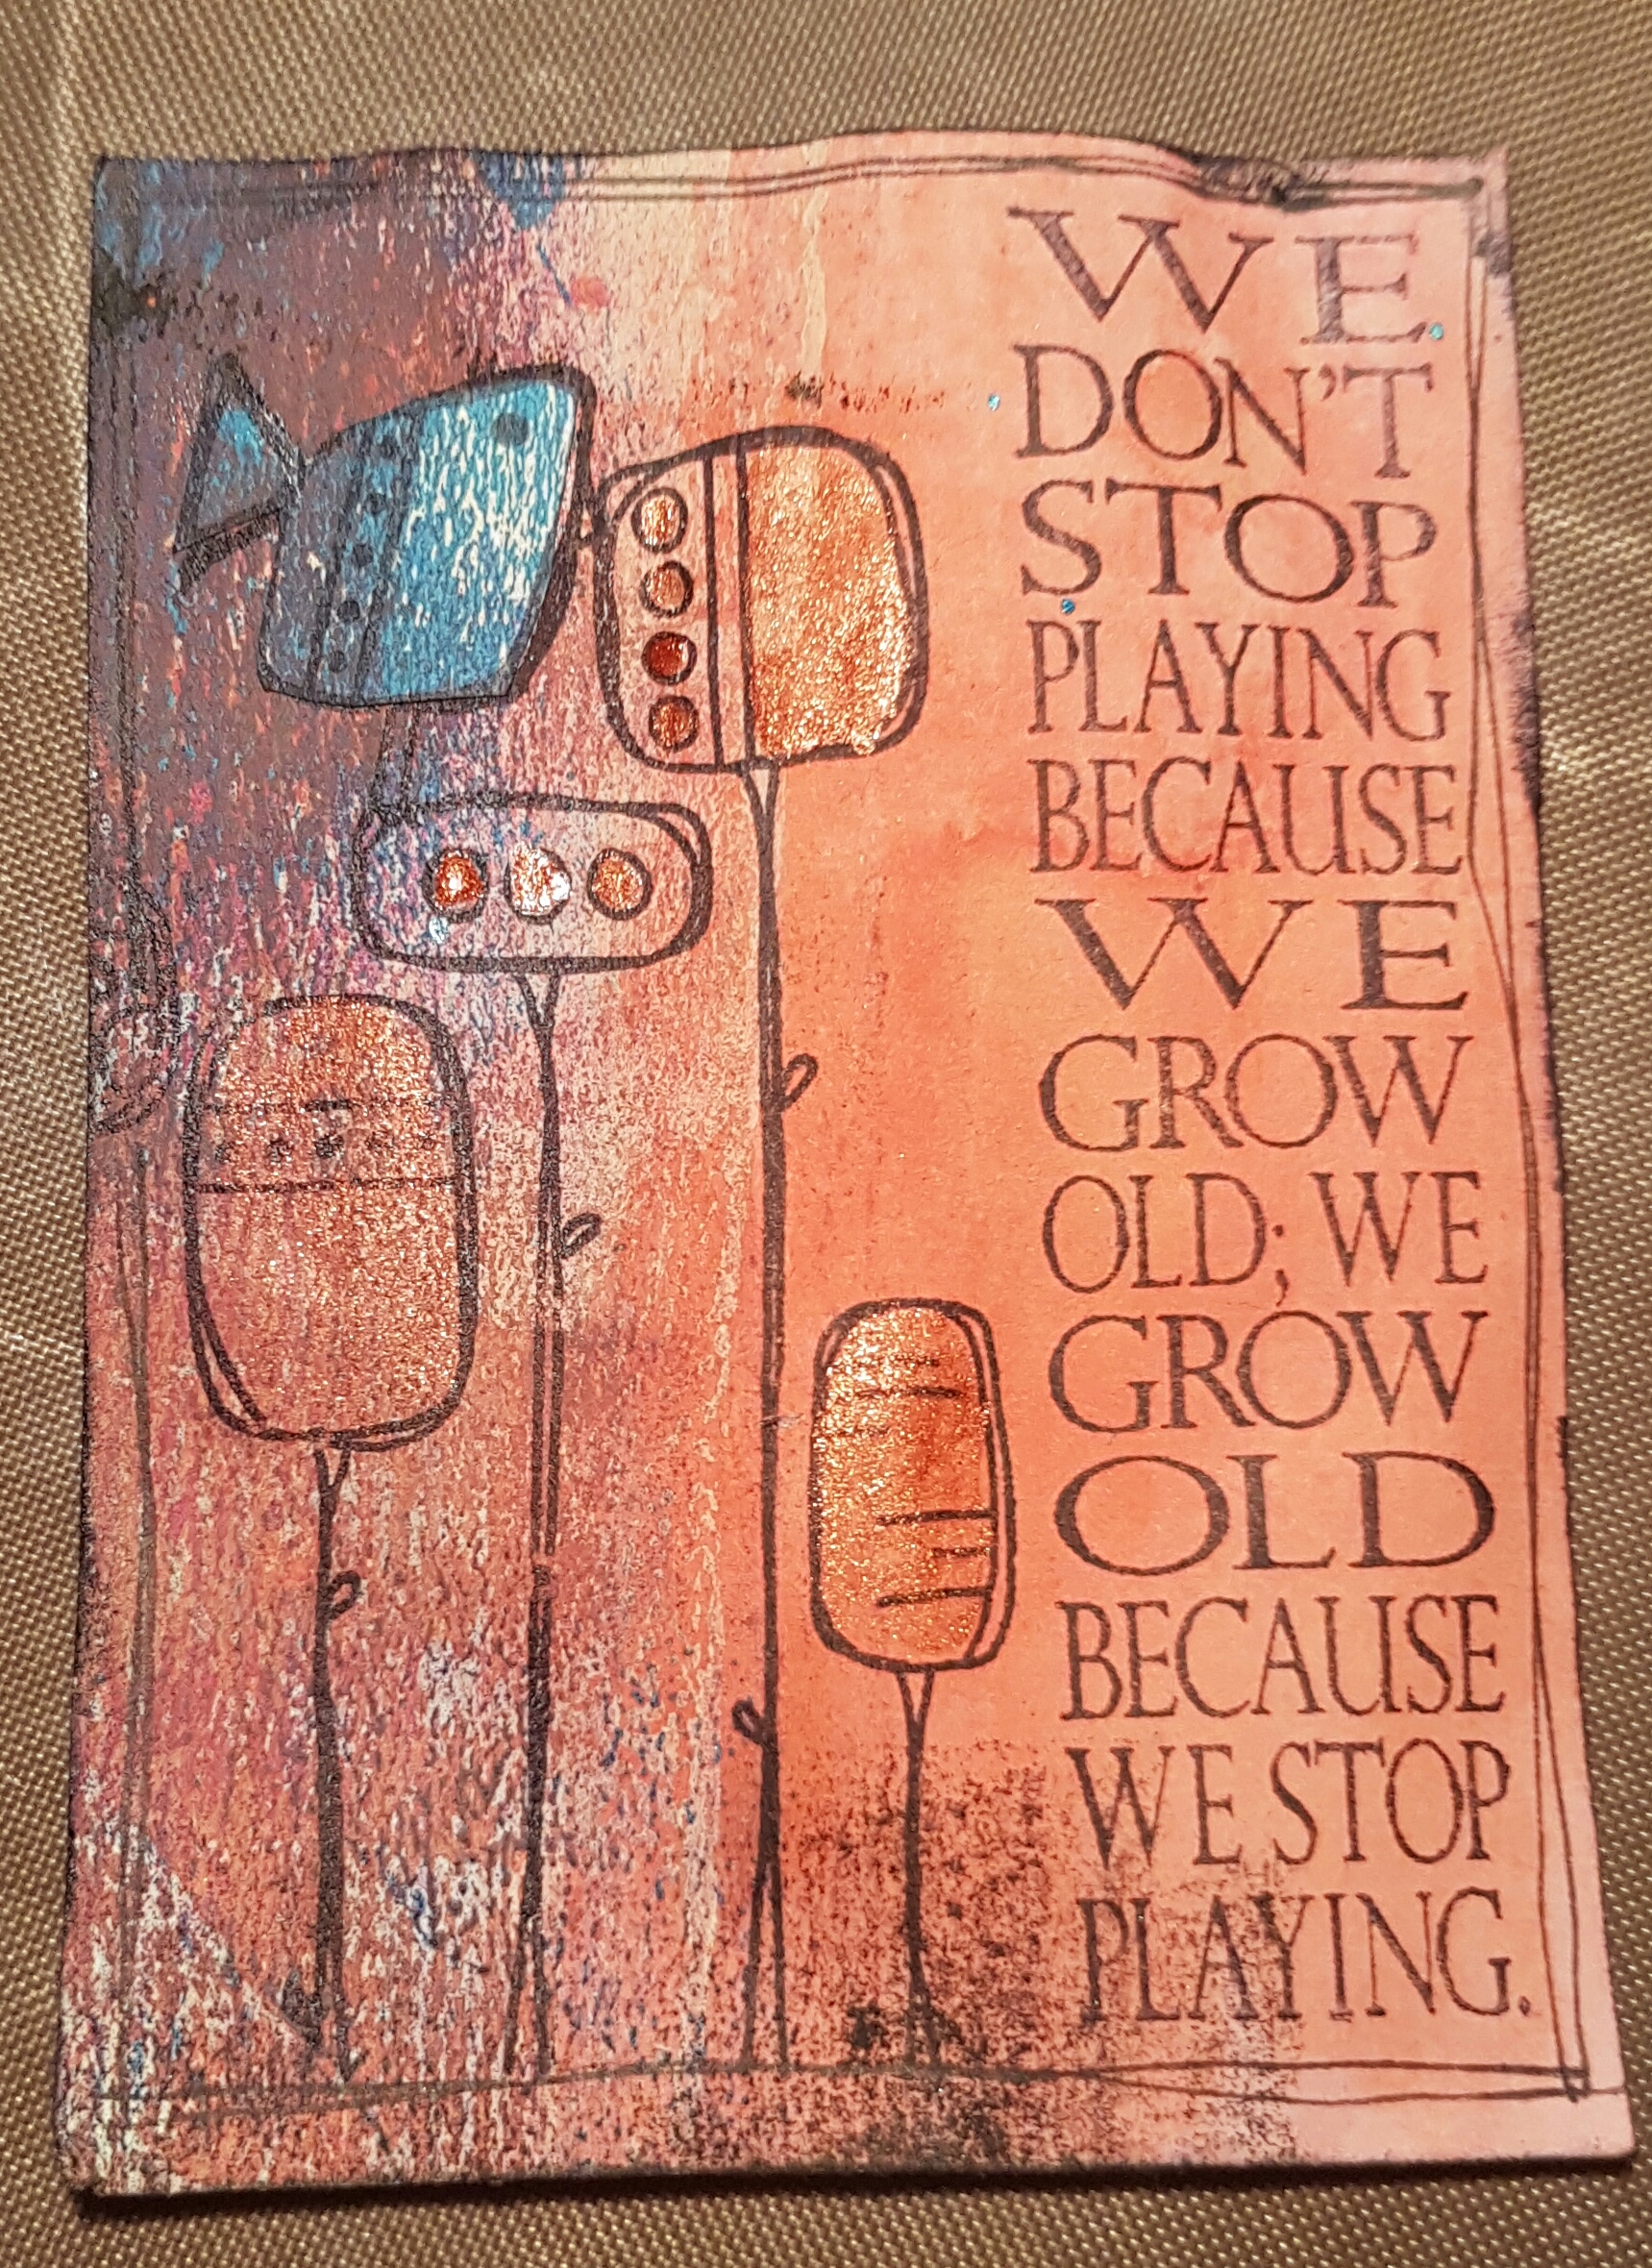
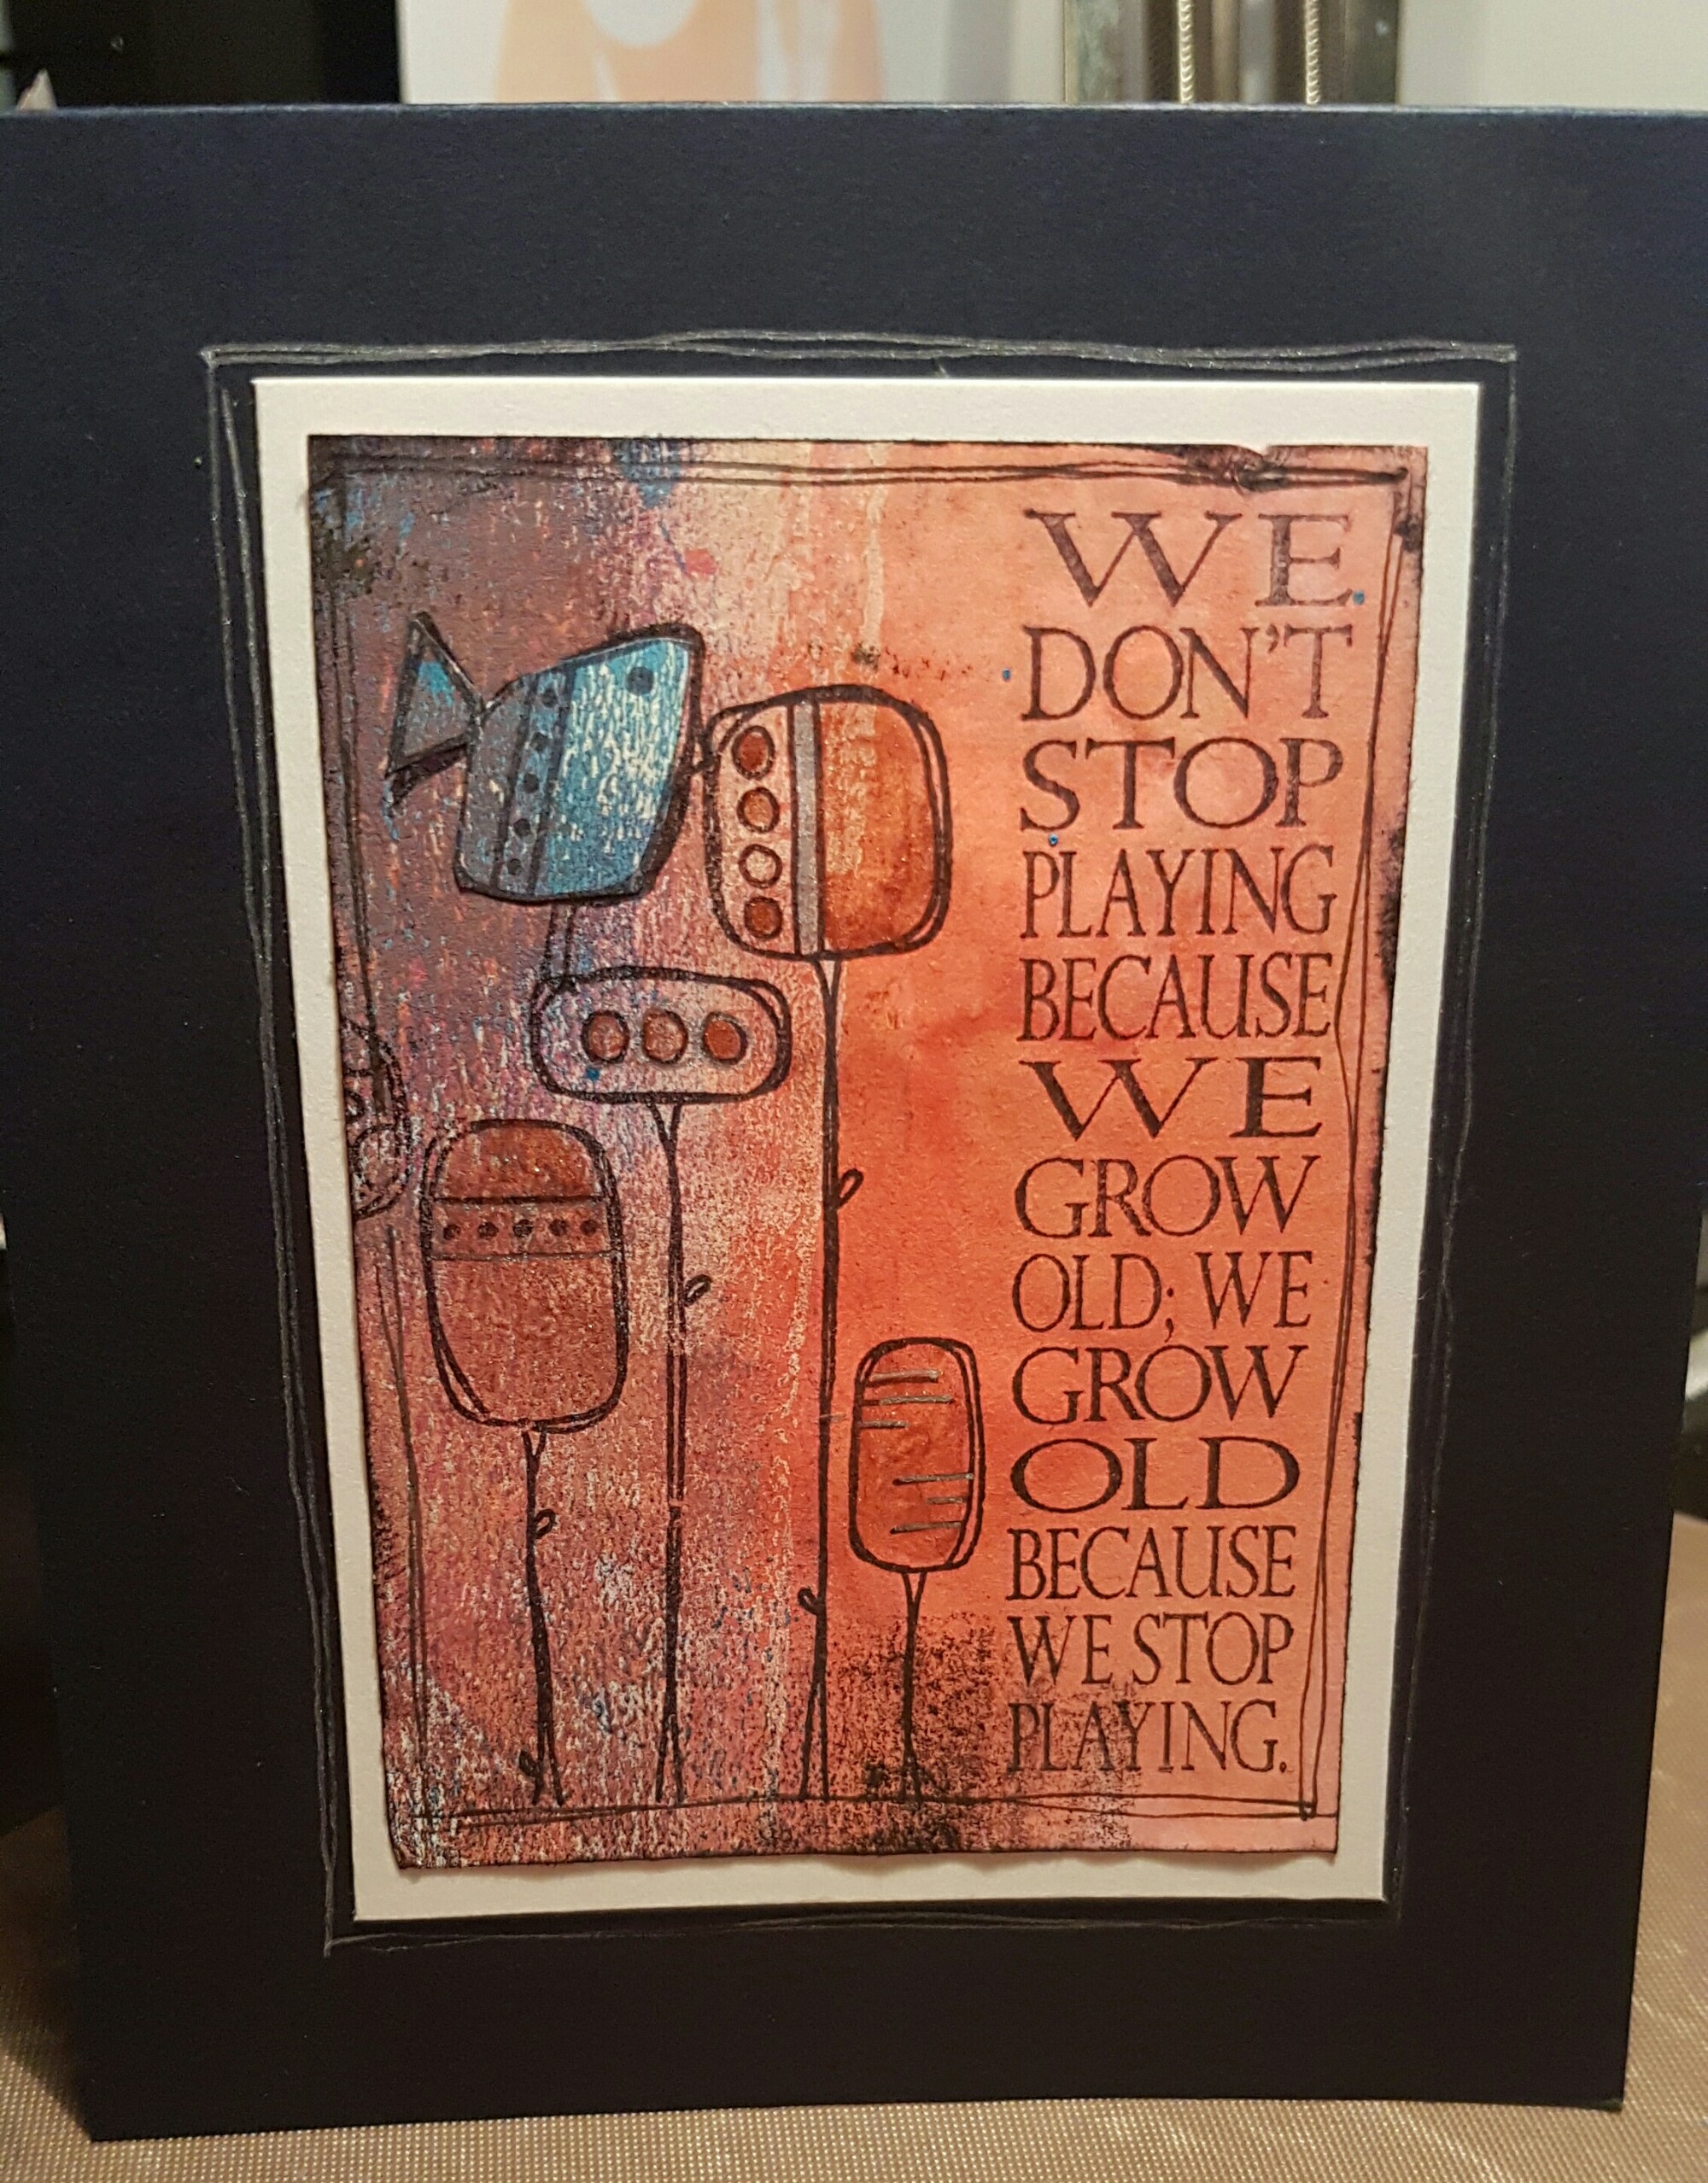
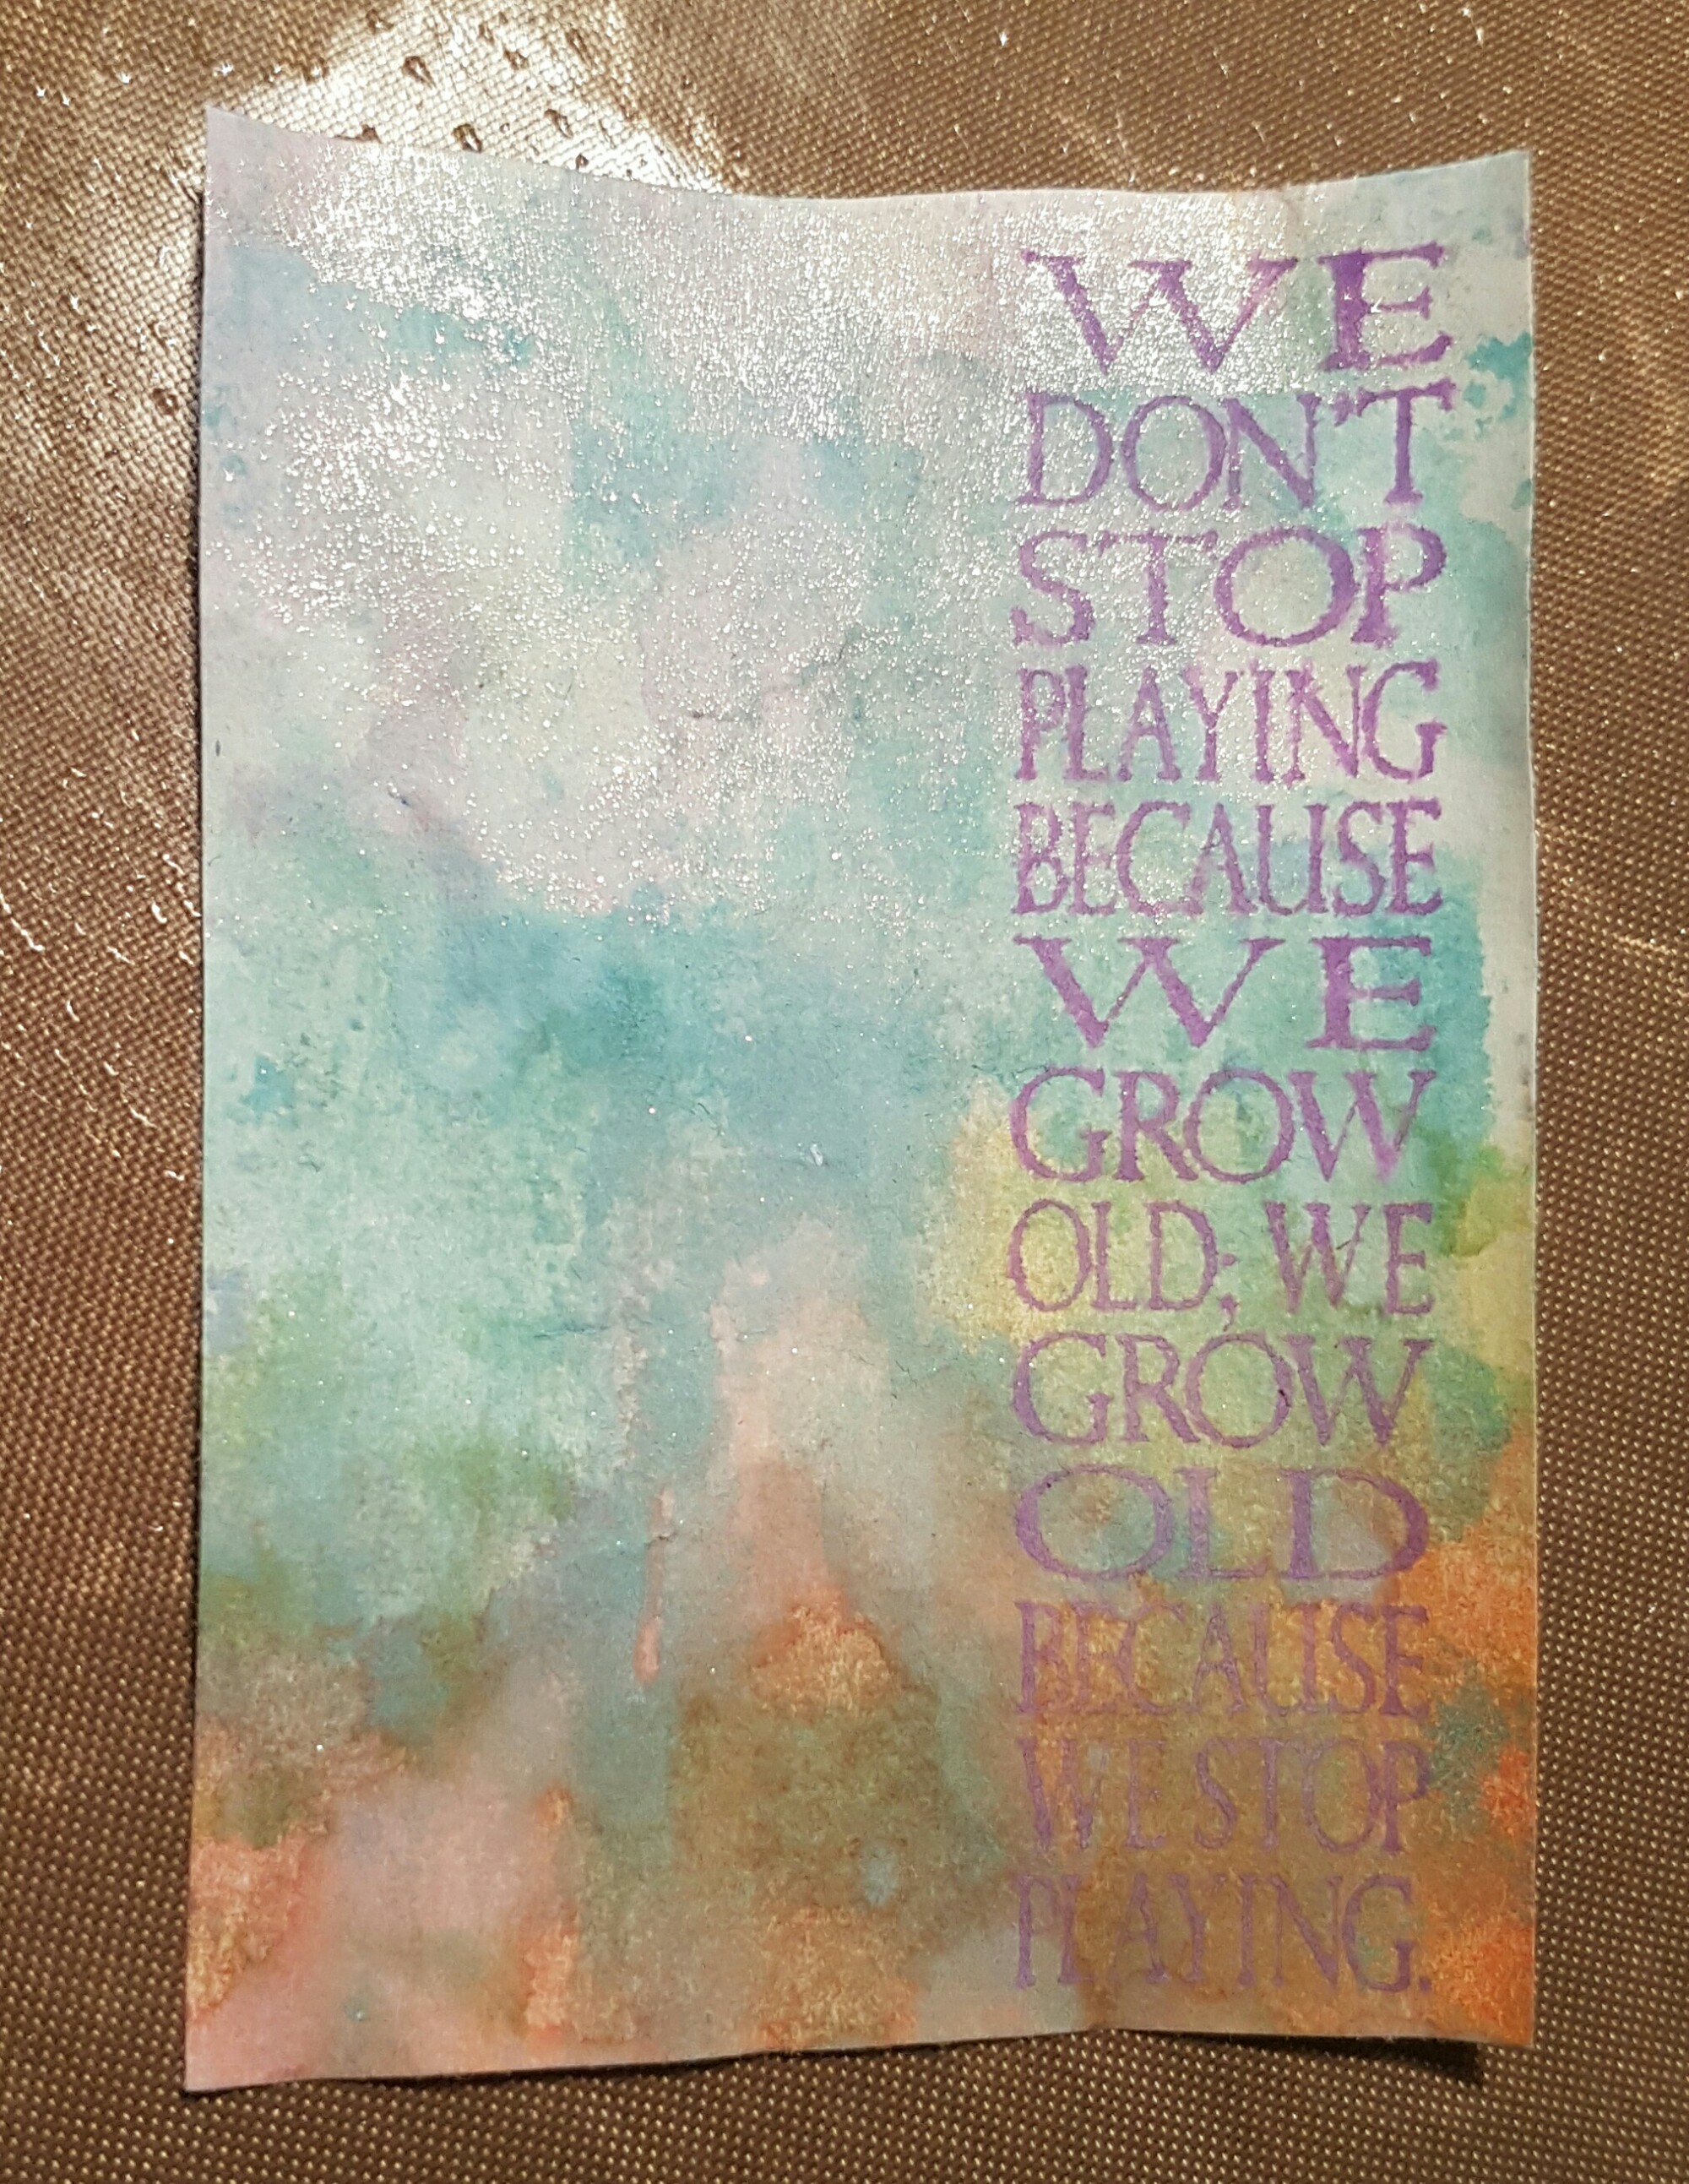
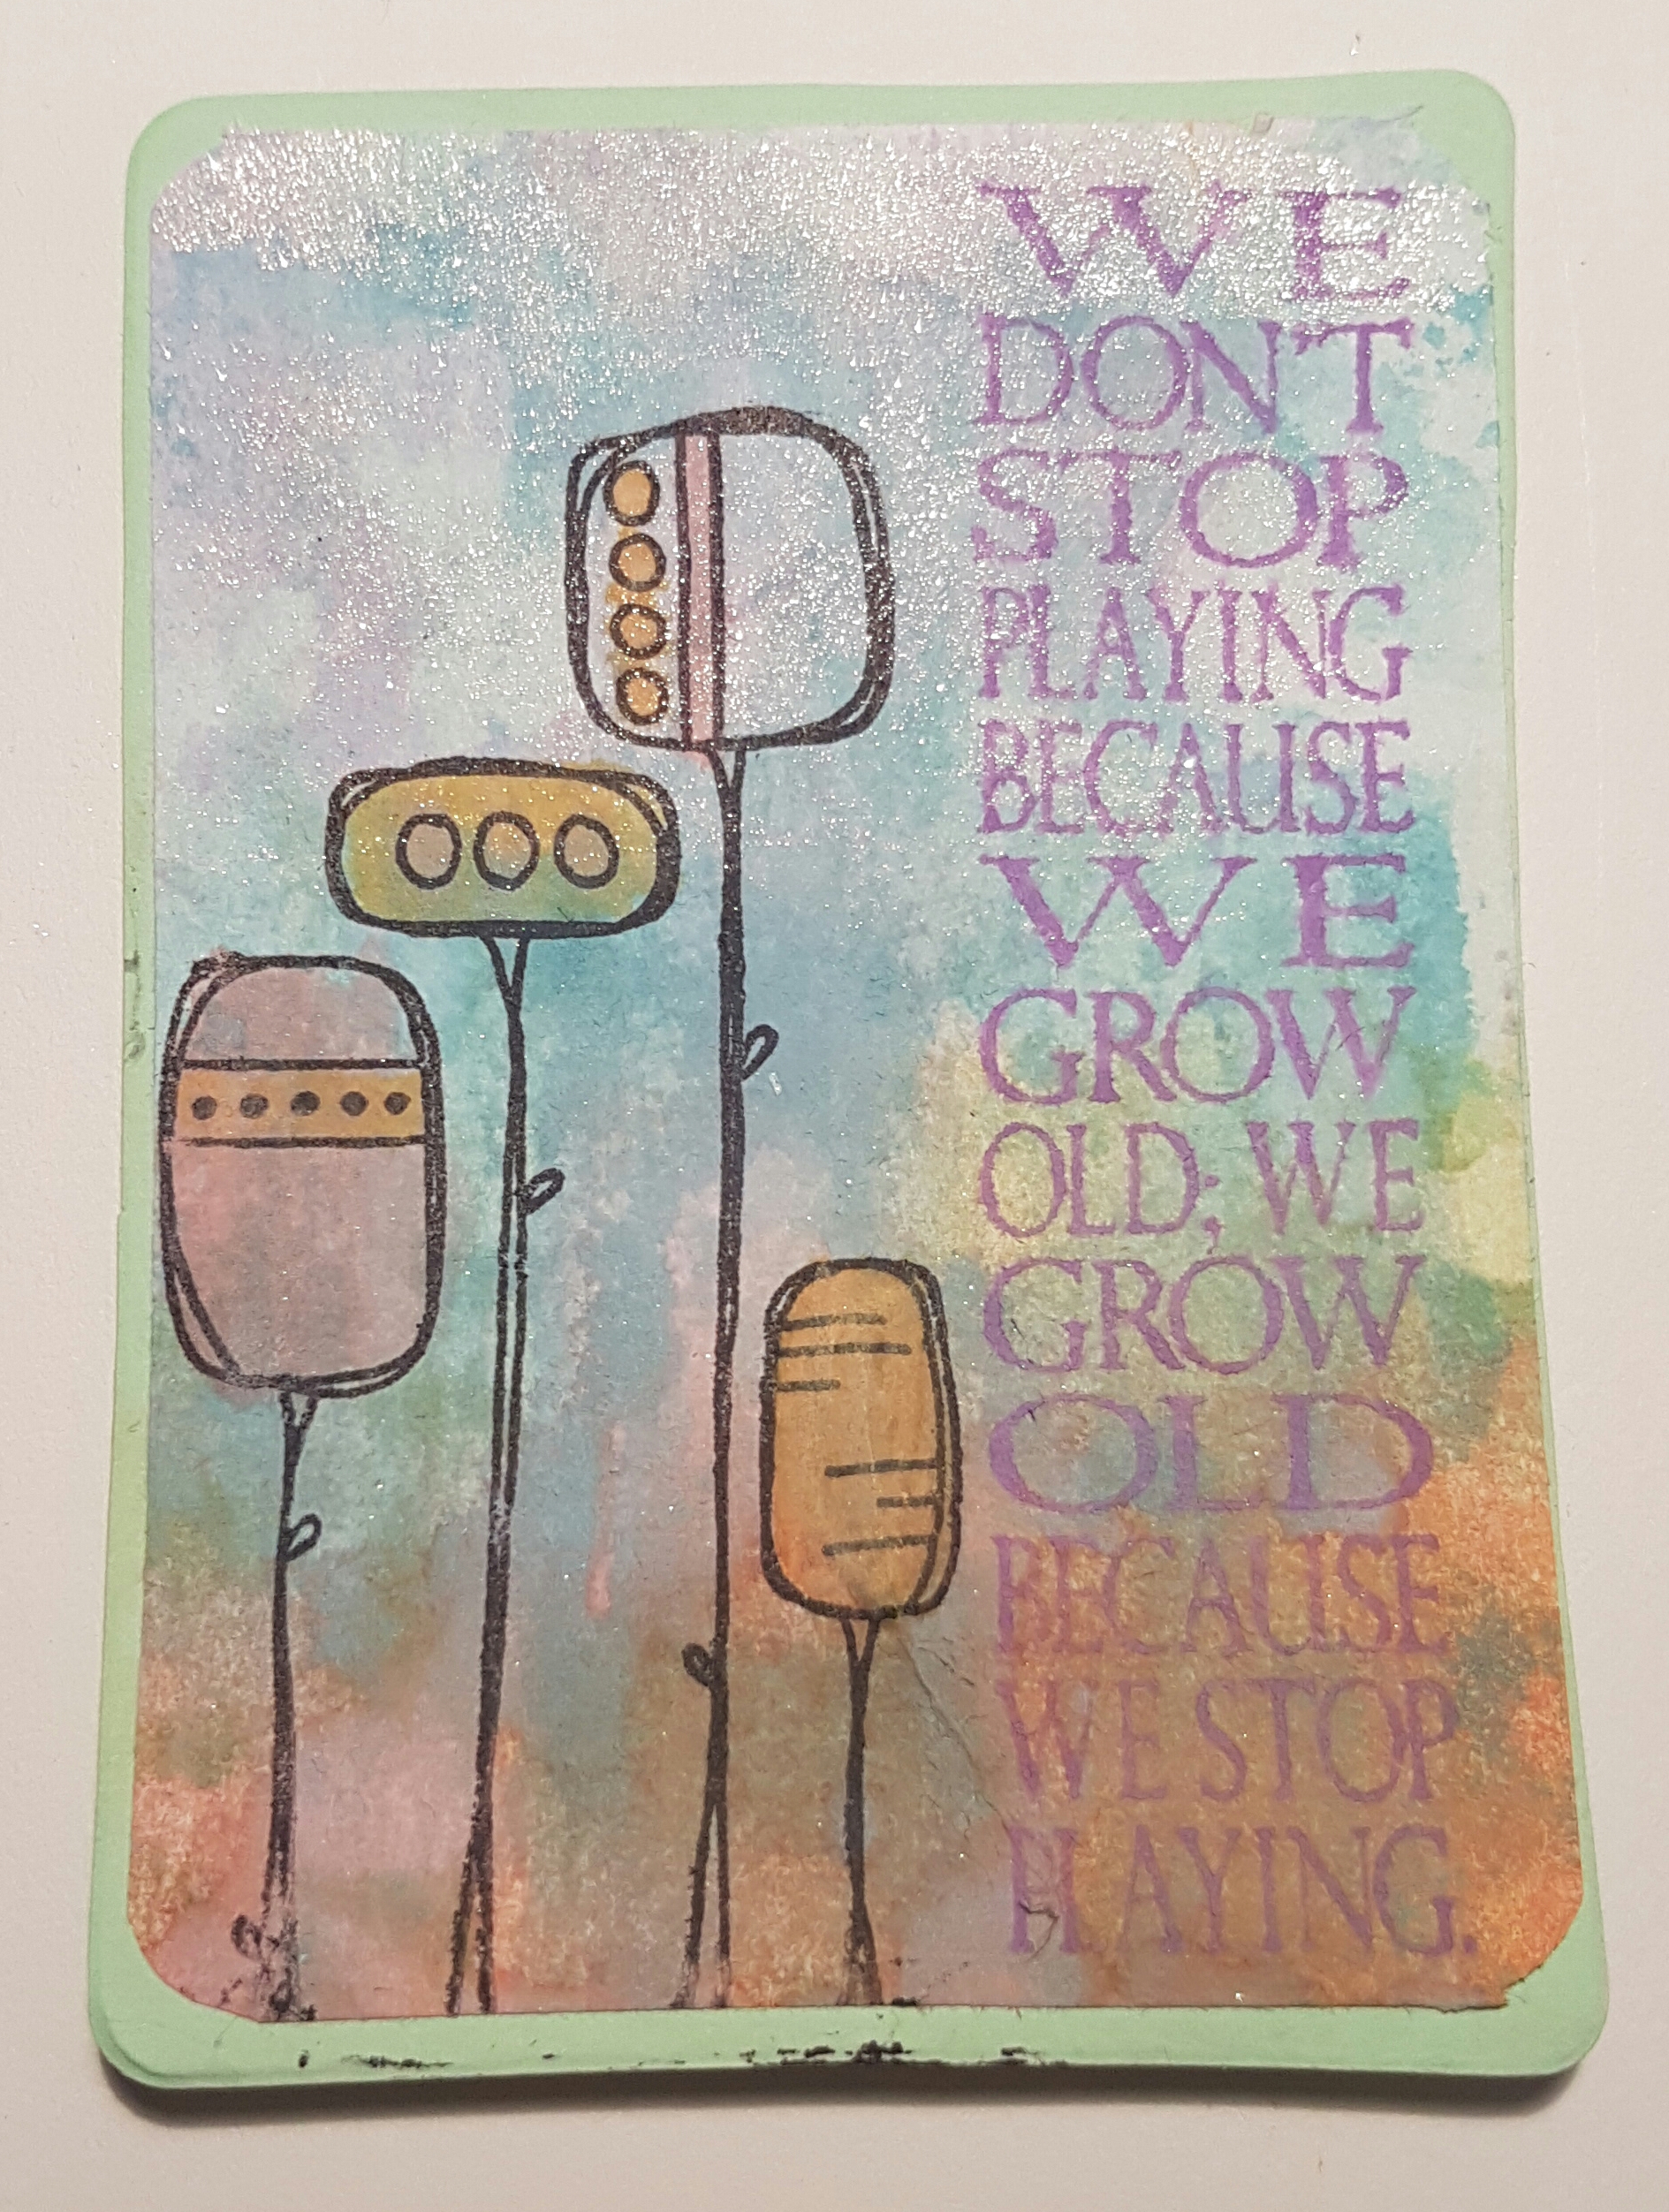
Two more ATC’S today made from scraps of scratch paper and bits wiped off… one of which got made into a card topper… the other is an ATC going into the general trading stash! 

Here it is all stamped up using archival and distress stain added to the background which had brayered paint on it. The bird was stamped and cut out of another piece of painted paper.  

I also added the metallic acrylic ink to the flowers to give it some sparkle.

This one became a card with a mount of white cardstock and then onto a navy card I made and then doodled a border with a silver pen and added some silver to the flowers too.

The second one I made a background adding distress oxide inks on top of the inky wiped off already on the paper. I then stamped the sentiment… this time with distress oxide.

This had some iridescent ink already added to it. So it wad already quite shimmery.  

I mounted it onto an ATC I had die cut and then stamped the Kim Dellow circle trees.  Then I added more colour using the distress oxides as a Watercolour medium.

Love how they both came out and both look different even though they are the same image and quote. 

Happy crafting! 

Catherine