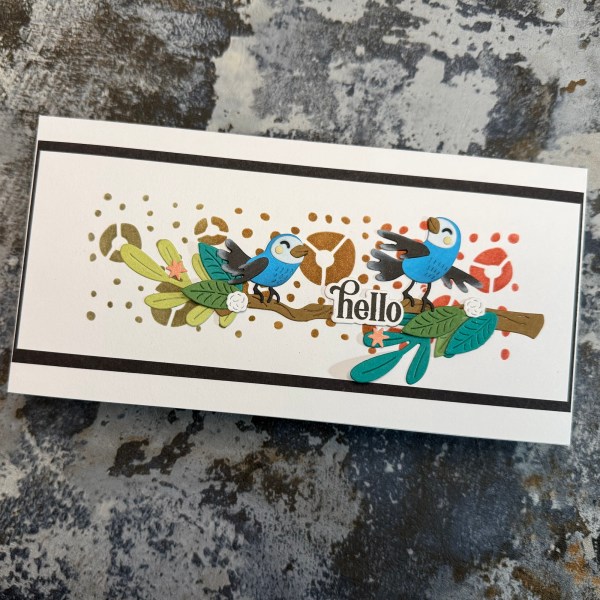
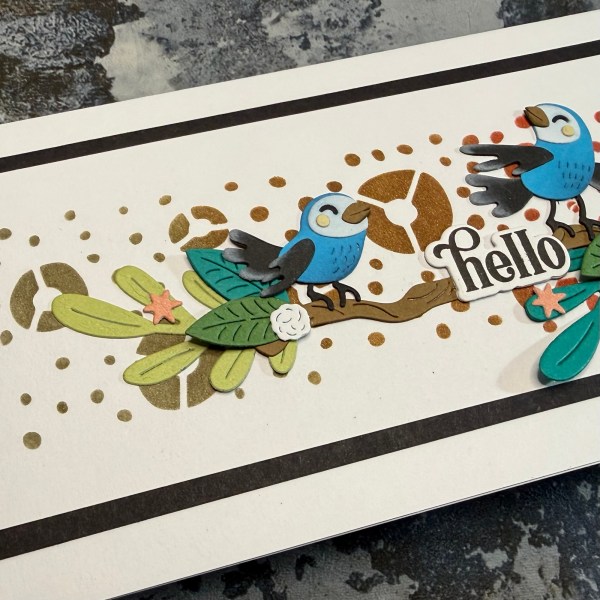
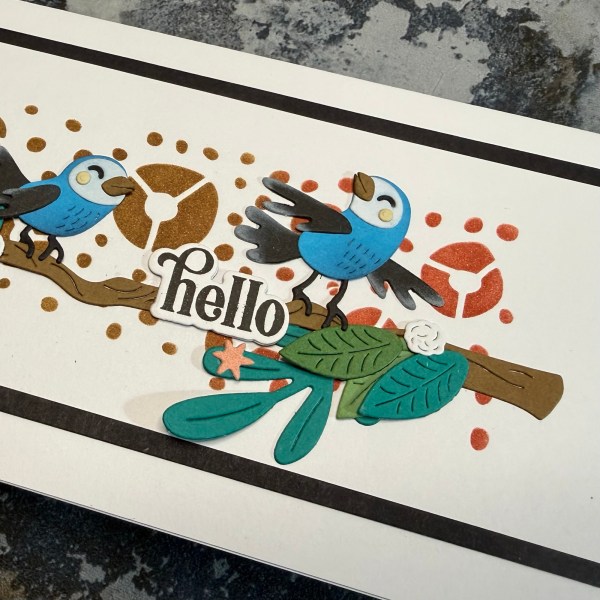
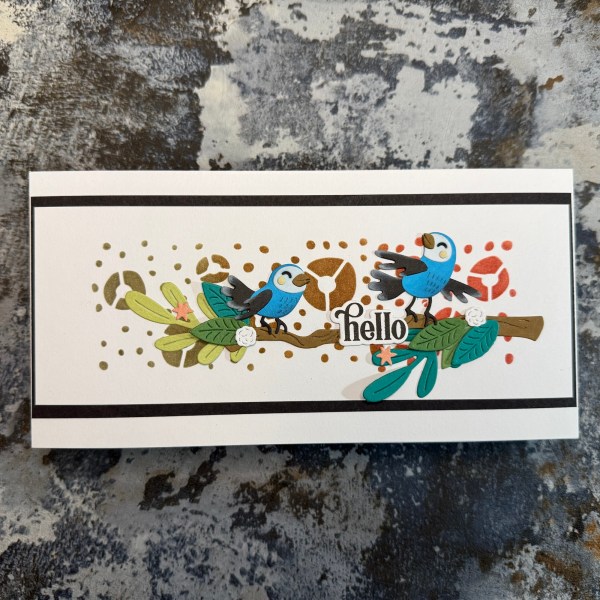
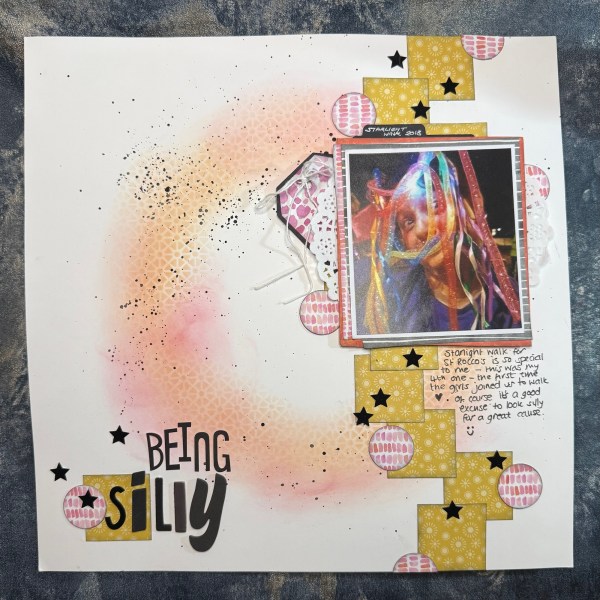
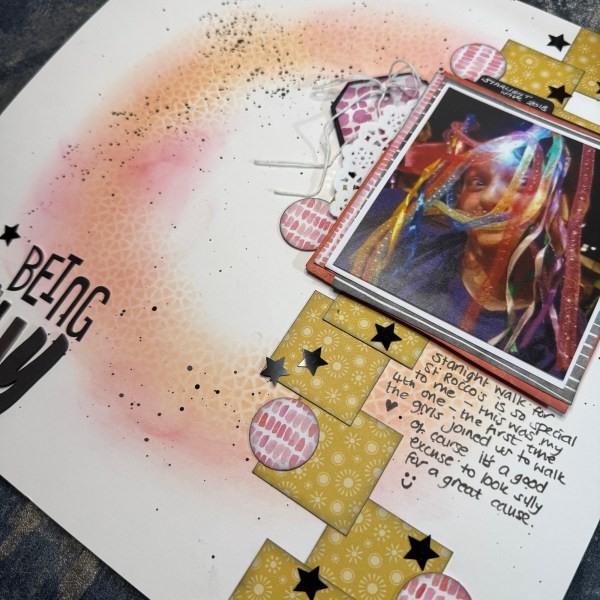
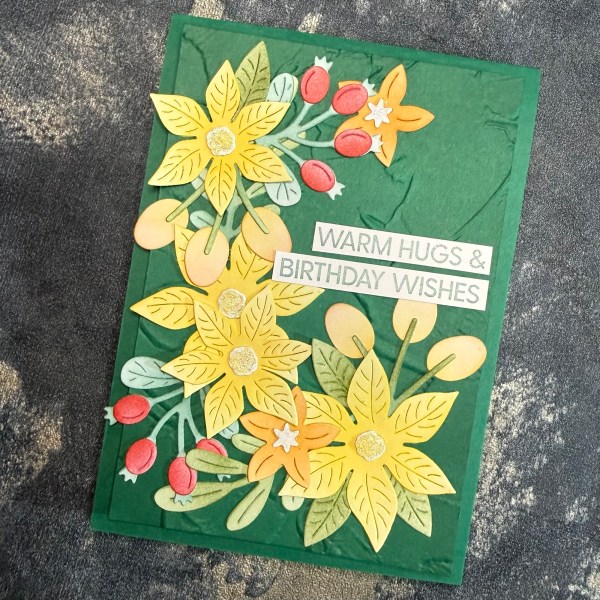
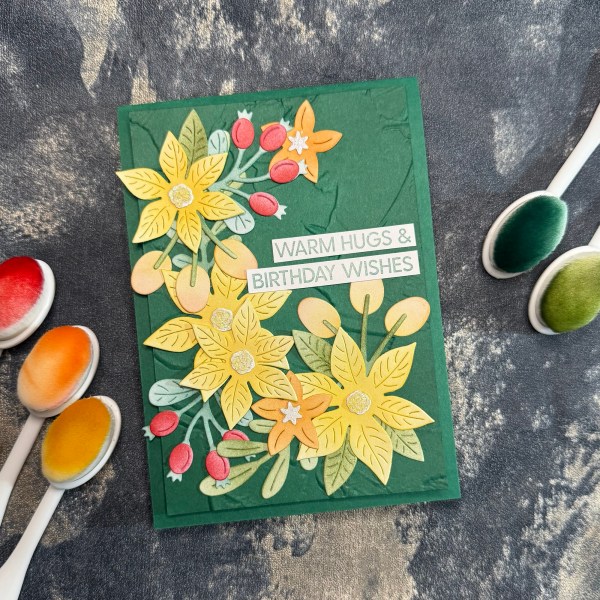
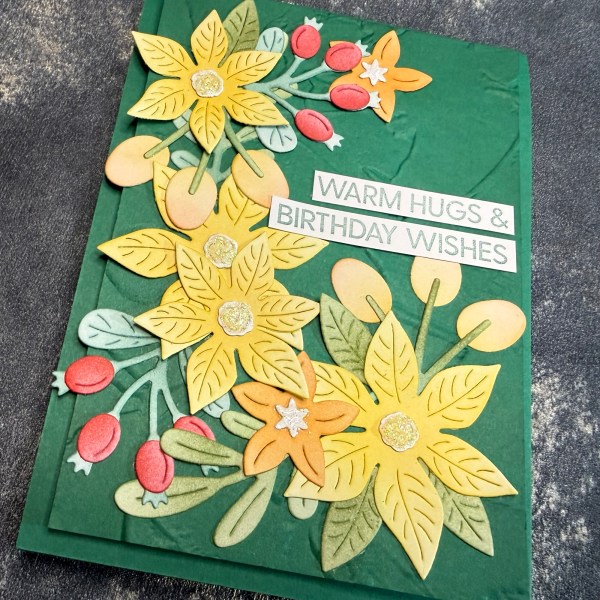
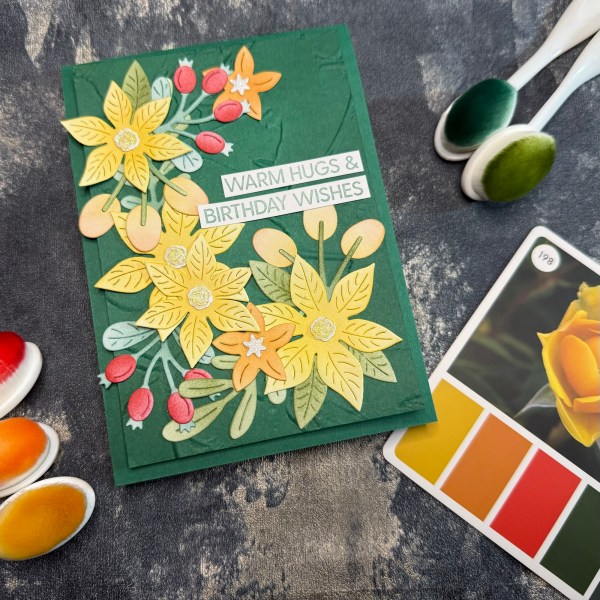
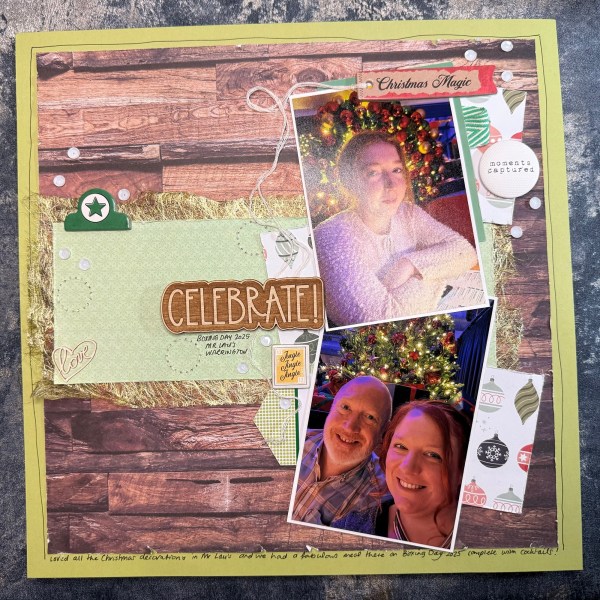
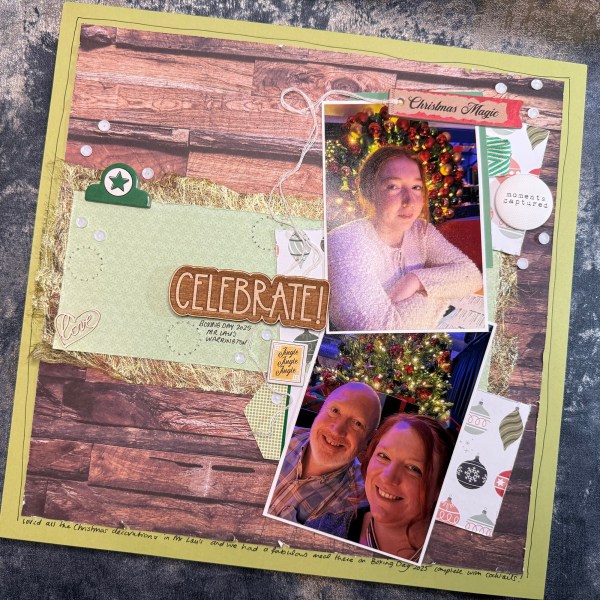
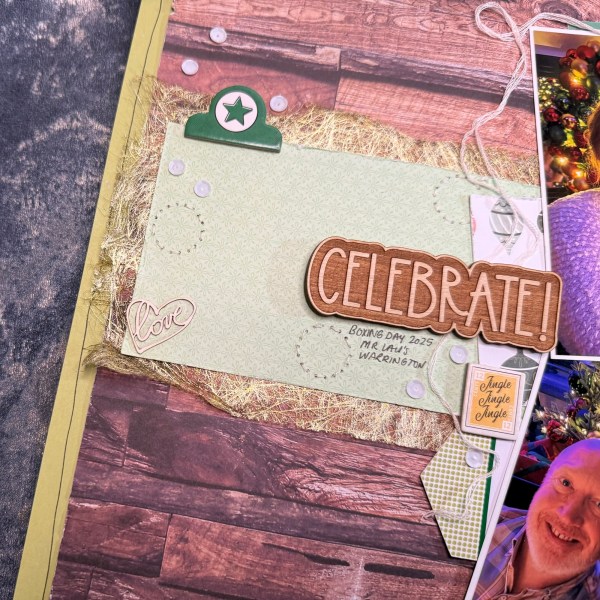
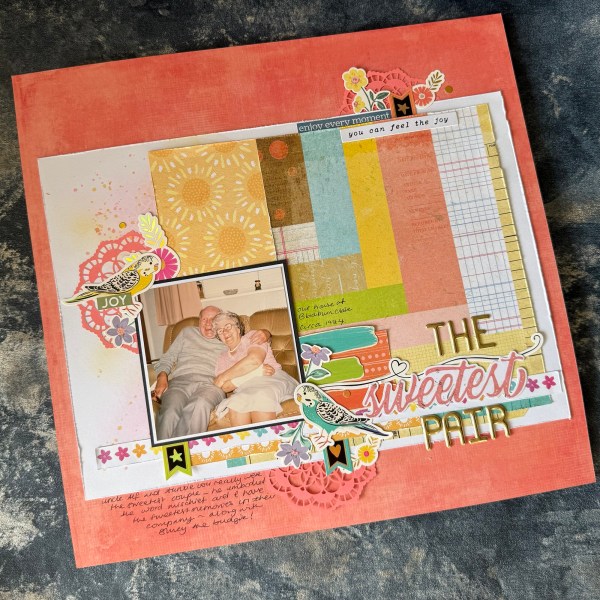
I made a page using lots of leftovers from other projects … this one is celebrating my great uncle and auntie whom I have such fond memories of from when I was a child.
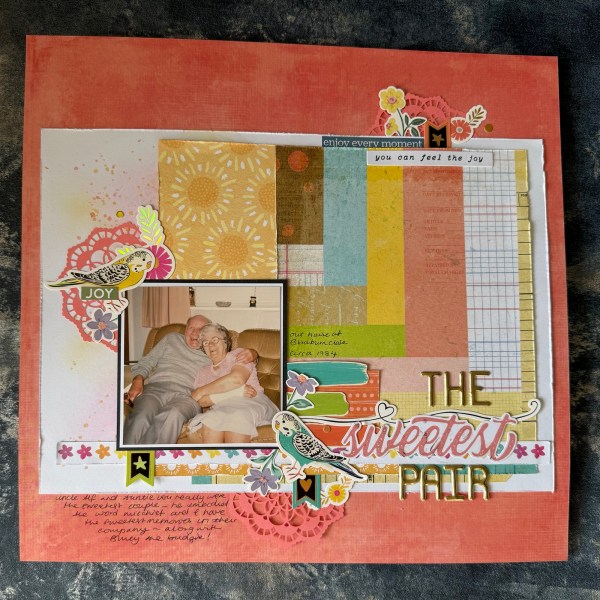
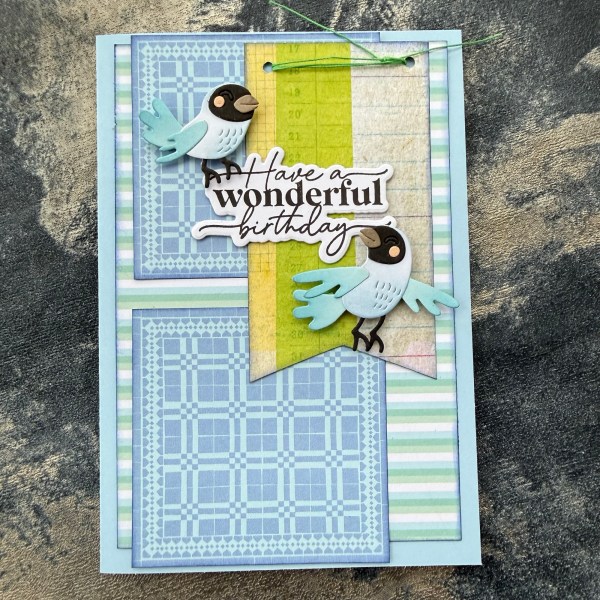
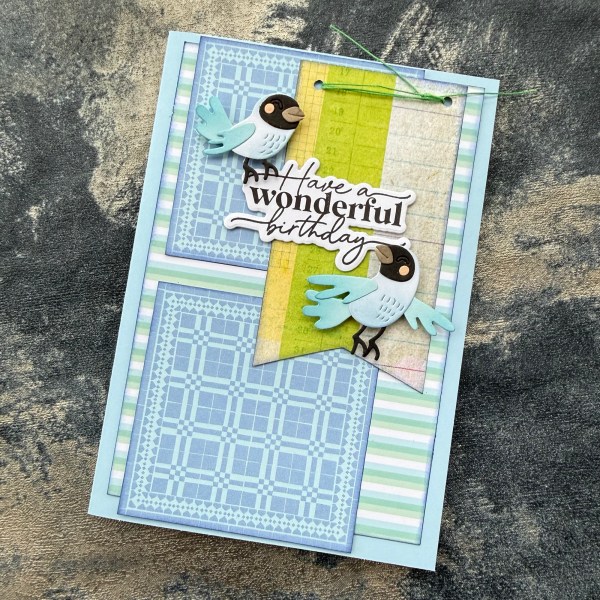
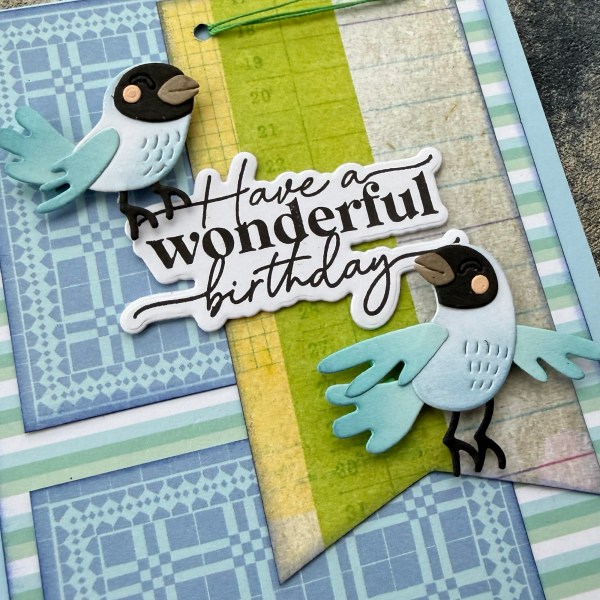
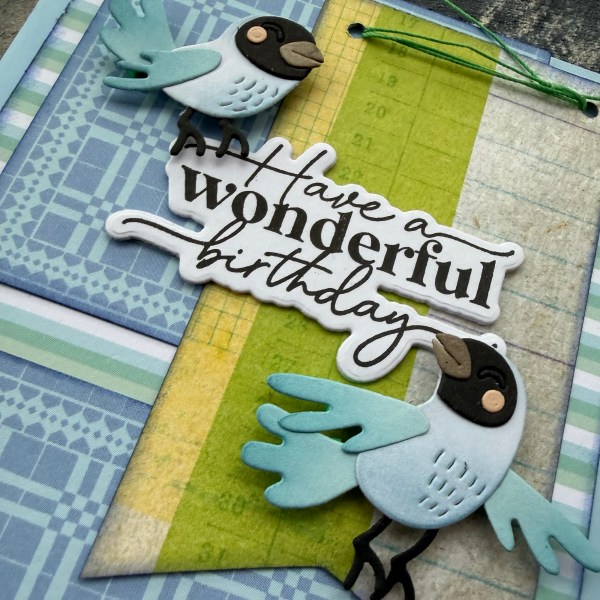
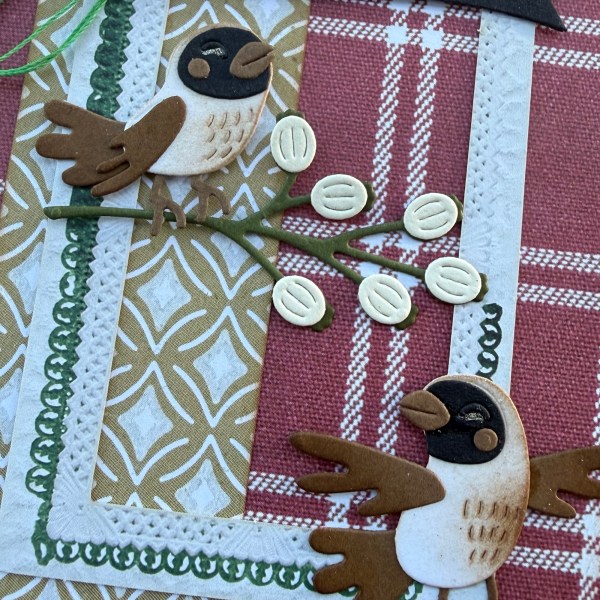
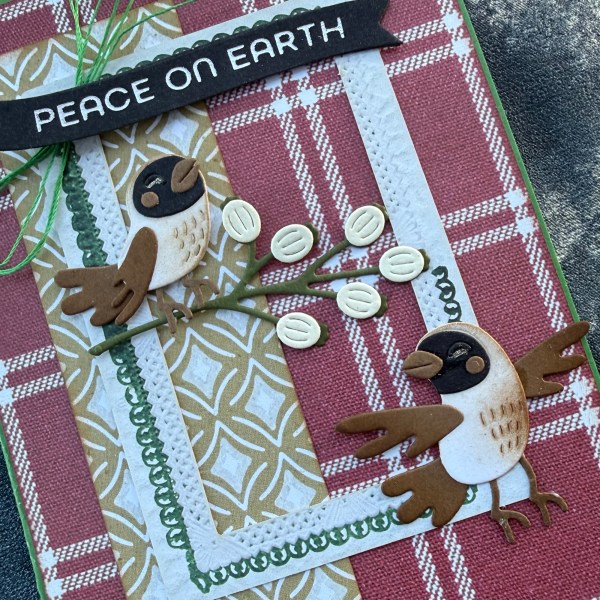
Really happy with how this page came together and the fact that I could use those bird stickers on a page about my Great Uncle Alf and Great Auntie Lou as they had a budgie called Bluey! 💙
It was a fun page to put together and I’m glad I popped the camera on to record the process. So check out the YouTube channel to see how I built the page from the scraps with a panel of A4 white cardstock and the background.
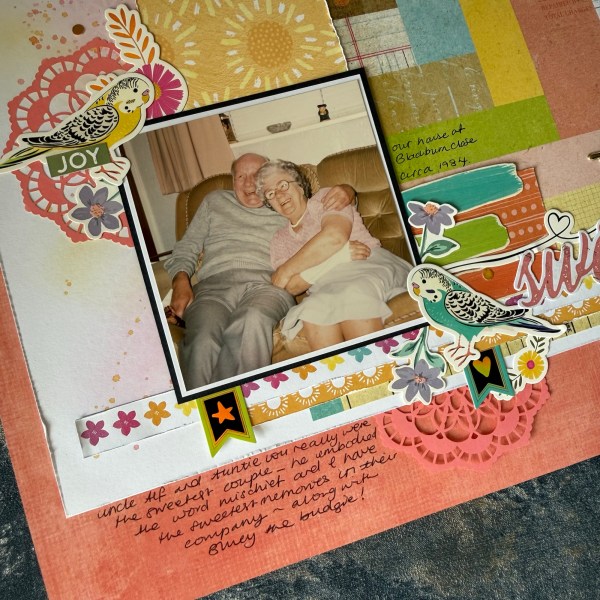
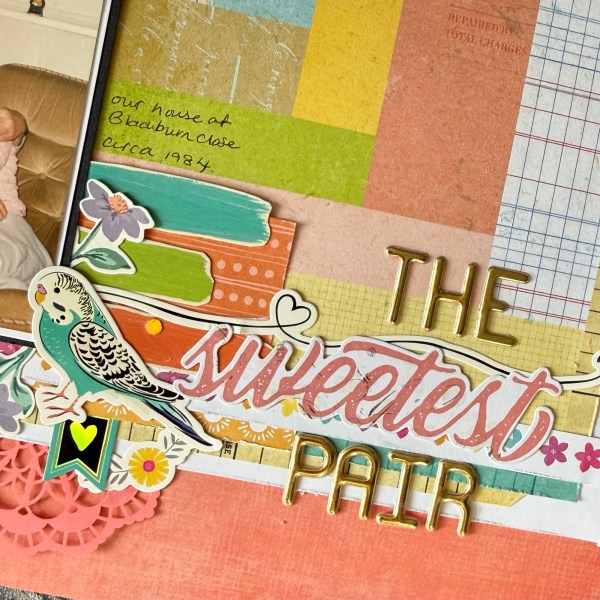
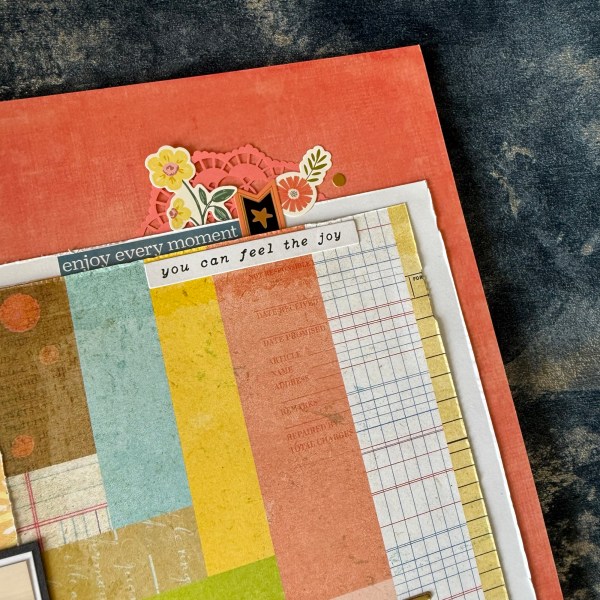
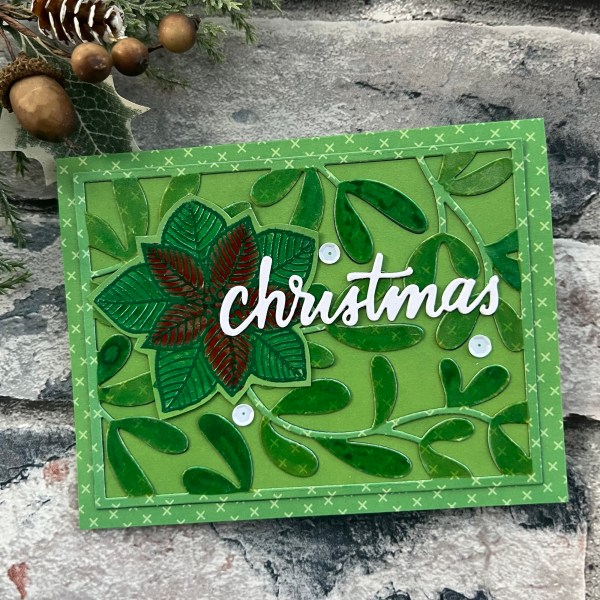
I love that I could use so many leftover pieces of paper and stickers from several different sets.
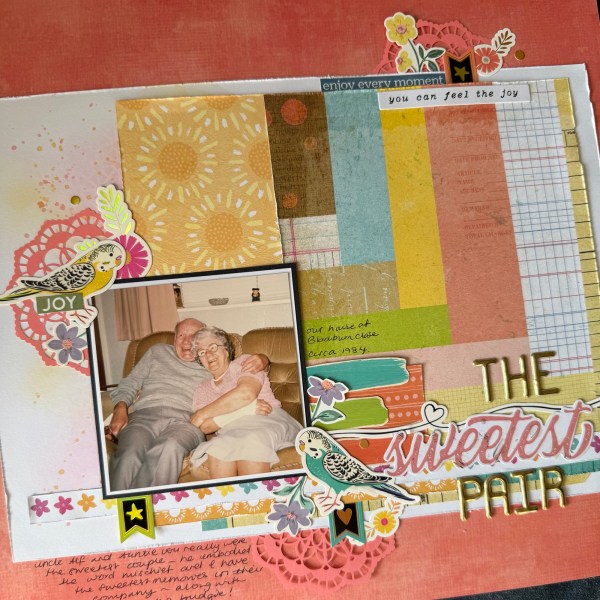
A colorful page but also so lovely to remember my sweet great aunt and uncle.
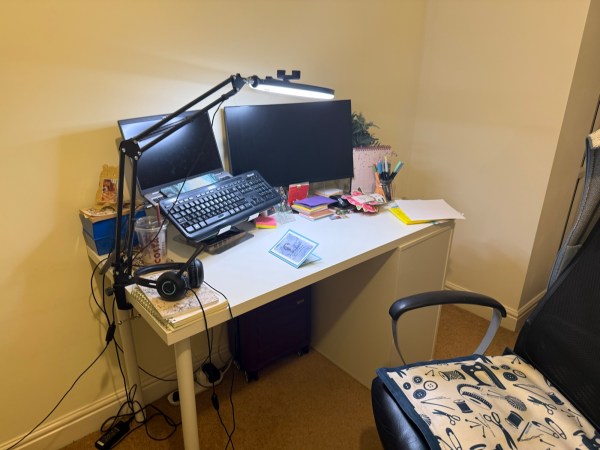
This is I think (unless I find some random footage on my phone) my last YT video for a while as now have no space to film until the craft room is redecorated, new flooring laid and furniture built and stash put back in! I will however try and do bits of crafting when I can over the next few weeks and share it here for you. But if I am MIA you know why!
Now time for me to get coffee and make a start on painting the ceiling
Happy crafting!
Catherine