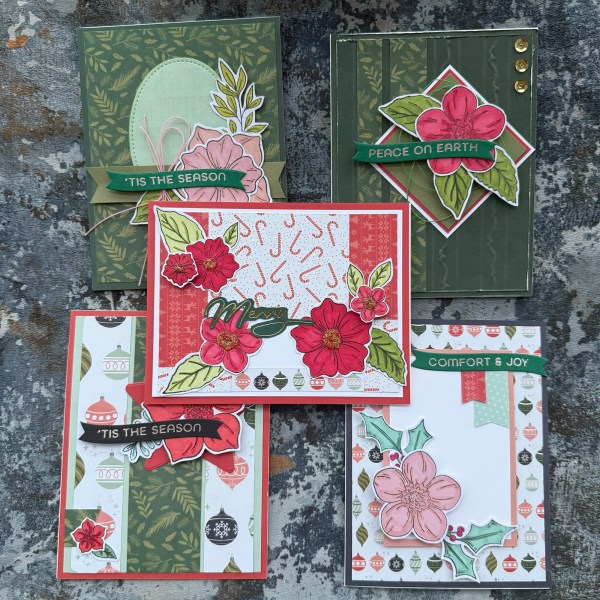
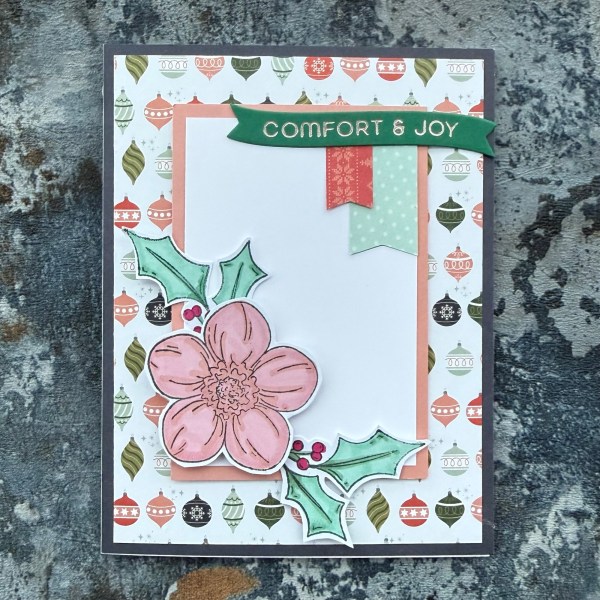
First of the month = patterned paper and again I went with another Kendras Card Challenge 21 set of cards … only the first five made so far (sketches 11-15)!
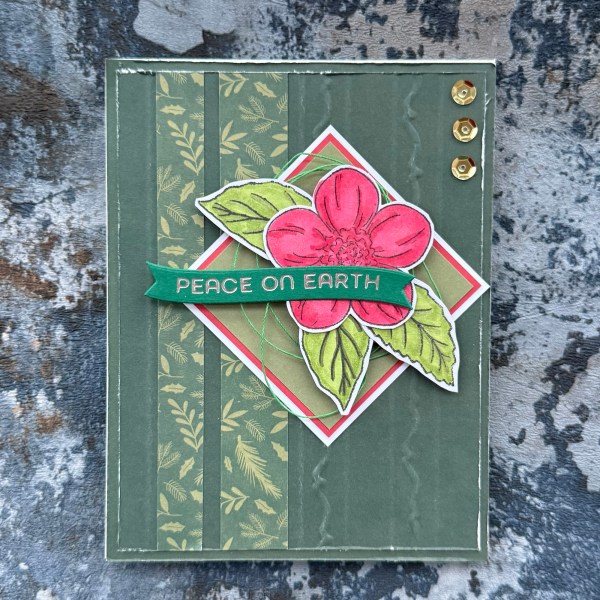
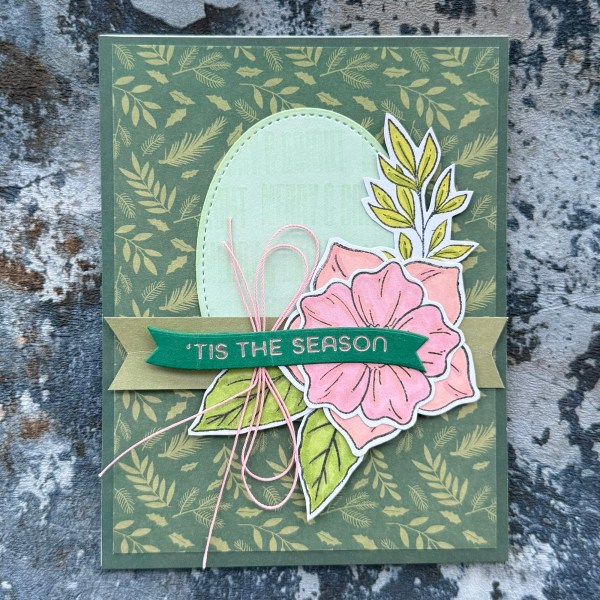
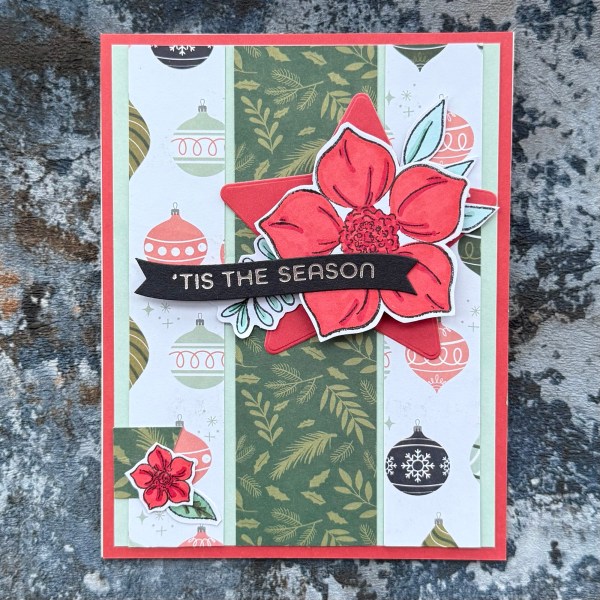
I went with Kingston Crafts Christmas papers and a few floral and fauna stamped images.
The florals were from a magazine set of stamps and coloured them using promarkers.
Second project today because this was made a week or so ago all ready for Scrappin Saturday but I obviously was late in the month with Make it Masculine so that was posted this morning!
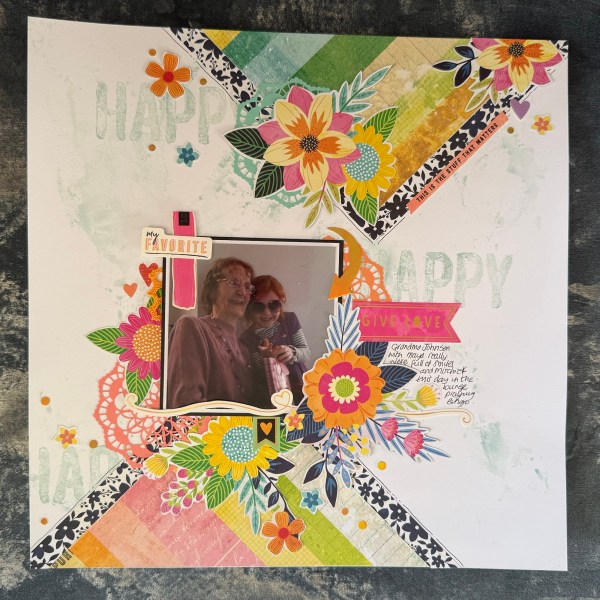
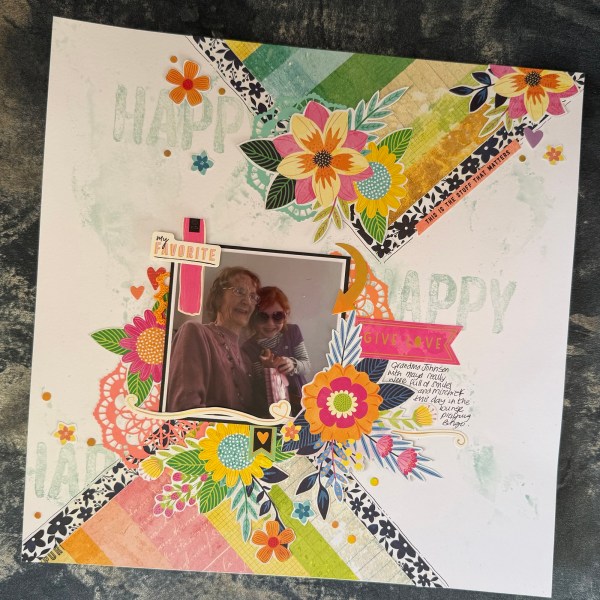
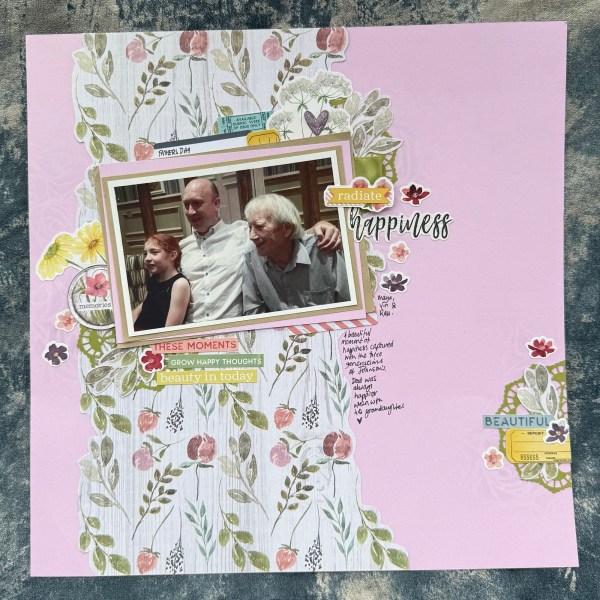
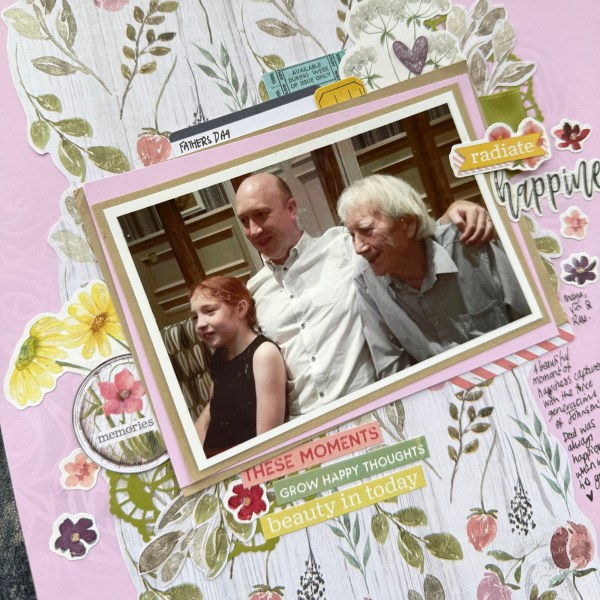
I chose to play with a page kit I bought at the crop in January and rather than totally following the instructions I instead chose to use some of the flowers fussy cut from leftover paper from a different page kit.
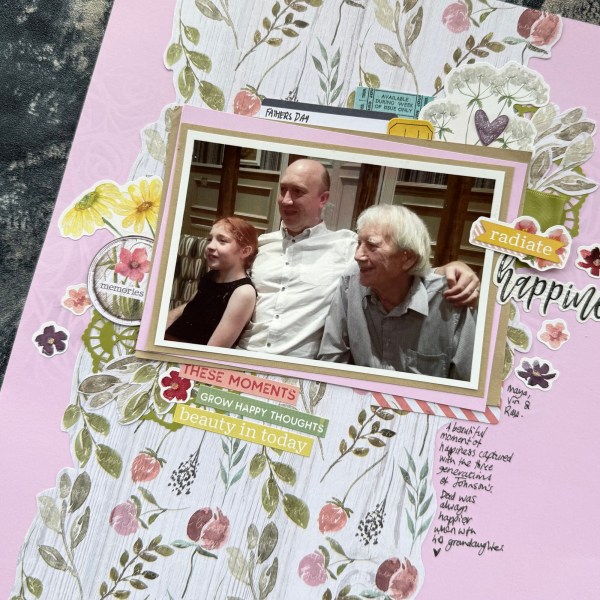
I just knew the bright flowers suited this picture and the energy from my mother in law and daughter!
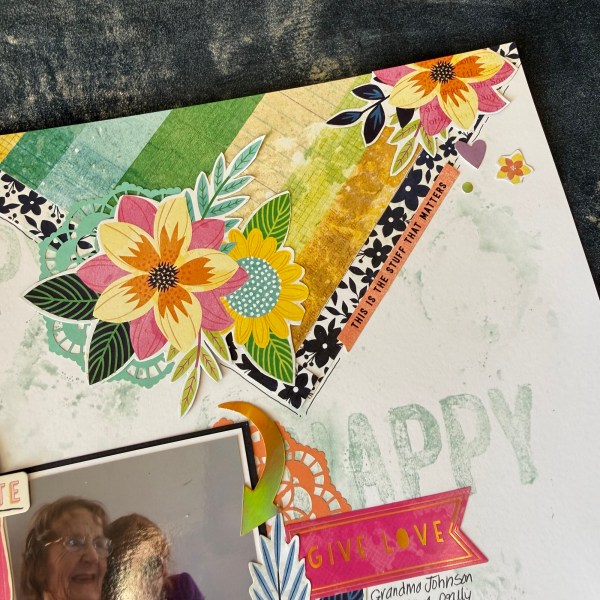
Sarah’s design had these fab triangles at the bottom using the gorgeous paper with the stripes (it’s actually a herringbone but the way she suggests cutting it just makes stripes). I actually read the instructions to cut it correctly – those that know me will probably gasp in surprise as I rarely read the instructions! 🤣
Once I had this bit done though I pretty much ignored the instructions. I turned the page upside down and changed the position of the photo and added all those flowers!
I also added the distress oxide with the packaging technique and then some stamping using the Happy Celebrations.
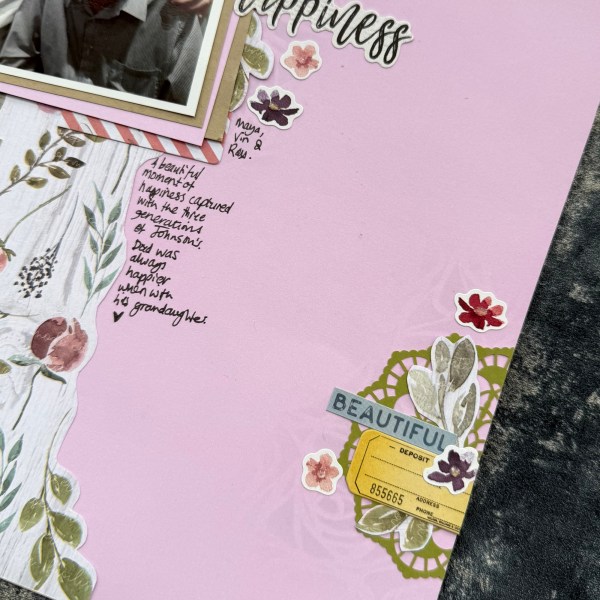
I also added the doily laser cut pieces which were sitting on the desk and I thought the colours worked well with the paper and the flowers.
I used the sticker sheet in the kit to add stickers and the title – Give Love
I also added my journalling in the space next to the big floral I overlapped the photo with.
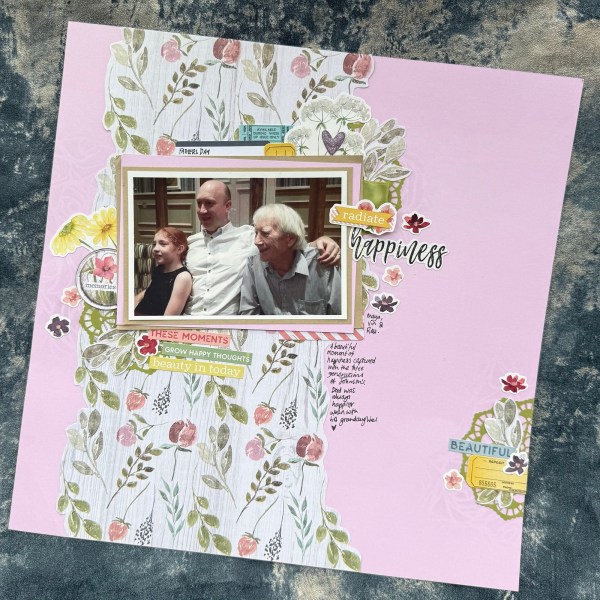
Really love this colourful page – I think I probably should have done slightly less of the mixed media (I went a bit OTT) but still a fun, colourful page that I think fits perfectly the photo!
Very much last minute with this months Make it Masculine – made this morning, just edited and uploaded the video on YouTube – now writing up the blog!
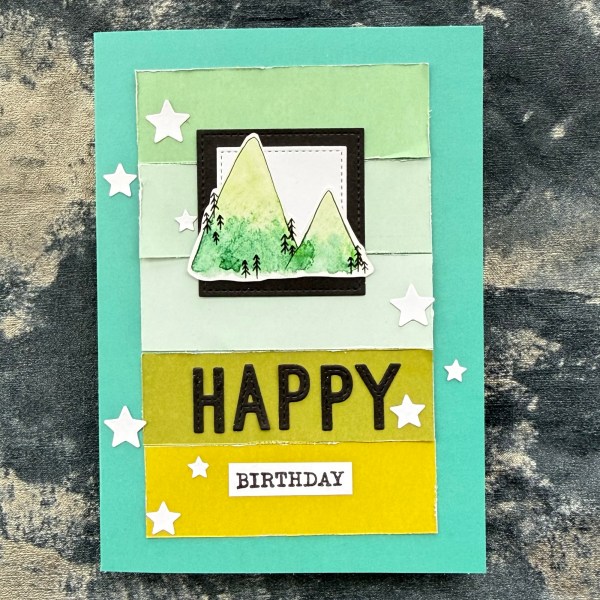
So for my masculine make this month I’ve gone with bits and bobs off the desk approach and actually love the card I ended up with!
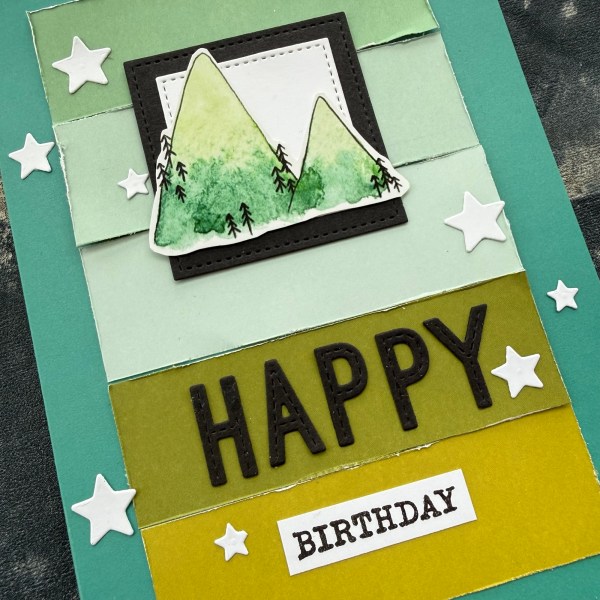
Paper is a scrap from a scrapbook page kit and done the same technique as Sarah had used on the page and cut it at each stripe, then distressed it and put it back together – creates such a lovely texture.
Then the mountain is a collage paper I’ve had for years and love the artwork but never found a use for it! Until now!
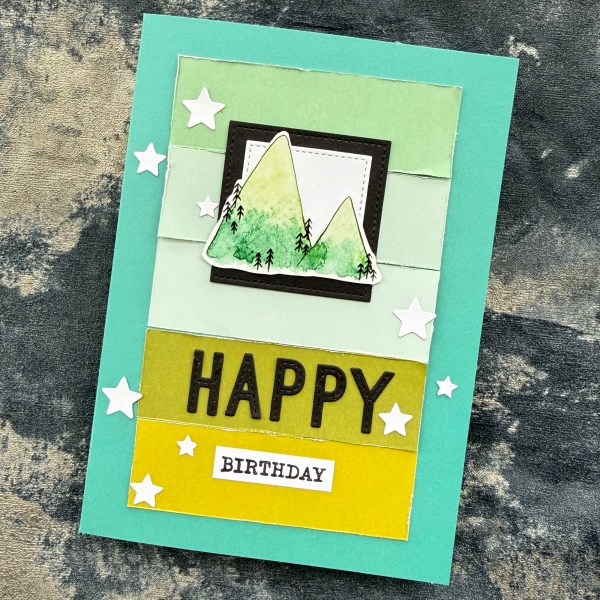
After cutting it out I then went to town with die cutting – two squares to frame the image, the letters for the Happy and some stars to embellish! I then used an old Indigo Blu magazine set to stamp the sentiment!
I used a colourful 5×7 card blank and then inside I added the strip of leftover striped paper, the smaller image, another stamped sentiment and then the star chipboard.
So here we are – the February Make it Masculine project is made!
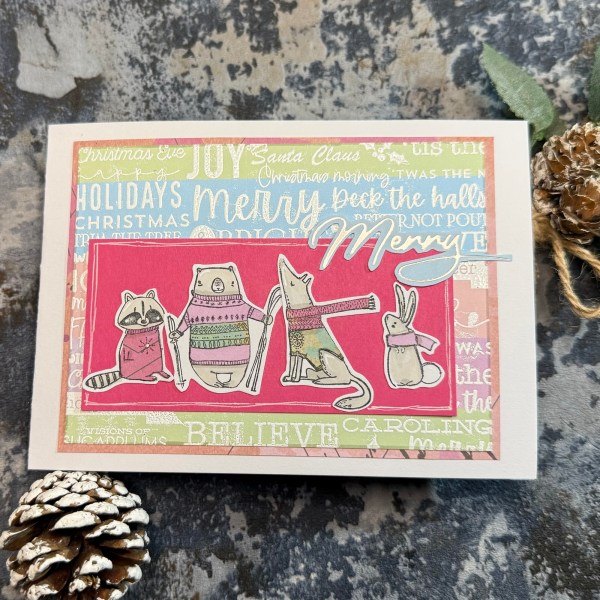
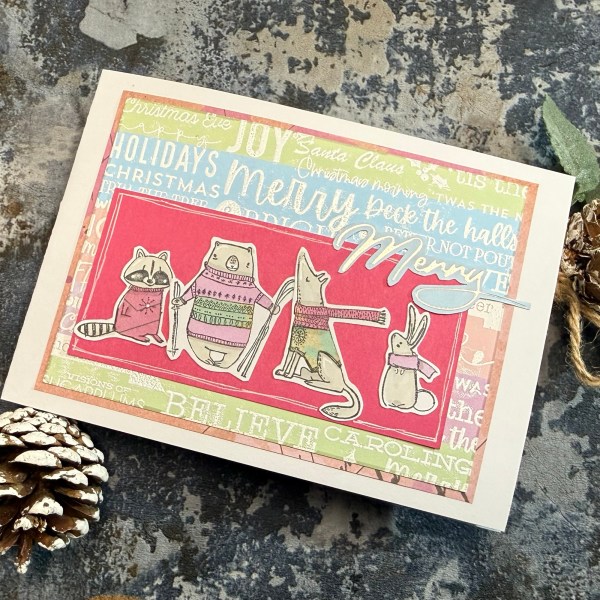
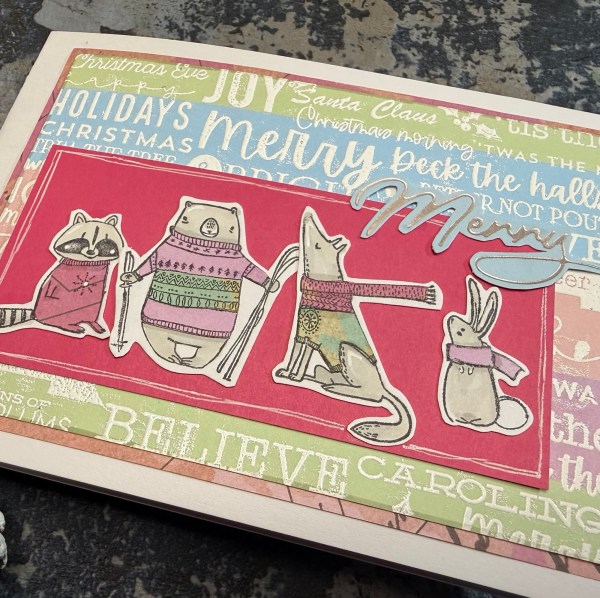
Last Friday in February and it is not just Festive Friday but also my response to the Creature Comforts prompt for the Christmas in July Facebook group!
Now if you watch my video you will see that it started with a colour cube to choose my colours – albeit it sort of went off track so I haven’t included the colour in my blog post as it doesn’t really match. But I don’t mind as it is still a really cute card!
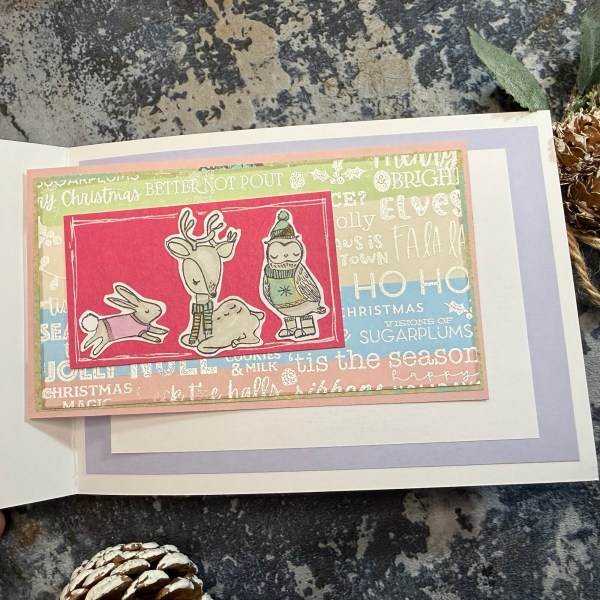
I had two panels but decided rather than make two cards I would include the second smaller panel as an insert flap on the inside.
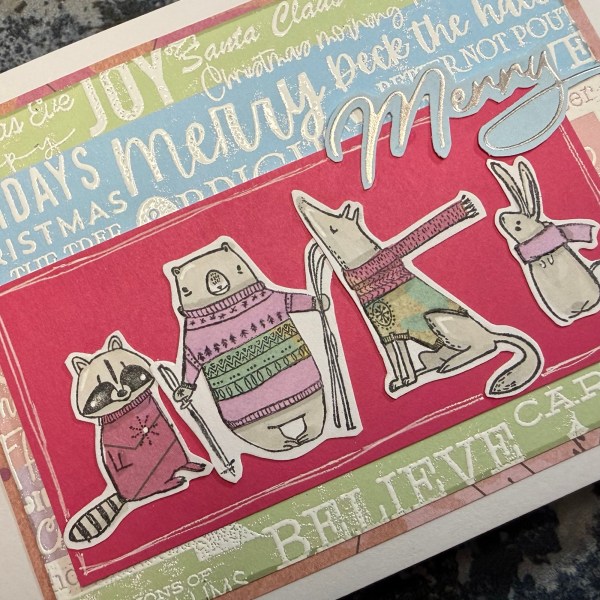
I added the lovely stamping and embossing in the background behind the panels with the cute creatures and each of the animals outfits have been paper pieced from papers I originally selected based on the colour cube but to be honest with images this small it would have been easier to just use pens to colour in.
I finished off the front with the foiled sentiment and then left it at that!
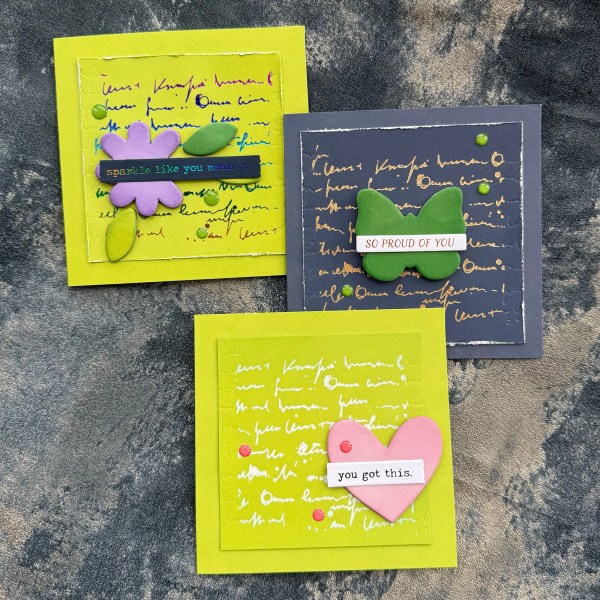
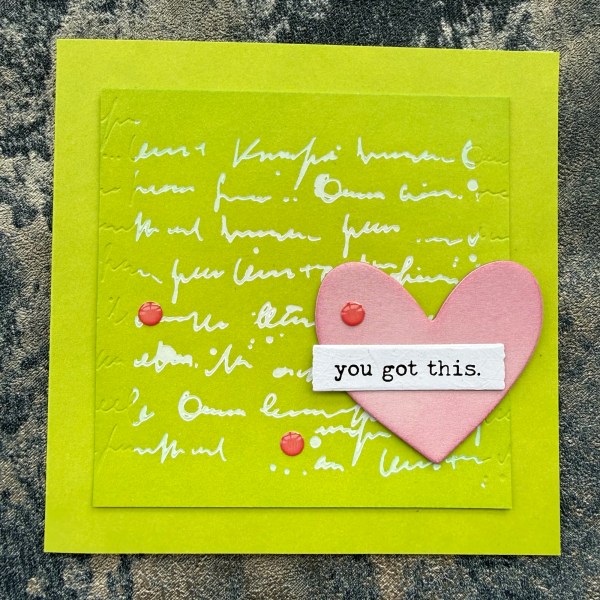
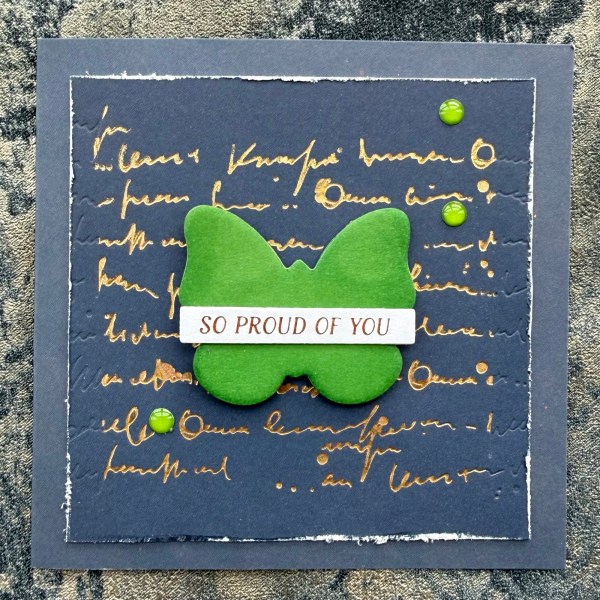
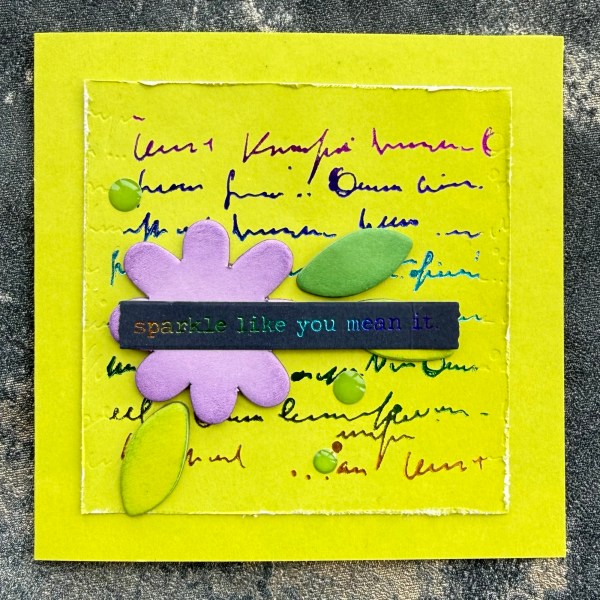
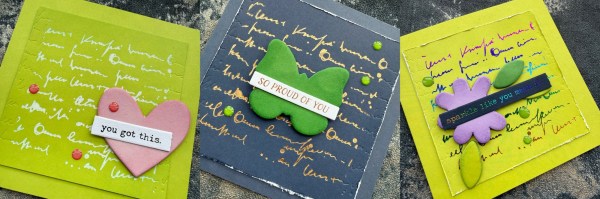
I made three cute notecards using the chipboard shapes as my embellishments!
I used a mix of the navy and green cardstock from the everyday cardstock pack and used a Dina Wakely press plate to add foil to the background panel. I chose different colour foils for each – white, gold and rainbow!
For each I chose a different chipboard shape and I added ink to each of them around the edge to just add a little extra definition.
I also added gems to embellish with a different sentiment for each card.
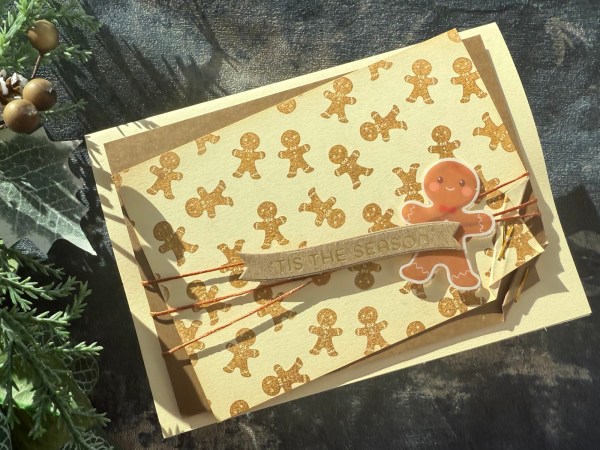
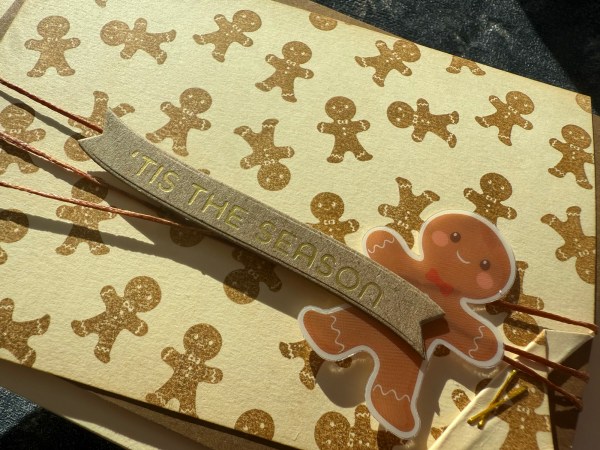
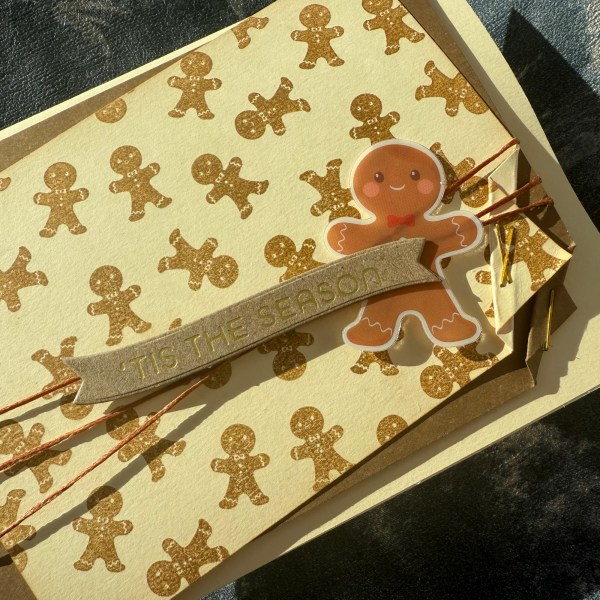
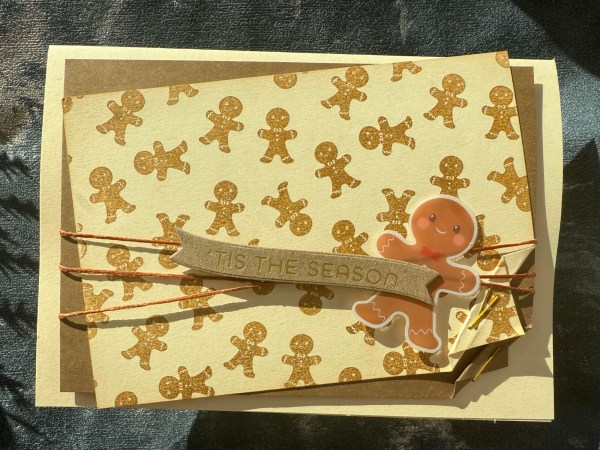
Ok so the gingerbread theme in all of the Kingston Crafts sets are just the most darling designs … so having a background stamp full of the gingerbread people is just perfect!
I went with a Kraft and cream theme for this cute card – I stamped the gingerbread with brown ink and then after cutting the panel I inked it up in a few places to give it a lightly distressed finish.
I decided to offset the layers and ruffle up the corner at the bottom right using gold staples to secure. I did the same with the brown layer.
I then wrapped it round the panels with brown waxed thread.
I added the acetate gingerbread man from the pouch of acetate ephemera – so so cute!
I added a die cut and foiled sentiment and added the panels to the cream card blank.
Really love this stamp with all those gingerbreads on it – although it is making me a little peckish! 🍪
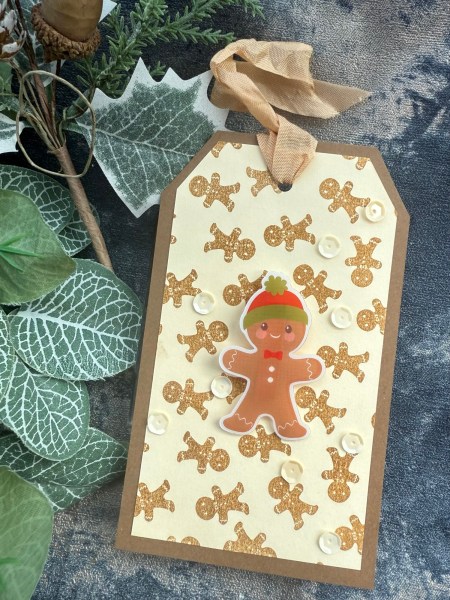
I did end up with a little off cut of the cream stamped card so decided to also make a tag (although this didn’t go in the sample selection so I did keep this one!)
The tag I added a little snowman on a little hinge I made from cardstock to make it pop up a little and then added sequins and some seam binding to finish off!
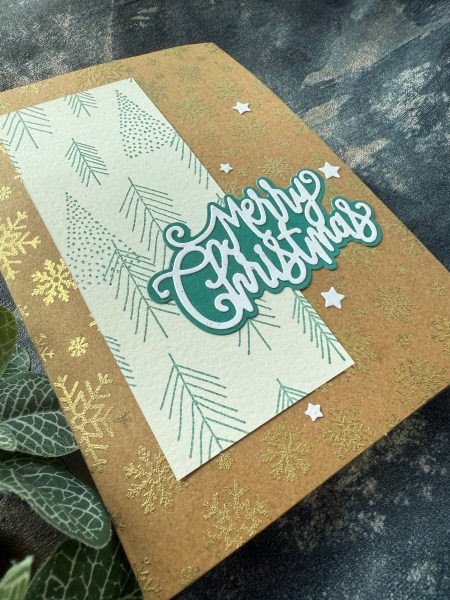
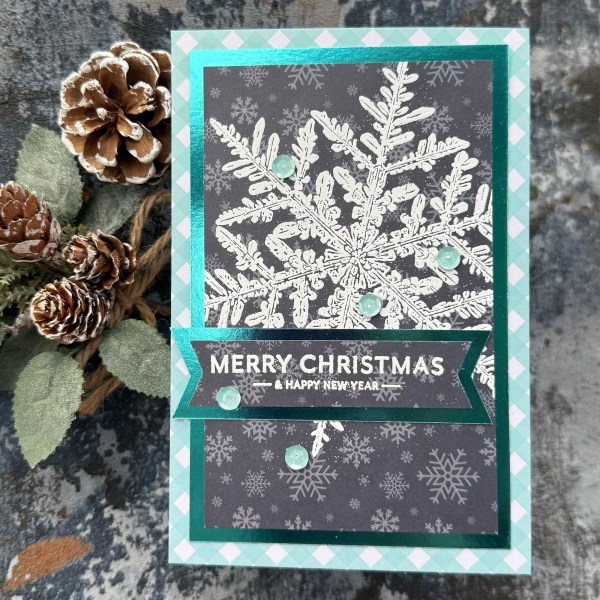
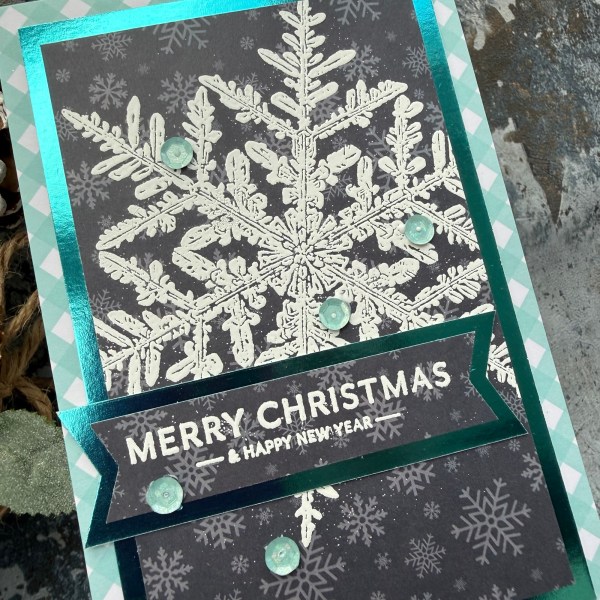
Having background stamps like this set from Kingston Crafts that cover an entire card front as game changers – even better when they cover a 5×7 card front – as it means you can decorate the whole of a card without the need for patterned papers or extra layers.
I means you can keep designs simple like this one – with the full Kraft card blank embossed with the gold snowflakes and then added a panel I stamped with the trees as a bit of contrast.
Then all it needed was the die cut sentiment and some die cut stats as embellishments.
Whilst I don’t normally mind layers, sometimes you want to keep the weight and thickness down to make postage a little cheaper – so being able to stamp the background directly on the card blank is a great way to jazz it up without extra weight/dimension.
And of course embossing is a glorious way to use the stamps!
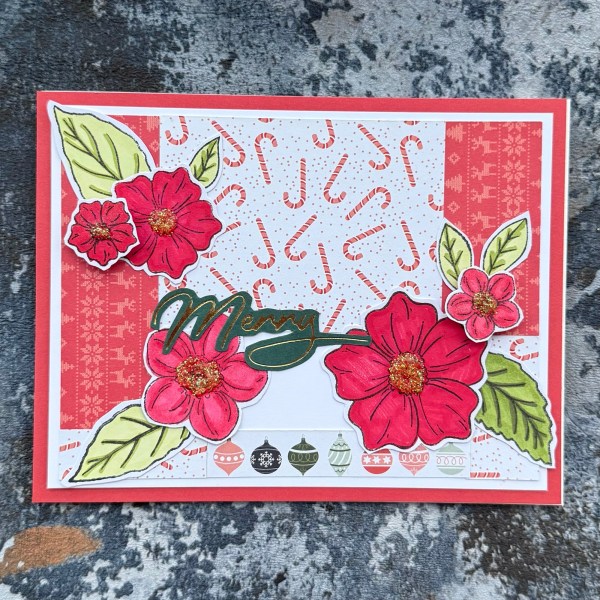
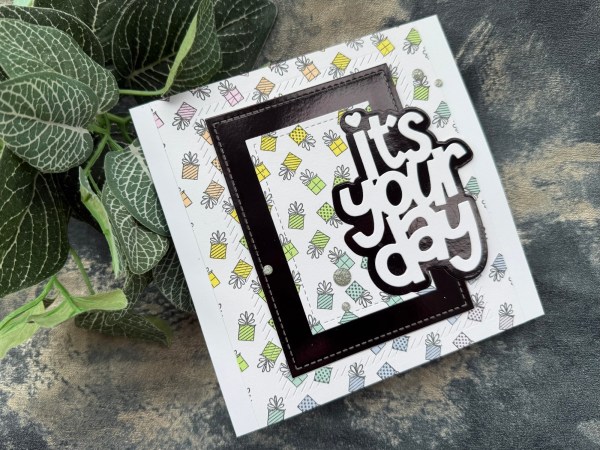
I decided to switch up one of the samples I made with the Christmas themed stamps and make a birthday card instead!
I stamped the background in full onto the white cardstock and then used my alcohol markers to colour the gifts using a pastel rainbow. I then cut the panel down to fit the front of the white cardstock blank.
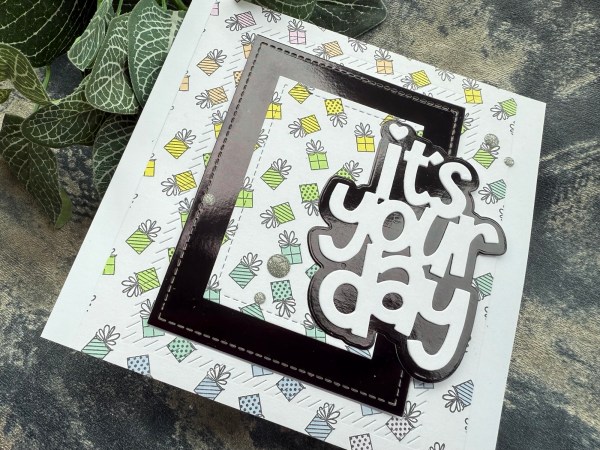
I then decided to die cut out the frame and add in a frame of the black foiled cardstock.
I added the die cut sentiment as the main focal point.
I added some gems and then kept it simple – a funky card – which of course with a different colour scheme and sentiment could be a Christmas card – but for now – this is my play with it to make something not Christmassy!
Today’s #scrappinsaturday is one I made a couple of weeks ago but popped the camera on to record the process but only just got around to loading up to my YouTube channel… you can watch it here.
I made it with a challenge in mind (Scrapbook Challenges UK) where the challenge was to include
Botanical – rocket – coloured cardstock – grey
I managed all four of these!
Started with the base of Kingston Crafts pastel cardstock in the pink and stencilled using the grey ink so a subtle finish but it is there!
I then used the pretty paper that was from the same pack that I did all those cards from at the beginning of the month!
I fussy cut to soften the edge and follow the pattern – then fussy cut the leaves that were left to add in as embellishments.
Then I grabbed some doilies and lots of stickers and elements from the stash – most of them leftover from a page kit I did a week or so earlier so was still hanging out on my desk!
Love how this came out – I did add little touches of glitter glue on the centres of the flowers plus the heart top right of the photo.