Well I managed it! 31 days of festive projects for my Christmas in July challenge! Phew! It’s been hard work at times but it hasn’t dulled my love of making Christmas projects – but glad to not have to continue at this pace!
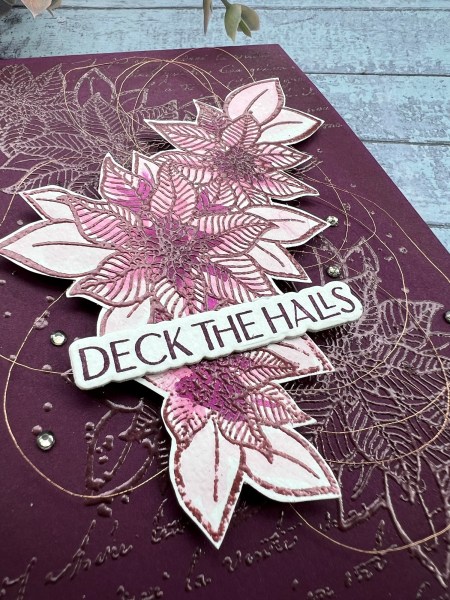
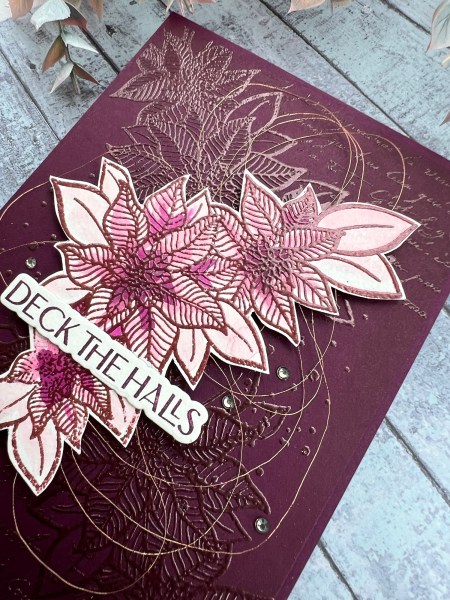
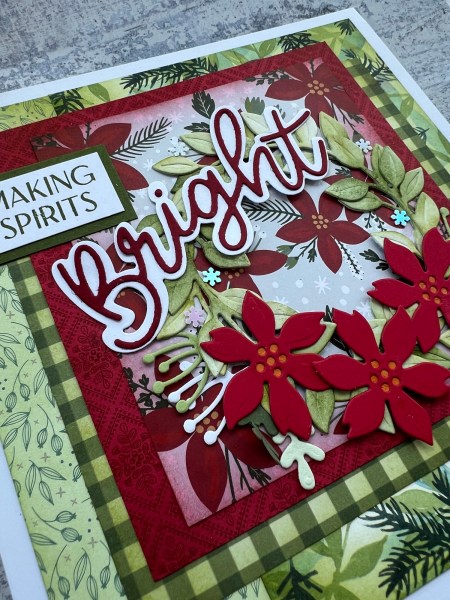
So the final card was a mixed bag of patterned papers I grabbed from the stash and made into a panel, with inking to add to the layers.
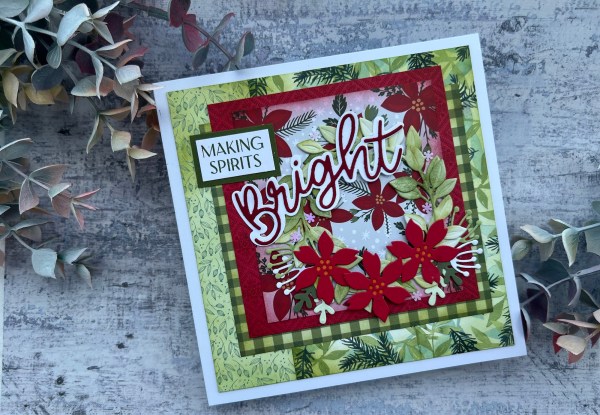
I then added the die cut elements from Wreath Builder dies to make the focal element.

I then added the sentiment using a mix of the waffle flower stamp and the die cut Bright from the Peace and Joy dies.

I added inking to the leaves on the wreath and then added the flowers and then pulled some die cuts from the stash to enhance the flower elements.
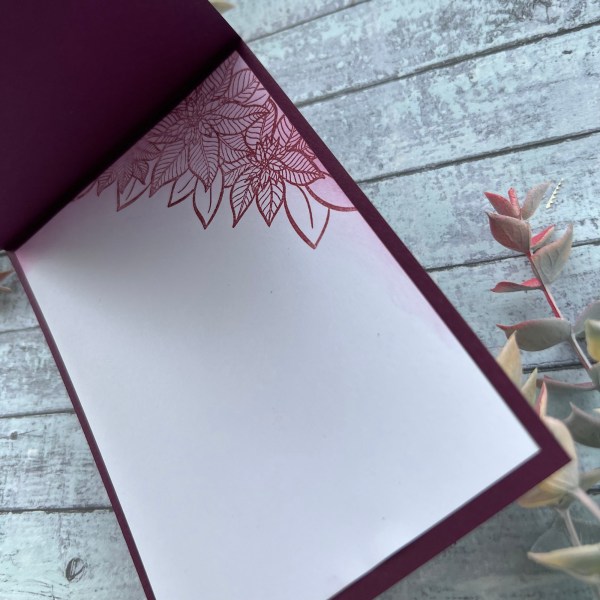
Inside the card I added the stamped elements from the Arrange a Wreath stamp set.

I really hope this series of cards helps with inspiring you to get your Christmas cards made throughout the year and please do check out my videos. I’ve been delighted to have so many visitors checking out my creations and of course welcome more to copy or use my ideas as starting points for their creations too!
So from tomorrow we go back to more varied creations and probably unlikely to keep up the daily posting – certainly not daily videos – as more than I can cope with on a continuous basis! But of course doing some of these festive makes has also made me think of other ideas for using similar techniques with other card types – so watch this space!
Happy crafting!
Catherine