I went on a bit of a journey watching Amy from Prarie Paper and Ink last night on YouTube whilst I made tea and then afterwards I decided to join in with the Color Throwdown challenge this week … admittedly the videos I watched weren’t for this challenge but it reminded me about the challenge itself and so went to find out the colours for this week…

How delicious do those doughnuts look?
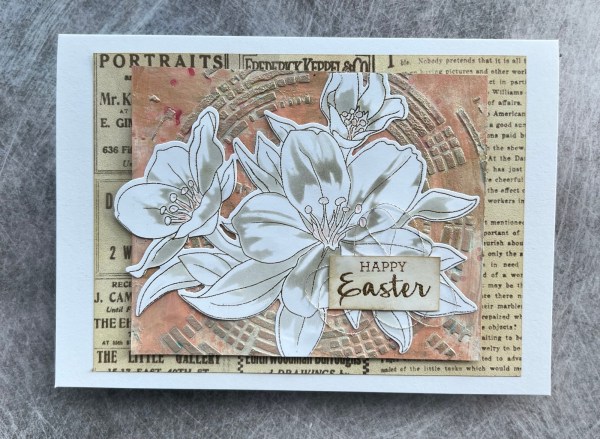
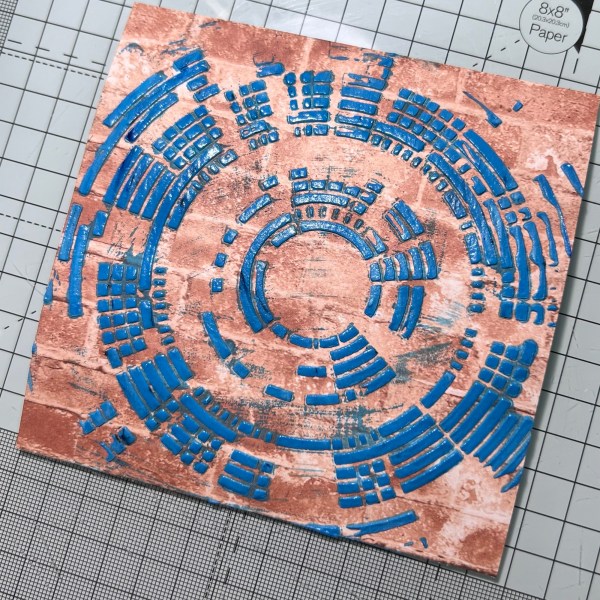
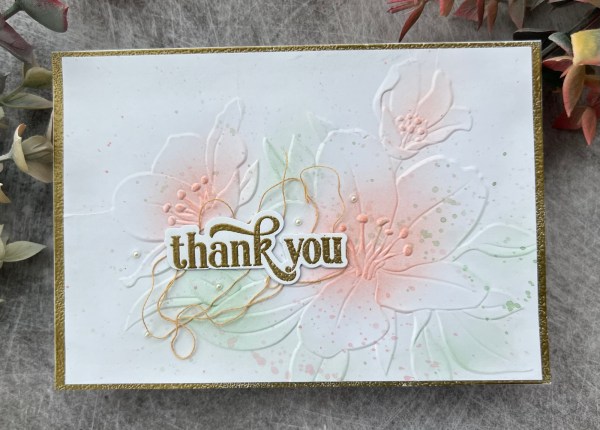
Anyway I grabbed some scrap paper I had wiped up some distress inks with and it was a creamy pink so perfect starting point! I then decided to have a hunt through old stash to have a play with something a bit different and came up with the Visible Image stamp set with these butterflies and text clusters and made my panel using Distress inks in Vintage photo and Picked Raspberry.

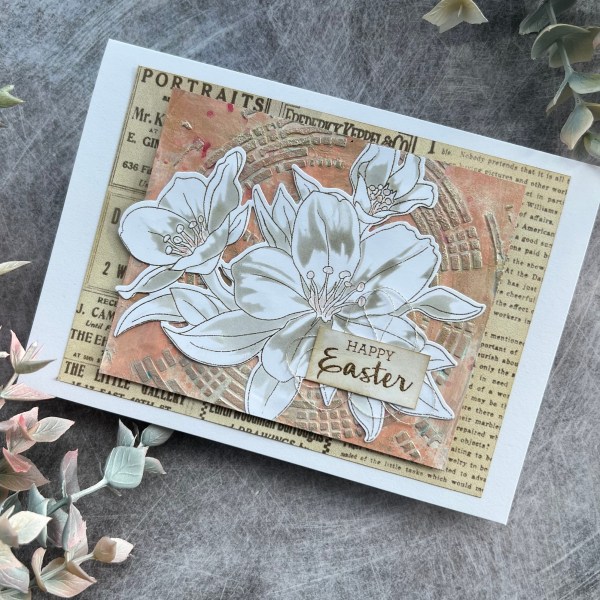
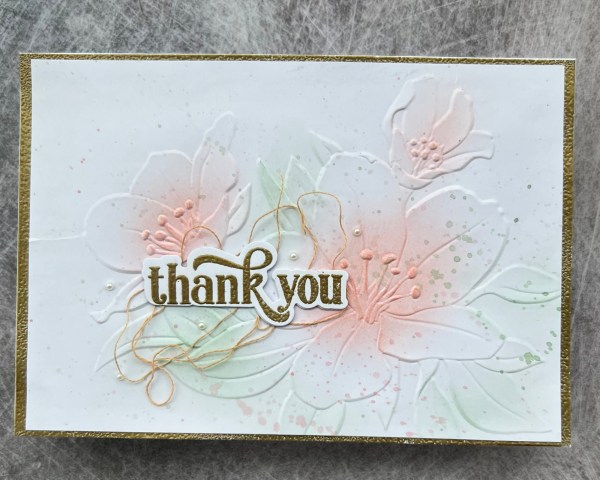
I added a border of the Kraft cardstock and then using the same Kraft I decided to die cut these tiny butterflies using an embosslit i have had in my stash forever! I think it might have even been the first thing I bought when I got my first die cutting machine!

It embosses the butterflies as it cuts them!
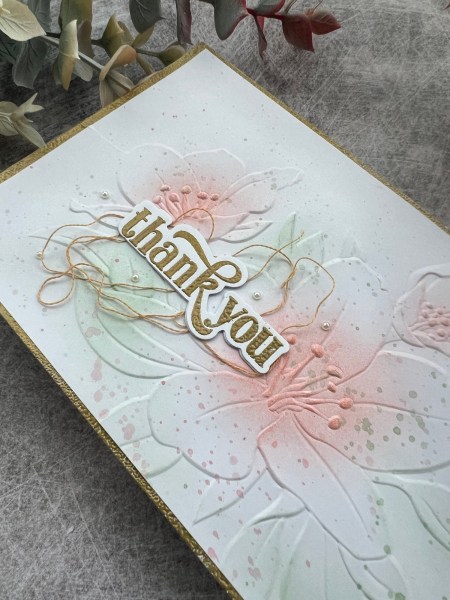
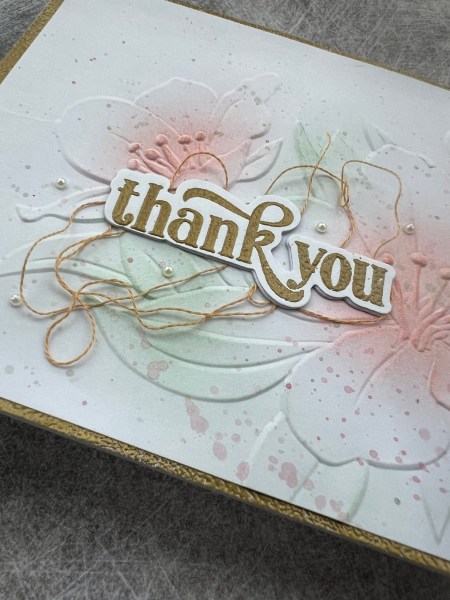
I added those and then decided they needed shimmer so coated them in wink of Stella and also added some ‘puddles’ of the shimmer onto the background too. They should have been splatters but I got a little heavy handed!

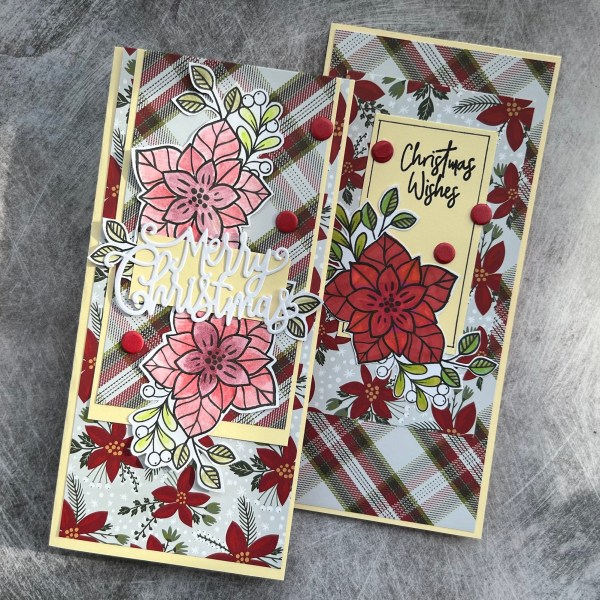
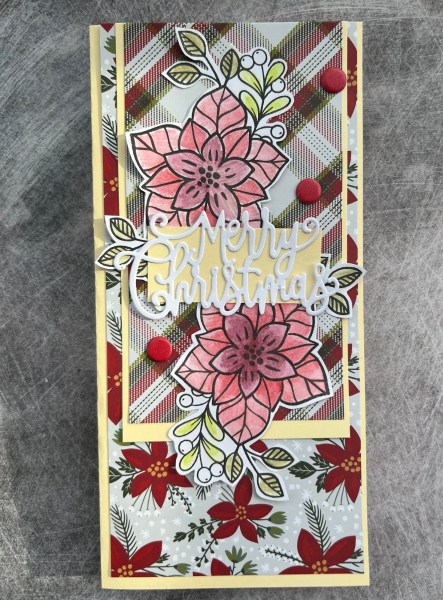
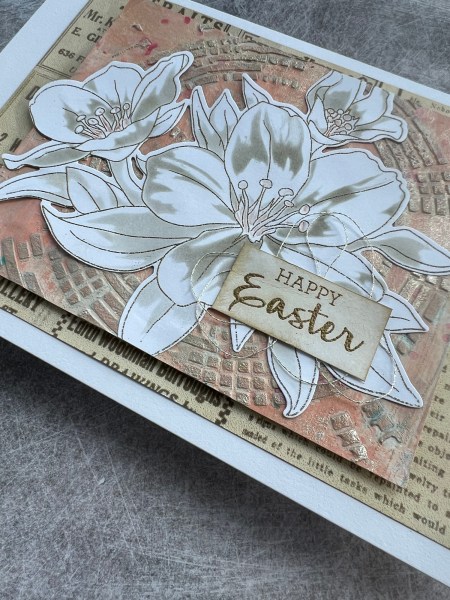
Next I stamped the sentiment using the Altenew Splendid Bouquet bundle and die cut and stacked it up three times.

I added a scrap of the pink ribbon at the top of the topper panel and then stacked that a few layers too so it had dimension off the slimline card I chose to add the panel to.

Pleased with my cream, brown and pink card and also pleased I used some really old stash for the first time in ages!
Happy crafting!
Catherine