Well we are home from our holidays but sooooo much laundry to do so no time for crafting …. So this is from a few weeks ago!
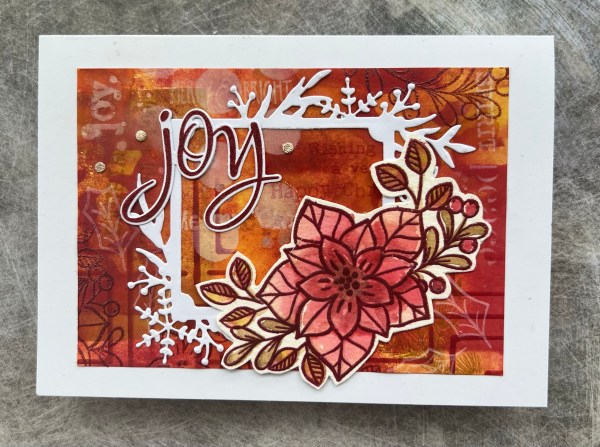
So I have had an idea in my head for a while inspired by a few other crafters of having bright florals against a black or very dark background but struggling to work out which way to do it … this card came from one of the attempts and although I love the final card it isn’t quite what I had in mind originally so will keep trying to achieve that.

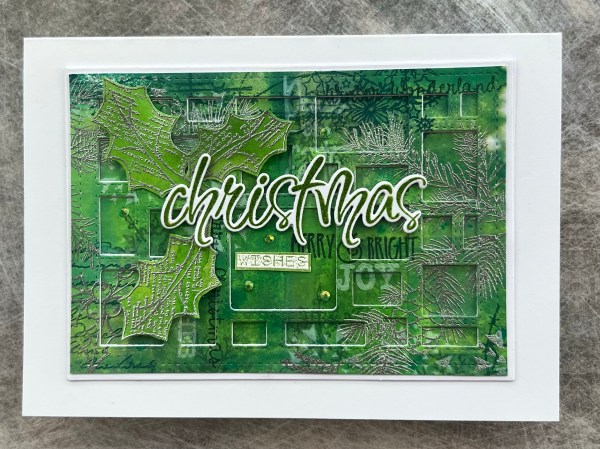
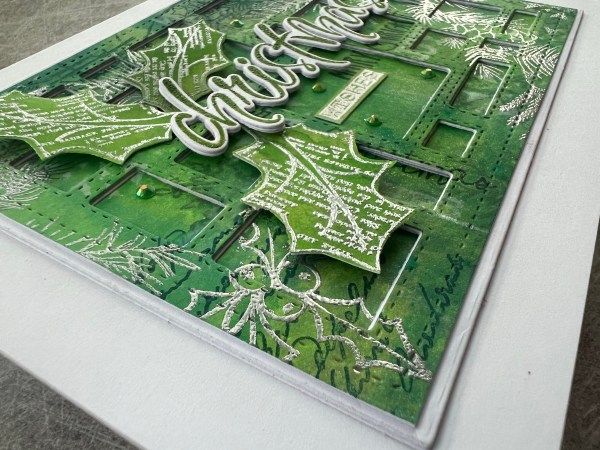
I started with the background and stamped the flowers on either side of the panel and then coloured them with promarkers. Next I coloured in the background with a warm grey and then as that didn’t look dark enough I went over it with black soot distress ink. This got me closer to the final effect I wanted. I then embossed the images again over the top of the colouring to make the line art stand out but chose gold instead of the black.

This reminded me of the cards I made using the one Liane had shared as inspiration so then I grabbed a text stamp and added that with embossing to the other spaces on background and I was happier with the background.
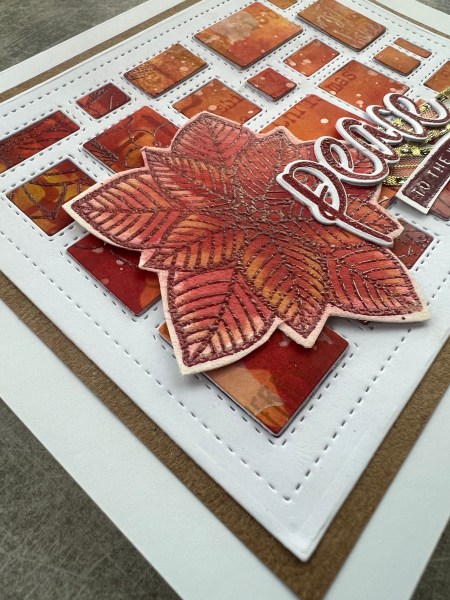
I then stamped, coloured and coloured the background to the floral stamp again before embossing and fussy cutting it to sit on top of the background. I then splattered everything with white gesso.

The background on the cut apart piece I kept with the warm grey to add contrasts with the background.
I stamped and embossed the sentiment and then coloured the cardstock with daffodil delight ink and the mat layer with black soot. I then sandwiched the bakers twine between the sentiment and the images to create a cluster of twine.
I added the black gems as final embellishment and then added it to the 5×7 card blank.

So I do love this but it isn’t quite what I had had planned so back to the drawing board on getting the effect I was really after!
Happy crafting!
Catherine