So I’m writing this a little ahead of time so it is all ready for posting on Christmas Day. Wishing all my blog visitors and readers a lovely festive season.
We had a bit of a naff week as I got hit with a flu virus so everything got put off until the last minute but fortunately been feeling a little more human by Christmas Eve and so we got ready in time! But just admit I am in bed early on Christmas Eve as so exhausted!
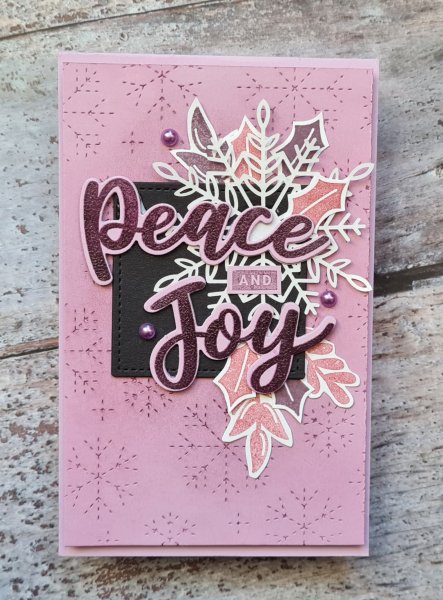
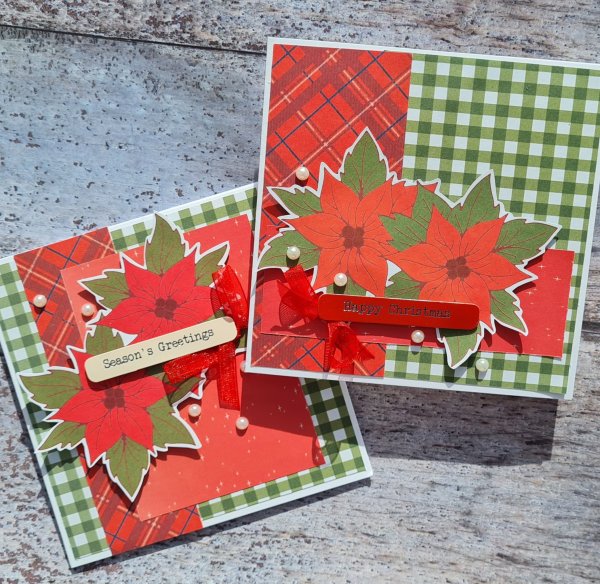
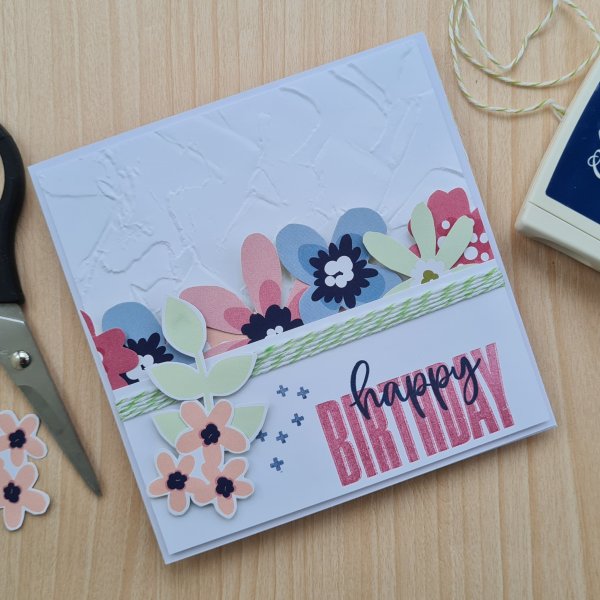
Anyways I didn’t come on here to moan but instead to share the card I made for my hubby for Christmas as I realised I hadn’t shared it yet. I also realise the only pics I have of it in daylight are before the glue had dried on the gems so it doesn’t look it’s best but hey ho that’s how it goes sometimes!

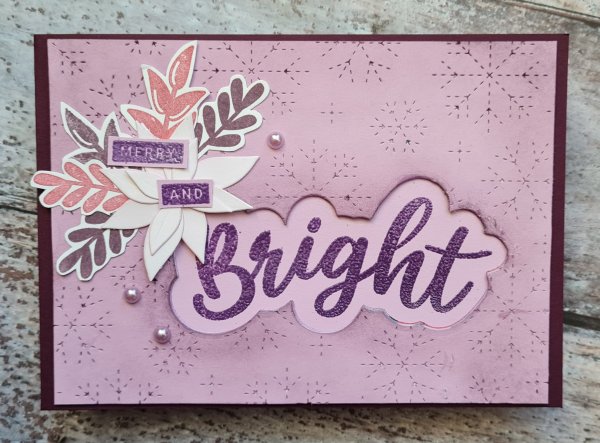
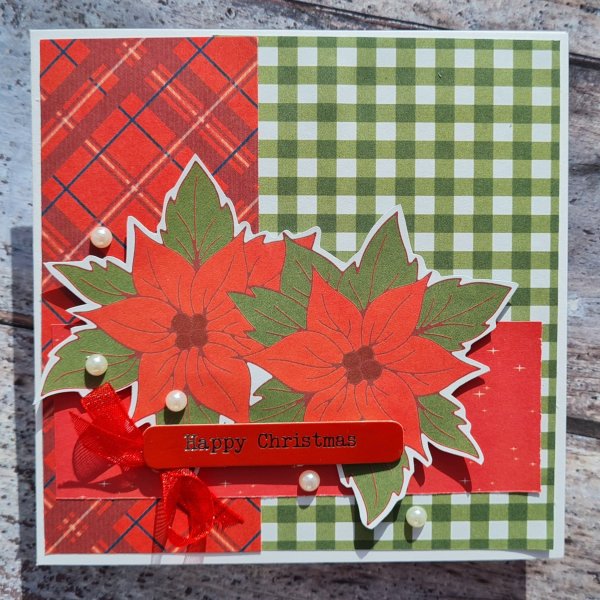
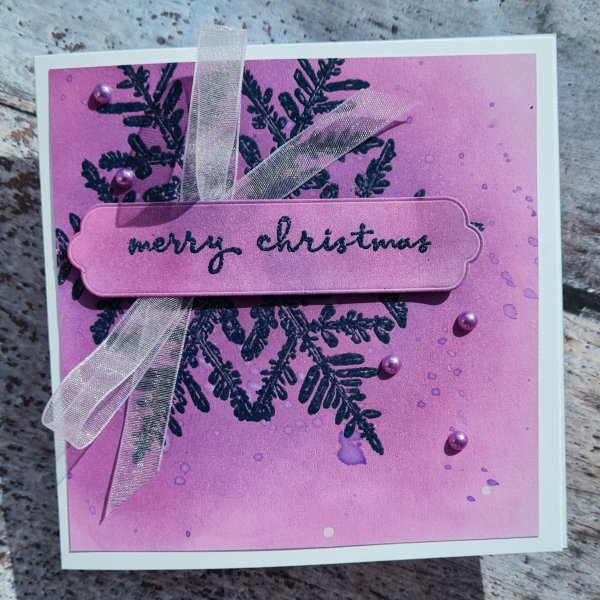
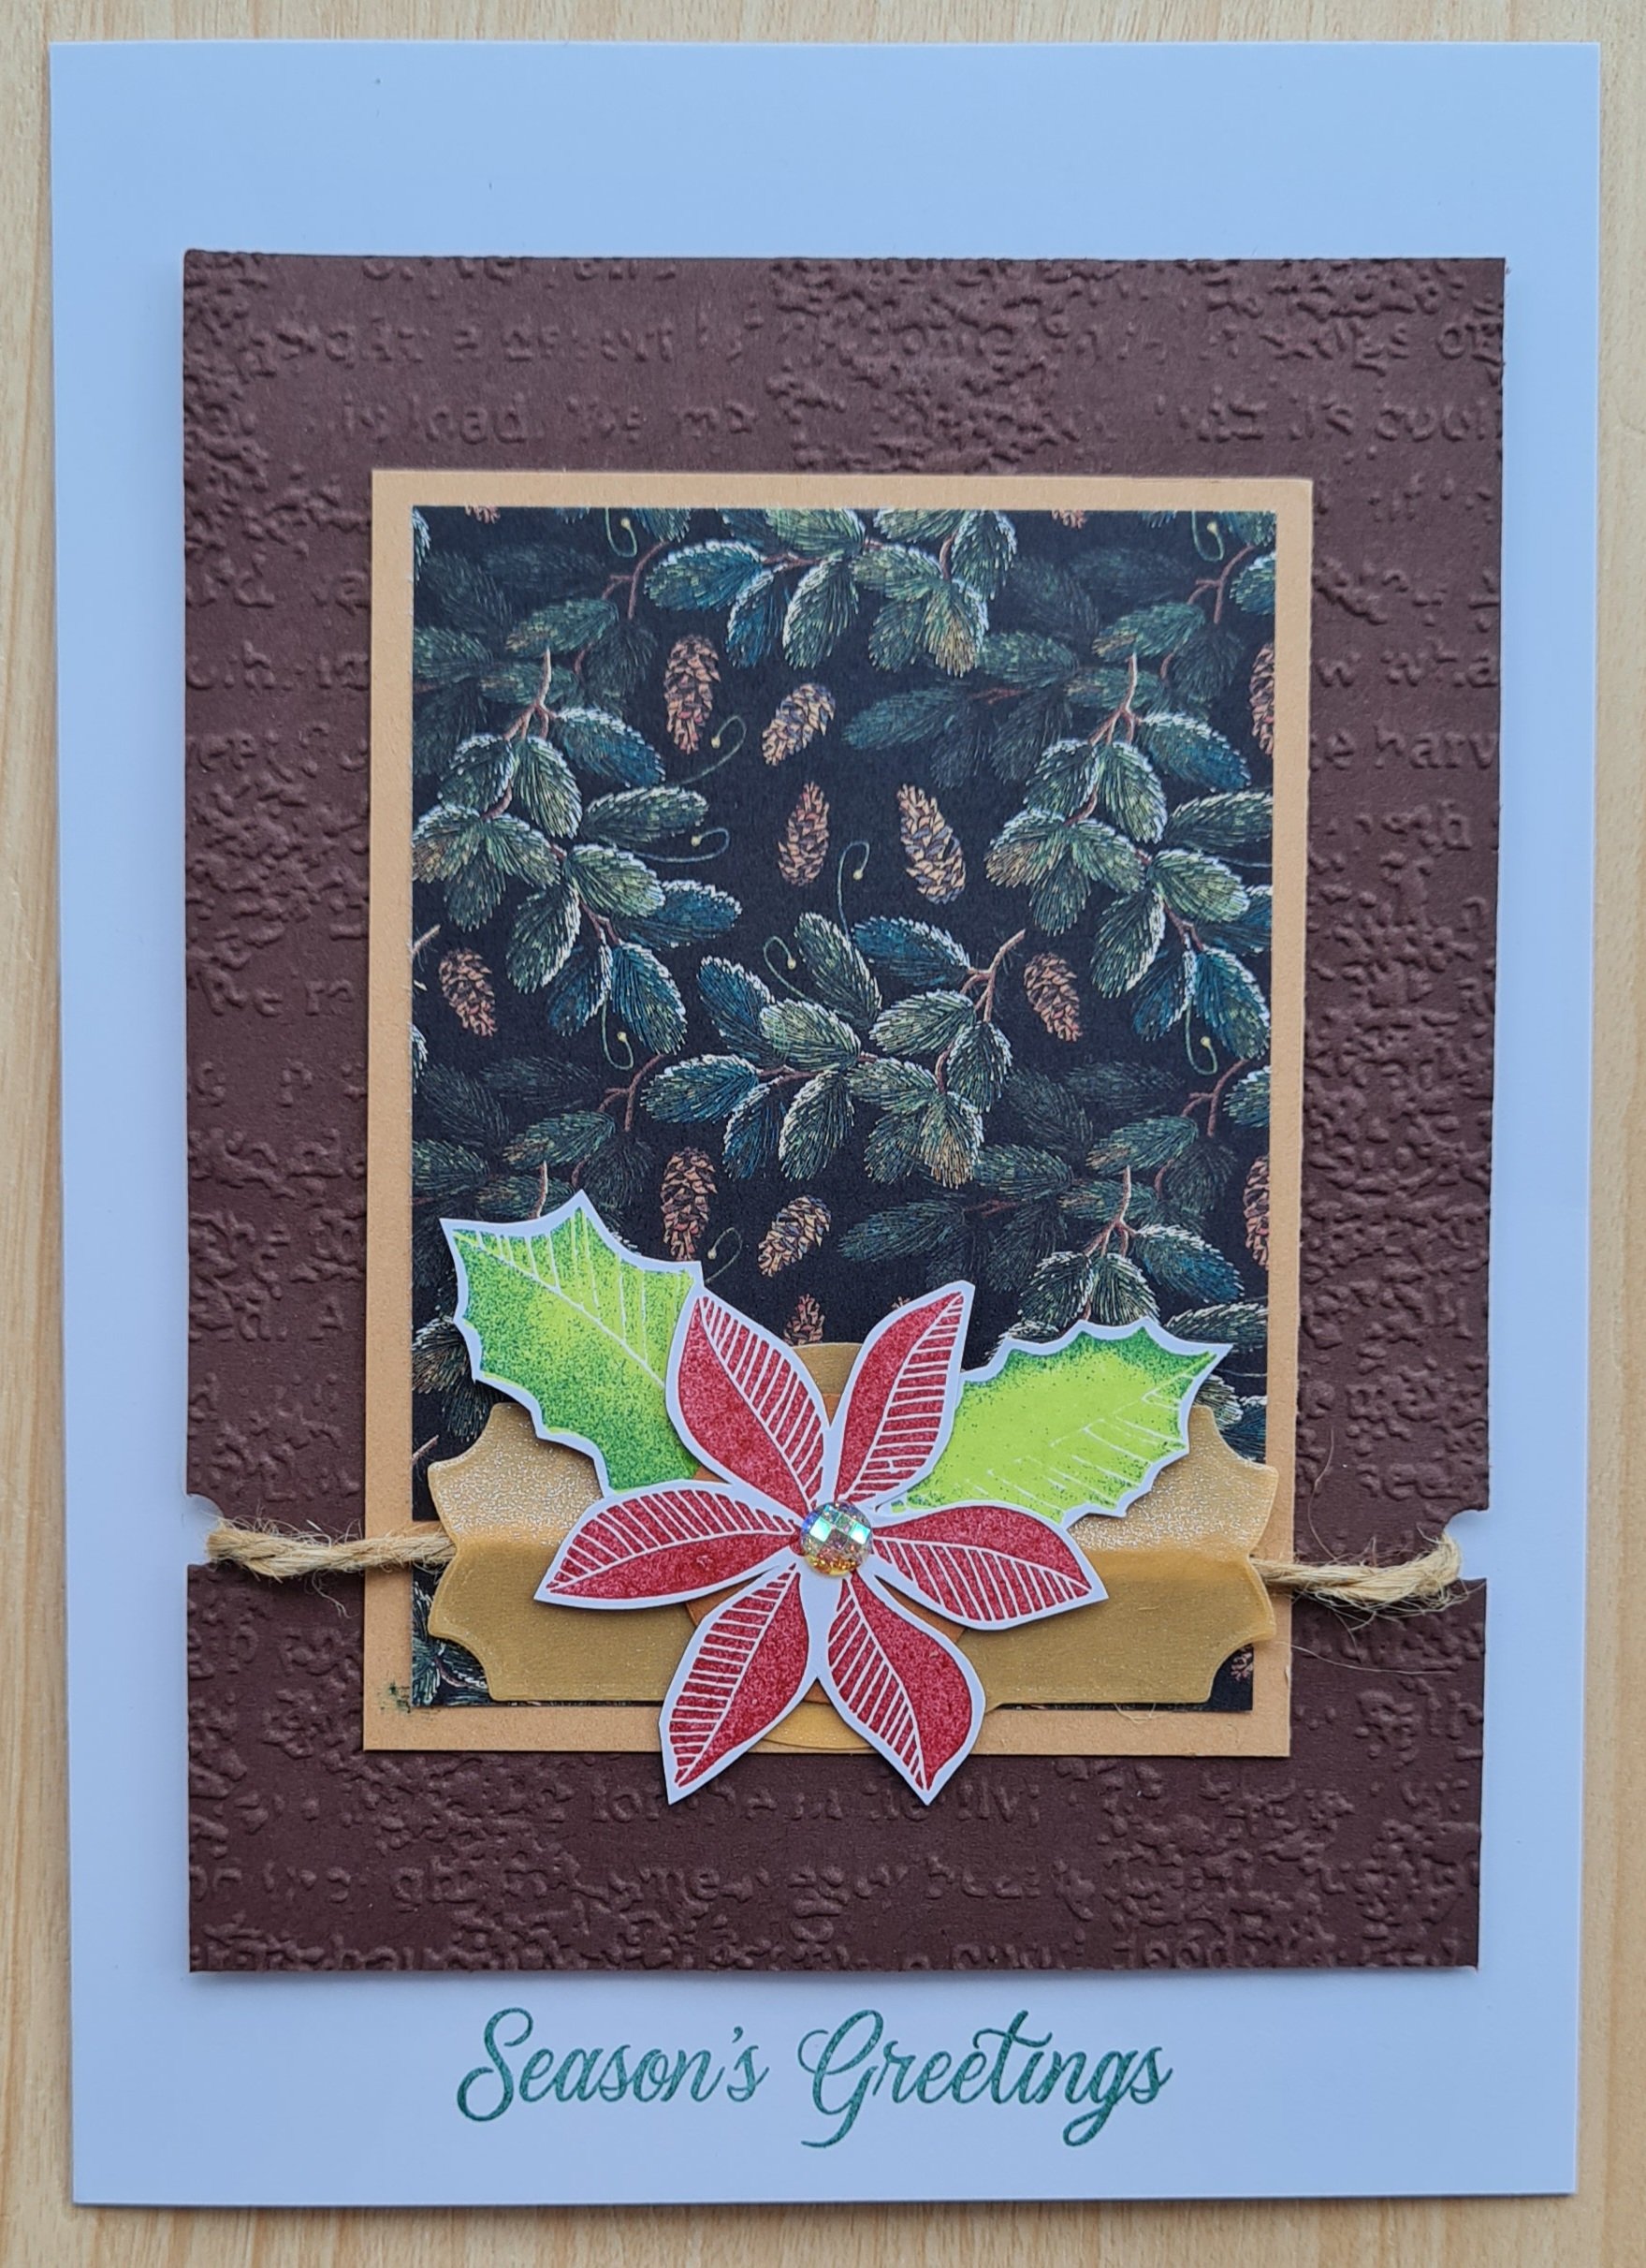
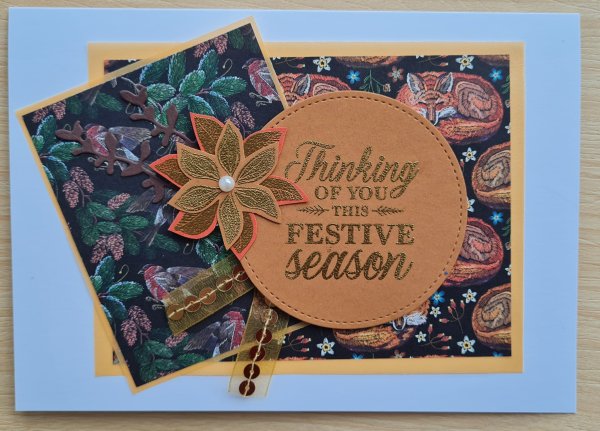
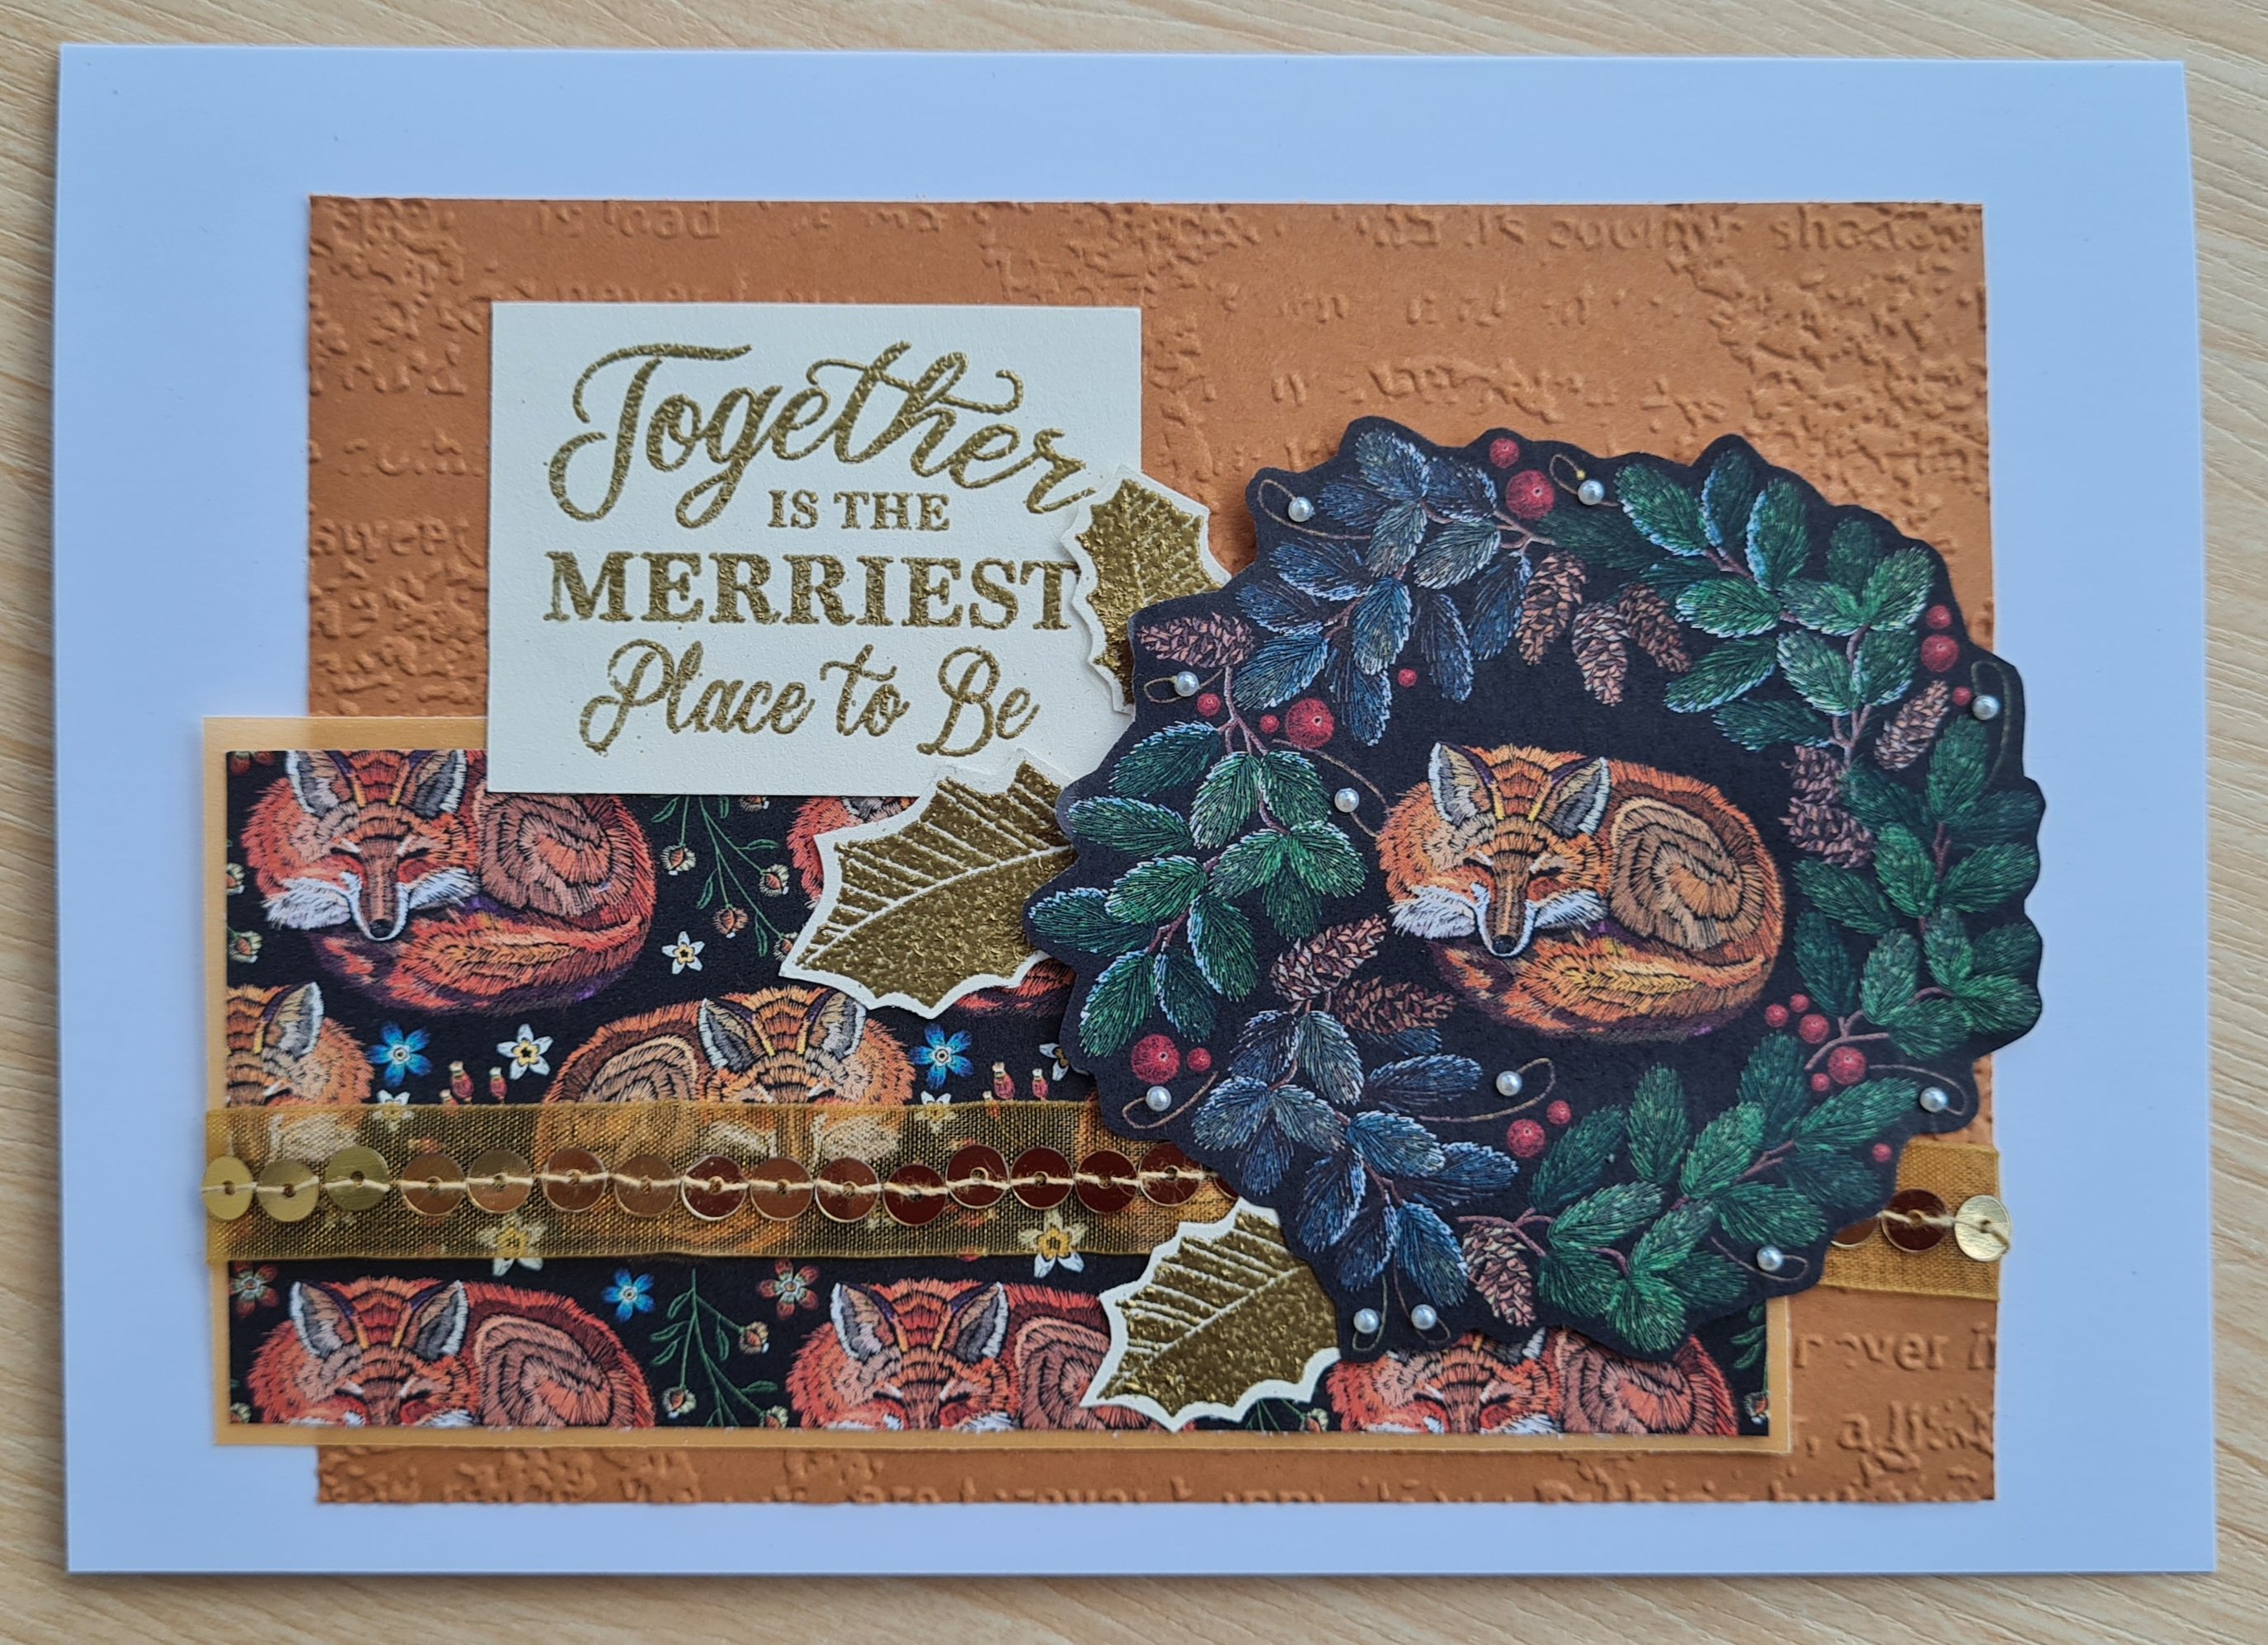
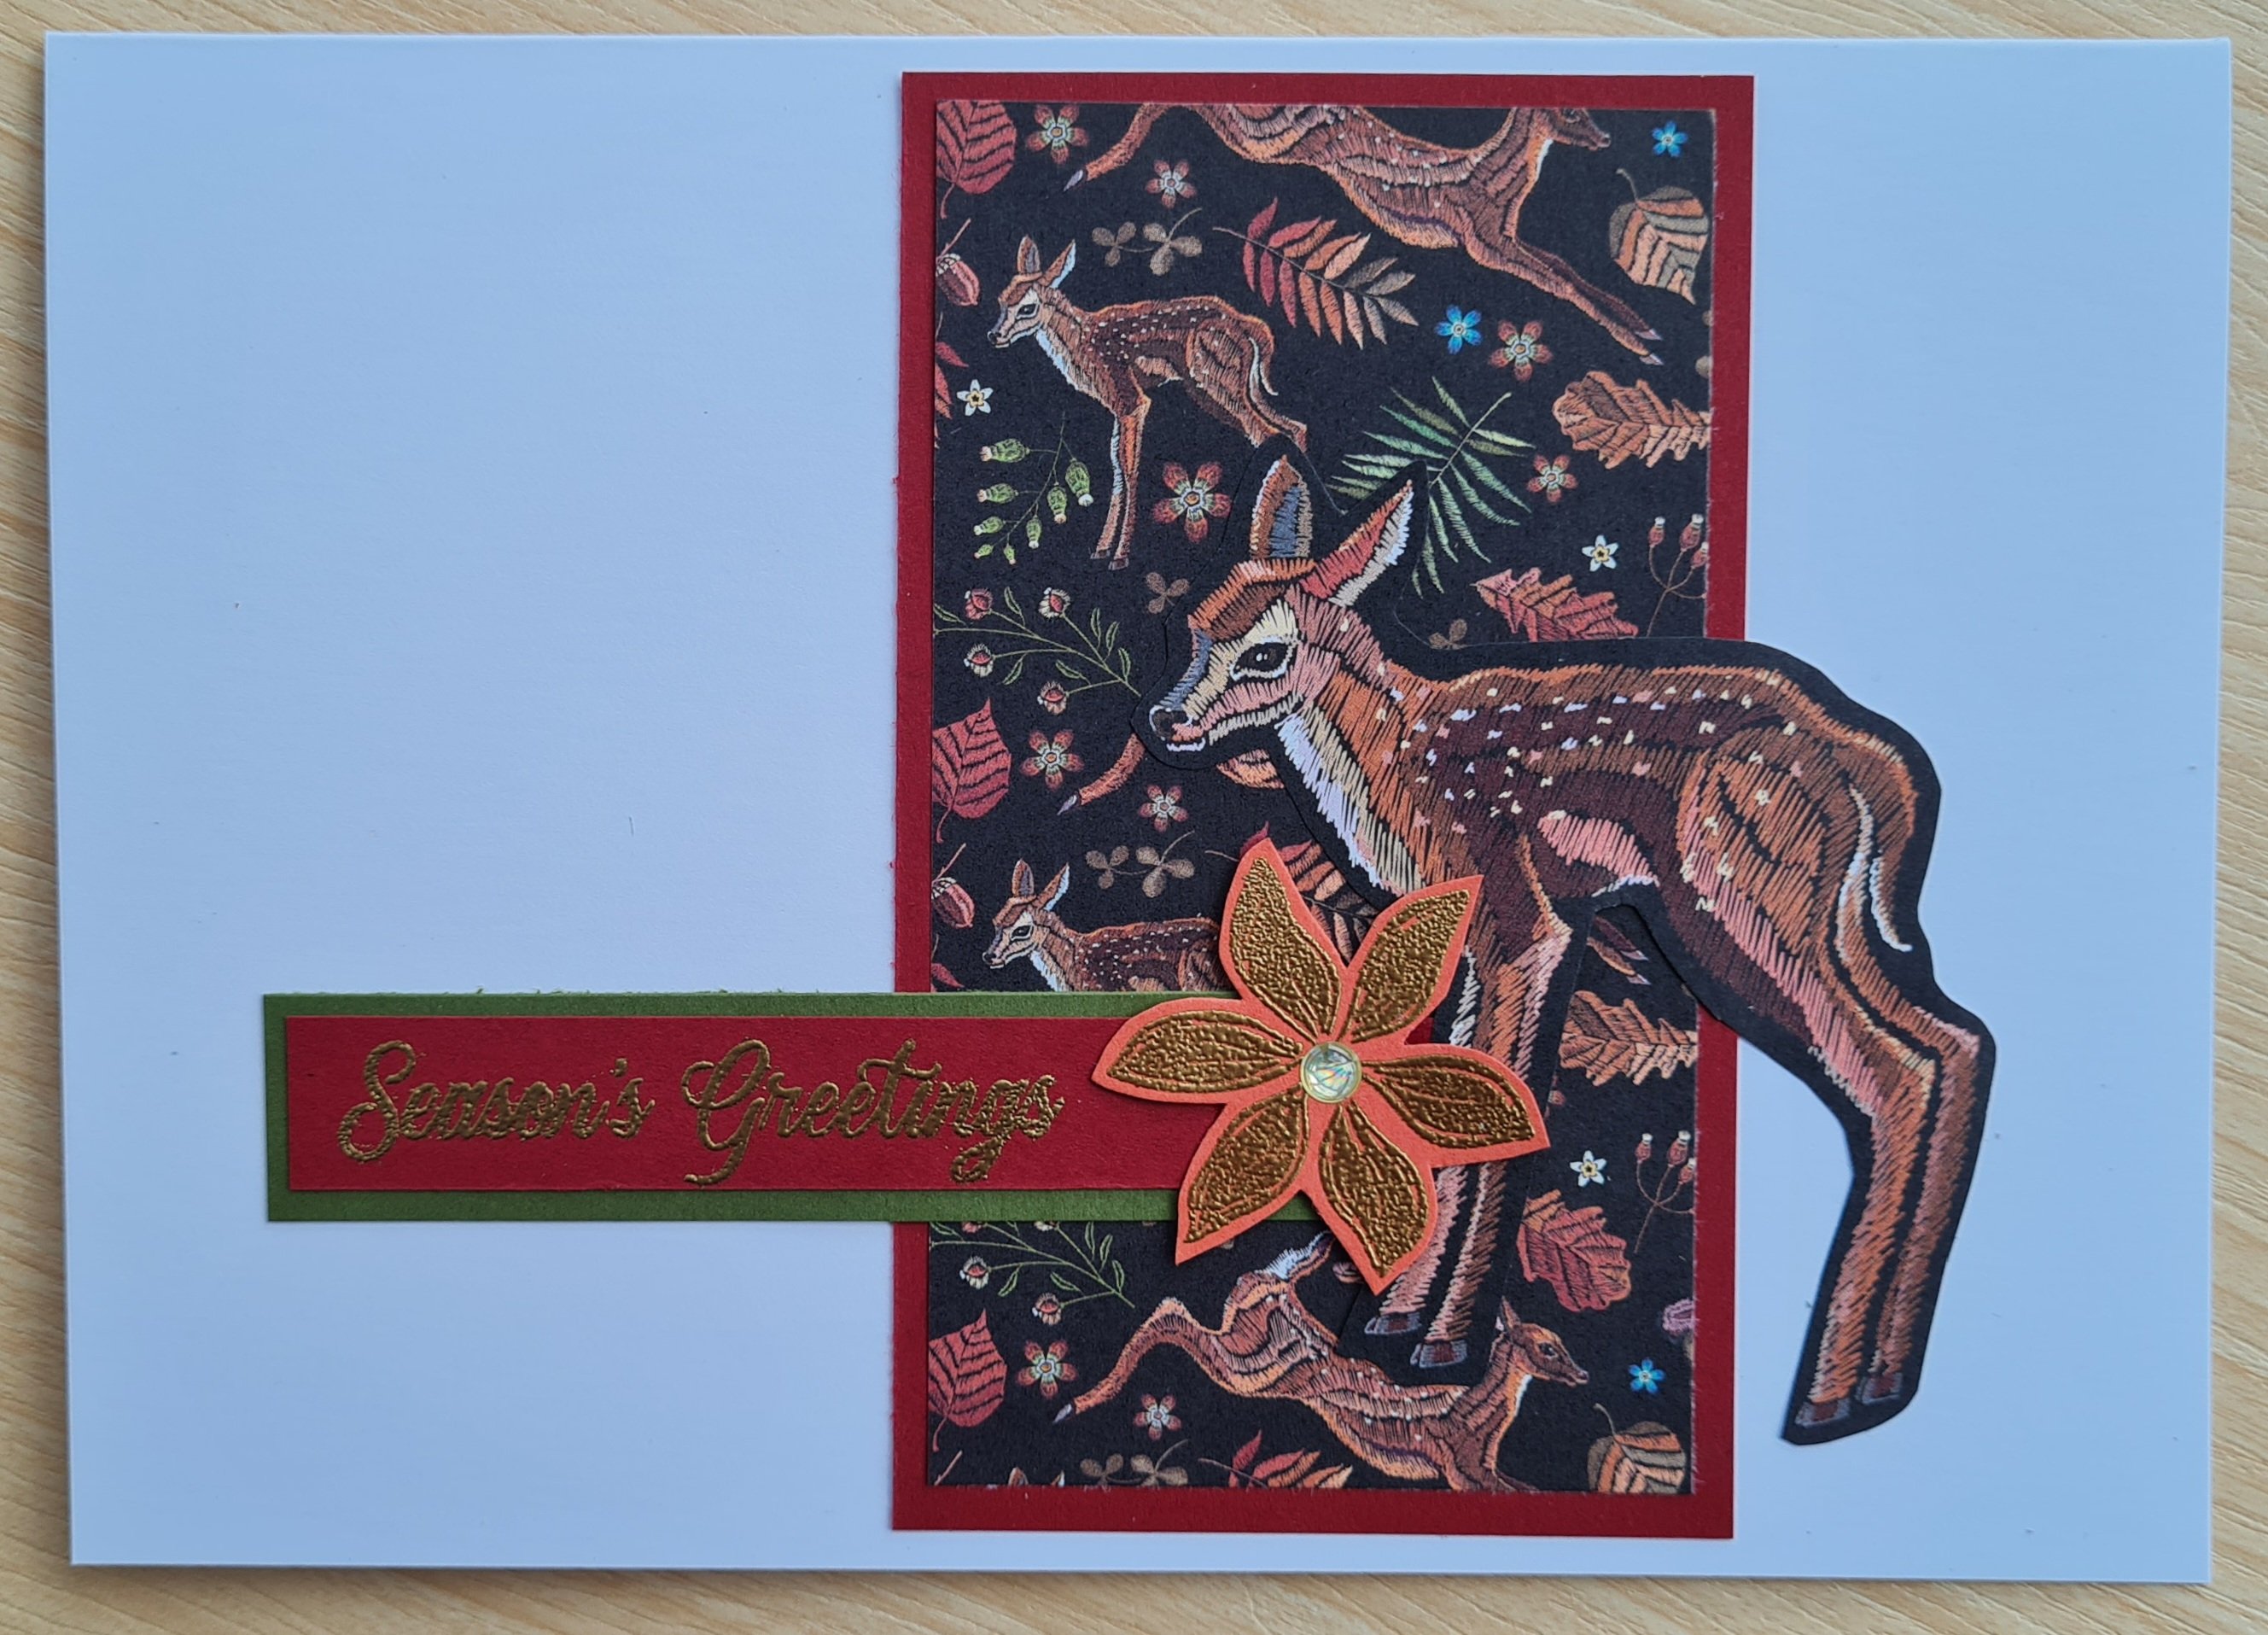
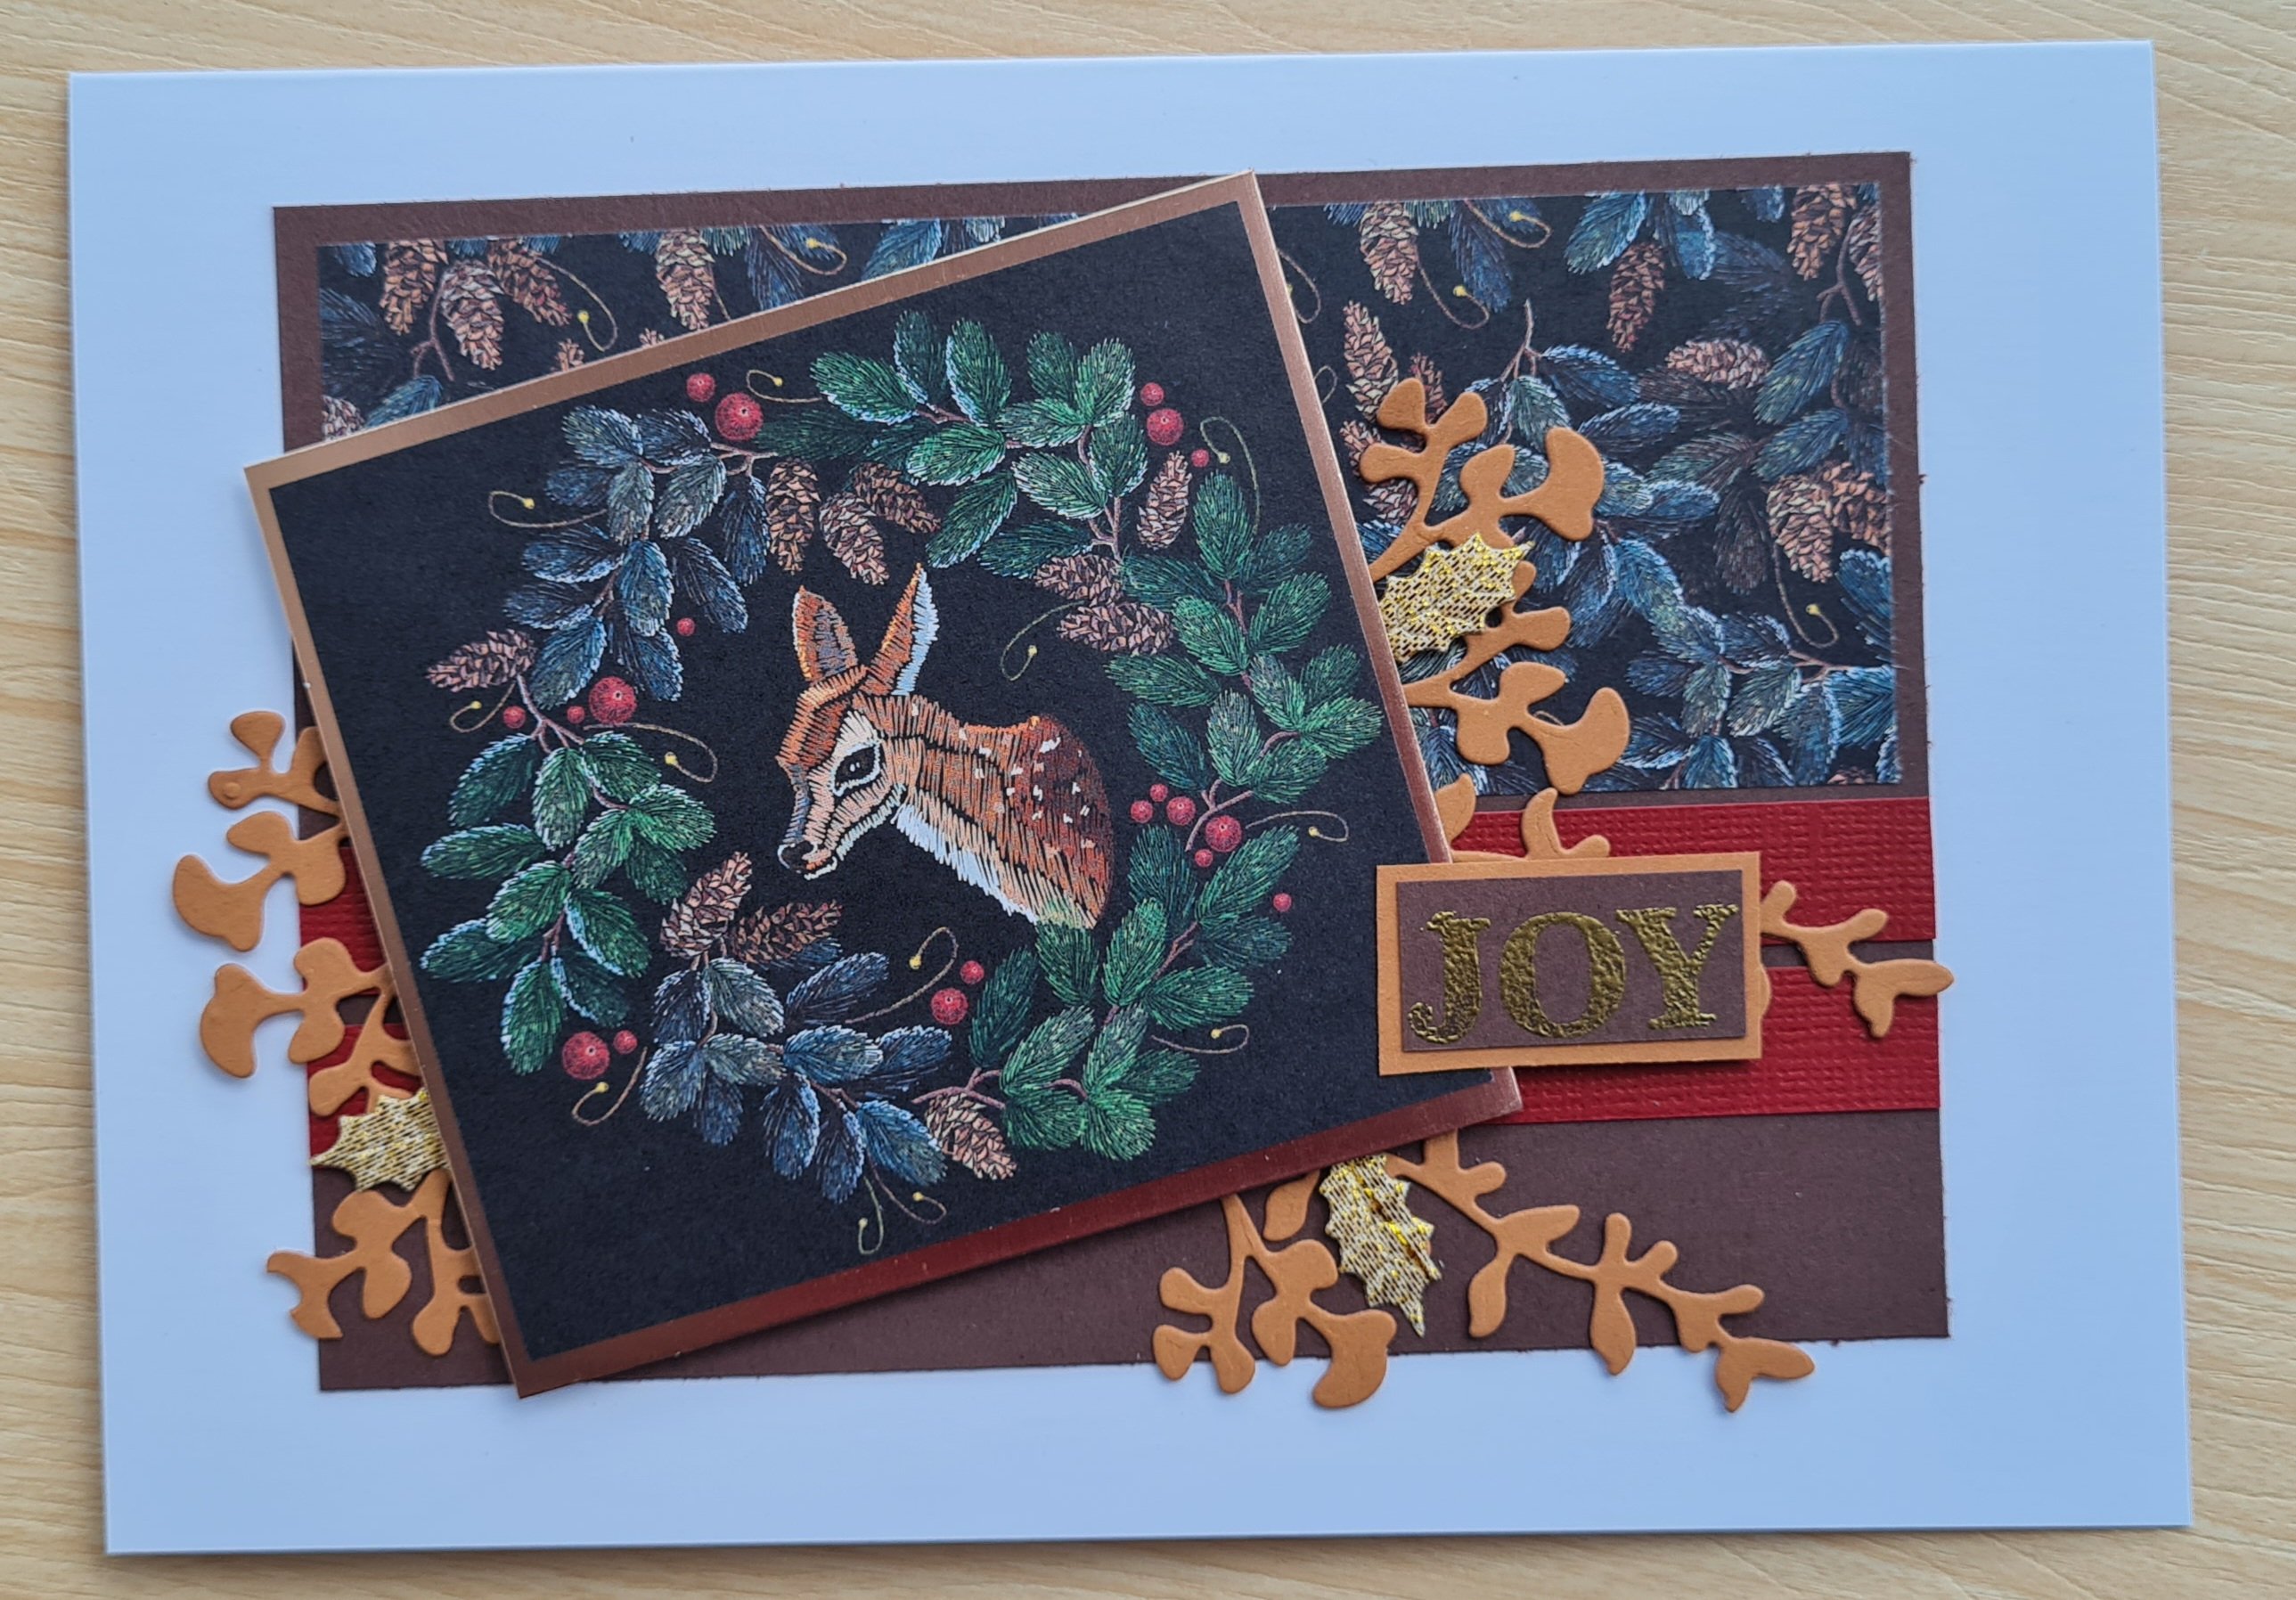
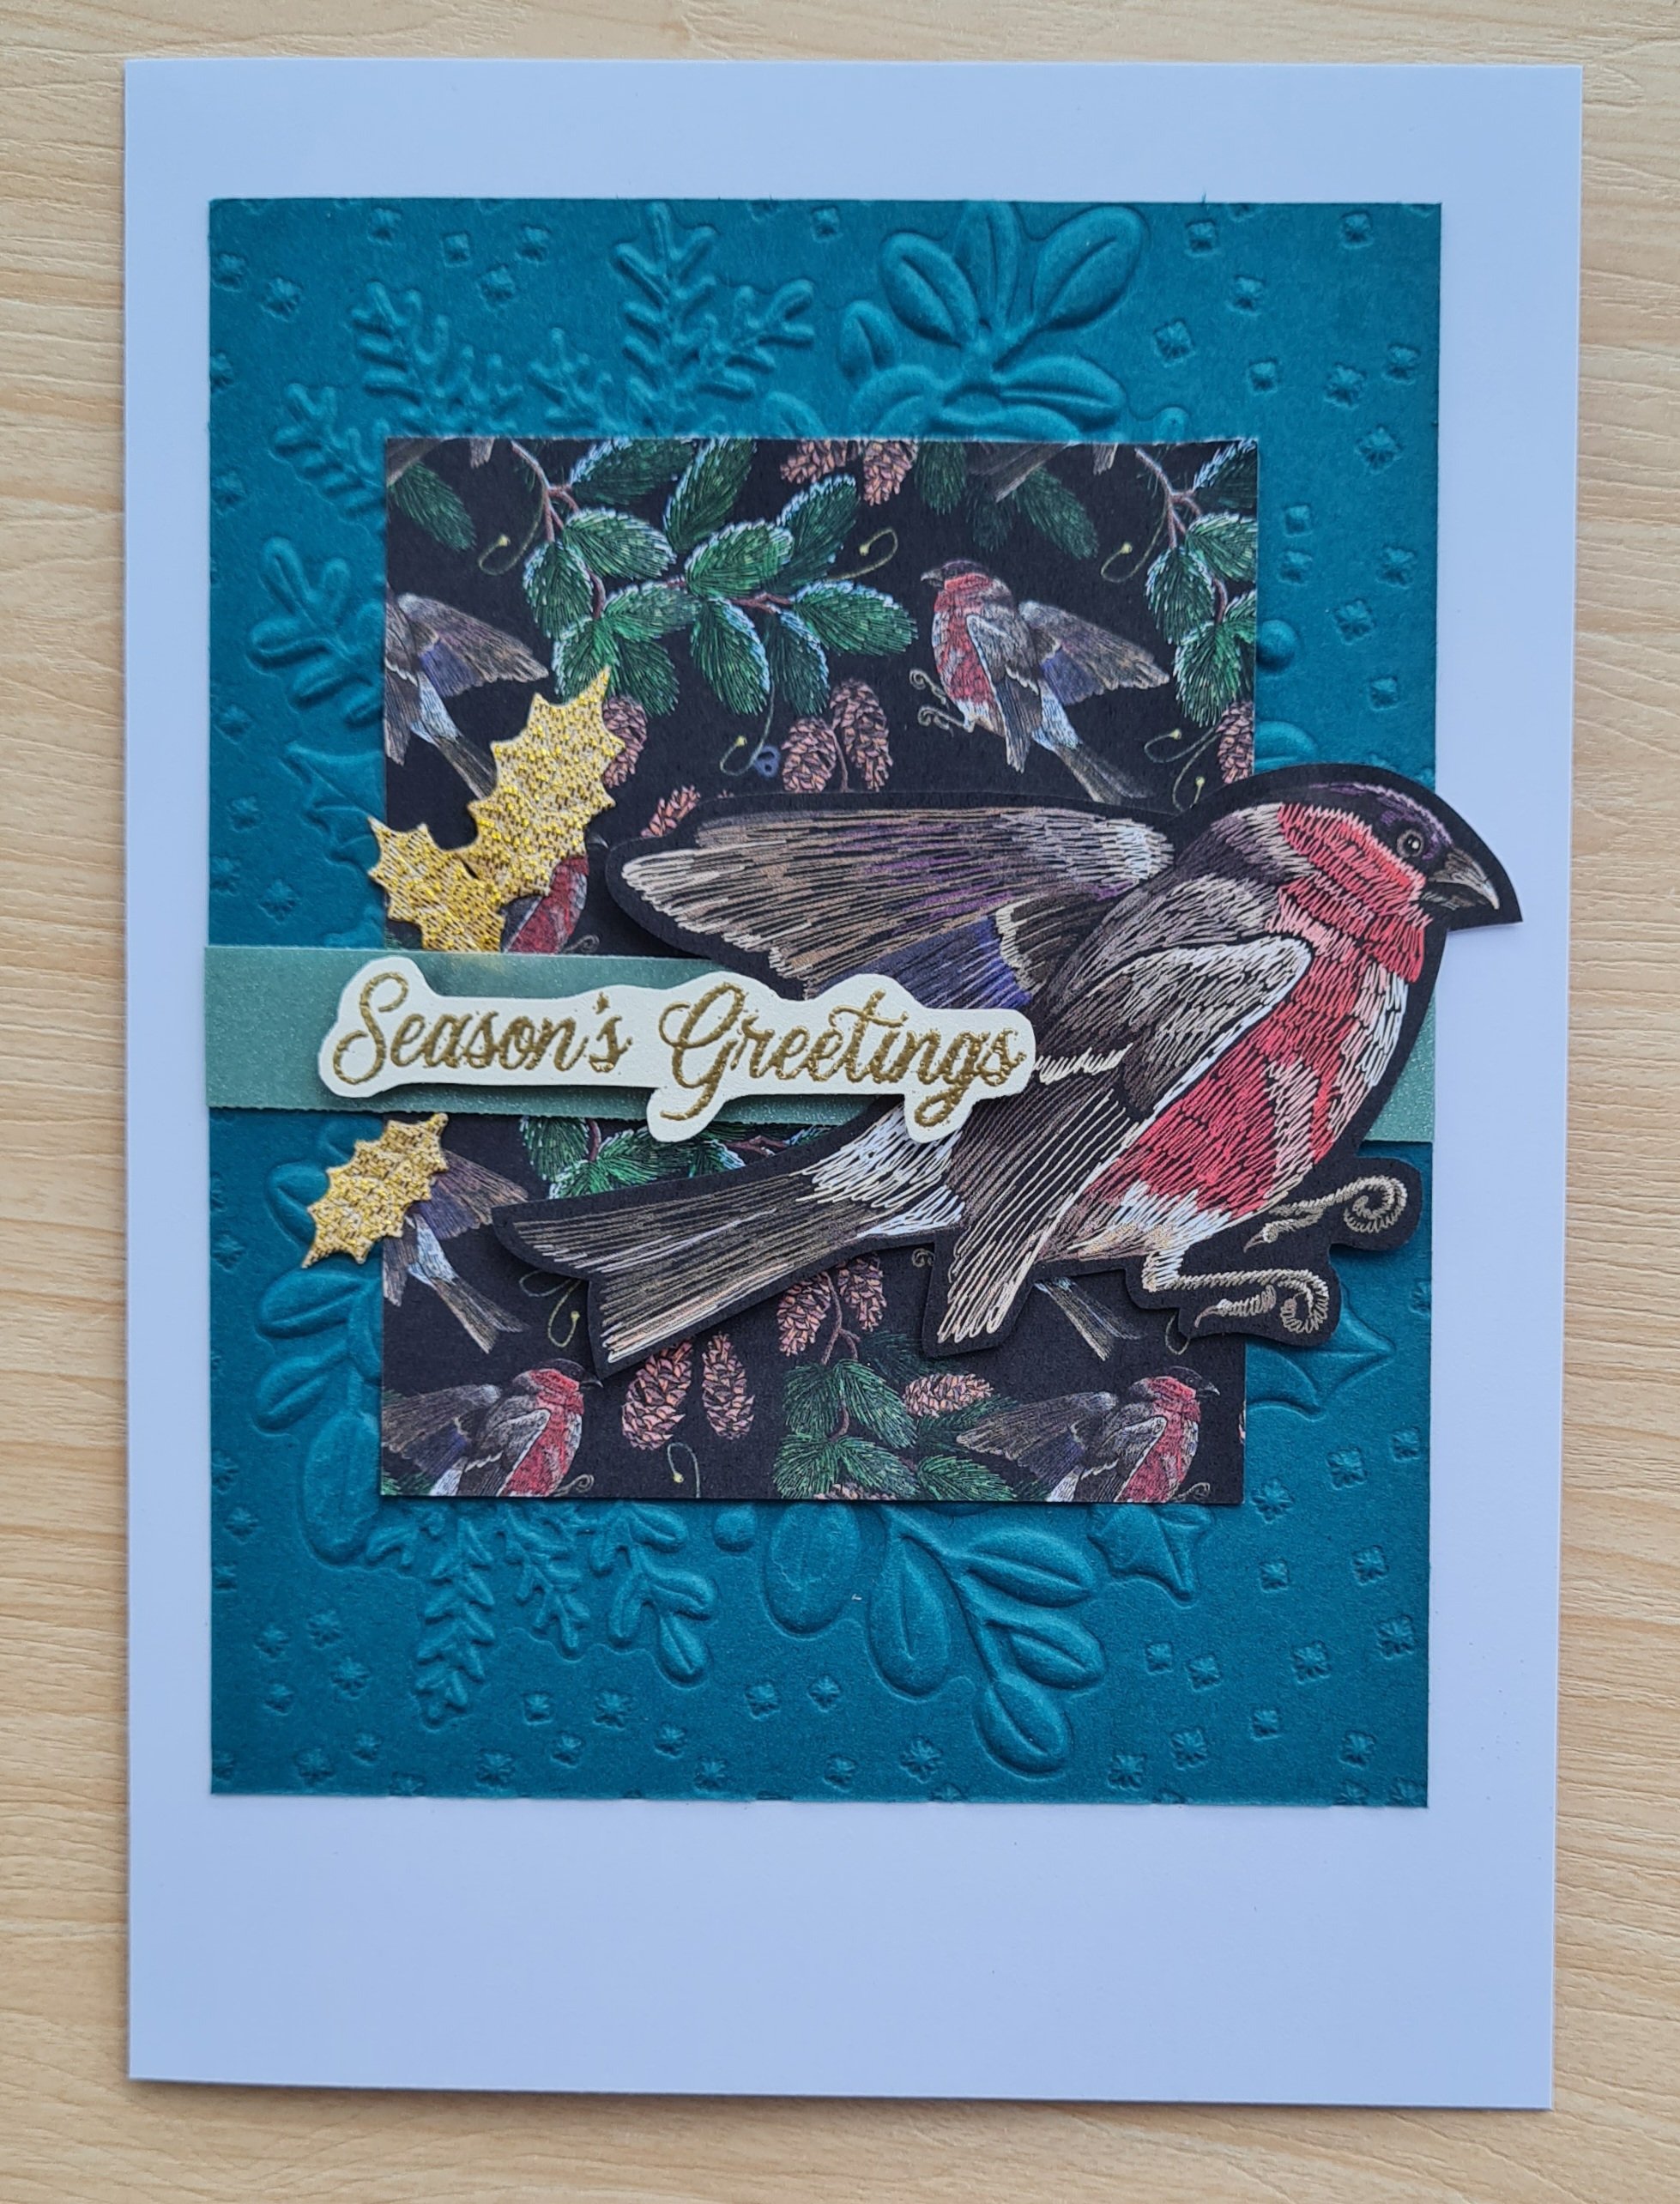
I decided to keep it quite ‘simple’ with an embossed background and then stamped images. Even though the stamped images could be die cut I actually fussy cut them as I was in the mood for it and die cutting sometimes is difficult to line them up straight.
I stamped all the leaves from a selection of greens and then the berries from cherry cobbler and the pine cones in early espresso and soft suede. I must admit my brown inks are quite dry now though so they did stamp quite lightly.
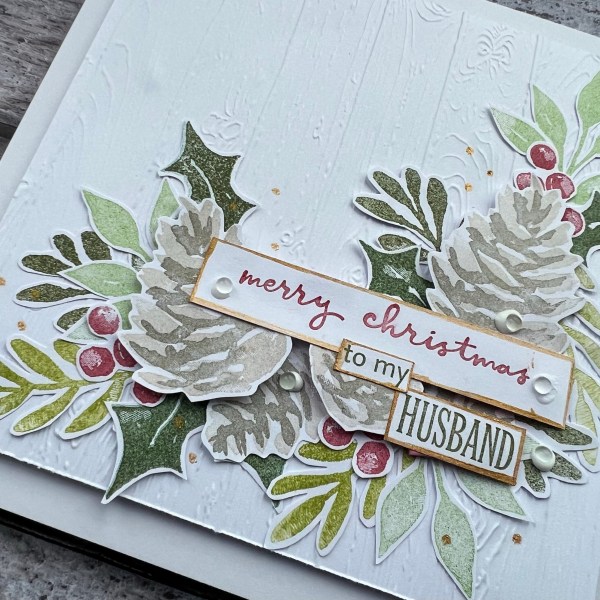
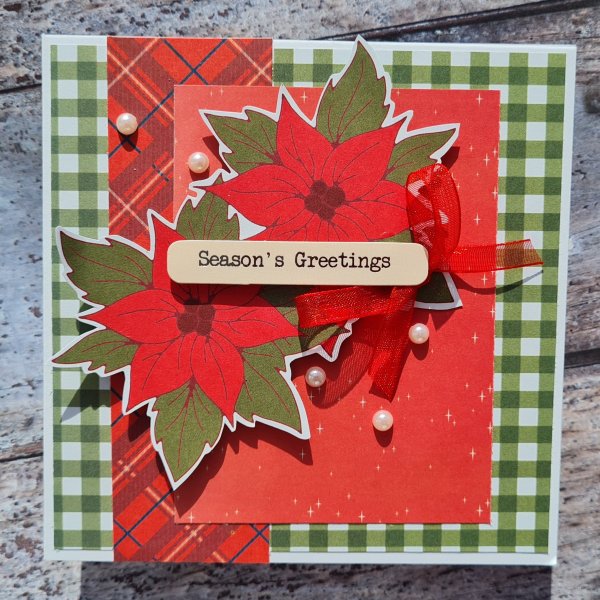
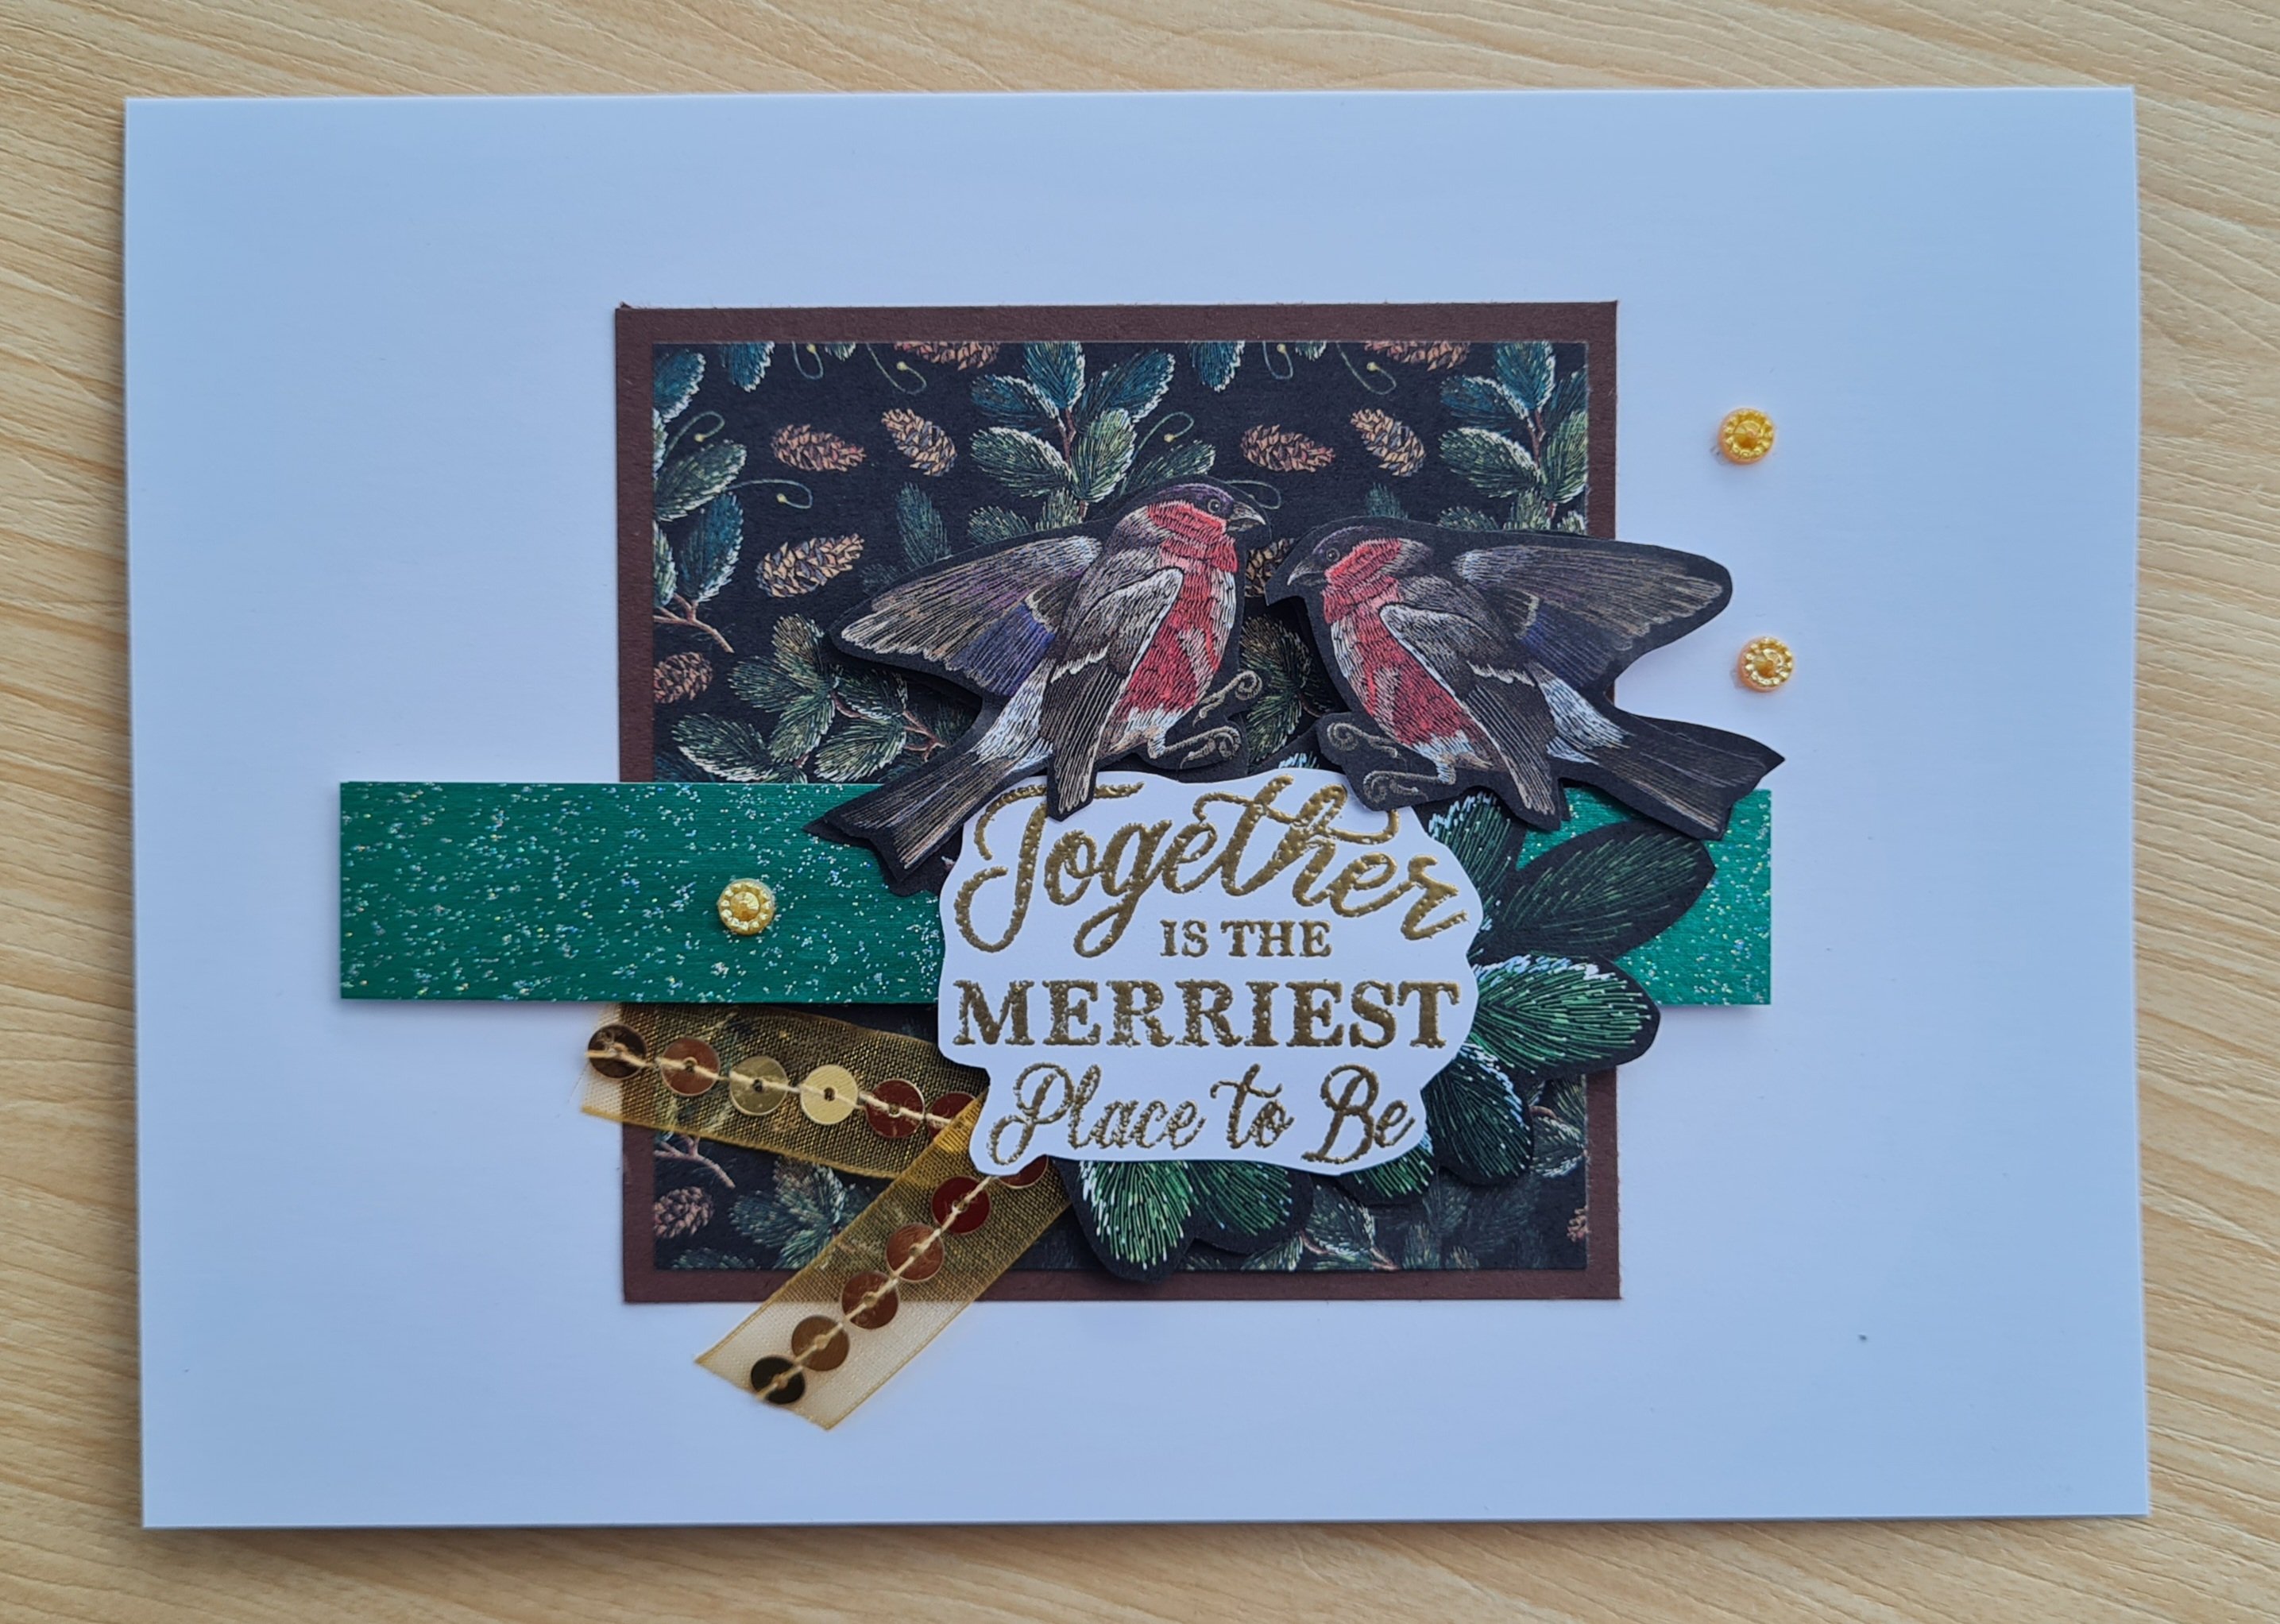
I raised a few of the pine cones up on foam to give dimension and then the sentiment I cut into strips and added some gold paint pen to the edges to add some shine. I also dotted the gold pen around the cluster.
I finished with the clear gems which as I say I took the pic whilst the glue was still drying but the dried glue is clear so it doesn’t look as messy!
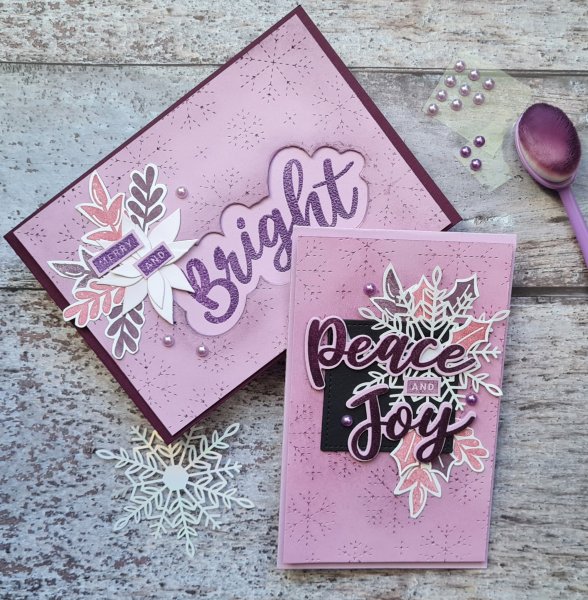
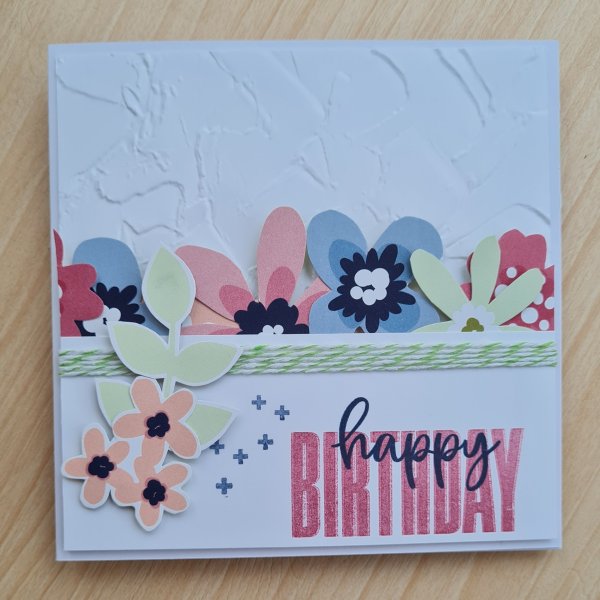
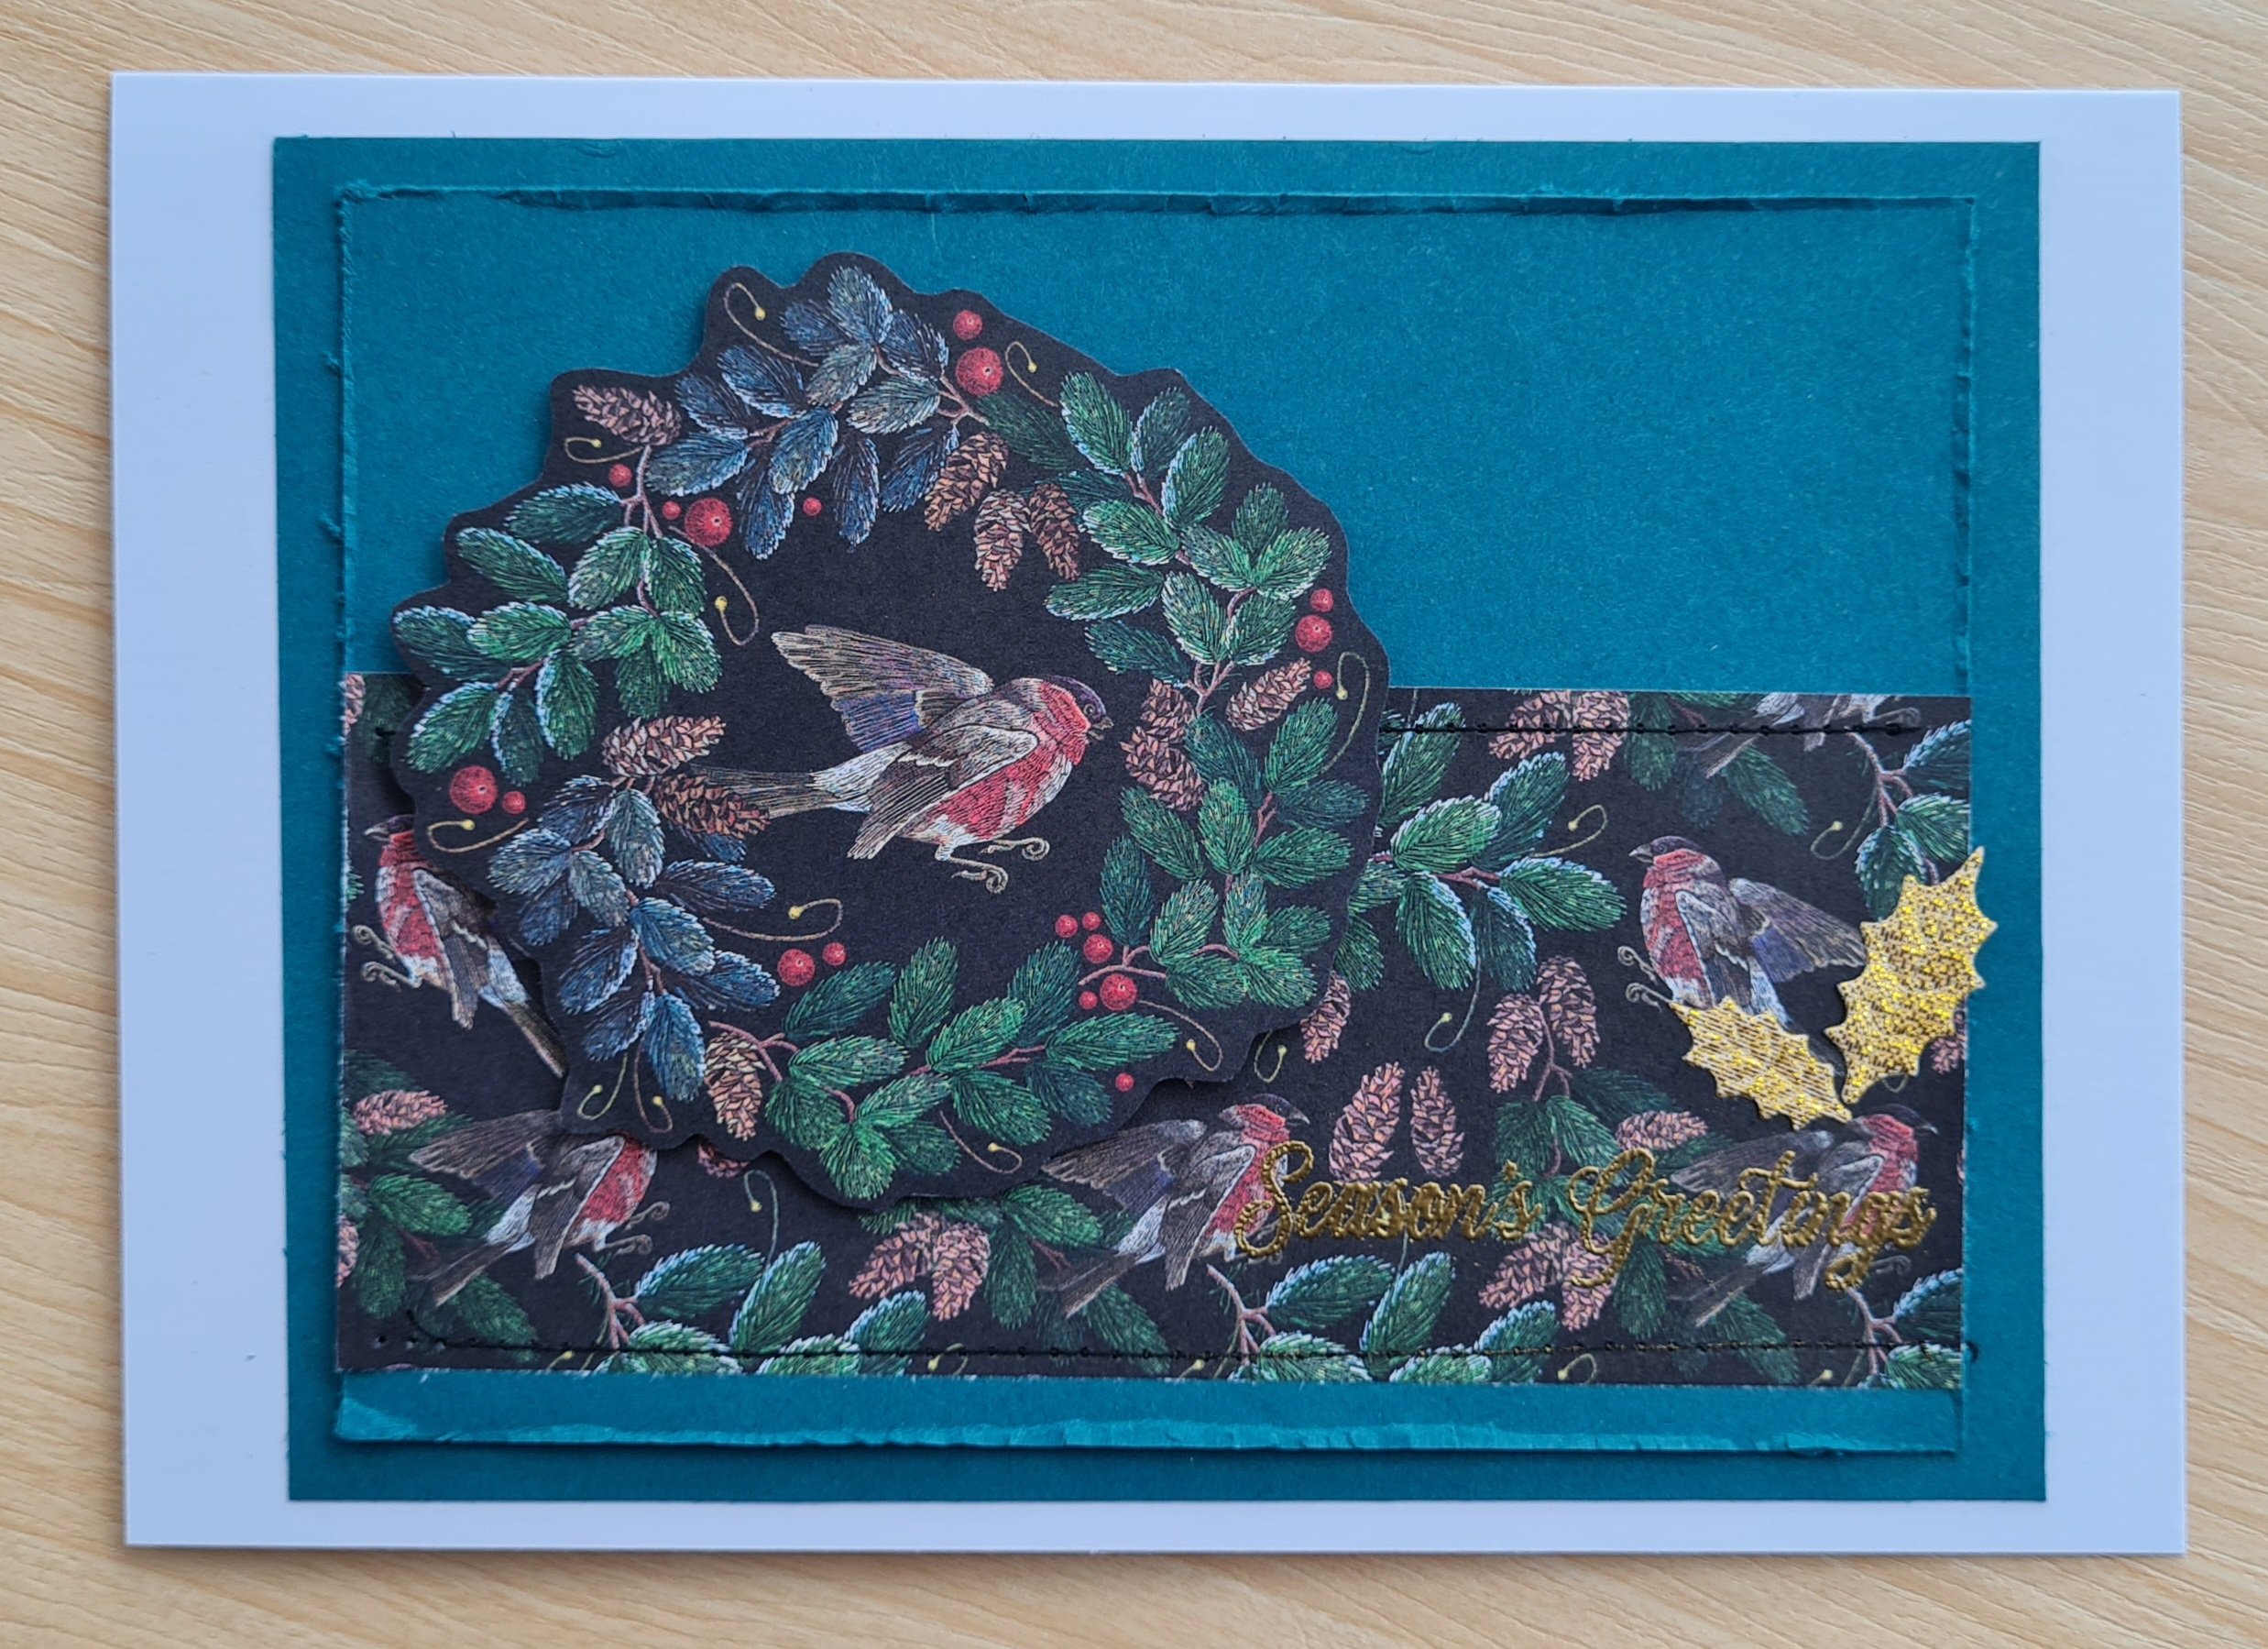
Edit… took a pic of it on display so you can see it without the messy glue.

I raised the whole panel up on foam. This is a larger card (7×7 card blank) so the card blank frames the panel well.
Ok so that is the final card for this Christmas and whilst I don’t currently feel well enough to craft at the moment I am definitely thinking ahead to what 2023 crafting might bring.
Thank you so much for joining me for my crafty exploits this year and if I get a chance I will pop back again post Christmas festivities to let you know how Christmas went and any plans I may have made.
Happy Christmas!
Catherine