I made another card using distress oxide inks and some stamps.
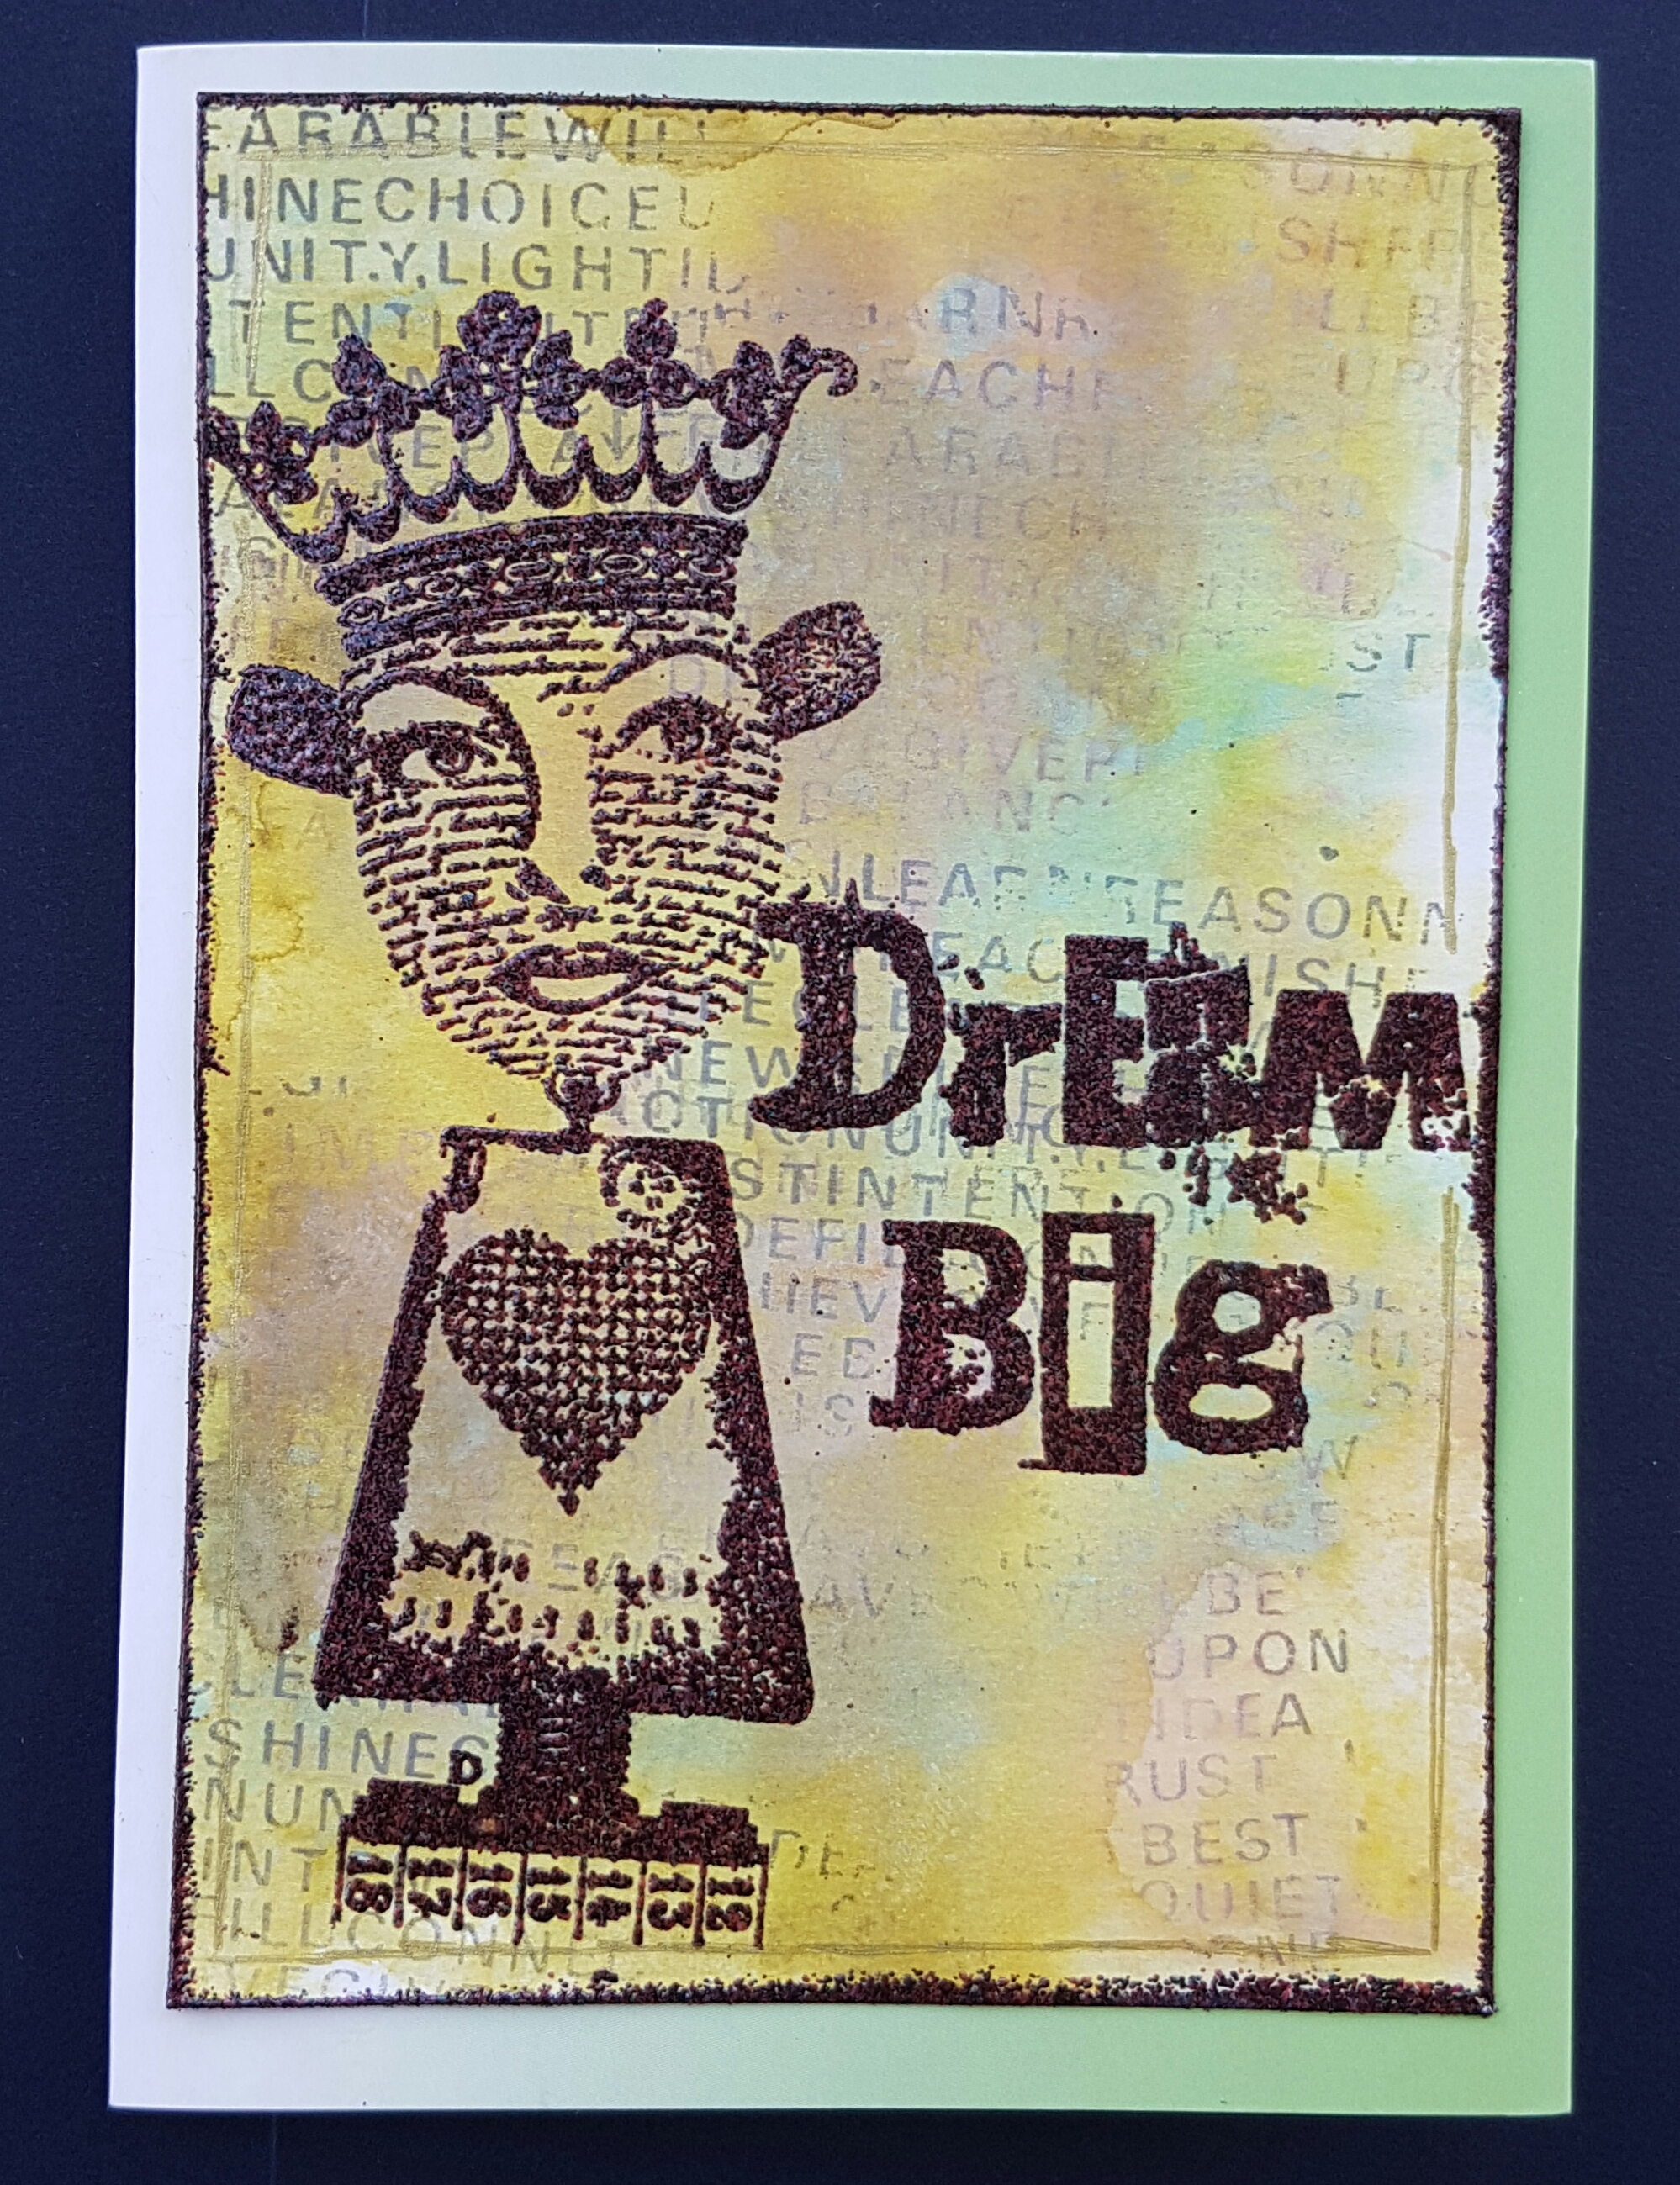 I love the layers of stamping and the embossing for the top stamping and edging.
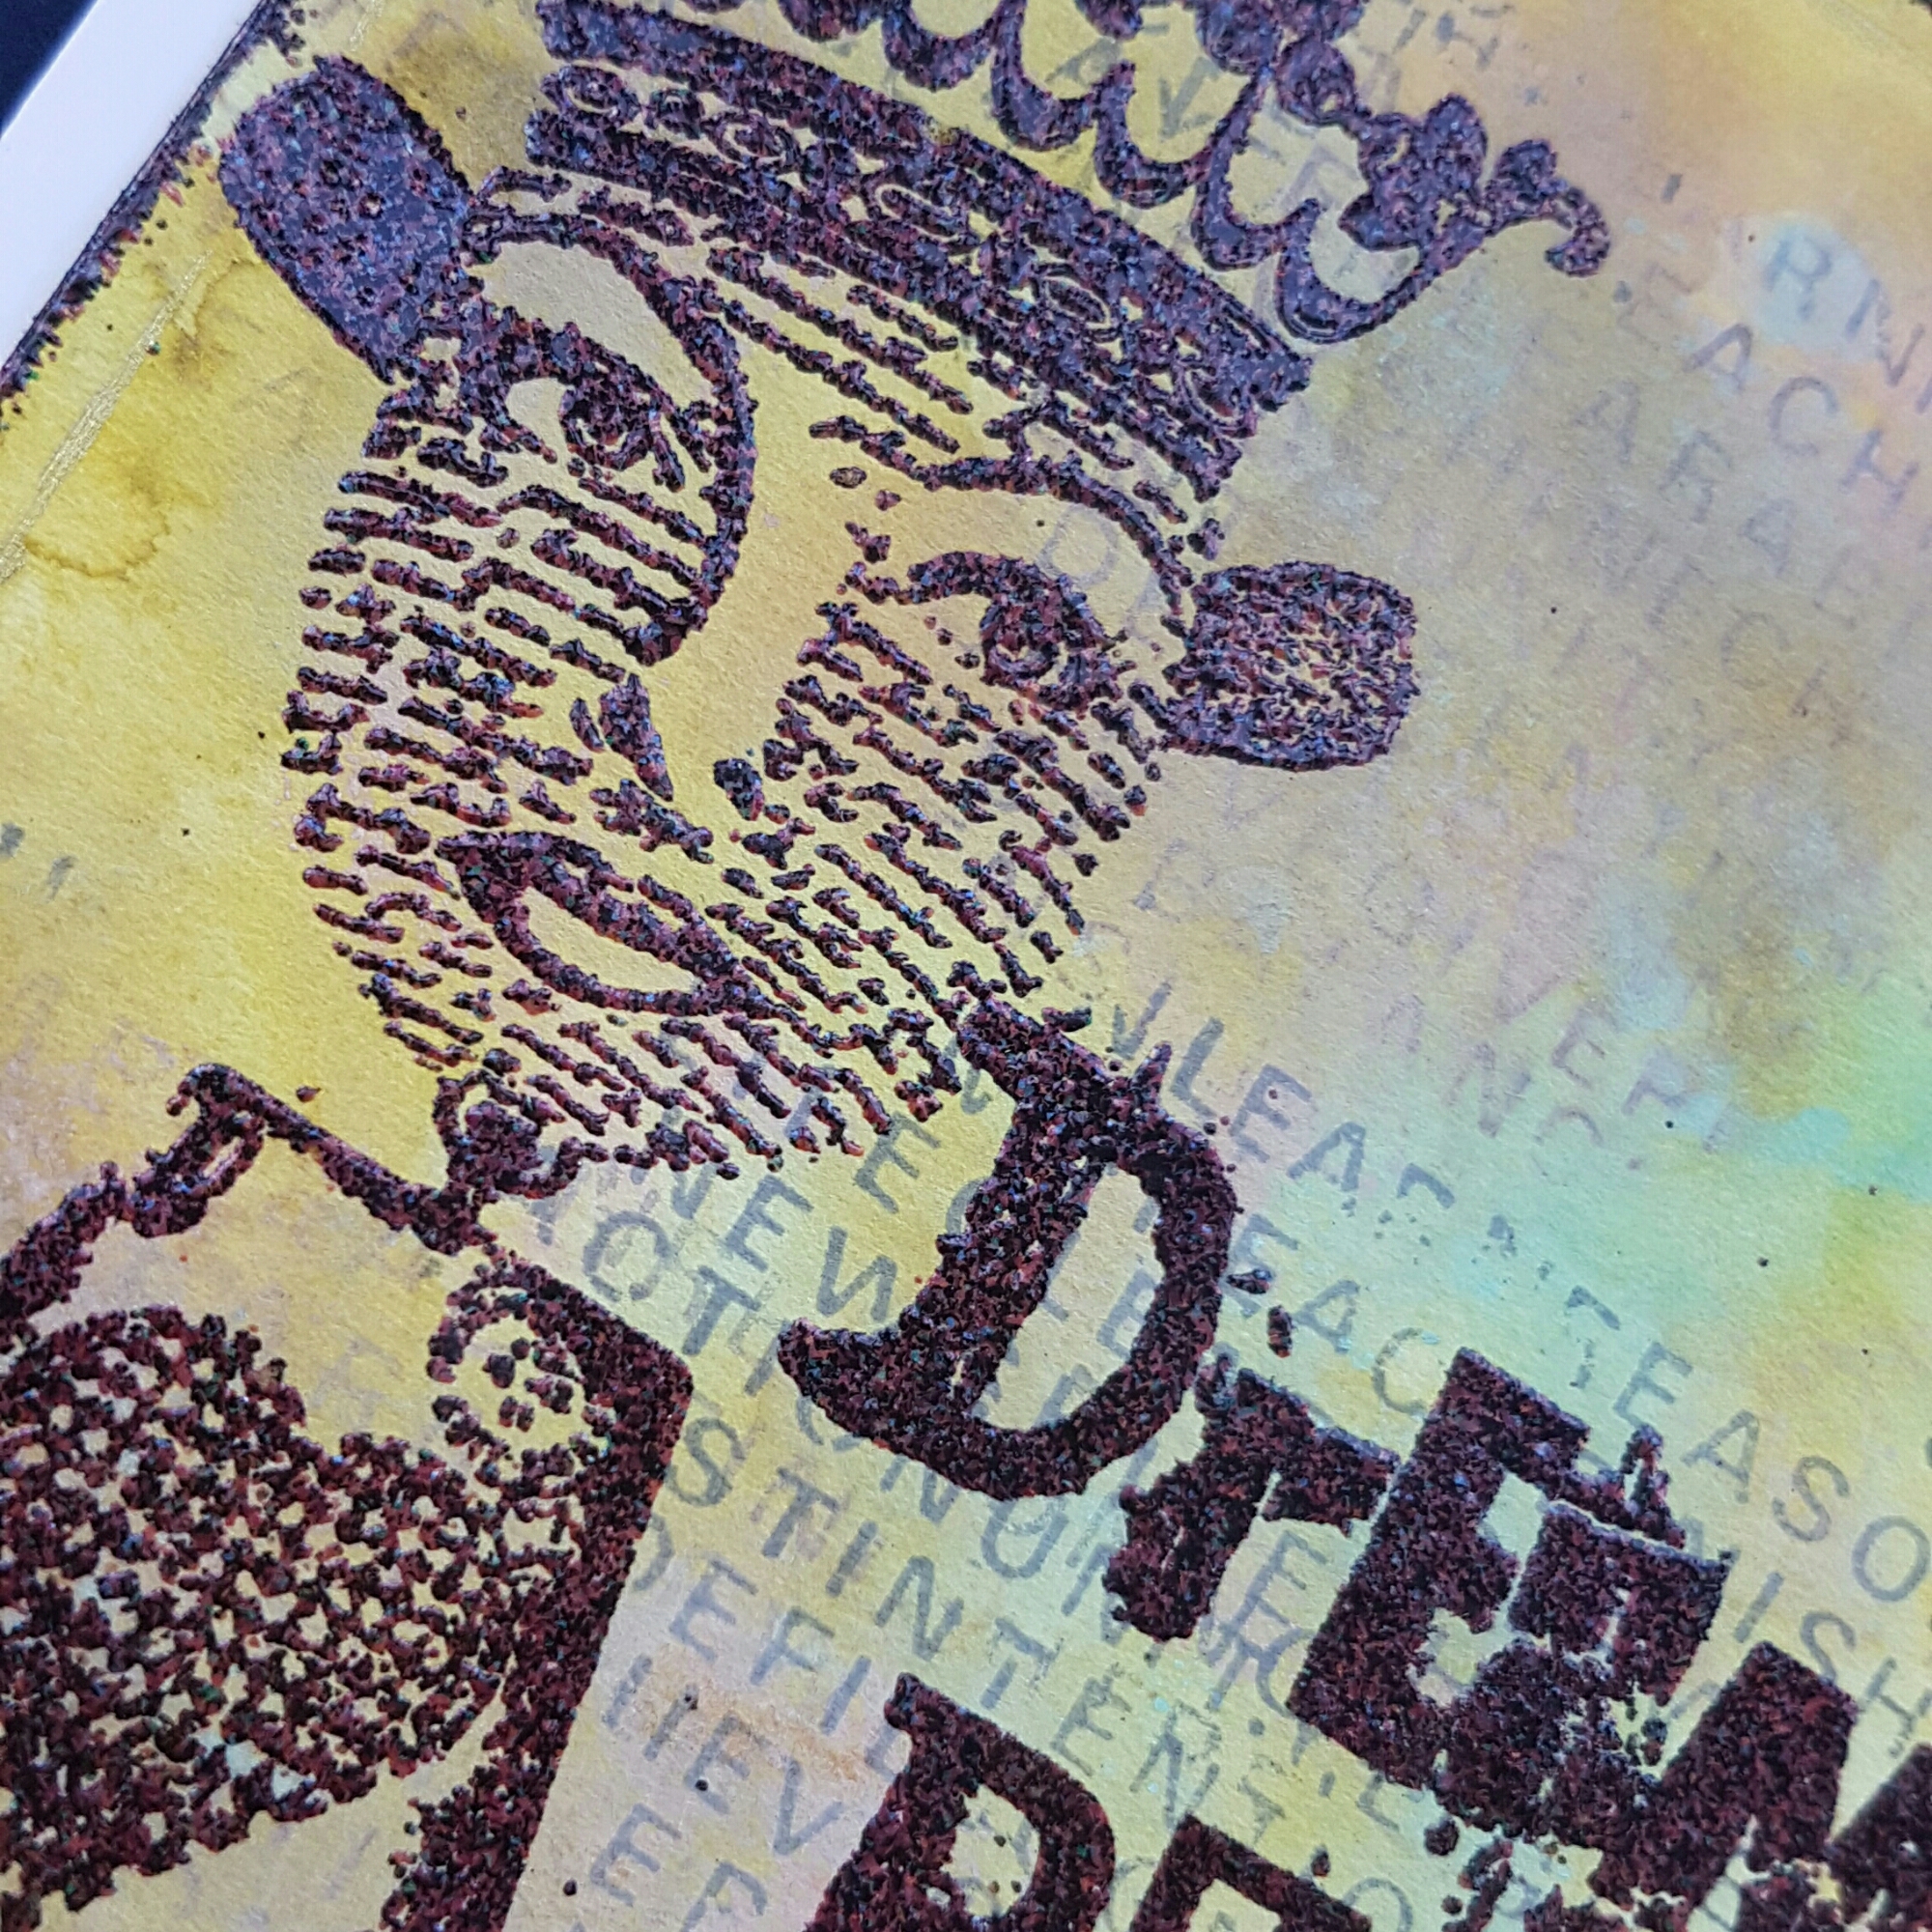
I just adore distress oxides. They are so easy to create fab backgrounds.
Happy crafting!
Catherine

Being inky and creating pretty stuff
I made another card using distress oxide inks and some stamps.
I love the layers of stamping and the embossing for the top stamping and edging.
I just adore distress oxides. They are so easy to create fab backgrounds.
Happy crafting!
Catherine
I’m participating in another swap! This time it’s a Facebook group which focuses on Brushos and pigment powders. The theme for the swap is Spring.
I started with this one…
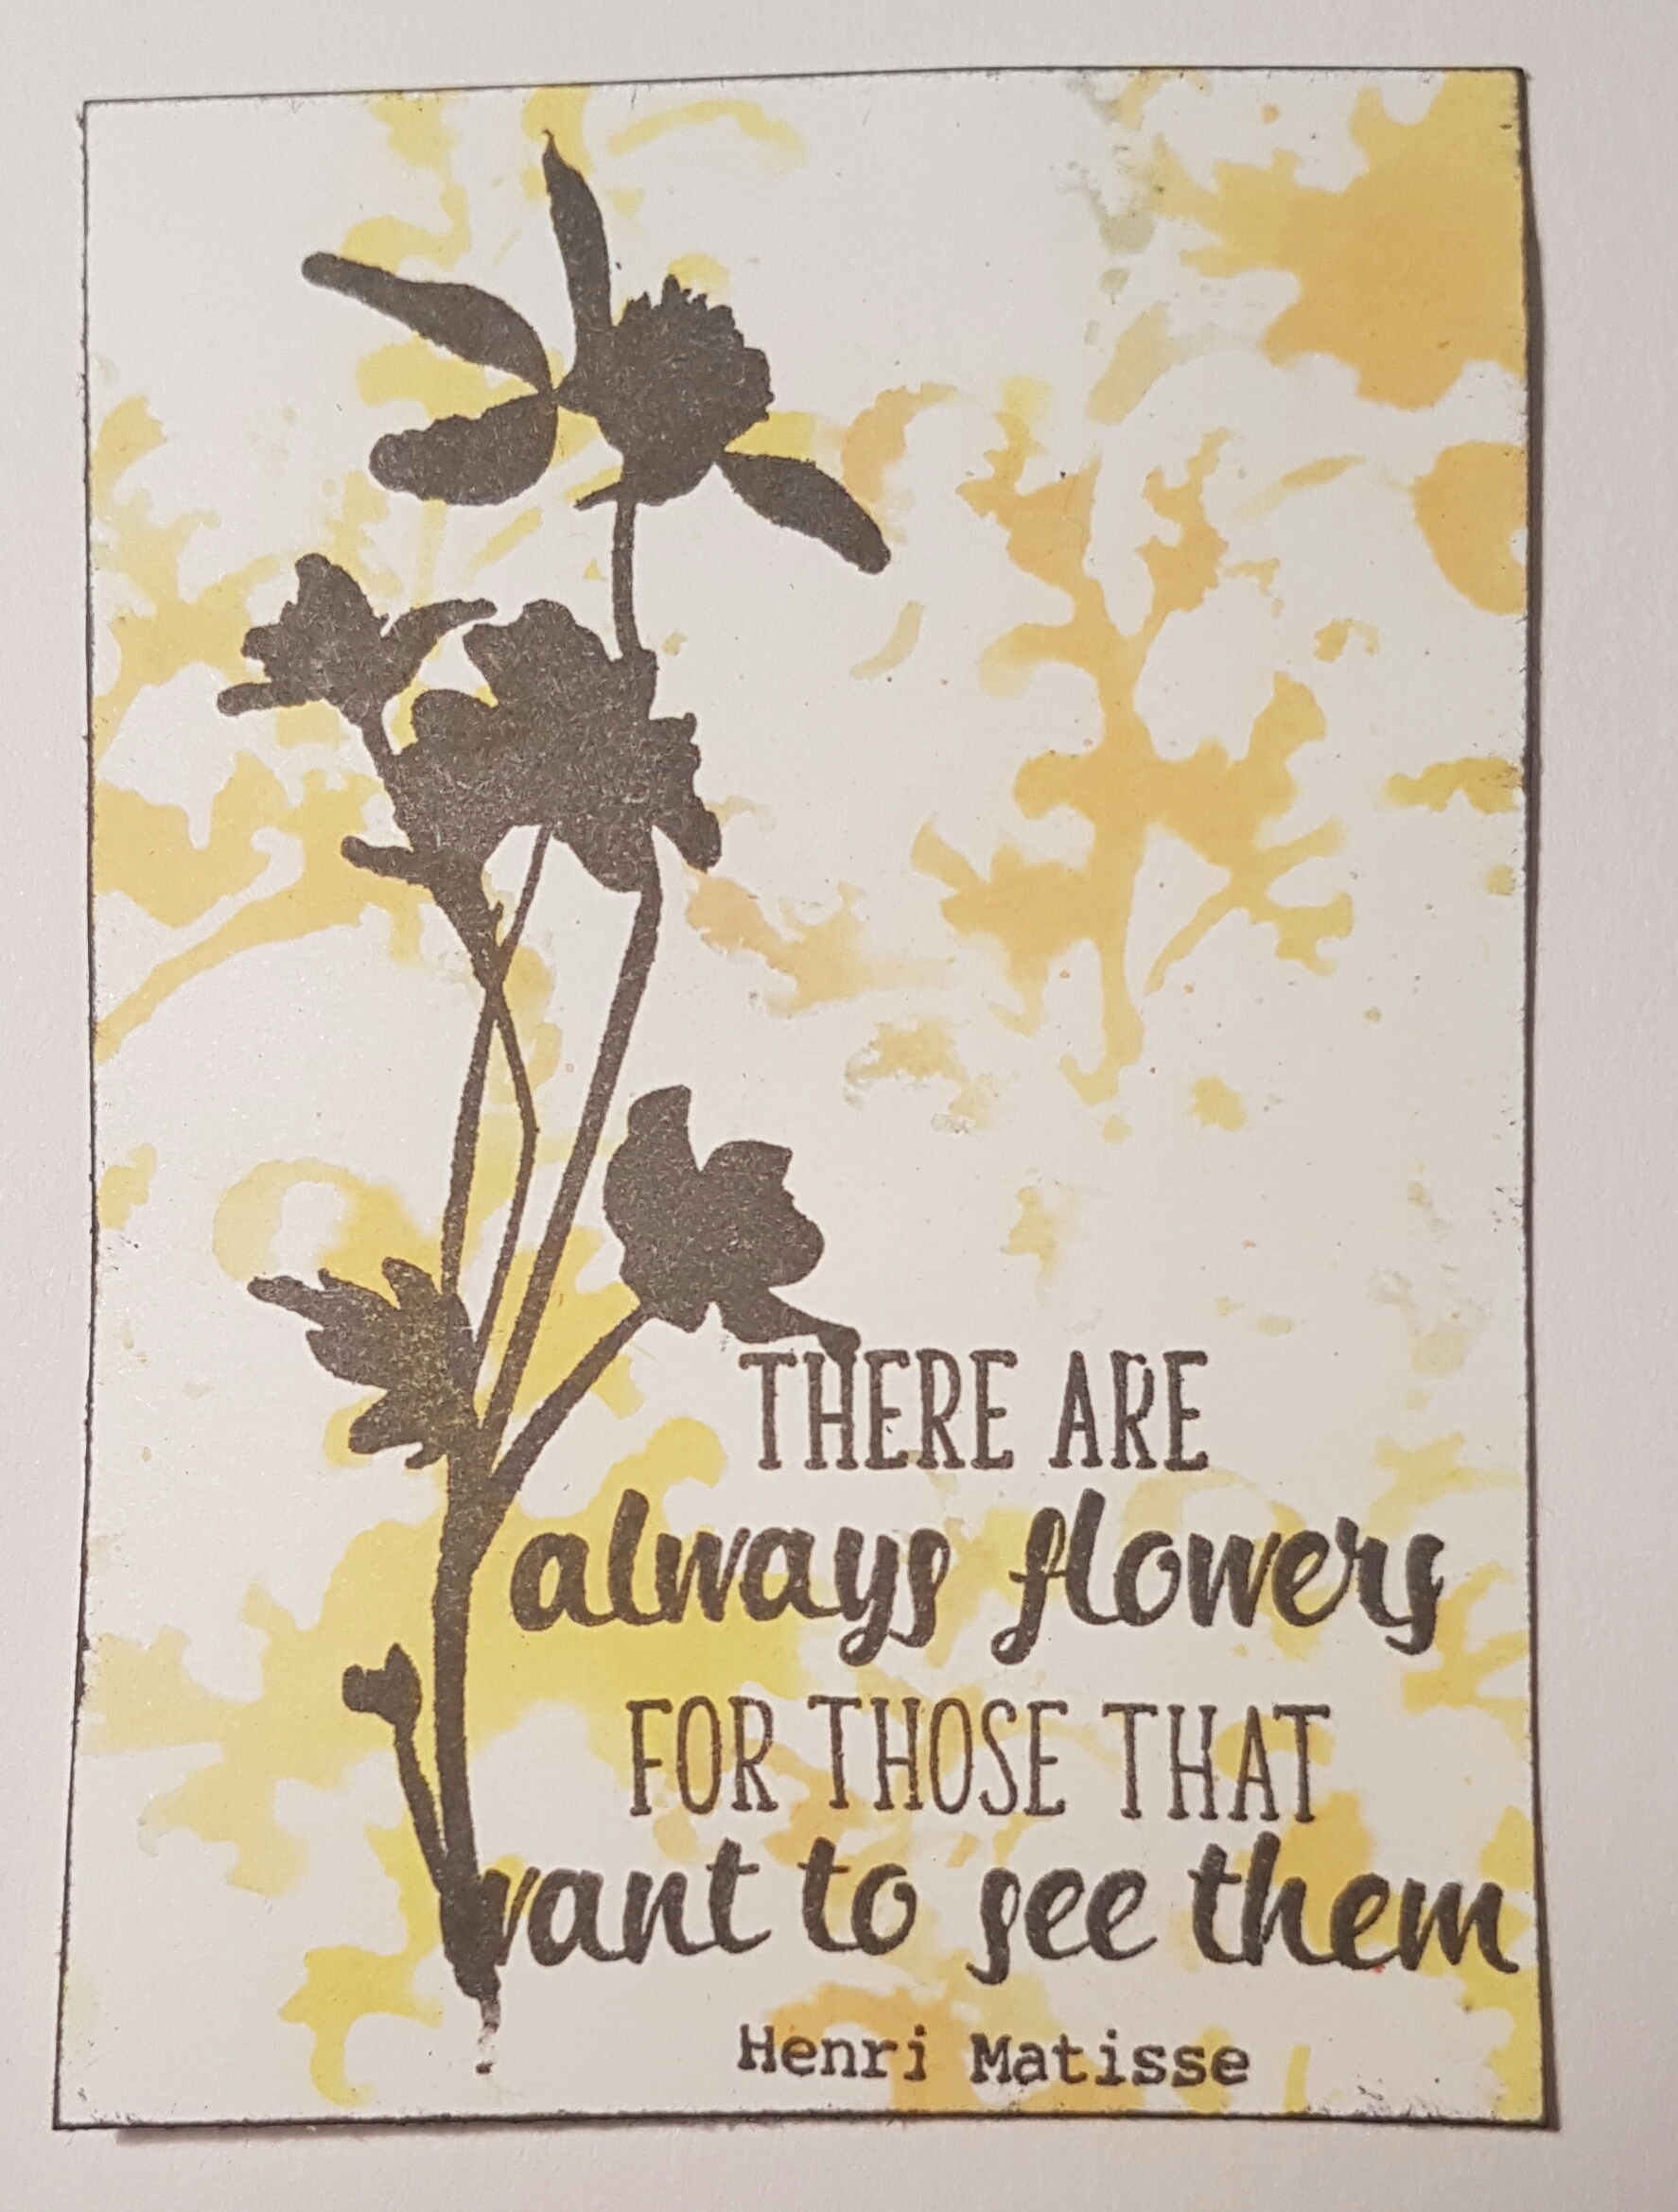
I used the Brushos to sprinkle through a stencil. This was Gamboge and Lemon.
I finished it with a simple silhouette stamp and a quote.
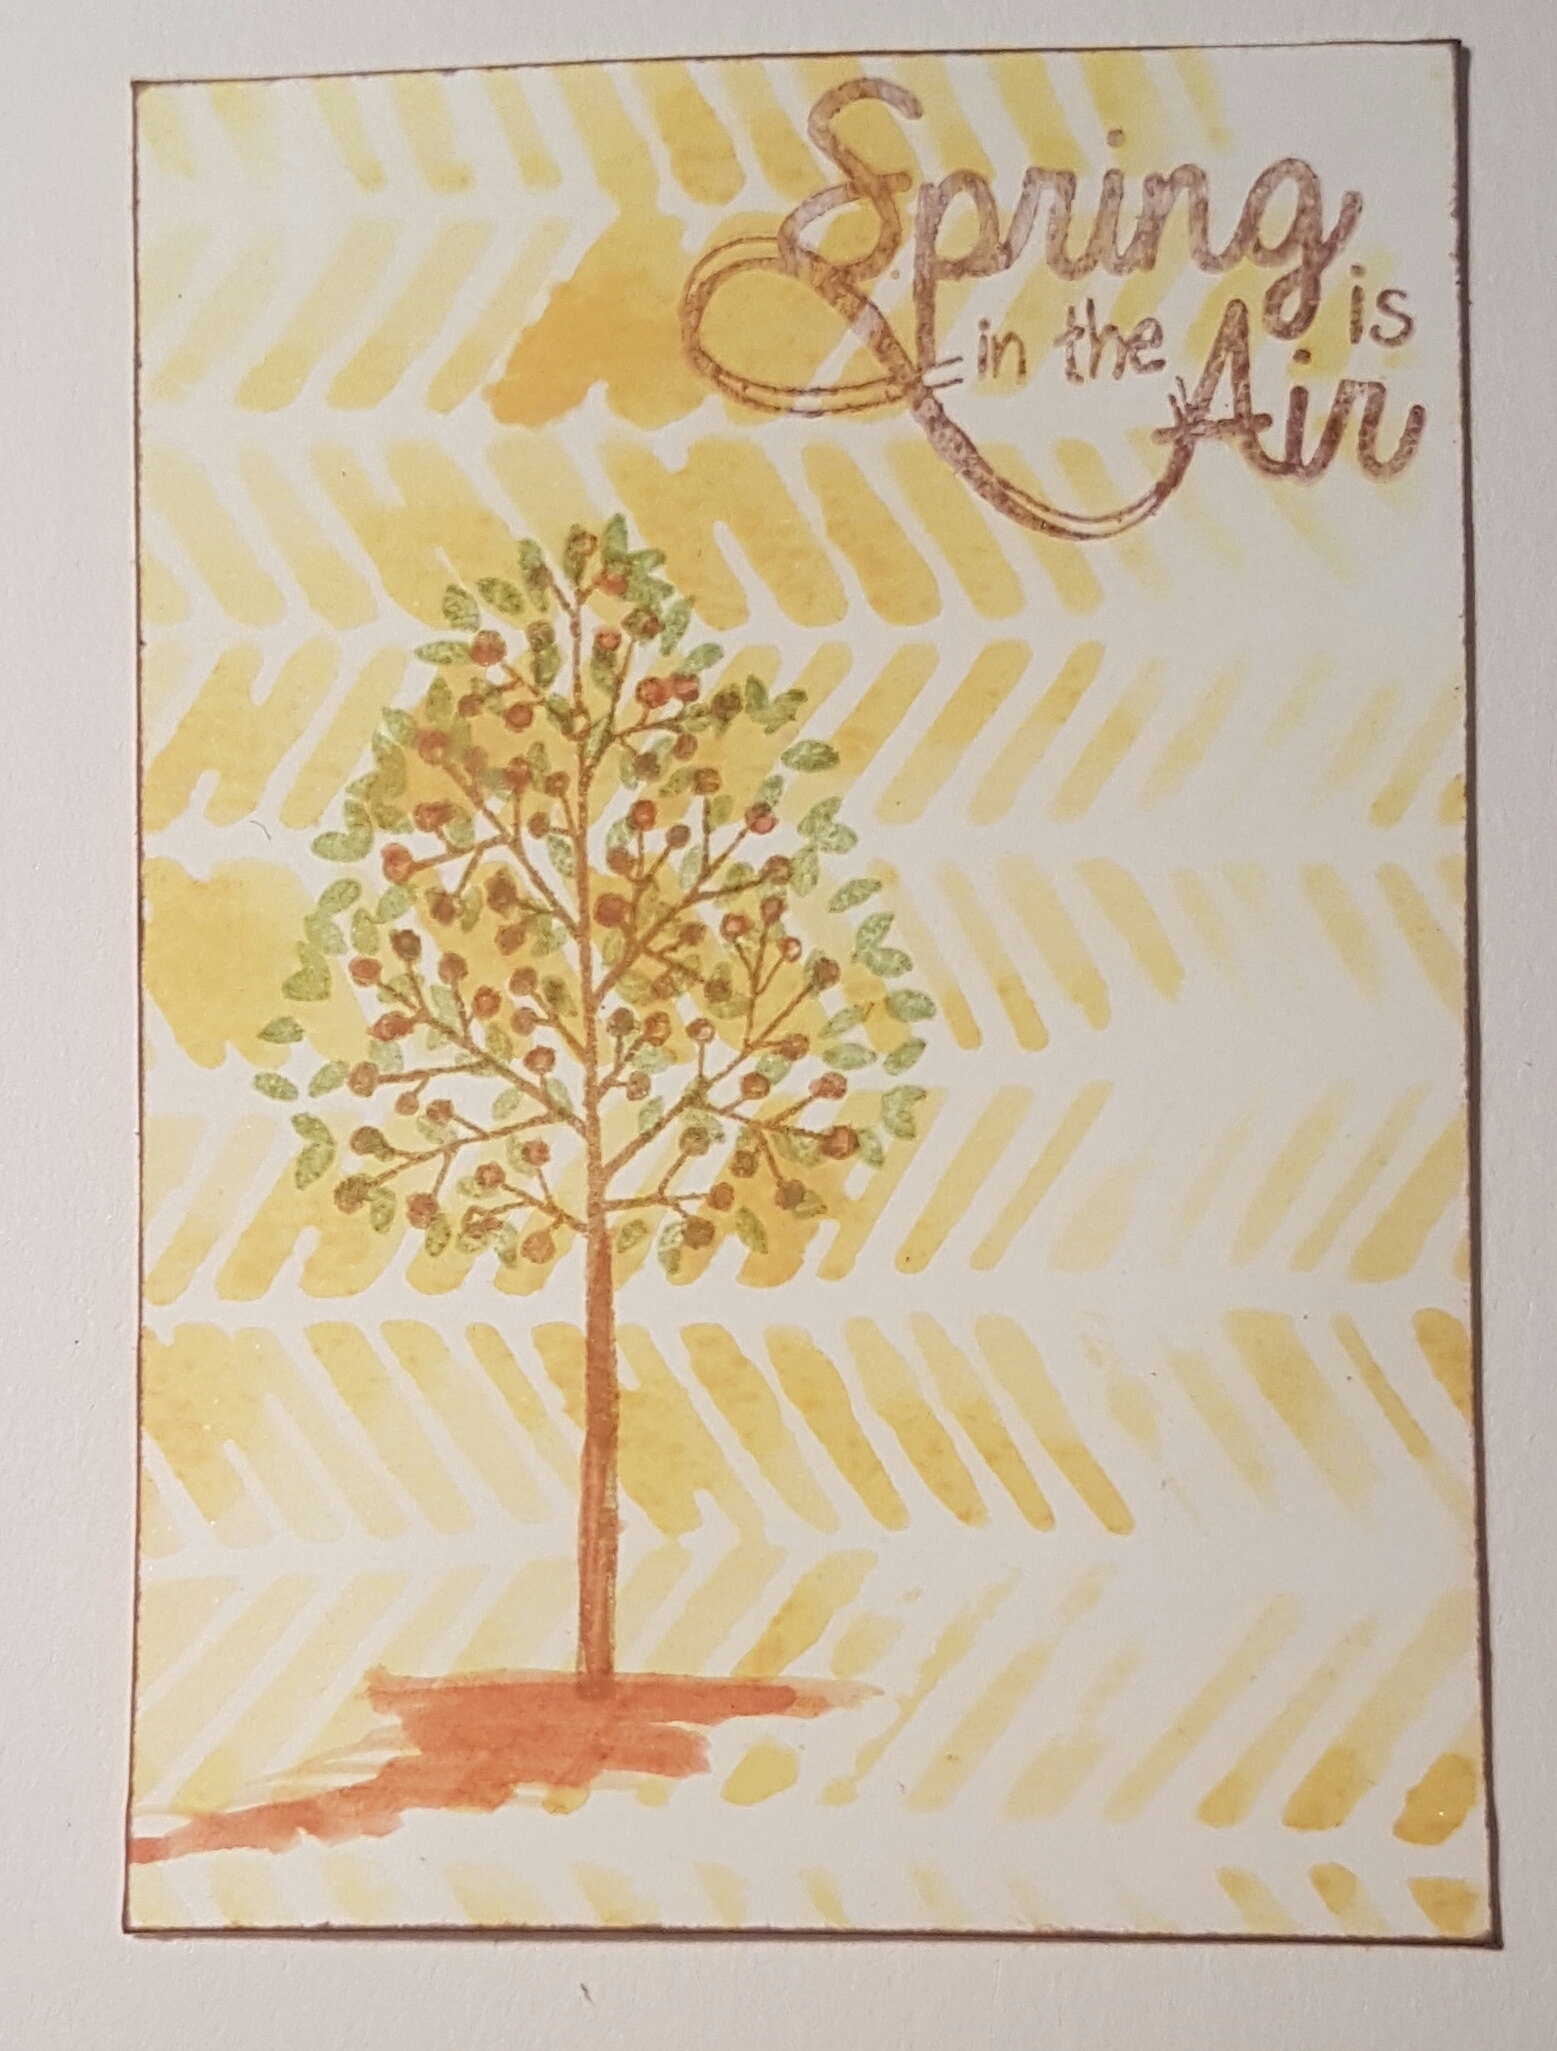
Next I used Brushos to stamp the background. I love the way this works and the watercolour effect of the stamping. I finished with a Totally Trees stamps and then a bit of water colouring.
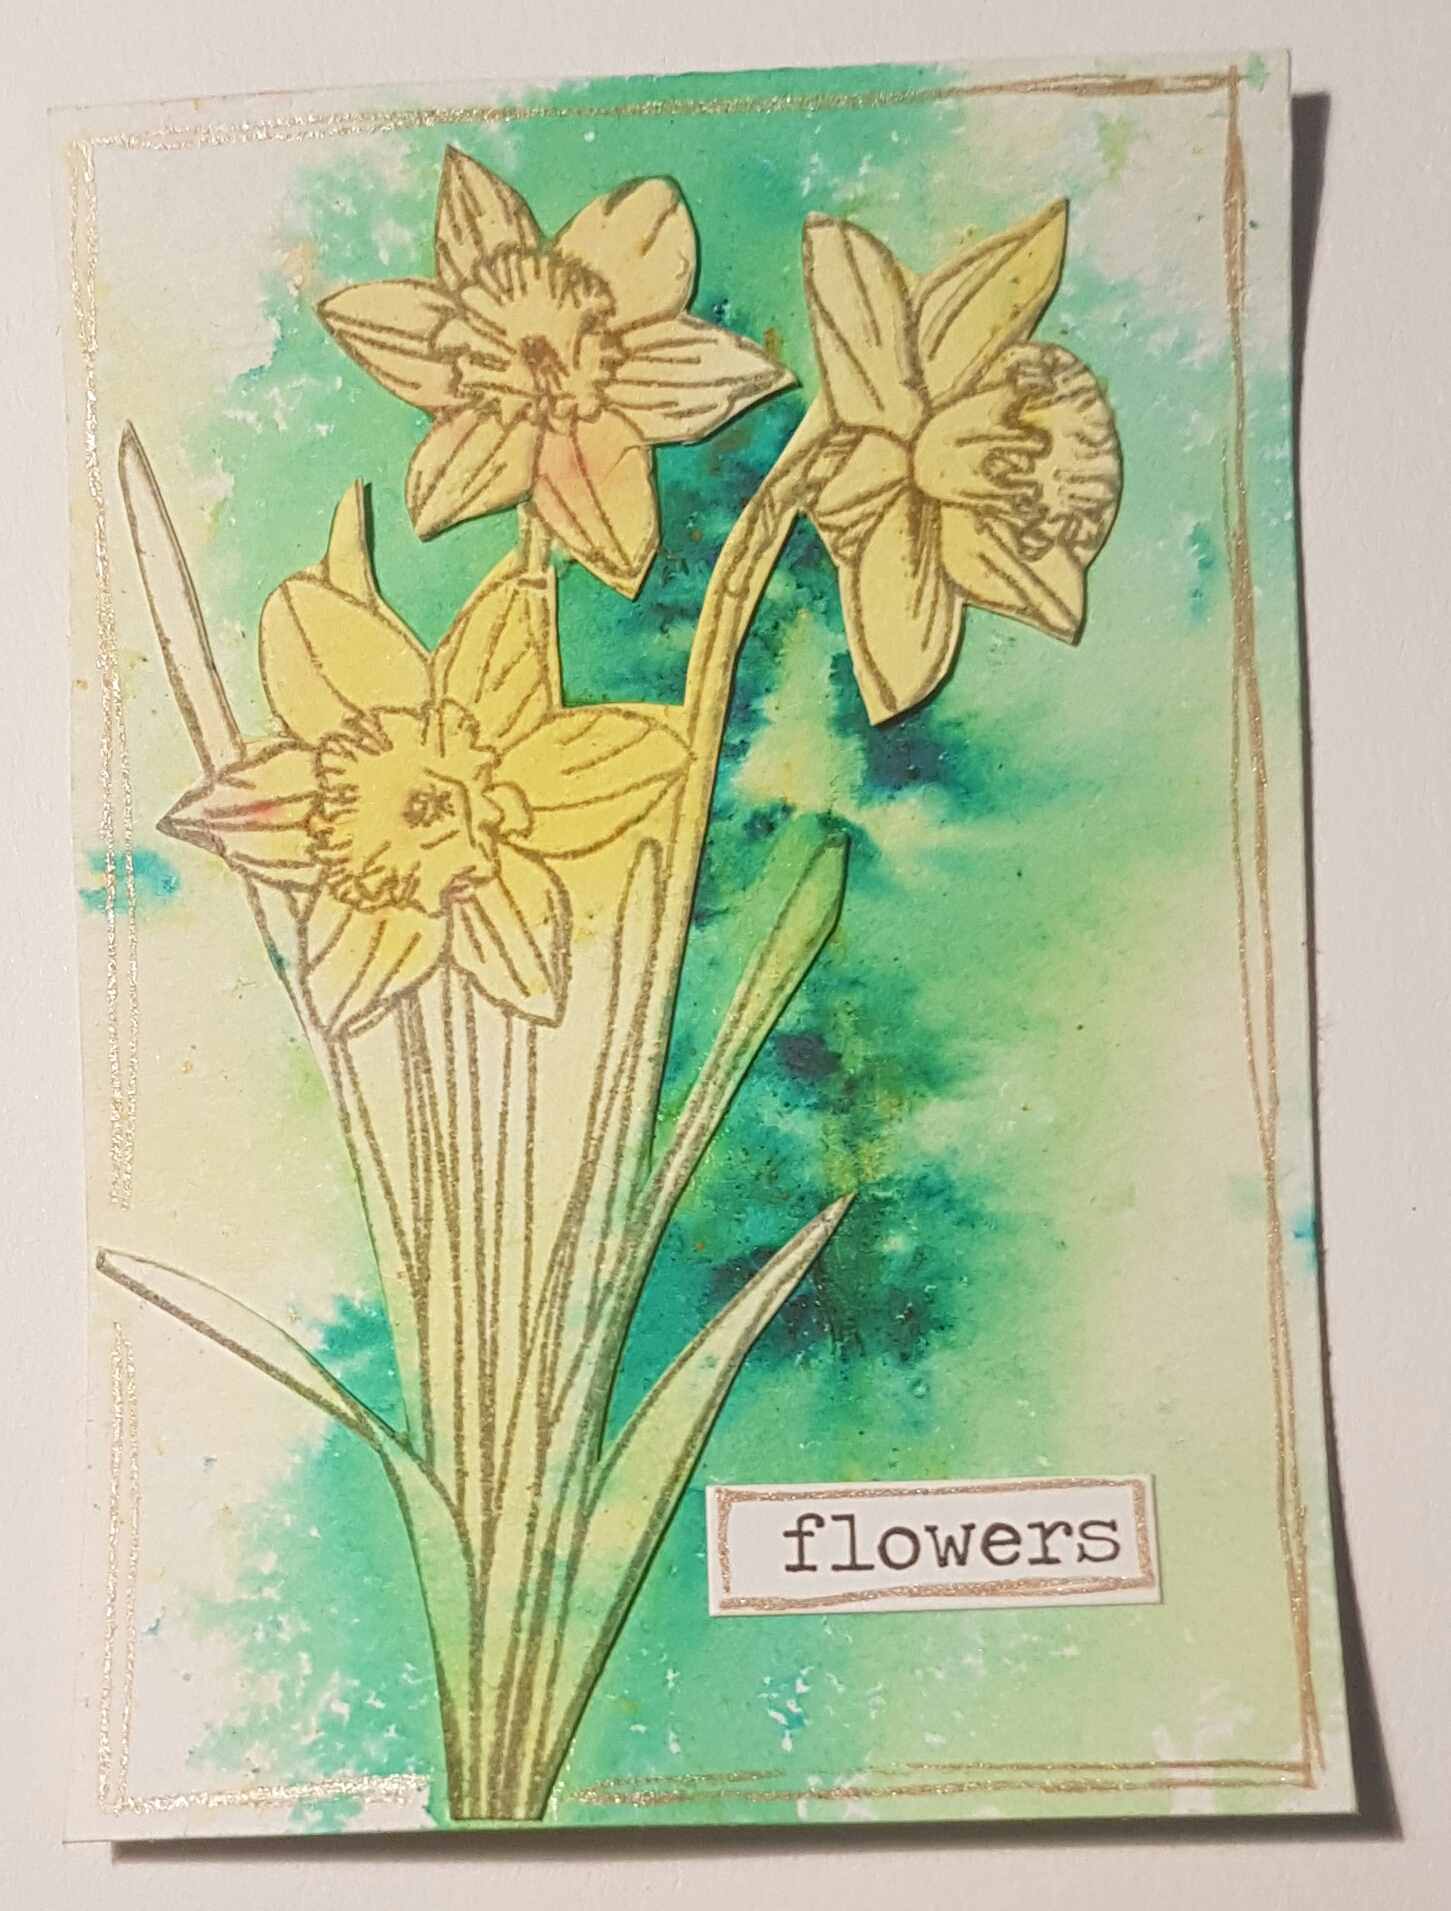 Now a background using the Brushos and then coloured in the stamped image using Brushos too!
Love how all of these came out.
Happy crafting!
Catherine
And another YouTube video done!
Feeling more confident with the app to edit the video now and hopefully this makes sense.
And here are pics of what I made at the end of the video…
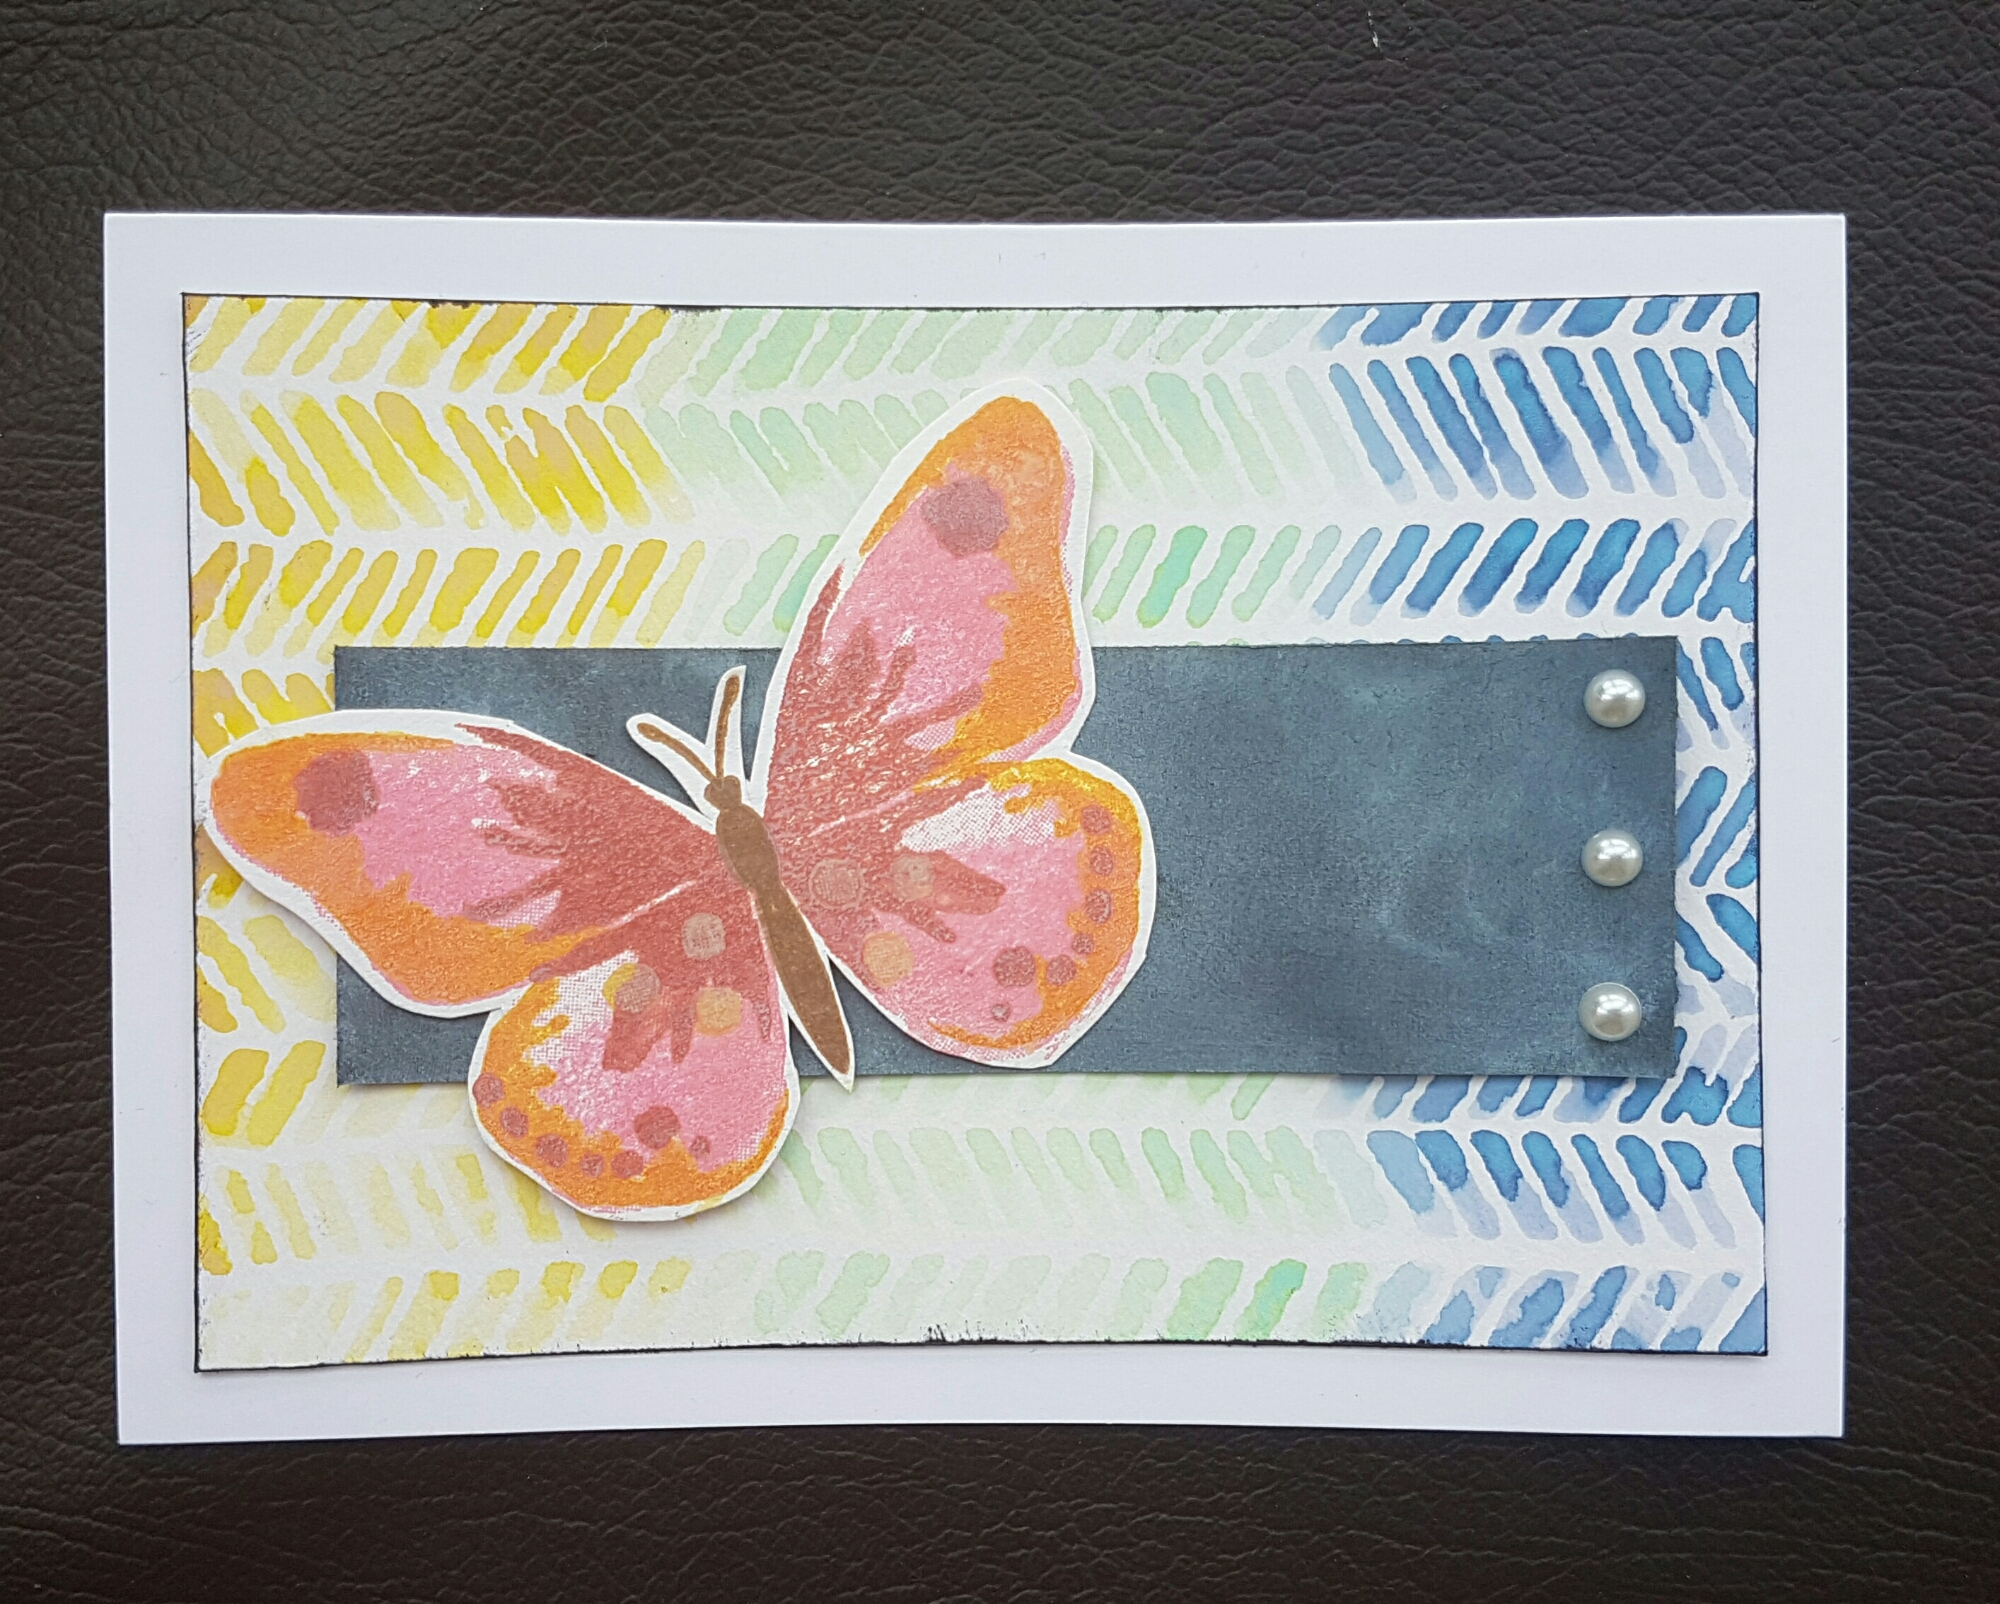
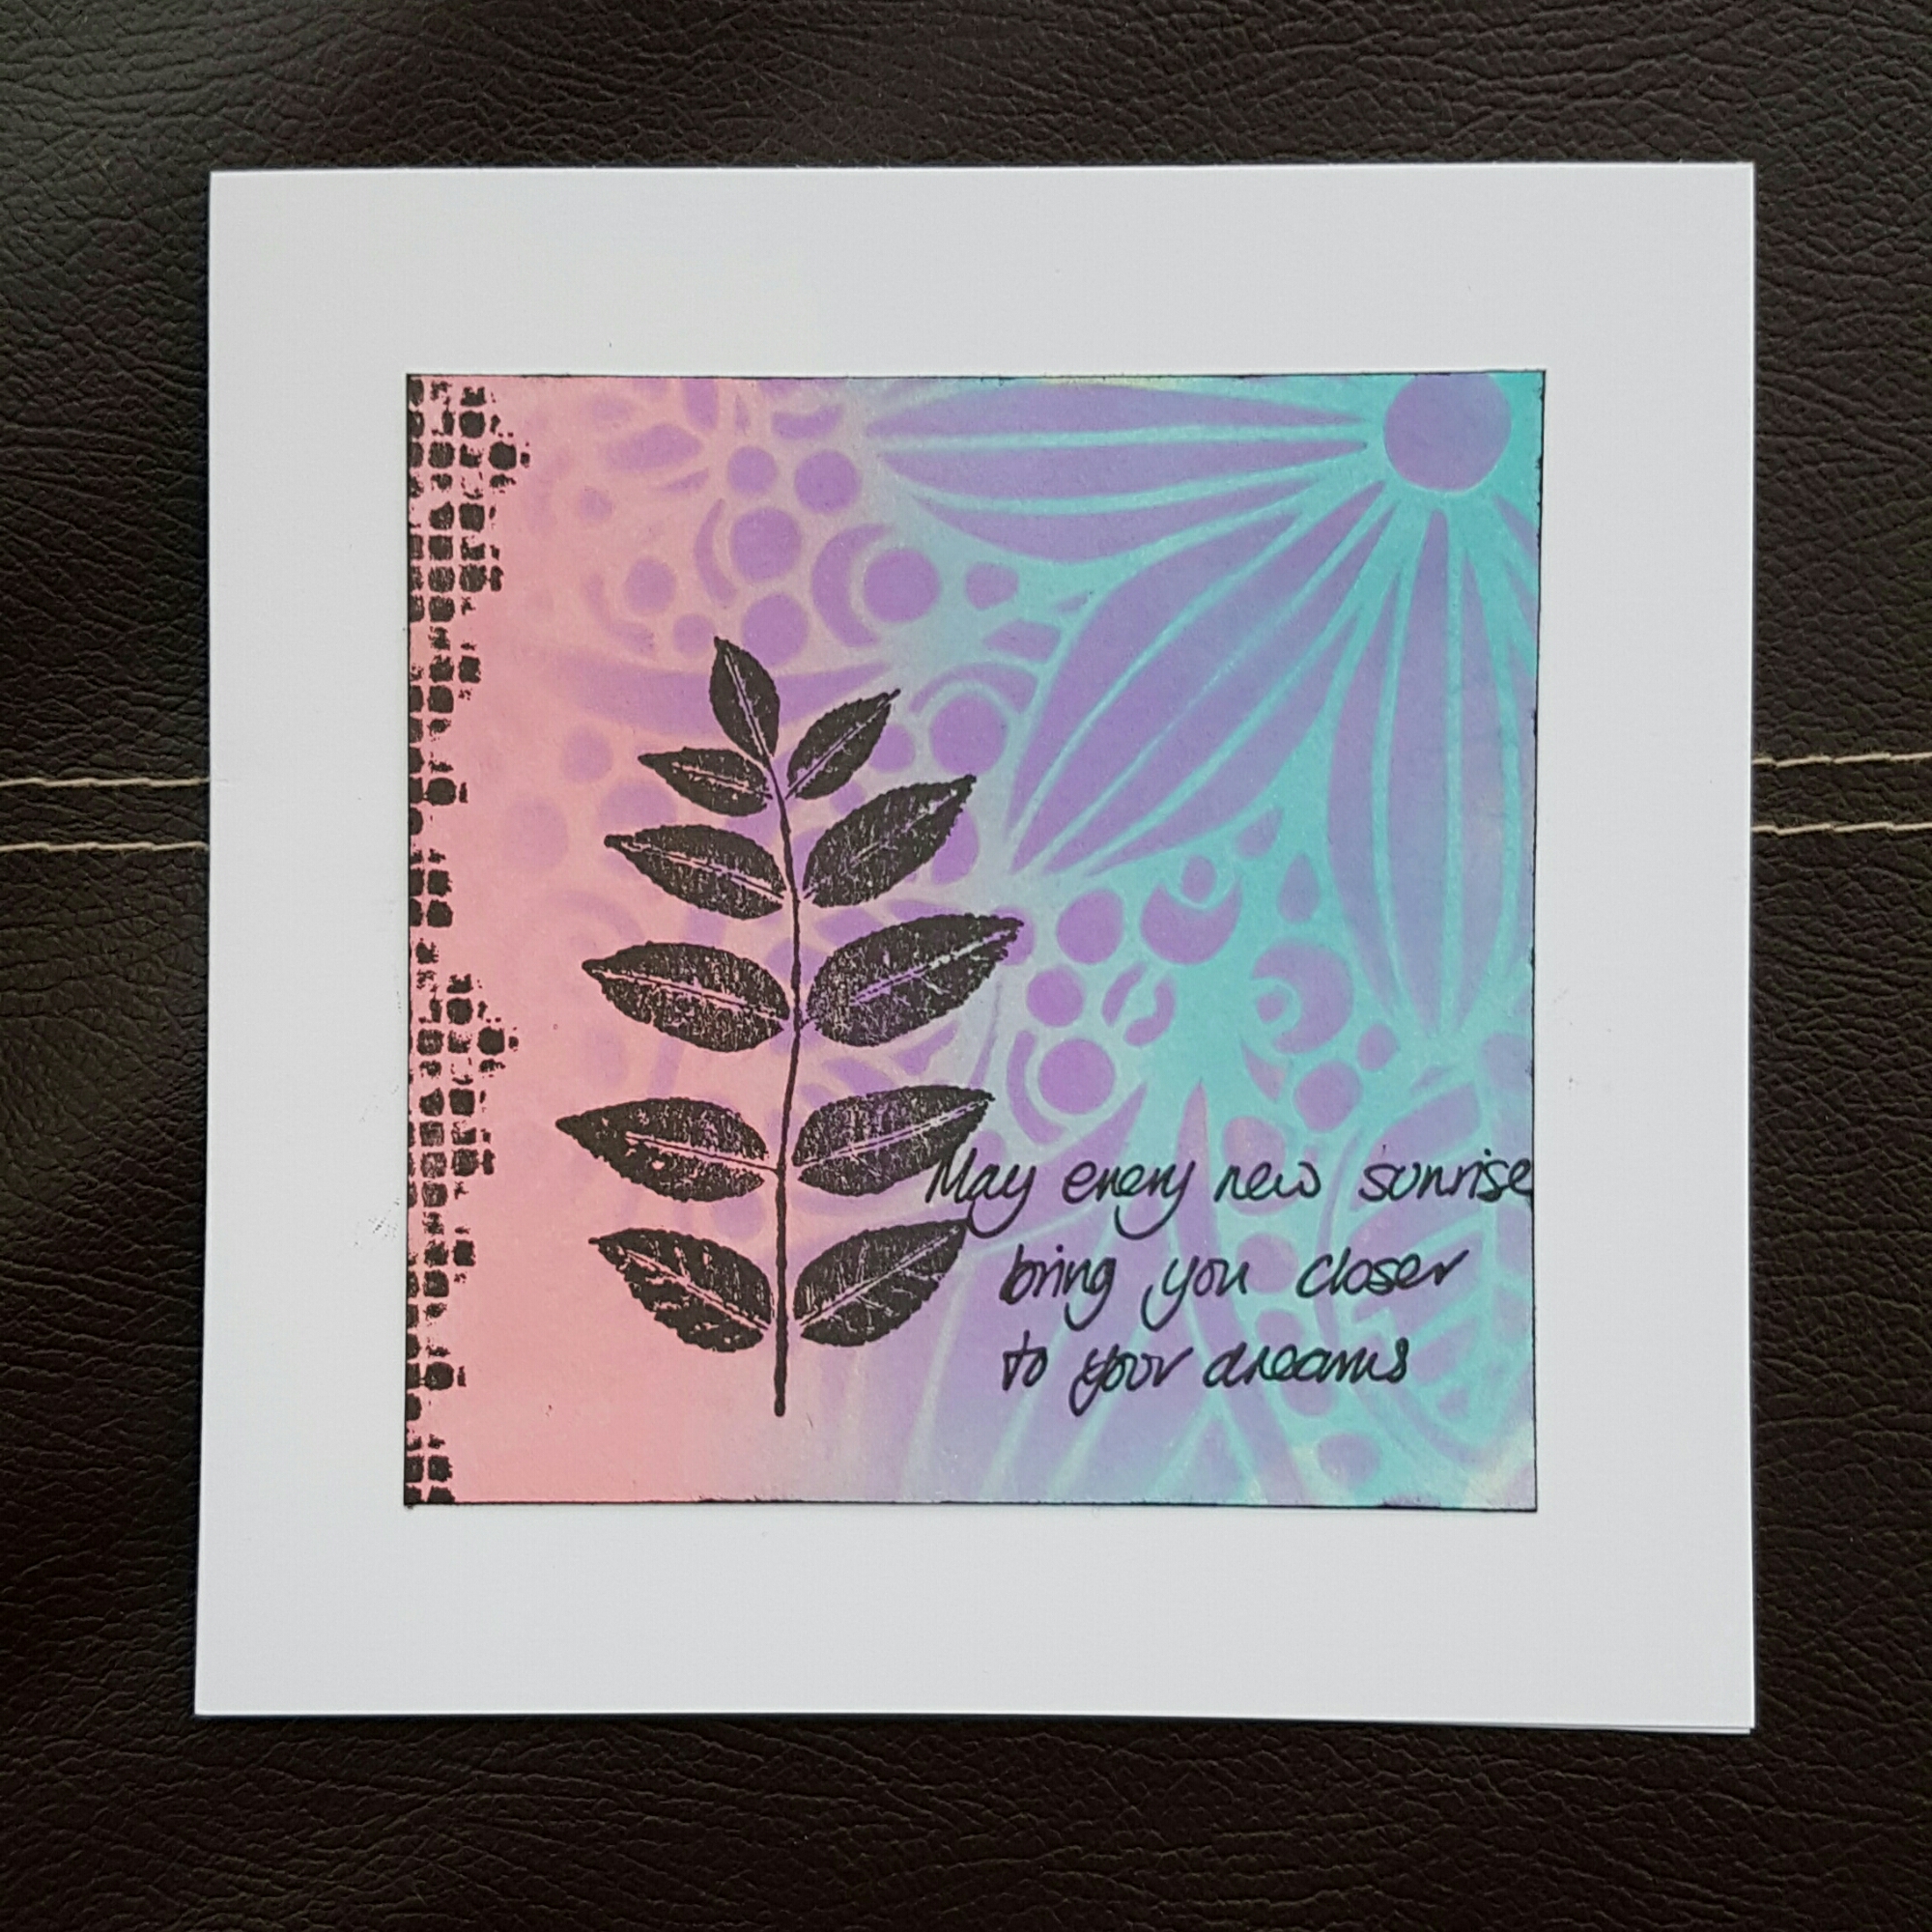
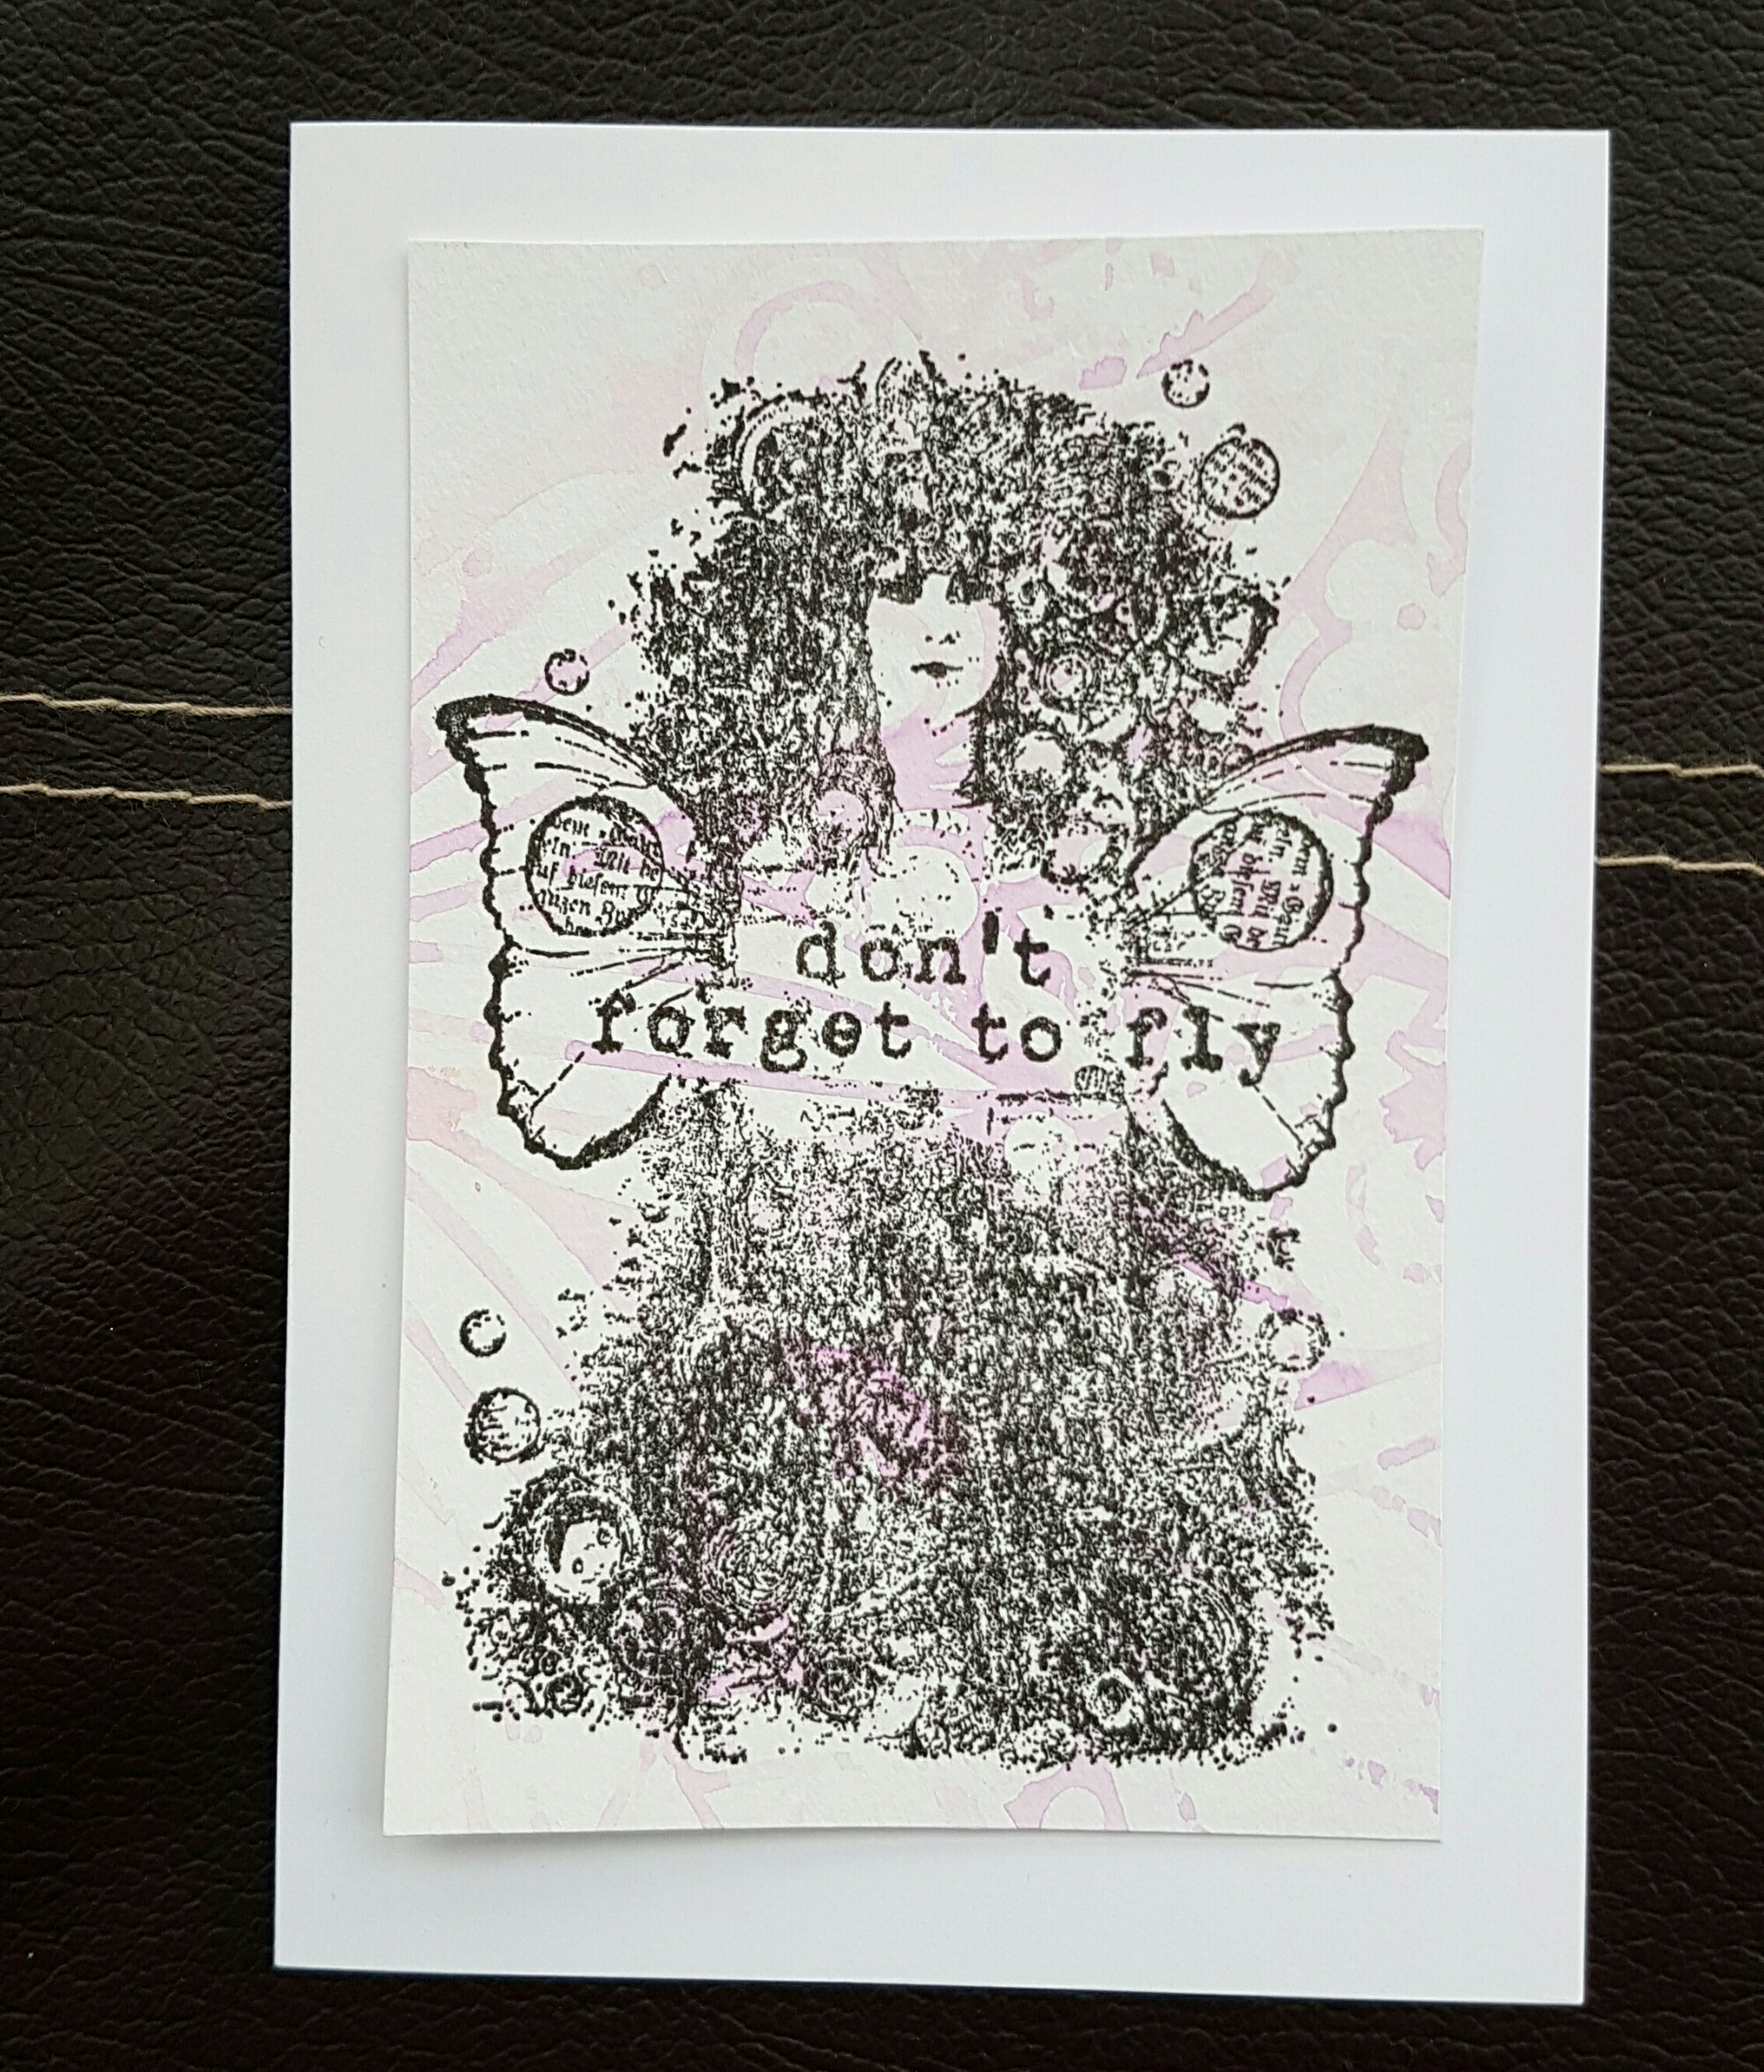
Not quite got round to sticking the last one down yet and think it needs a layer of something before I do.
Anyways … check out the video to see how I made these and if you enjoy it, give it a thumbs up!
Happy crafting!
Catherine
My gorgeous girl turned 11 today! Where have all those years gone?
Of course I made her a card. I went very mixed media and included lots of layers and of course…. distress oxides!
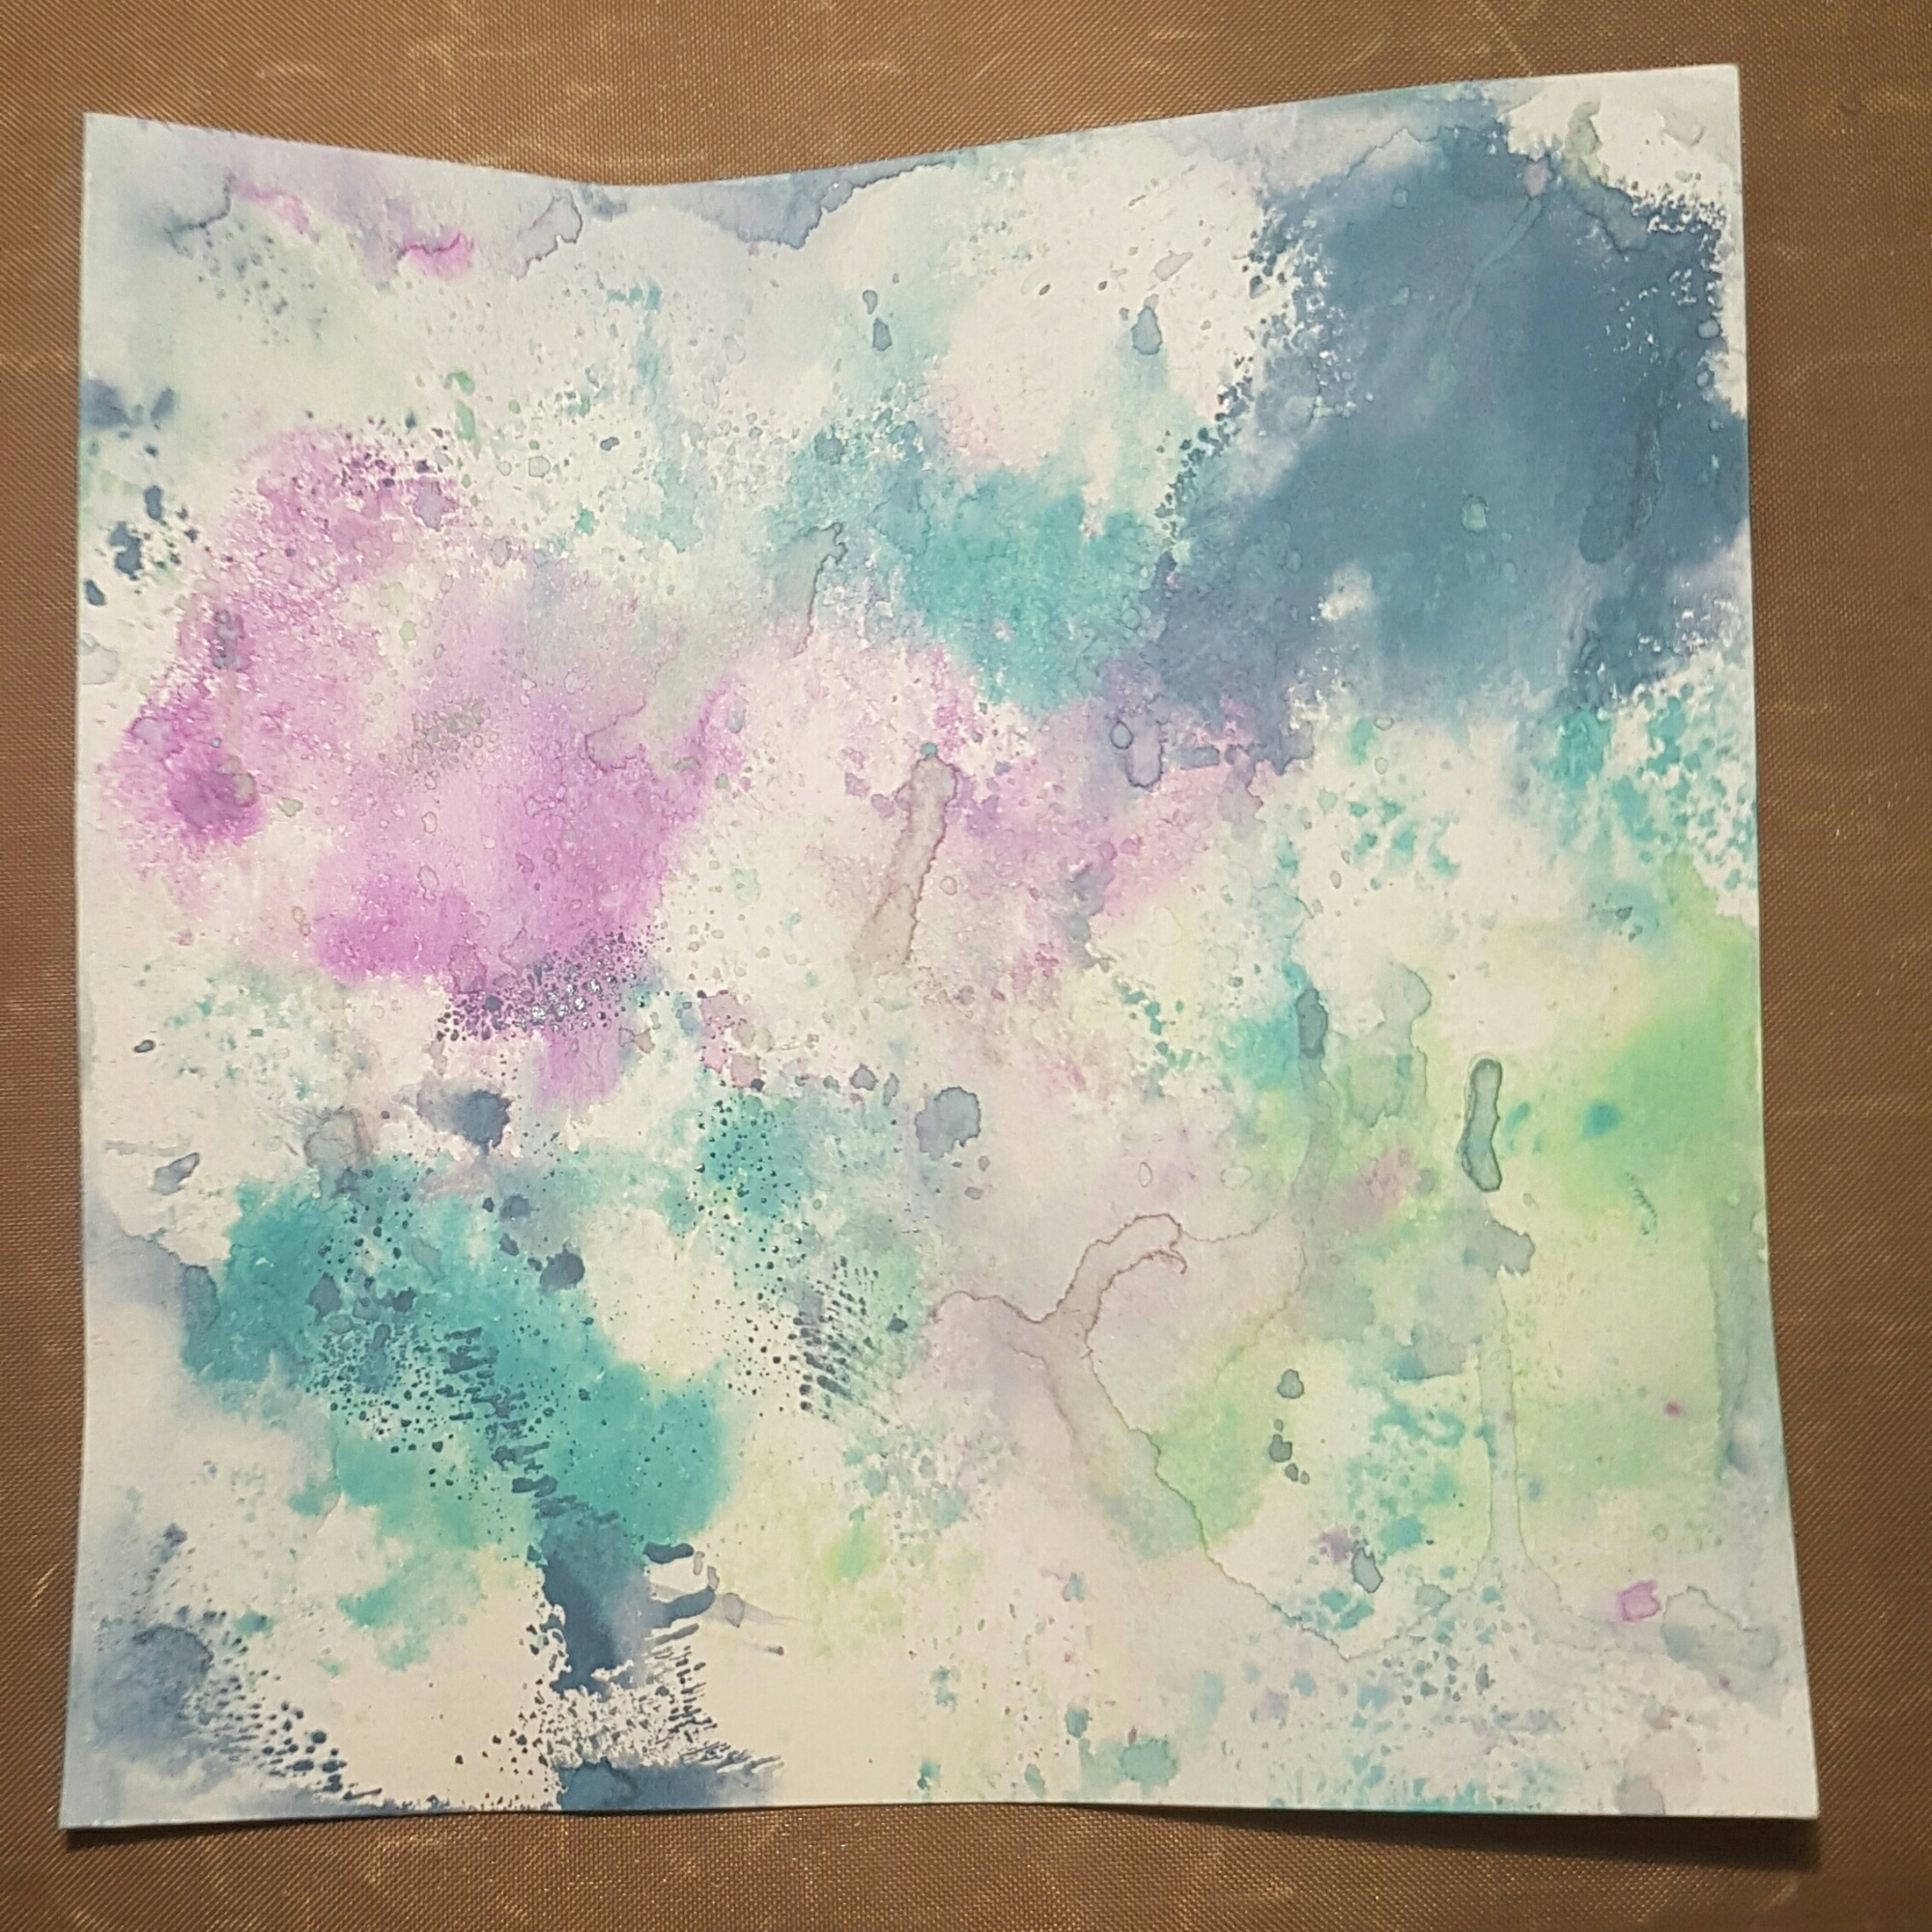
Layer one (which of course has lots of layers of its own!) is distress oxides!
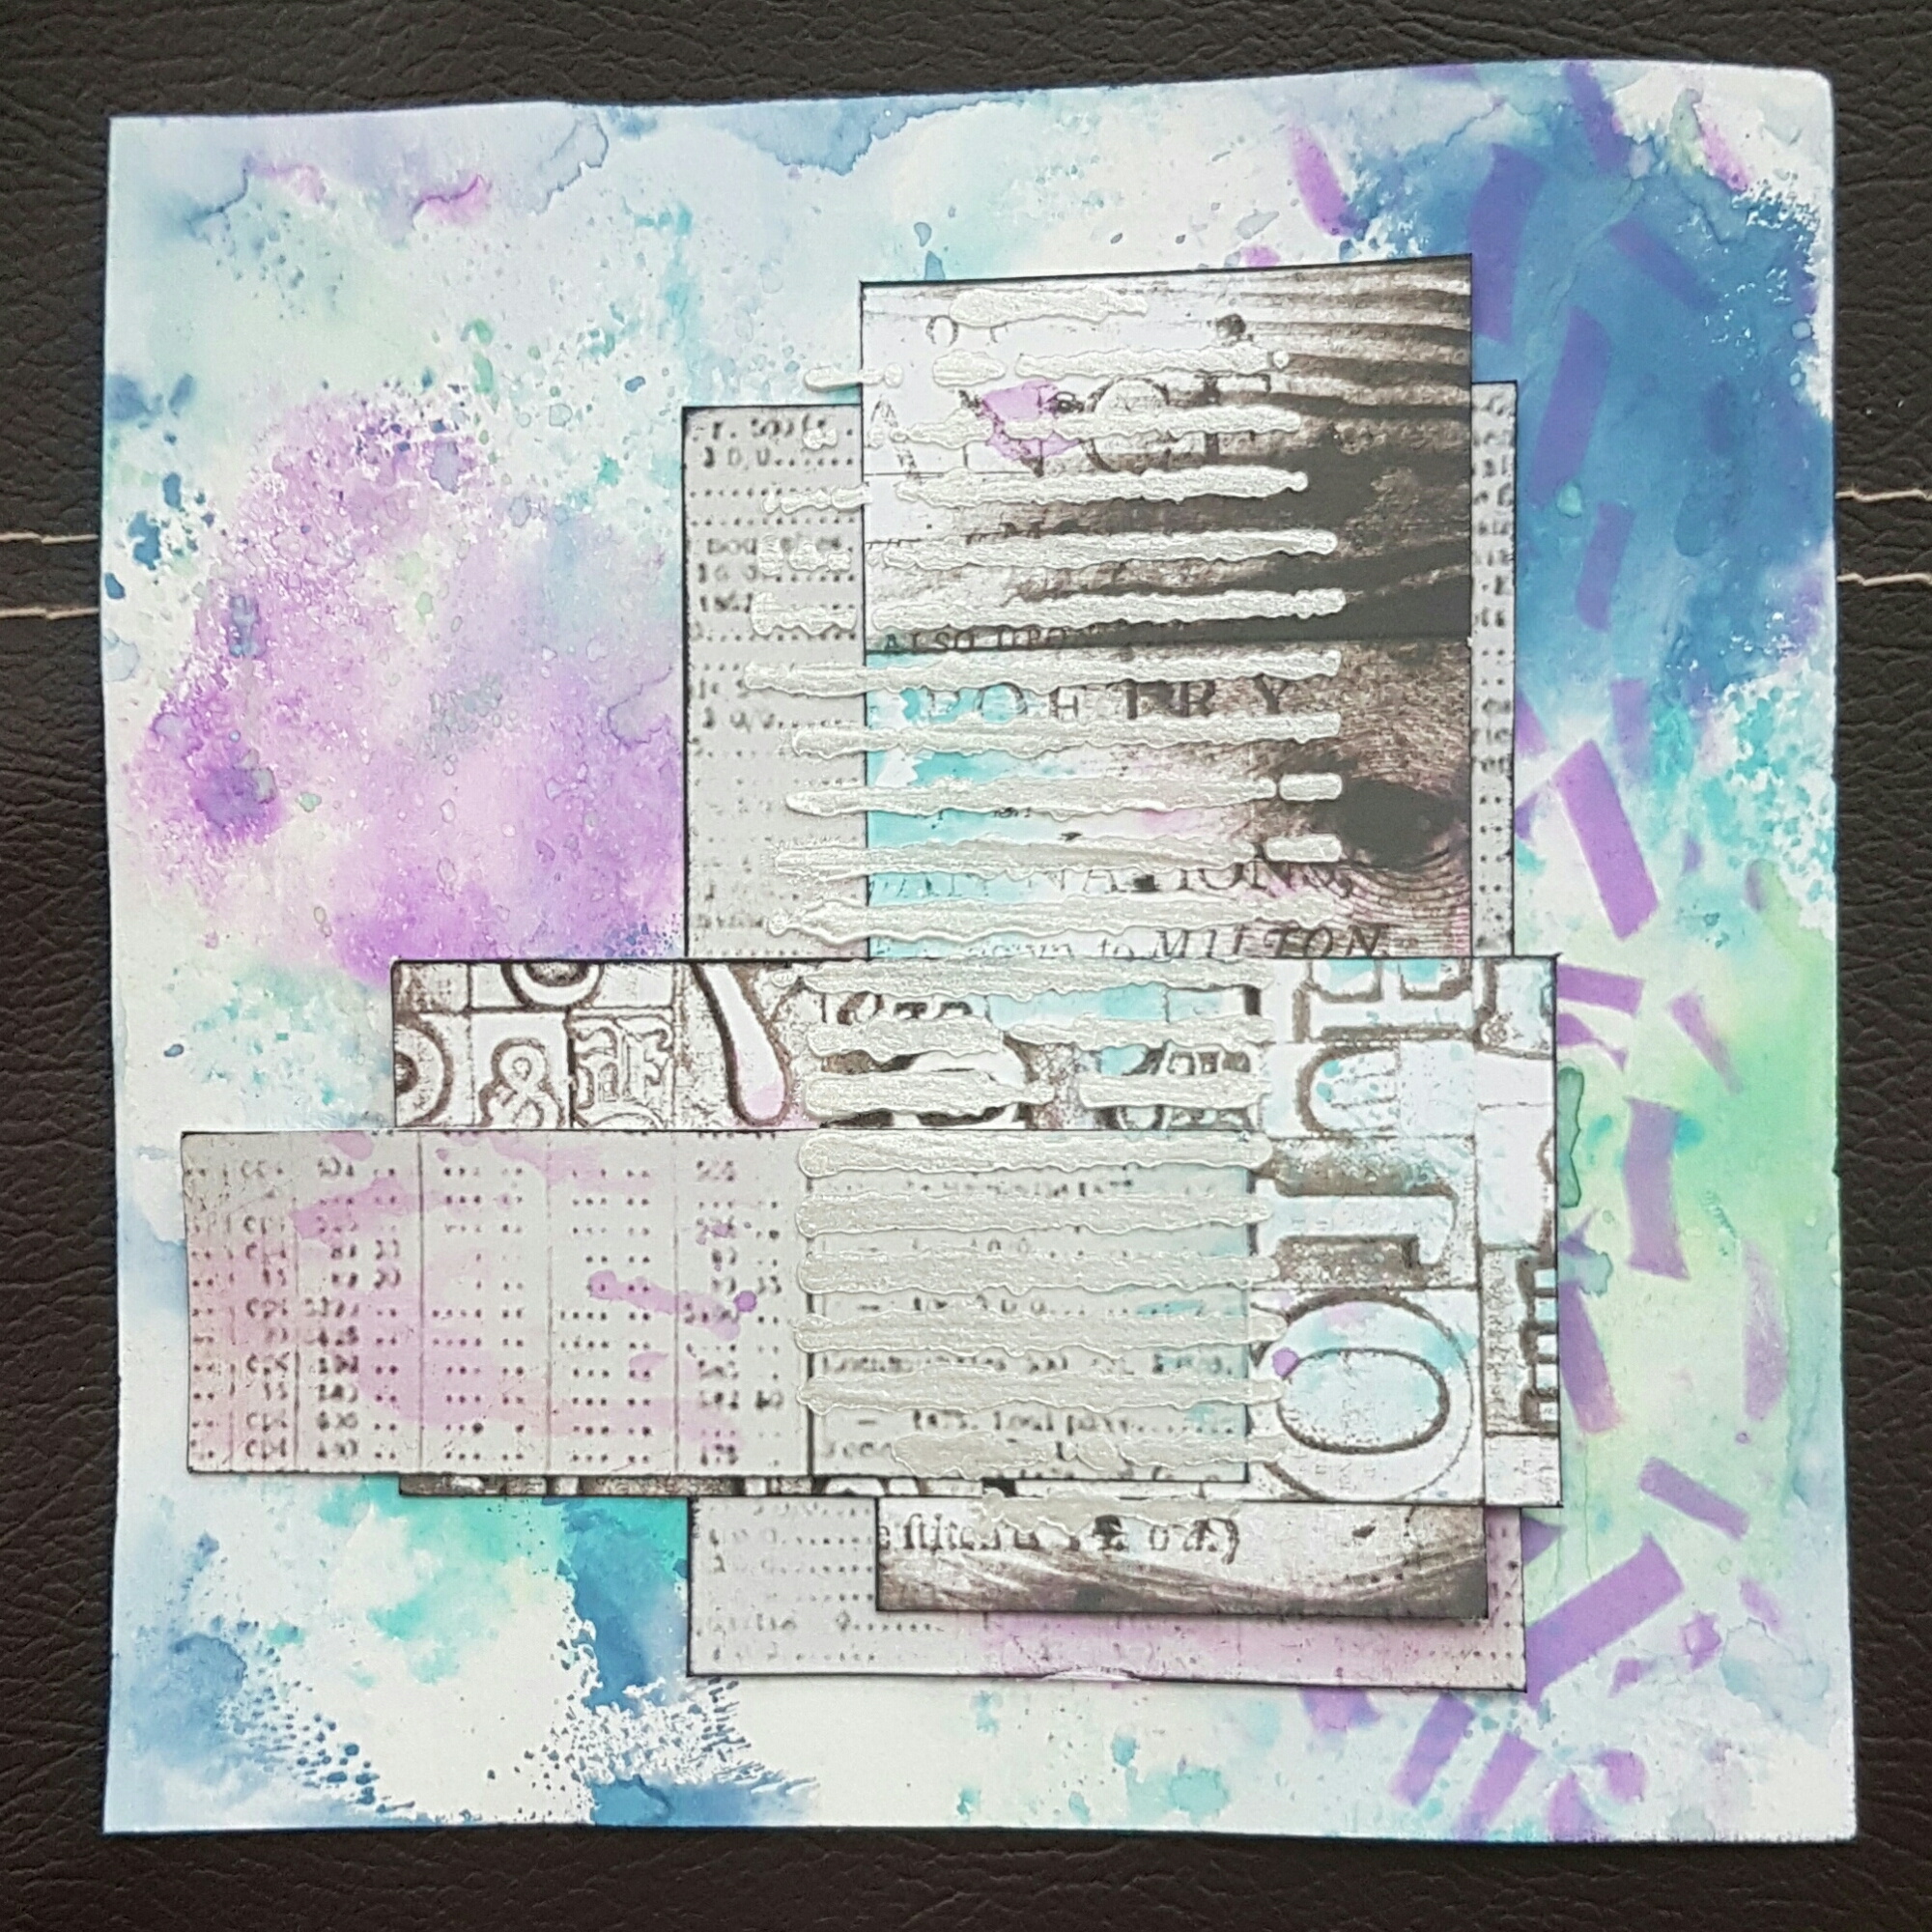
Next I chose some of the papers from the Artful Days goodie box. I cut them into panels and then inked the edges and added more Distress oxide to them. I layered them up and then added some iridescent medium through a stencil.
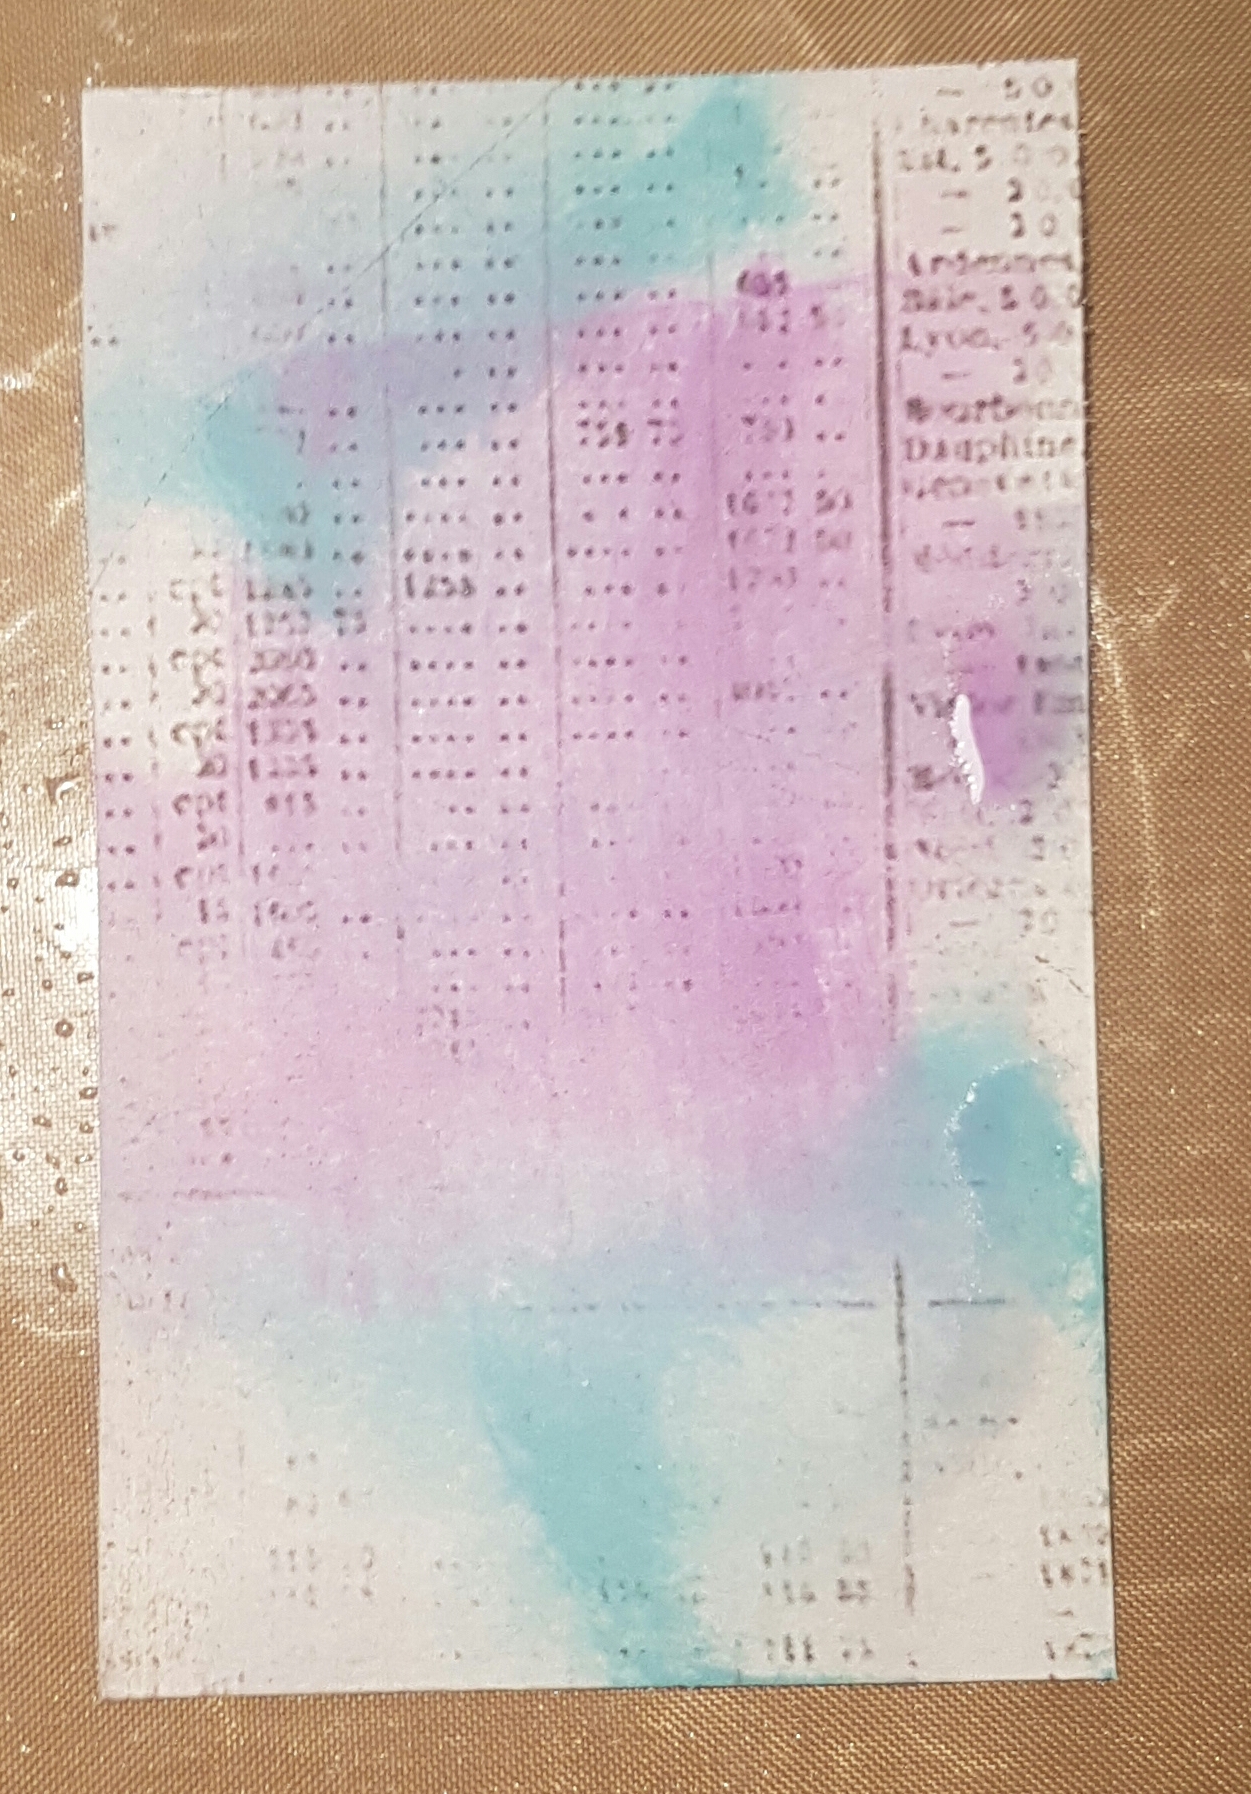
Next another piece of the patterned paper coloured with the … yes you’ve guessed it… distress oxides!
I then chose one of my favourite heart stamps from Darcy’s Paperartsy stamps. I heat embossed it and fussy cut it out.
I then added stickers and the sentiment and added some bakers twine and brads to add some features.
The last thing to be added was some splatters of the Art Alchemy metallic turquoise paint.
I mounted the panel up onto some black cardstock and then a large white card blank.
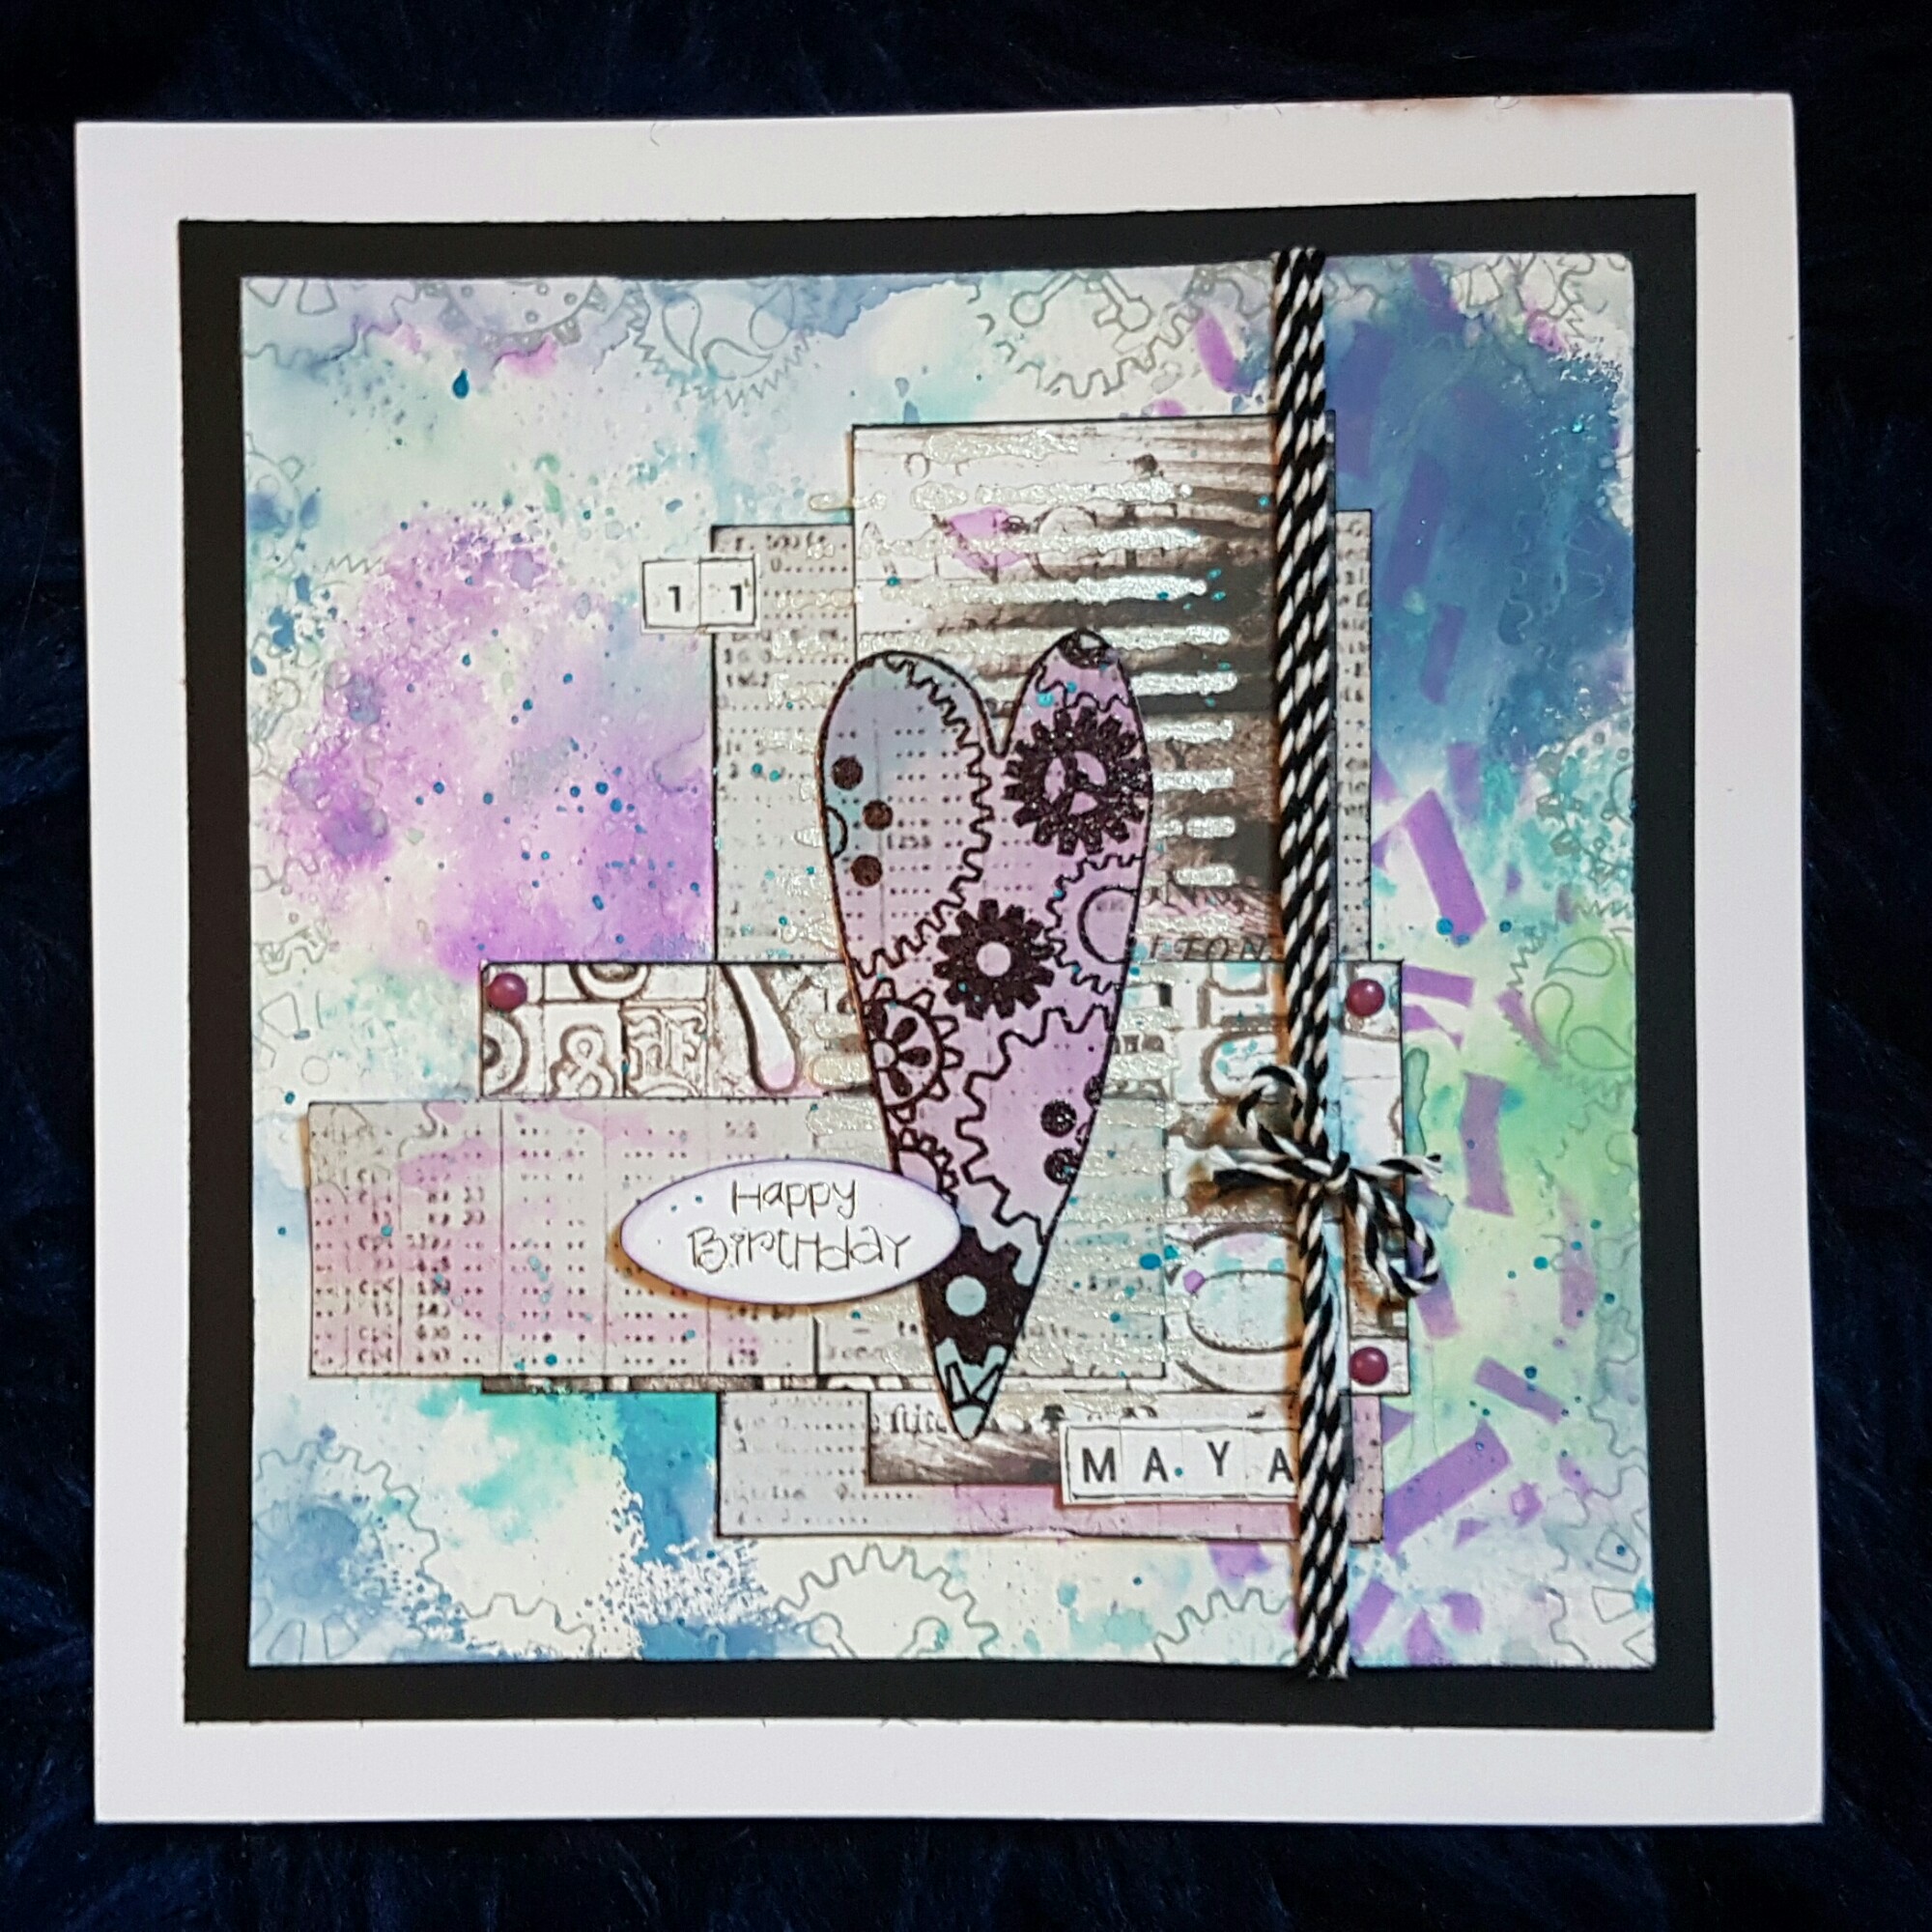
A funky and fun card for our princess!
Happy crafting!
Catherine
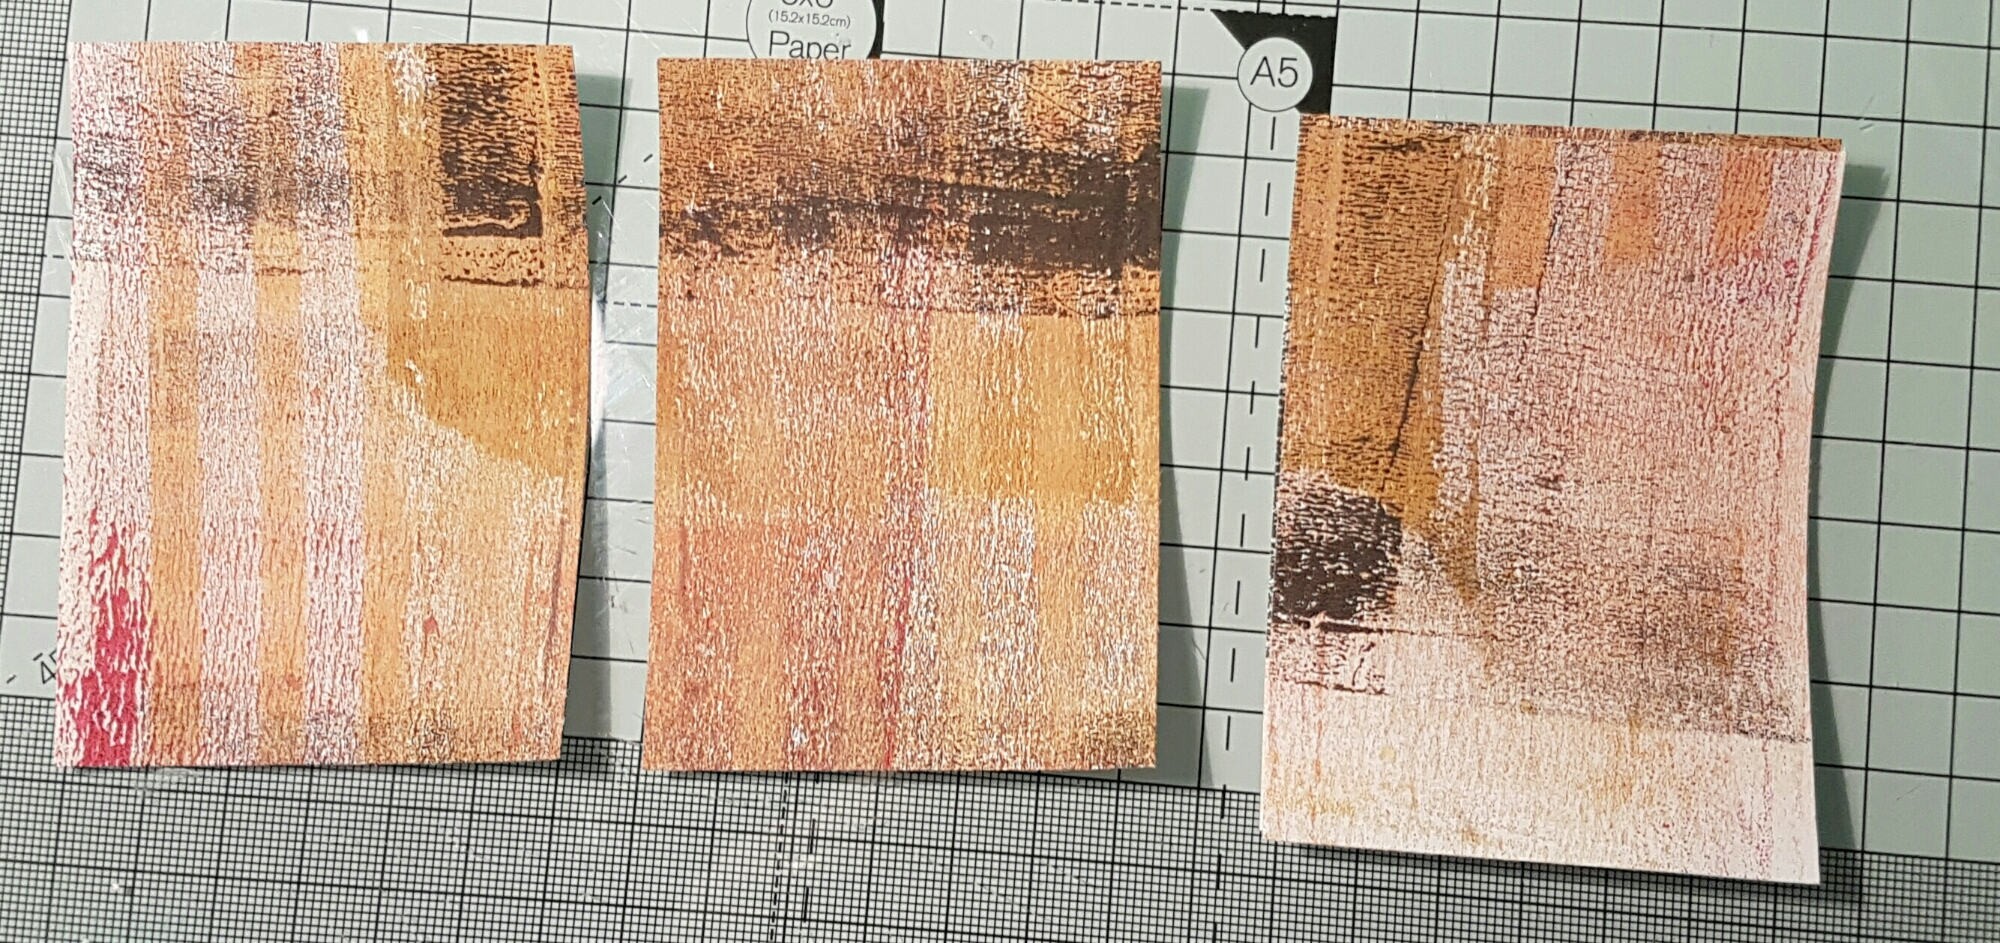
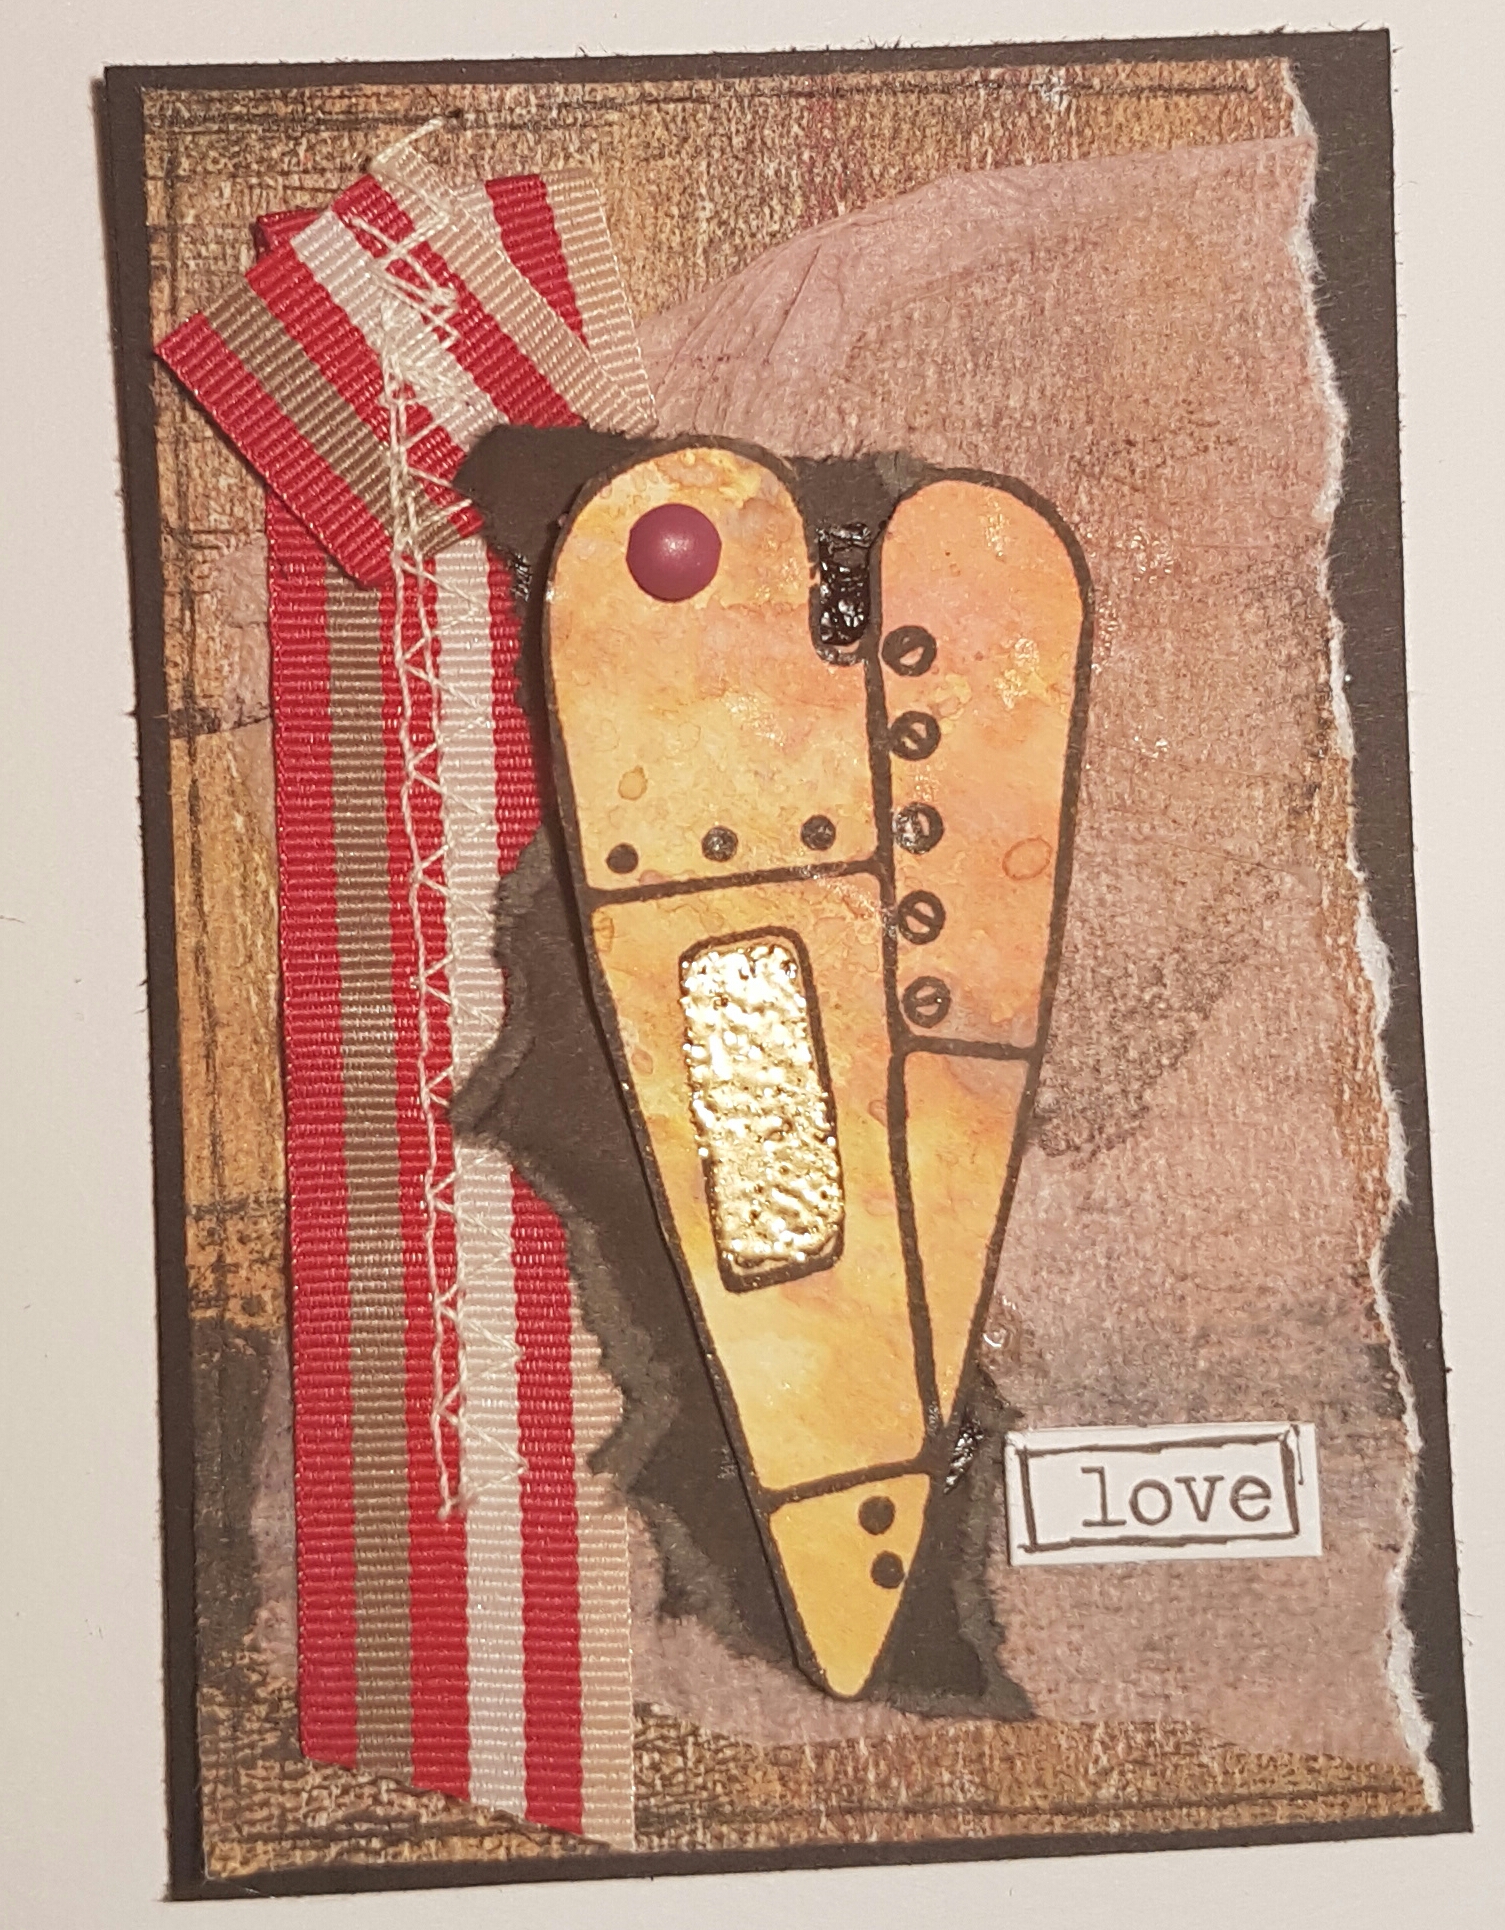
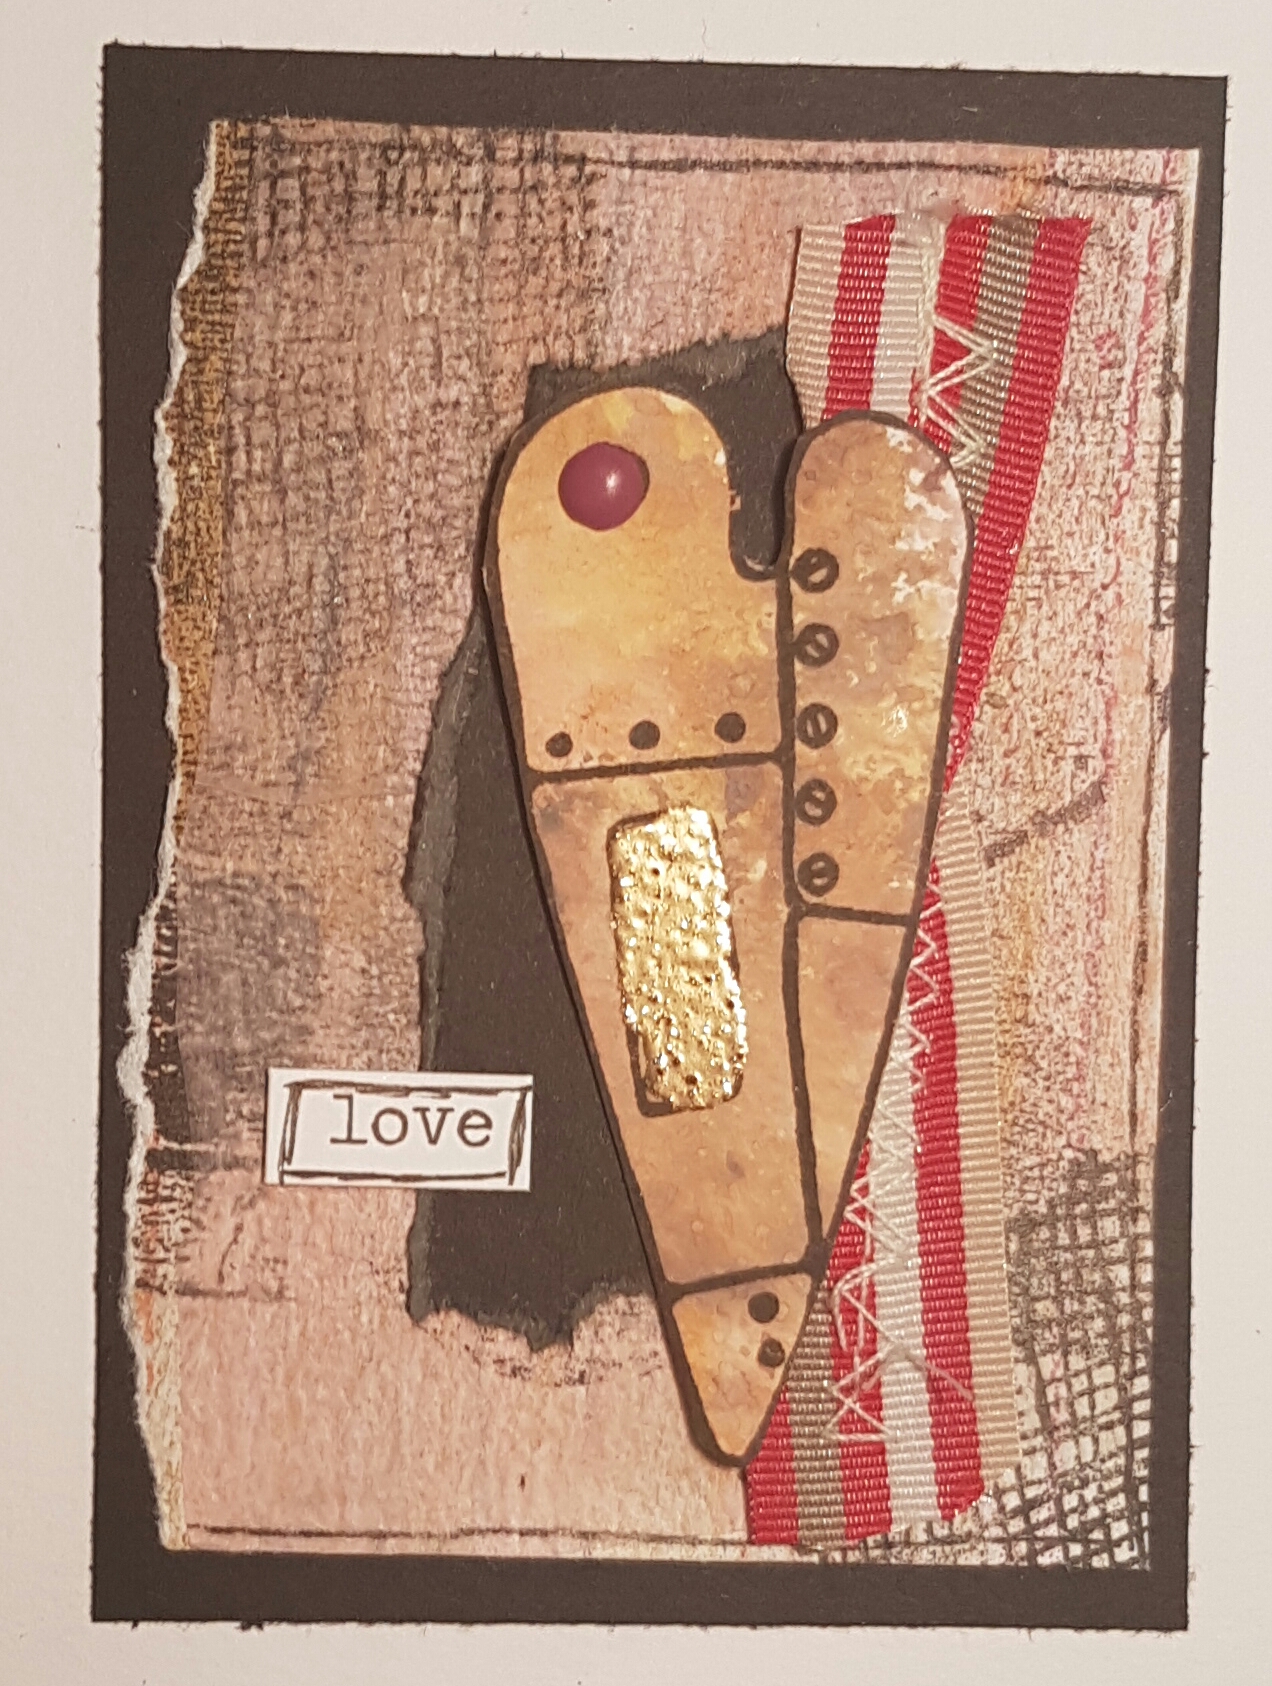
This was the starting point for these ATC’S I made for a swap with UK stampers forum, with the theme of “love”. It was a piece of paper I had been wiping my brayer off on during Gelli plate playing.
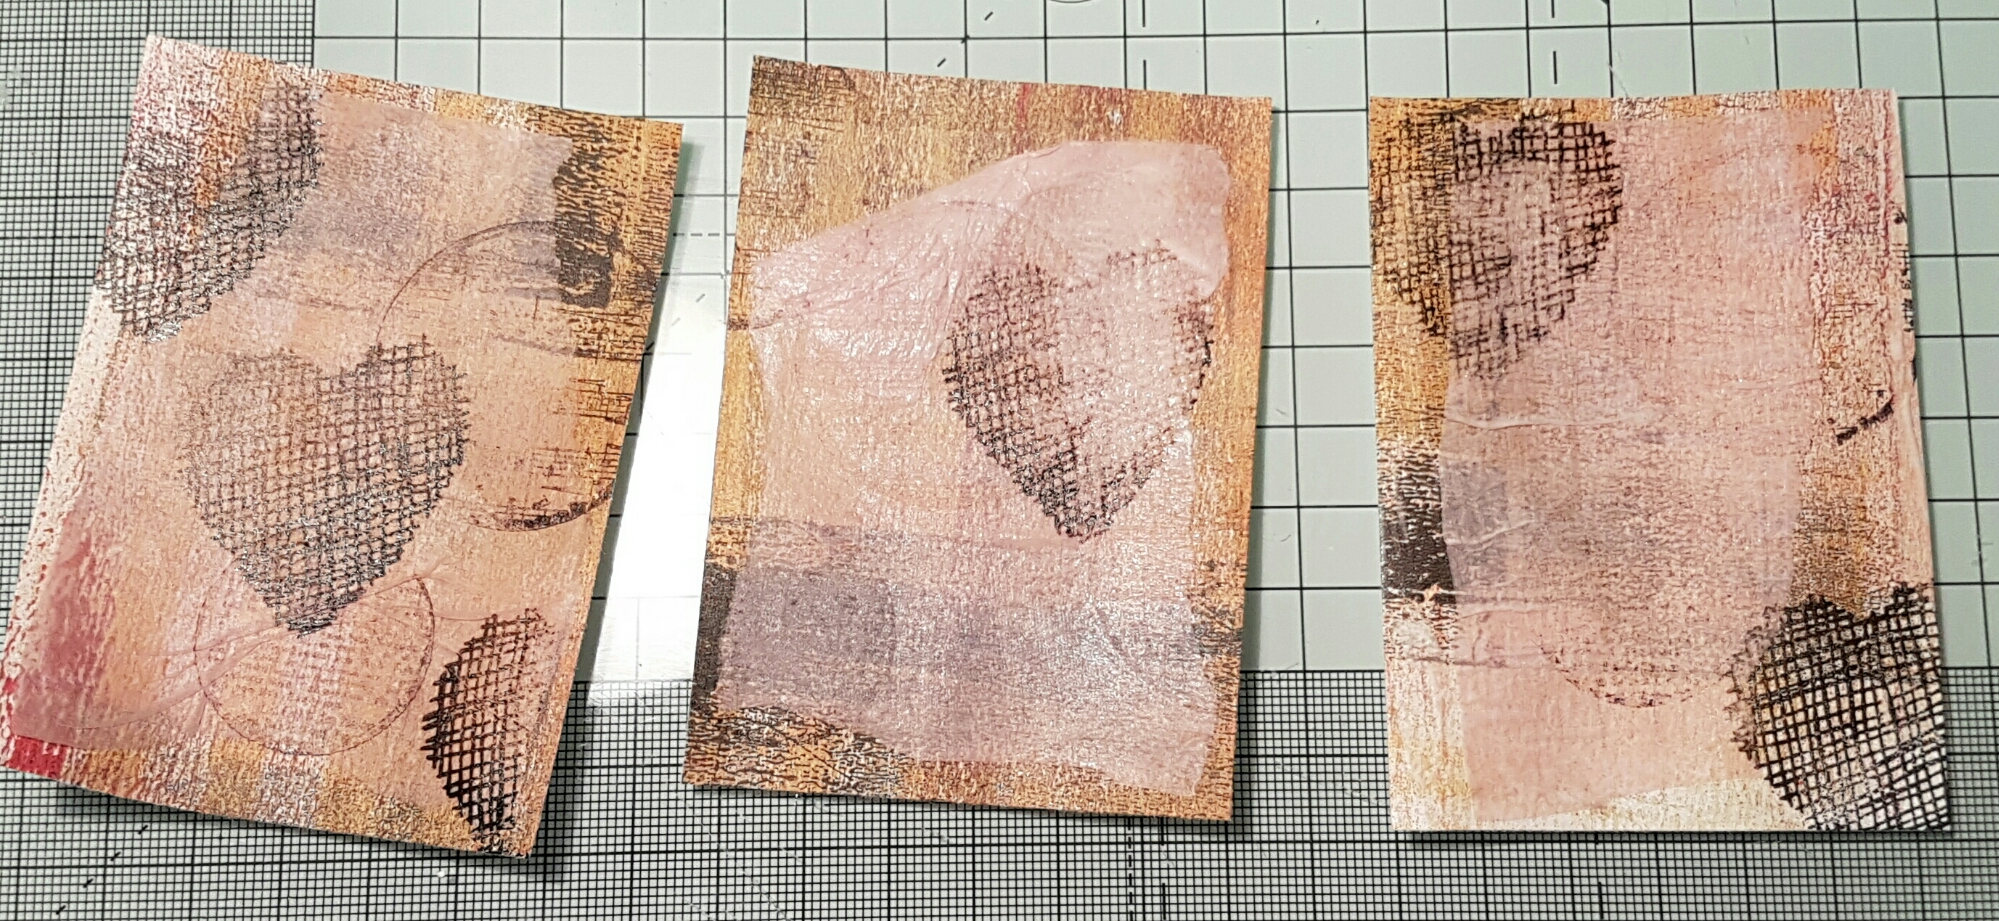
I added some tissue paper and then some stamping to add interest to the background. Then added some clear gesso over the top too.
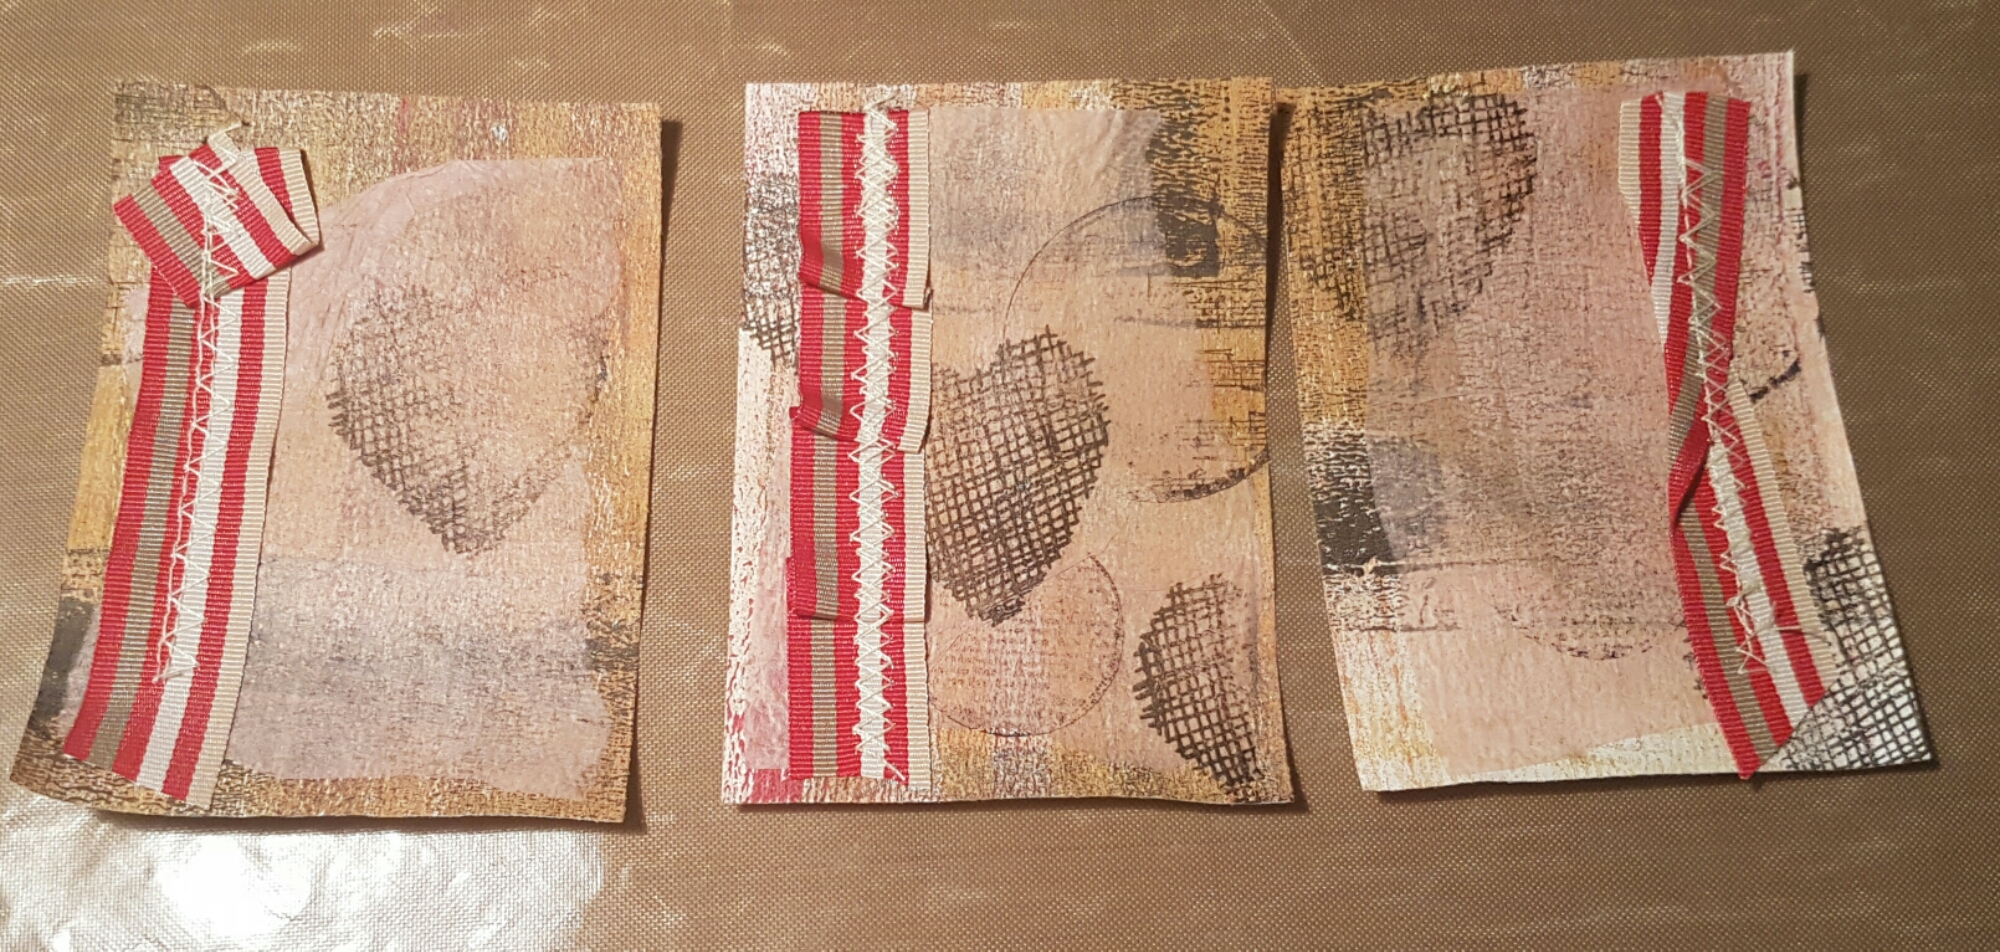
Next I got out the sewing machine and some pieces of the ribbon that came in the last Artful Days goodie box (I’ve started delving into it a bit at a time!).
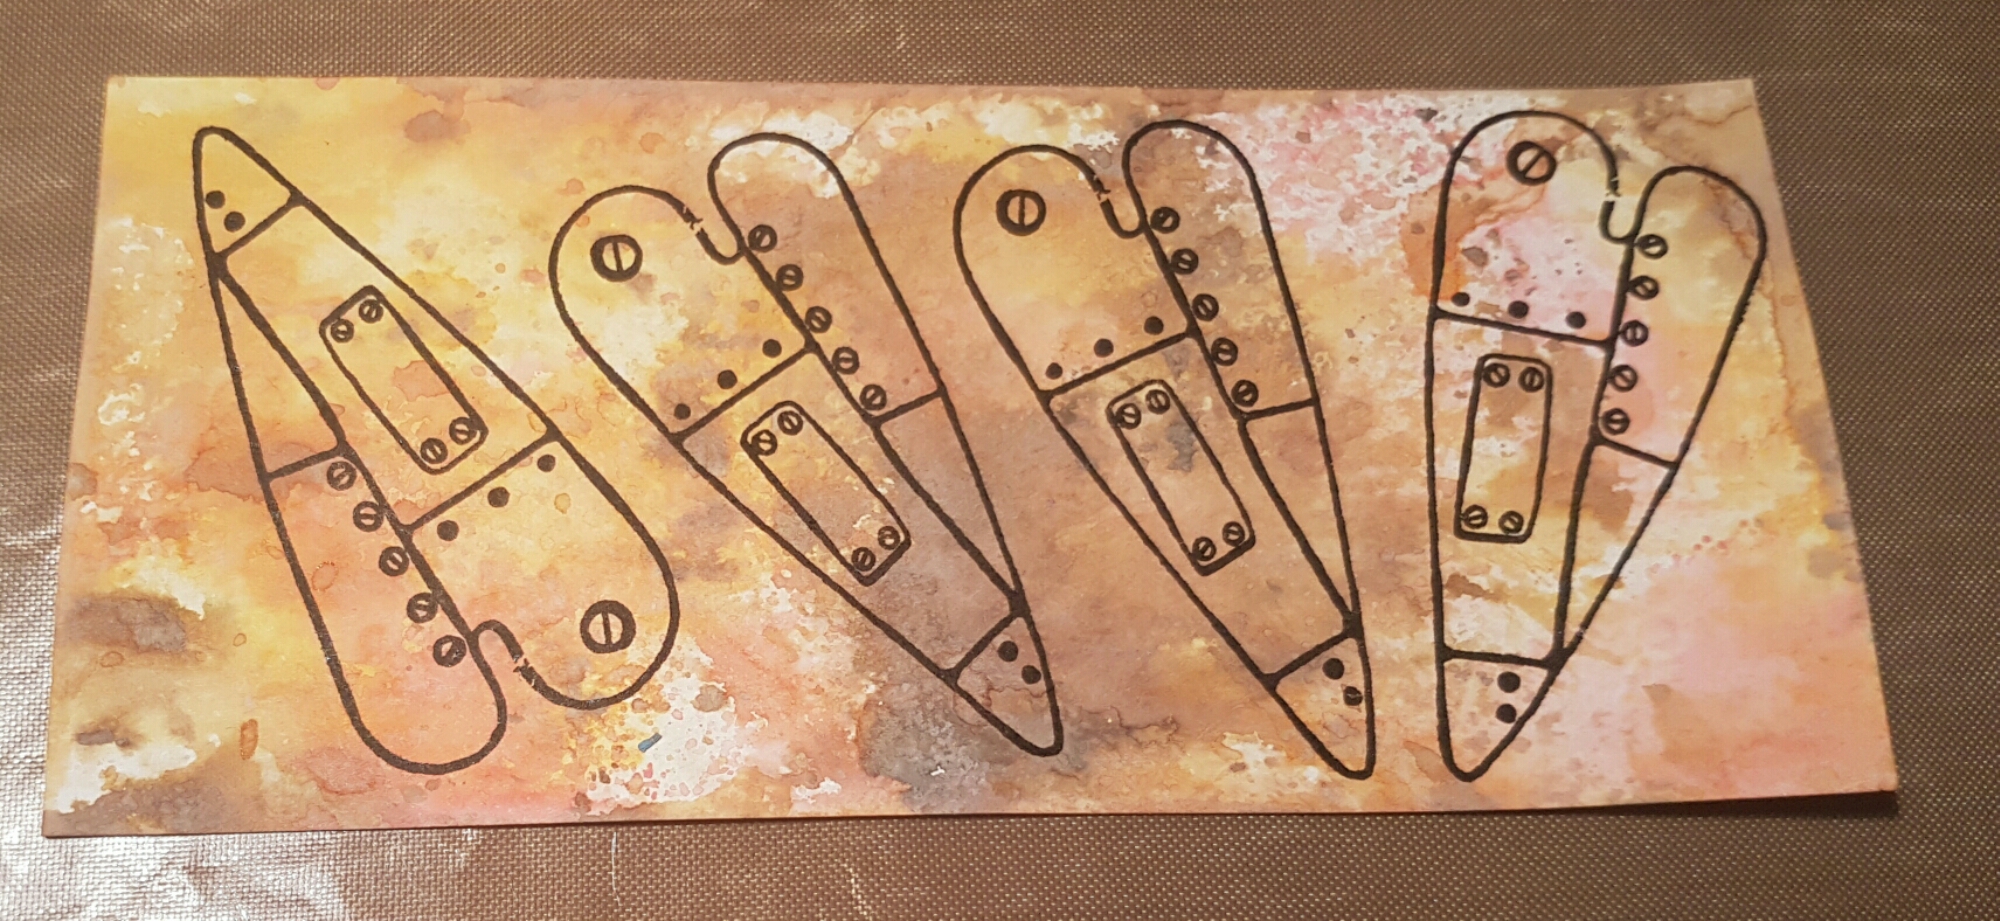
Next distress oxide came out to play. I stamped the Darcy heart stamp over the top of the background I made and then fussy cut them. (I made one extra for another project!)
Once fussy cut I then gold heat embossed the little panel just add texture and interest.
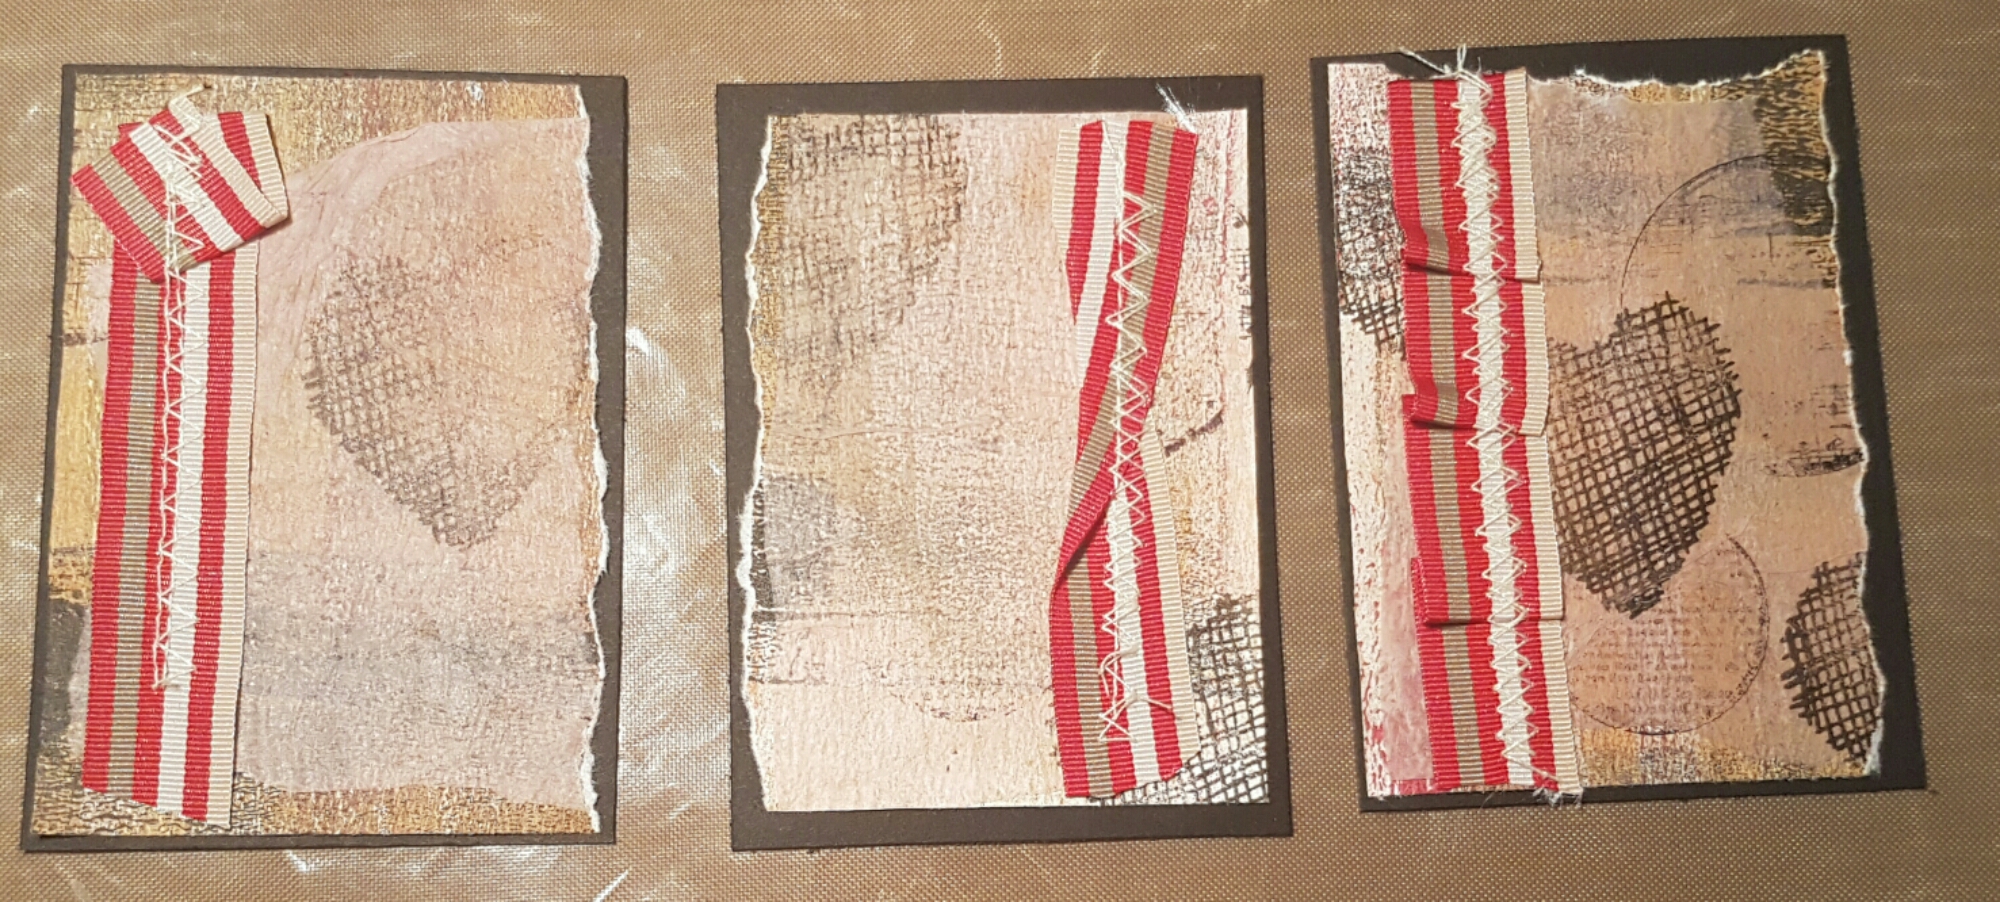
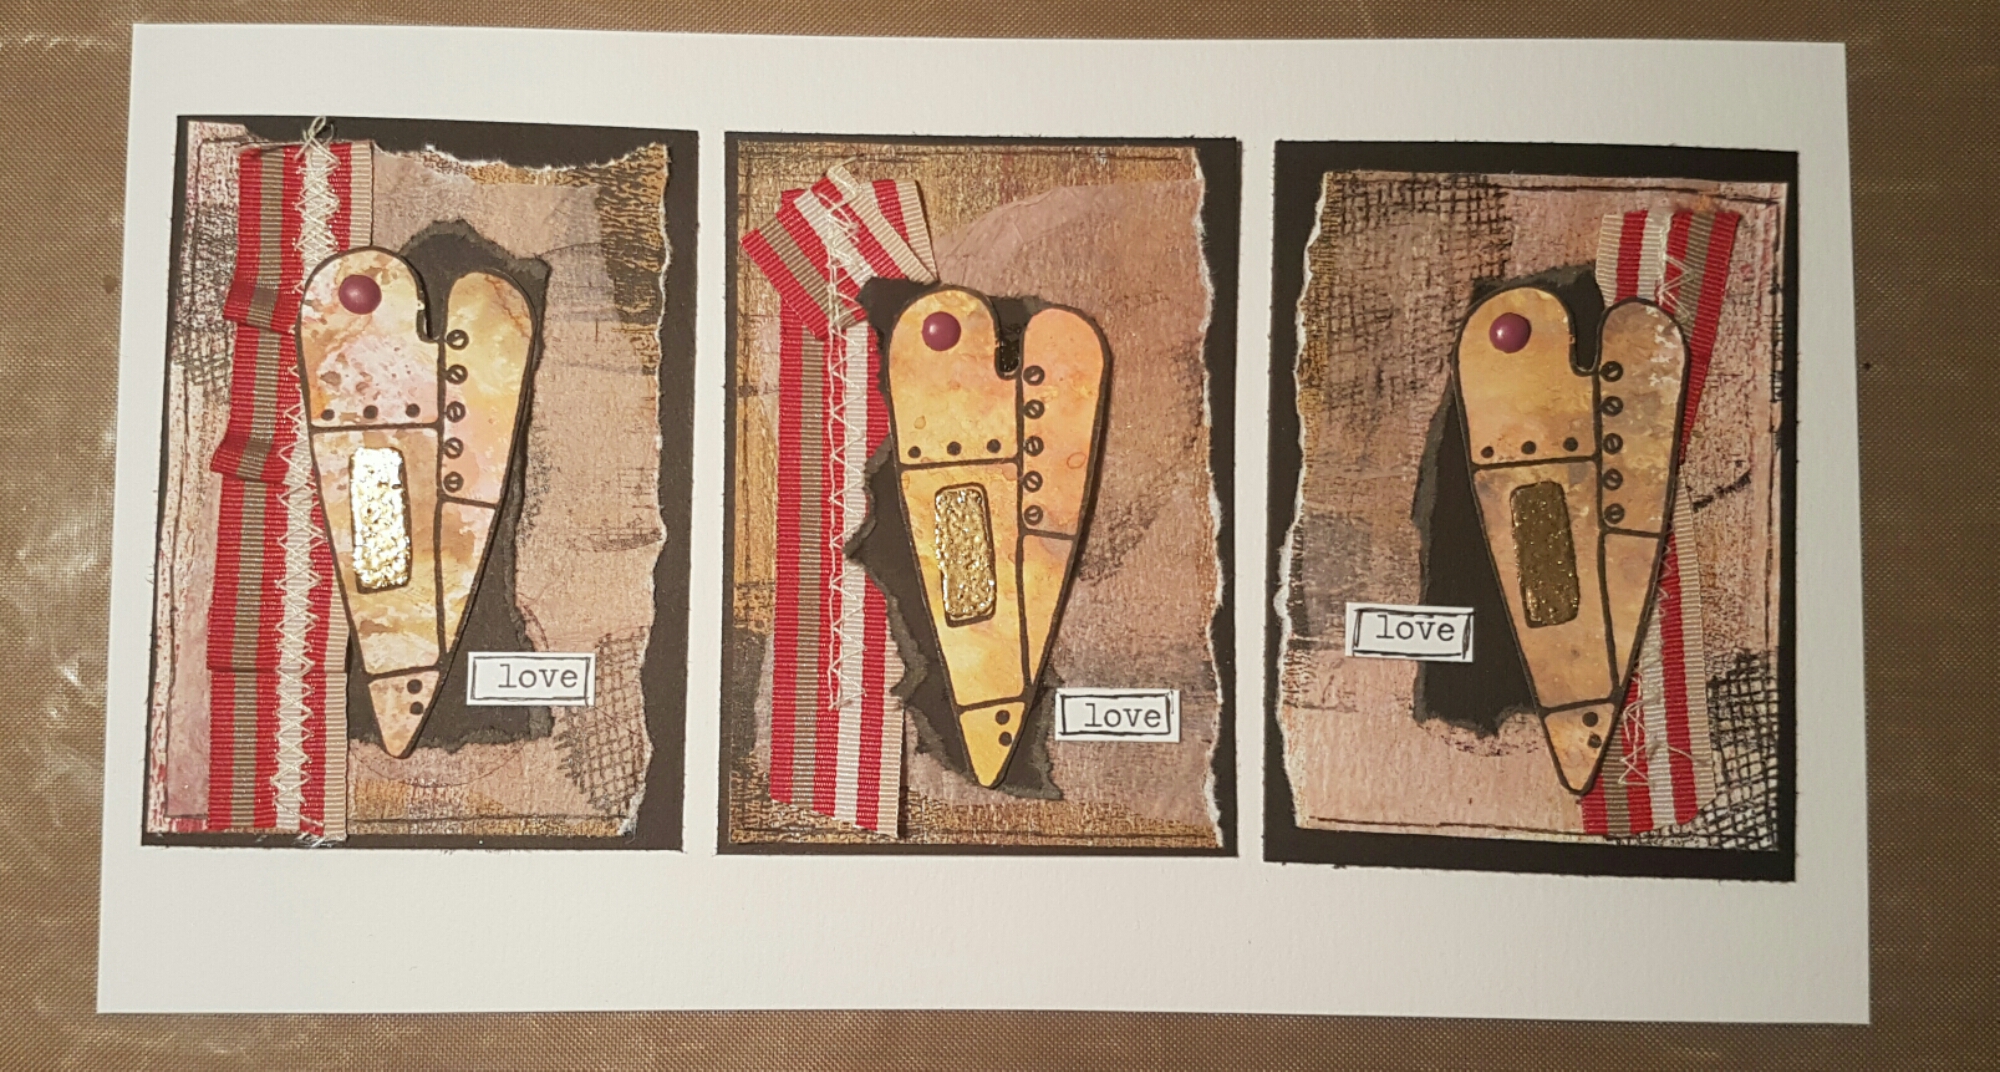
I then reduced the panels a little tearing them and mounted them onto back cardstock.
Then some more torn black card as a layer under the hearts and the word stickers to finish off.
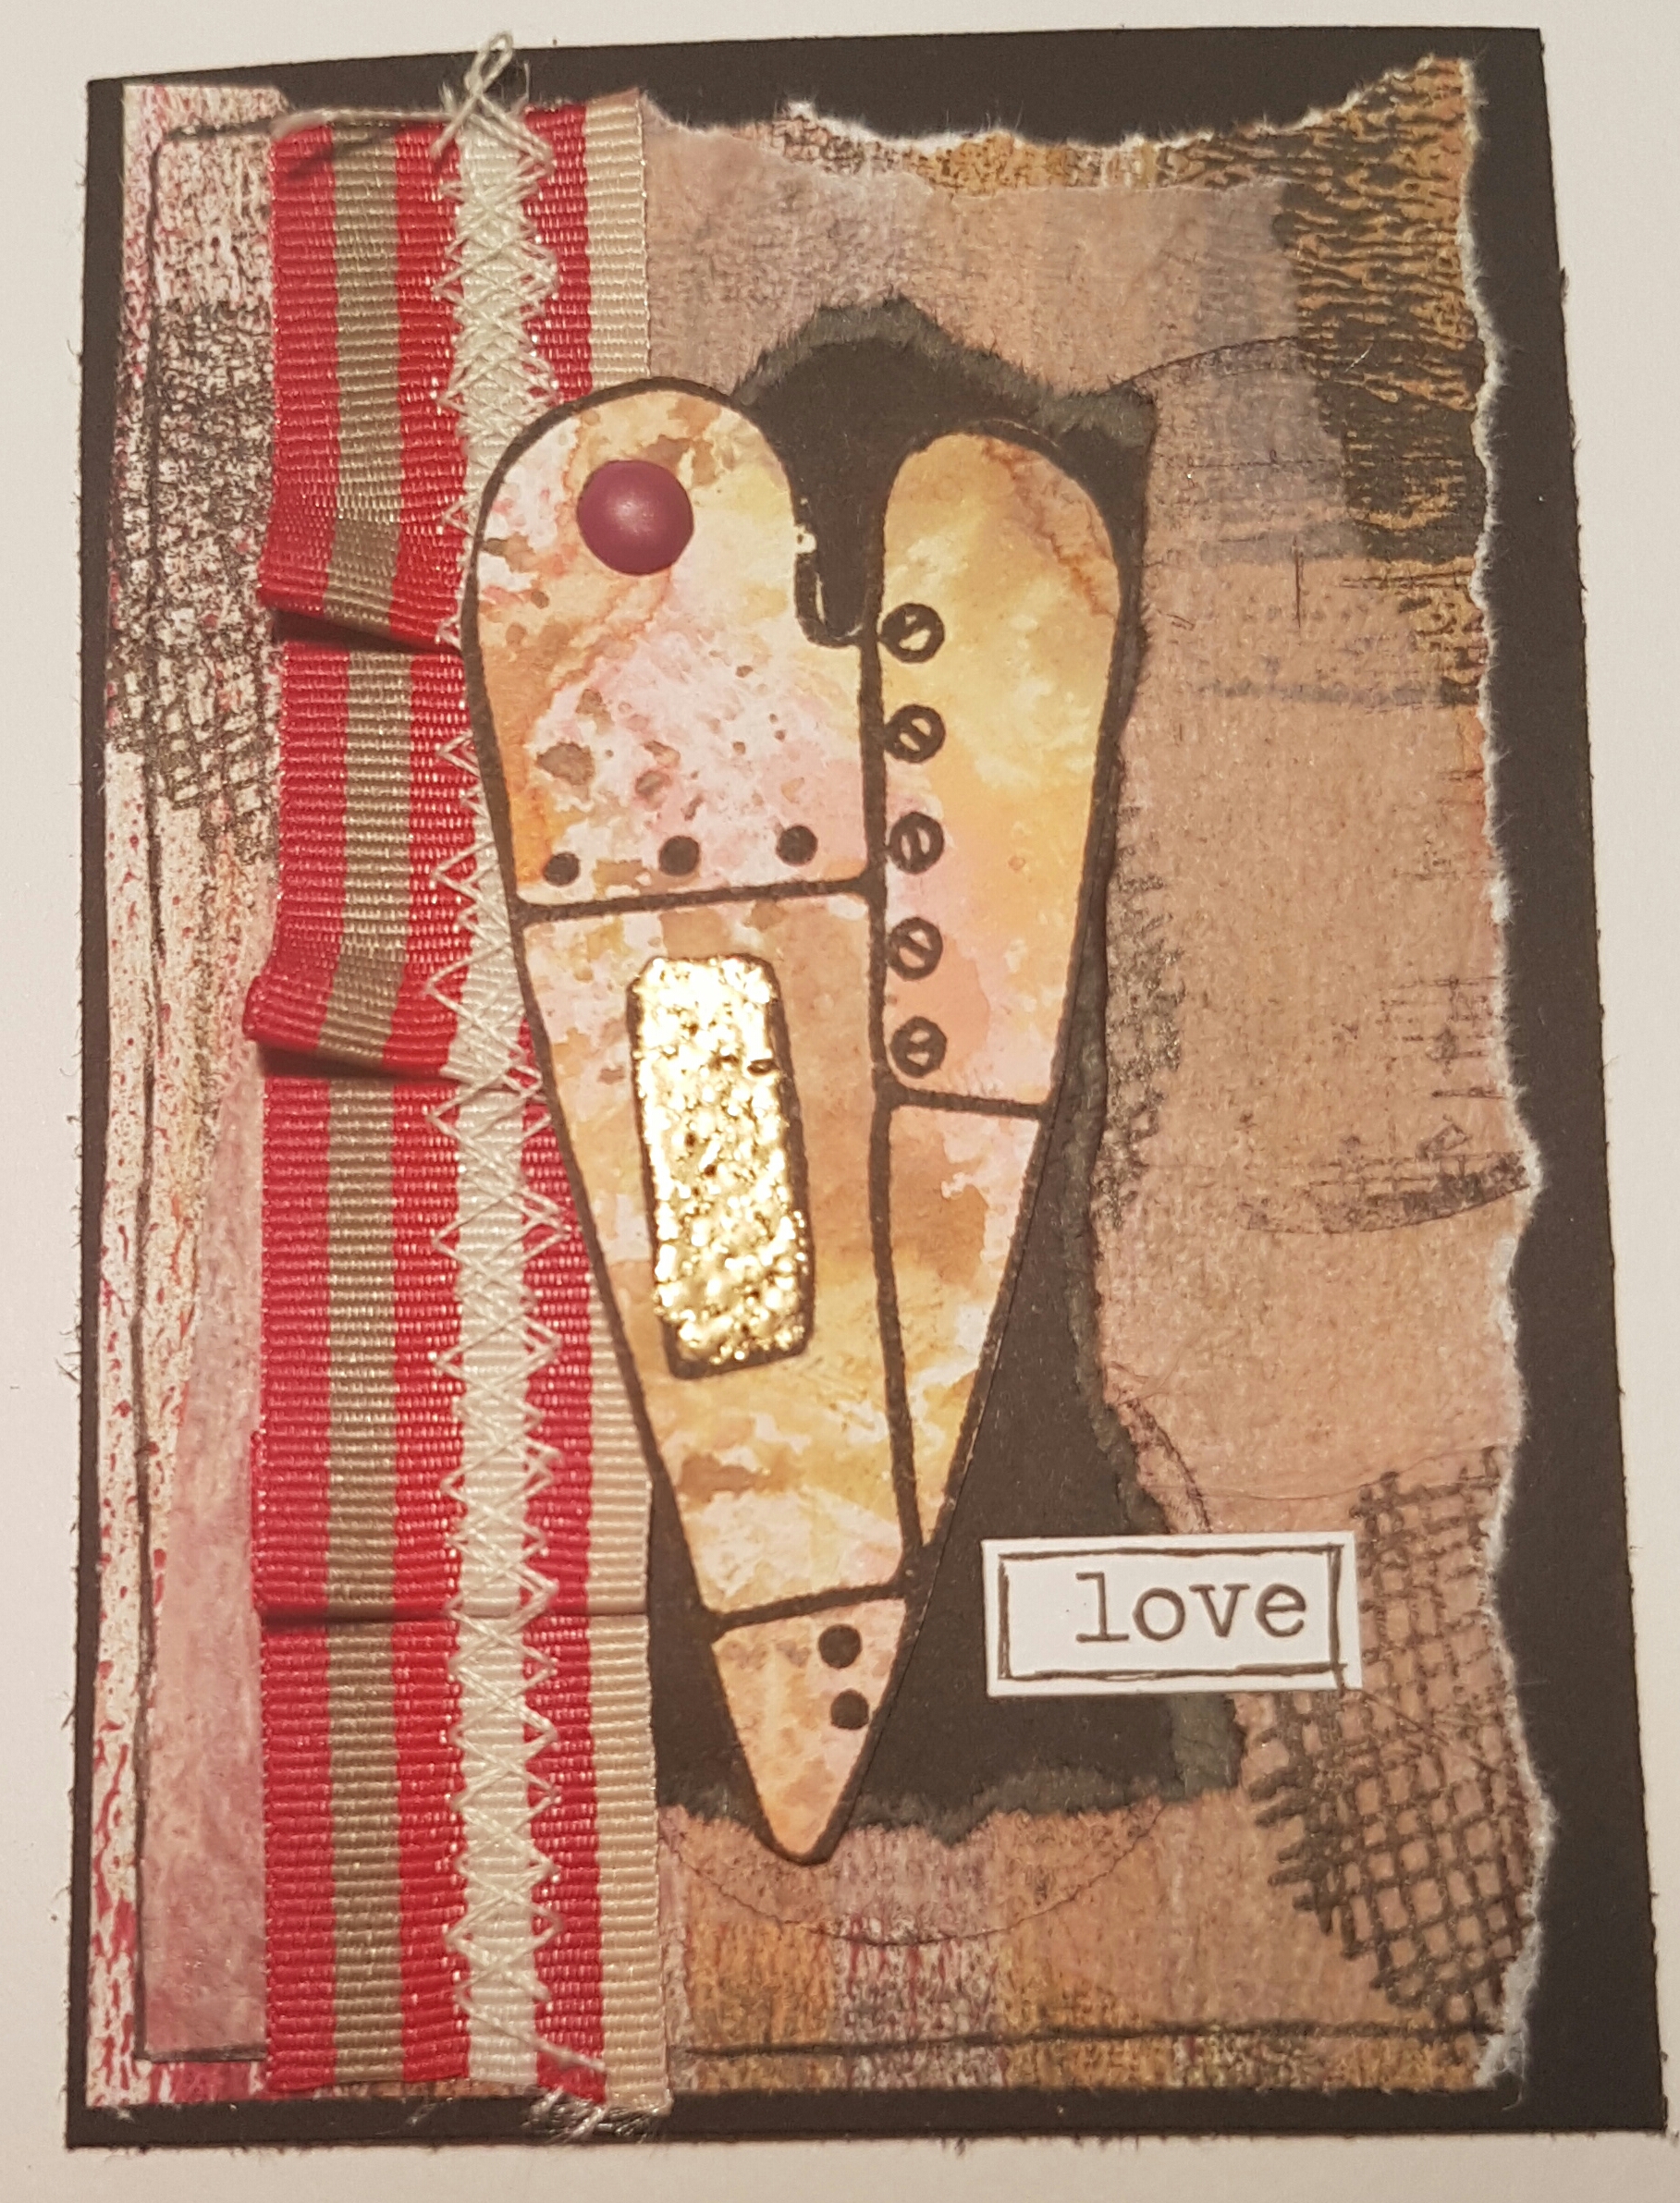
And here they are individually!
Happy crafting!
Catherine
I’ve been playing with distress oxides again. They are fab inks and so many cool and easy results.
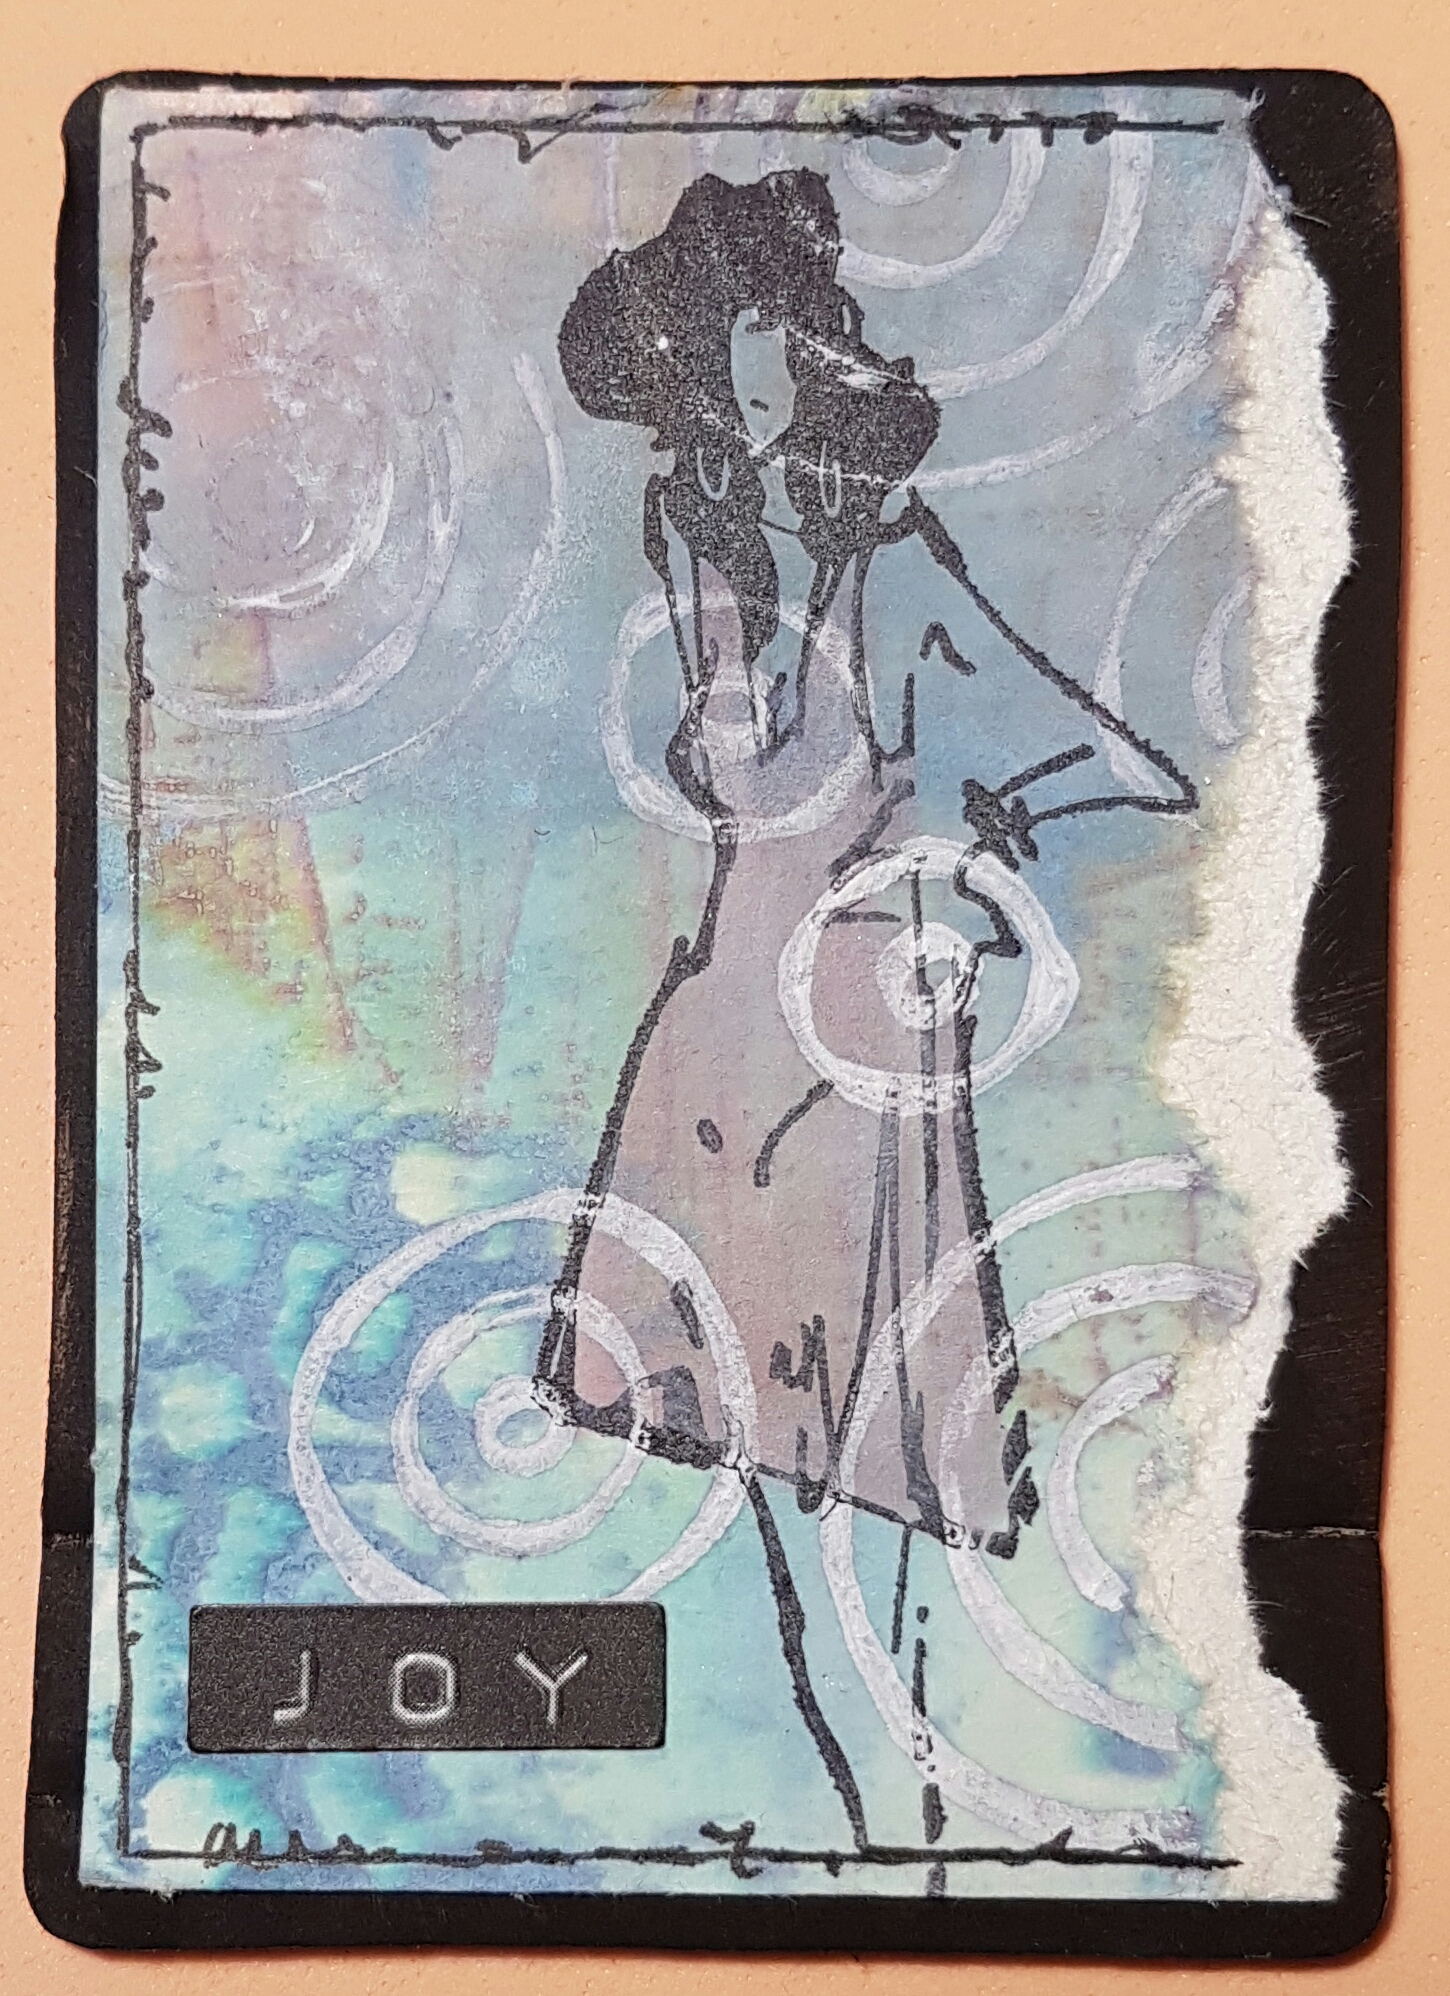
I started with a piece of cardstock and then created two ATC’S for a swap where the theme was HATS.
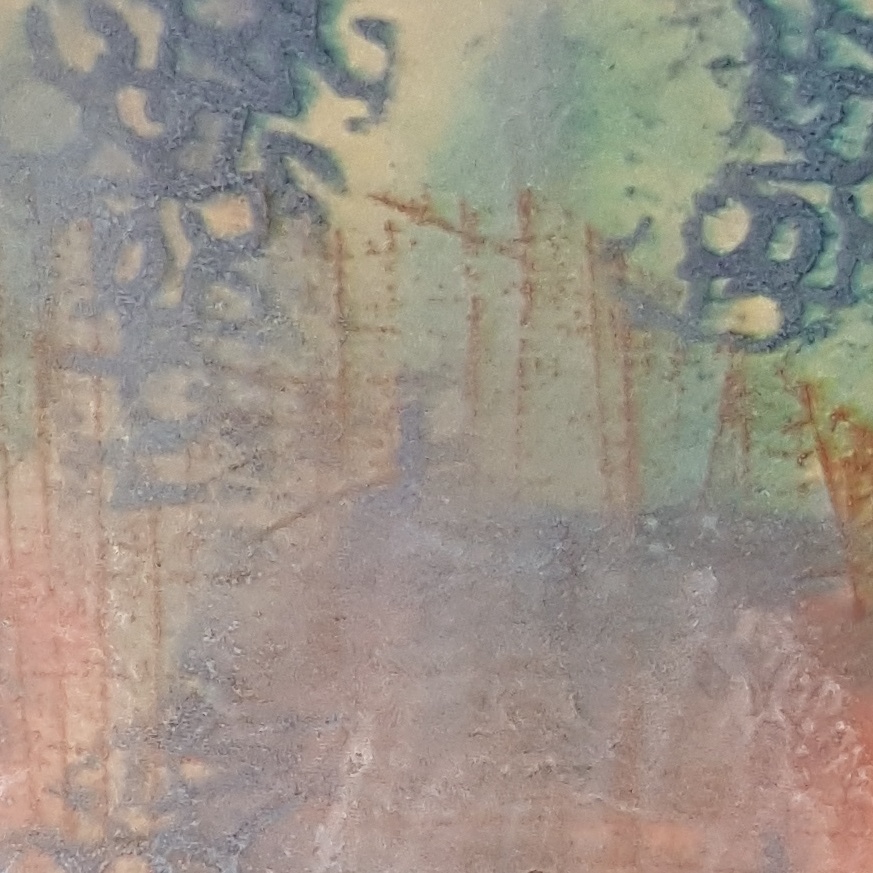
The top photo is a closeup of part of the main piece of cardstock that I started with. Then I cut it into some sections so I could make the atcs.
The first one I took a Tim Holtz stamp (Runway) and stamped the image. I also added some stamped circles using the Kim Dellow paperartsy stamp wh8ch make it look a little retro. I tore one side and then mounted it onto an ATC made from corrugated cardstock than I had painted with black gesso.
The title was a sticker from the stash and then some doodled edging and I called it done.
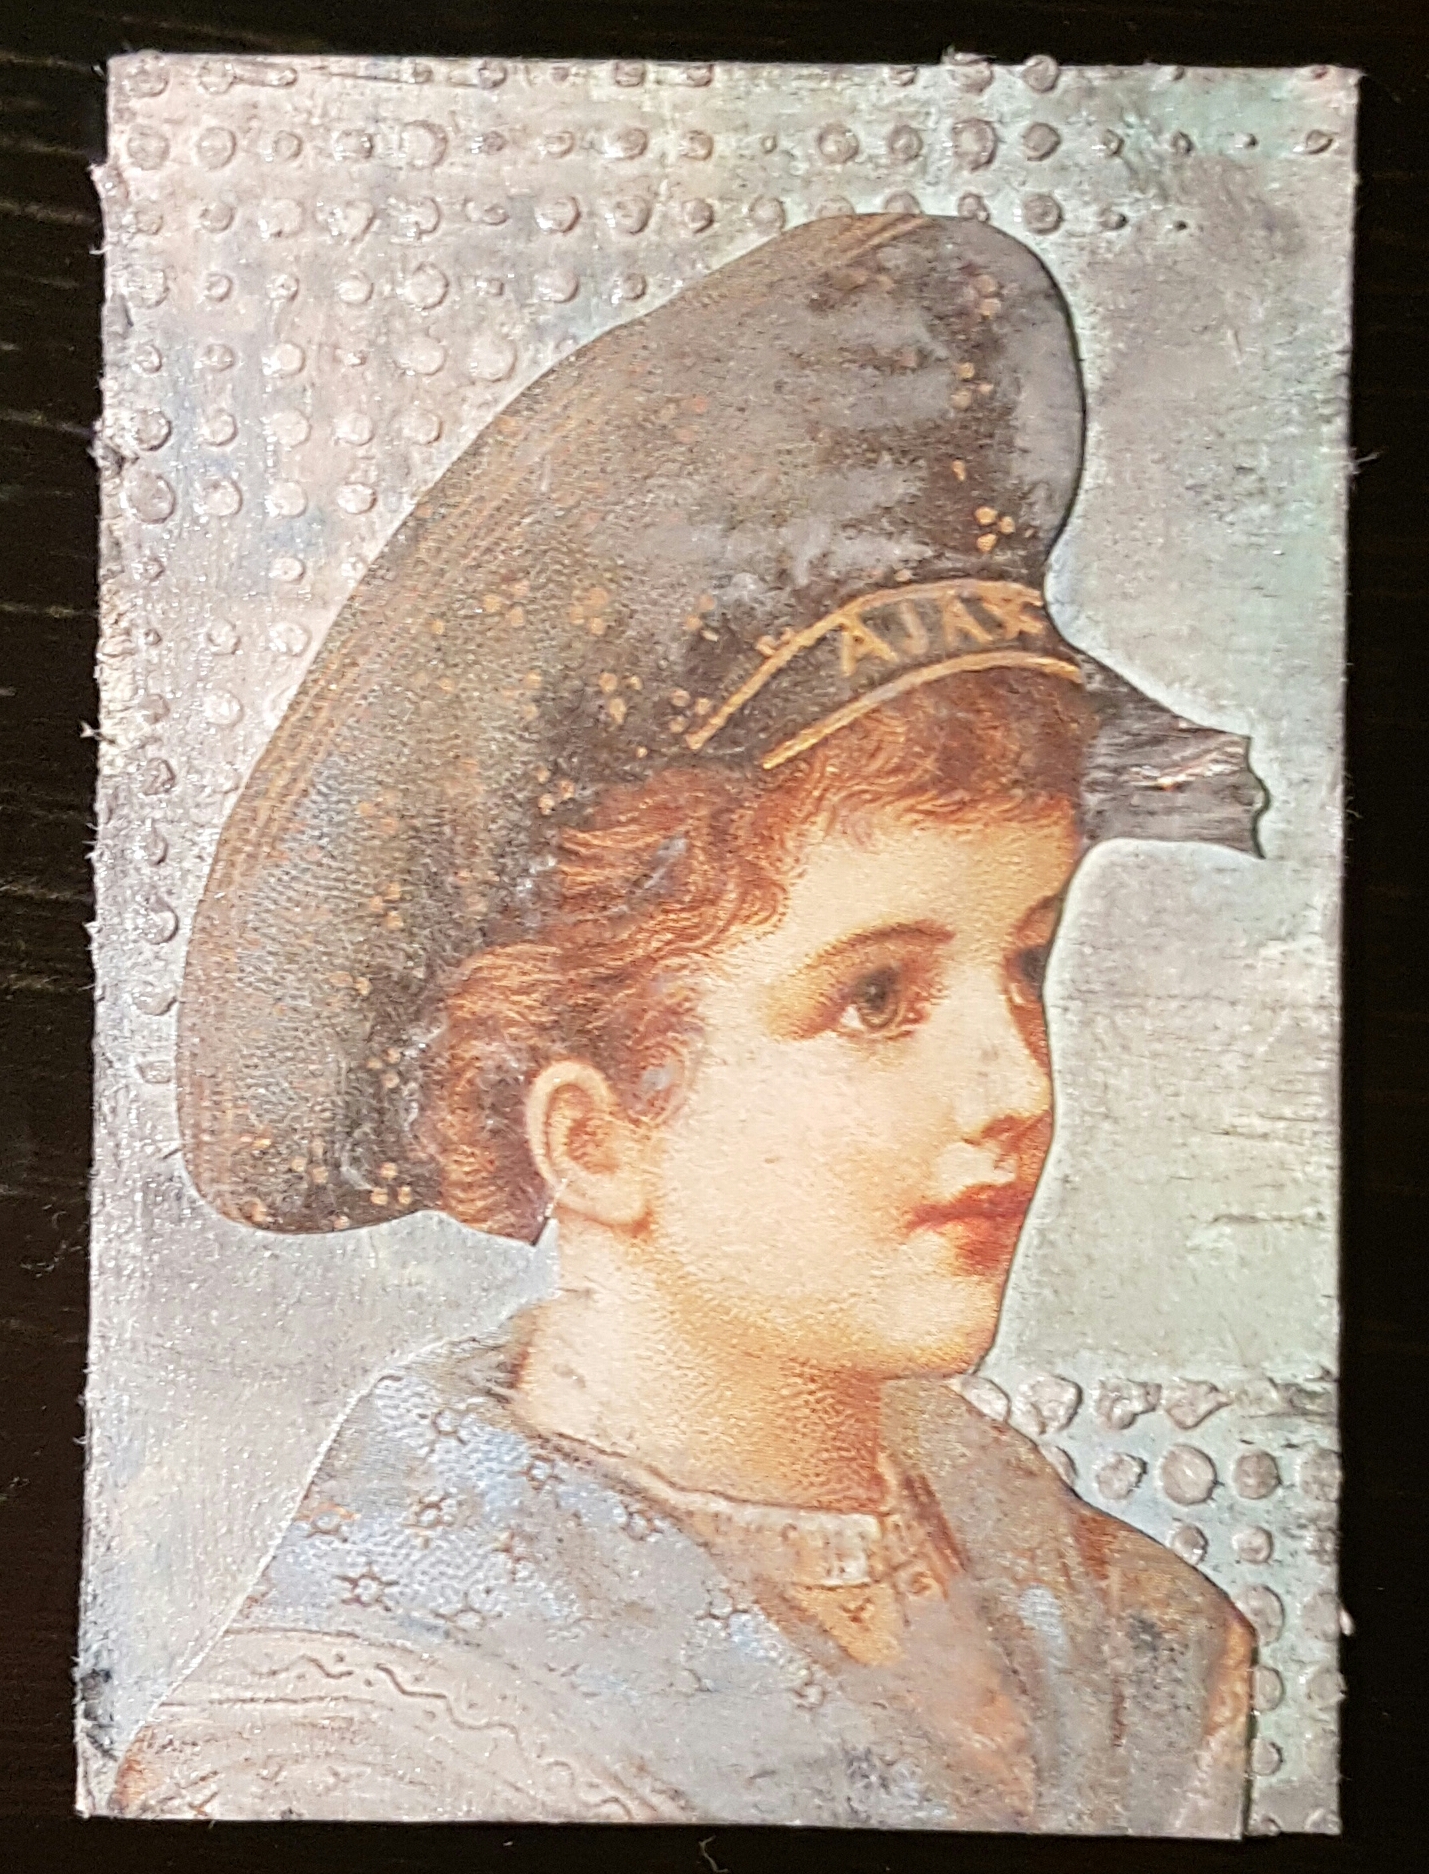
The second one I wanted a completely different look. I added some texture paste through a stencil in the back and then found this image I had received in a swap. The colours worked perfectly so I added it on top using gel medium. I wanted it to tone into the background though so I added some gesso as a very light coverage.
I wasn’t convinced I liked it at this point so decided to take my white gel pen and add some dots and doodles.
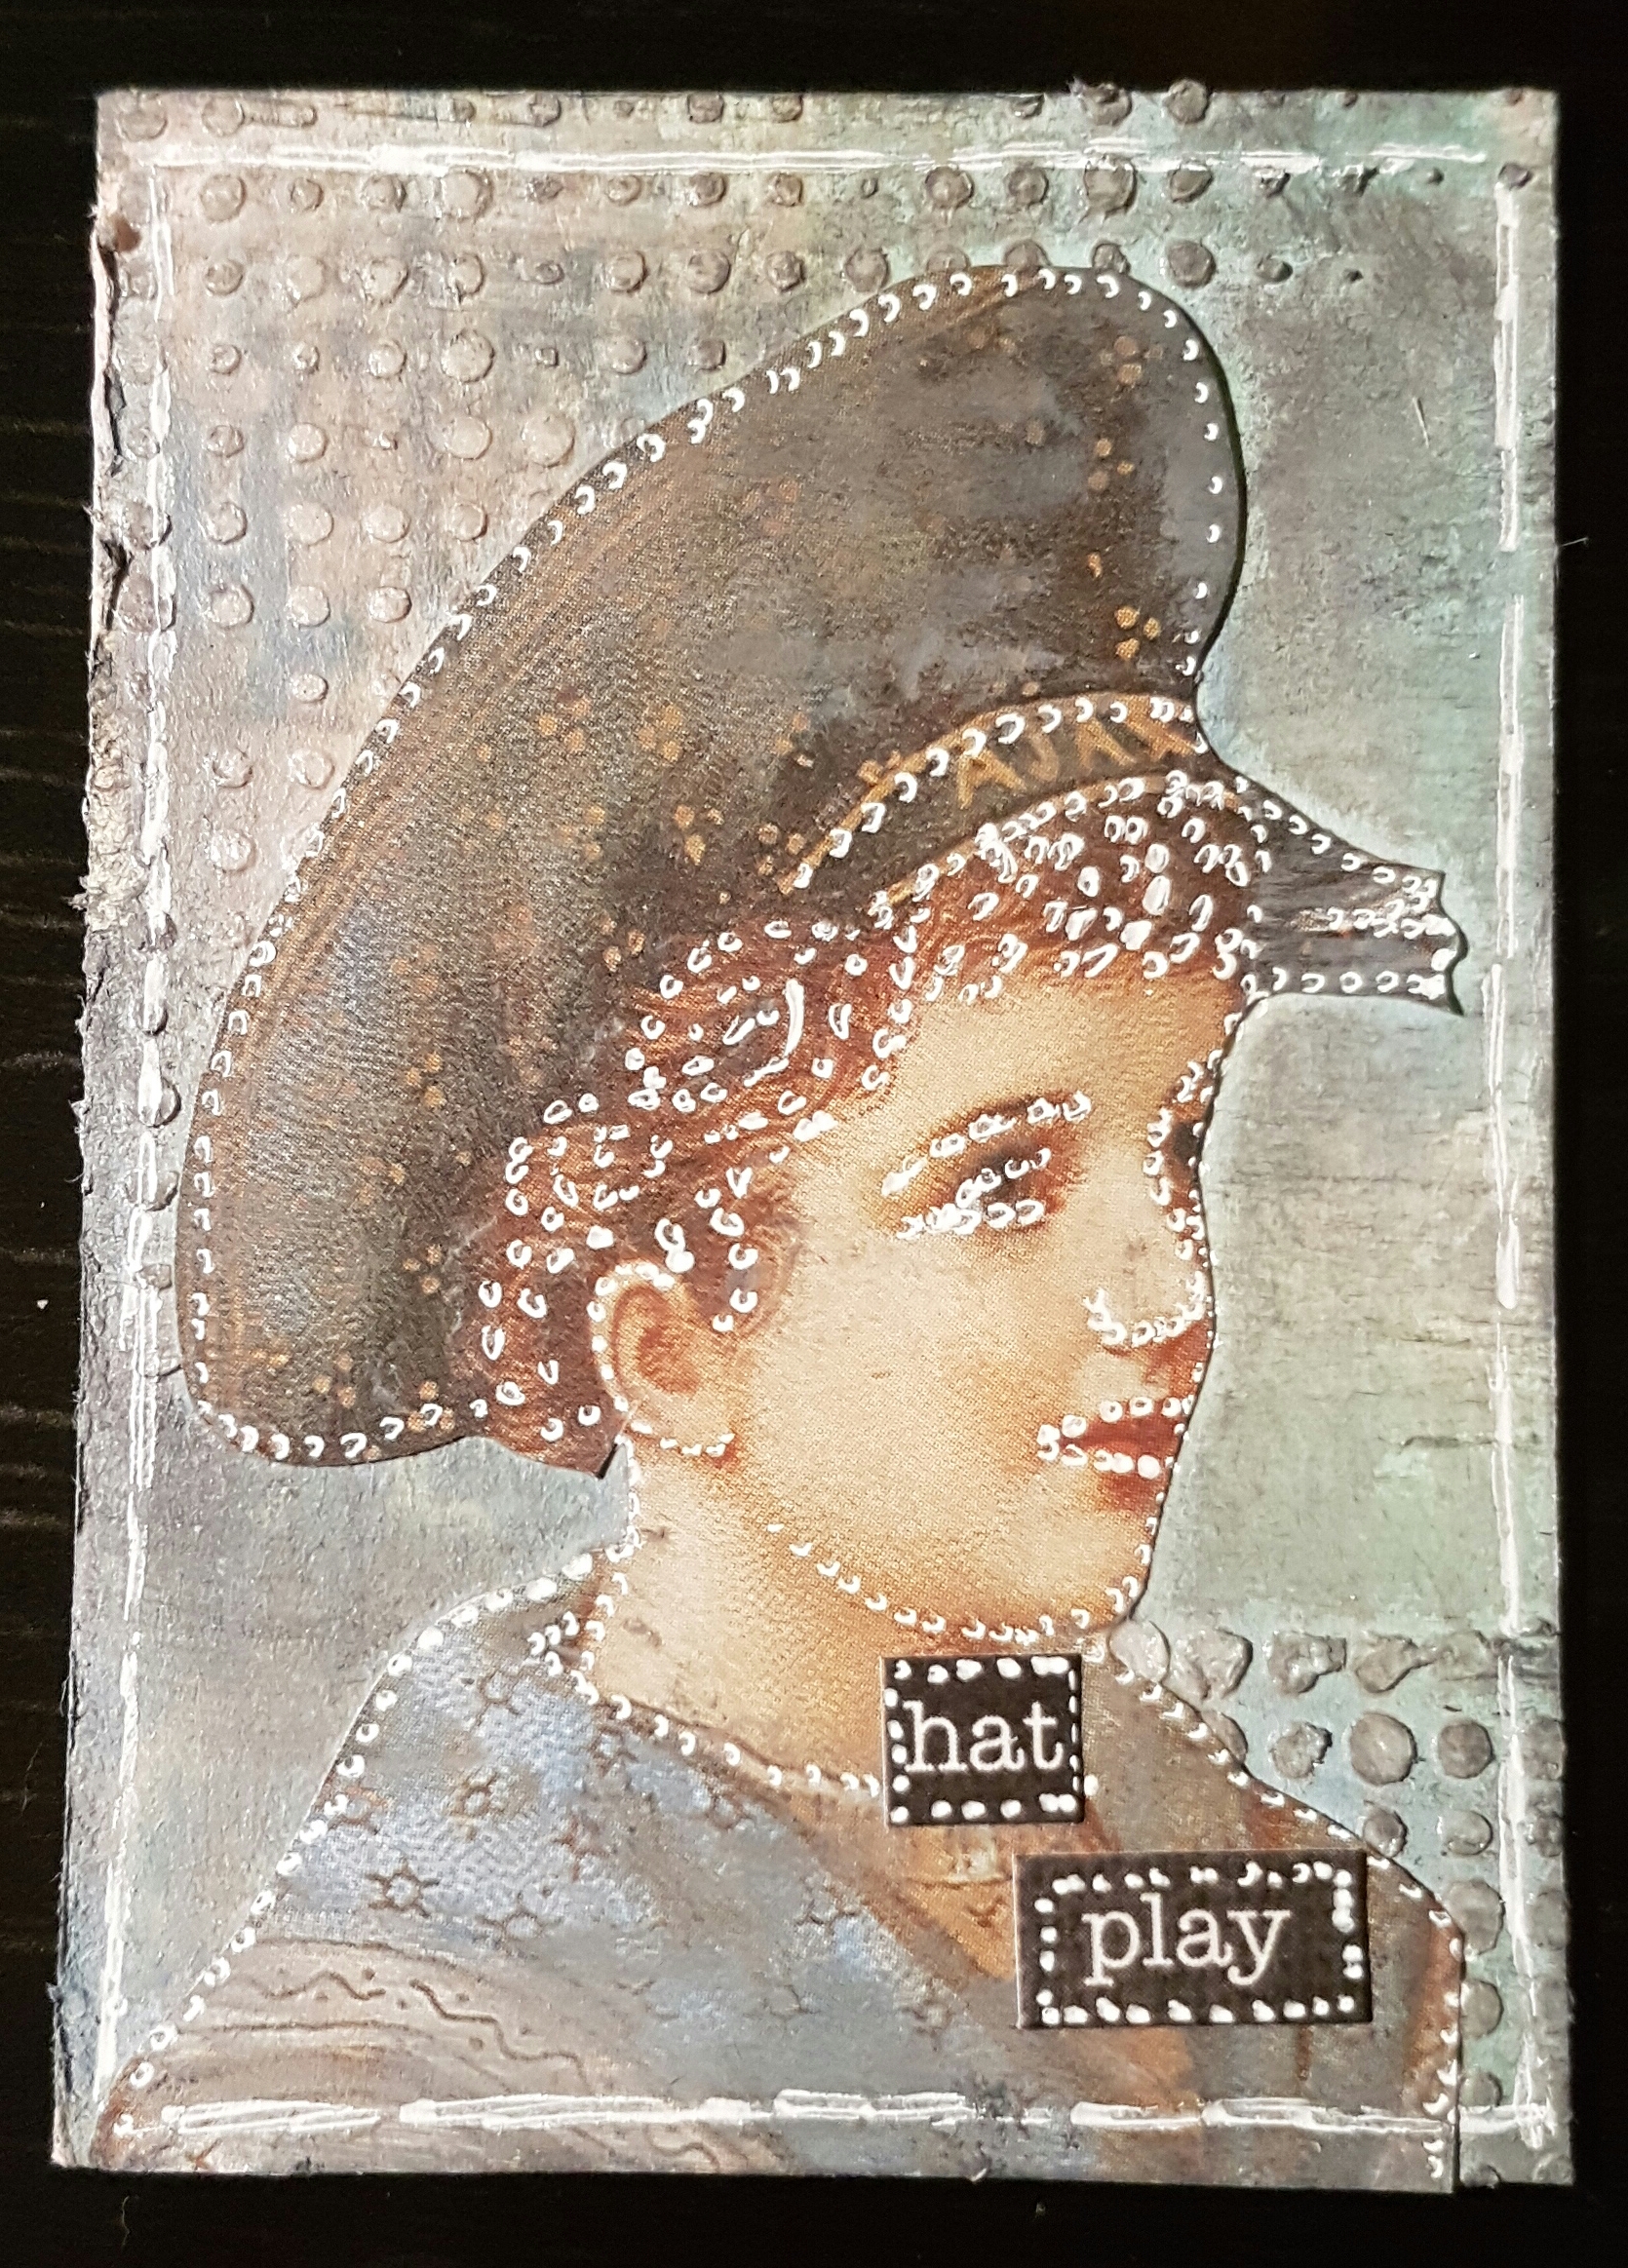
OK so it’s a bit strange but I liked it!
I know the recipient has now received these so hopefully she likes them too… as for me.. I’m still loving distress oxides! And two more ATC’s done!
Happy crafting!
Catherine
Another couple of ATC’S towards the challenge for the year…

I started with these Gelli prints on patterned paper. I added some stamping using the Dictionary stamp. Next I added some stamped flowers which I cut out and edged with pink ink, and then added some of the splats from Timeless Treasures.

Both of the flowers were stamped several years ago and have just sat in the stash. Good to get them out and find a use for them.

I then added some iridescent medium through a stencil over part of the each of the cards. Once it was dry I added the finishing touches…

… flowers and a little quote which I got off a calendar.
Love how these both came out.
Happy crafting!
Catherine
I made another three ATC’S for a swap that Lindsay Mason organises… and the theme this month (Feb) is Through the Window.
I actually did mine on video… here is the link.https://youtu.be/RvIuJ4XDE50
However it is a little long as three individual atcs takes time. So here are the pics of the final pieces.
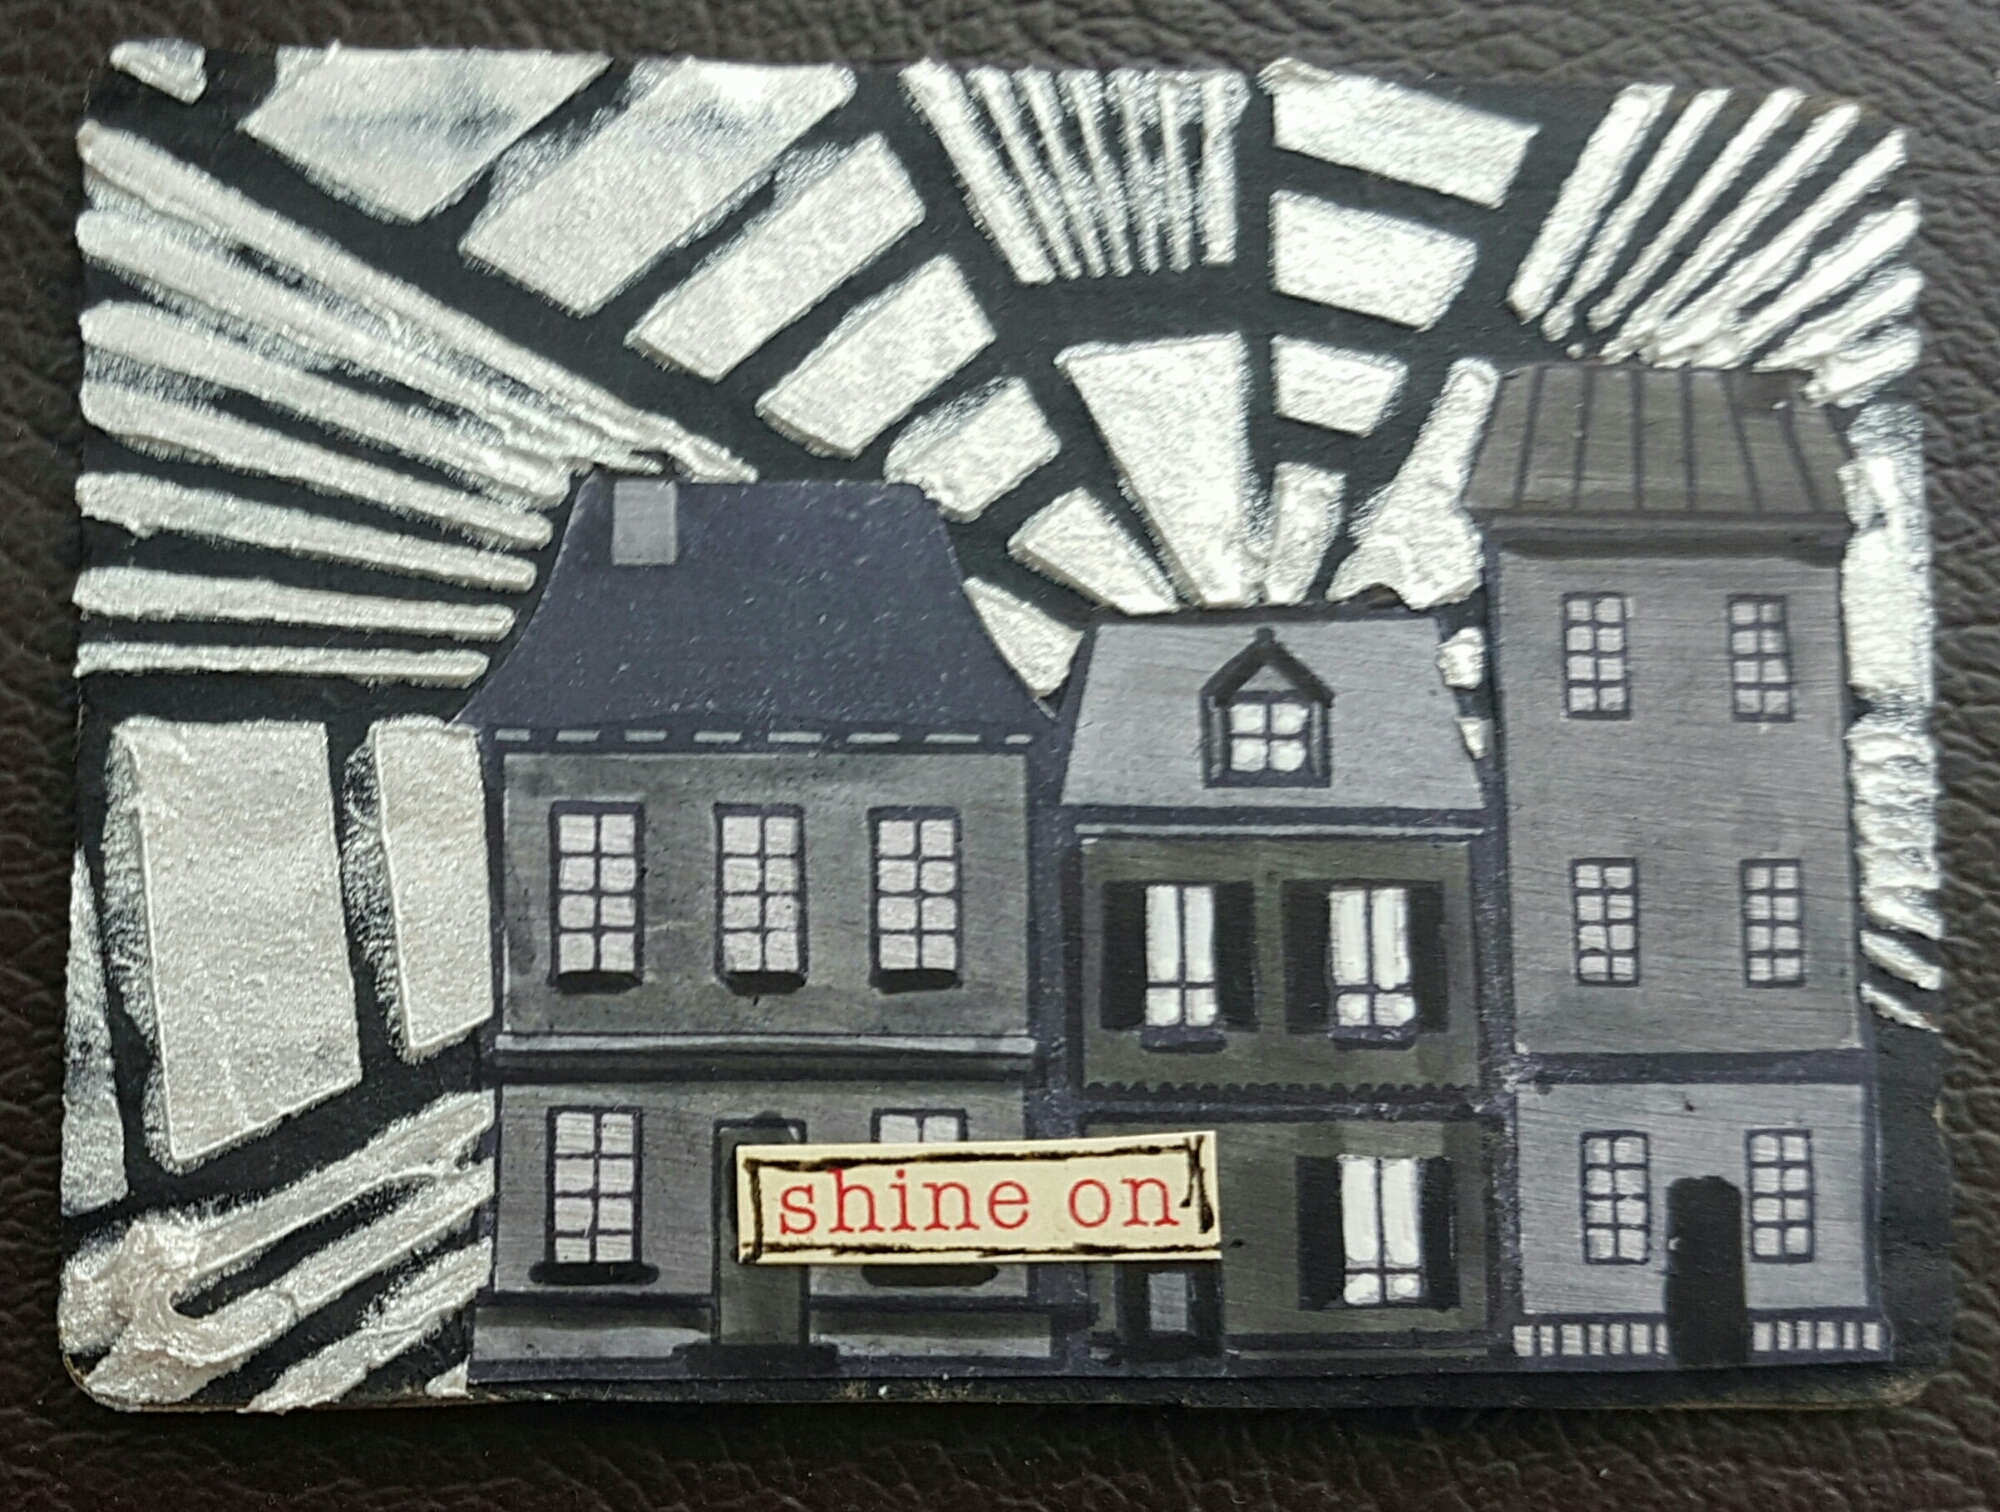
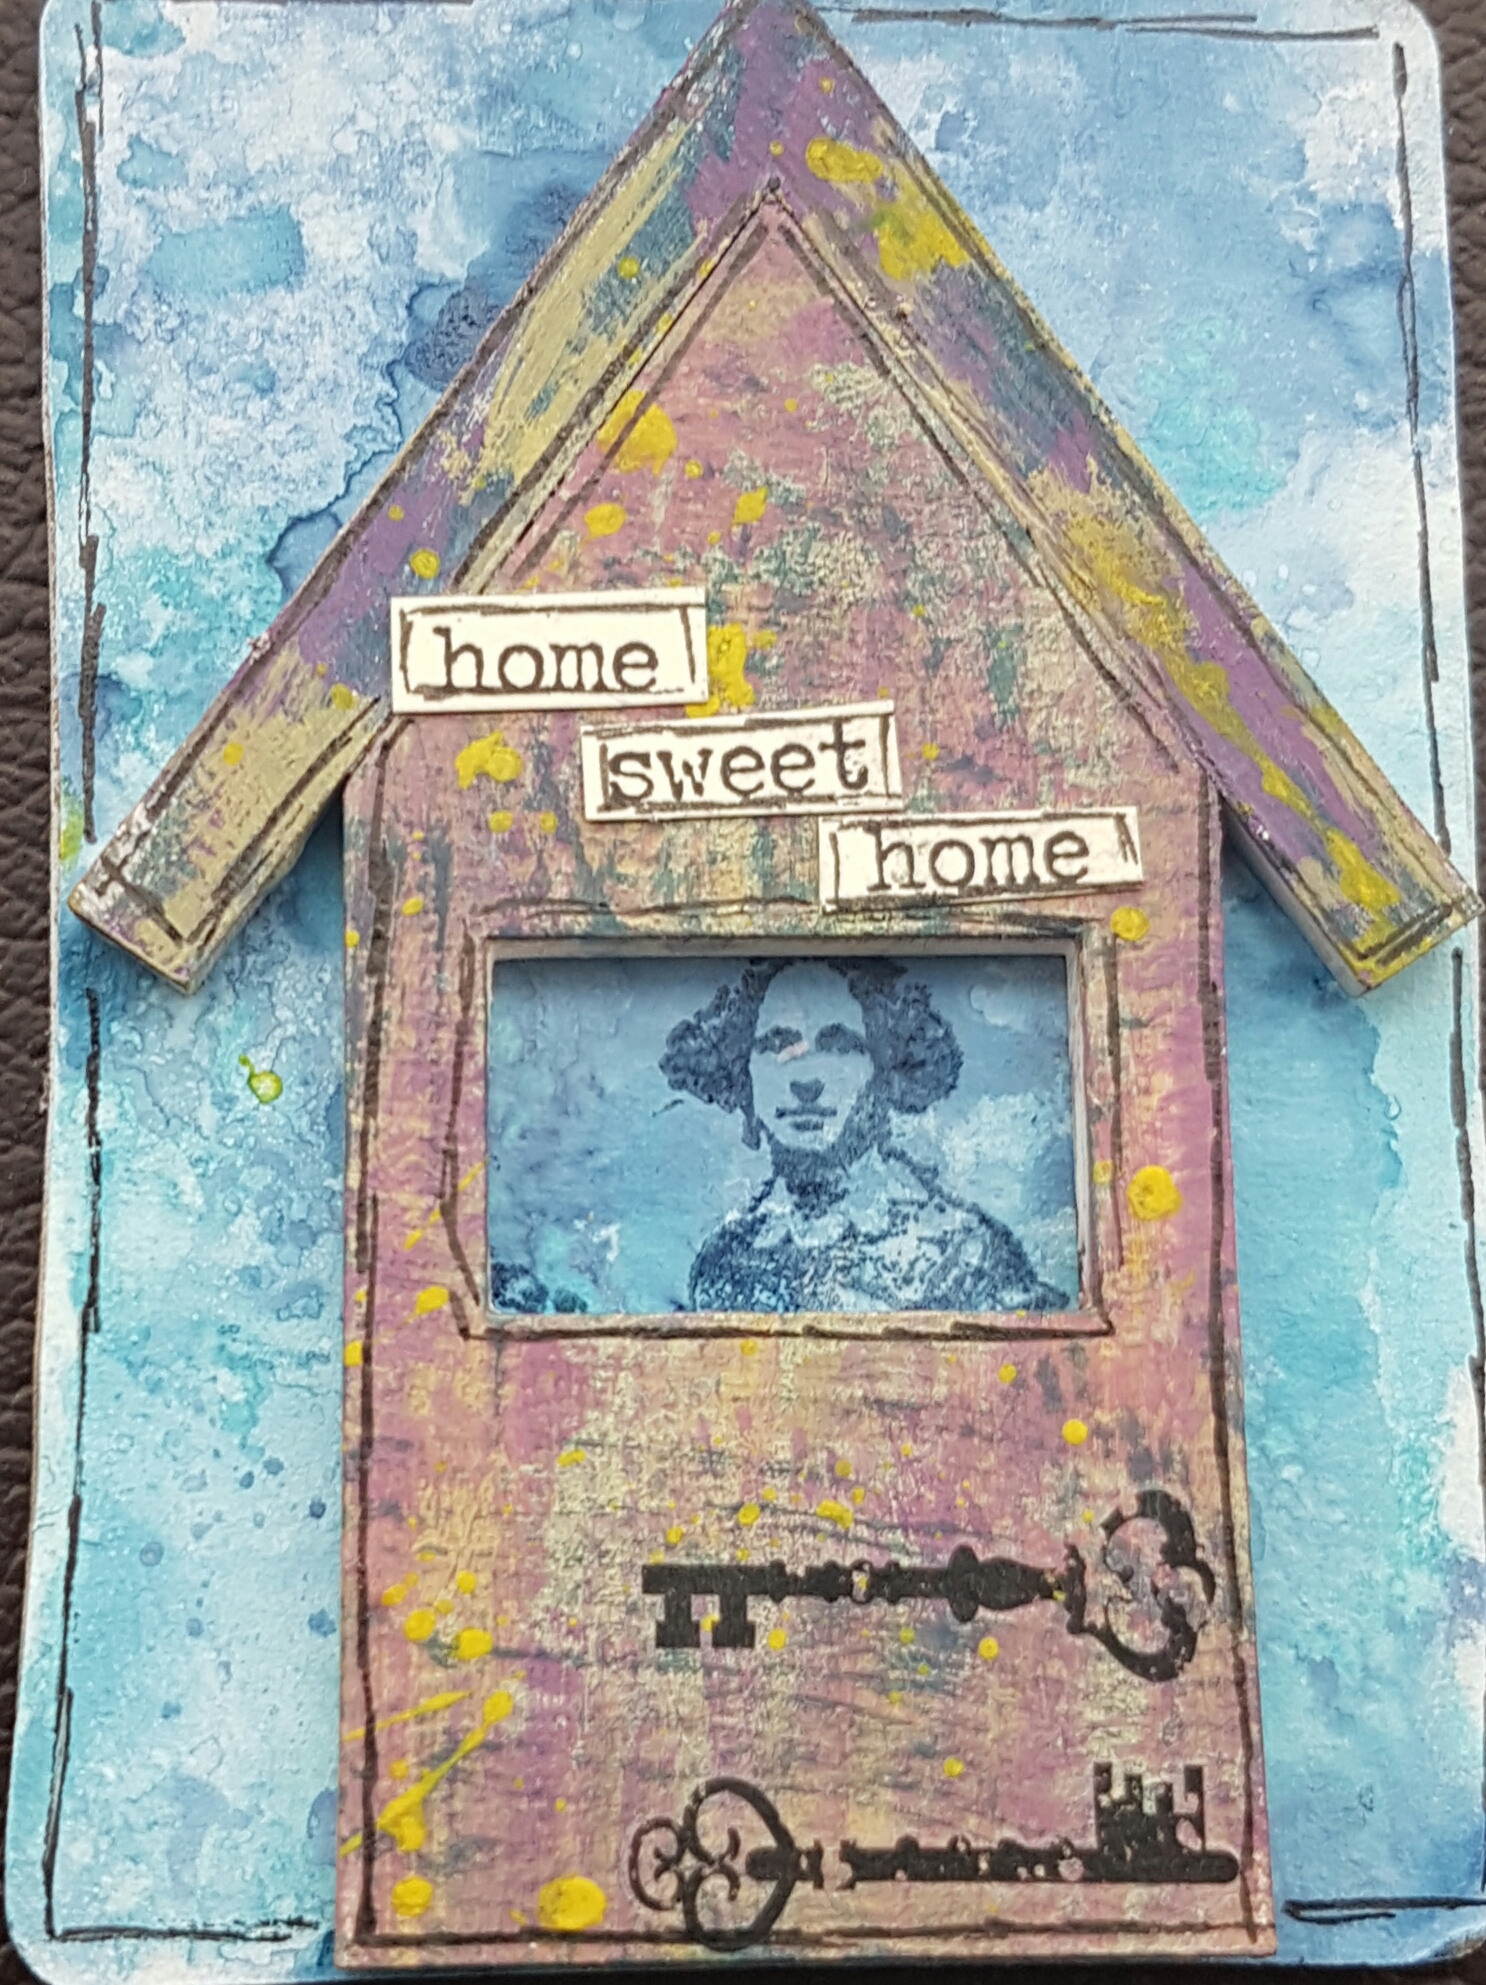
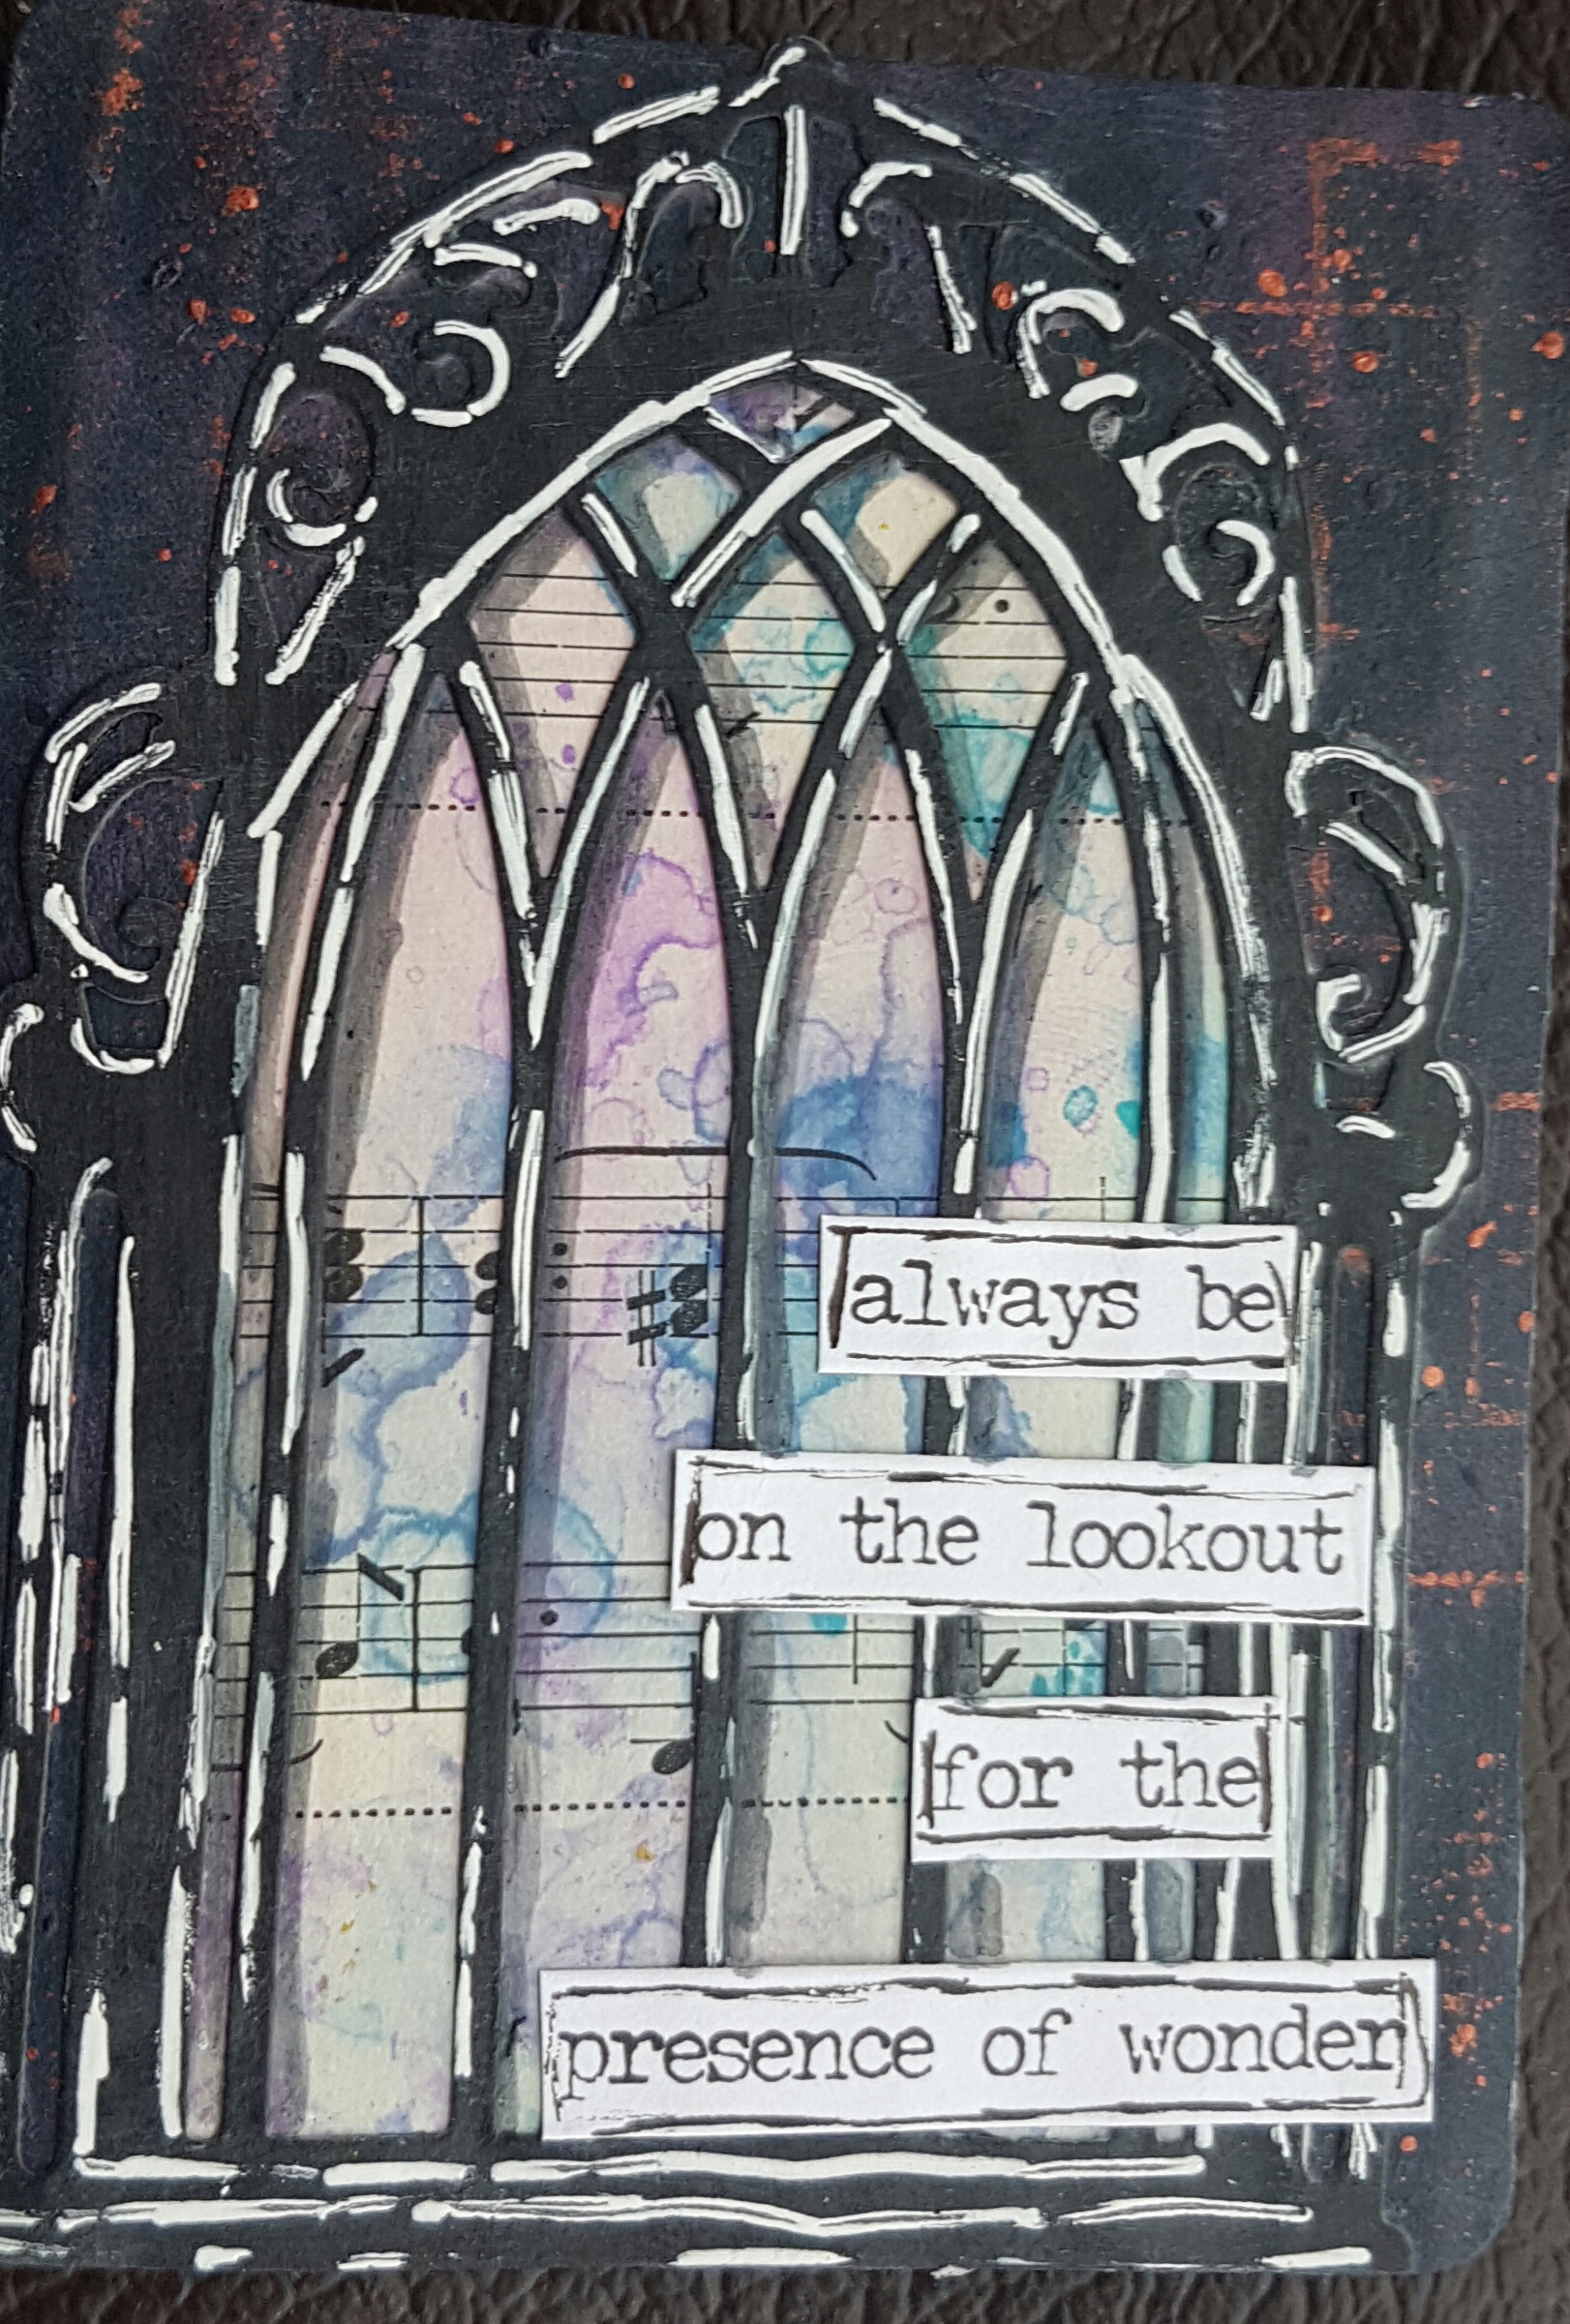
Three very different ATC’S but all featuring windows as per the brief.
Hope you get a chance to watch the process video I made. Sorry it’s so long. Next time will just have to do the whole thing on fast forward and learn to do voice overs.
Getting there with my videoing skills though and enjoying doing them even if the editing gets a little tiresome!
Happy crafting!
Catherine
So last night was playtime at my house with Gelli plates galore. And I actually made stuff too not just demonstrated…. I made a couple of cards… the first one will be a mothers day card when I get round to adding a sentiment.
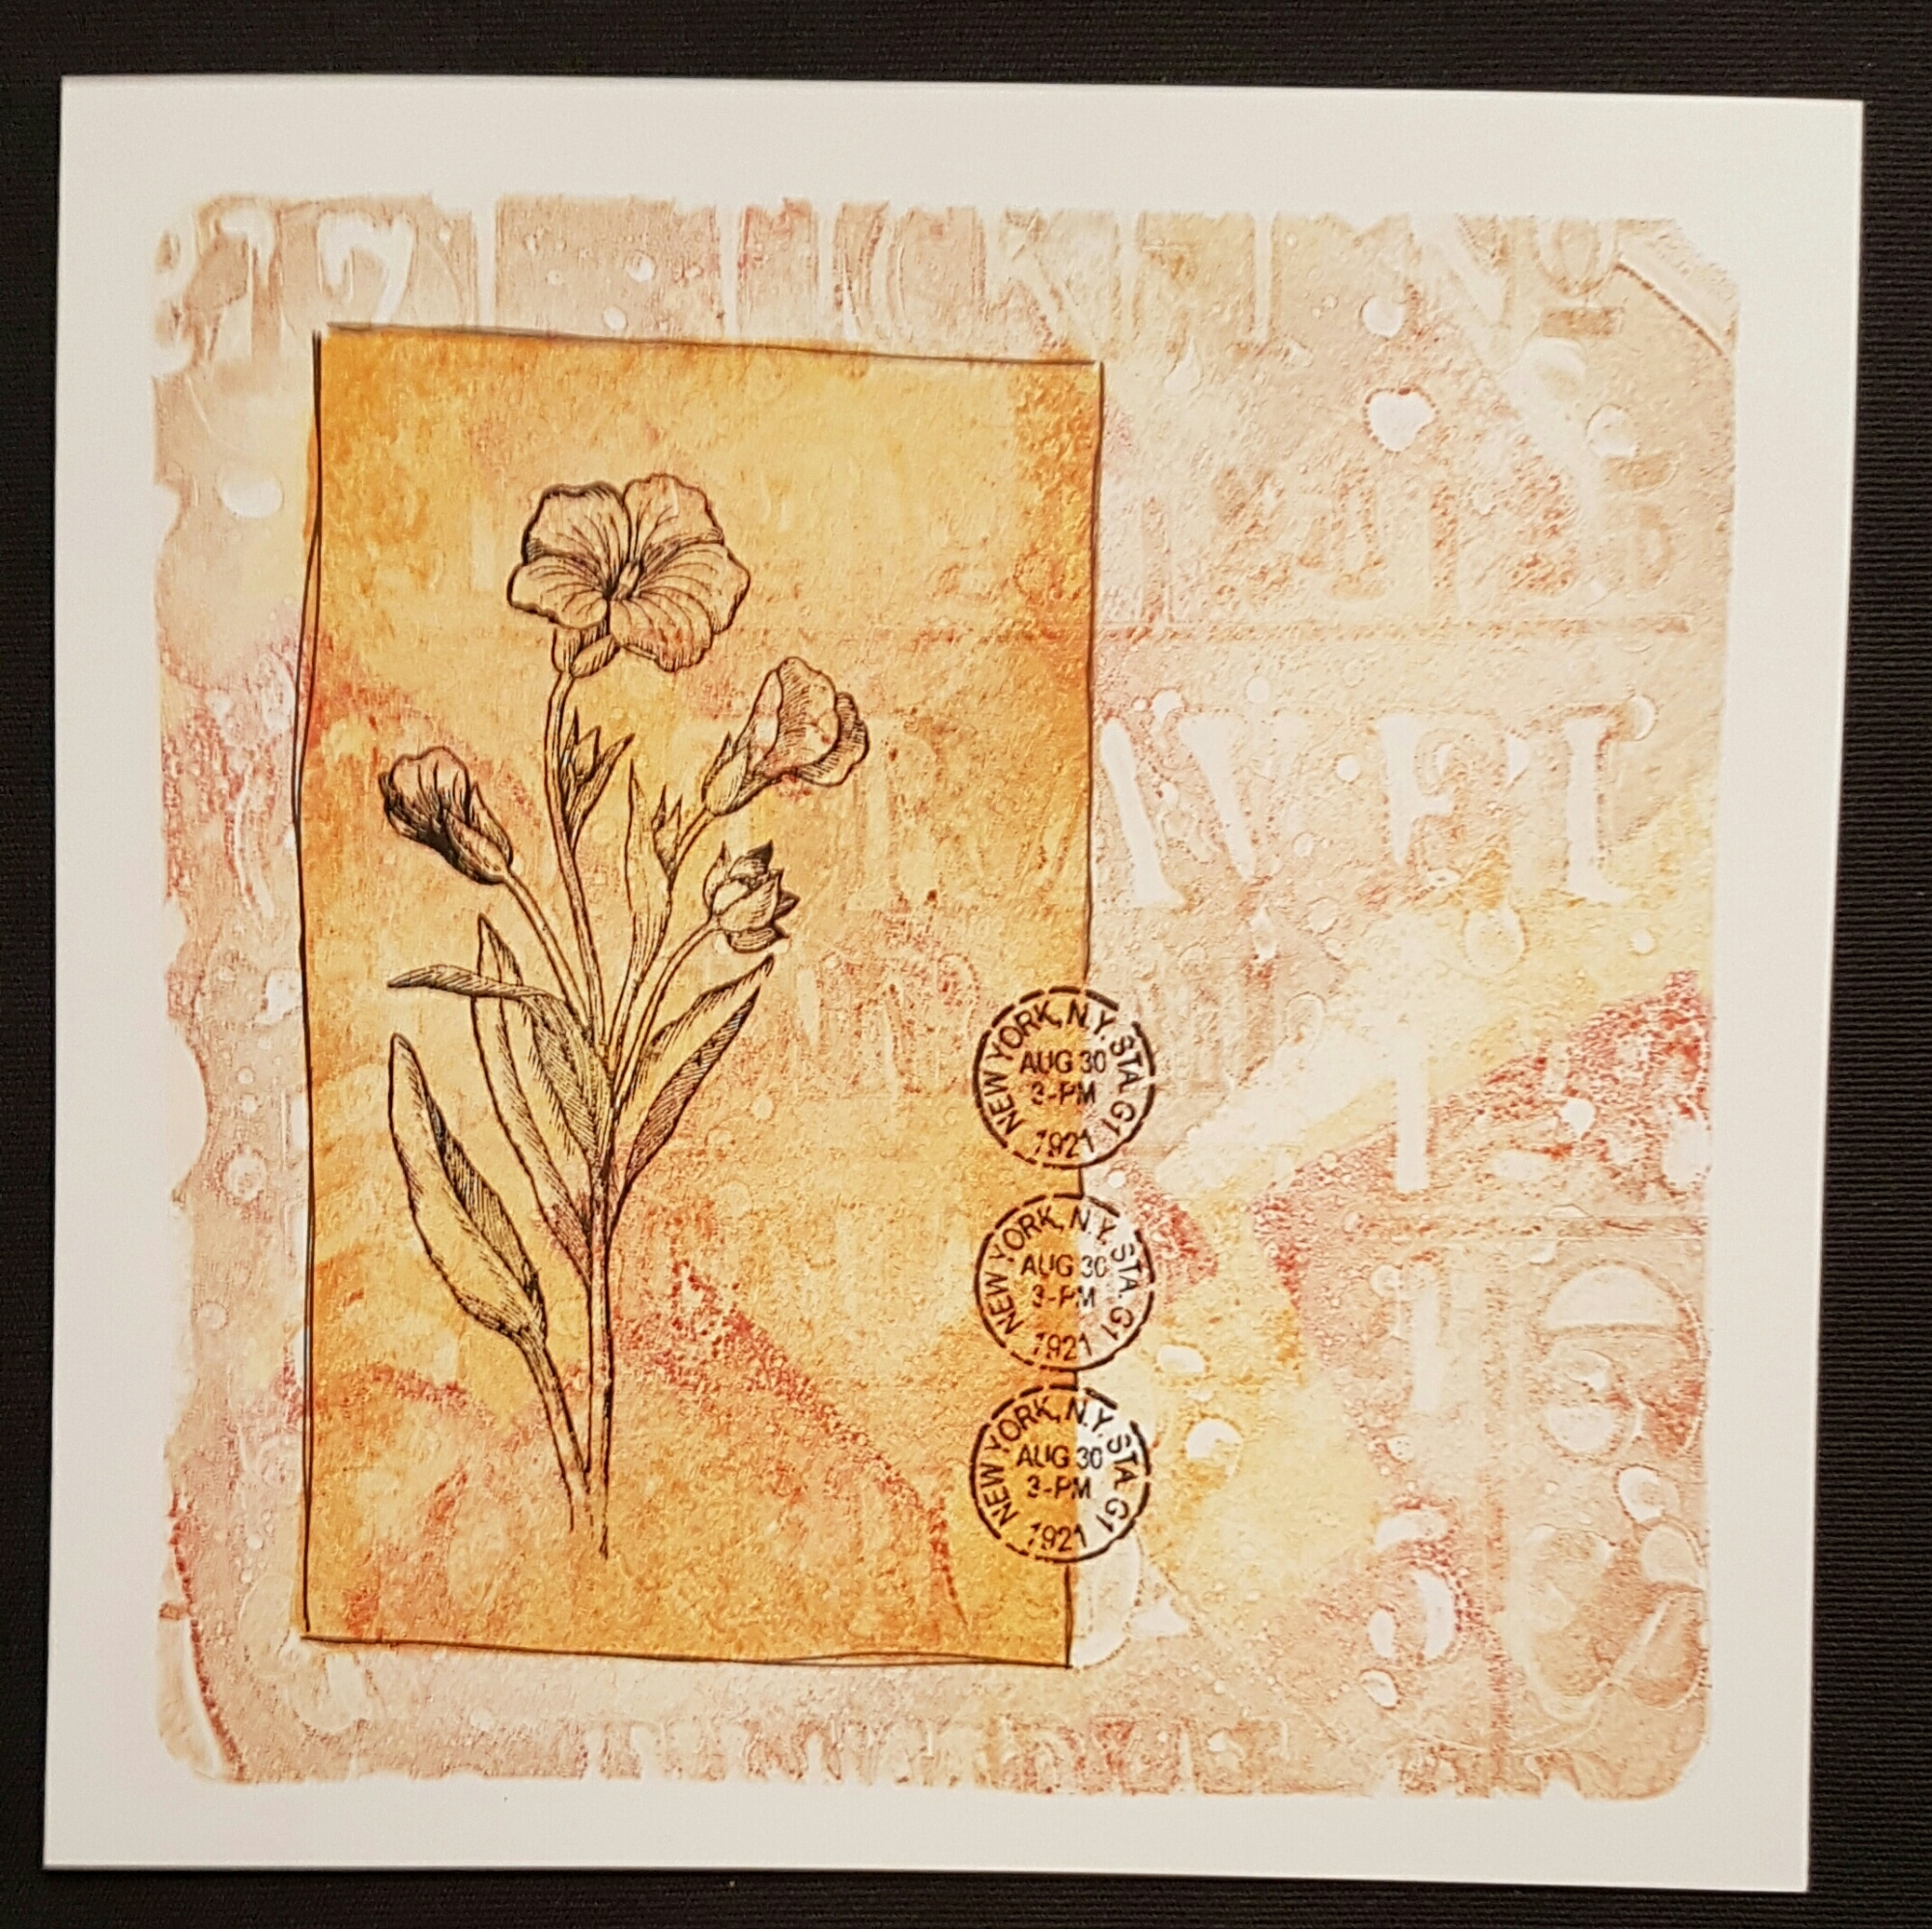
The second I will also add a sentiment to and then it can go into the stash for me to give at some point.
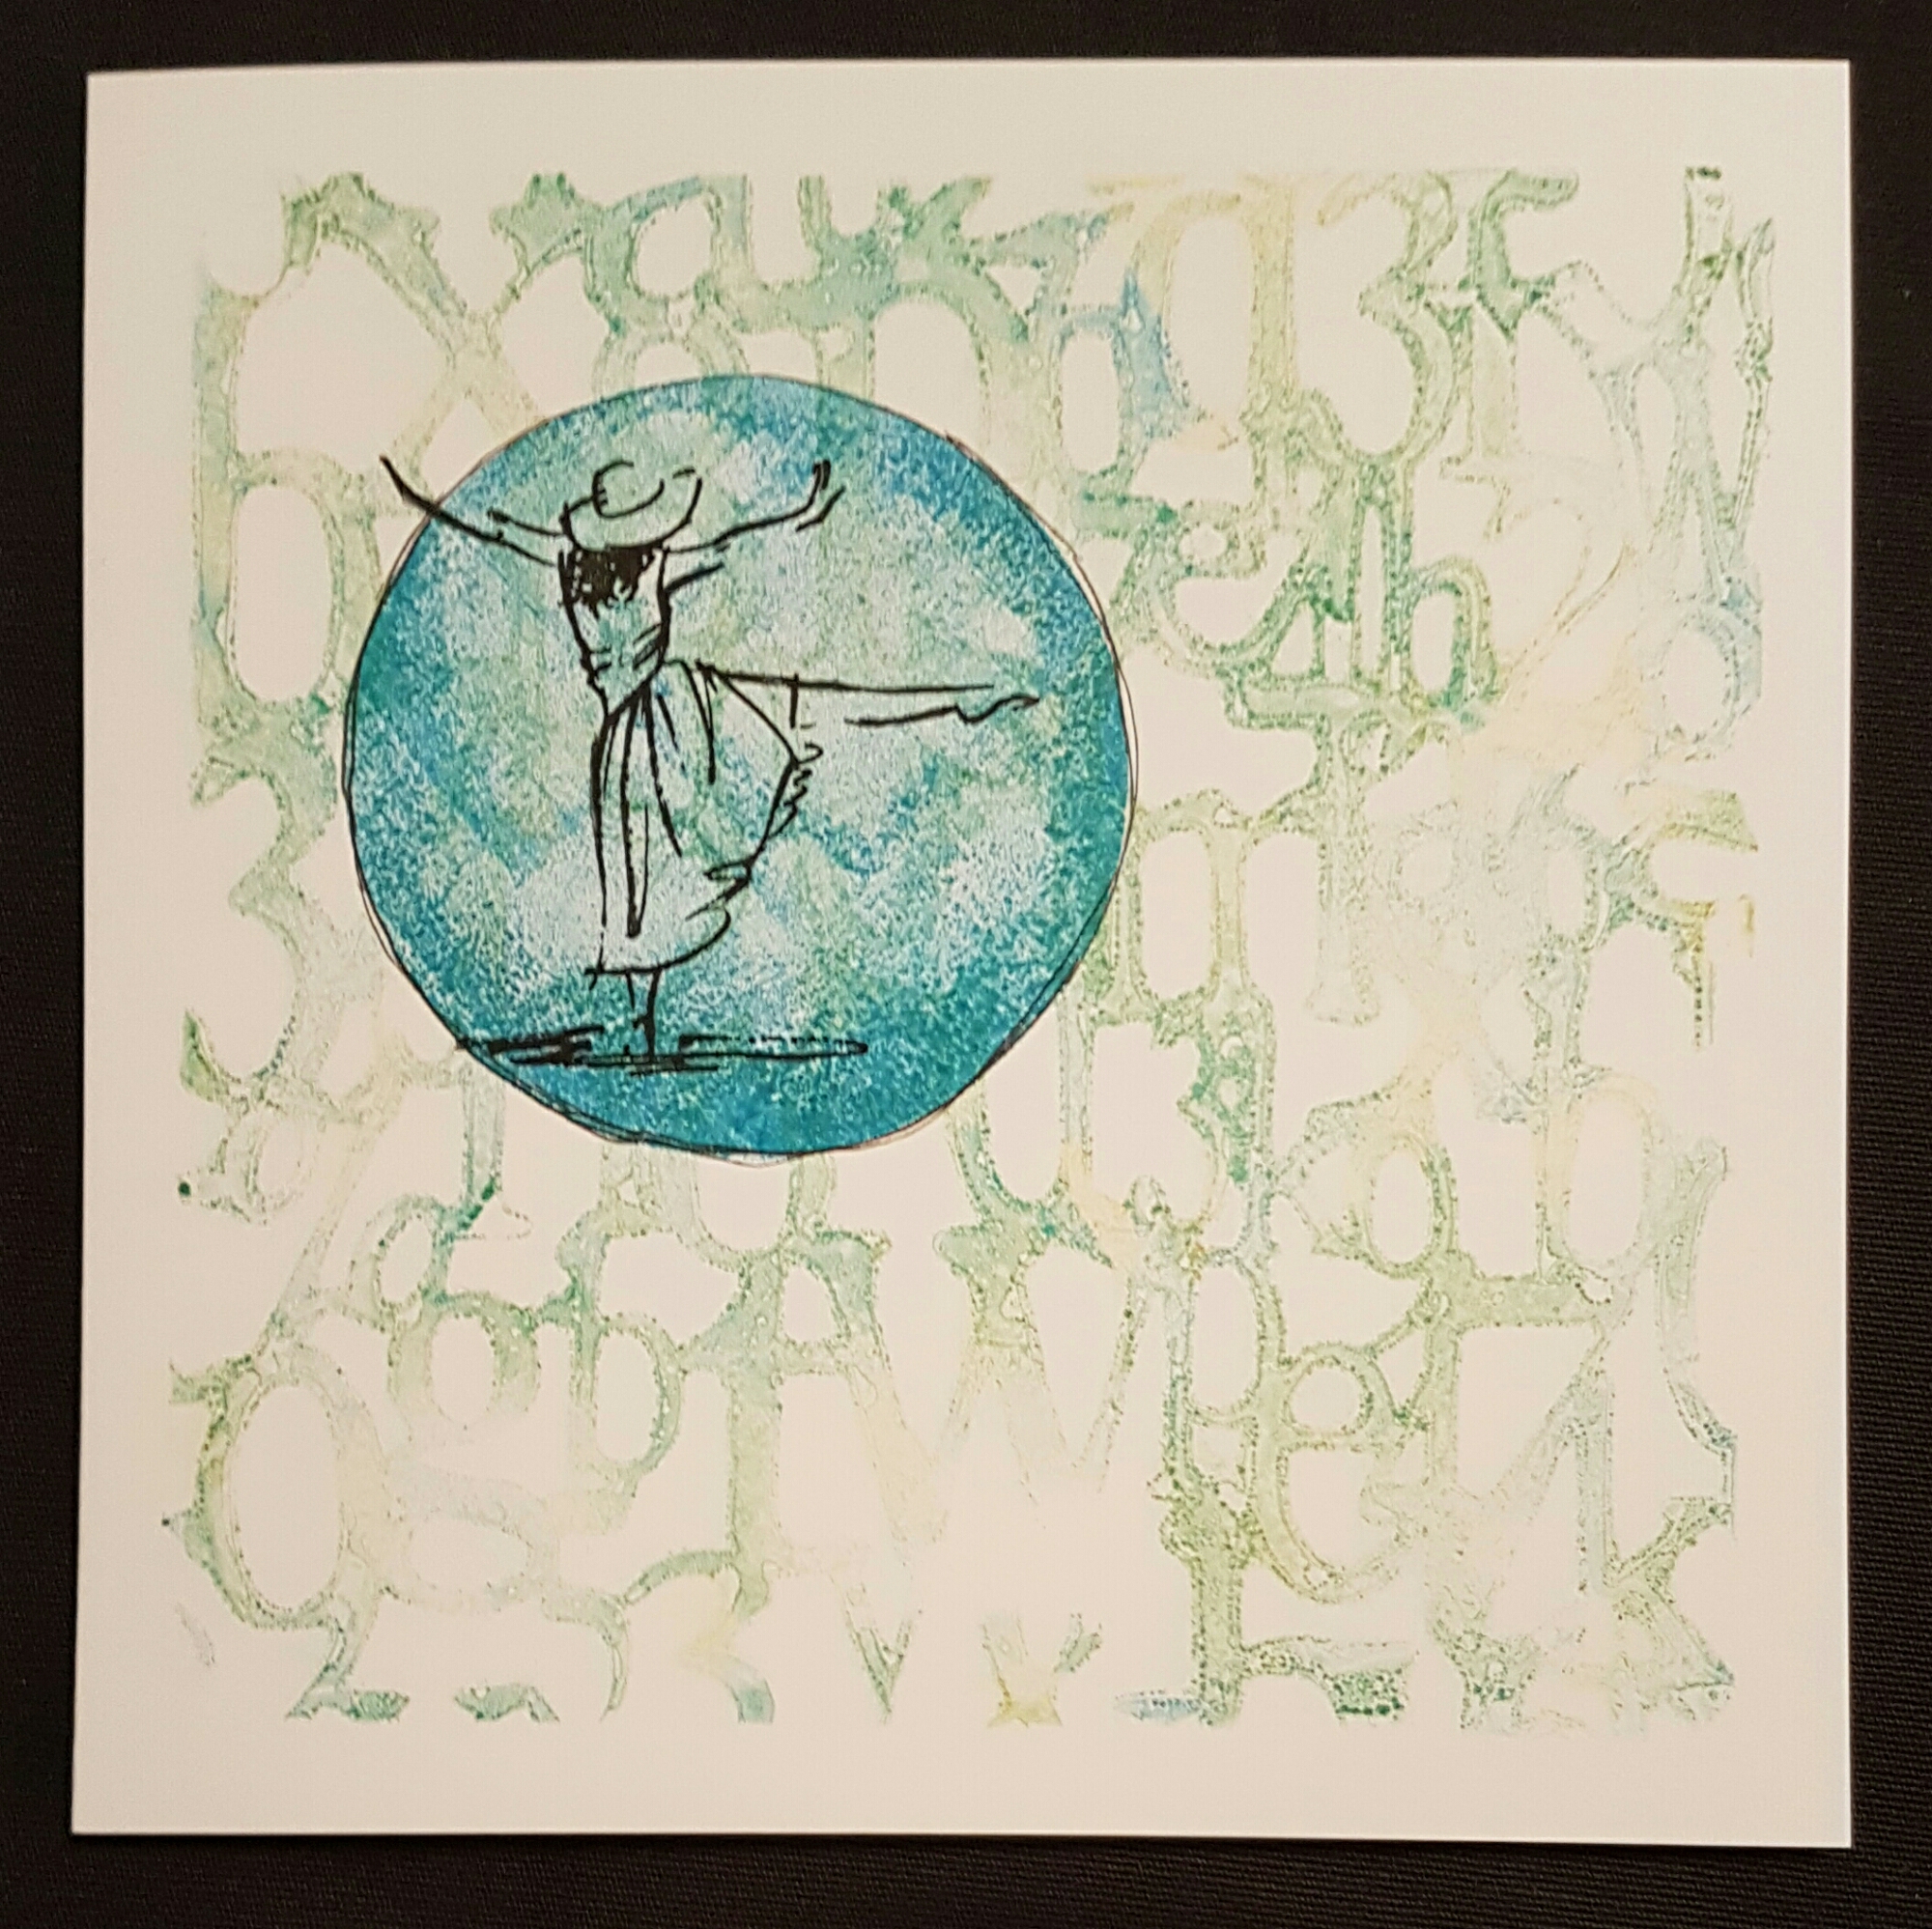
Then I also made two small note cards. These were done using the small hexagon Gelli plate and paint. I love these small 3×3 plates and the cute Geometric shapes.
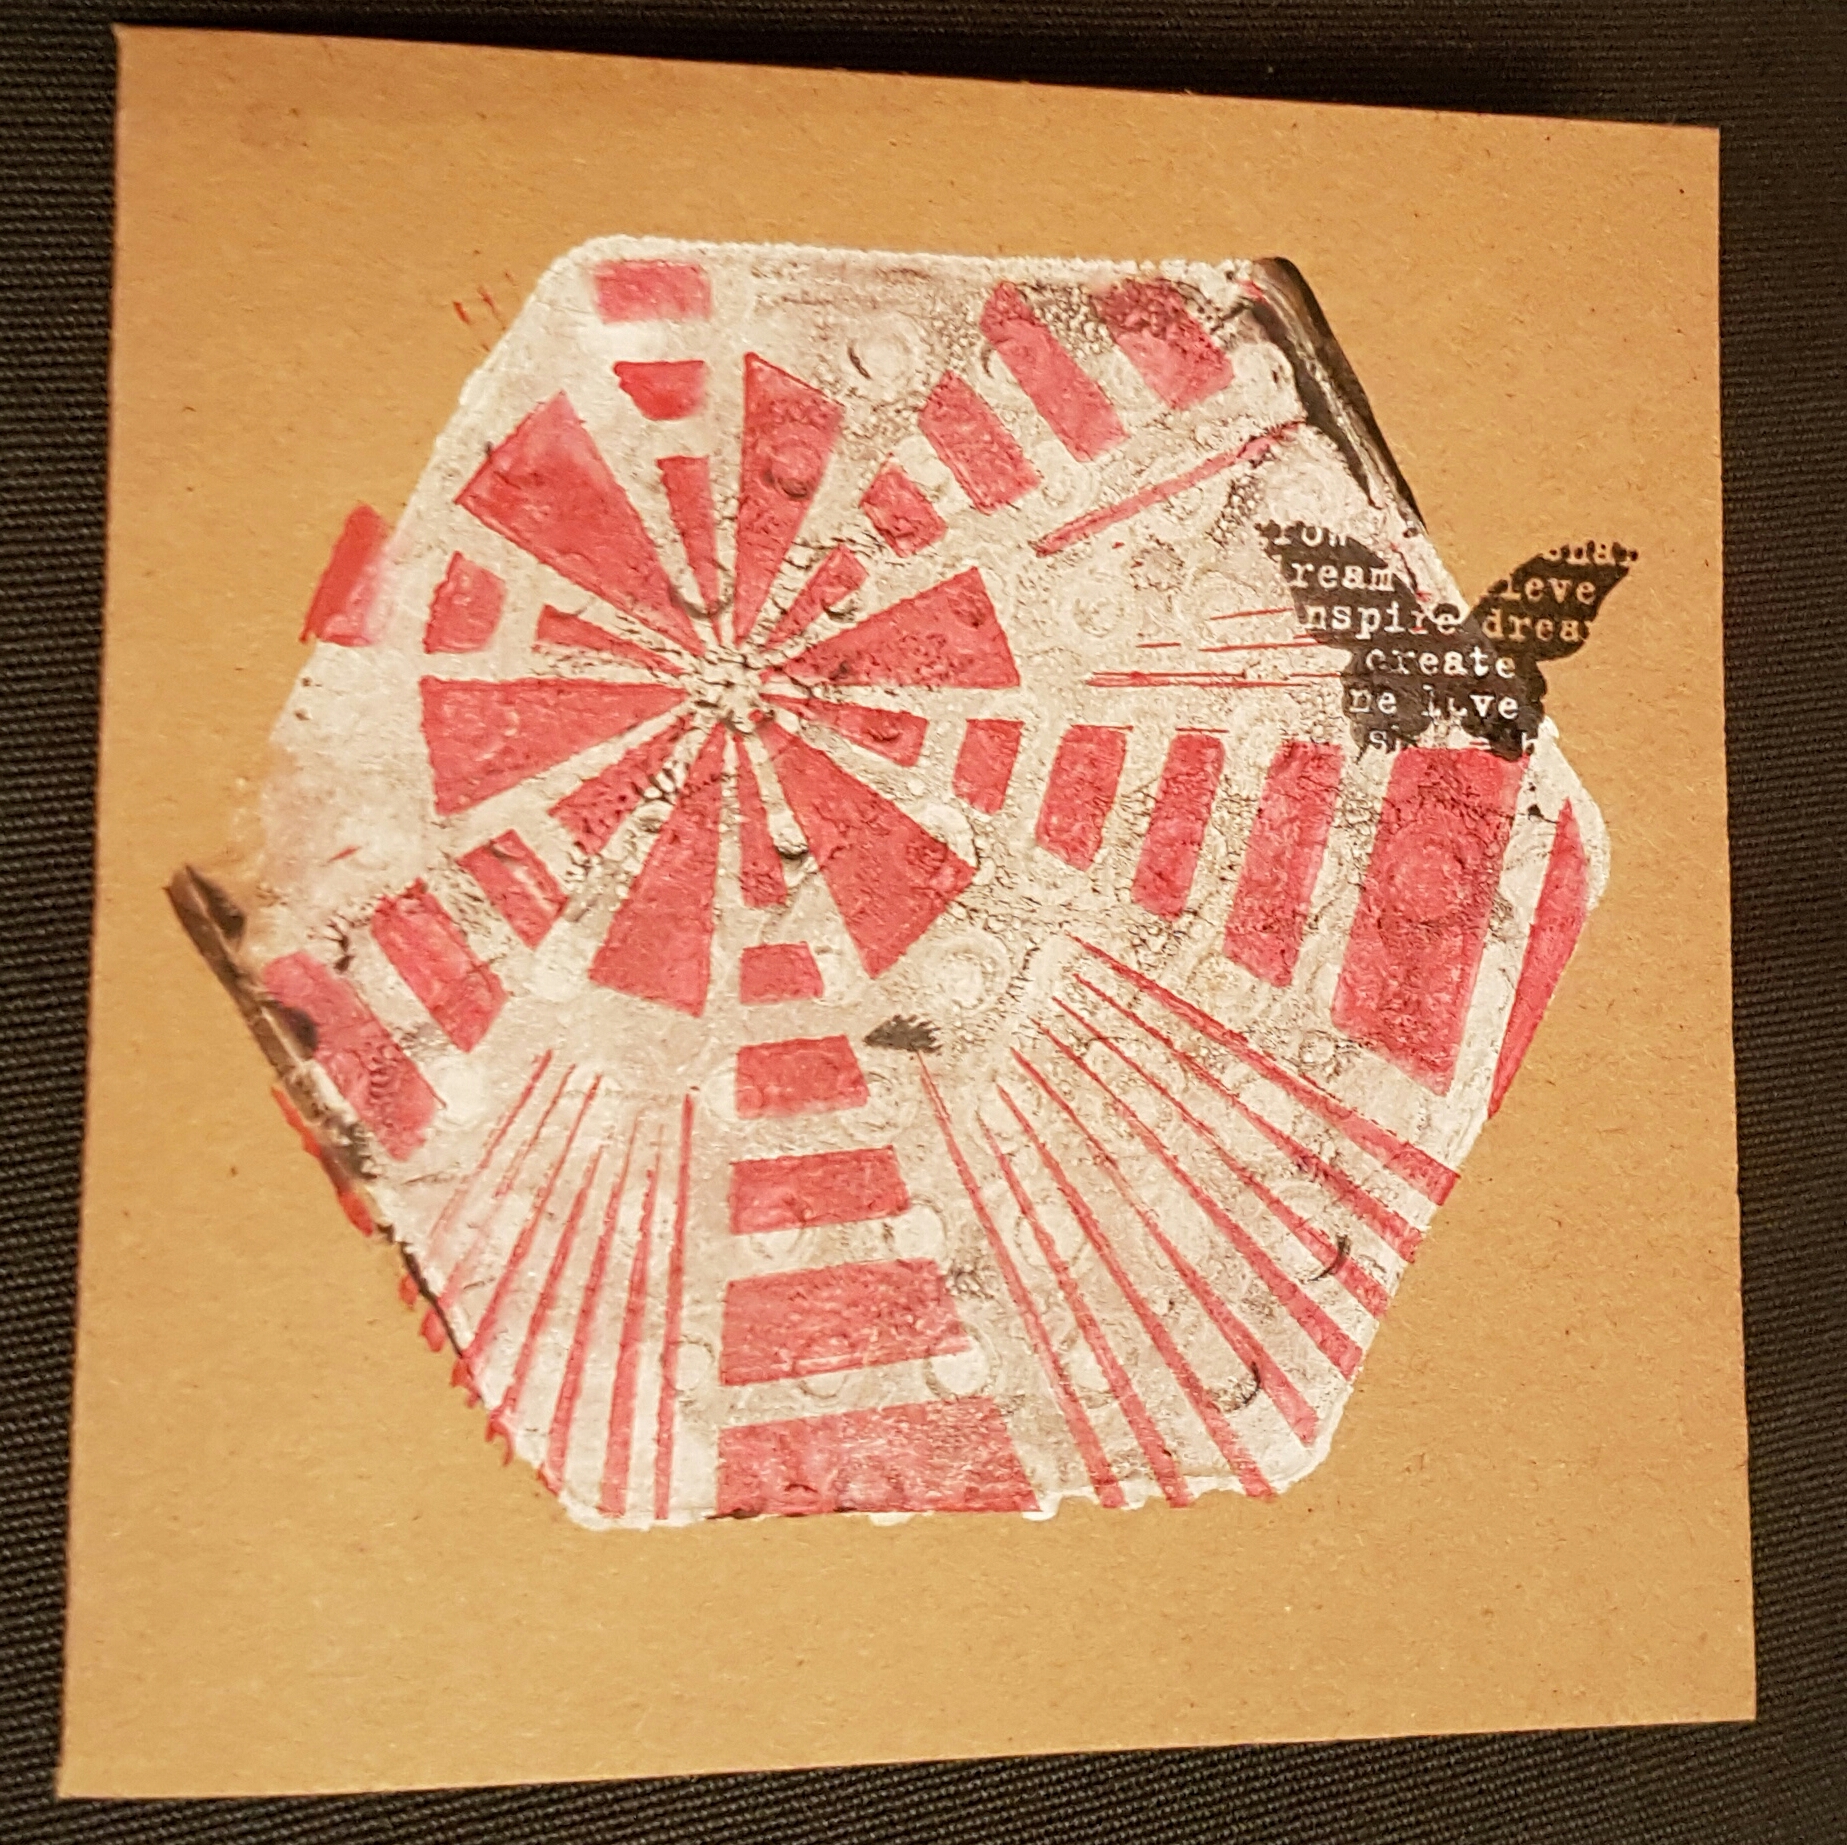
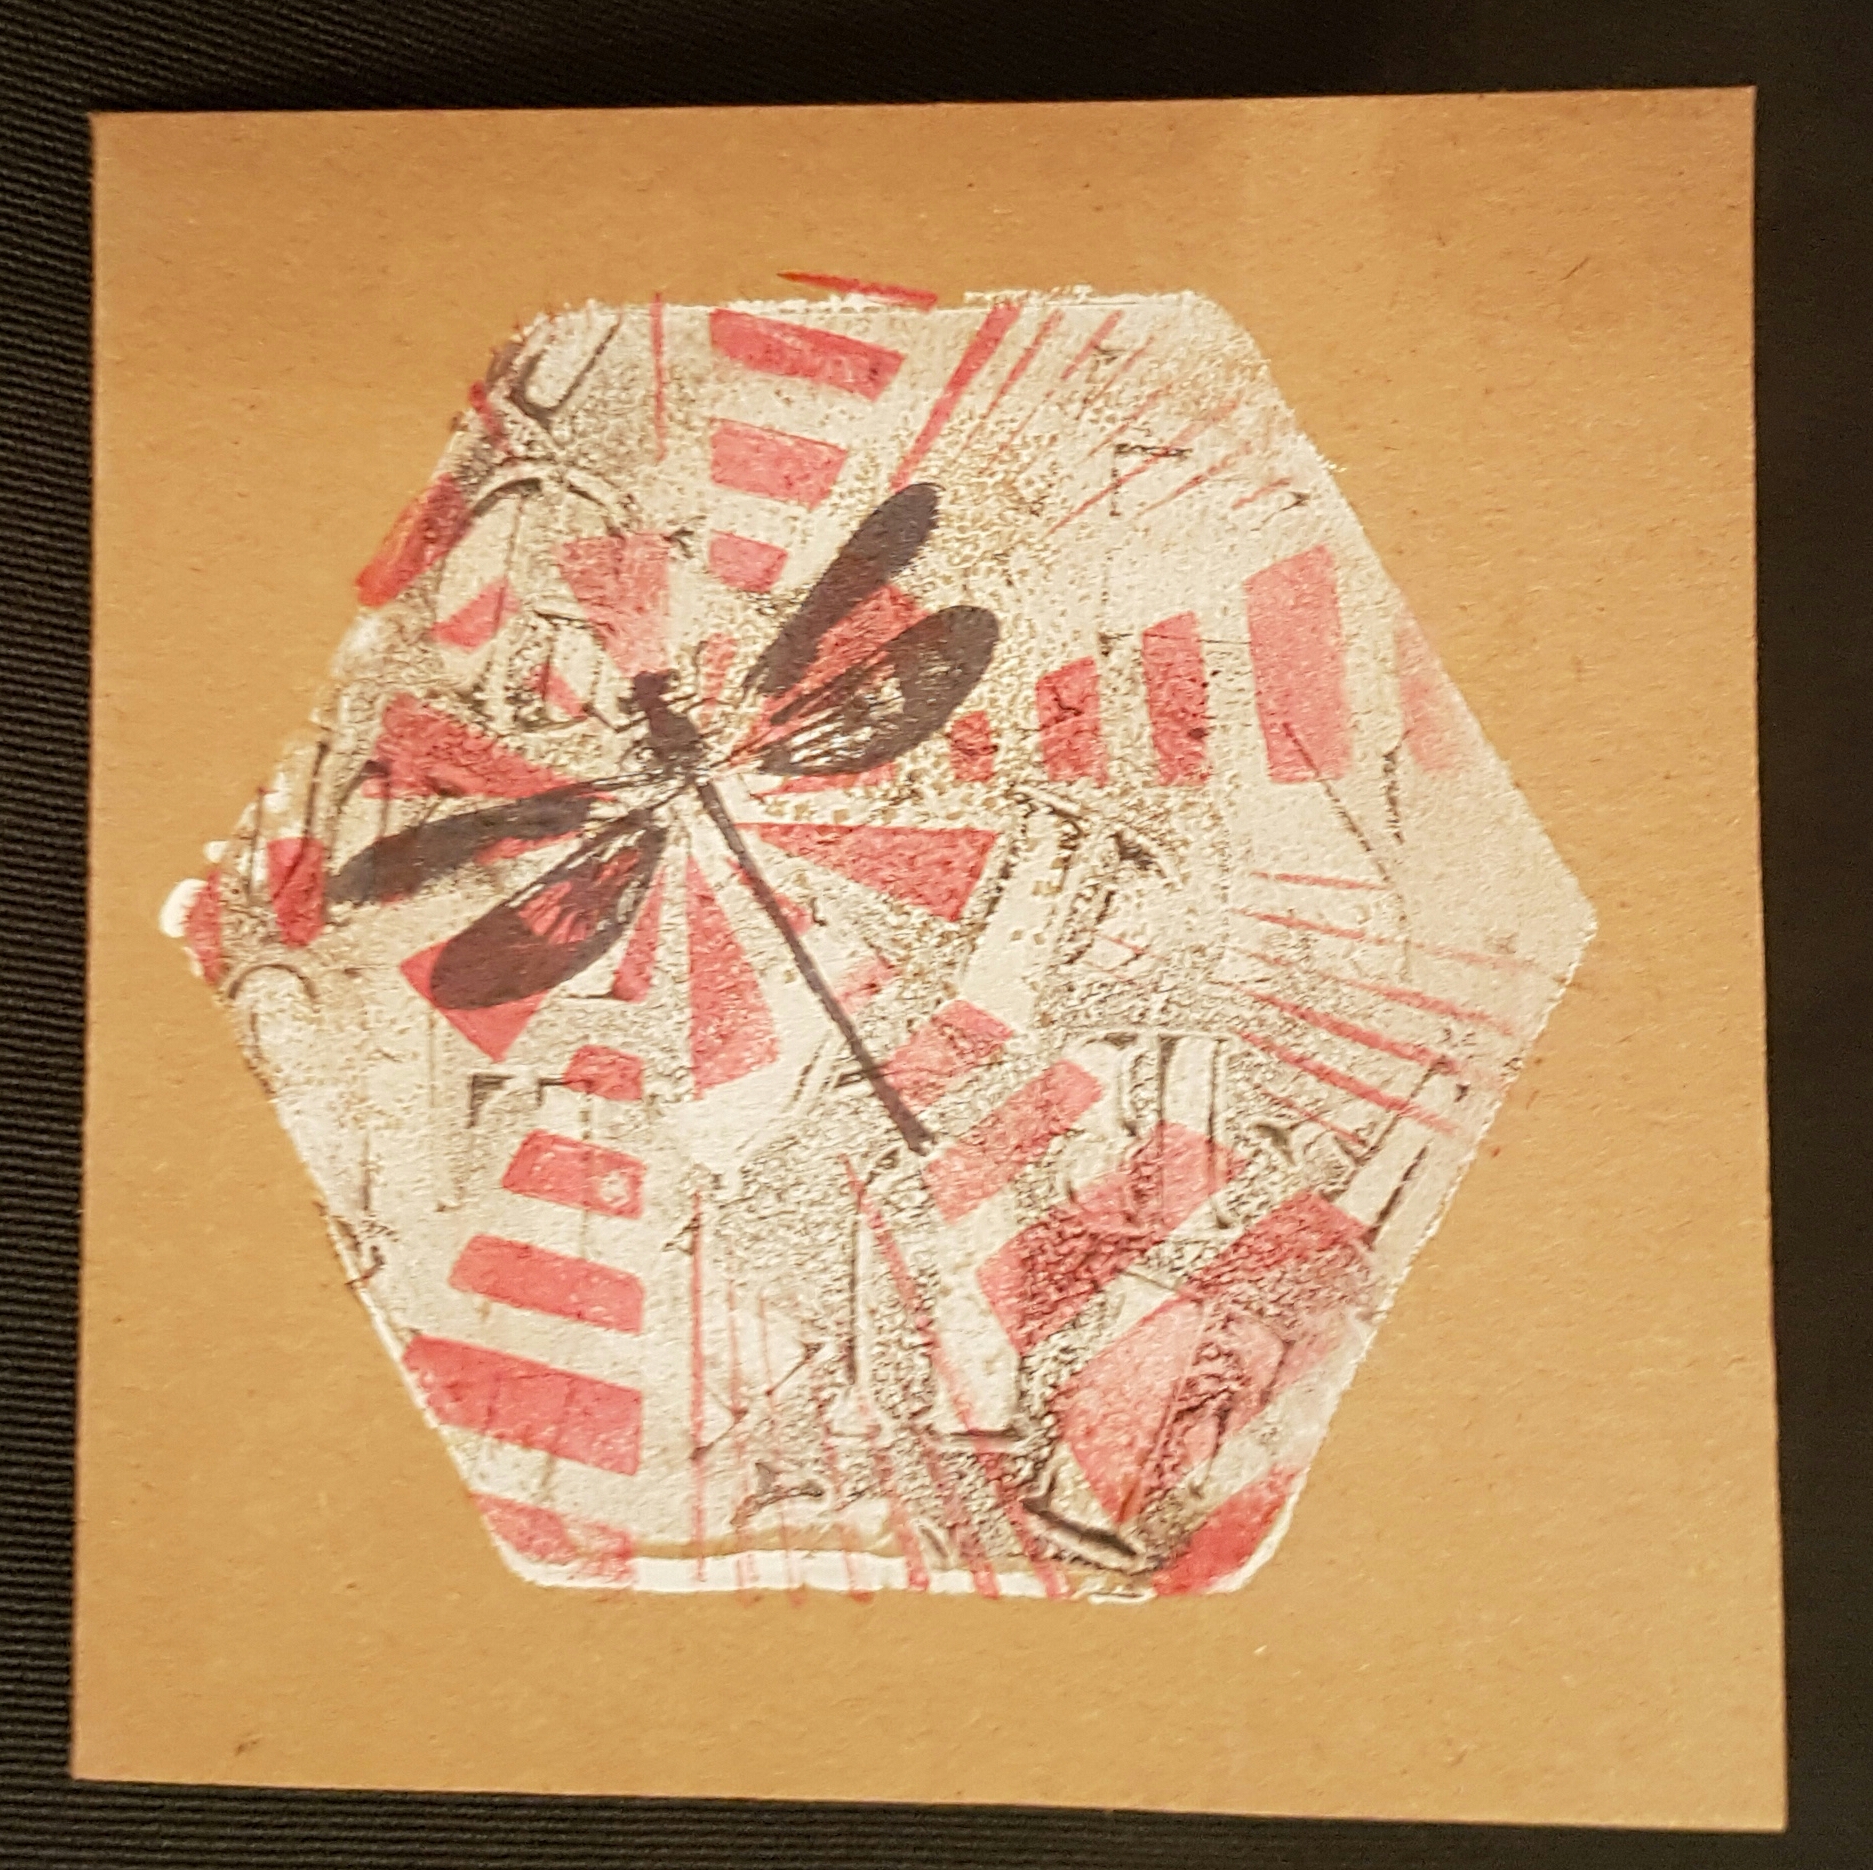
I also ended up with lots of bits ready to be cut up and used on other projects… still no got a clue what to do with the big piece I did yet but sure I will get there eventually.
Happy crafting!
Catherine
Tonight I have friends coming round for some crafting time and the theme for tonight was Gelli plate play!
I must admit I struggled with this … I love Gelli plate play but designing a class is quite difficult as the results can be so unpredictable… so after an hour I had a floor full of painted paper and still not many ideas.
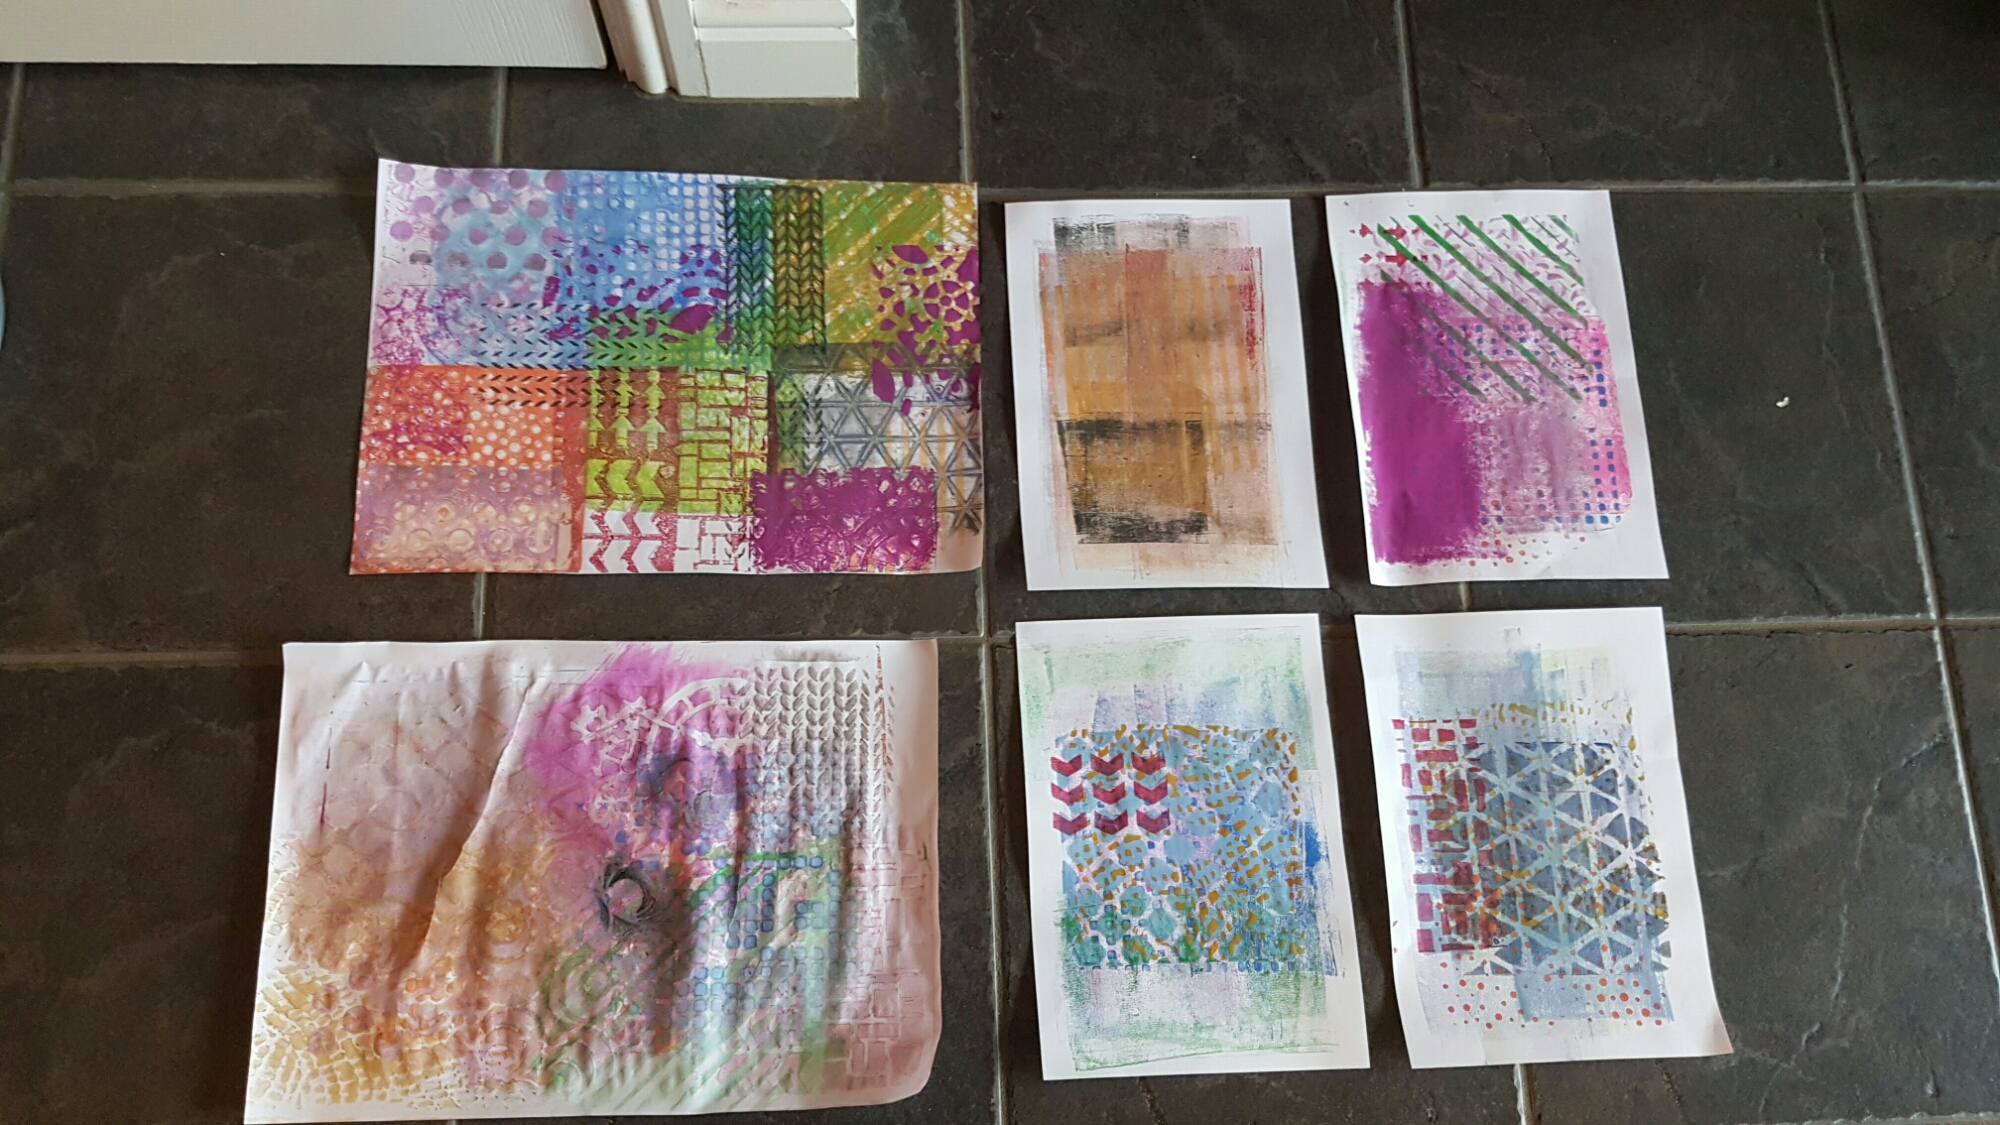
Then I got the ink out and suddenly got inspired …
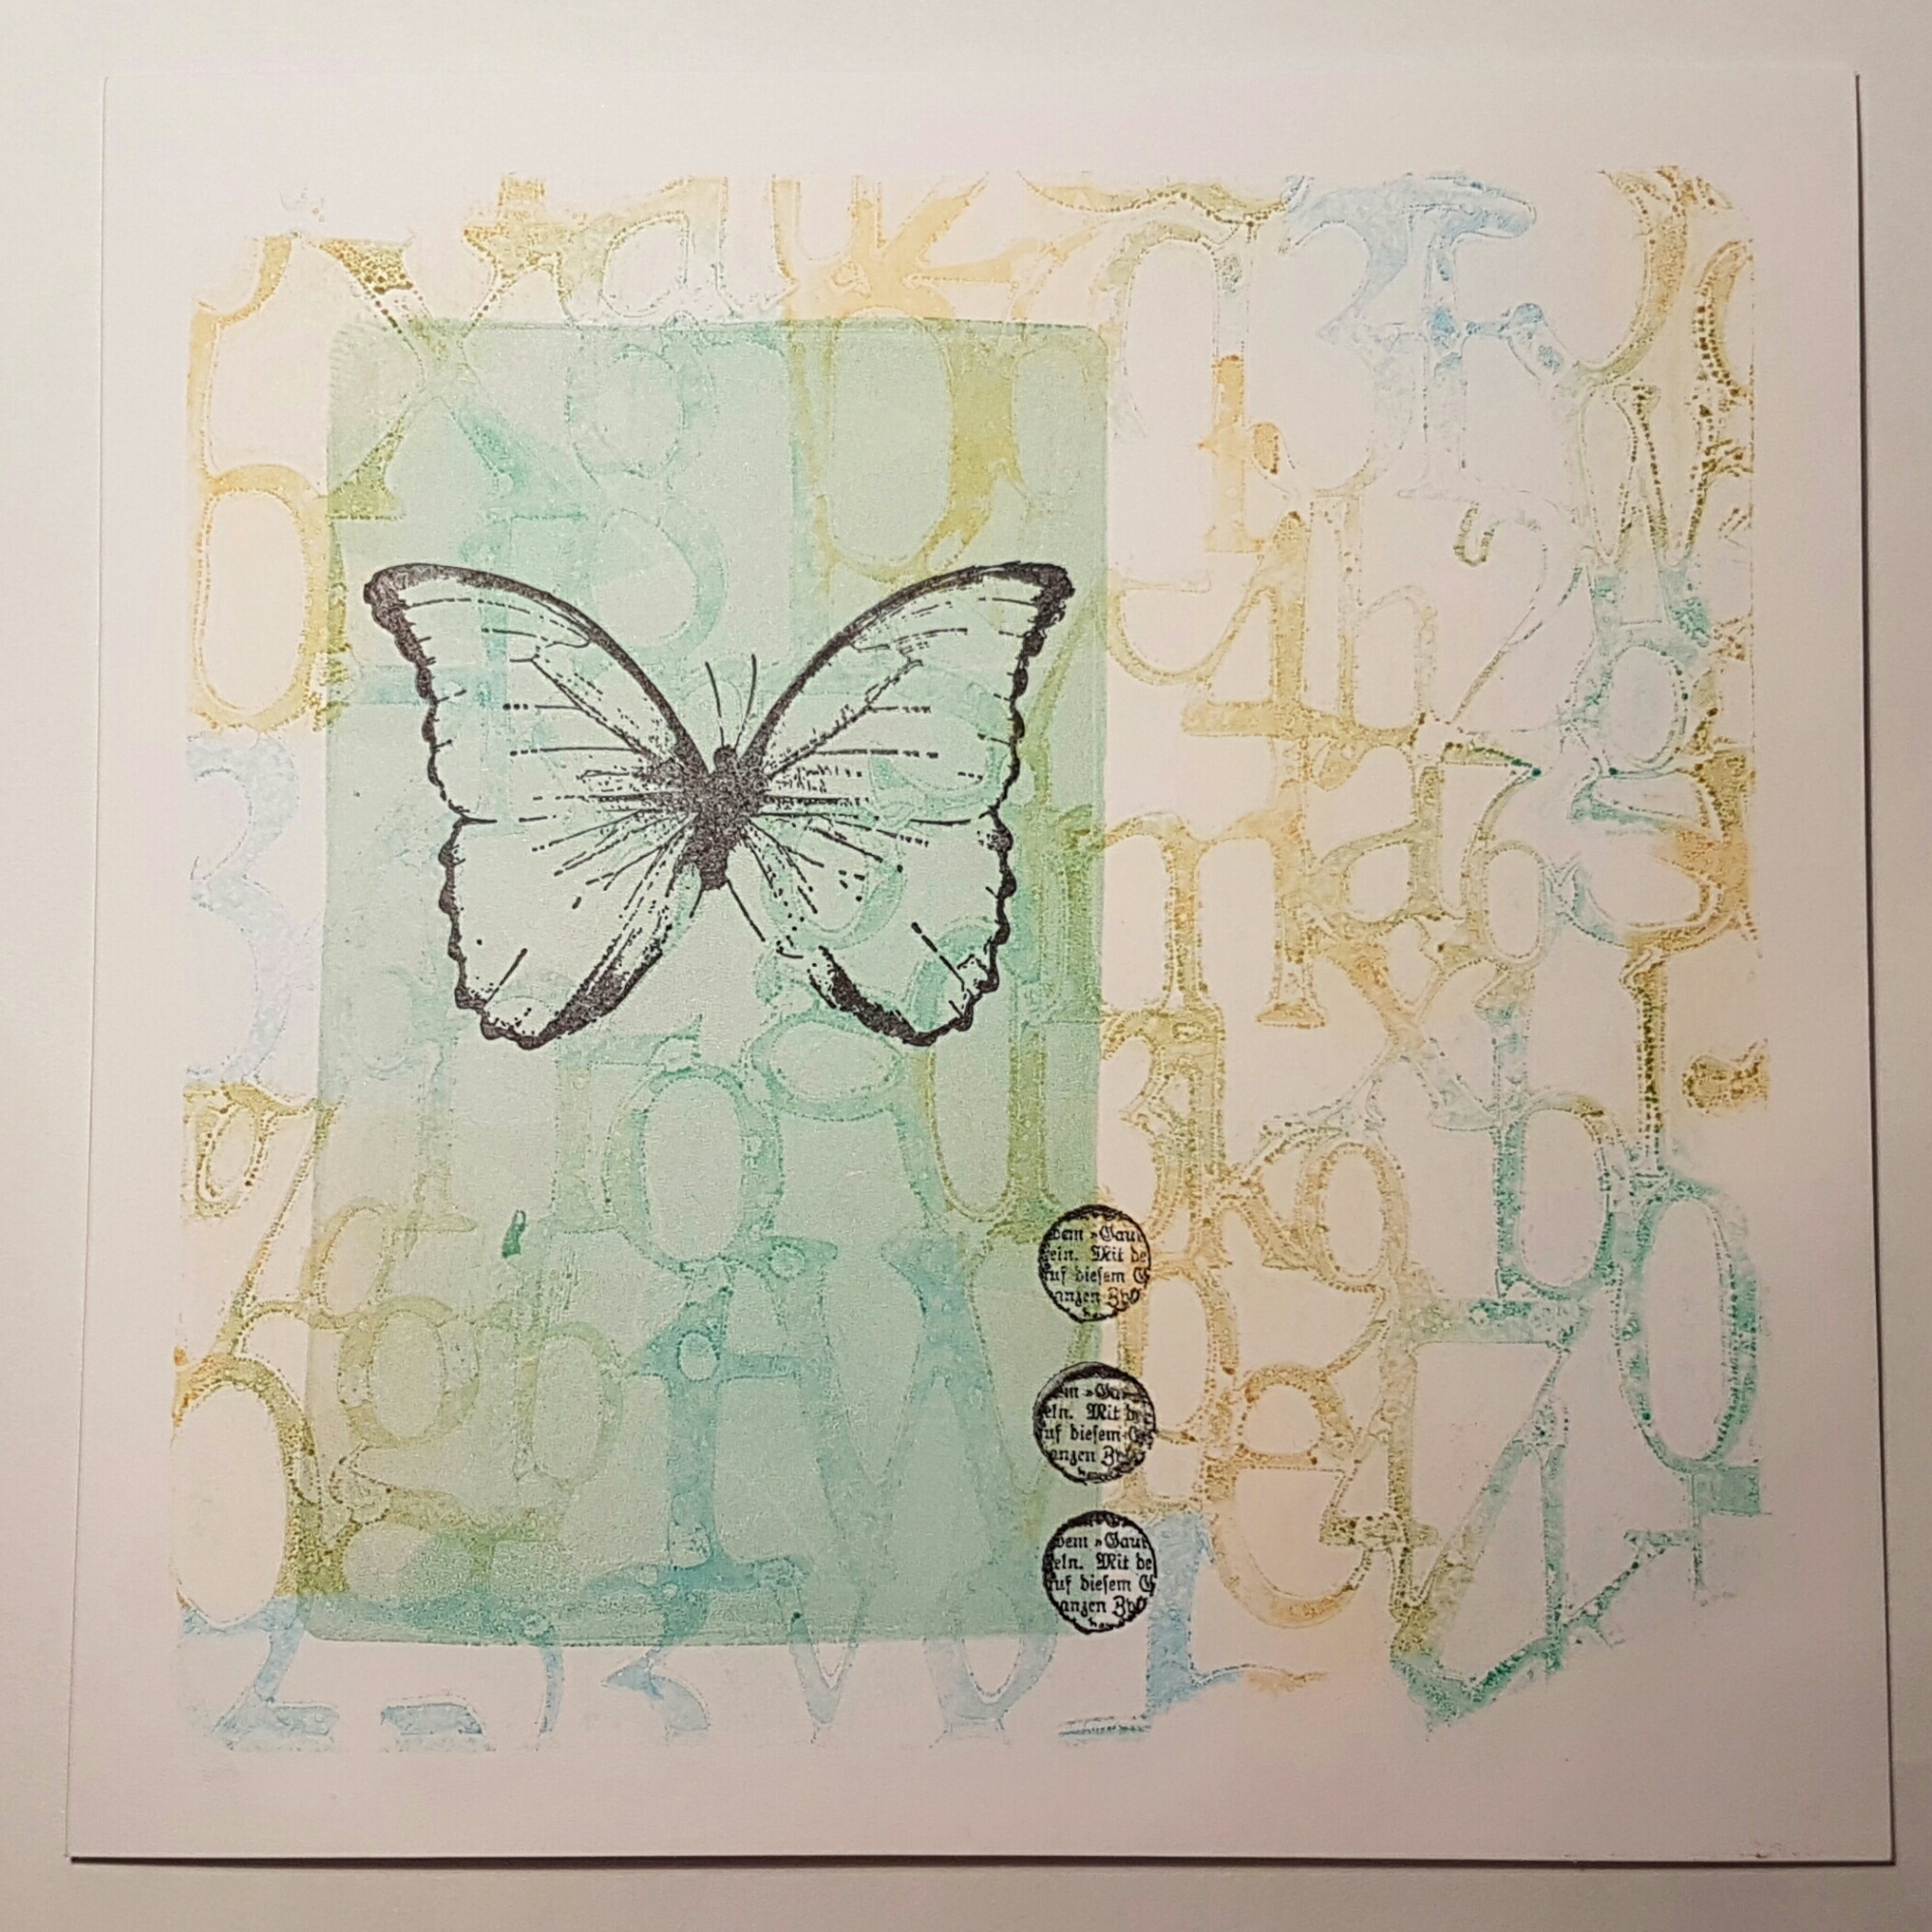
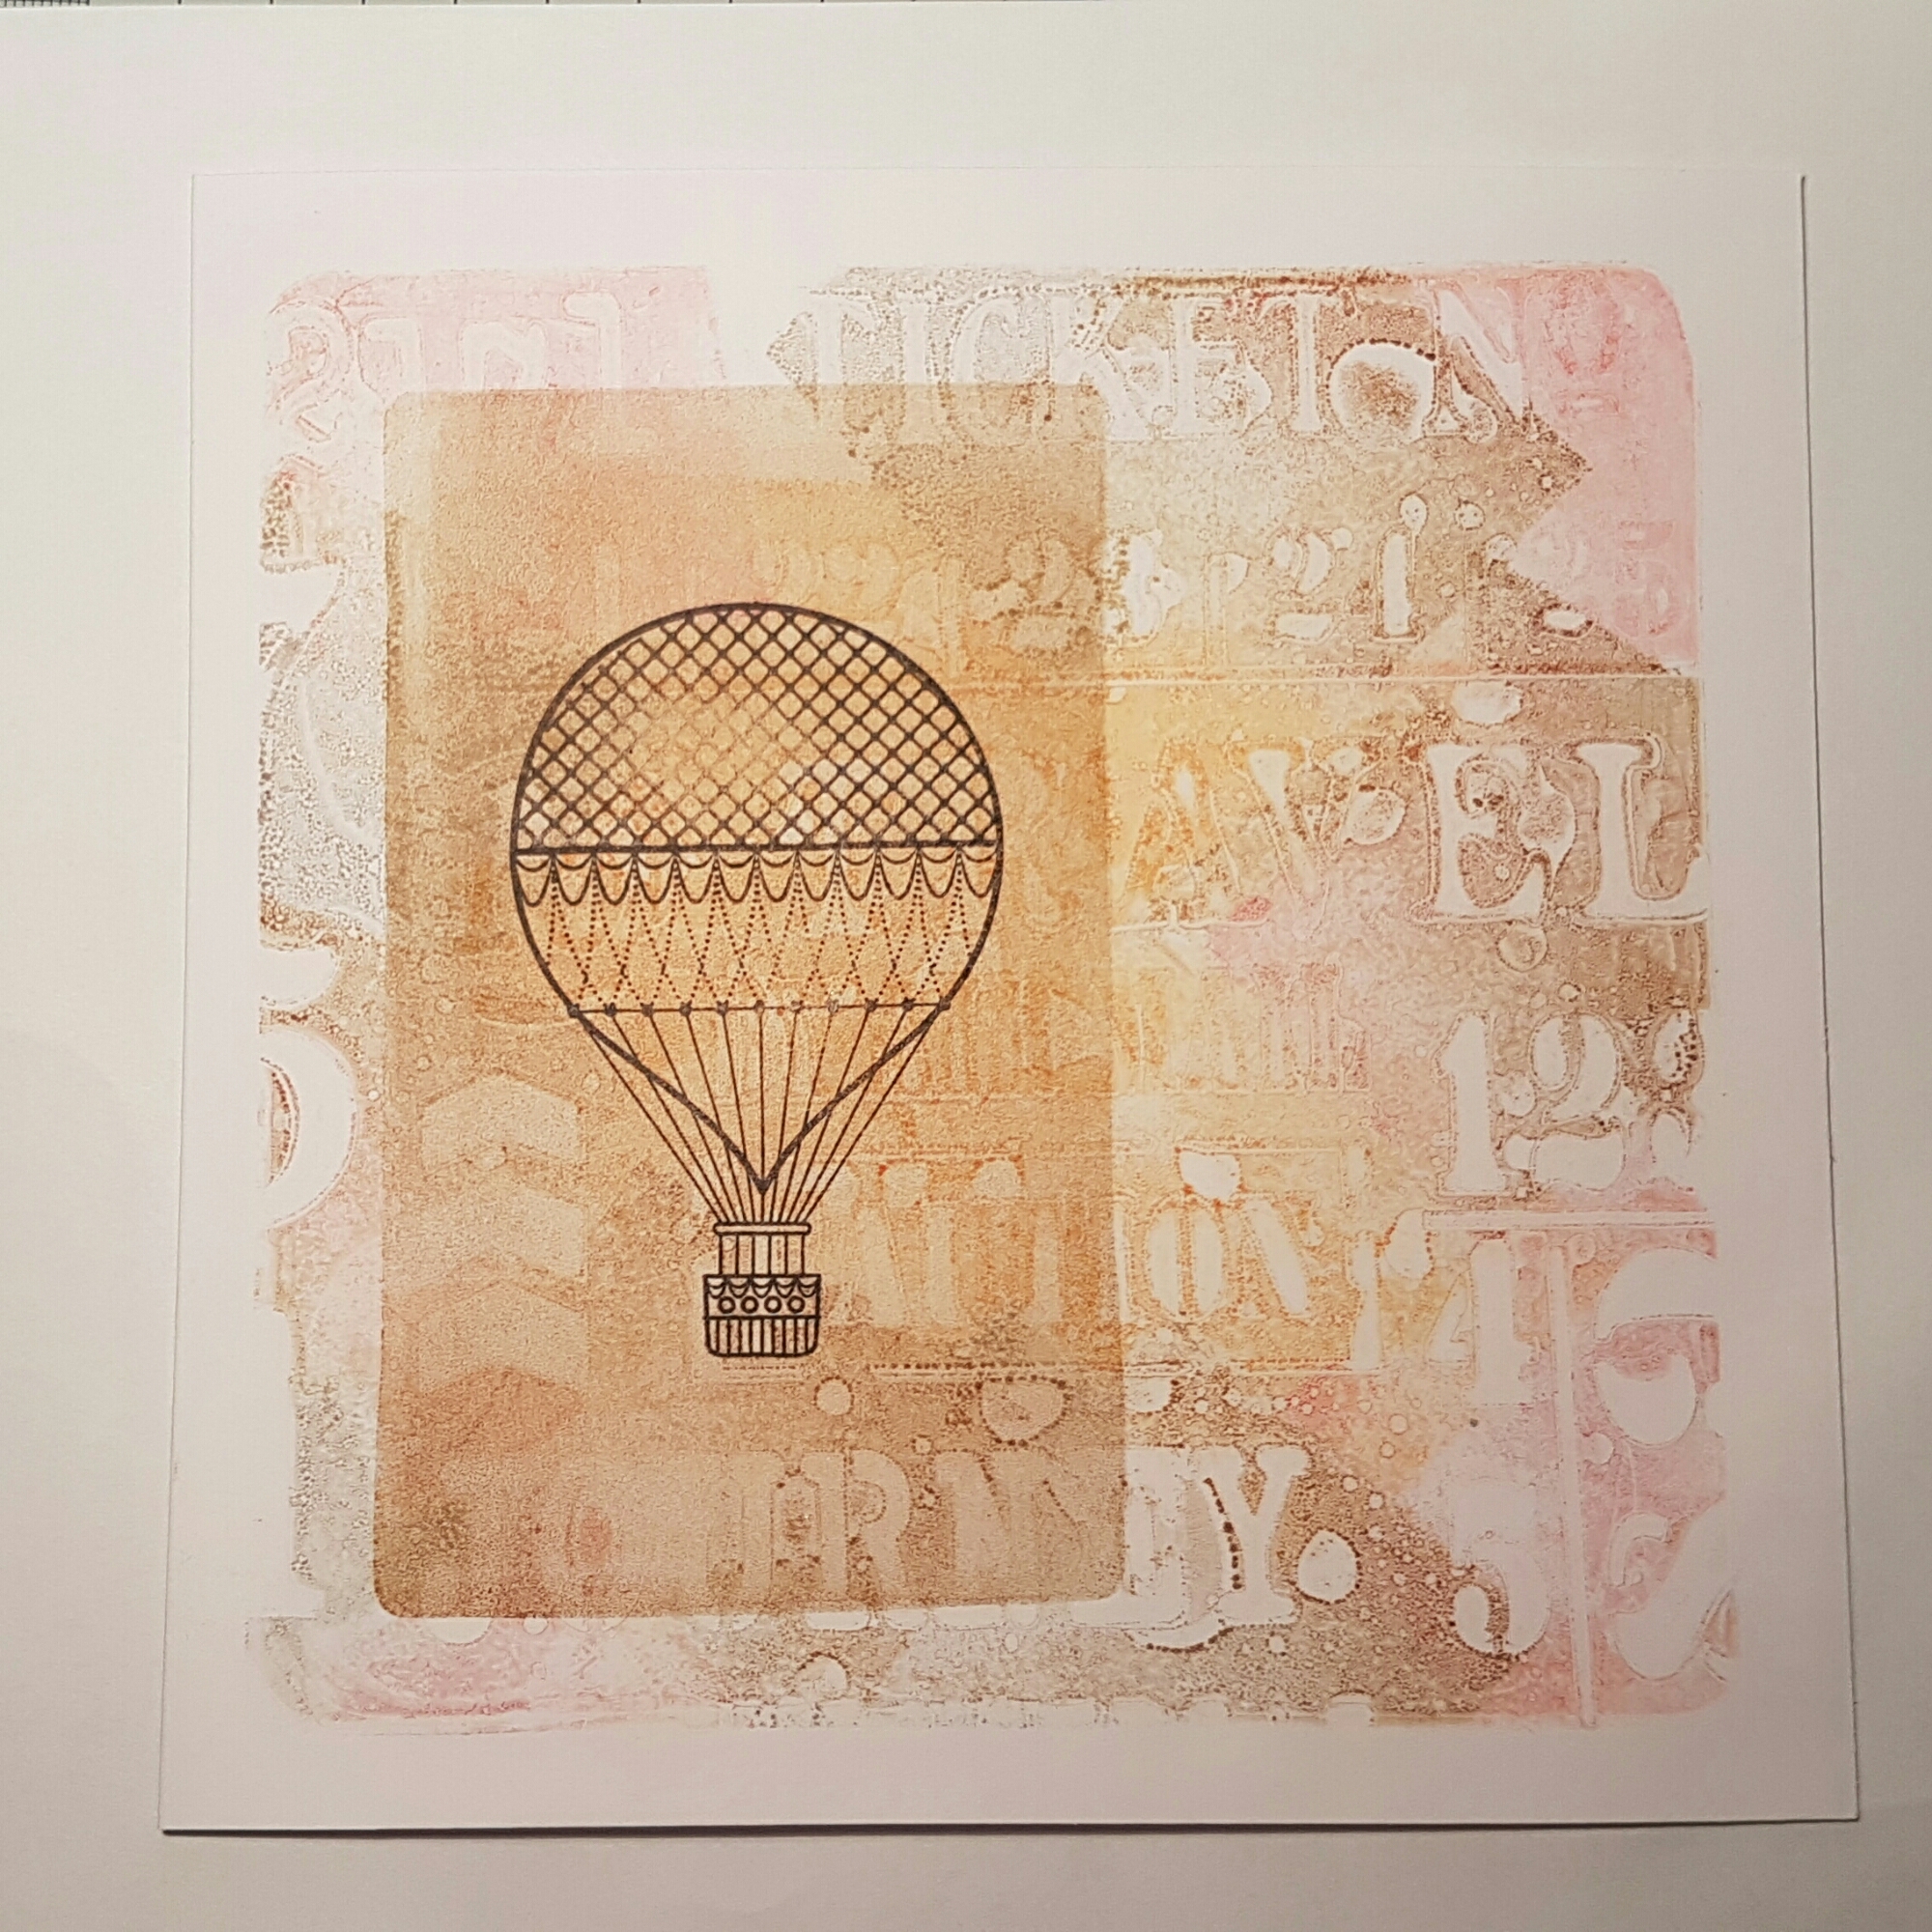
They are just waiting for sentiments to be added.
And then back to the paint versions… there is this paper I made and it took me a while to work out what to do with it.
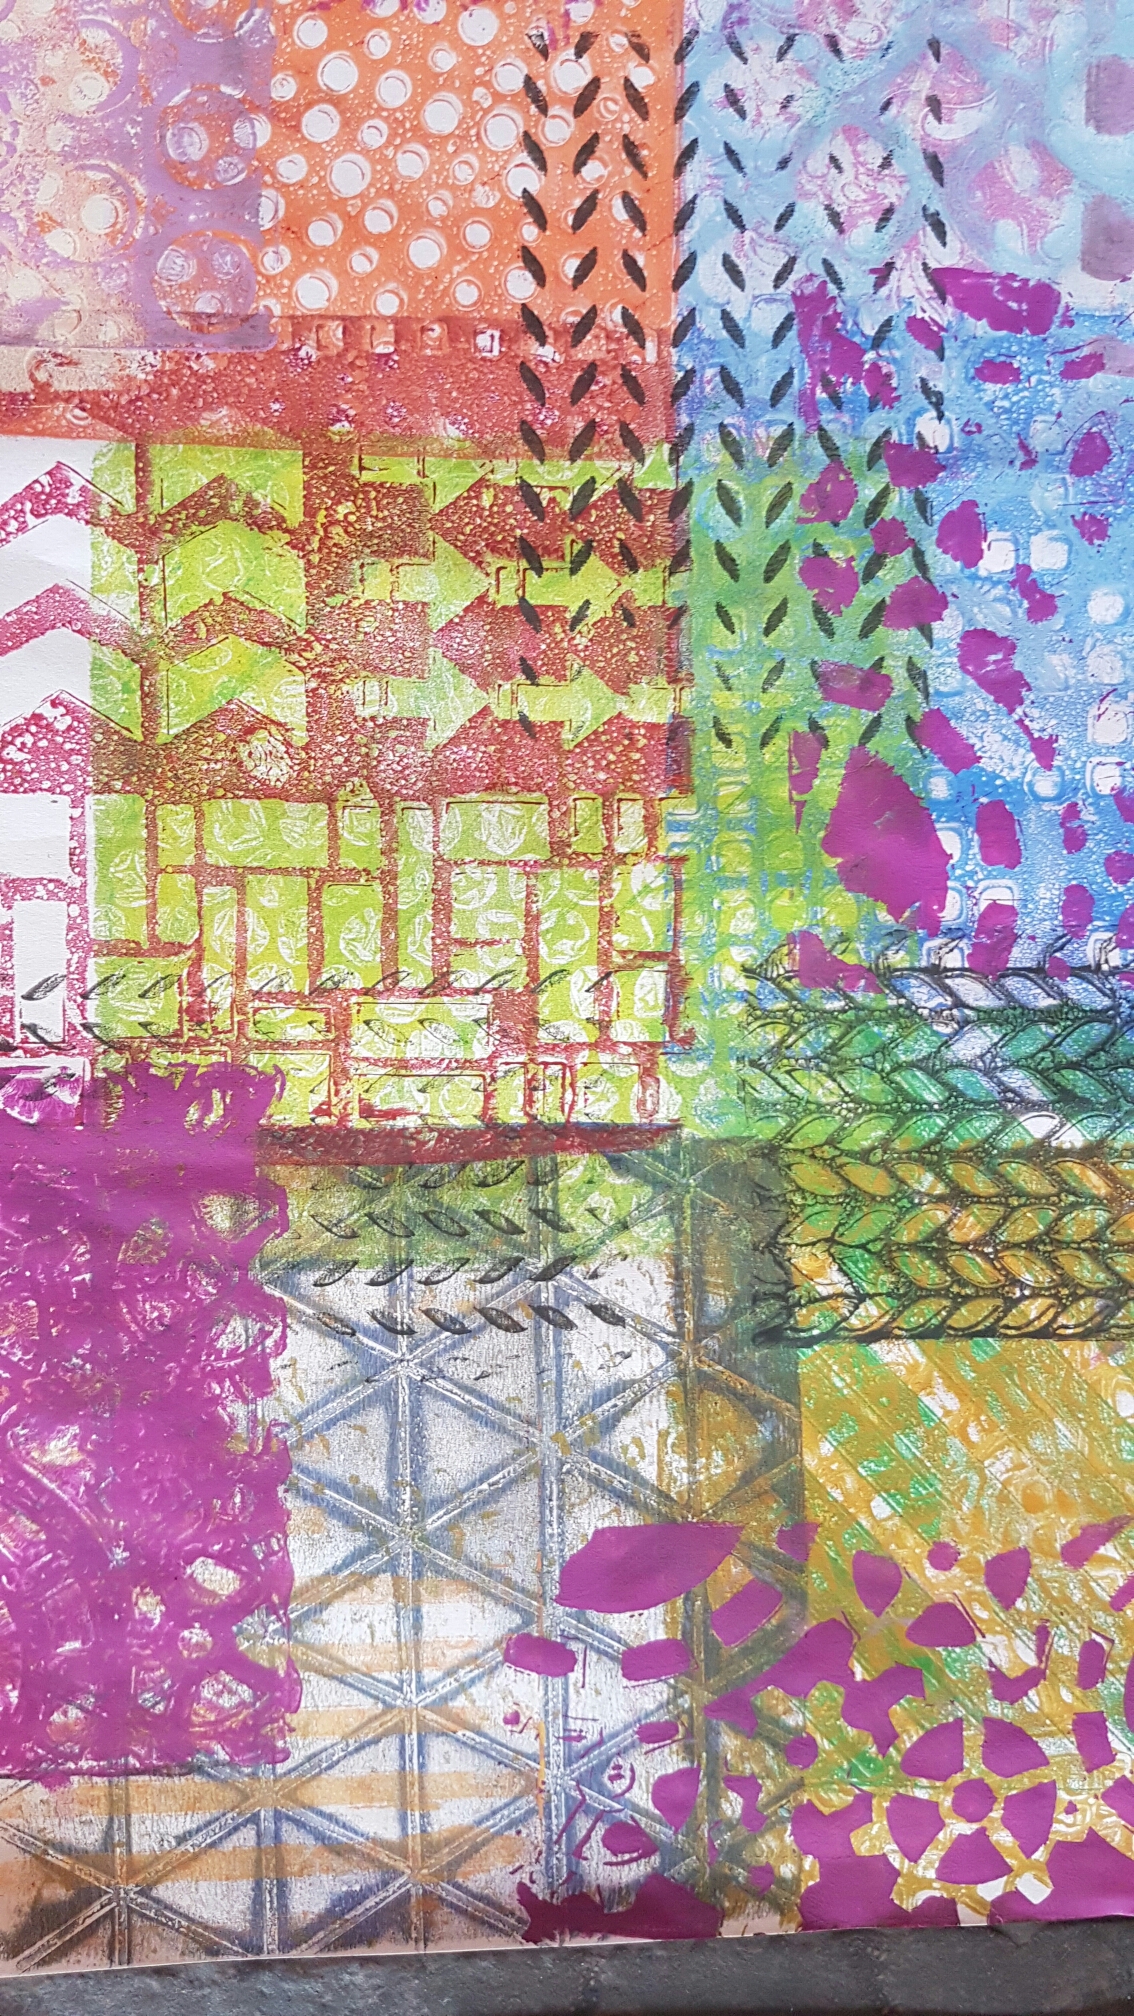
Obviously I could always cut it up for ATC’S… but wasn’t convinced that was what I wanted to do!
So I have a few ideas but the main this is producing something like this…. you will have to wait till tomorrow to see what I came up with though!
Happy crafting!
Catherine
 Inkyfingeredcat