Finishing off scrapbook pages

Back to scrapping… and finally finished the pages started at Helen’s class a few weeks ago. The mixed media approach she took really inspired me… along with many Missy Widden YouTube videos I’ve been glued to recently! 

So these were both using the packaging technique to add watery ink to the background cardstock and then using the Cupcakes and Carousels designer series paper to create different layers.  

So the first one I did change up a bit by reducing the size and layering it onto the Crumb Cake cardstock. 
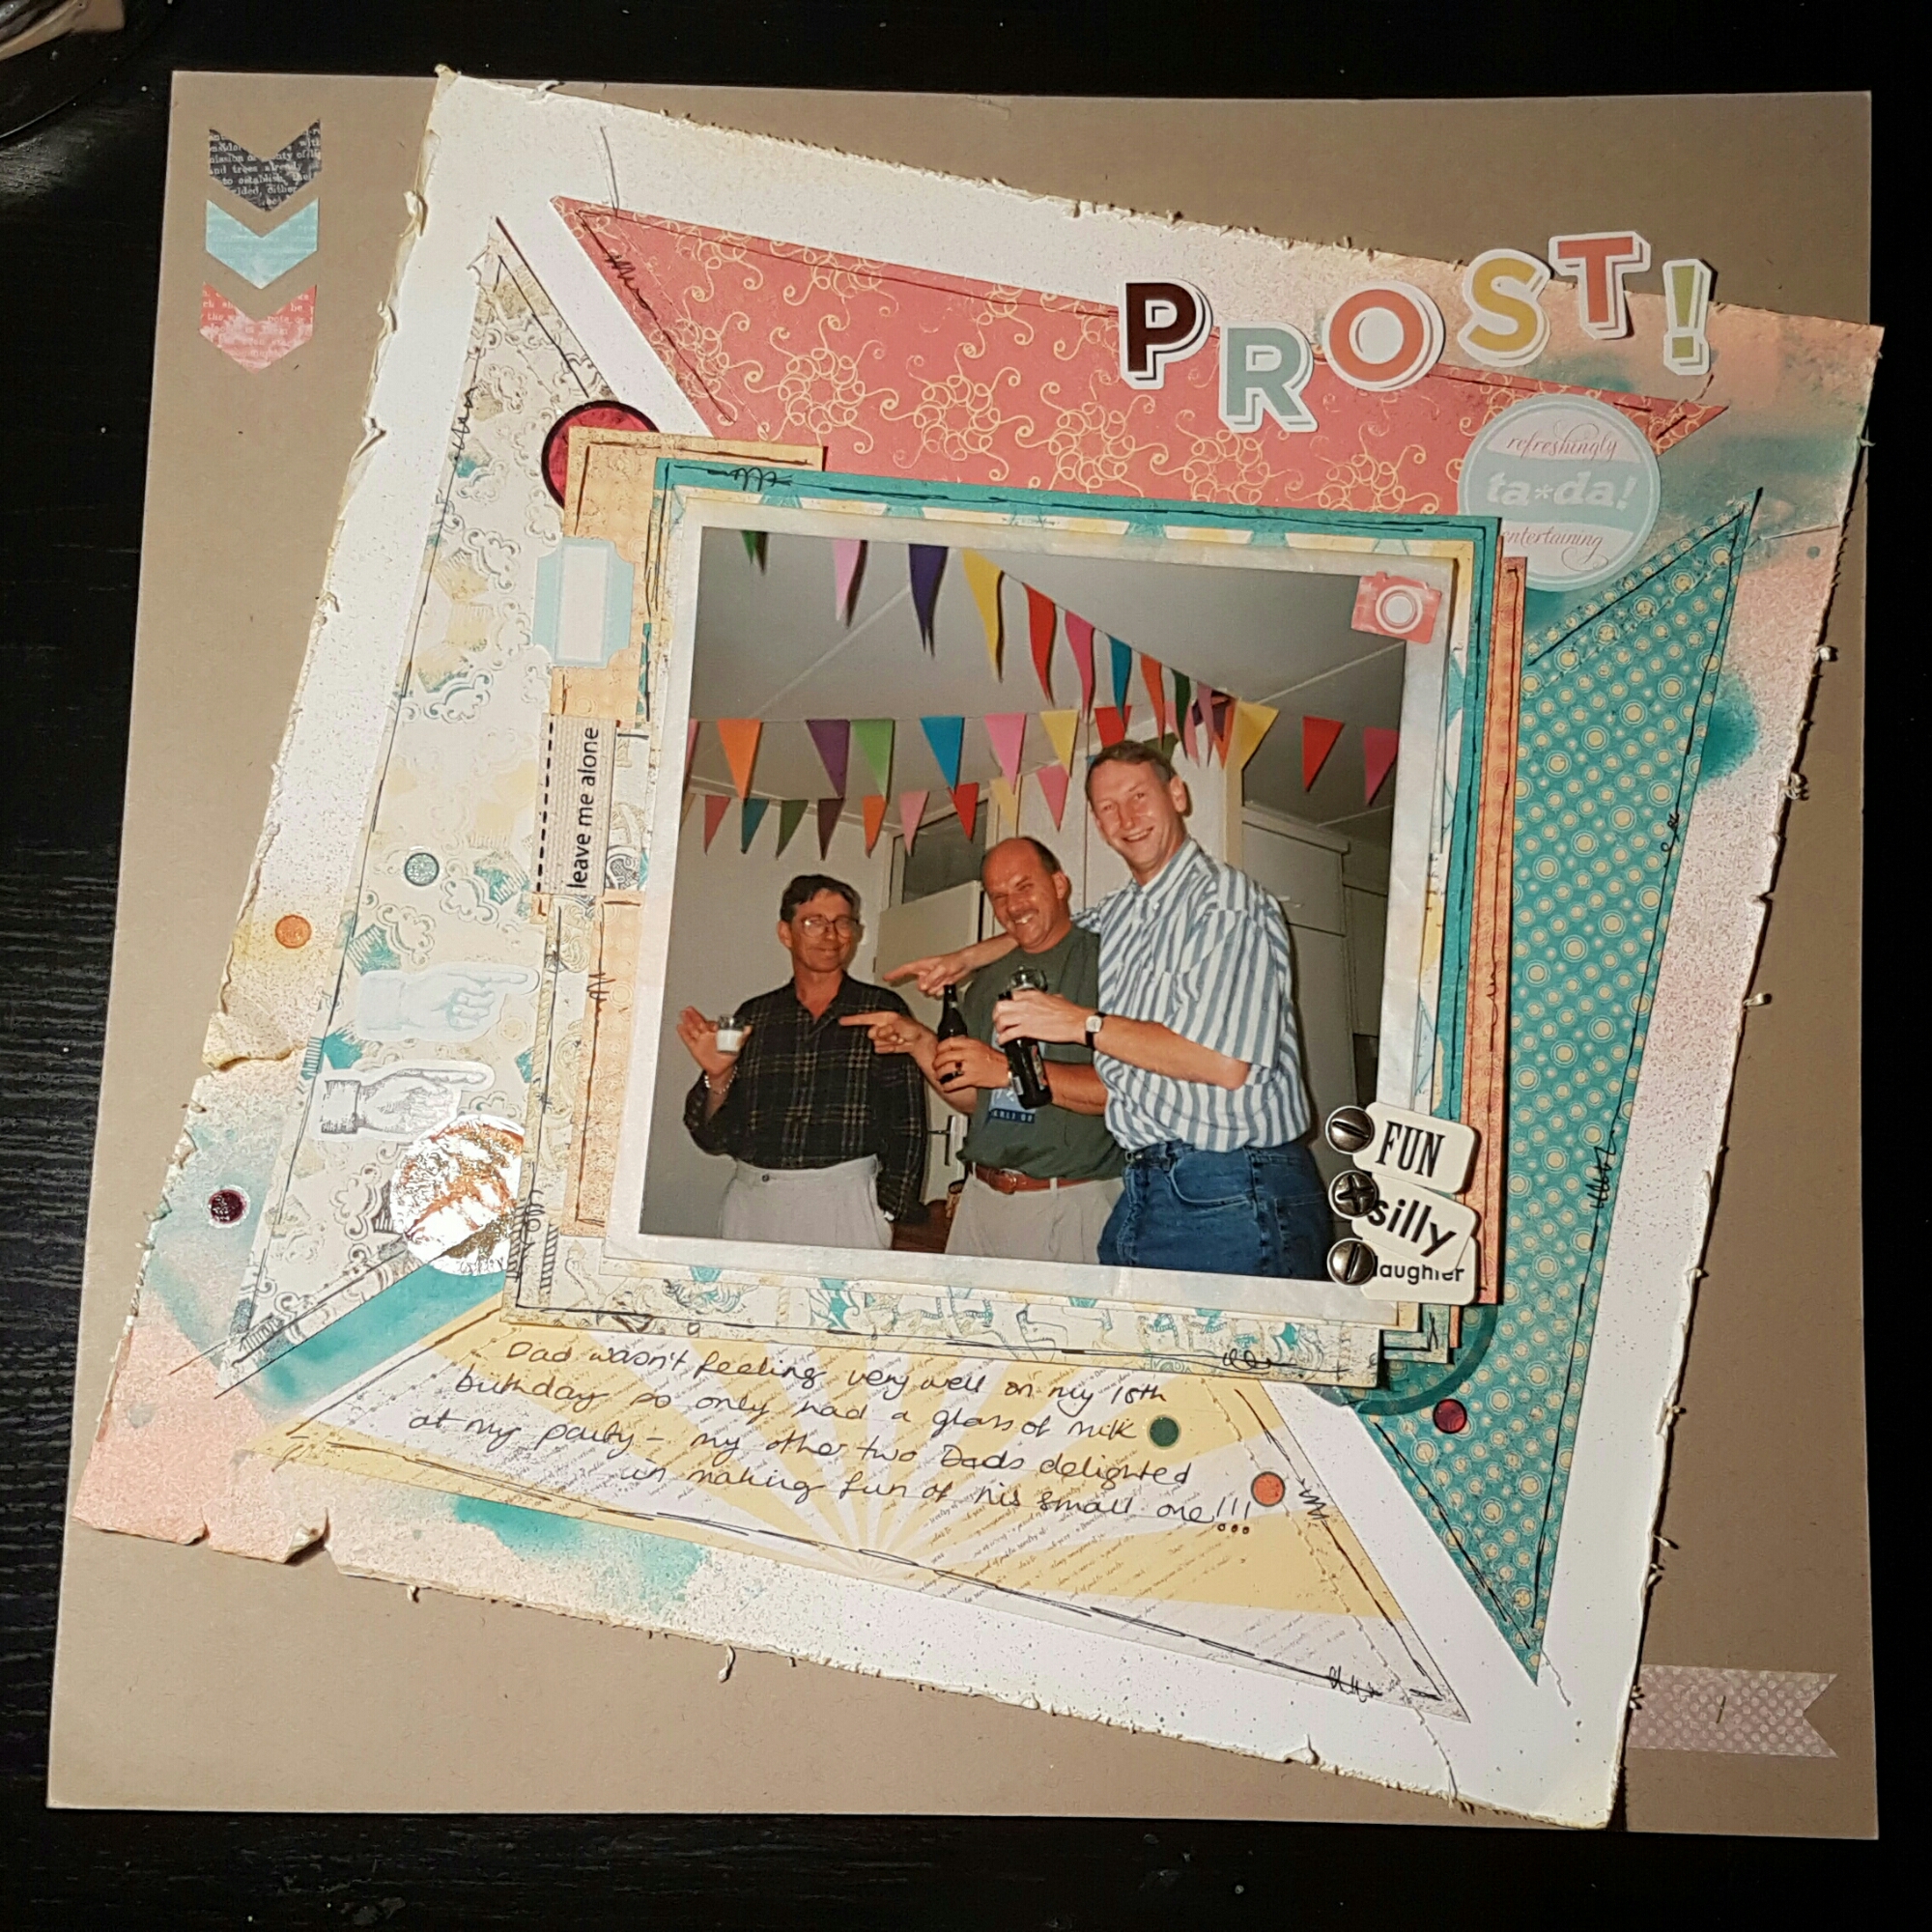
I also added lots of stickers and rub ons and little word embellishments. As it’s a picture of men (my dad, and my two Dutch dad’s – it’s a long story!) I decided against adding too many embellishments. 
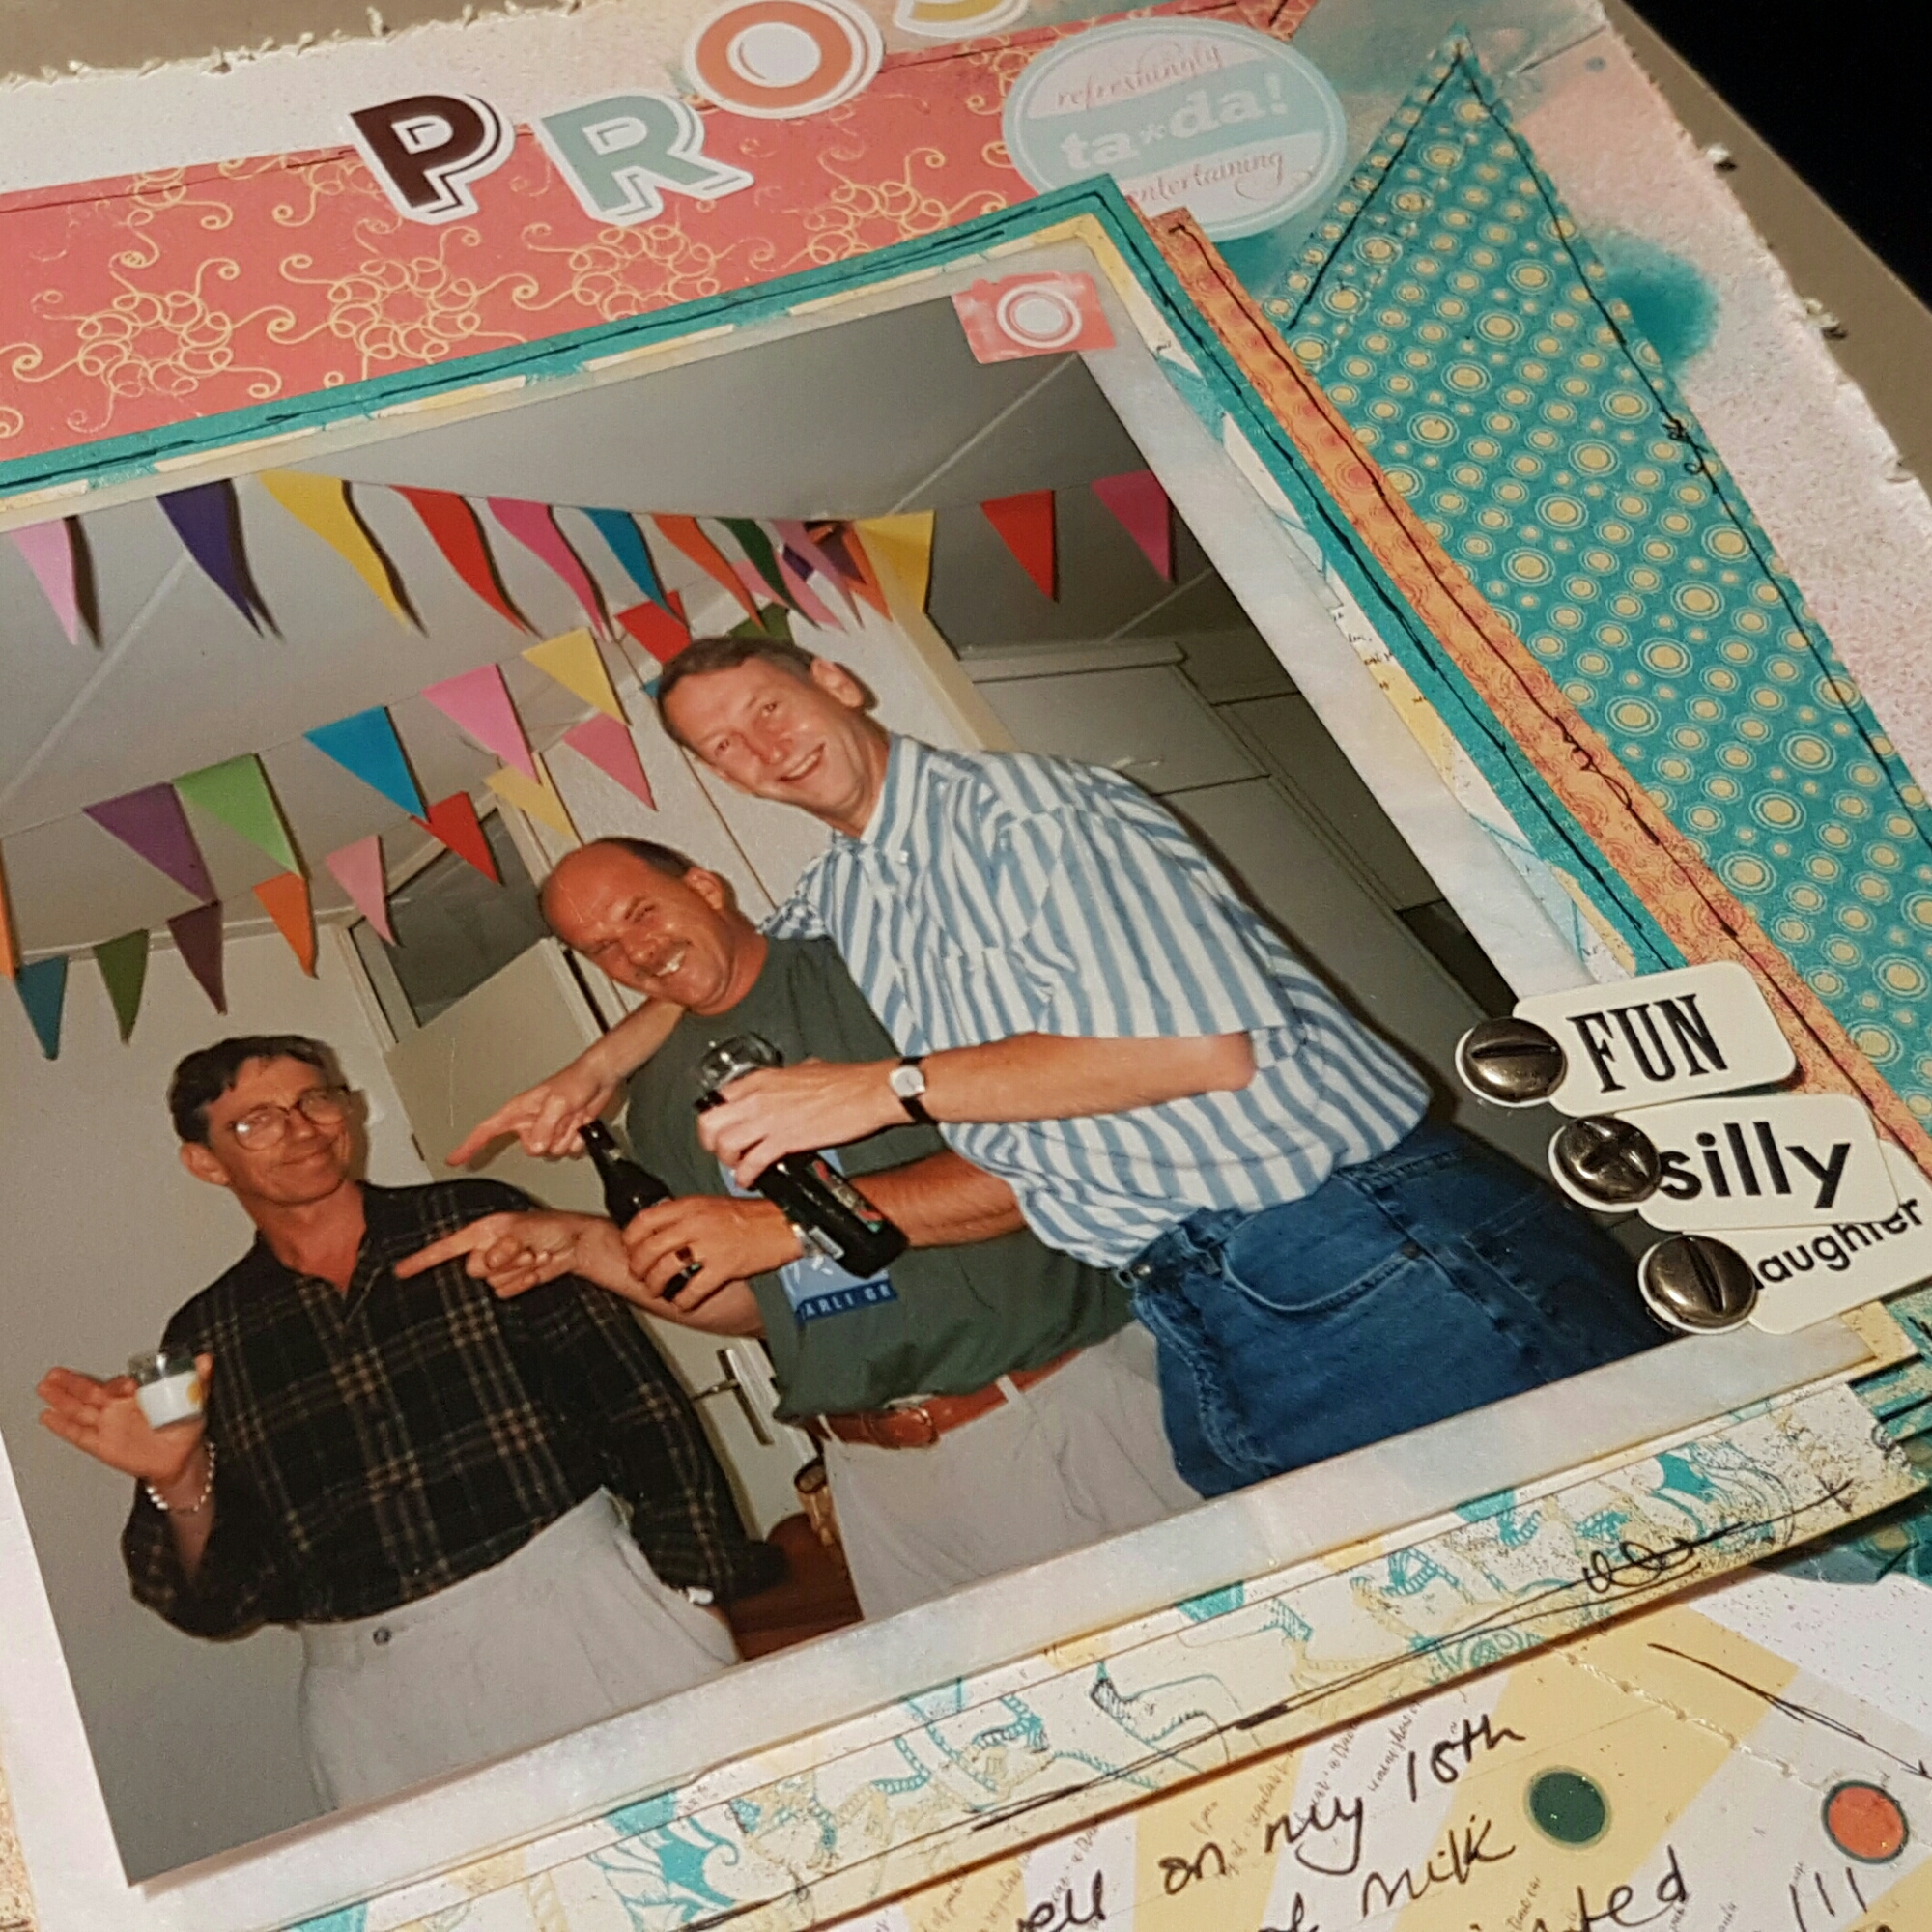
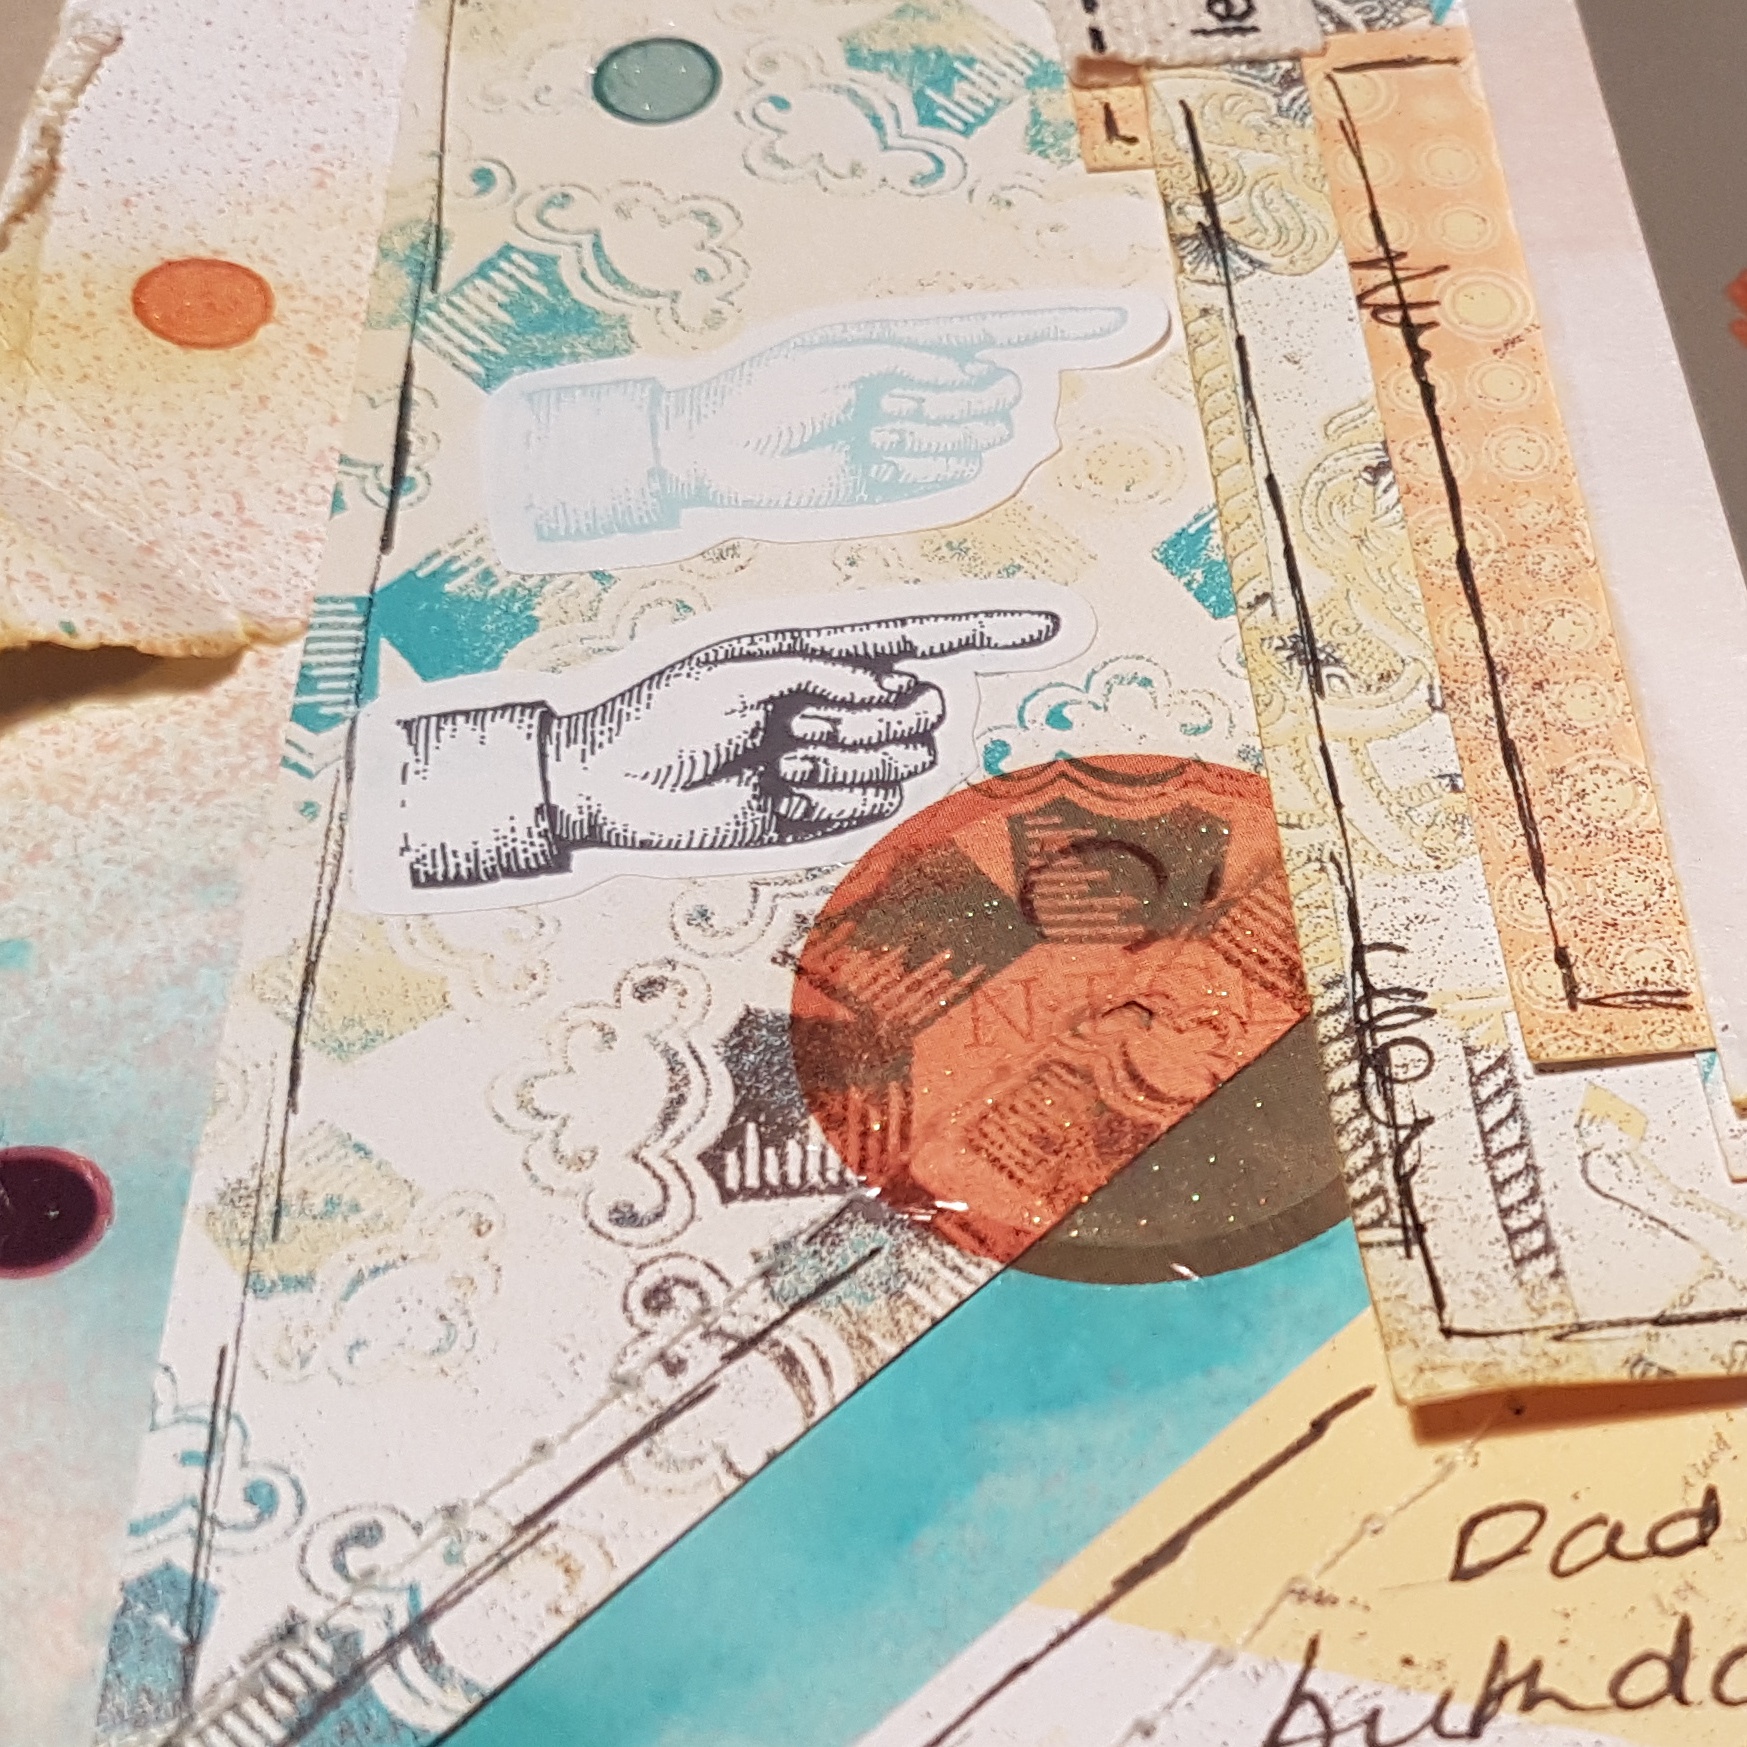
I couldn’t resist the little making memories tags with brads though… or the pointing finger stickers…
So that’s my slightly more masculine page… now for my girlie one… 
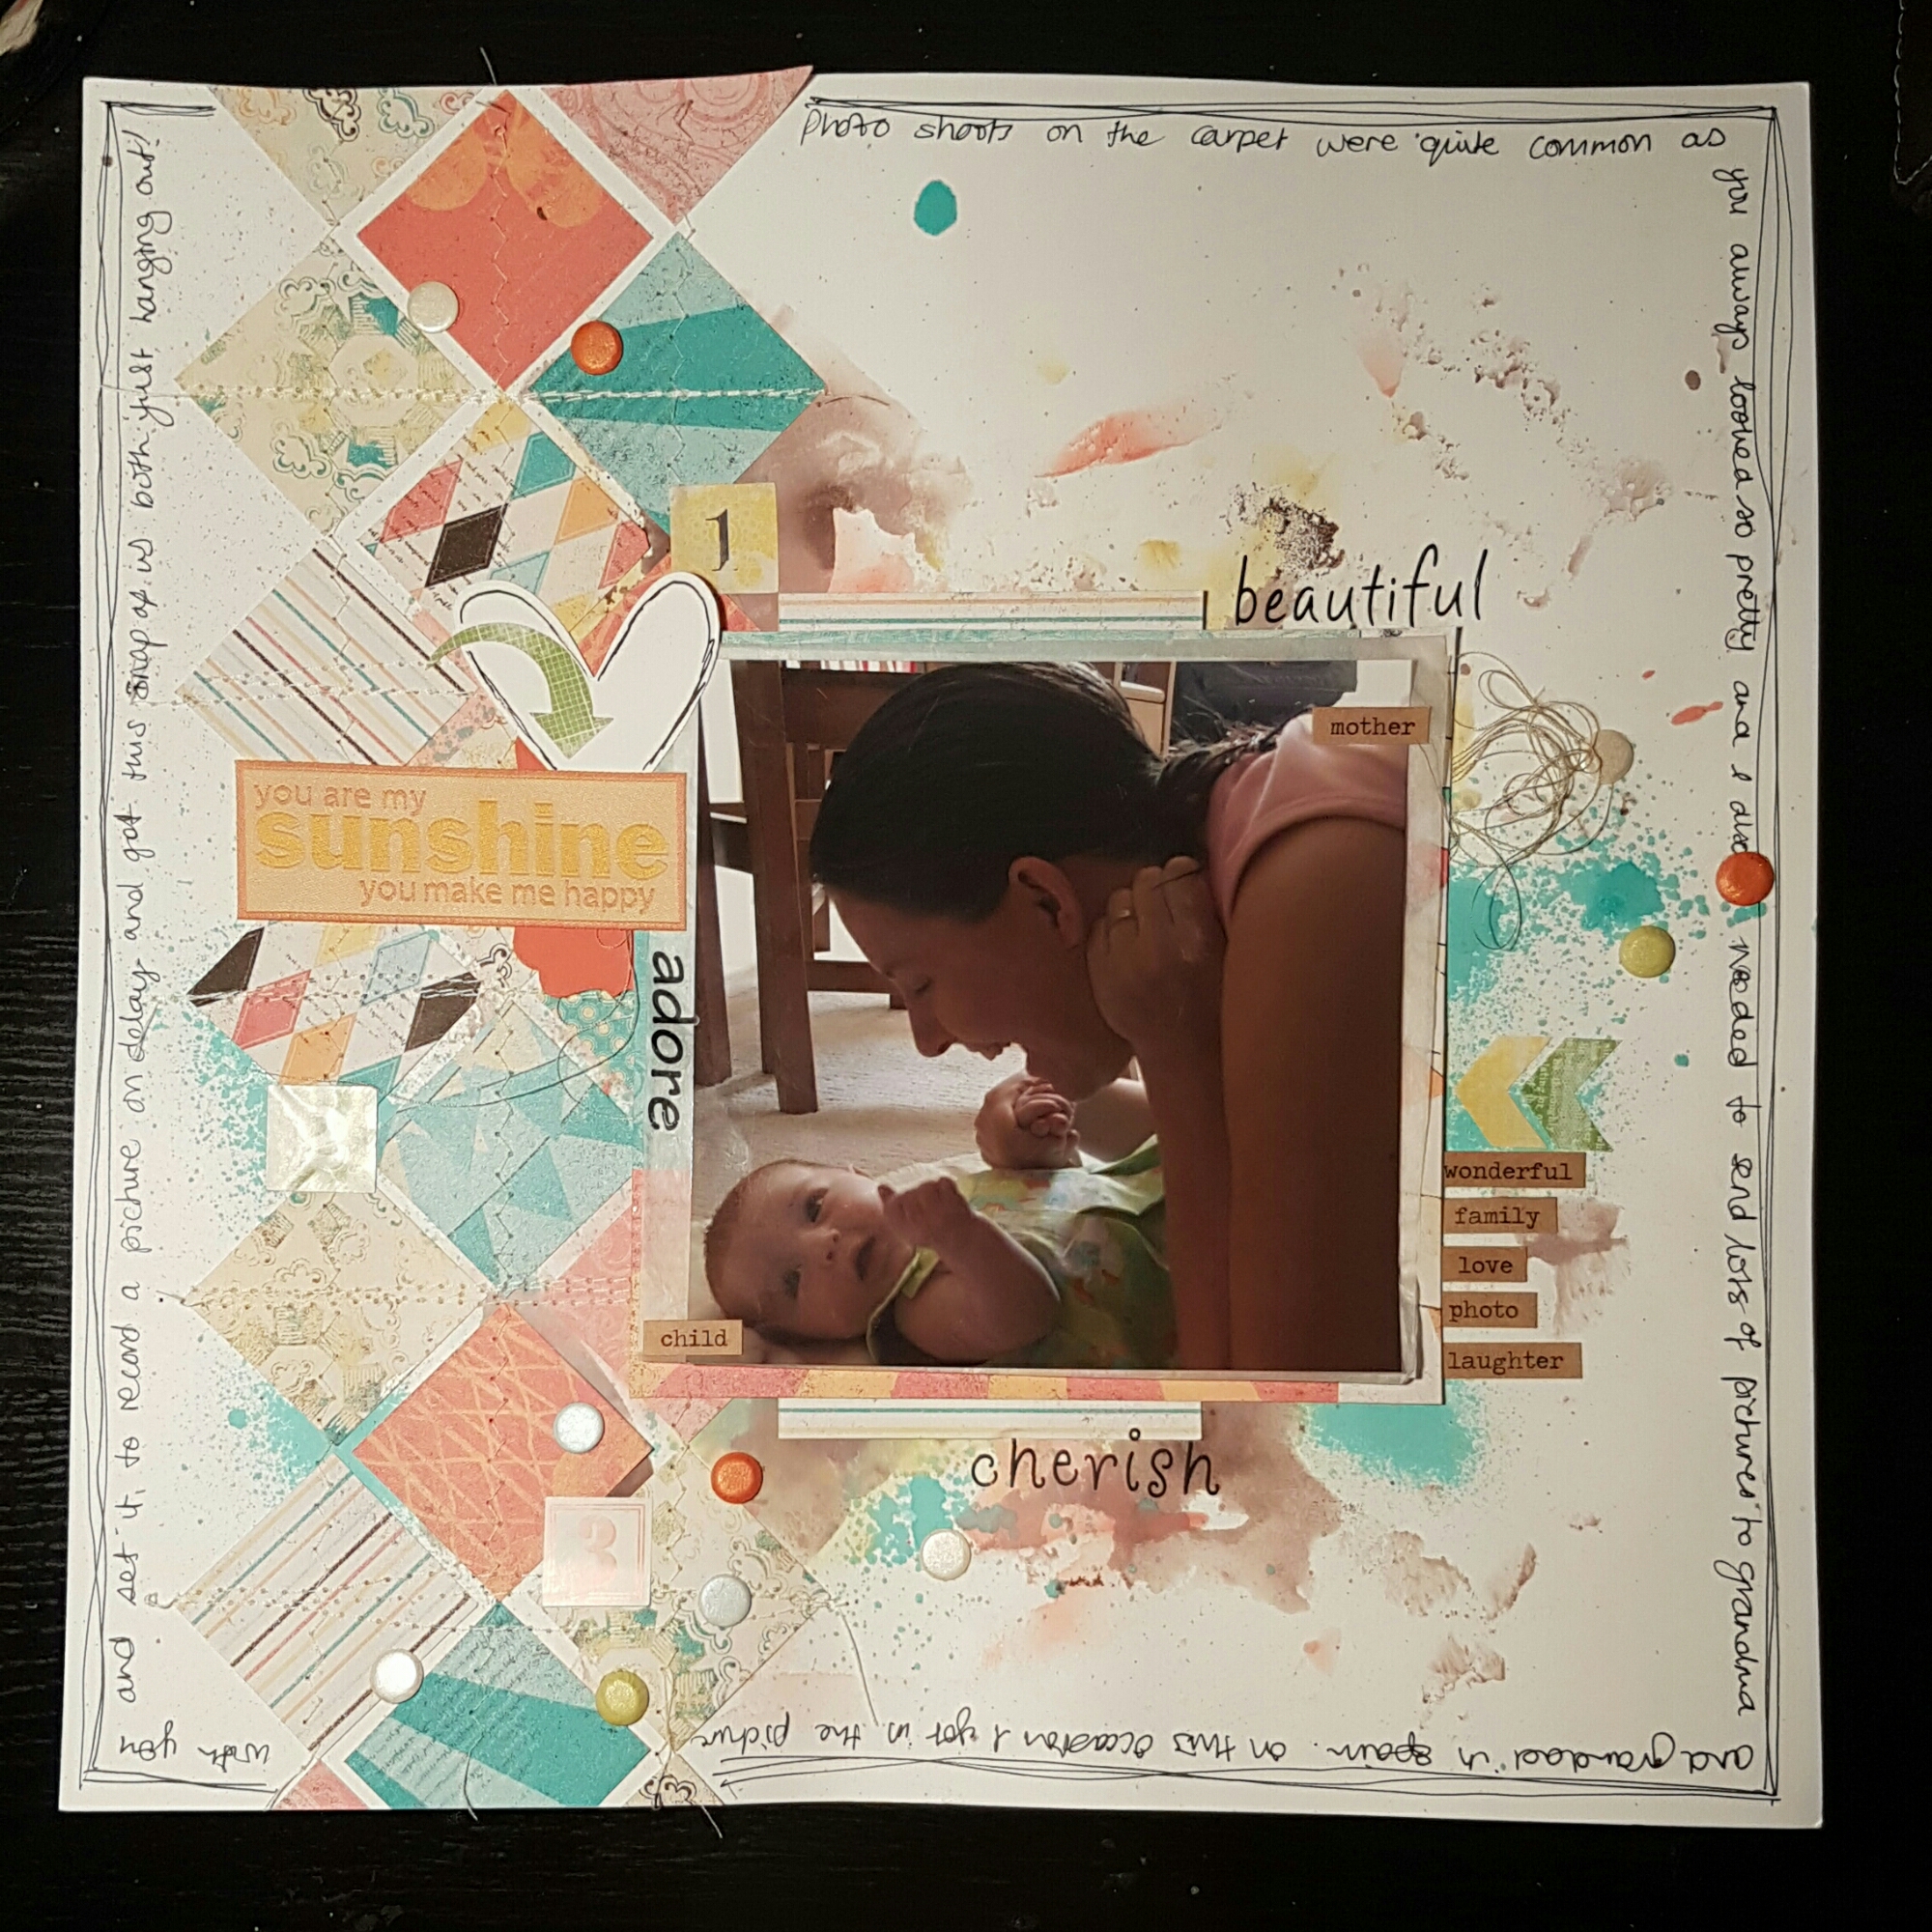
I adore this pic of my princess and me having some fun time on the floor.  The layout Helen designed worked well with this larger image. 
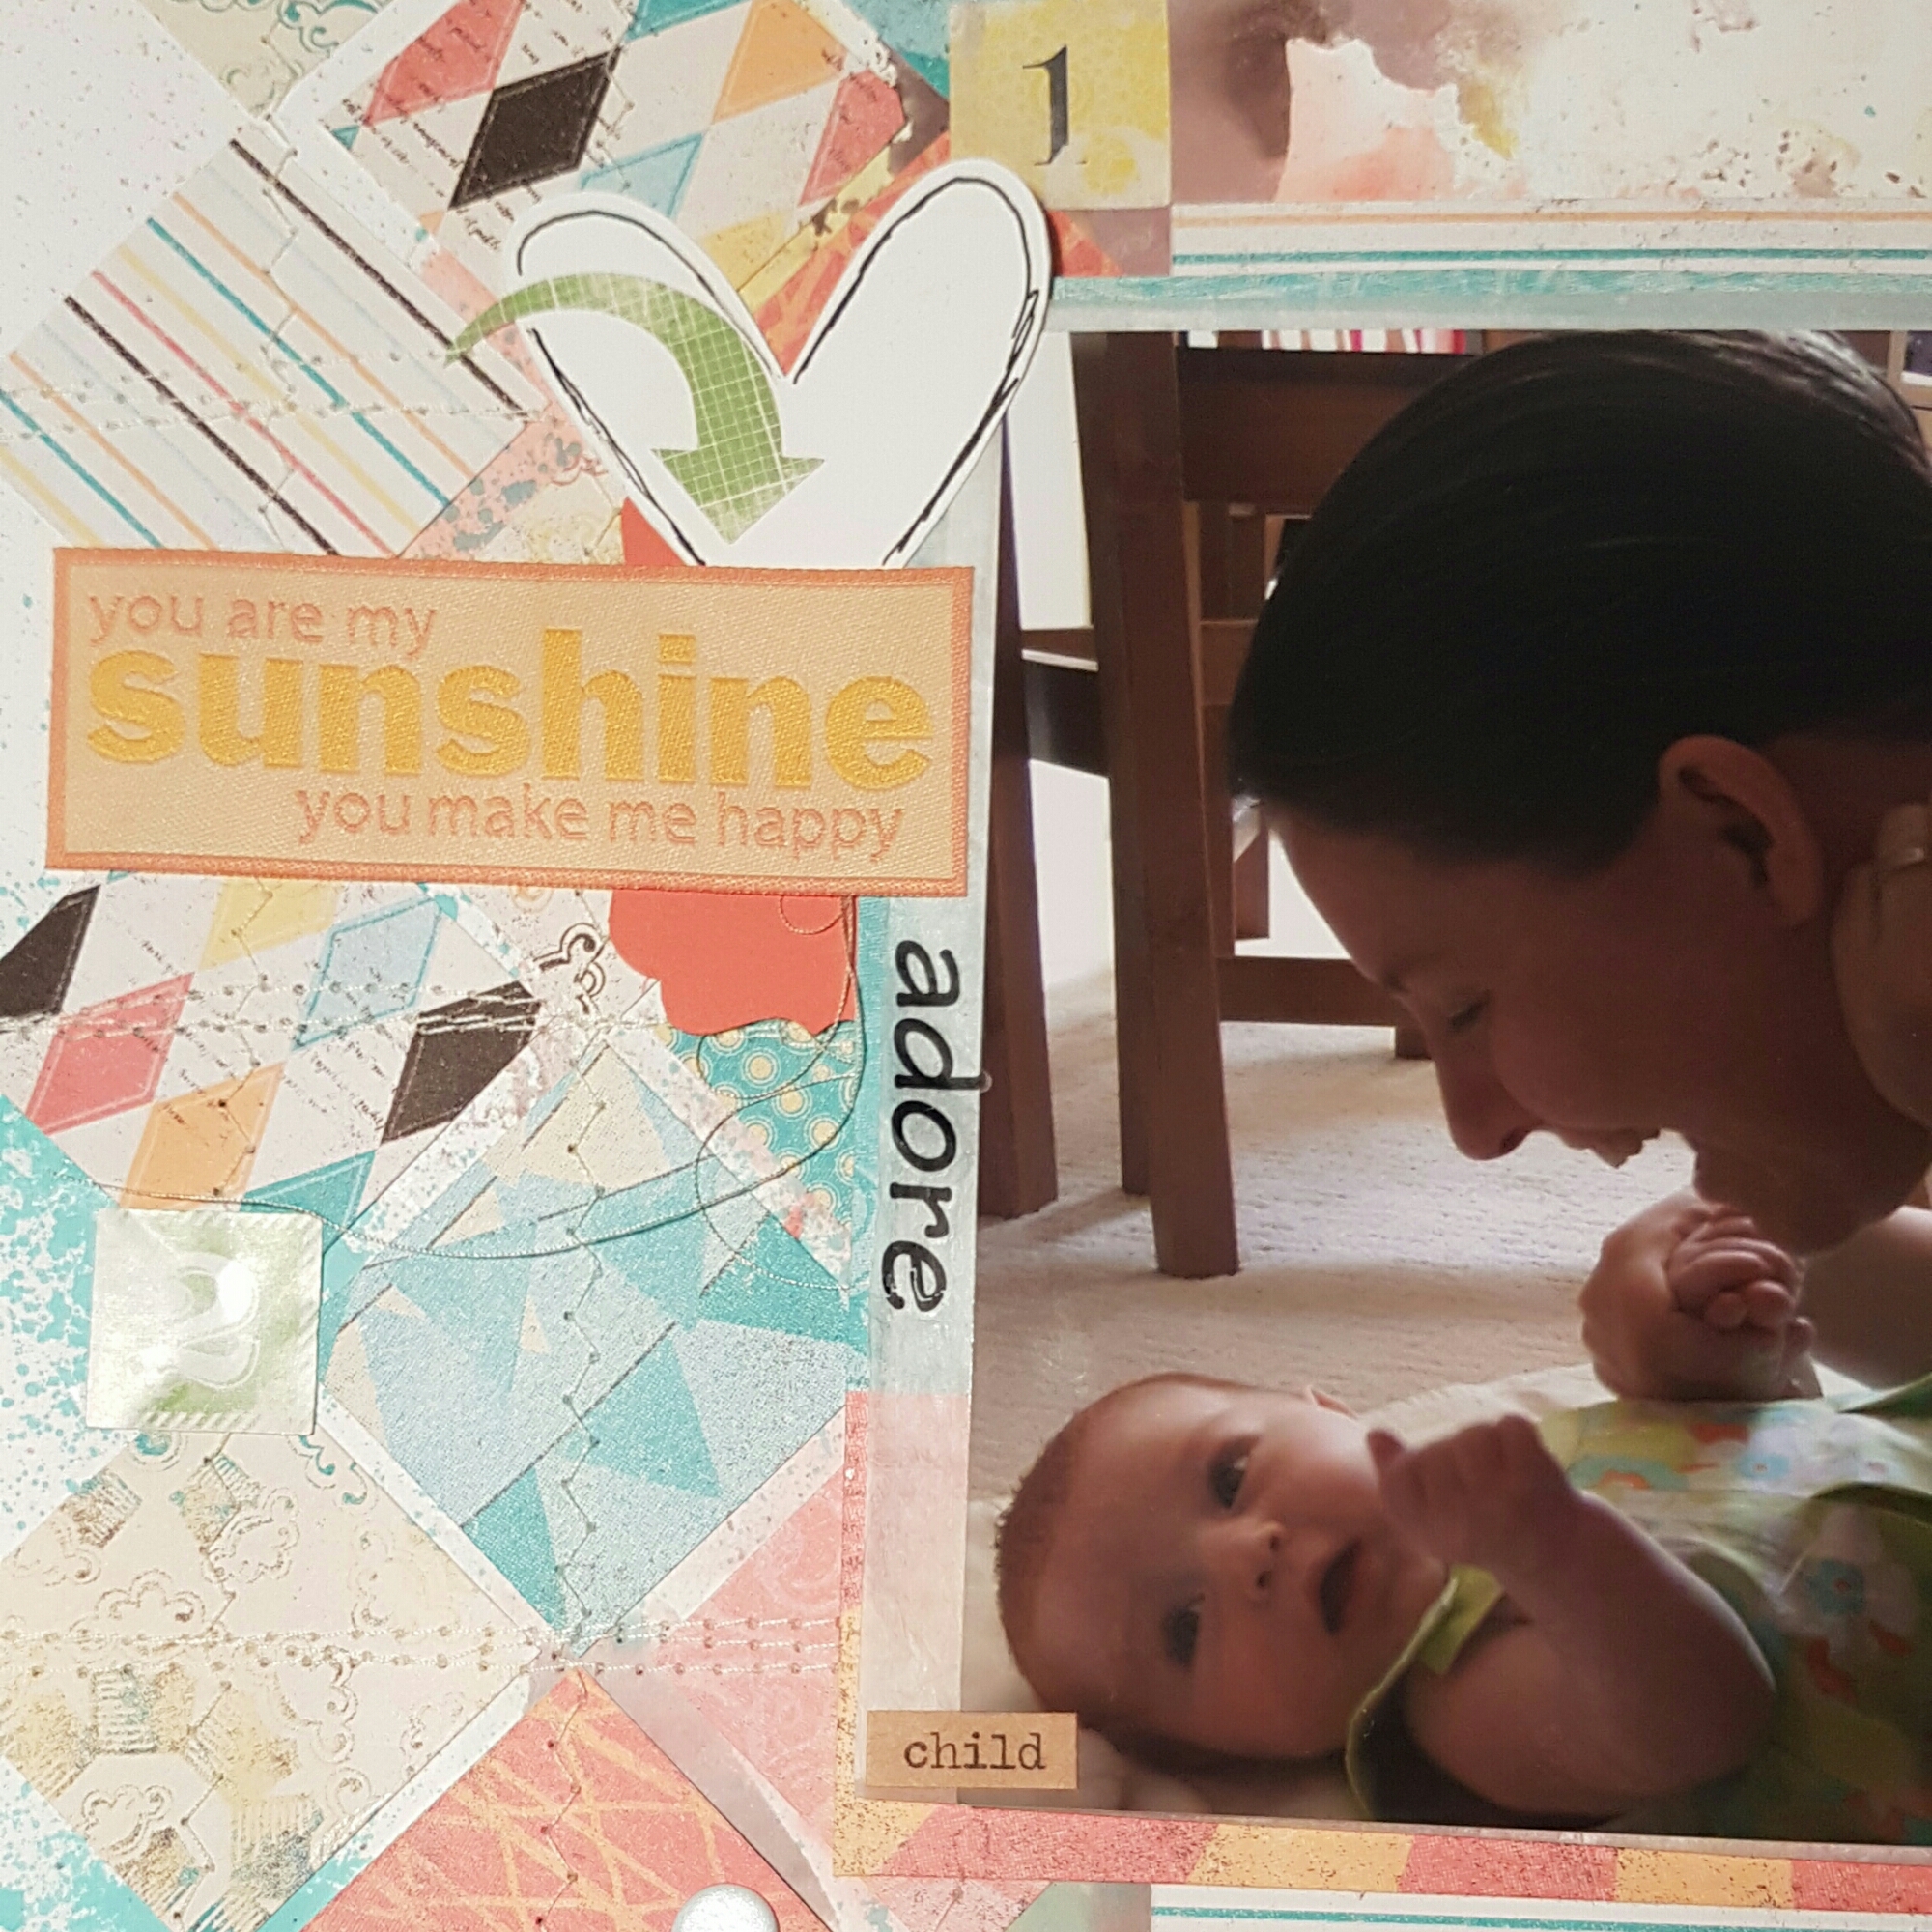
I added lots of layers underneath the photo and found candi dots that worked with the colour scheme.  I love the rub on words and the fabric title sticker I used too. It’s great diving into the stash of stickers and finding things you have forgotten you owned. Especially helpful as March is meant to be my no stash buying month. I need to save for my hols! 
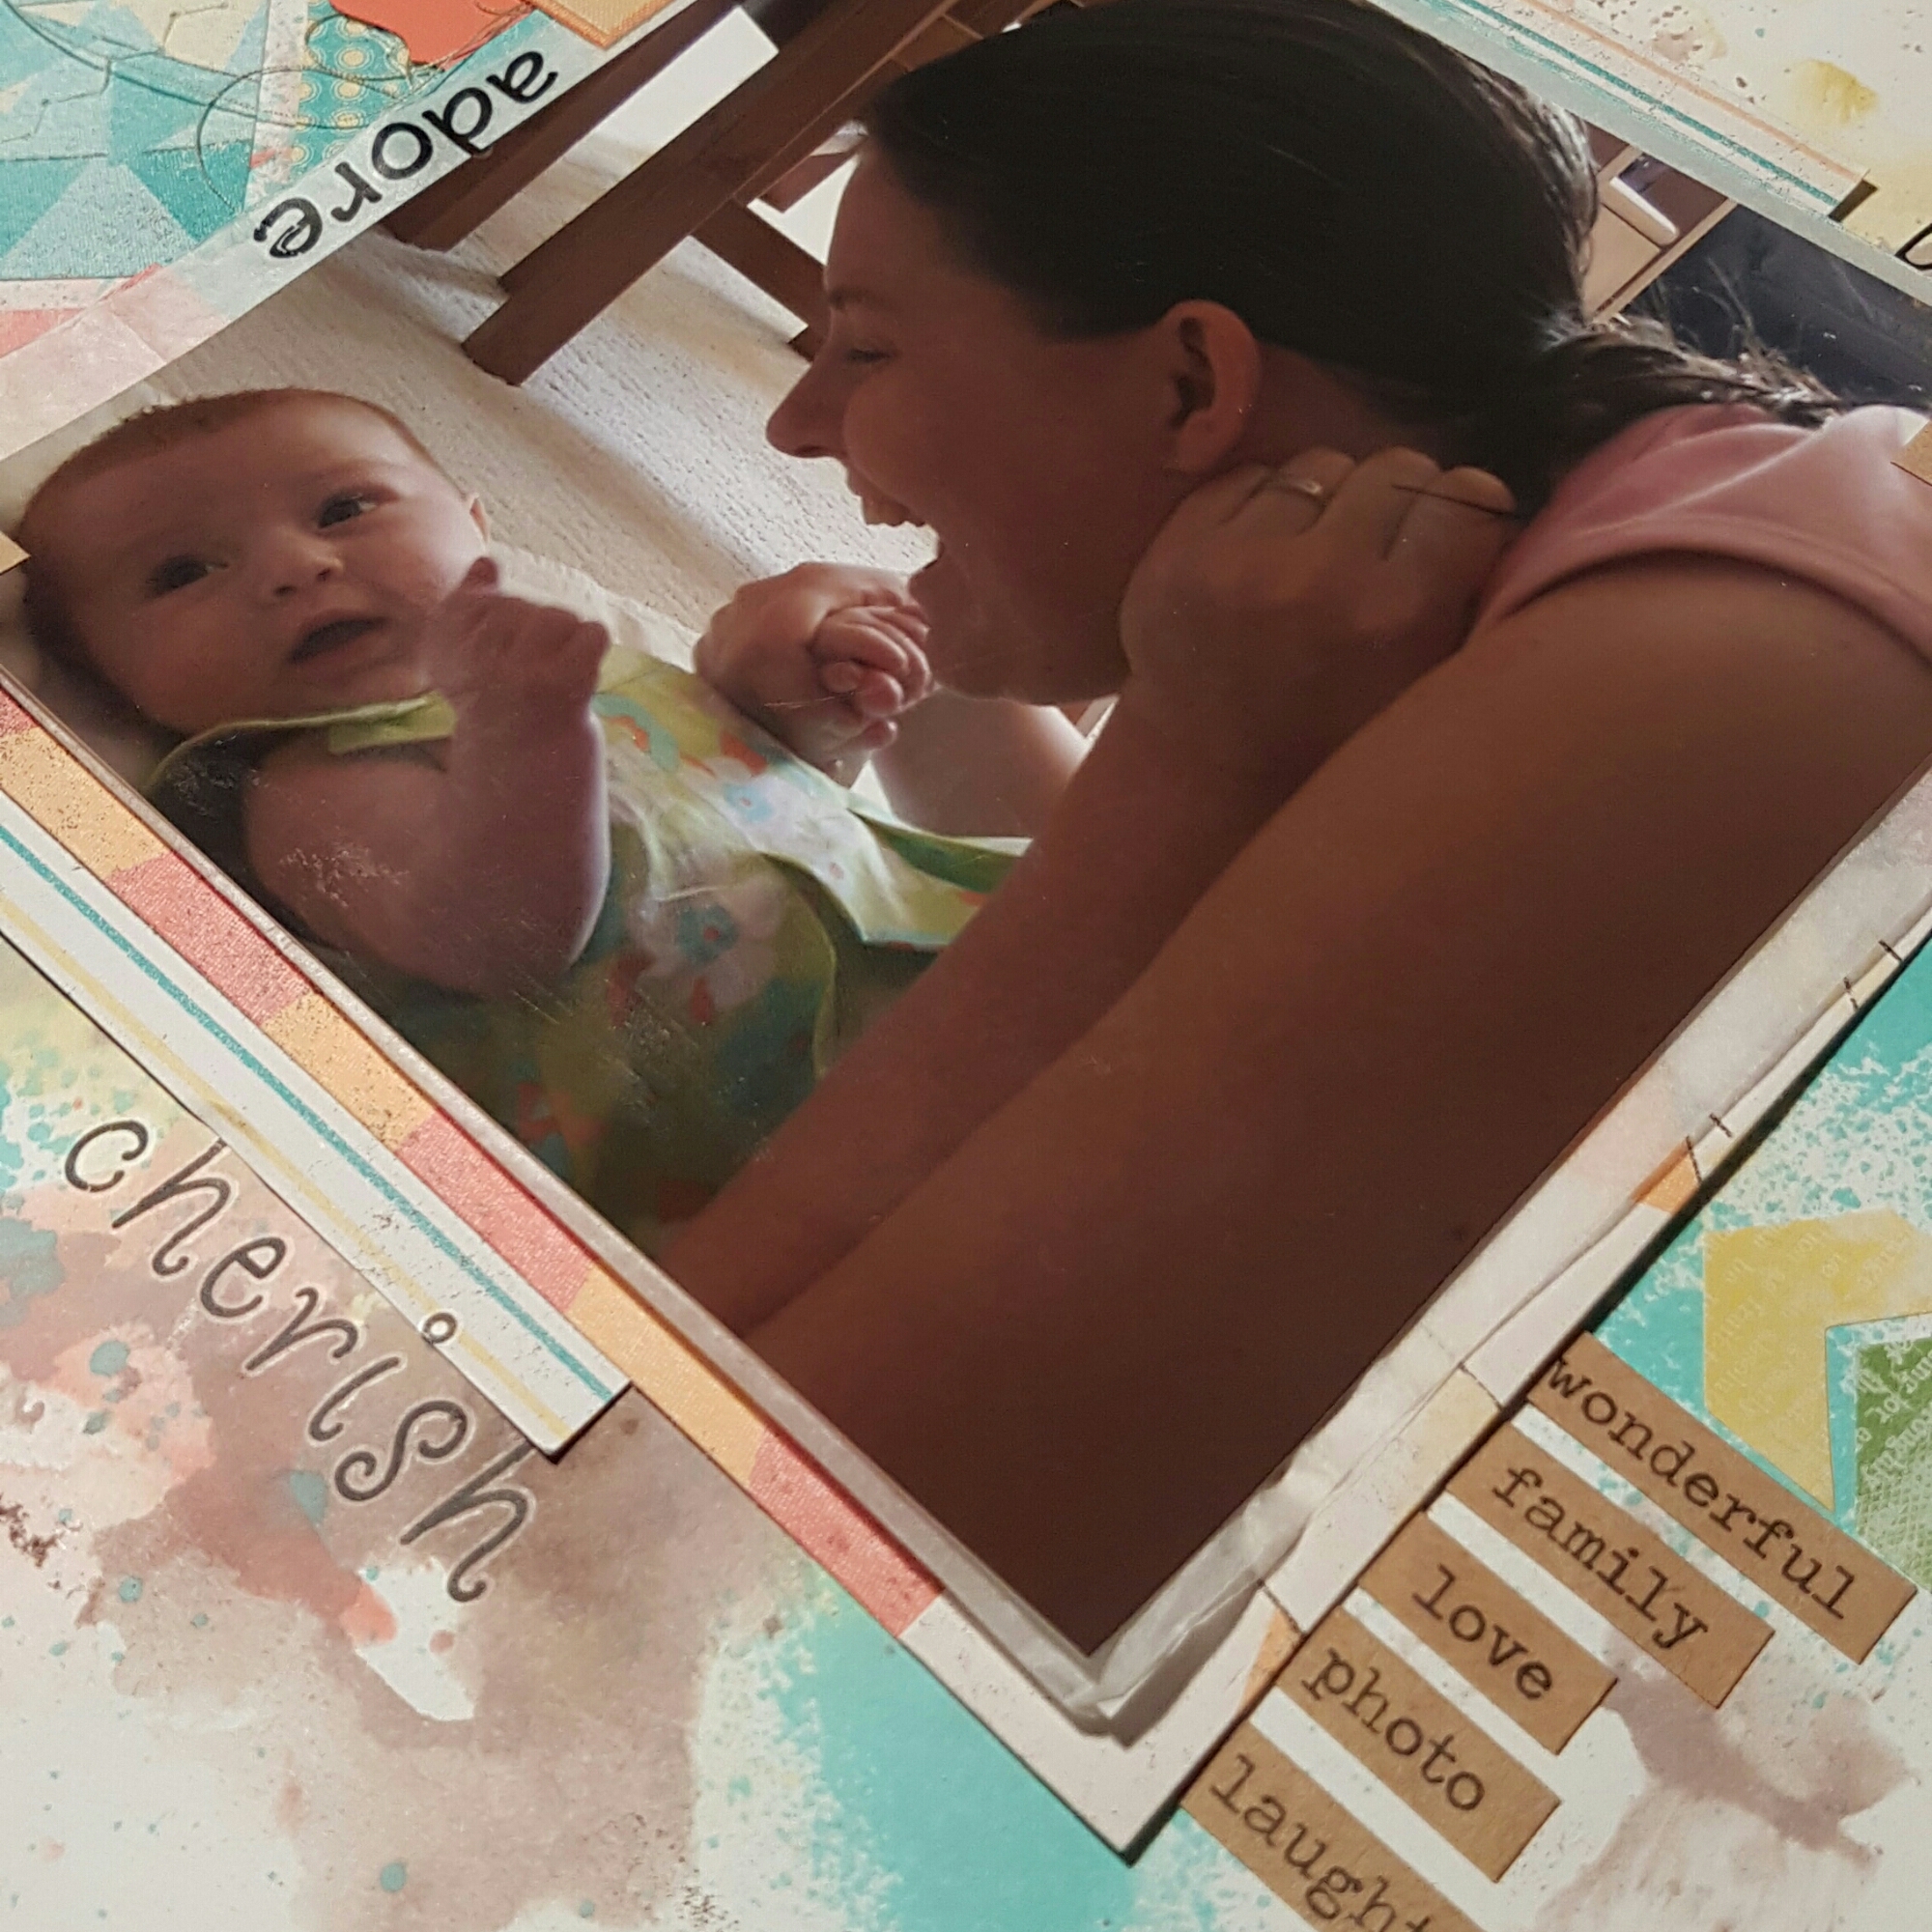
So happy to have done some scrapping again… thanks Helen for getting me inspired again. So nice also to scale up from ATC size to 12×12 just for a change. 

Happy crafting! 

Catherine 
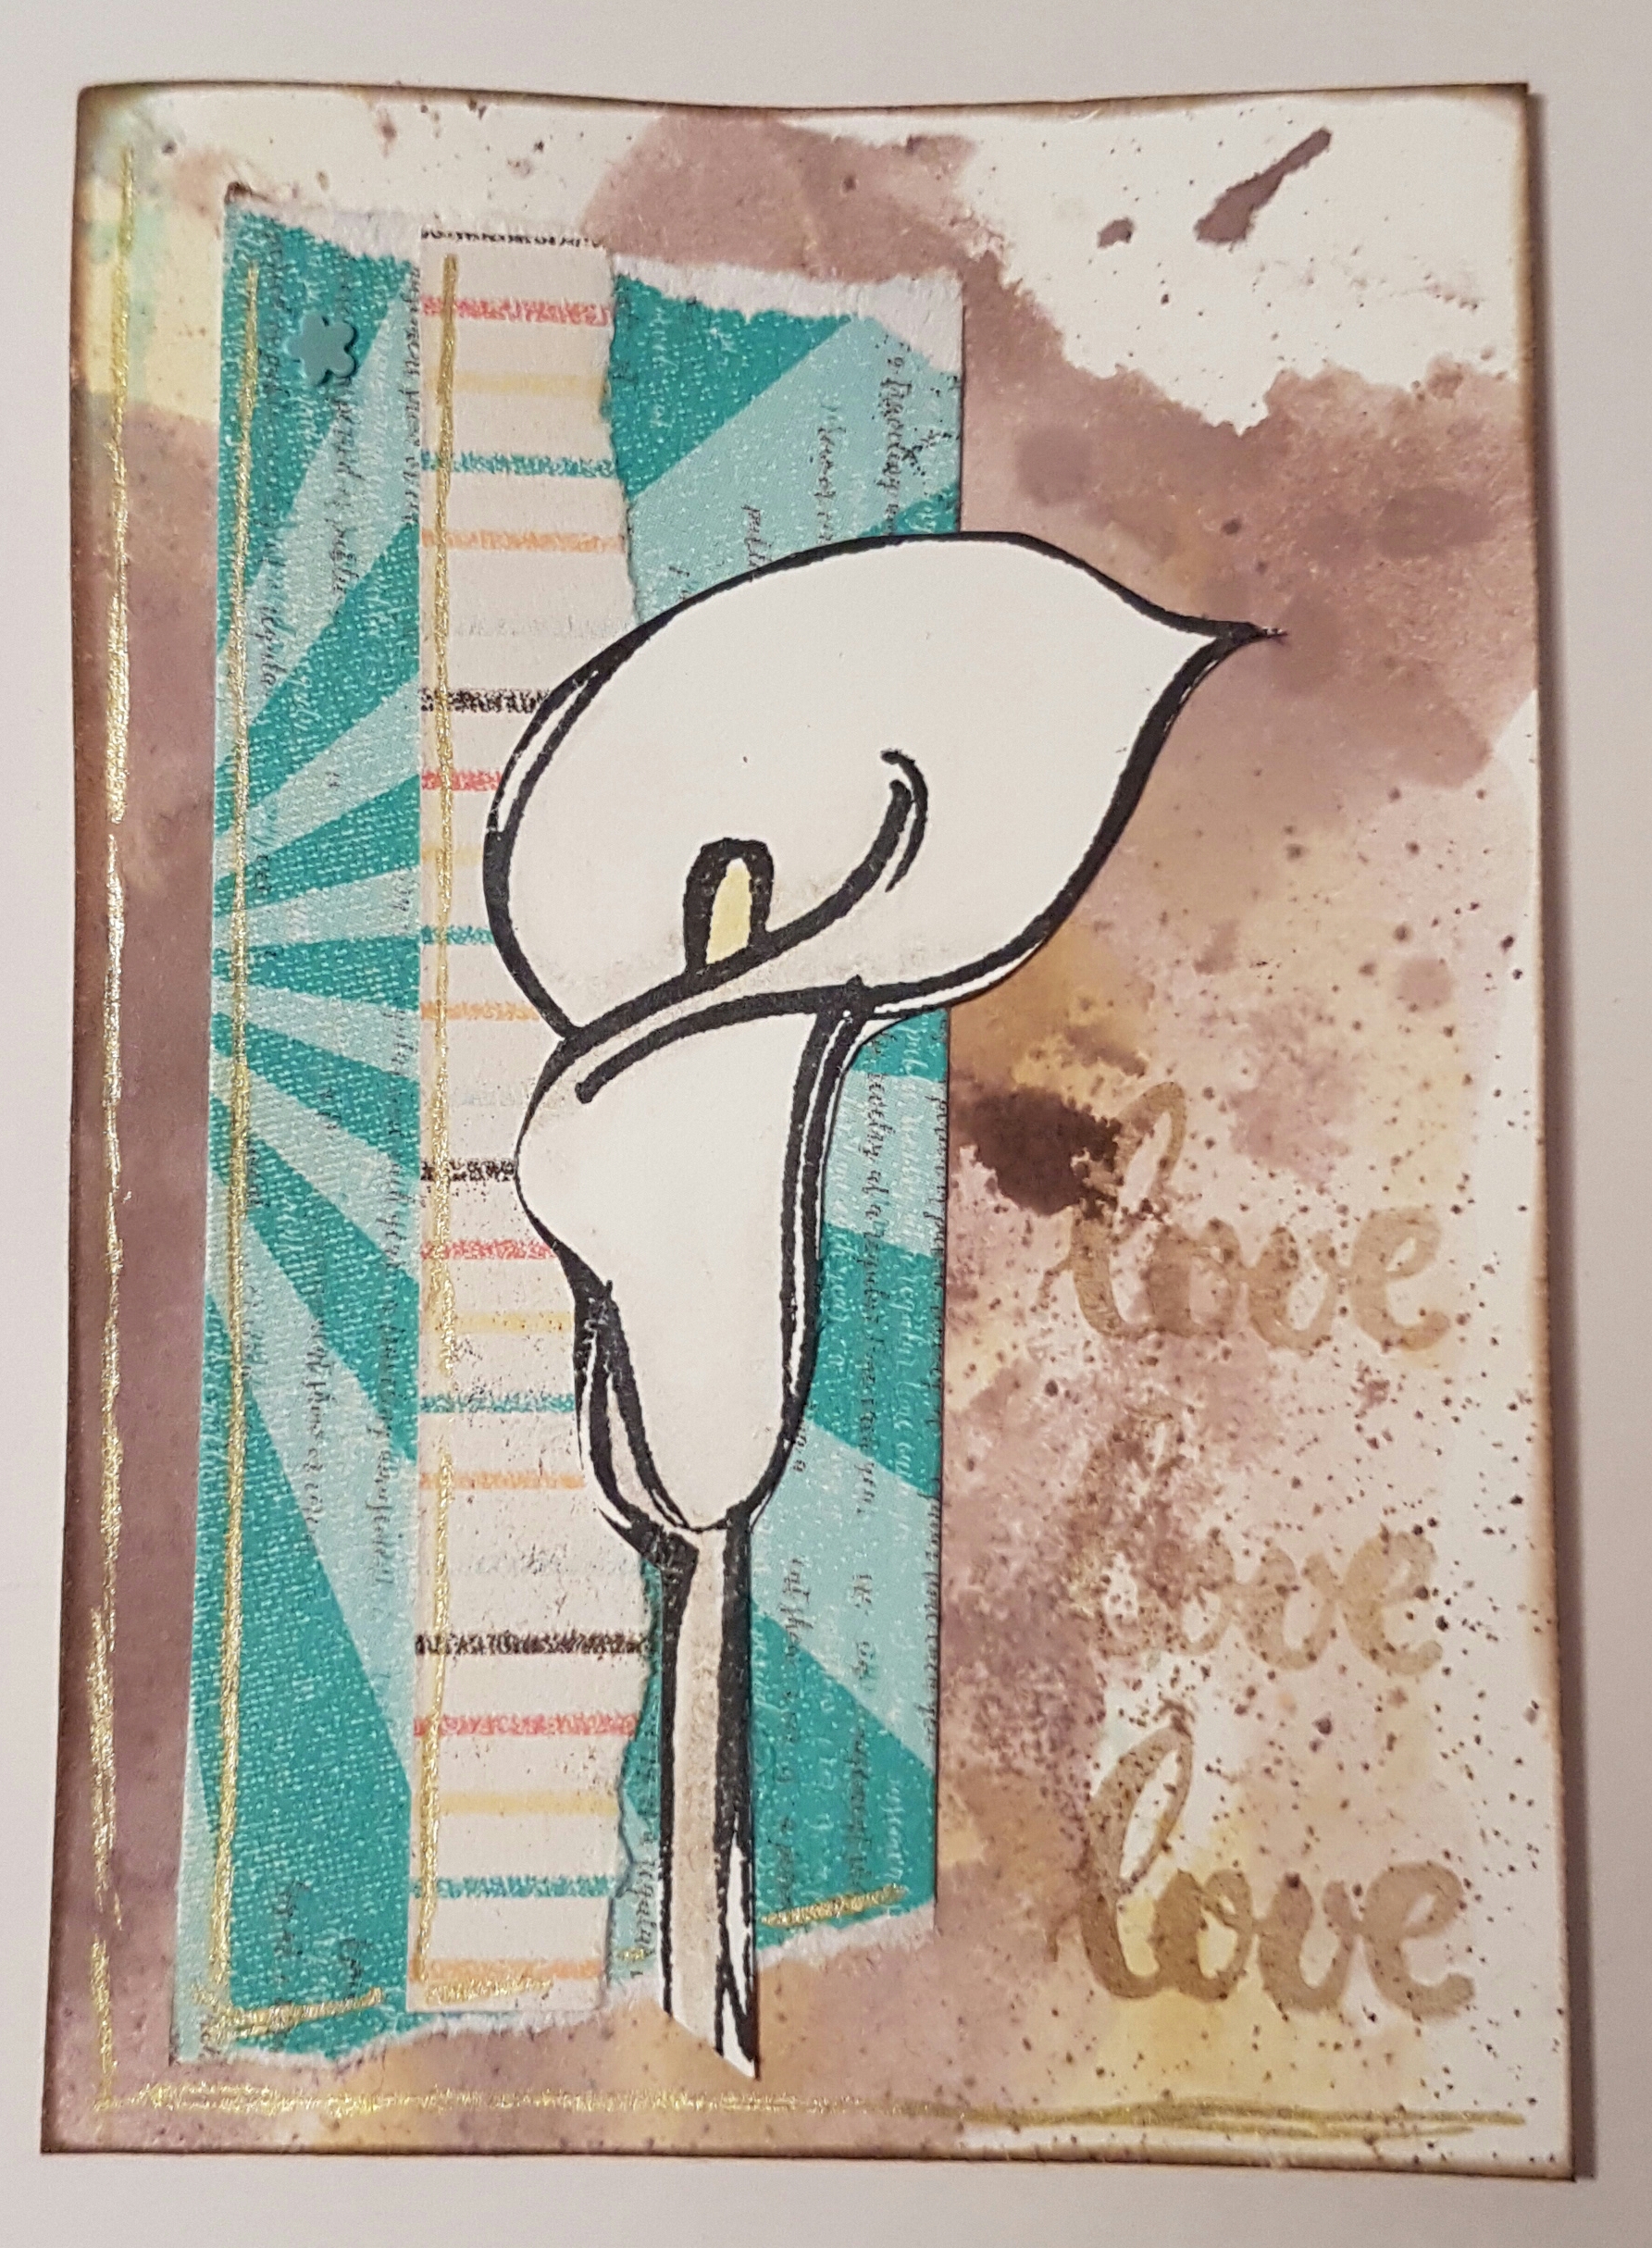
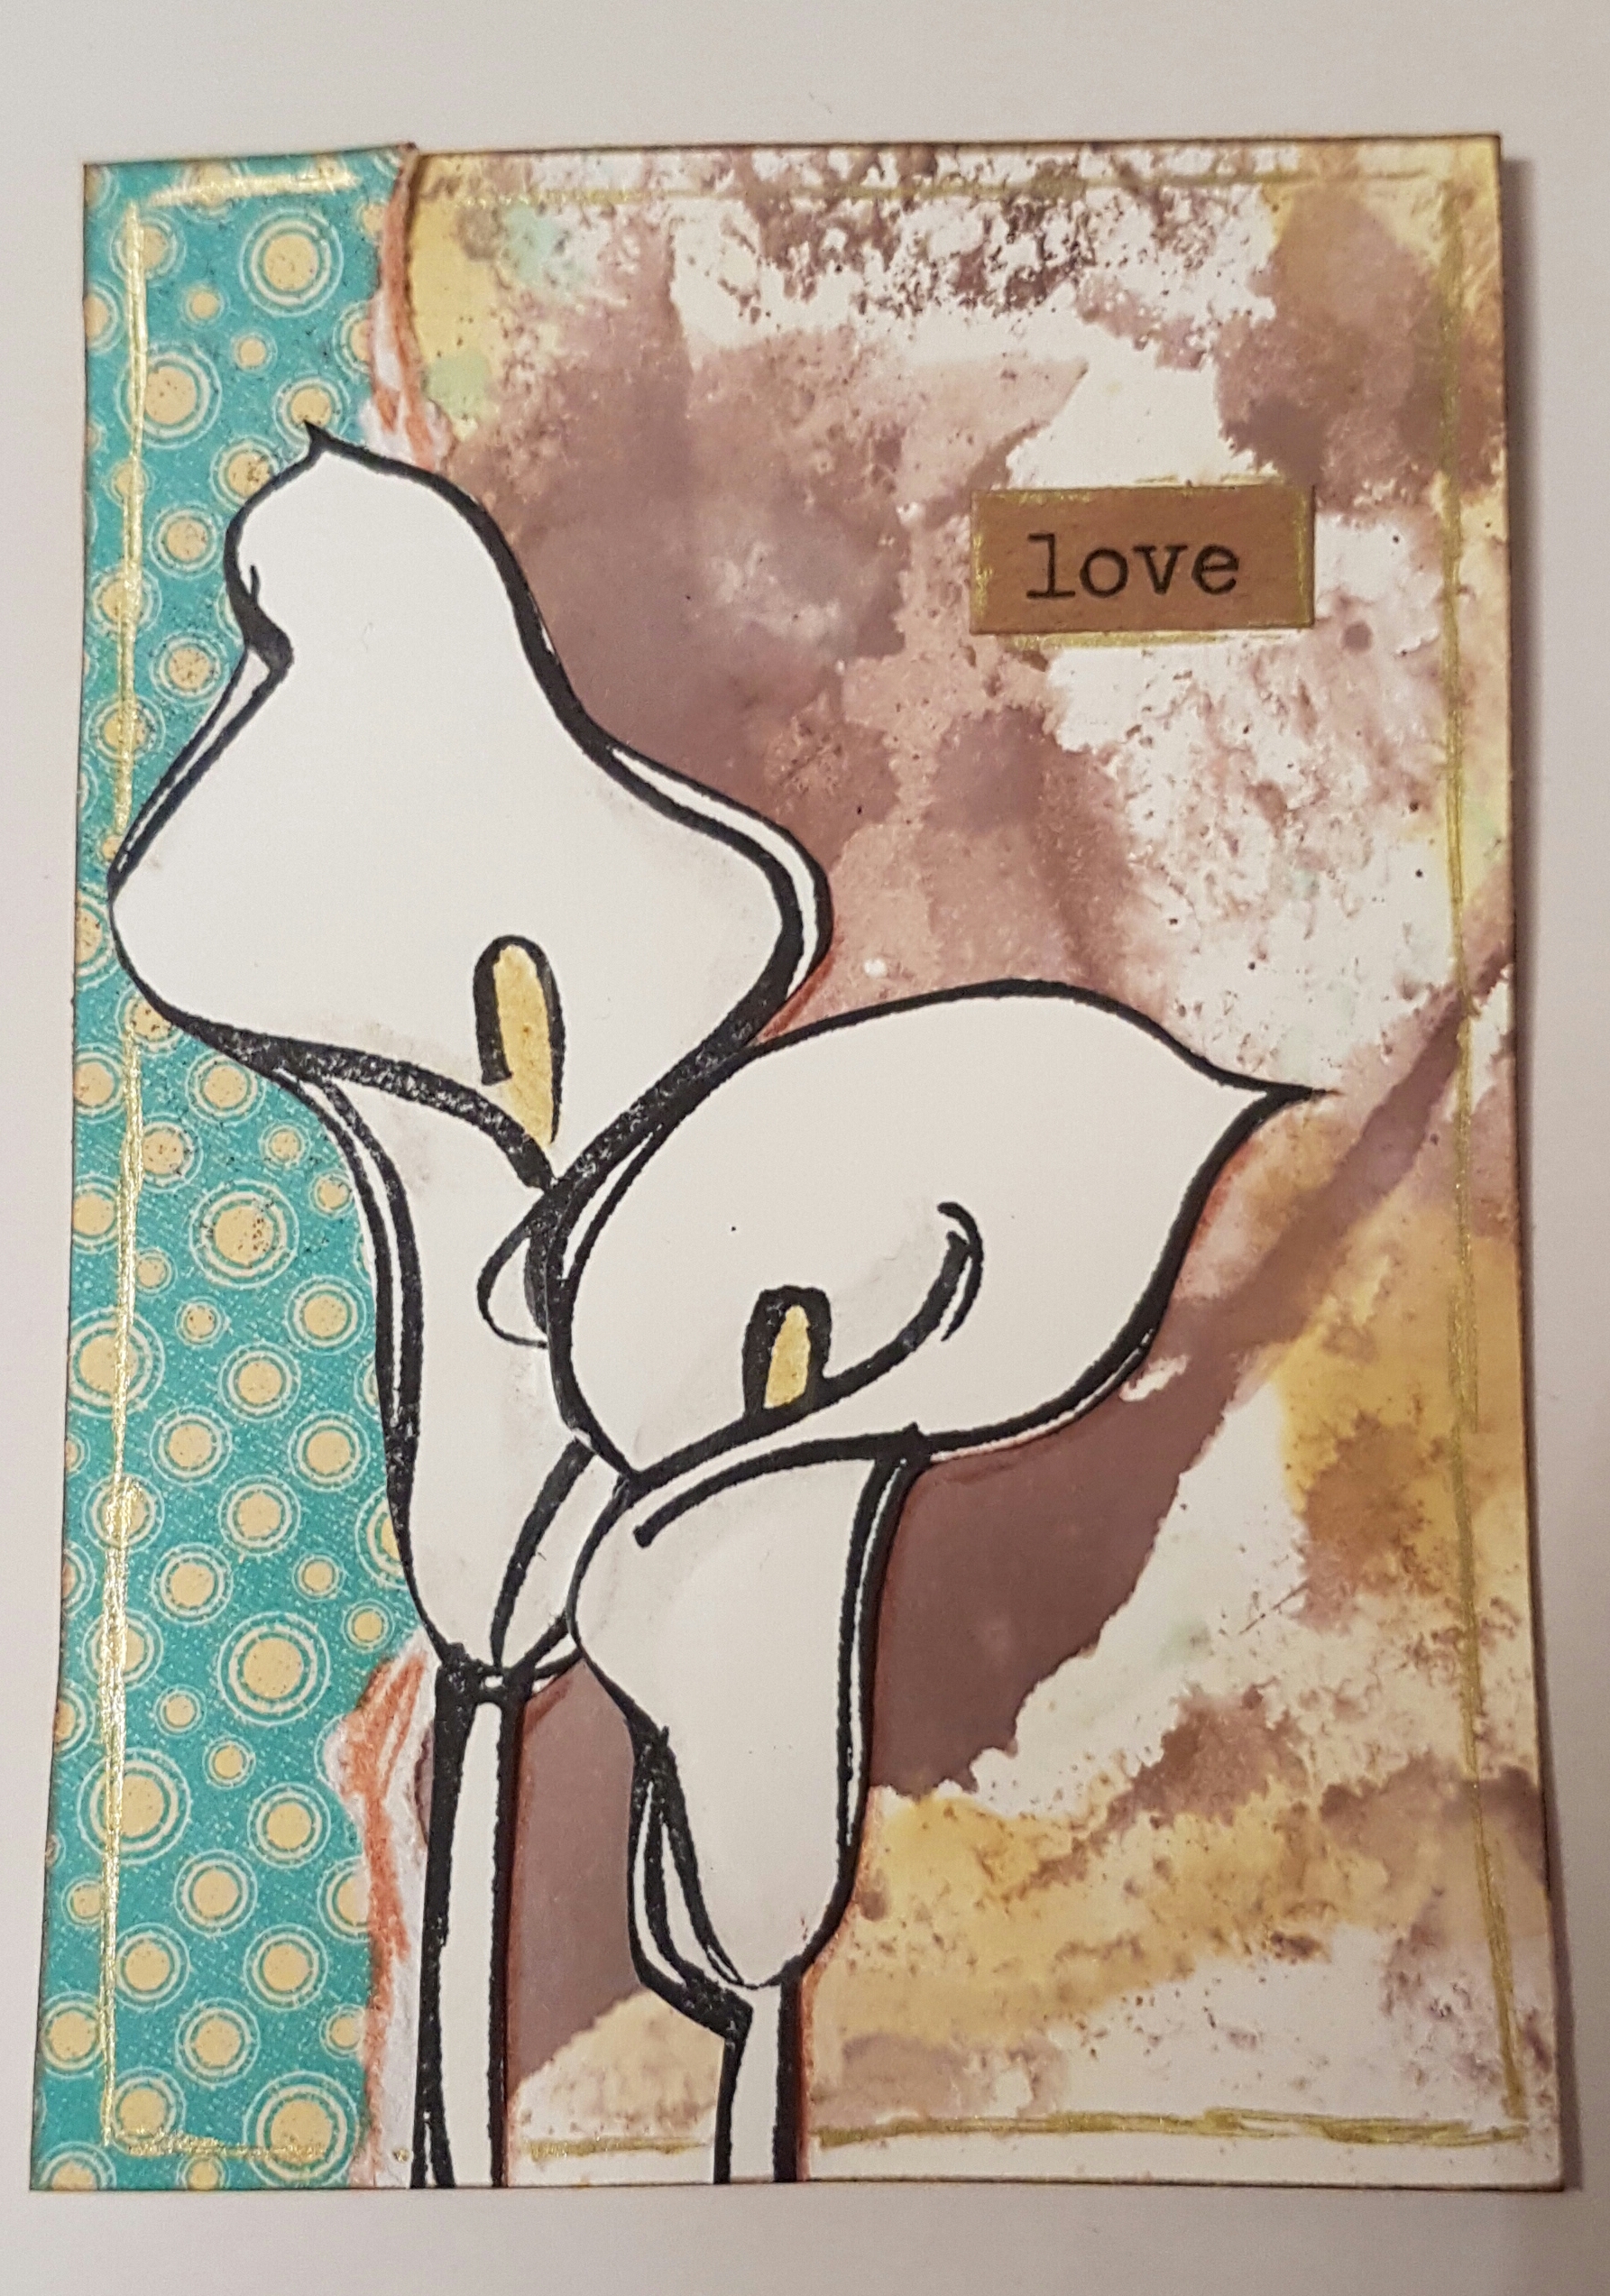
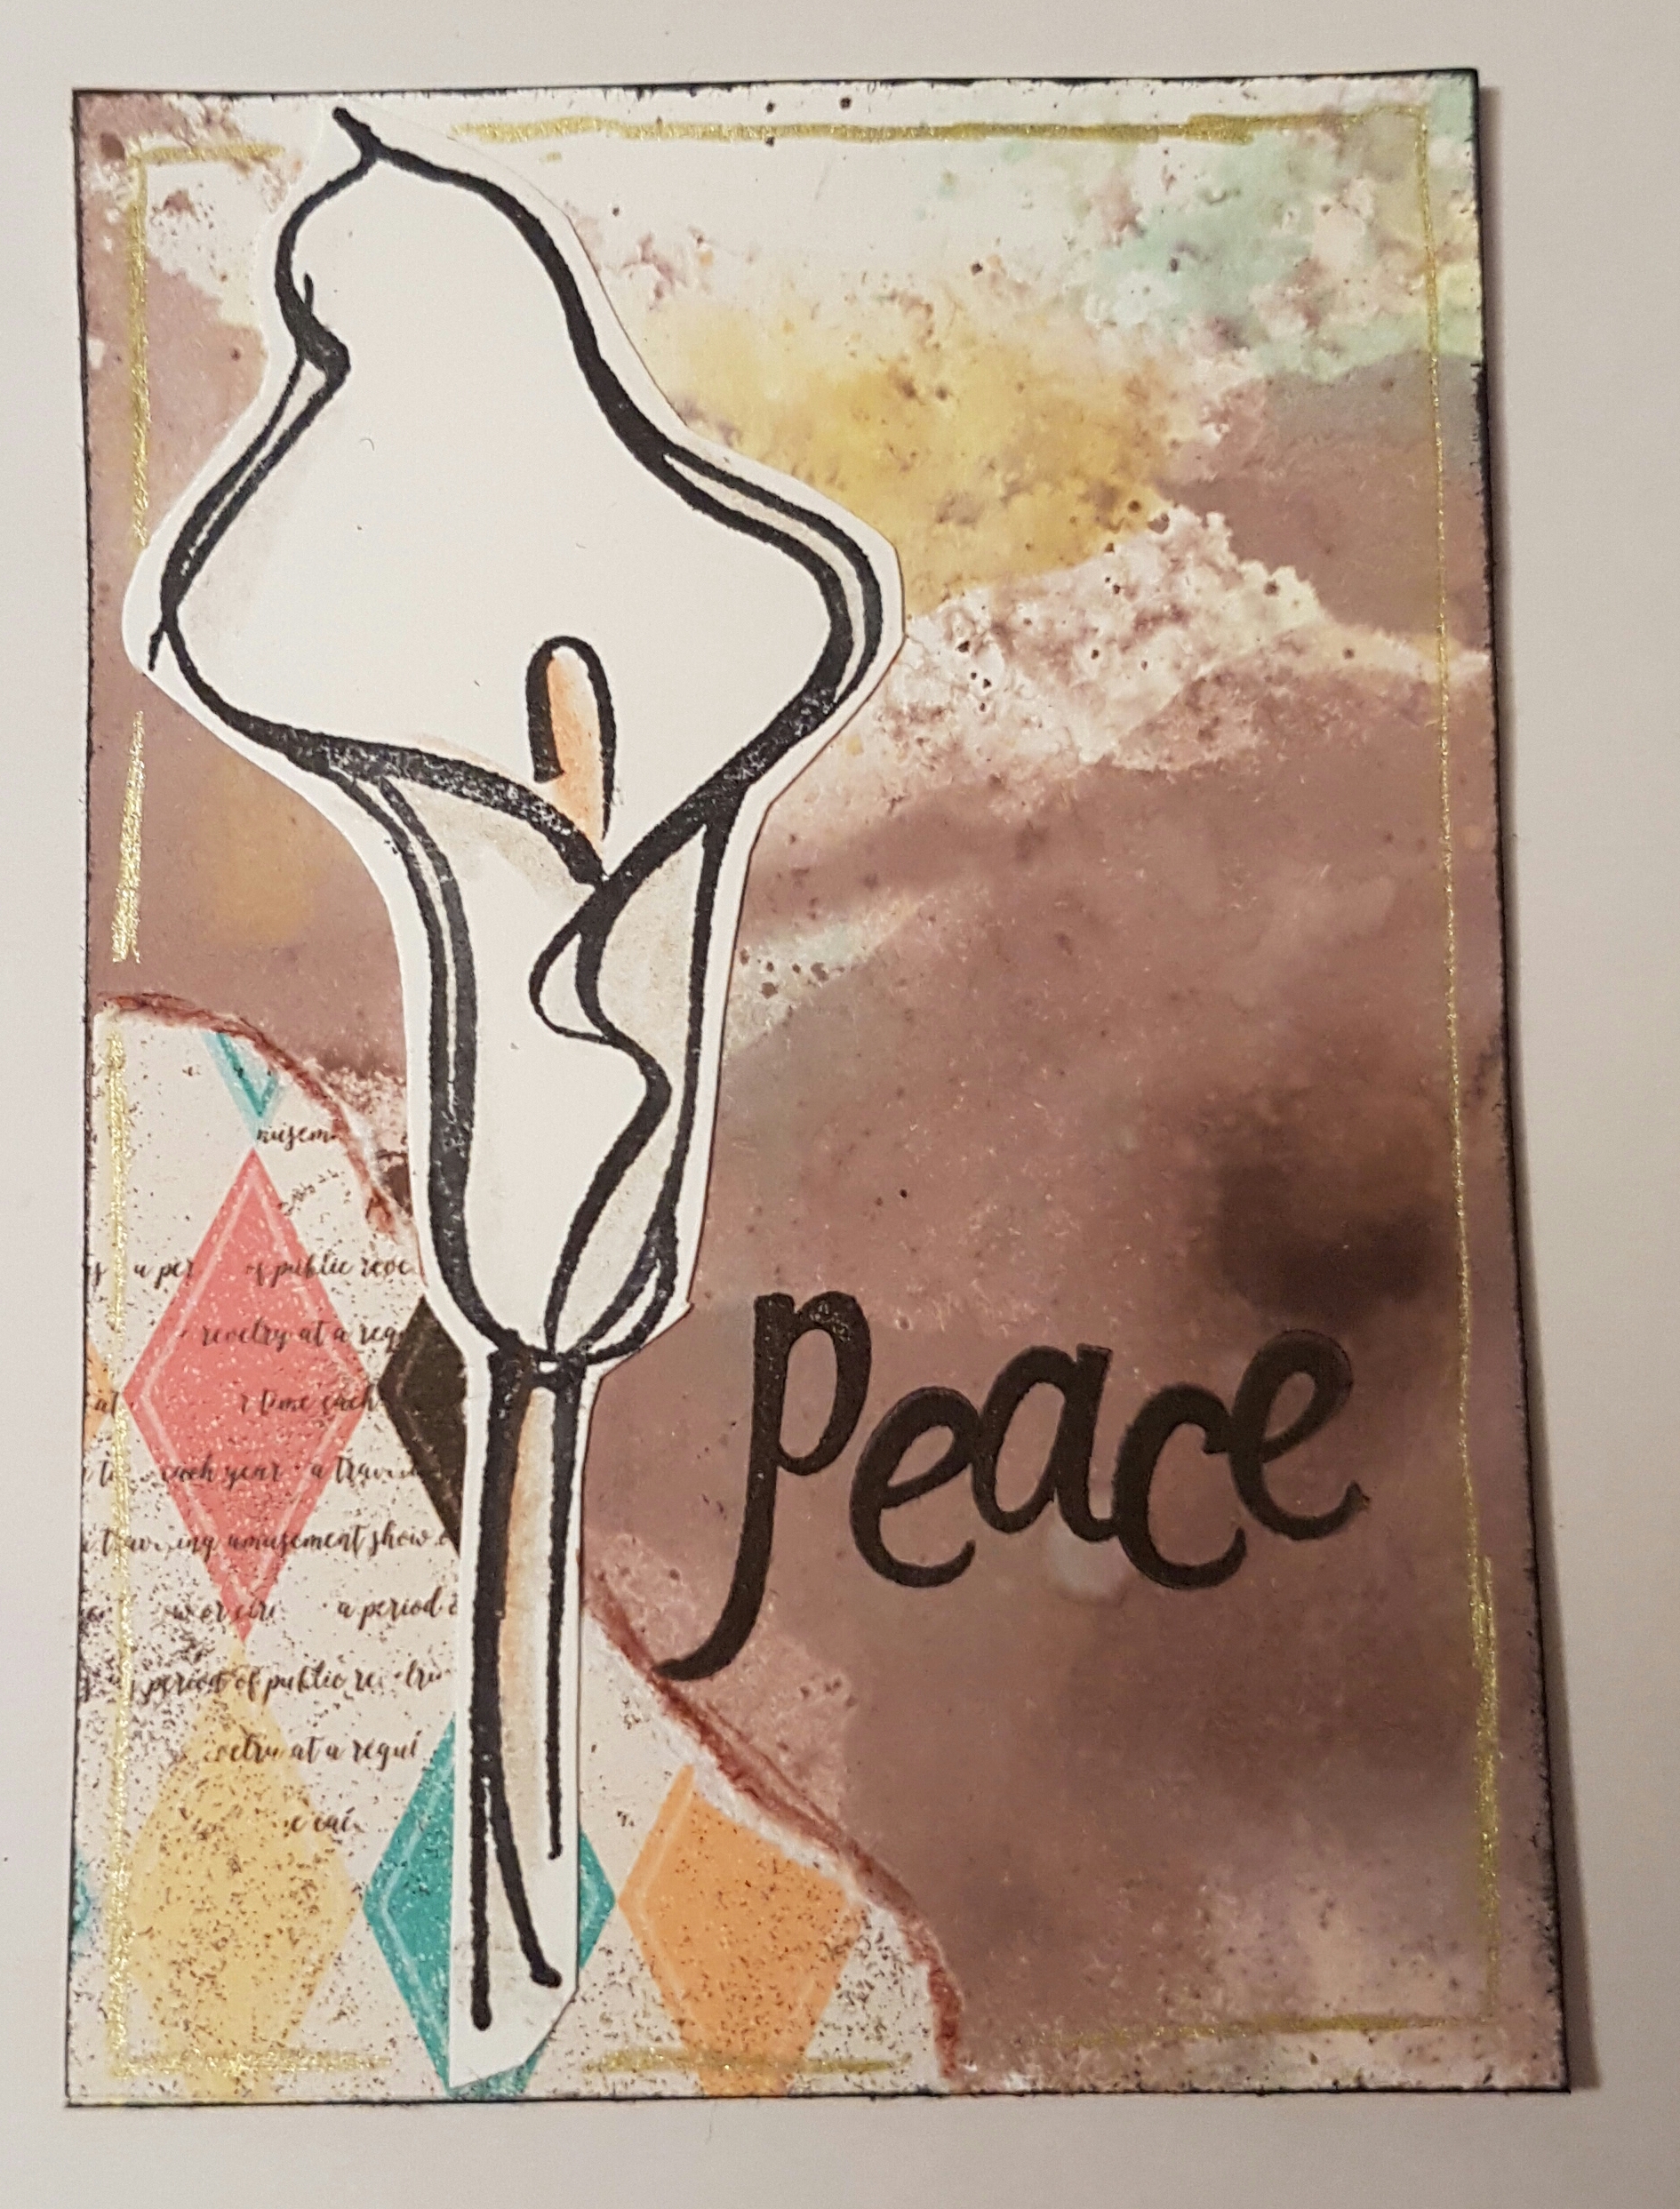
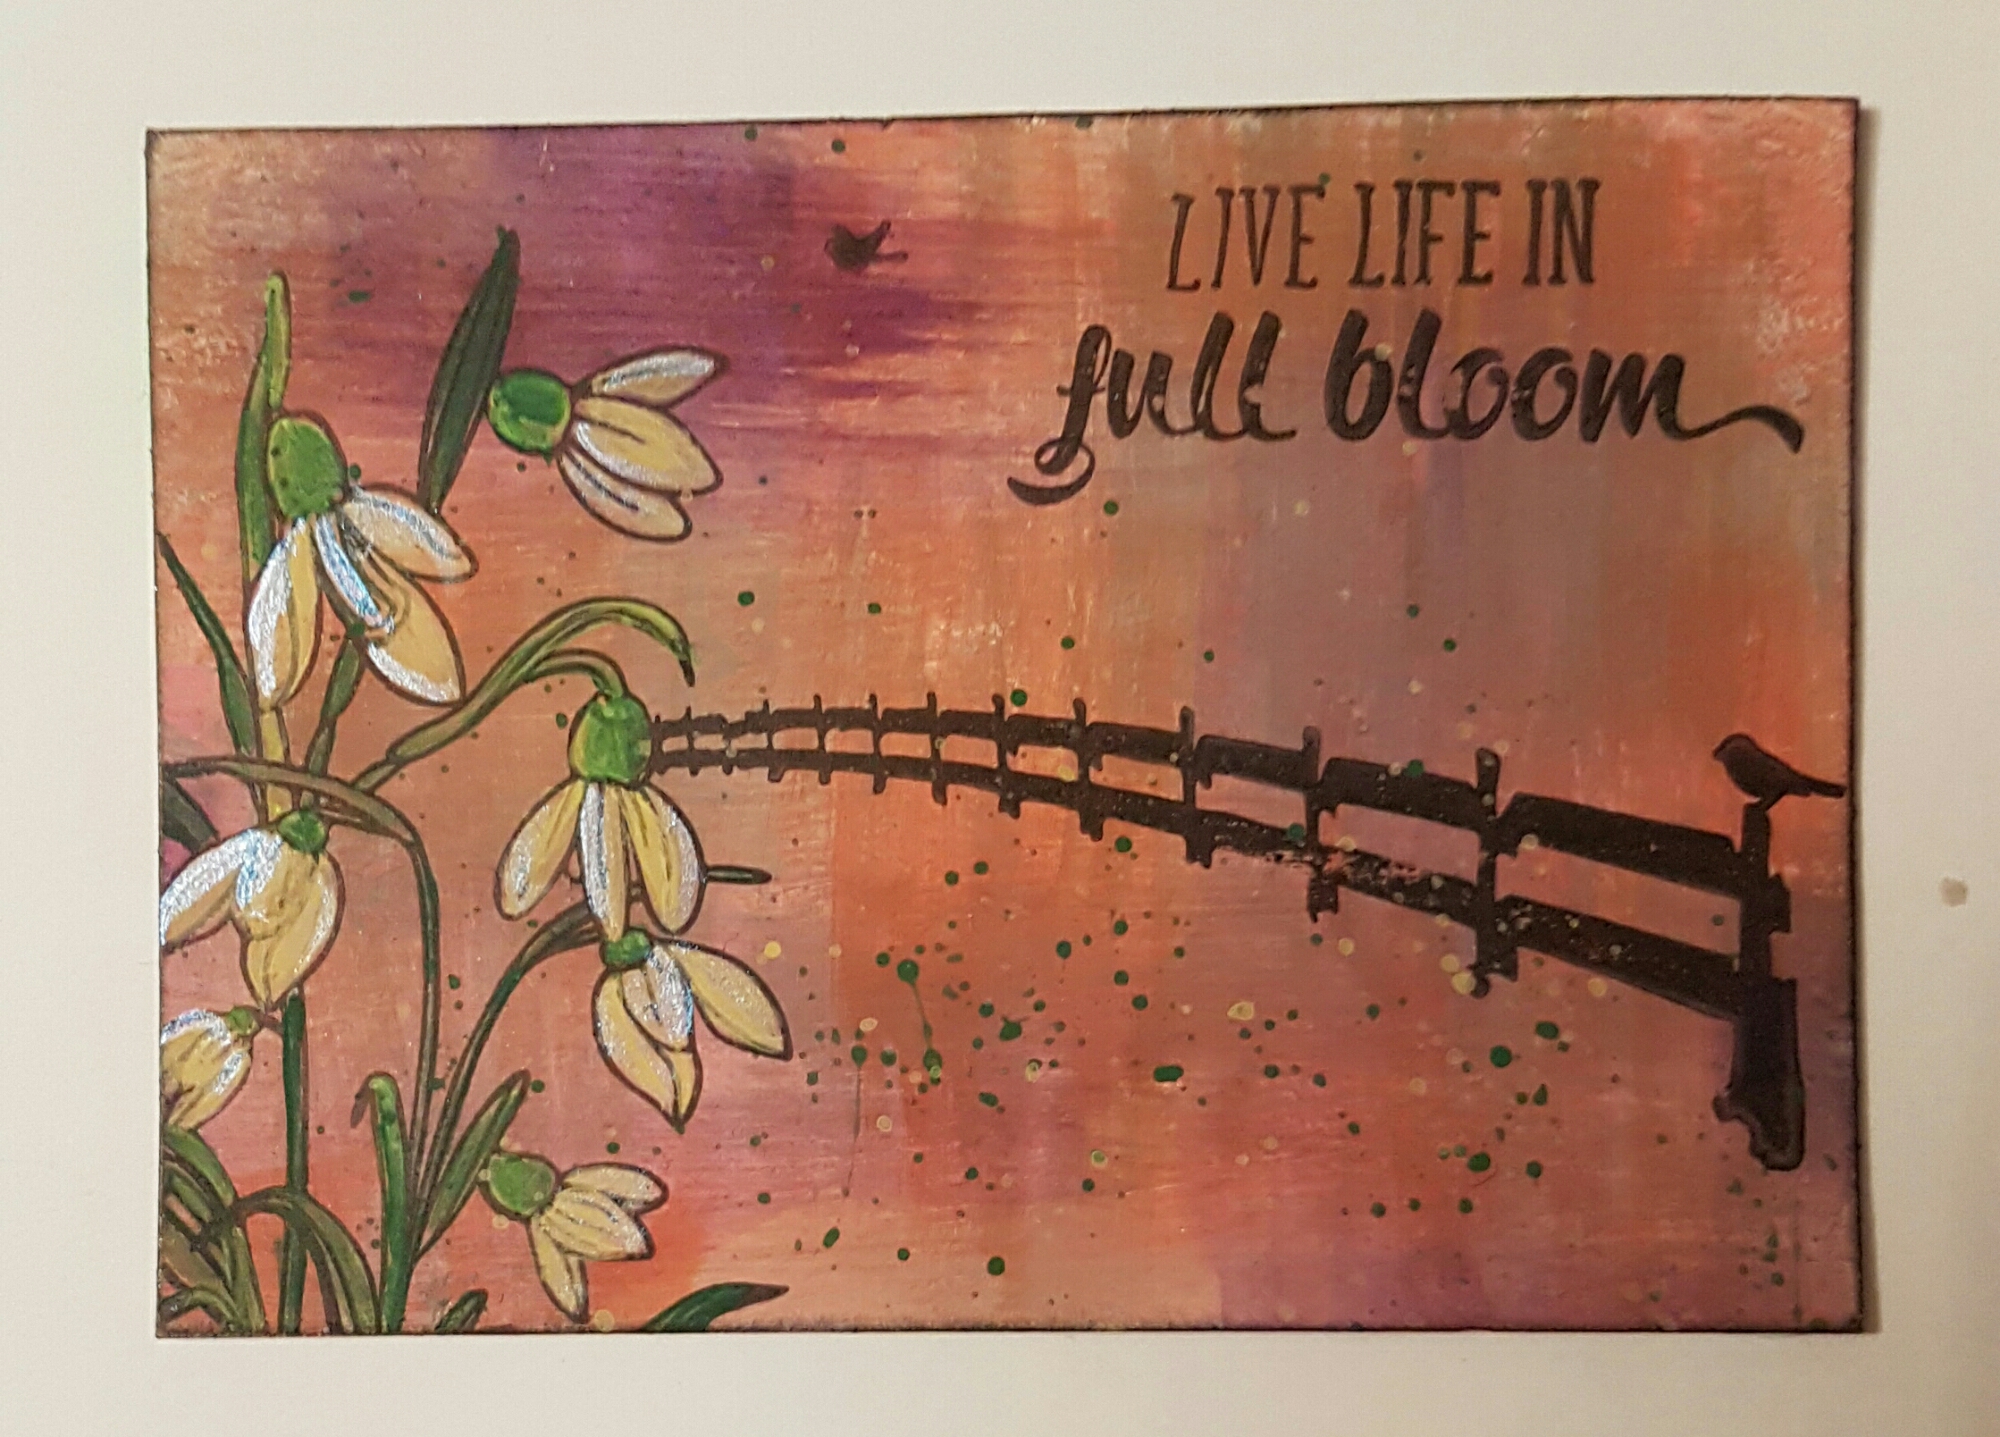
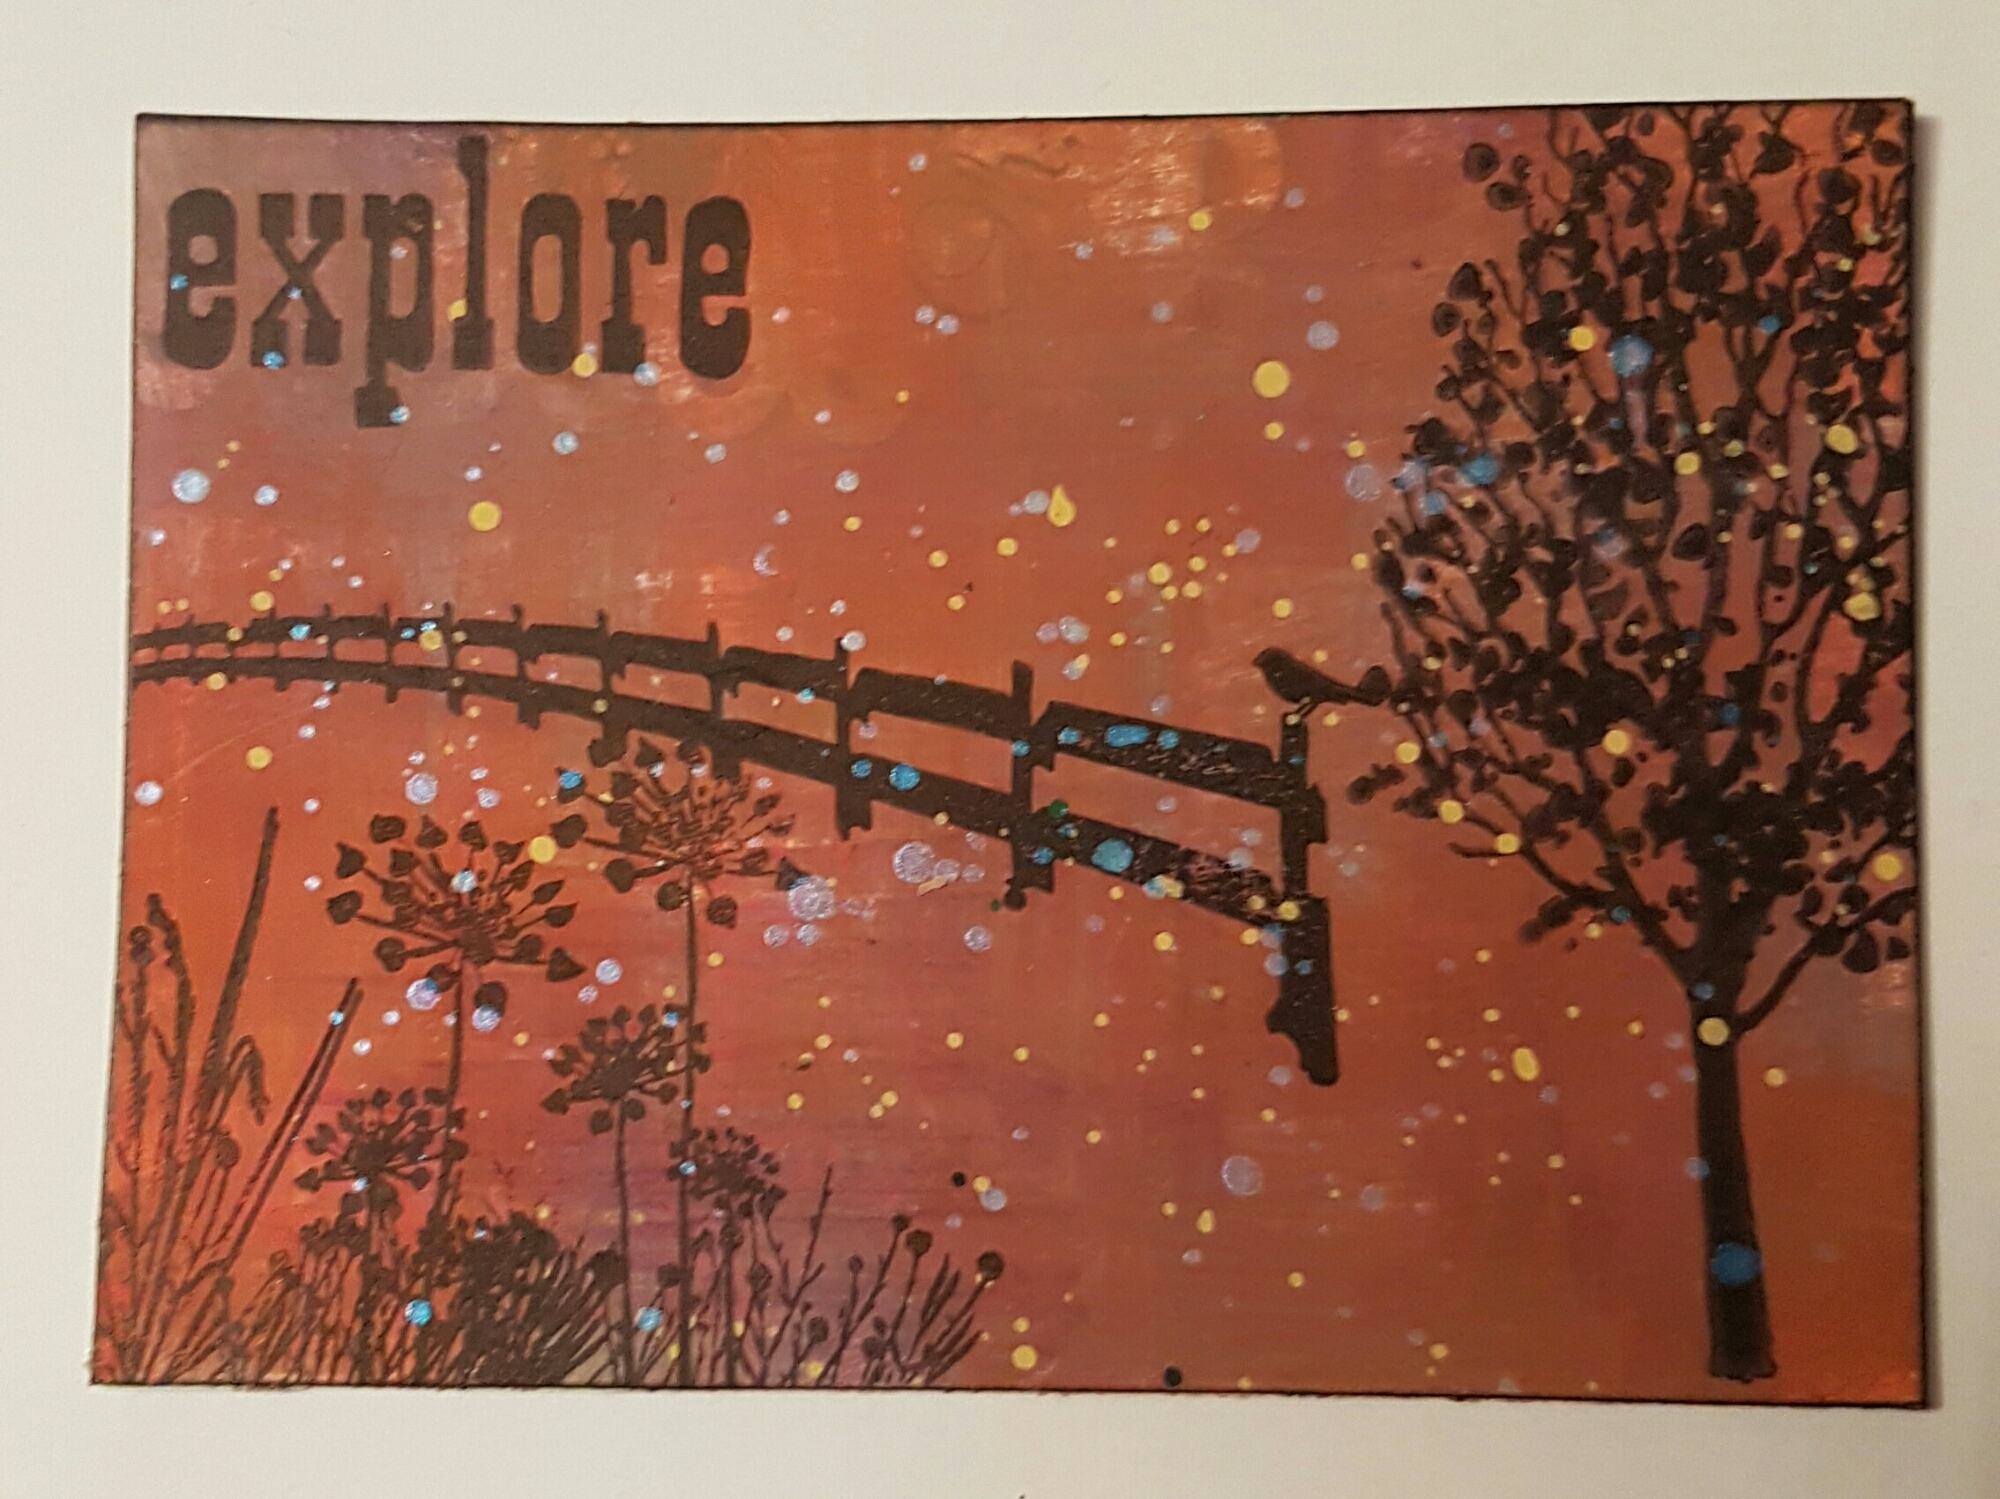
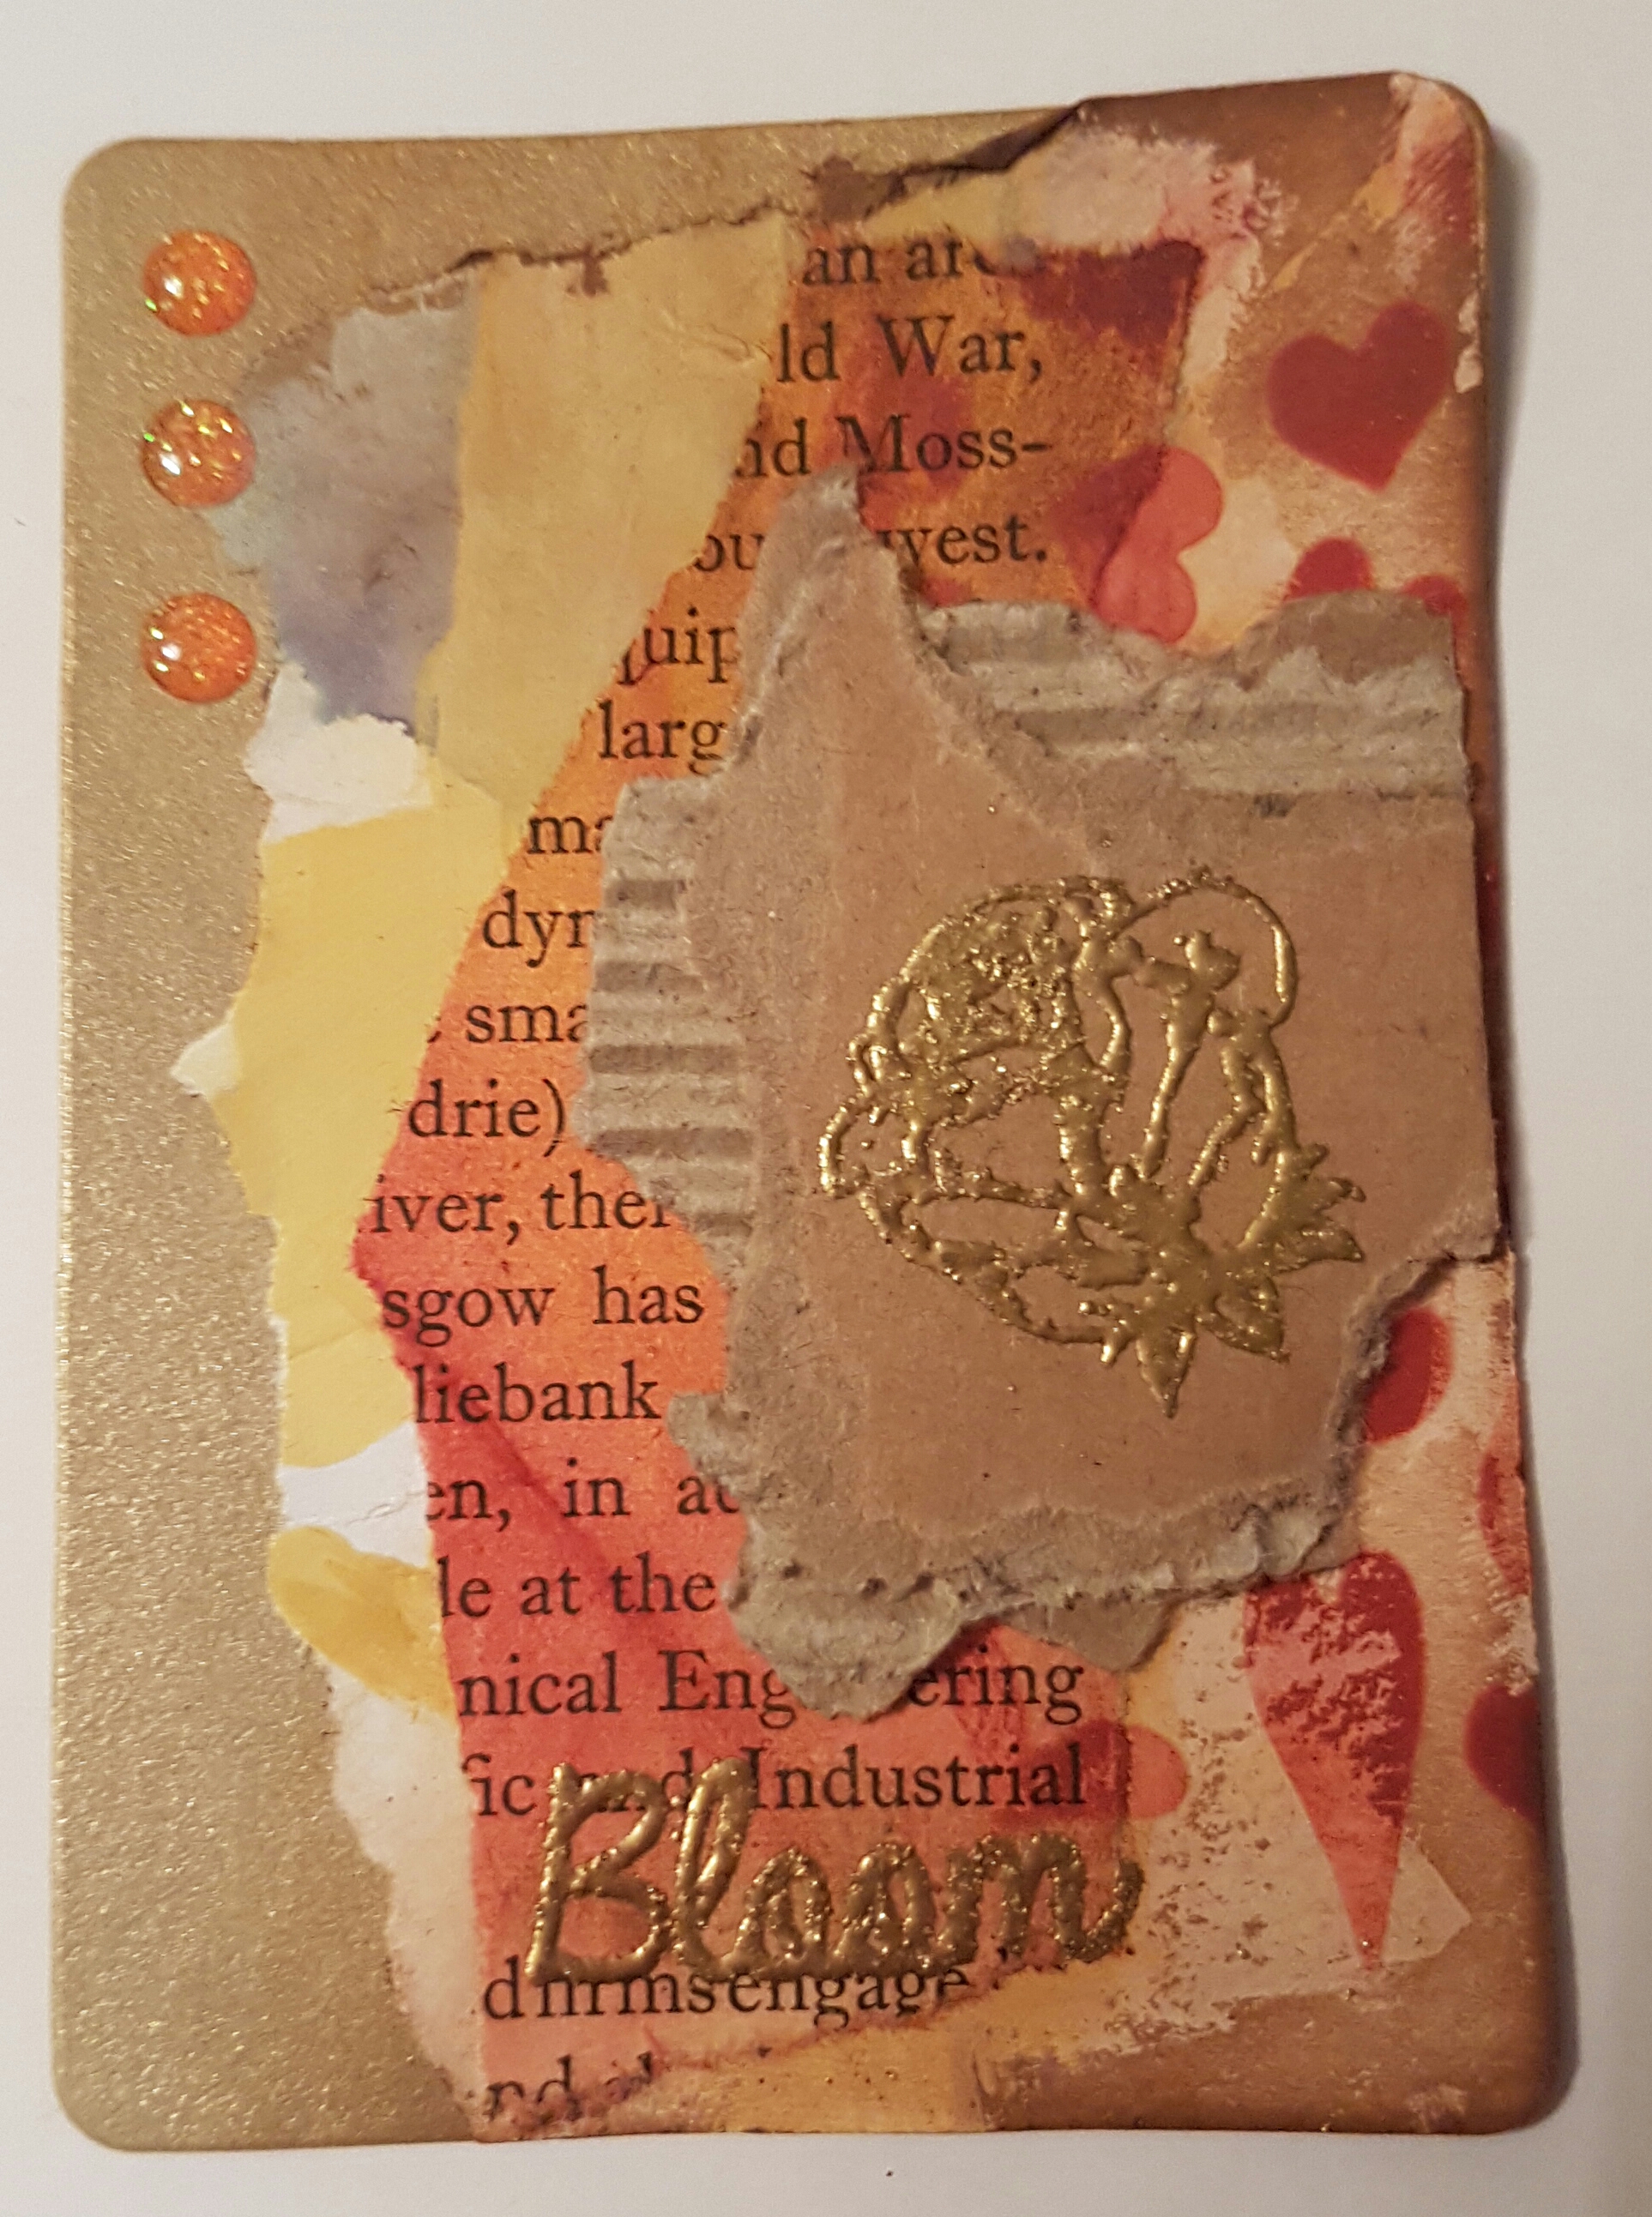
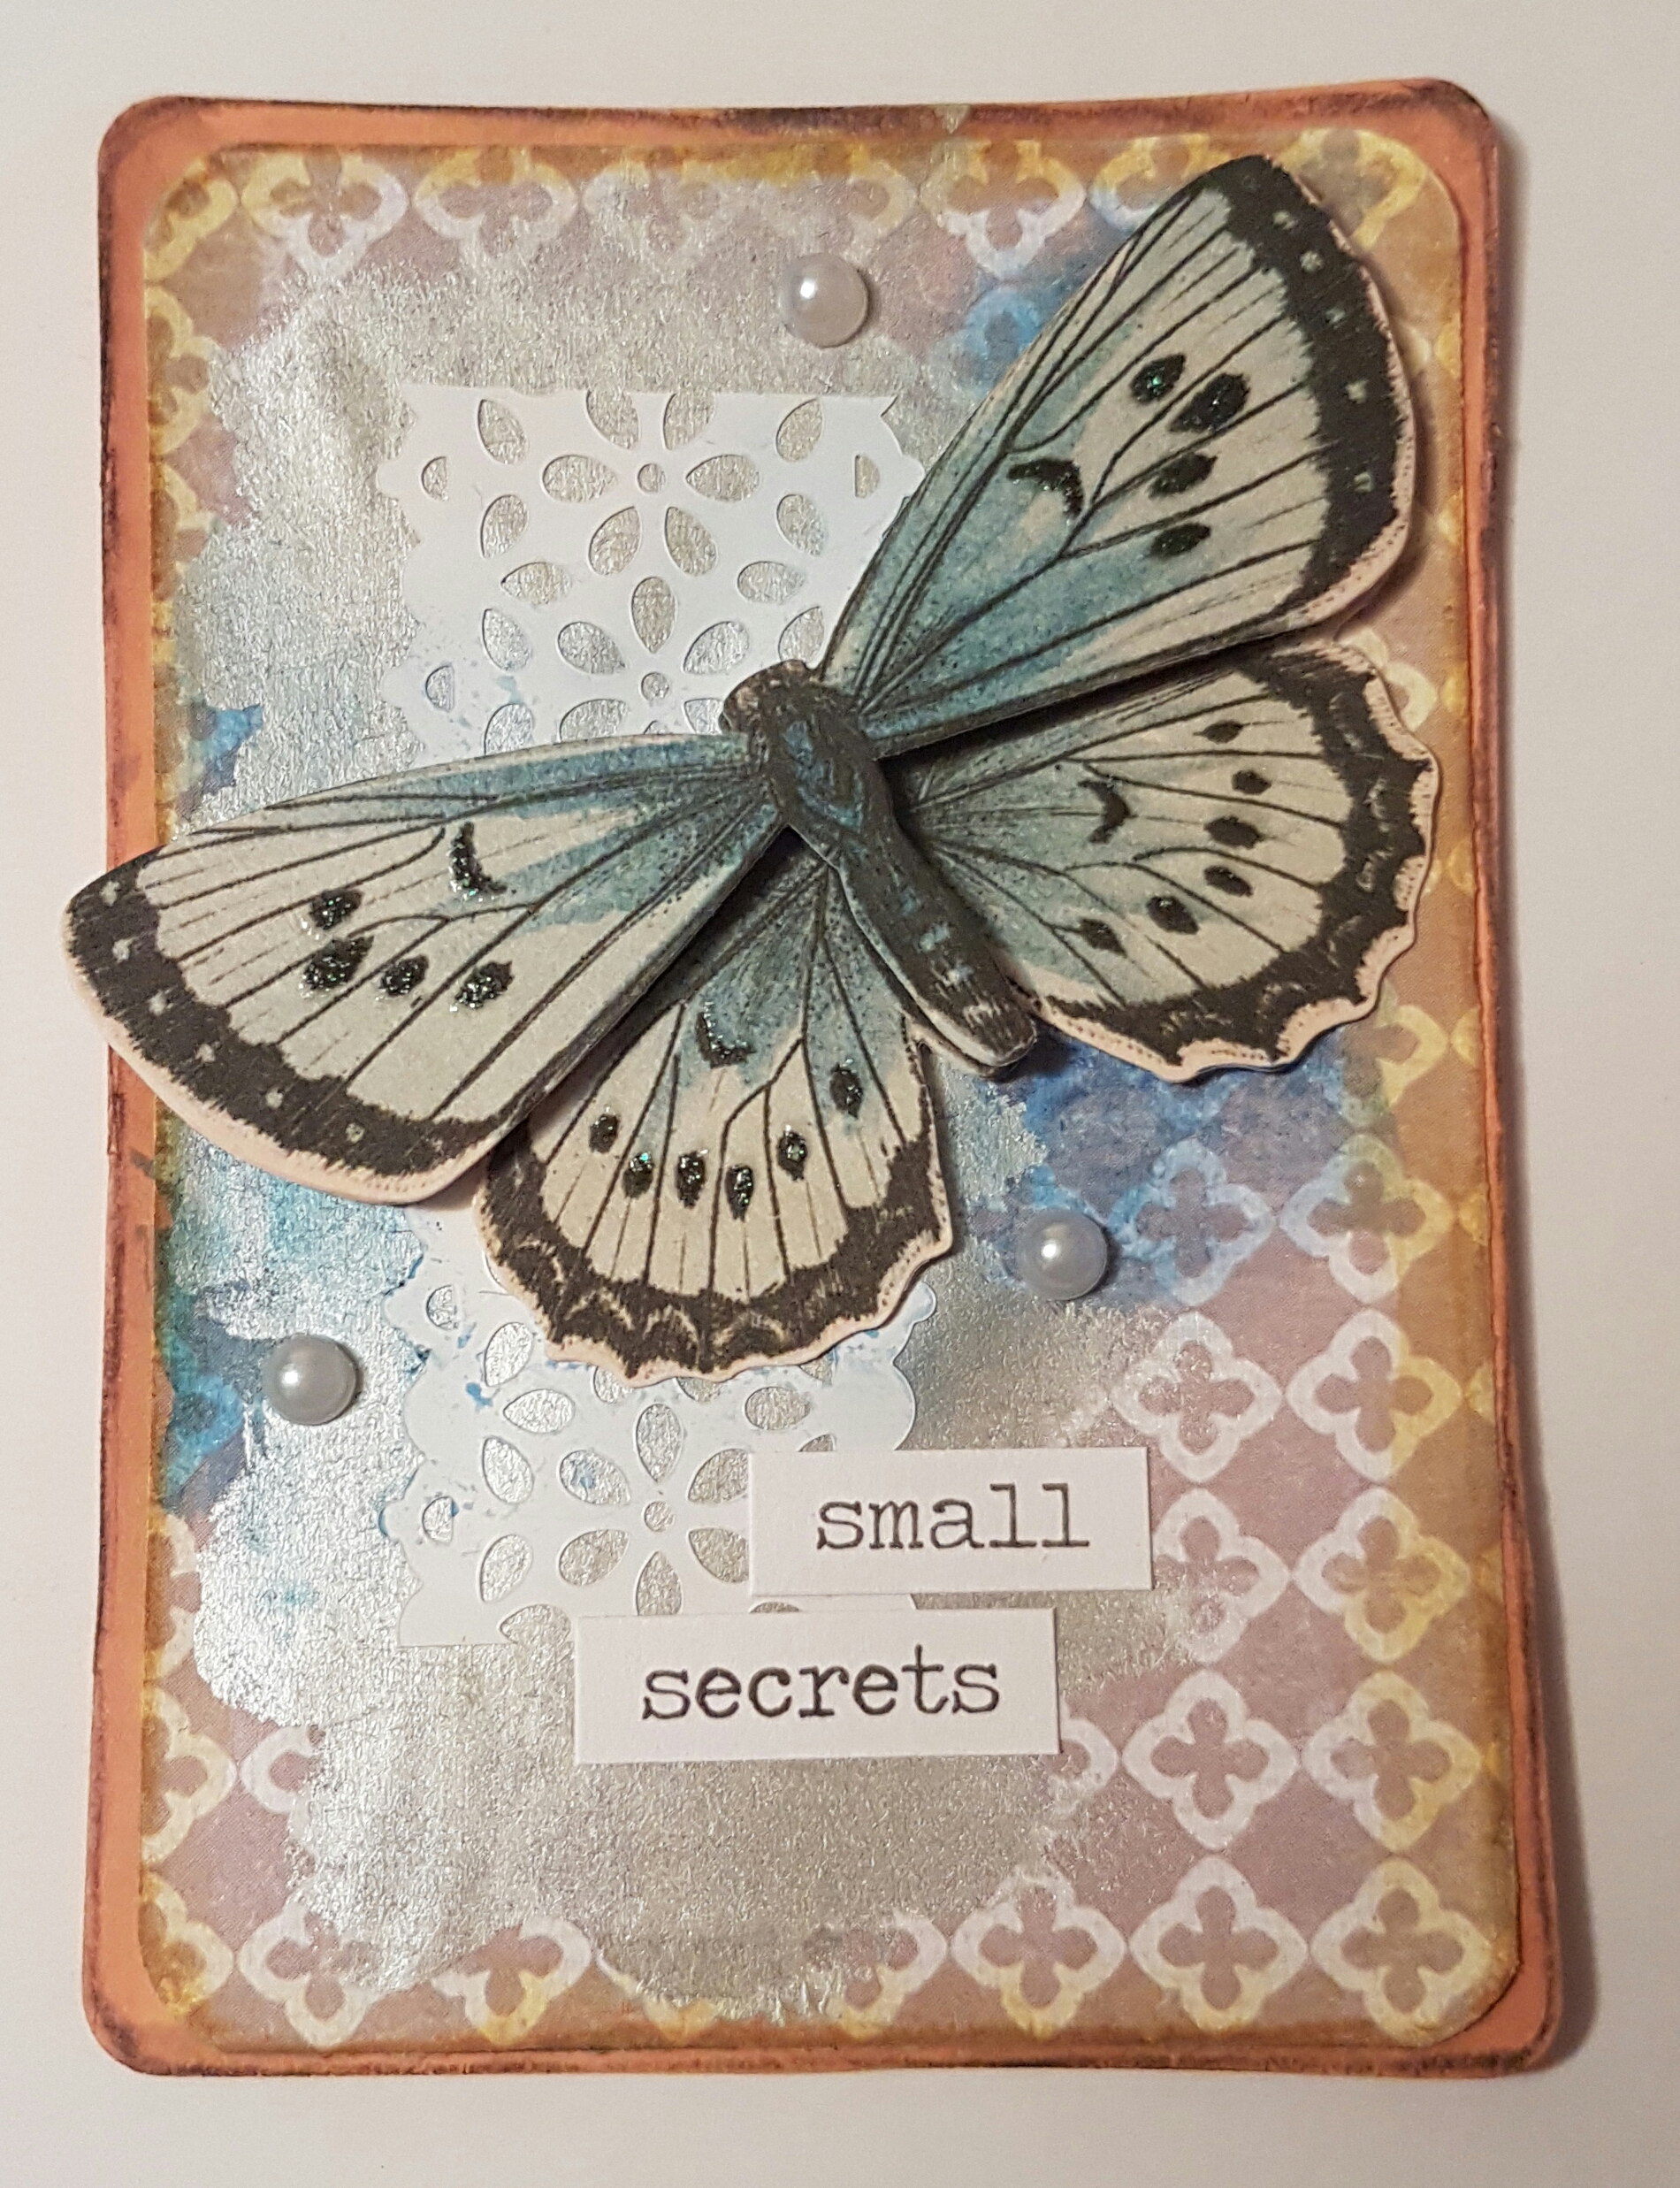
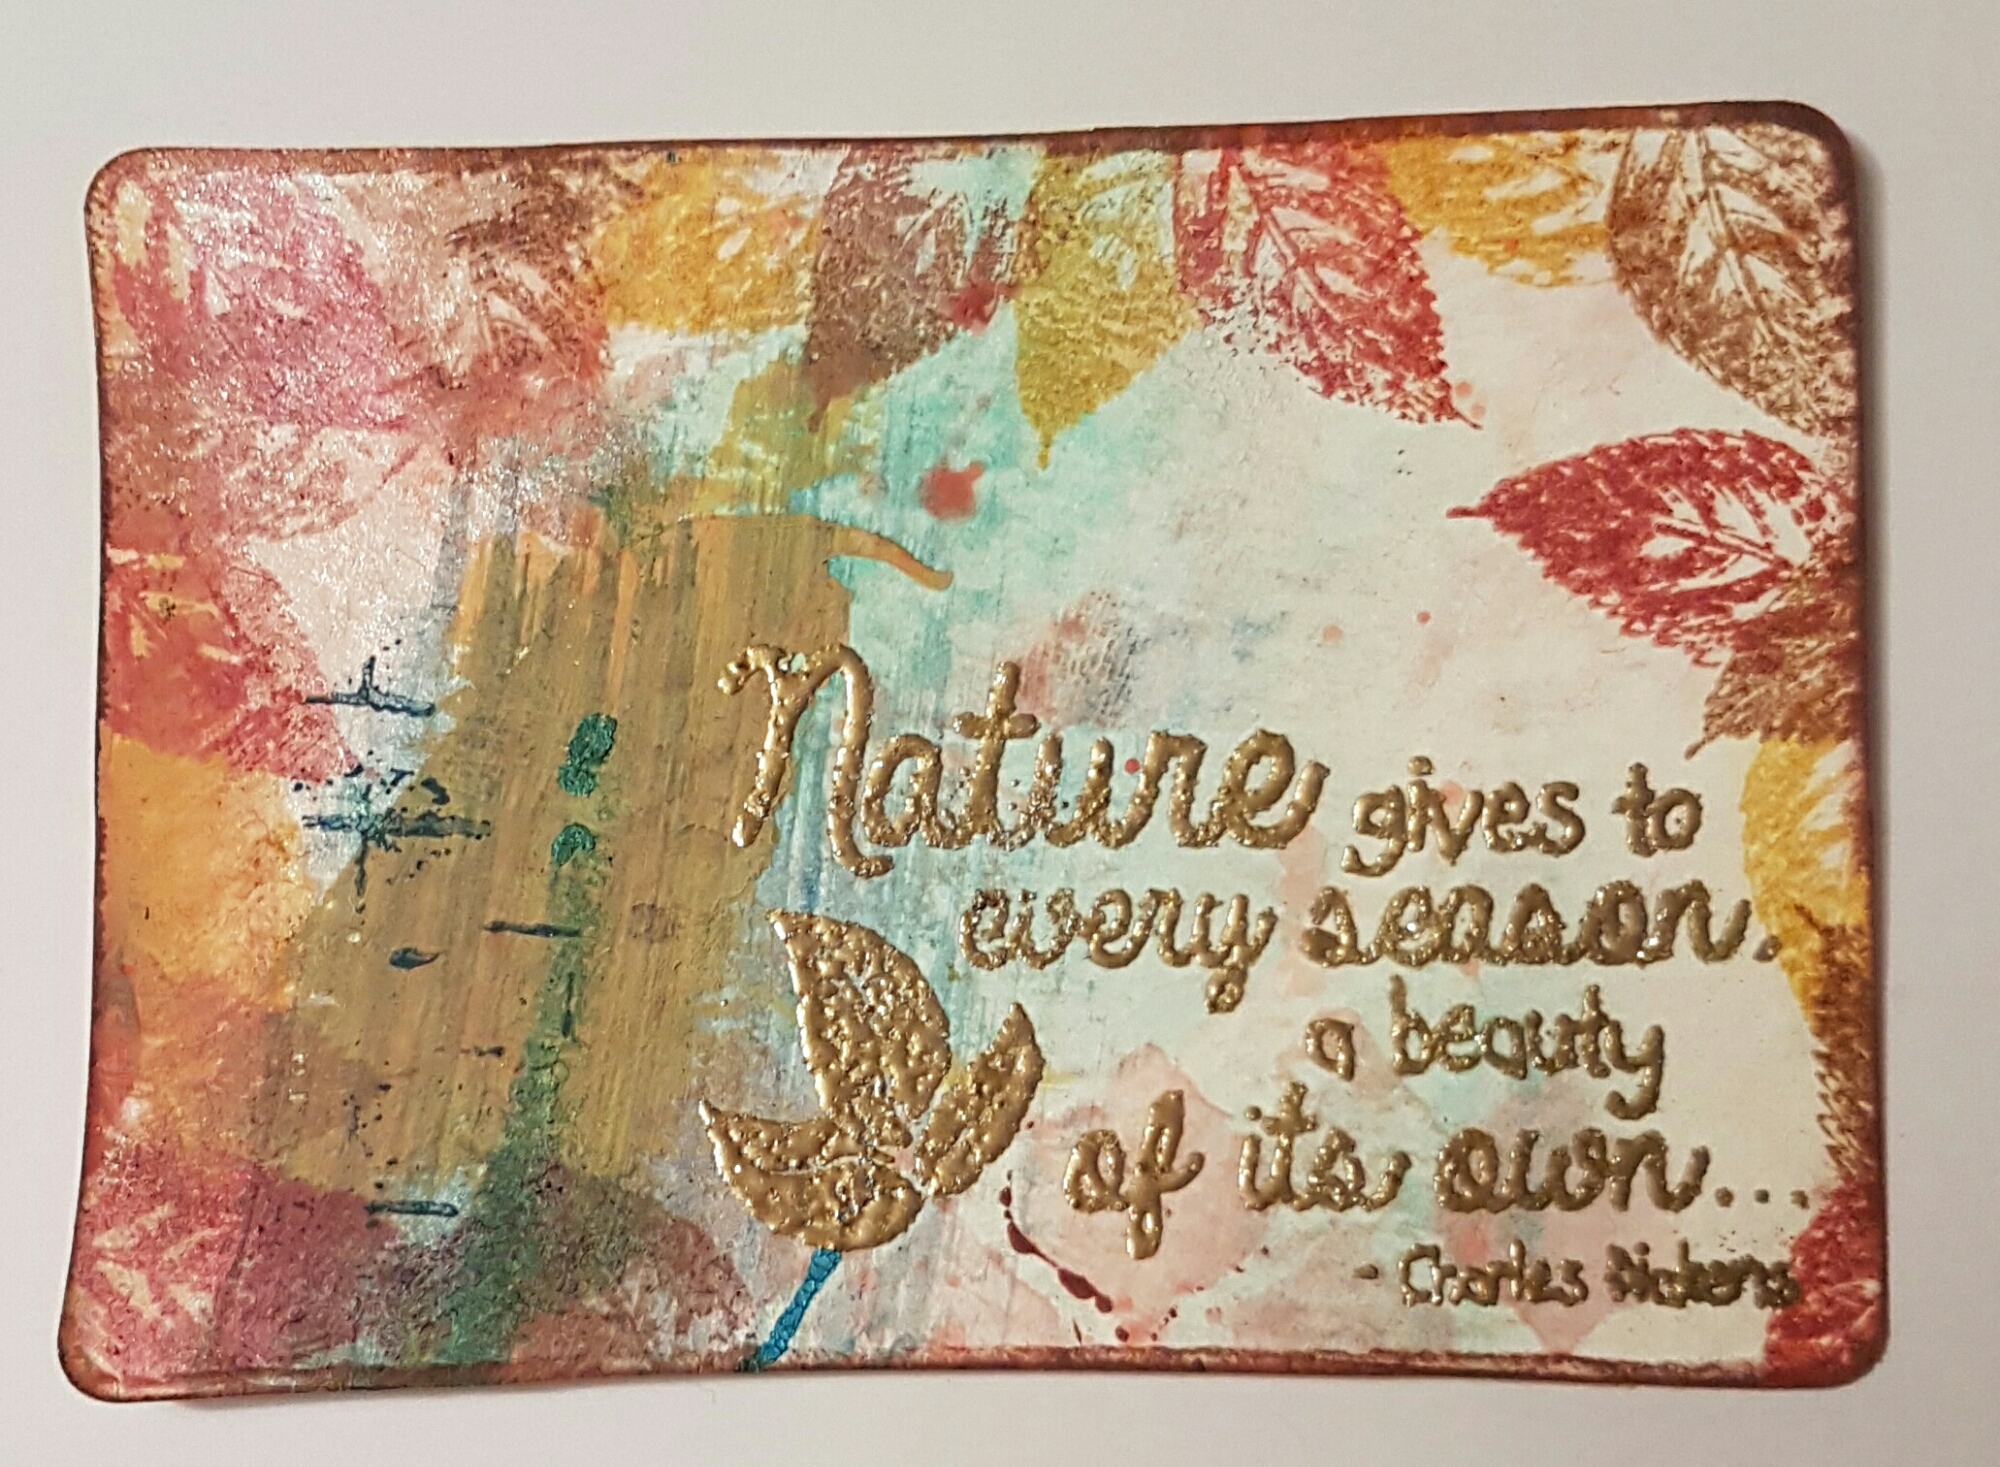
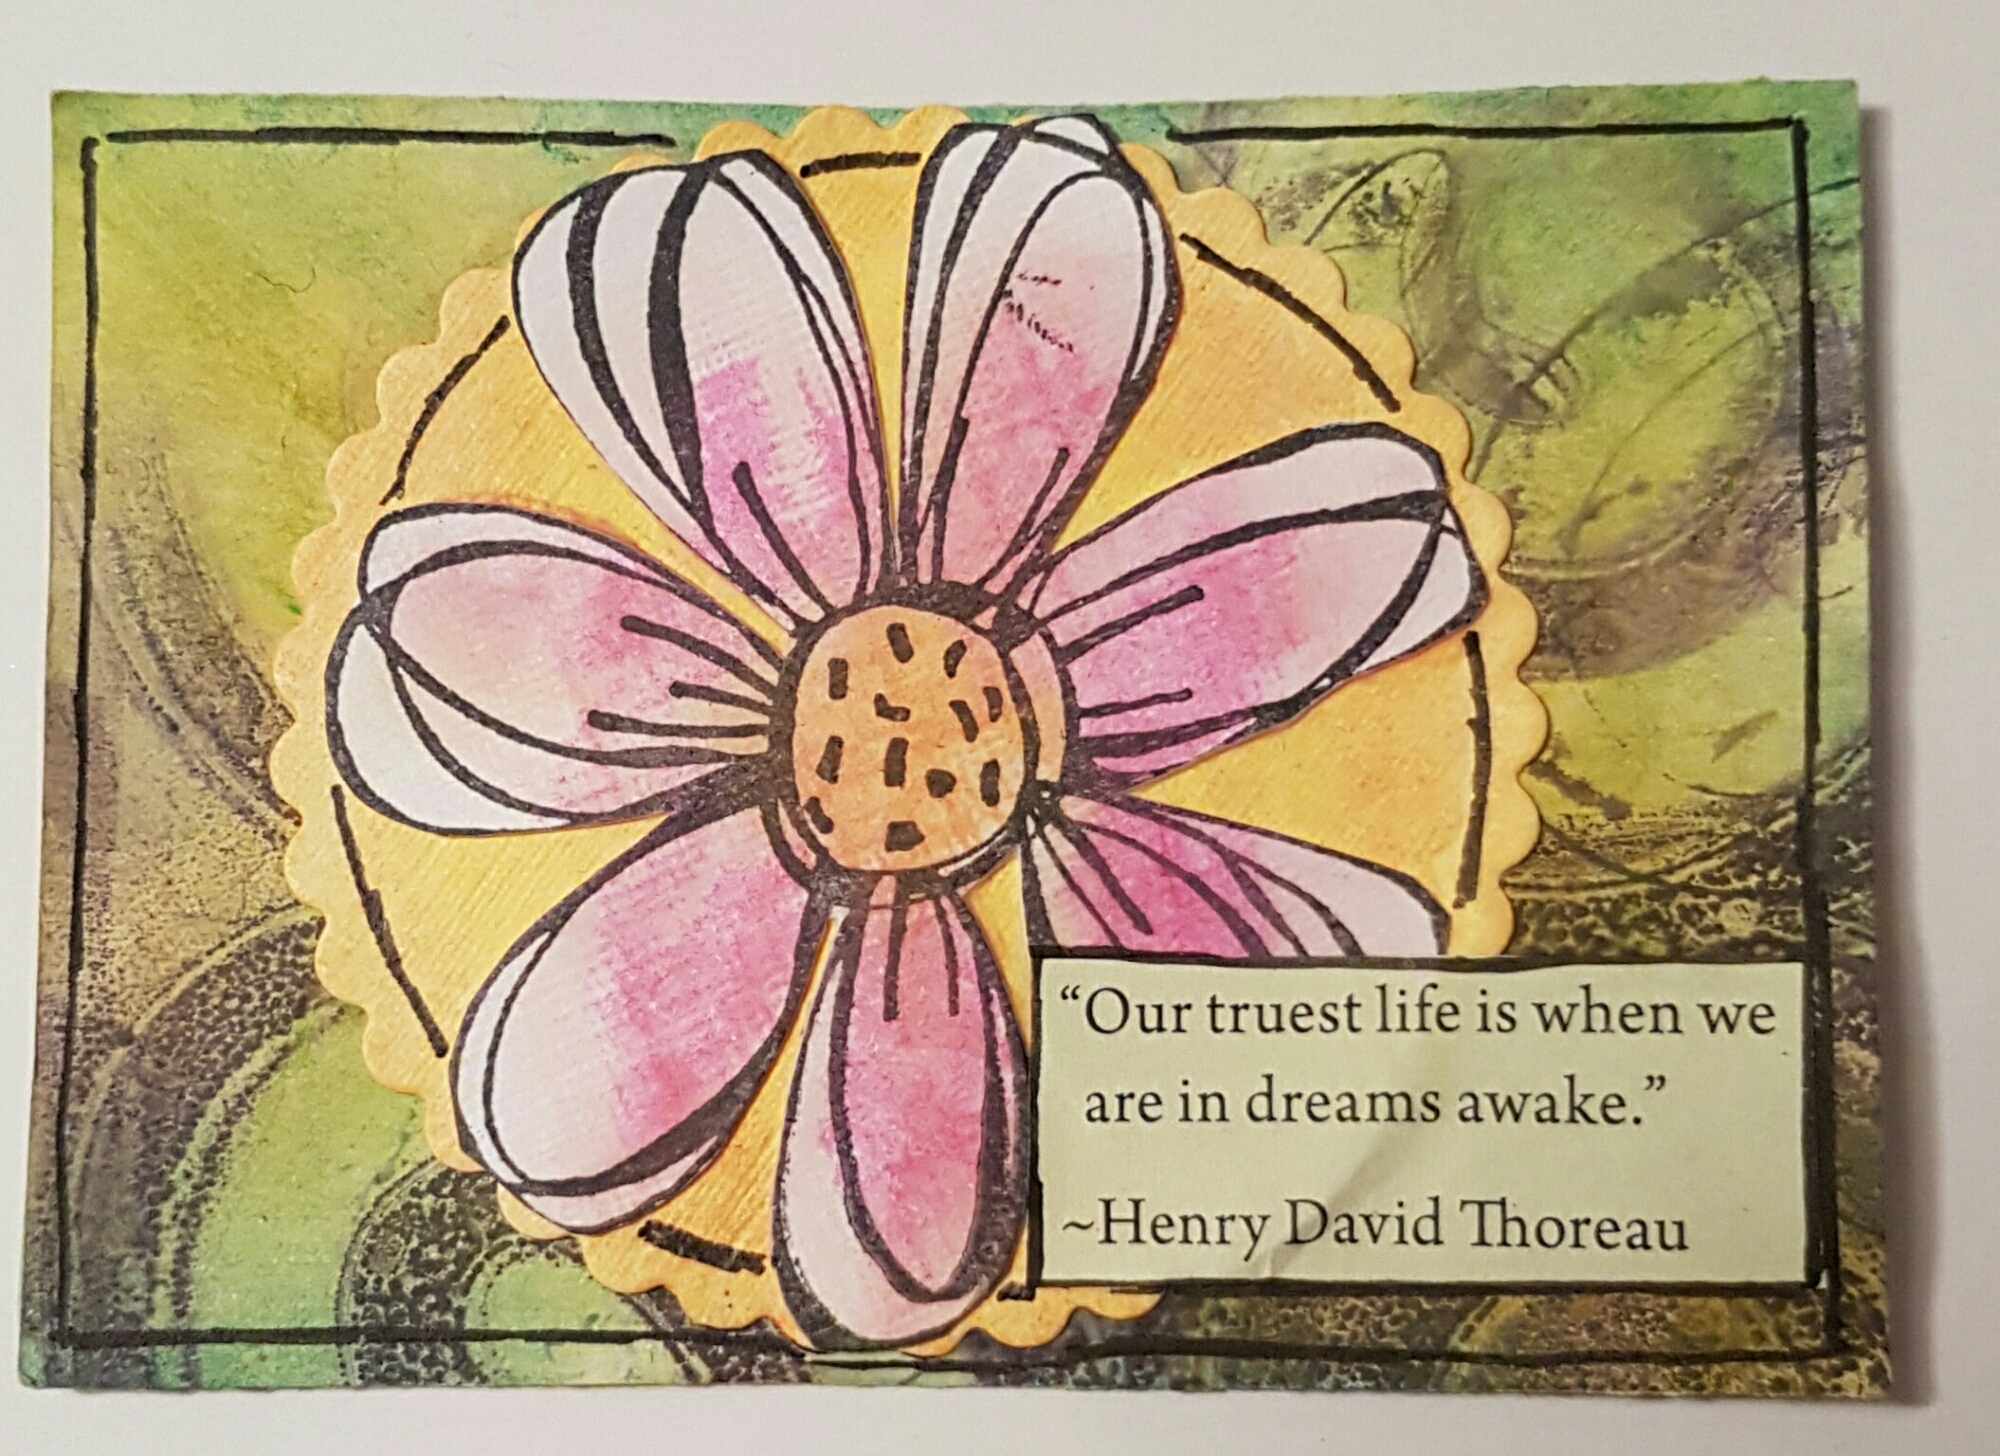
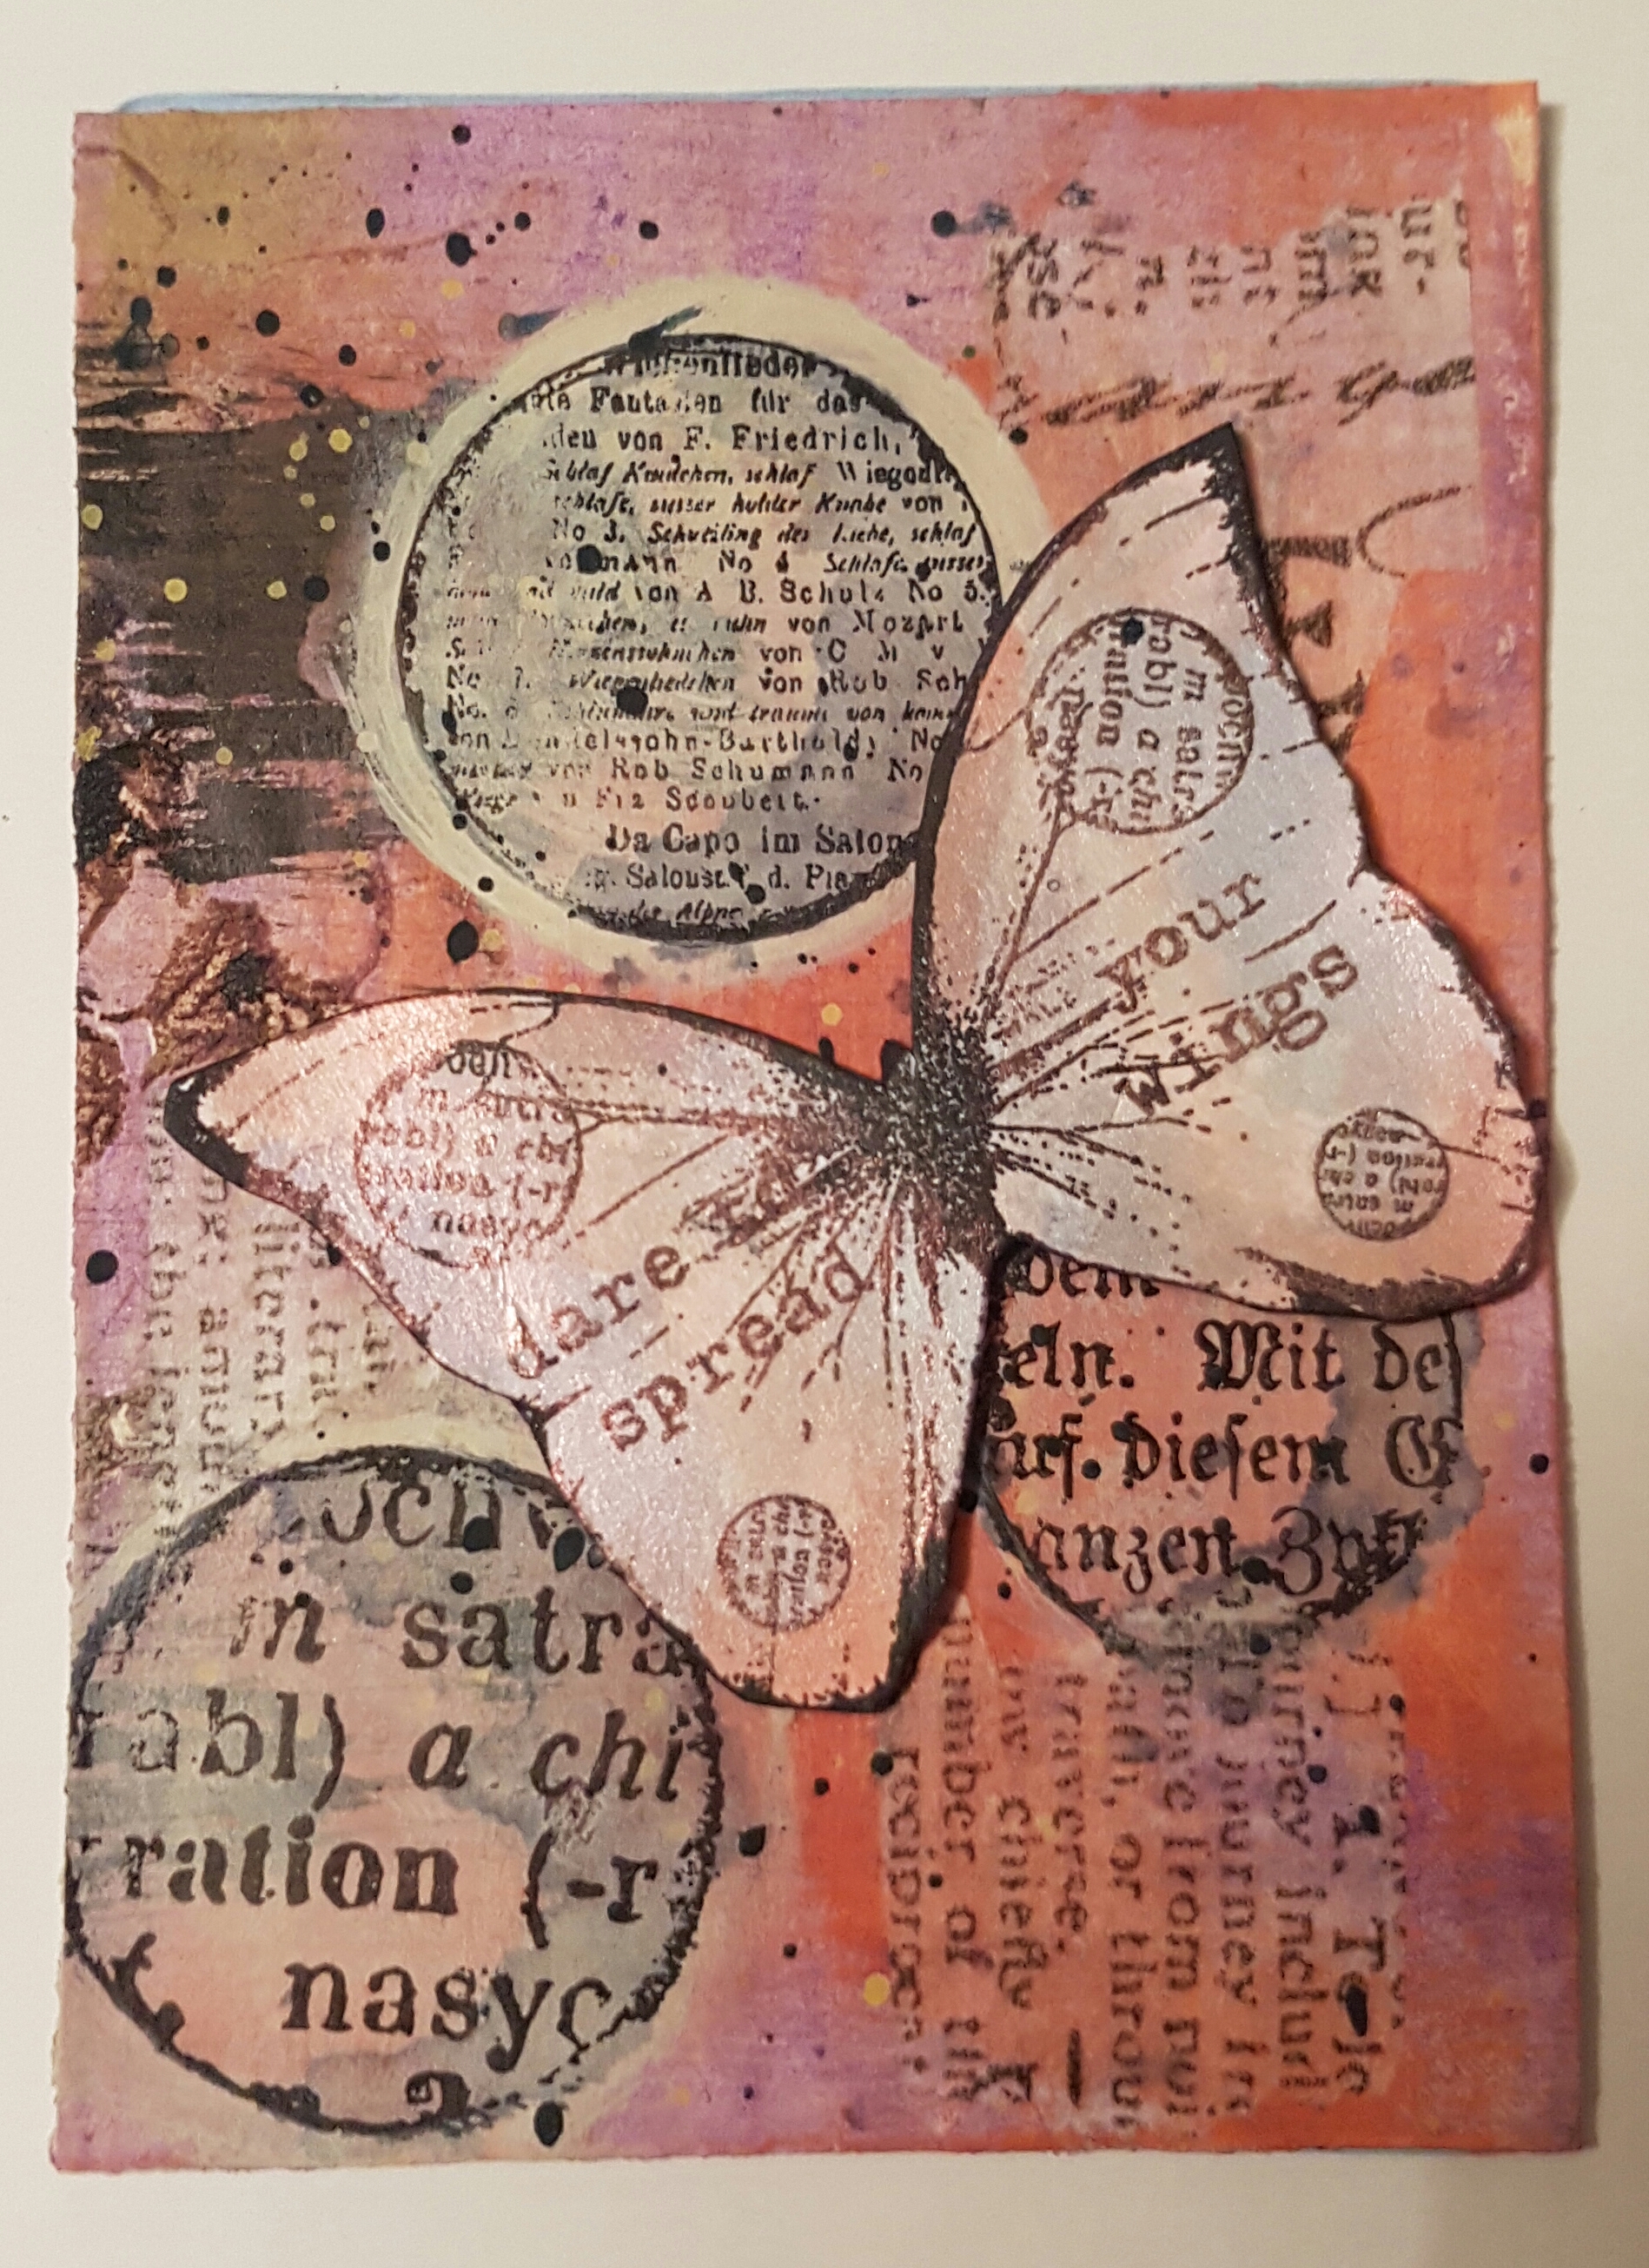
Smooshing ATCs … 117-119

A few weeks ago I did a scrapbook class with my lovely friend Helen and we did a smooshing ink technique using packaging. I loved it and had such fun smooshing the ink on the backgrounds so created a bit extra and so far have made these three ATC’S… 

I added scraps of the paper from the class and the beautiful stamped flowers too. 

I finished all off with some doodling in Gold pen and some pencil shading.

Love how they ended up. Gorgeous technique and I still have quite a bit of the one I did leftover so hopefully will get a chance to make some more atcs from that too! 

And tomorrow I have the rest of the pages to share that I’ve finally finished!

Happy crafting!

Catherine 

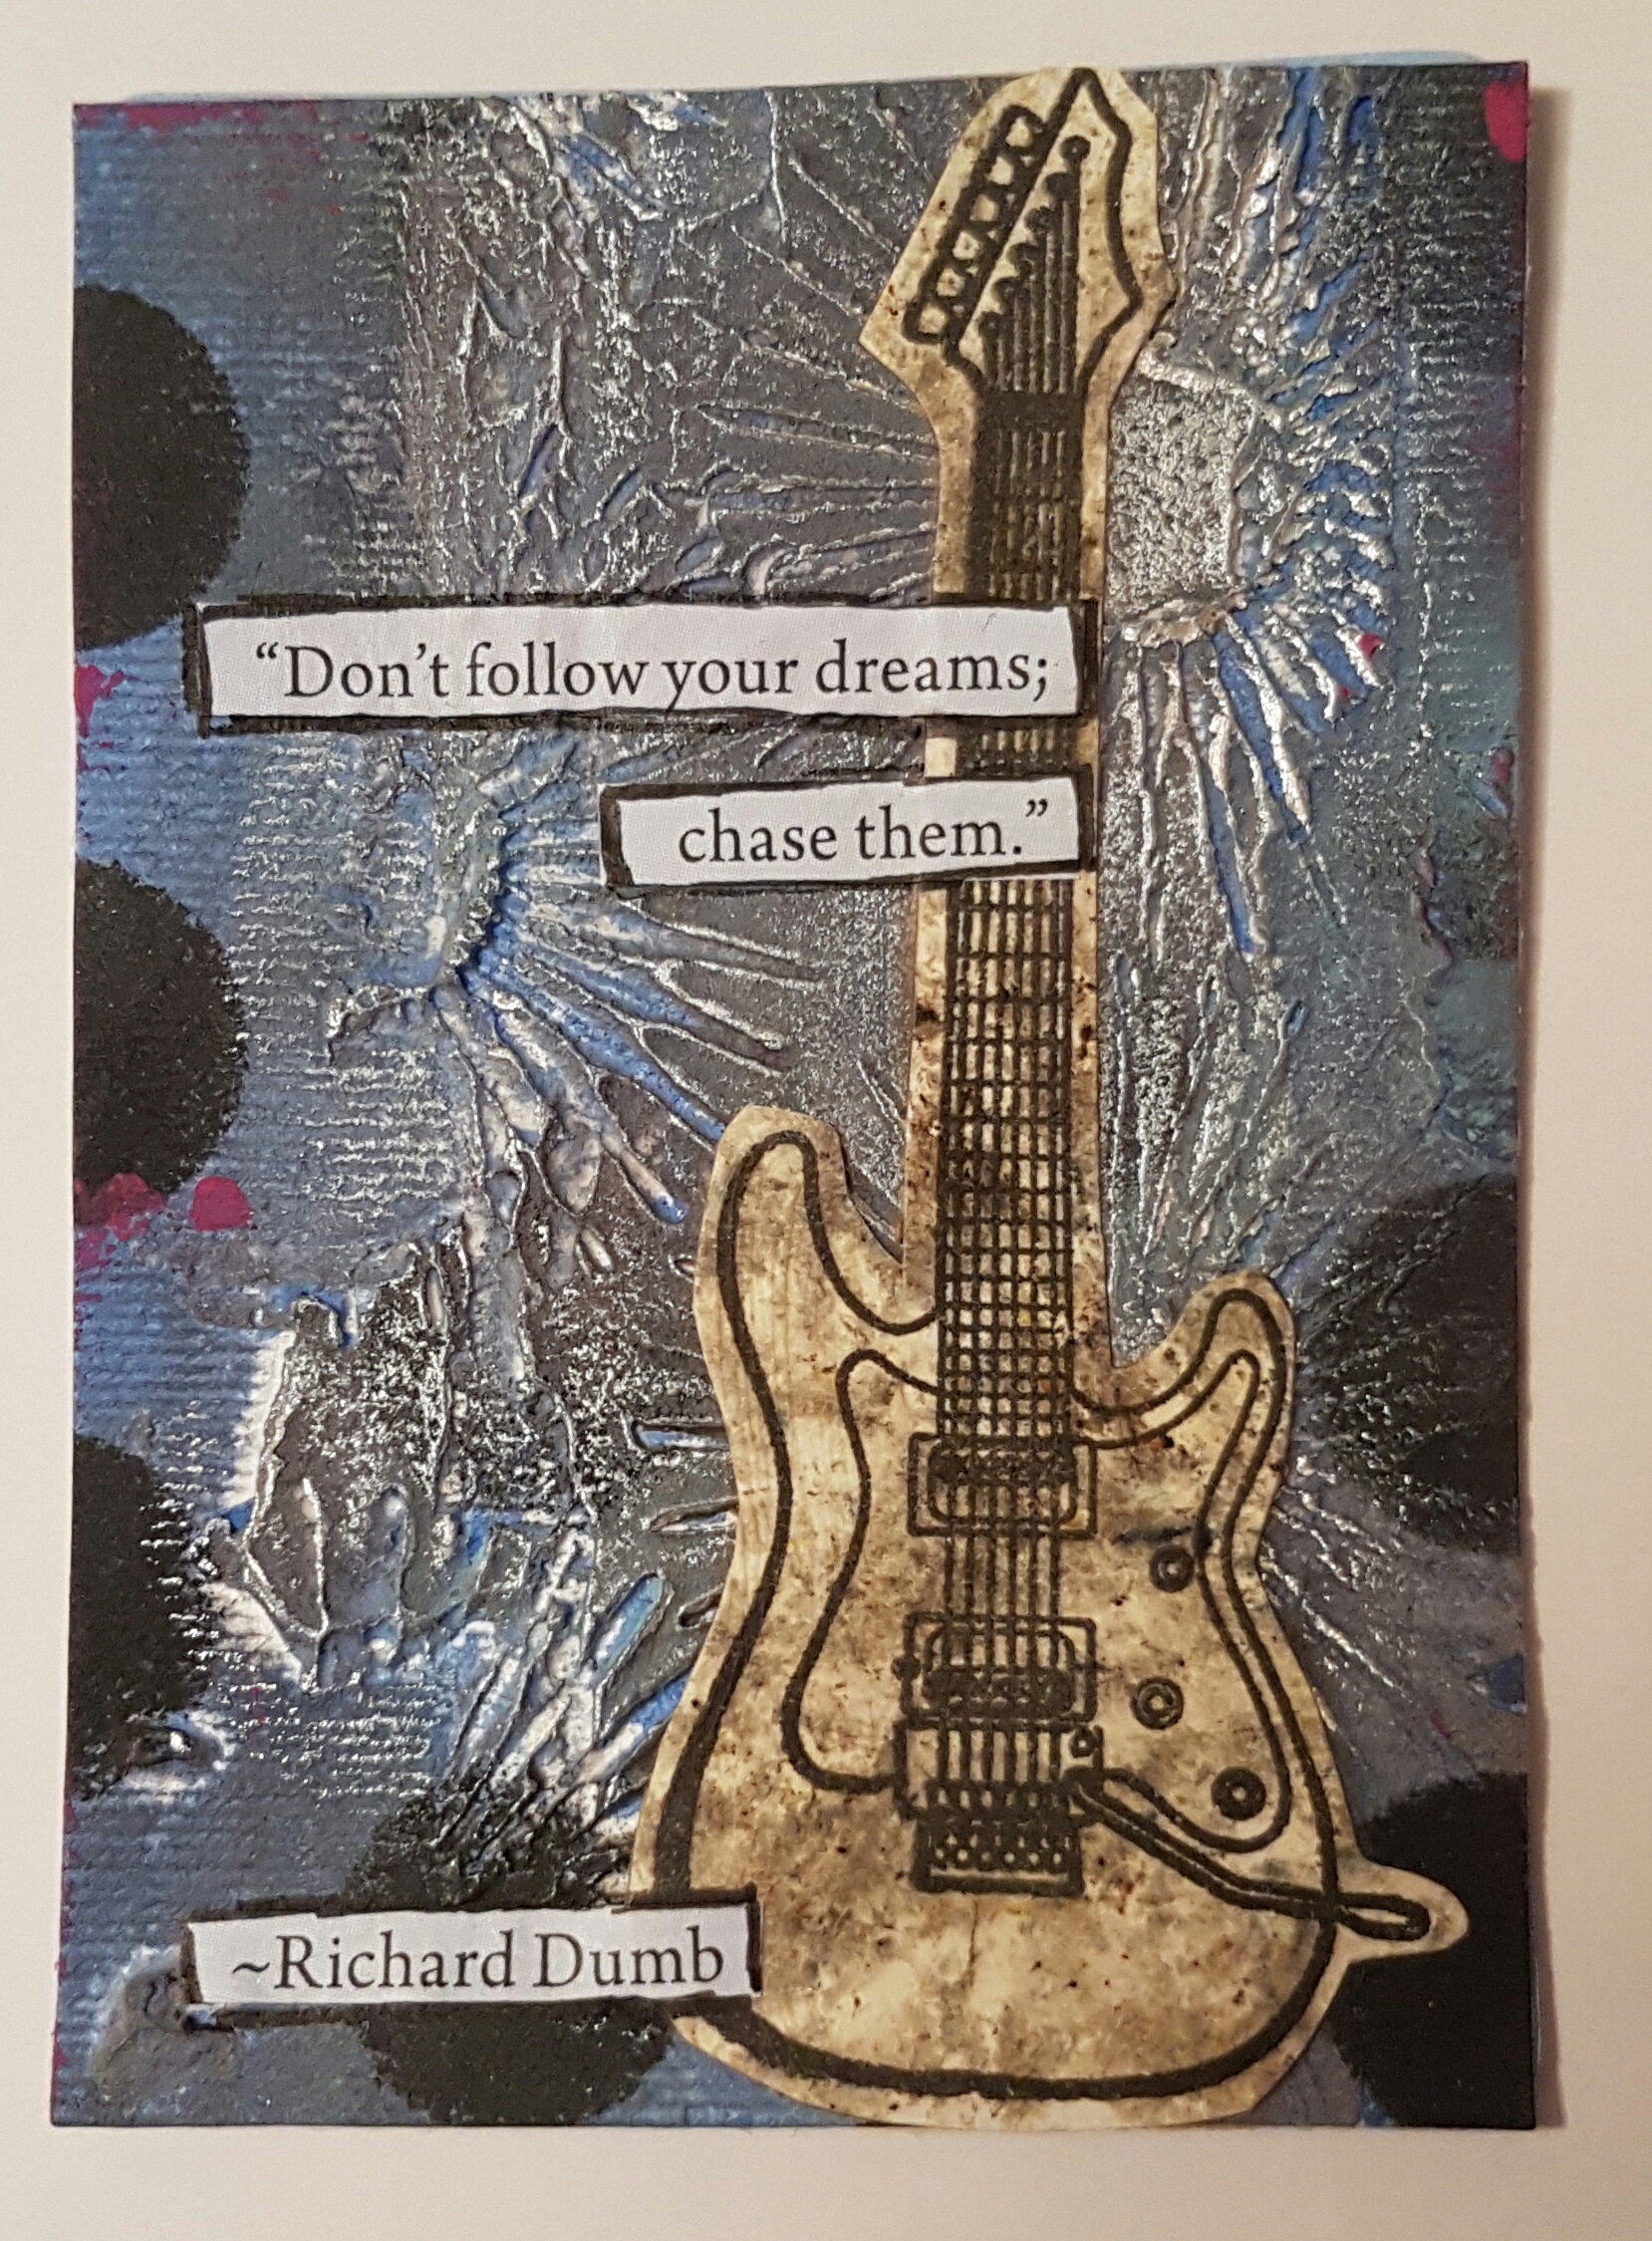
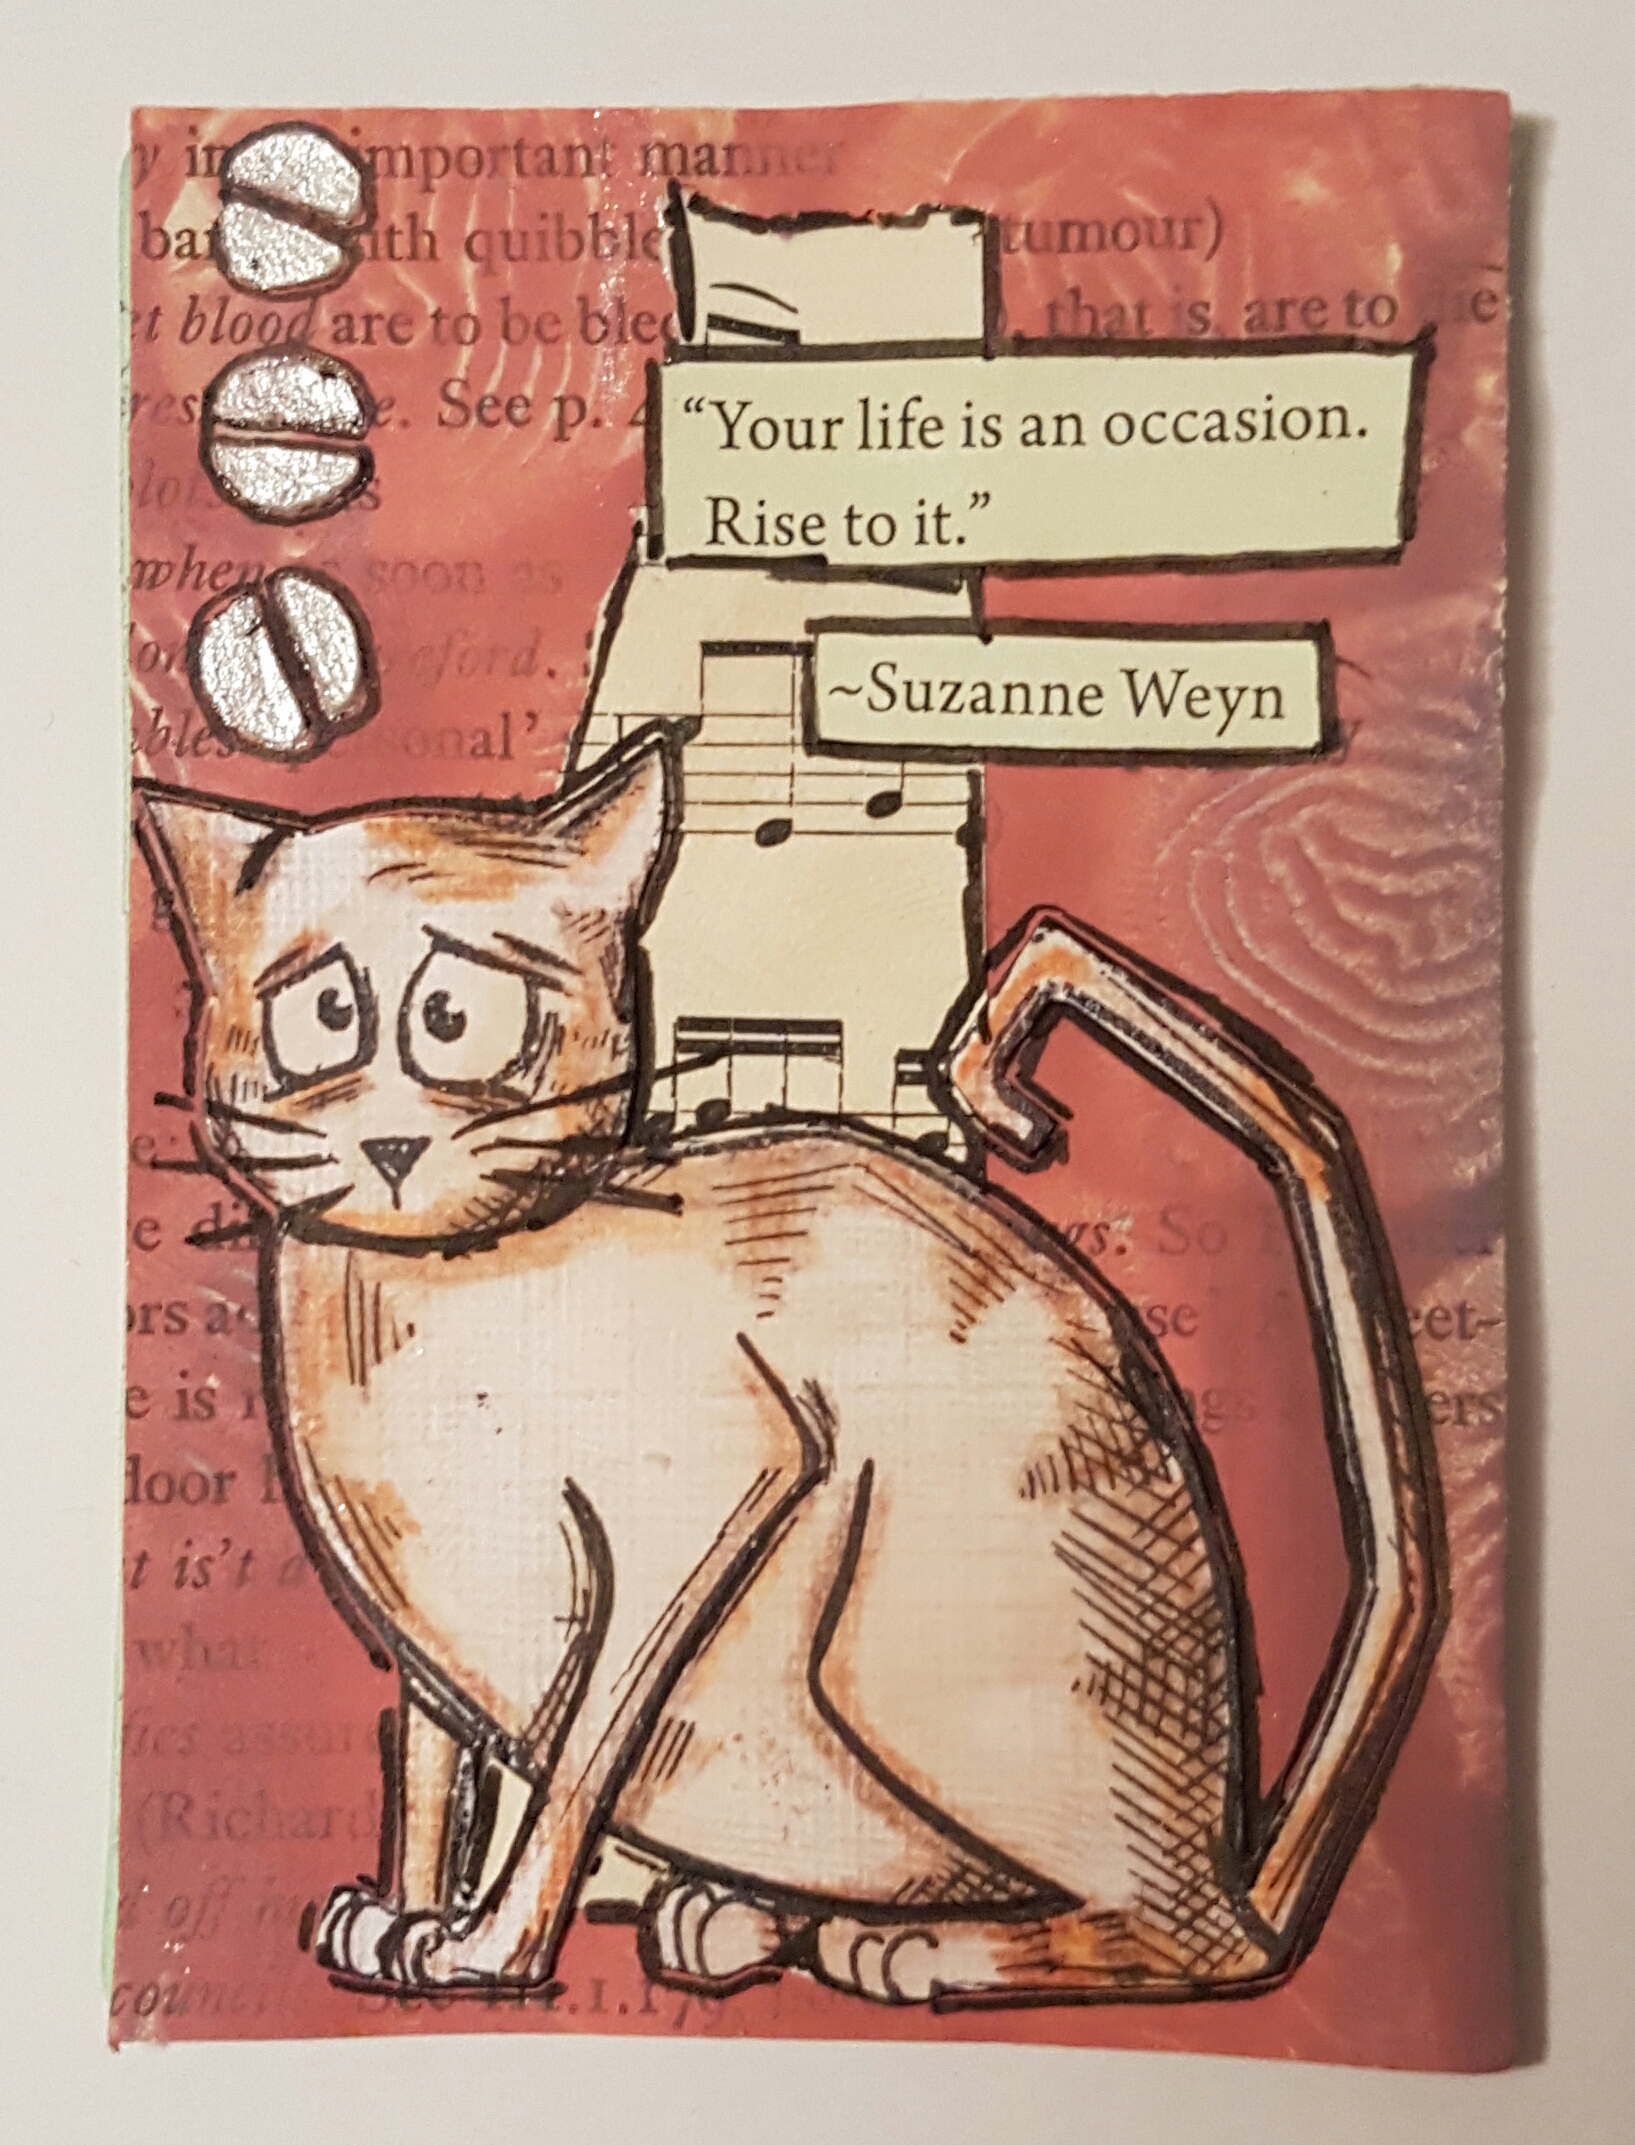
A bulk load of random ATC’S 107-116

I caught up with a few random ATC’S last weekend…. no themes… just playing with bits and pieces on the desk! 

Texture paste and stencilling and bistre powder and gilding wax… interesting combo! 

Gelli print on book print and a Crazy cat Coloured with Spectrum noir pencils! Fun! 

Painty background, stamping and some opal magic paint highlights.  

Same as above! Just different stamping.

Mish mash of backgrounds and techniques finished with heat embossing. 

A gorgeous butterfly embellishment I received in a swap with a few layers underneath. 

More embossing on painty layers. 

A fun flower on a Gelli print background. 

A piece of master board I created for a circle journal finishes with a rub on doodled flower. 

Paint and tissue and stamping … oh and a butterfly …. what more could you want? Love these Finnabair stamps. 

That’s me for today… another 10 for the tally… all of which listed onto swap sites so who knows where they will end up?!?

Happy crafting! 

Catherine 

For ATC’S sake… 101 – 106

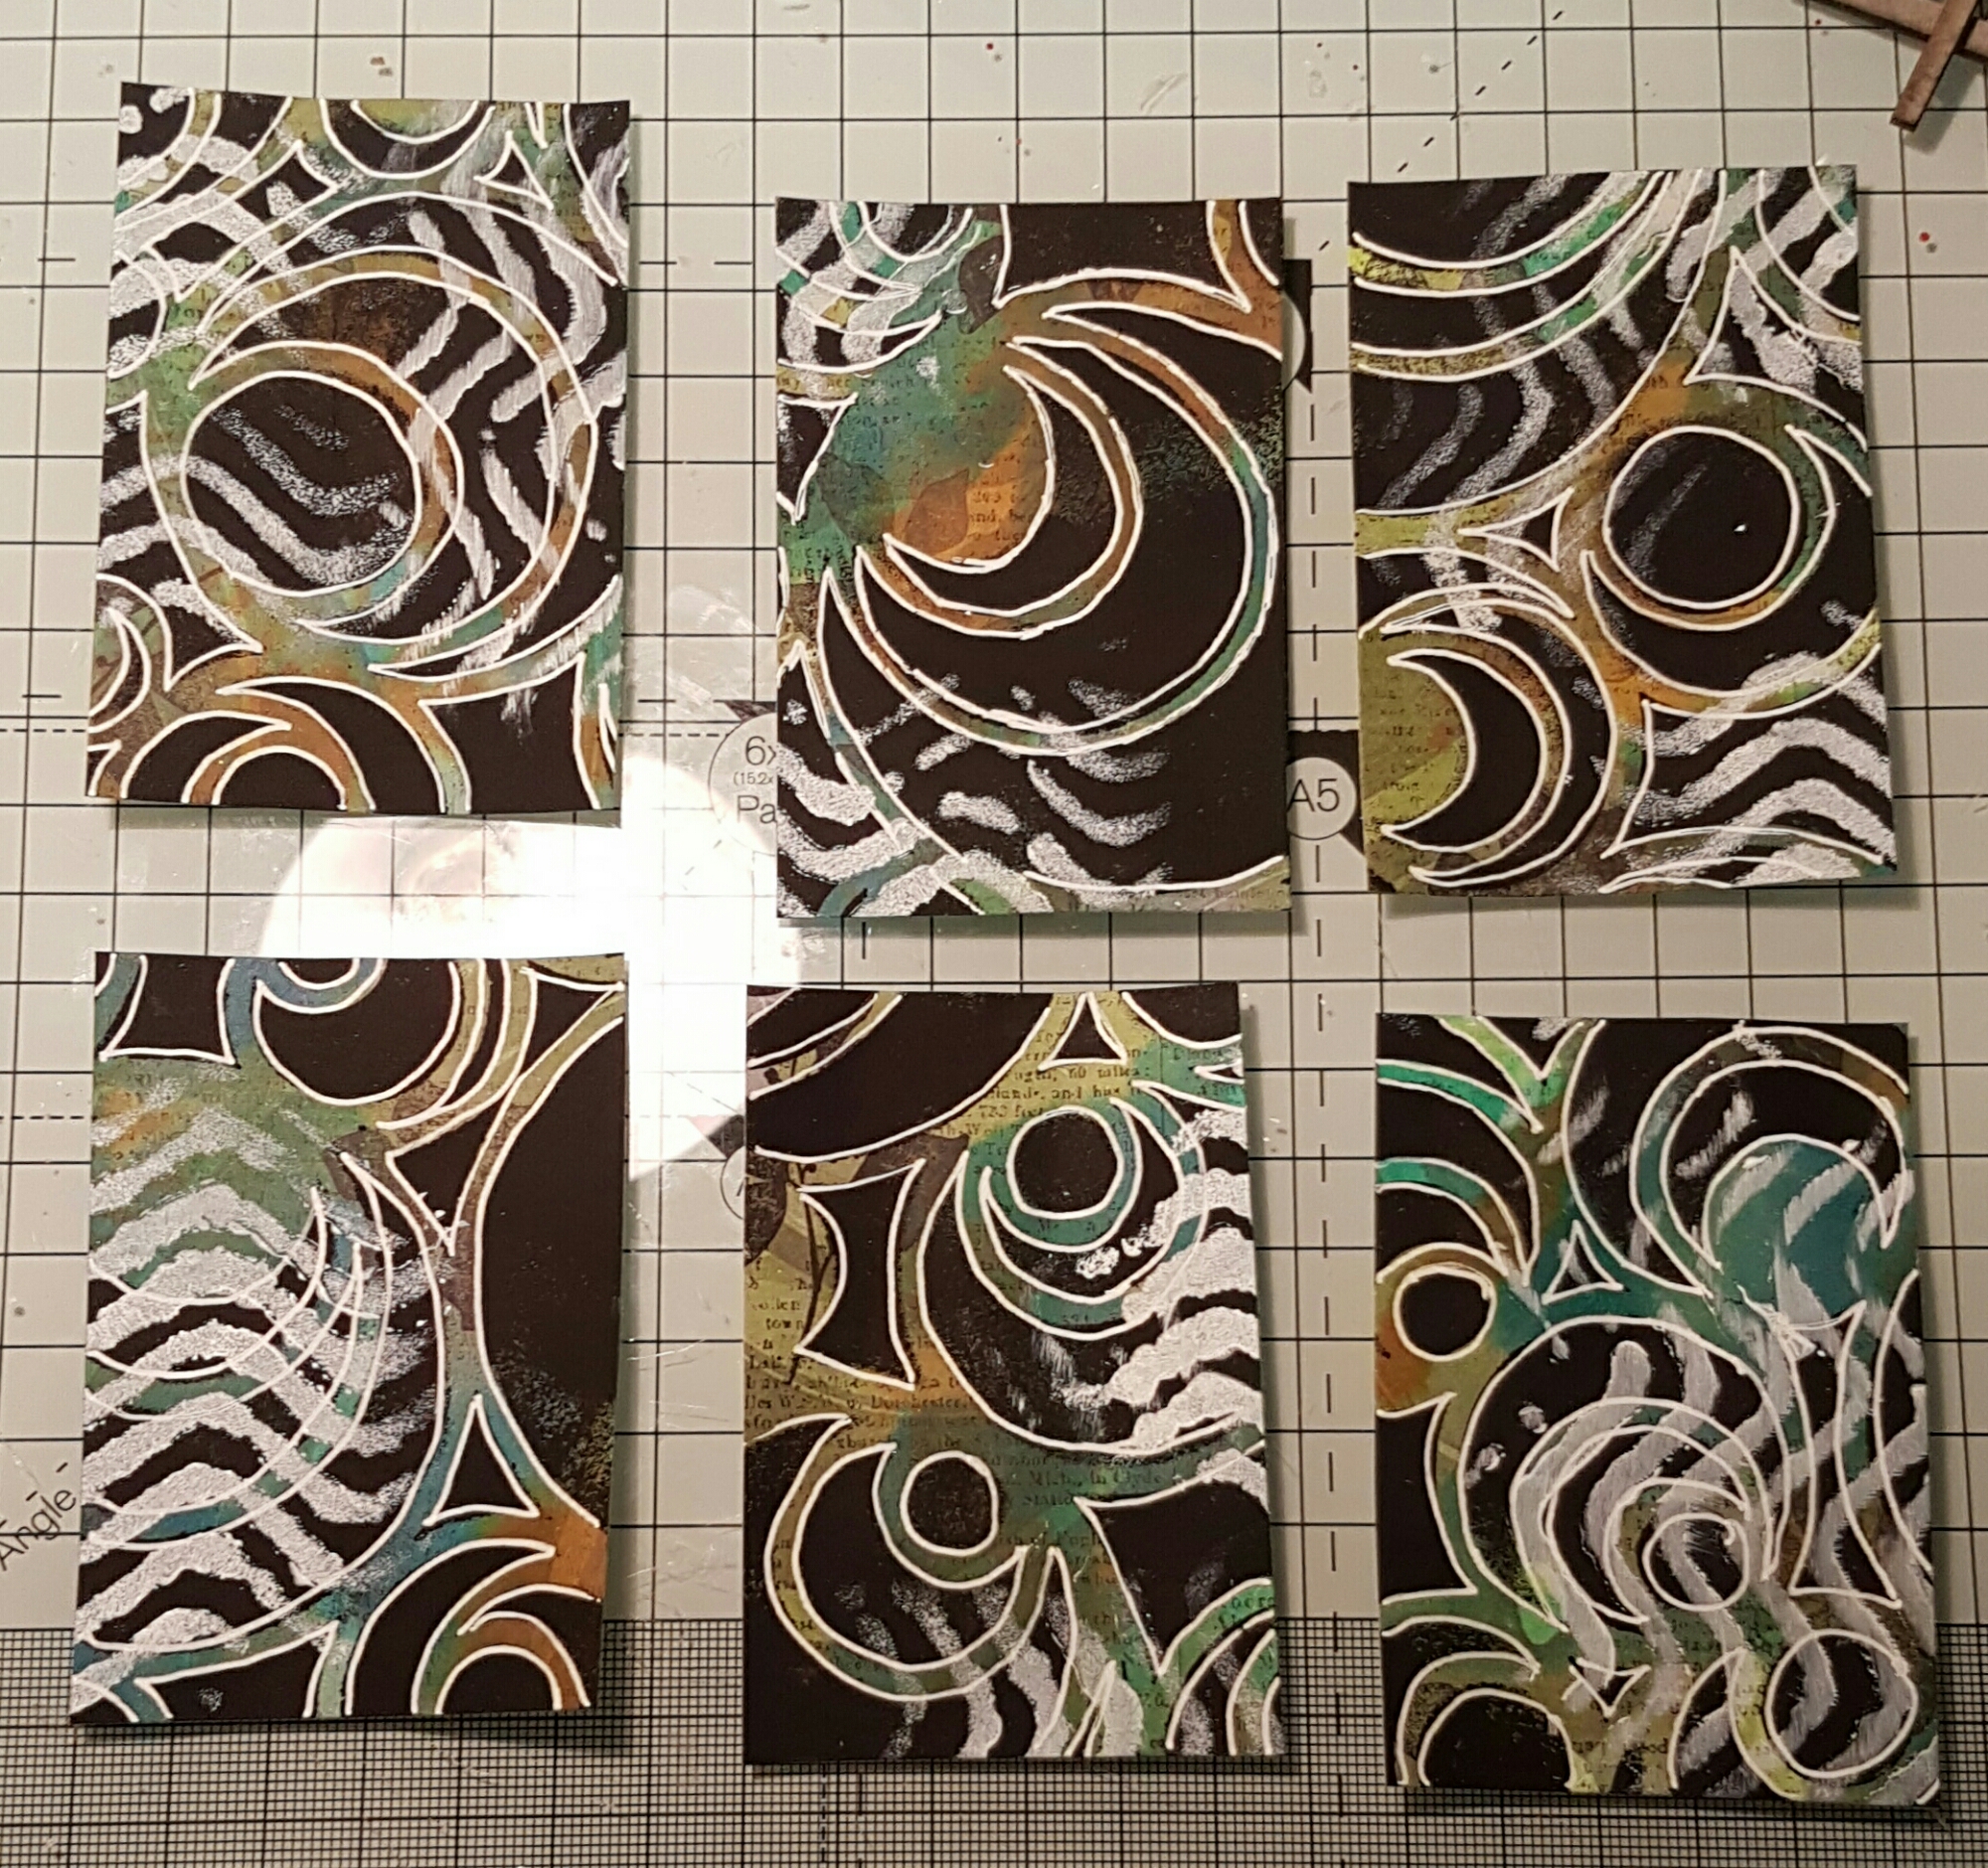
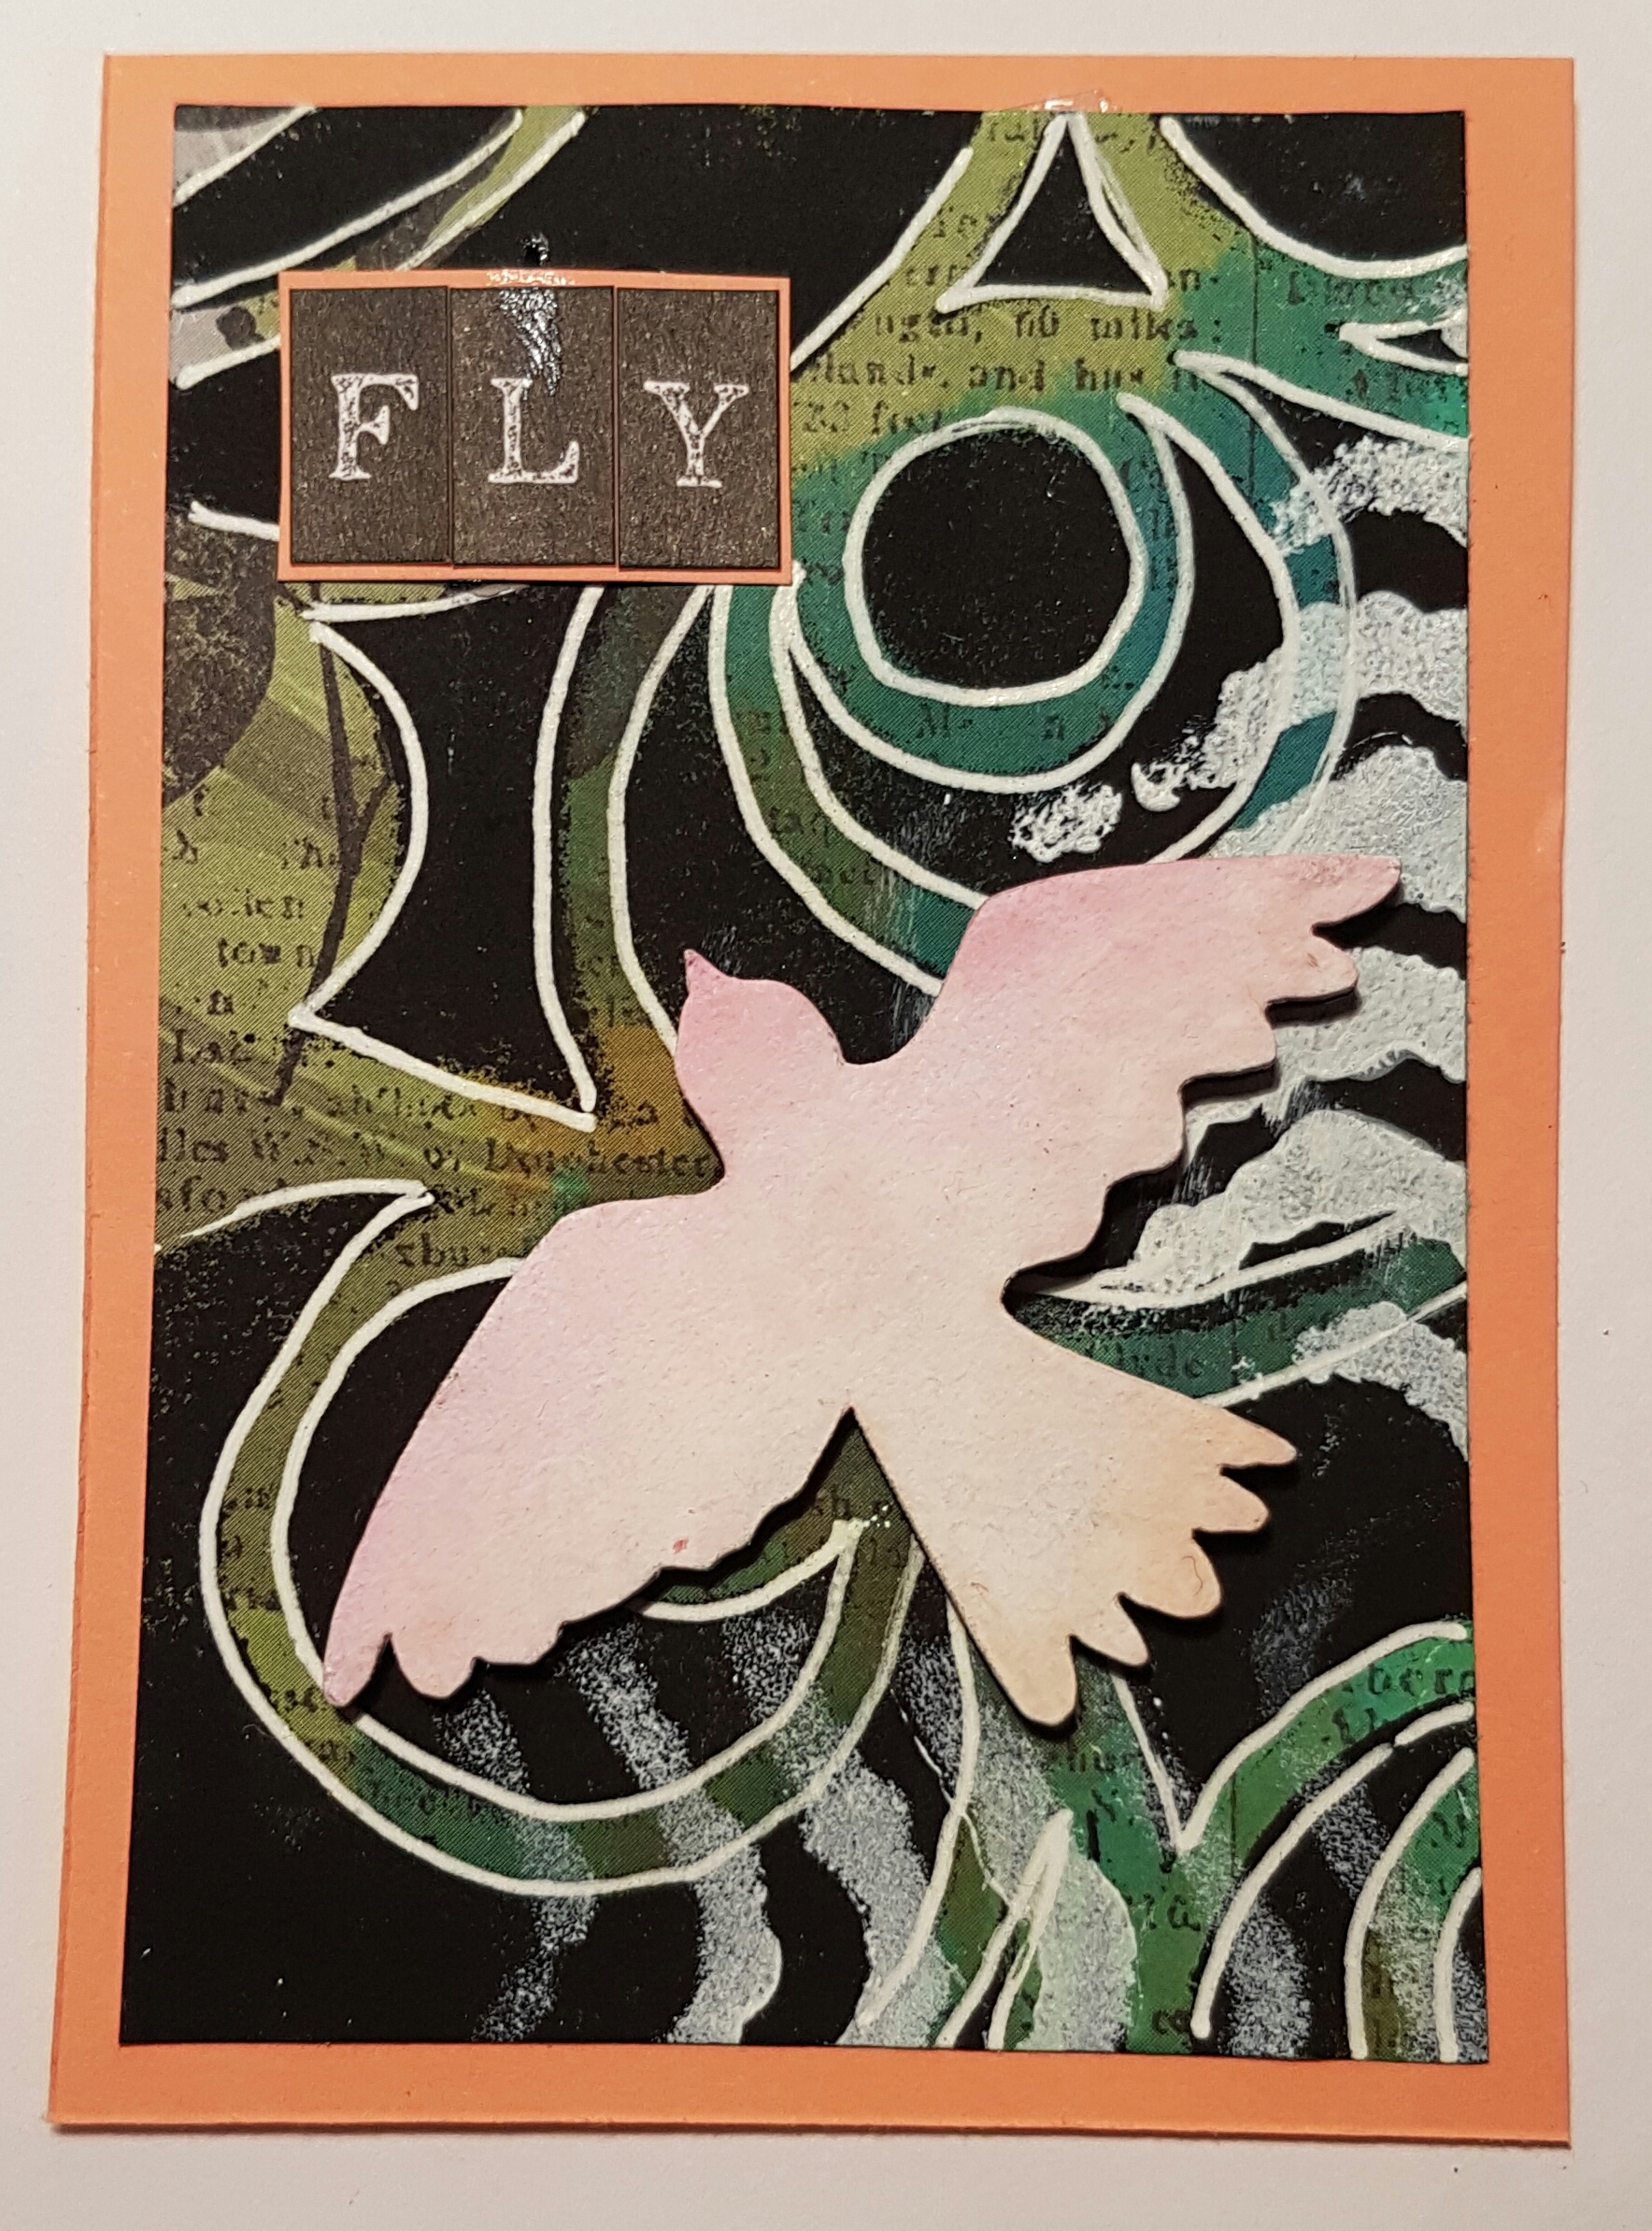
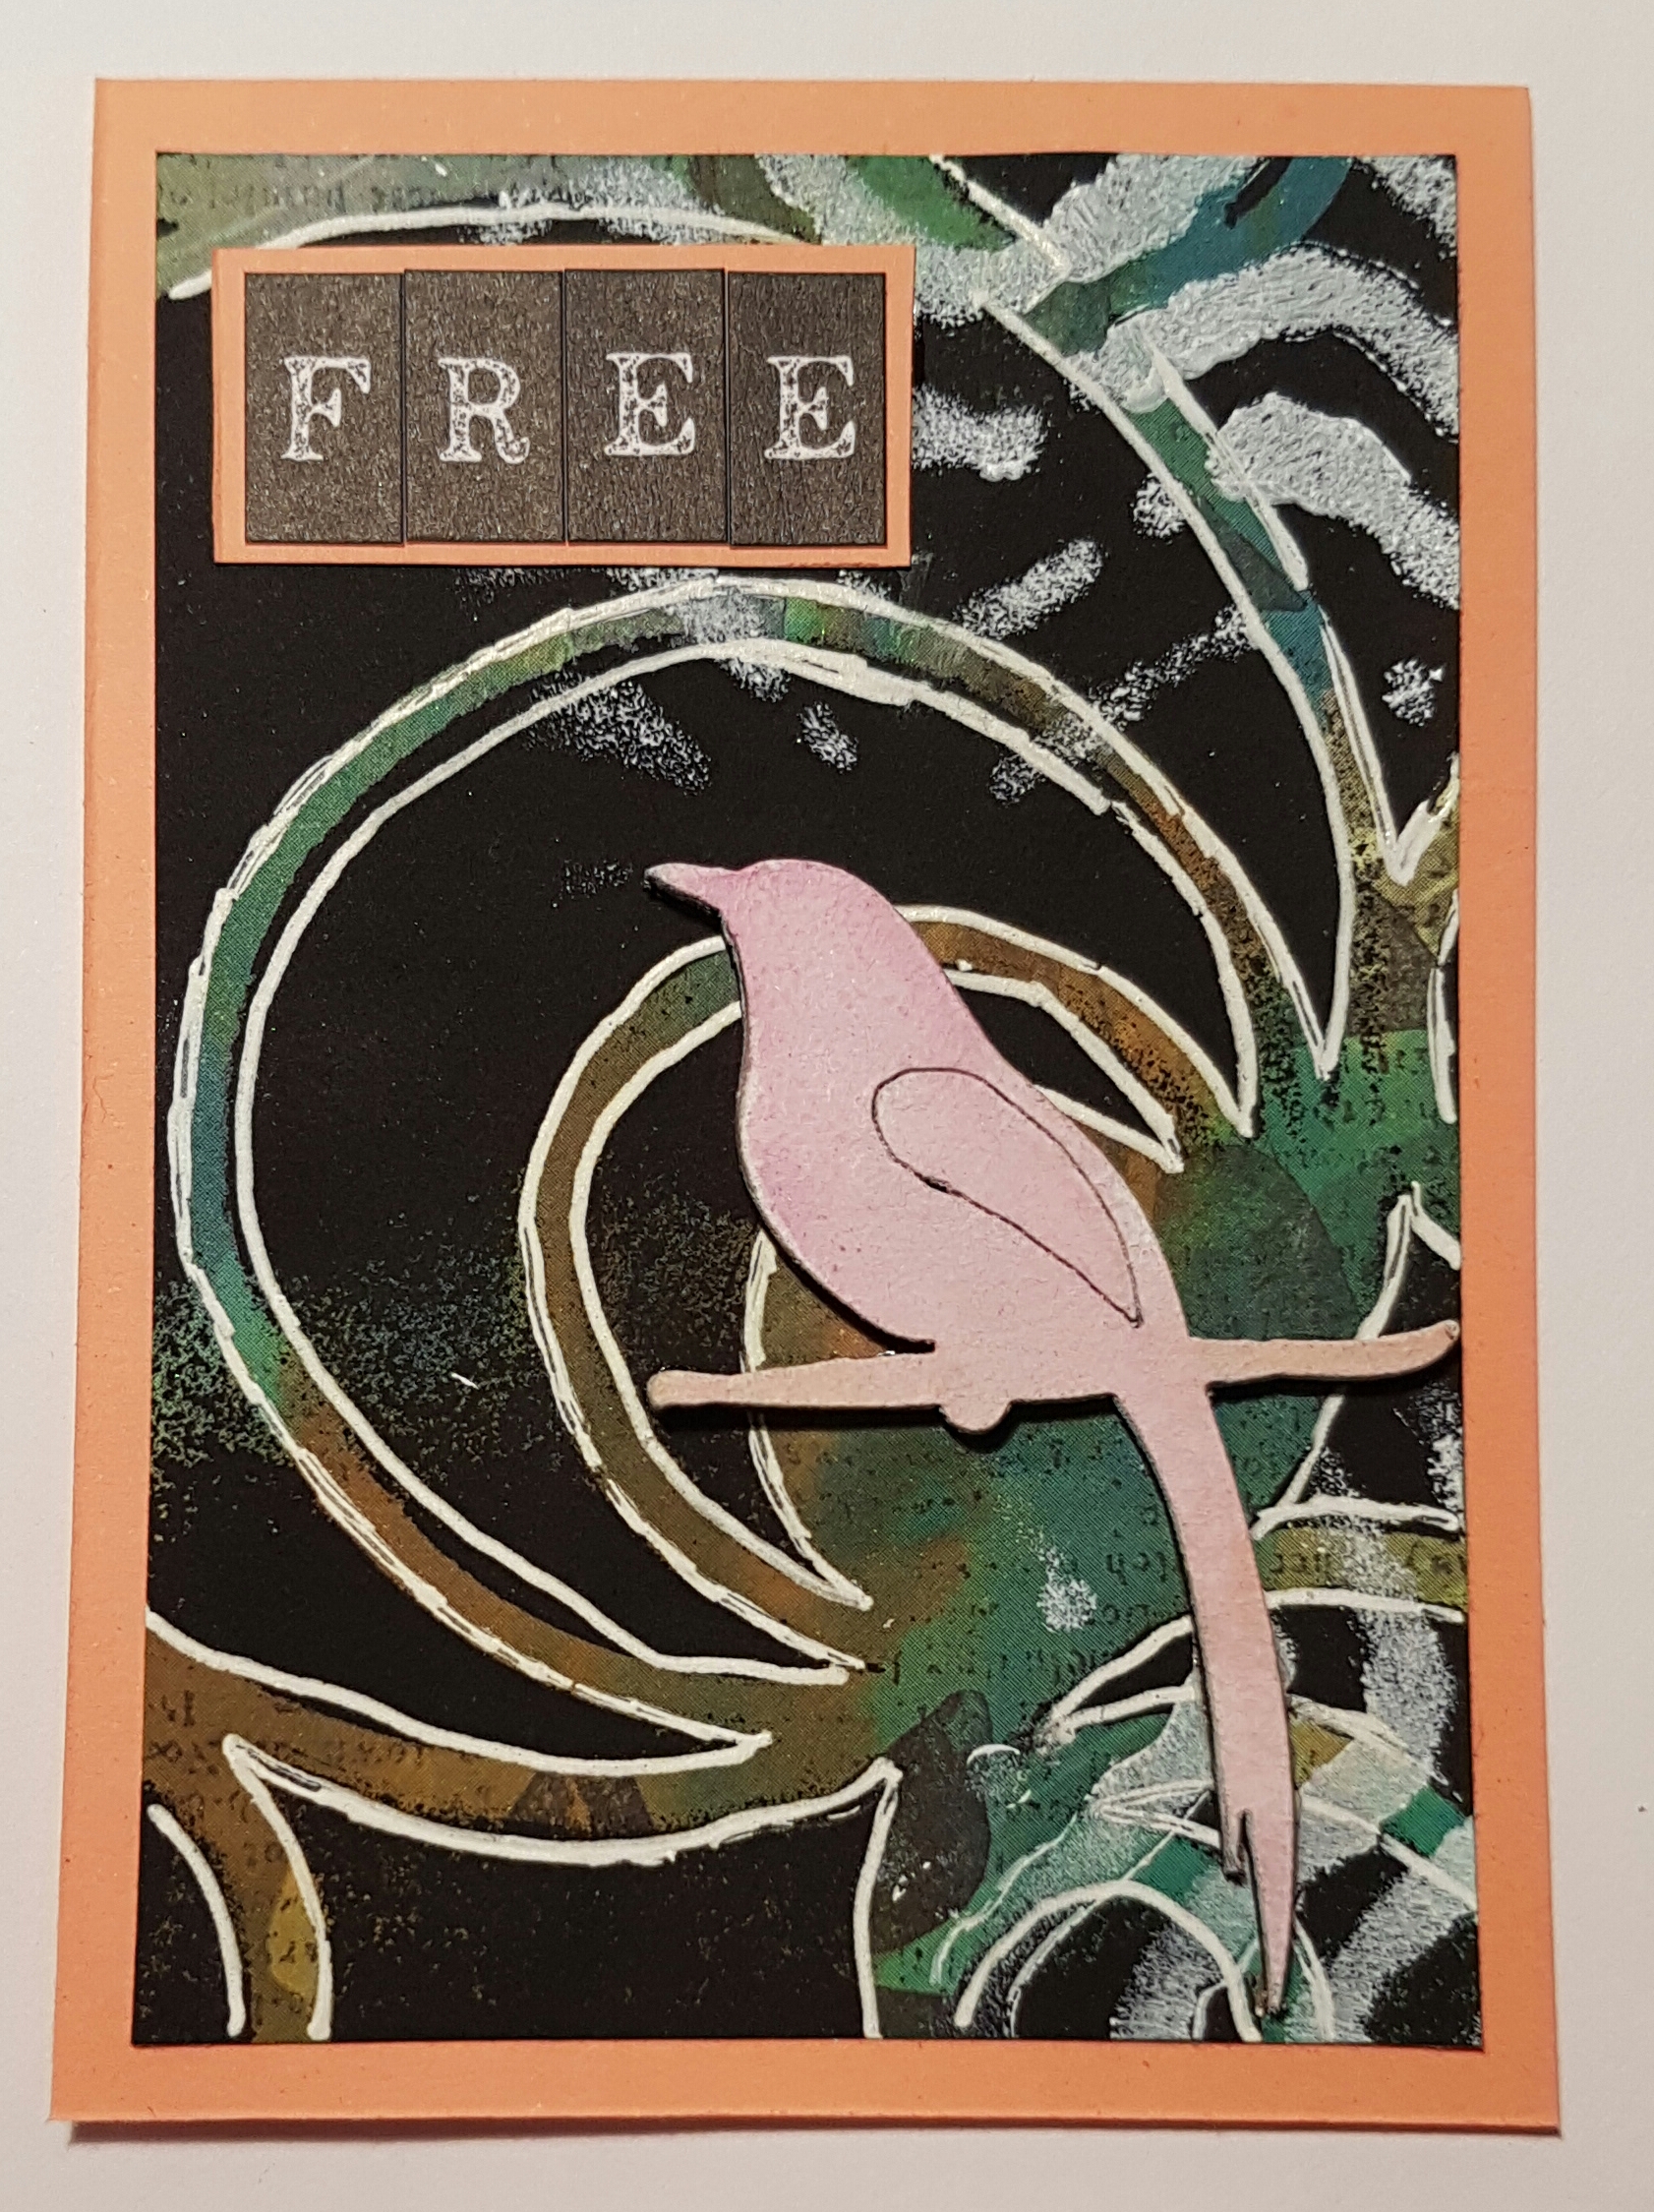
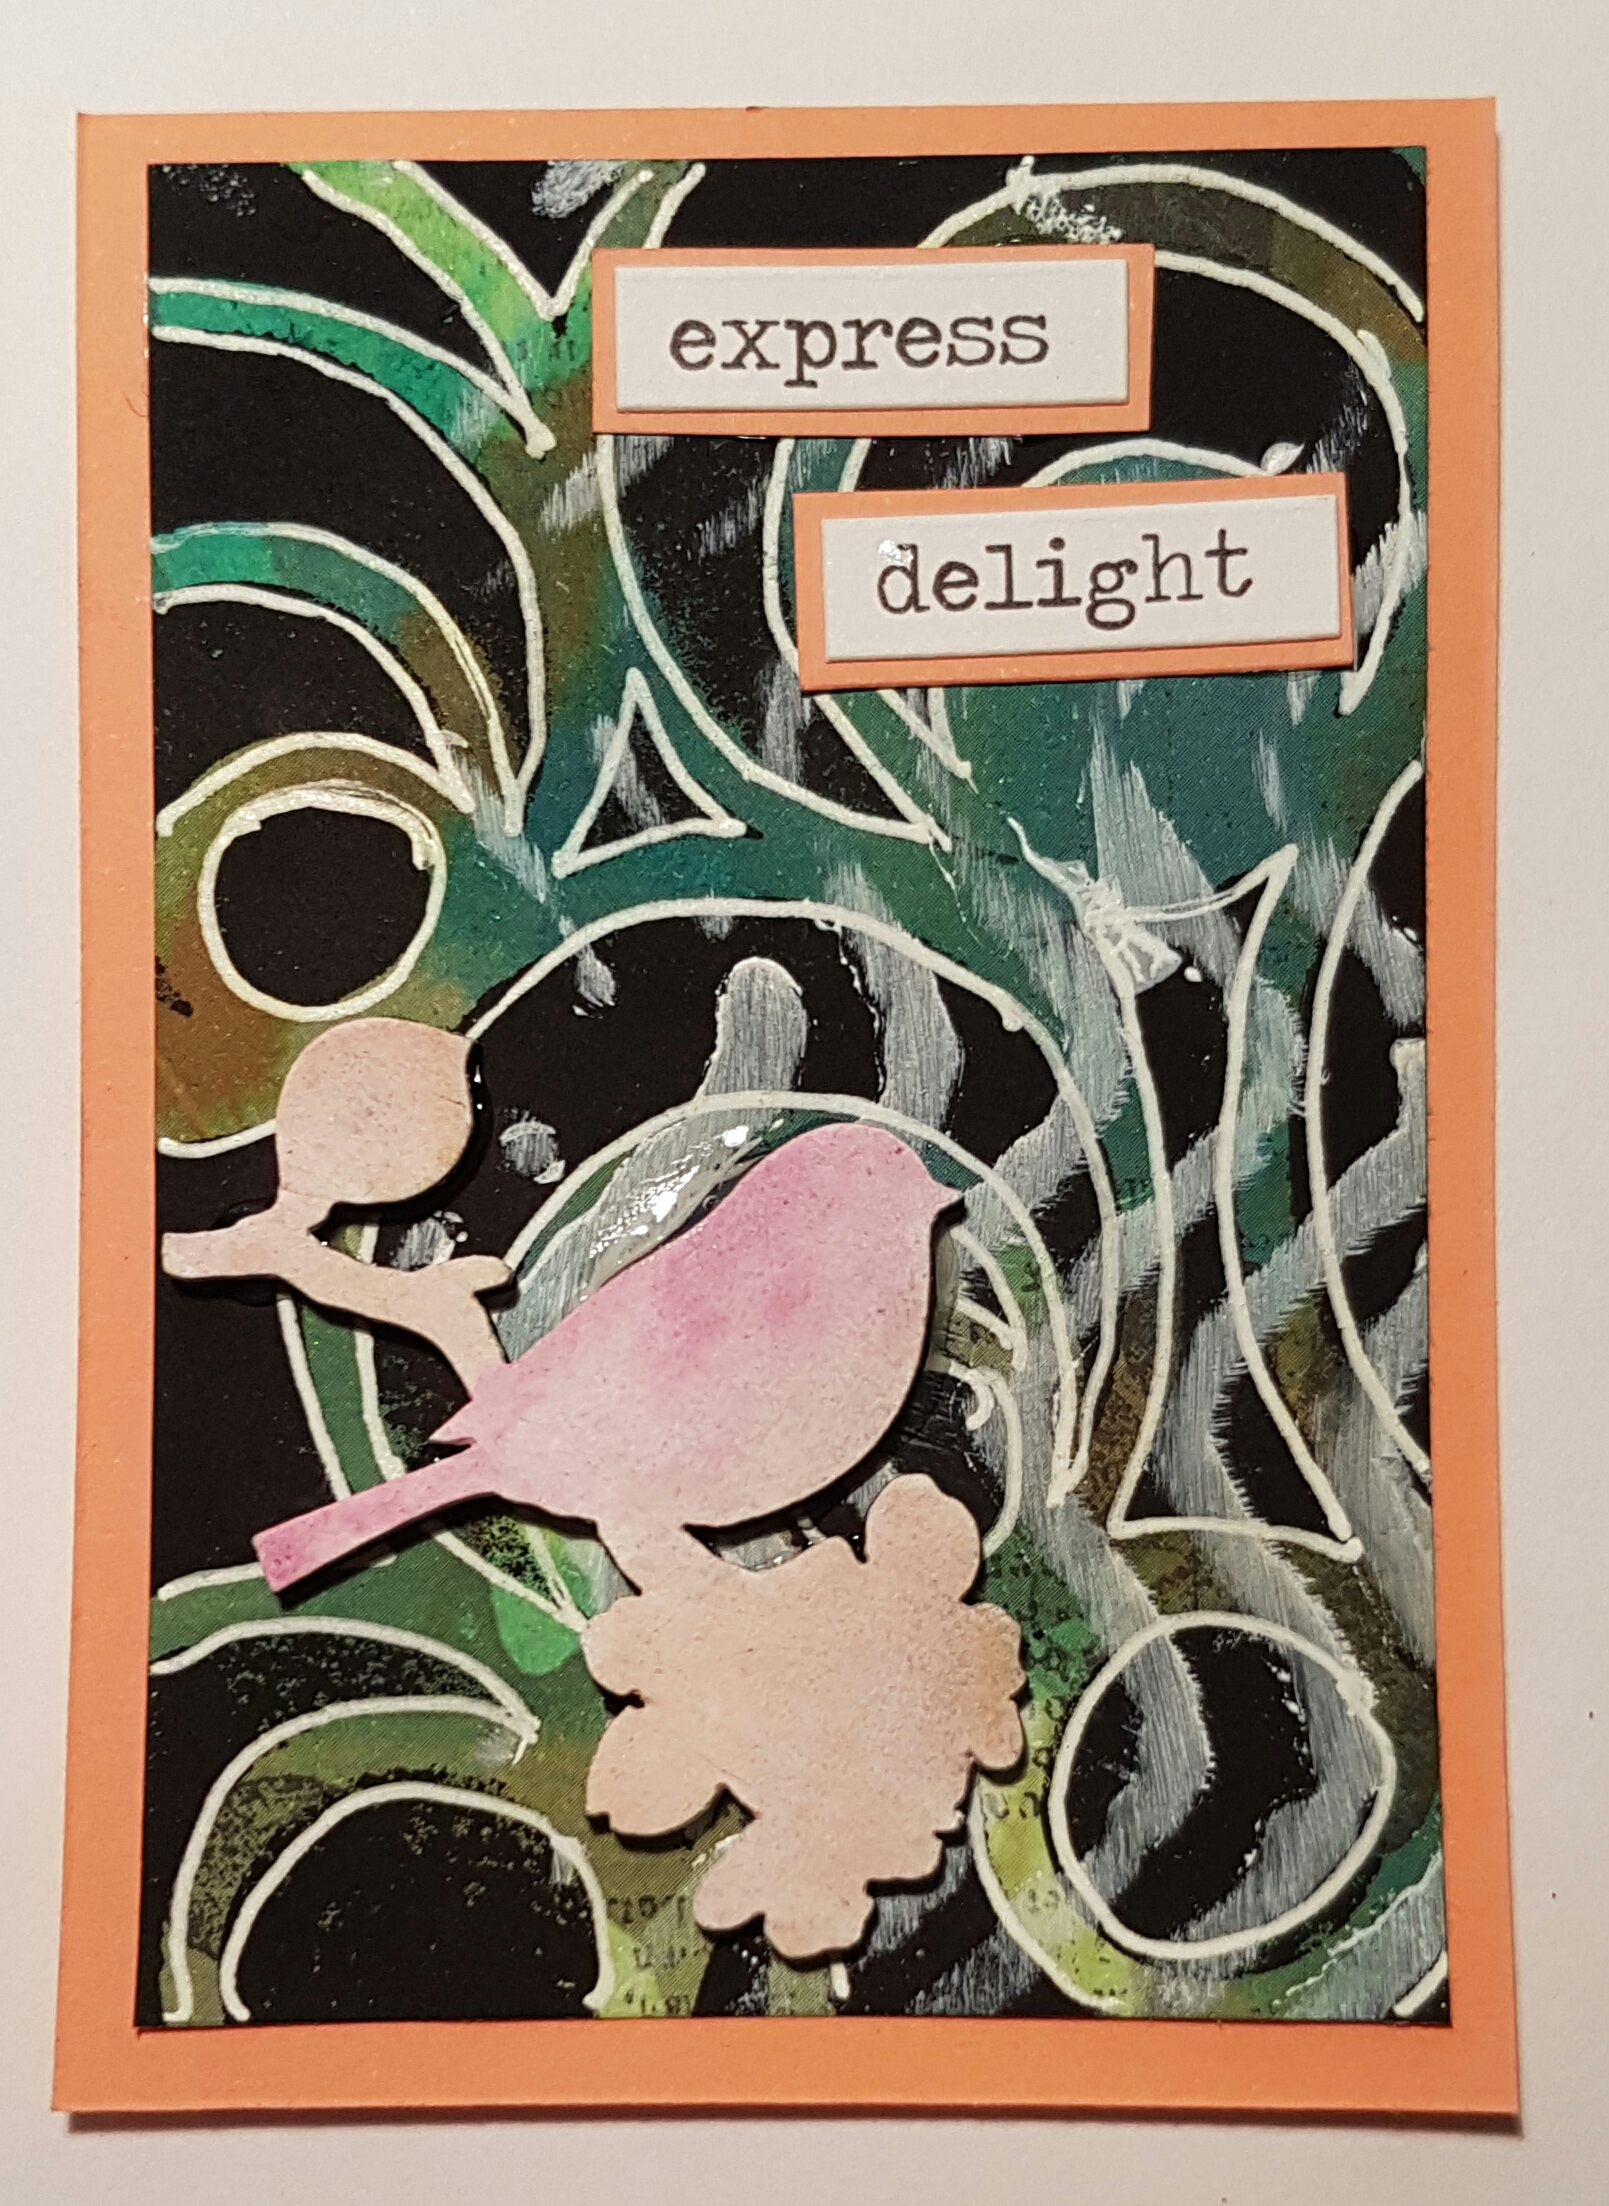
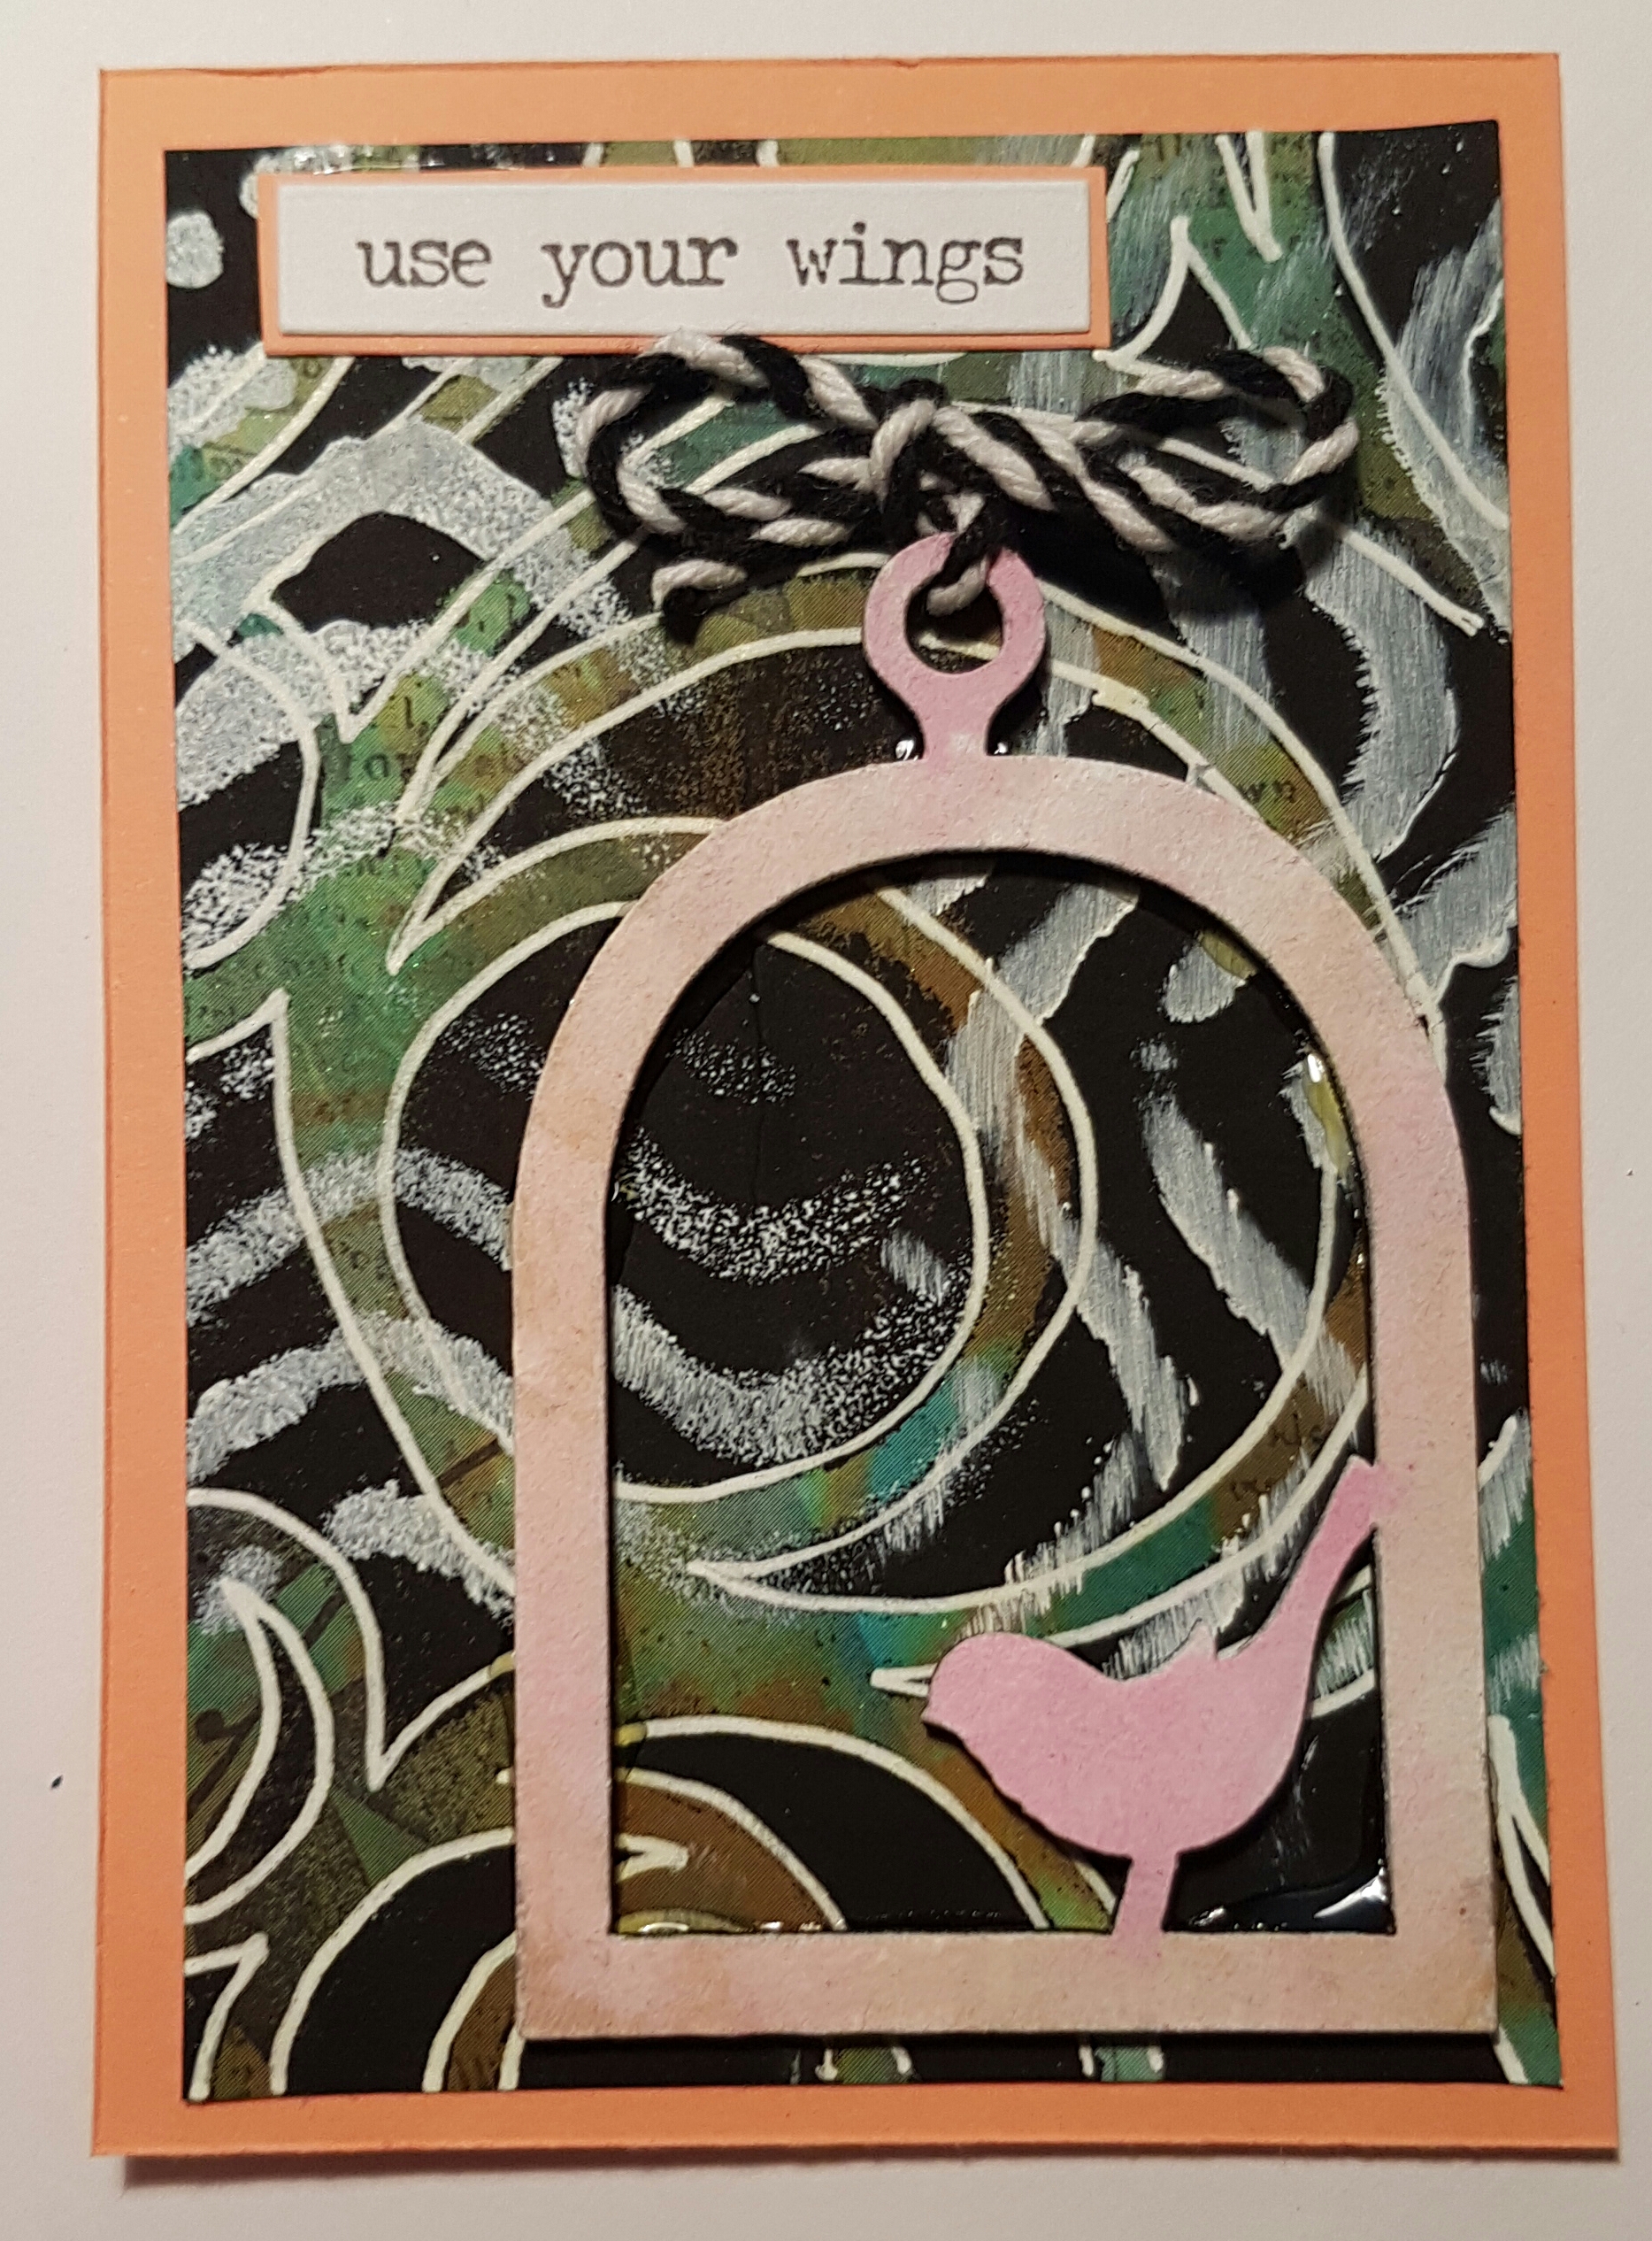
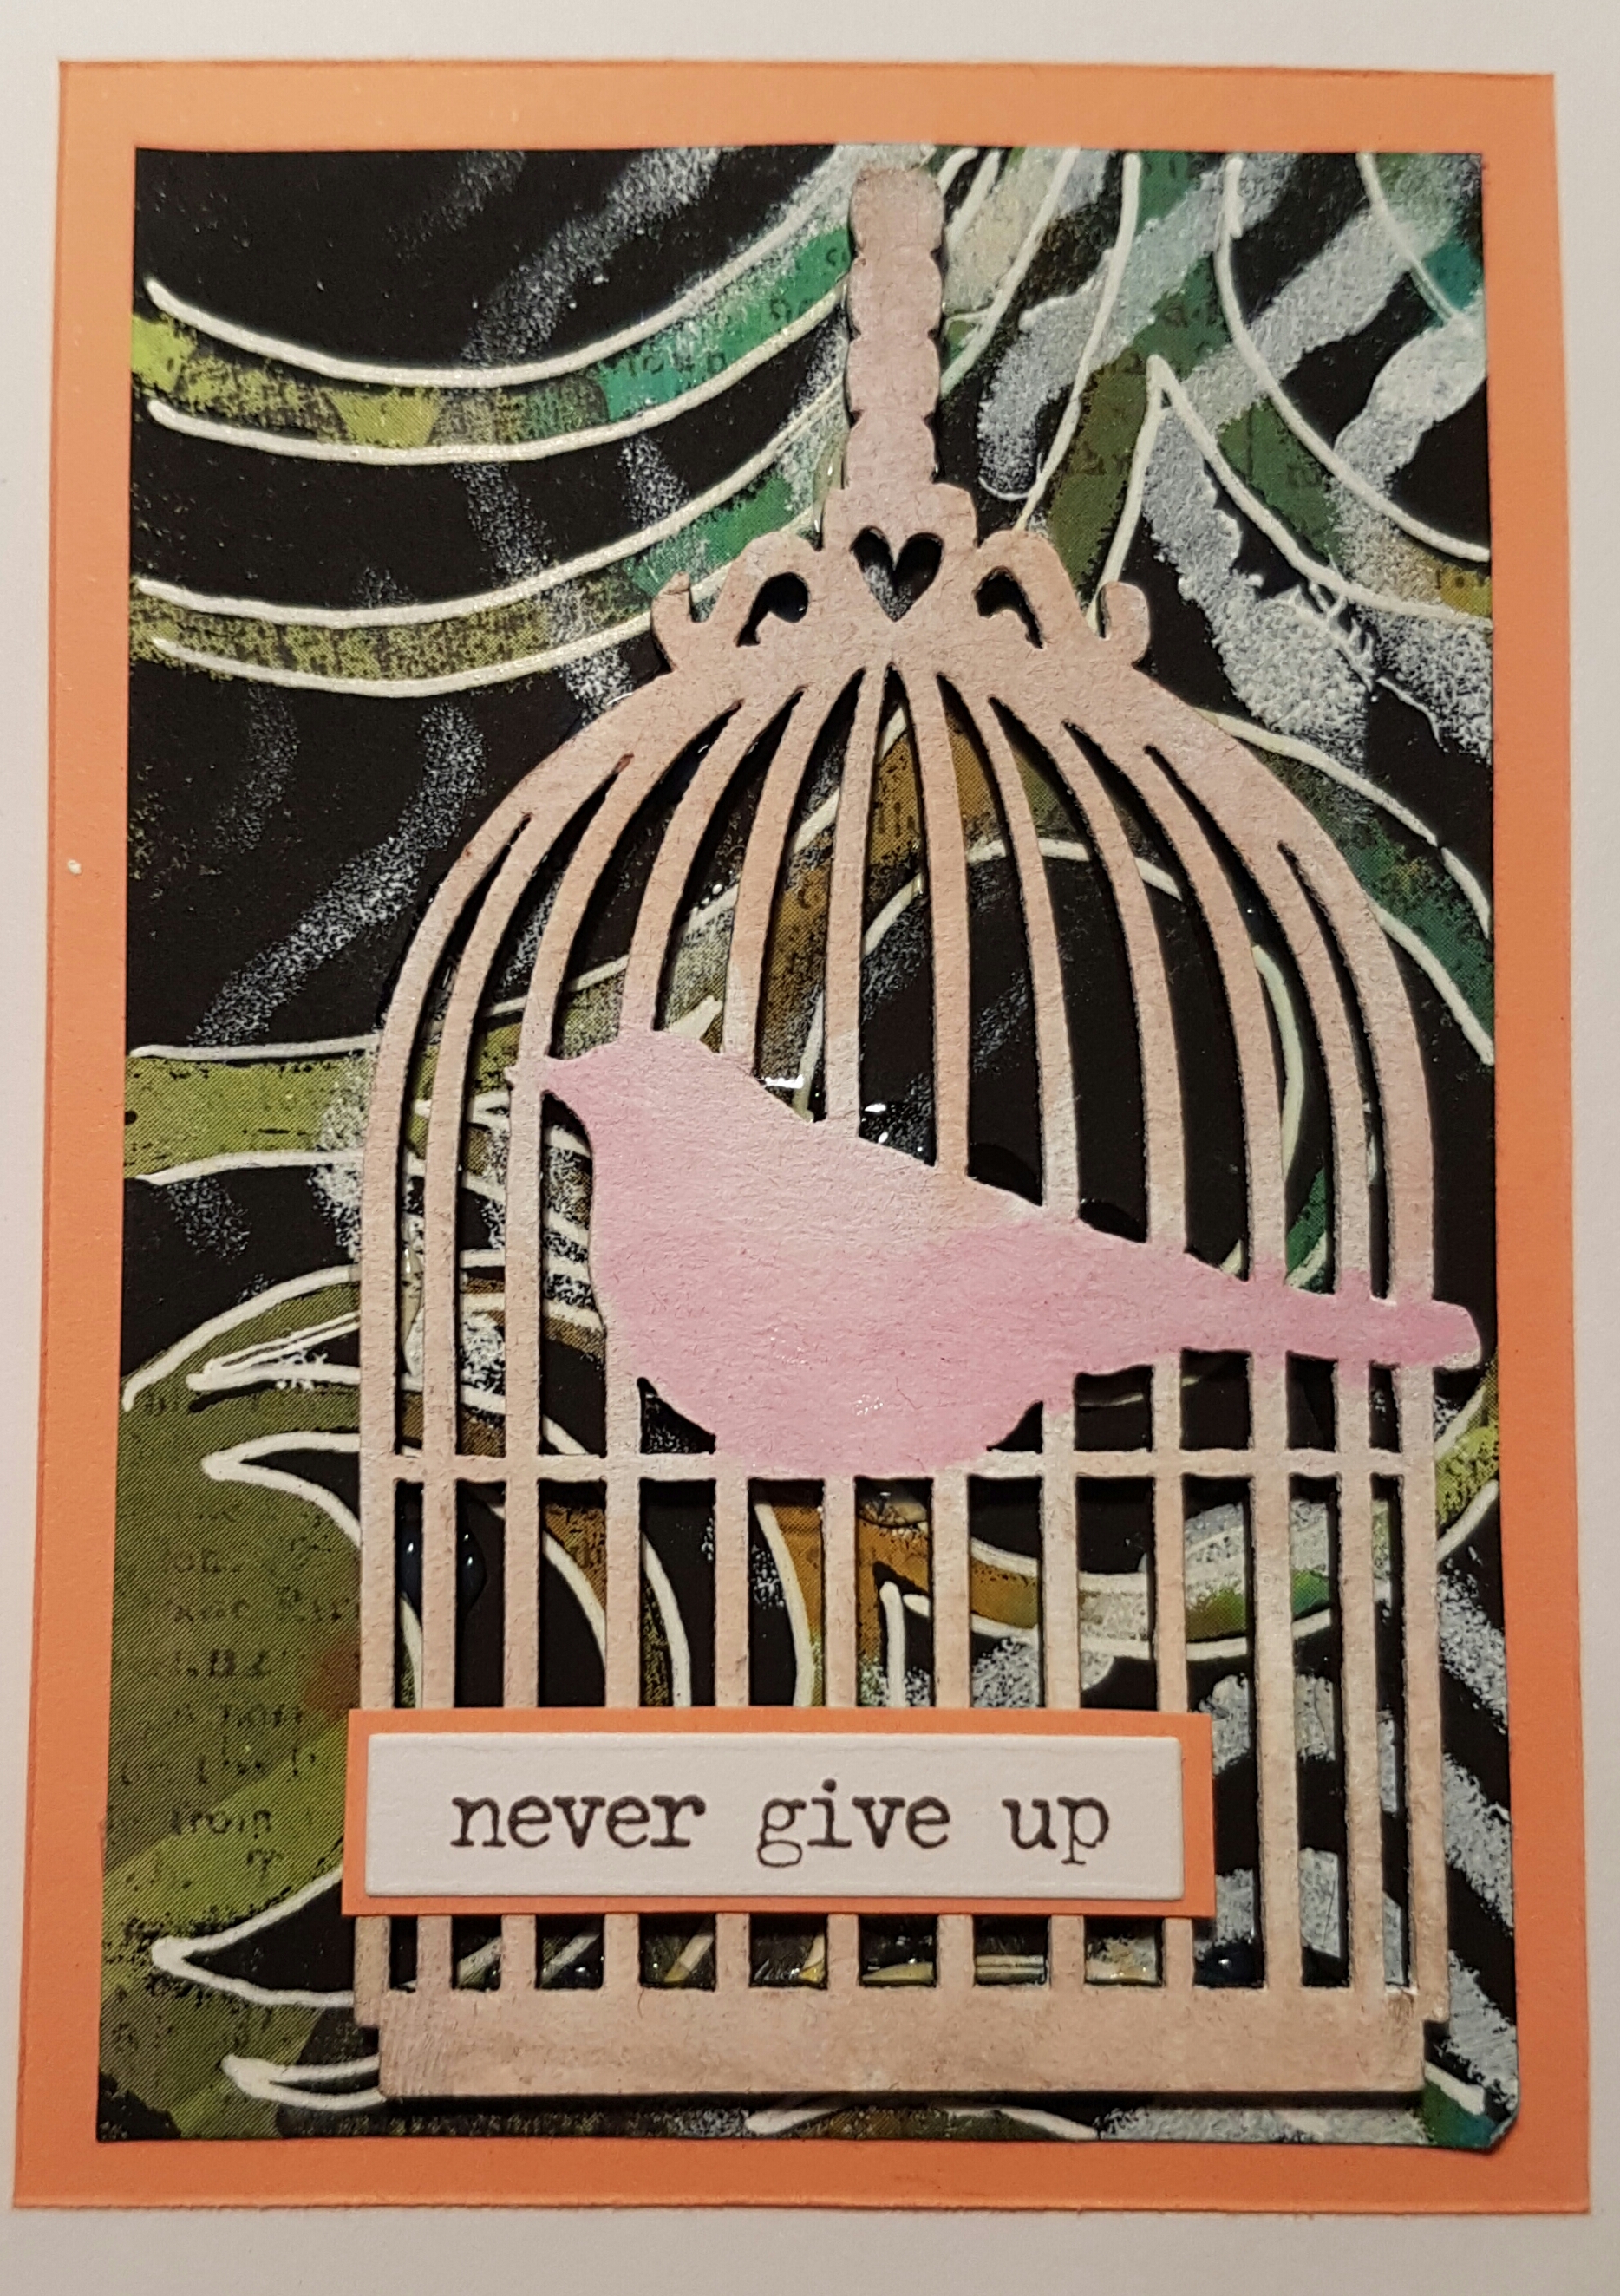
Another project where I transformed a piece of paper and then used it to make some ATC’S.  I am entering this into the Wicked Wednesday challenge… embellish it. 

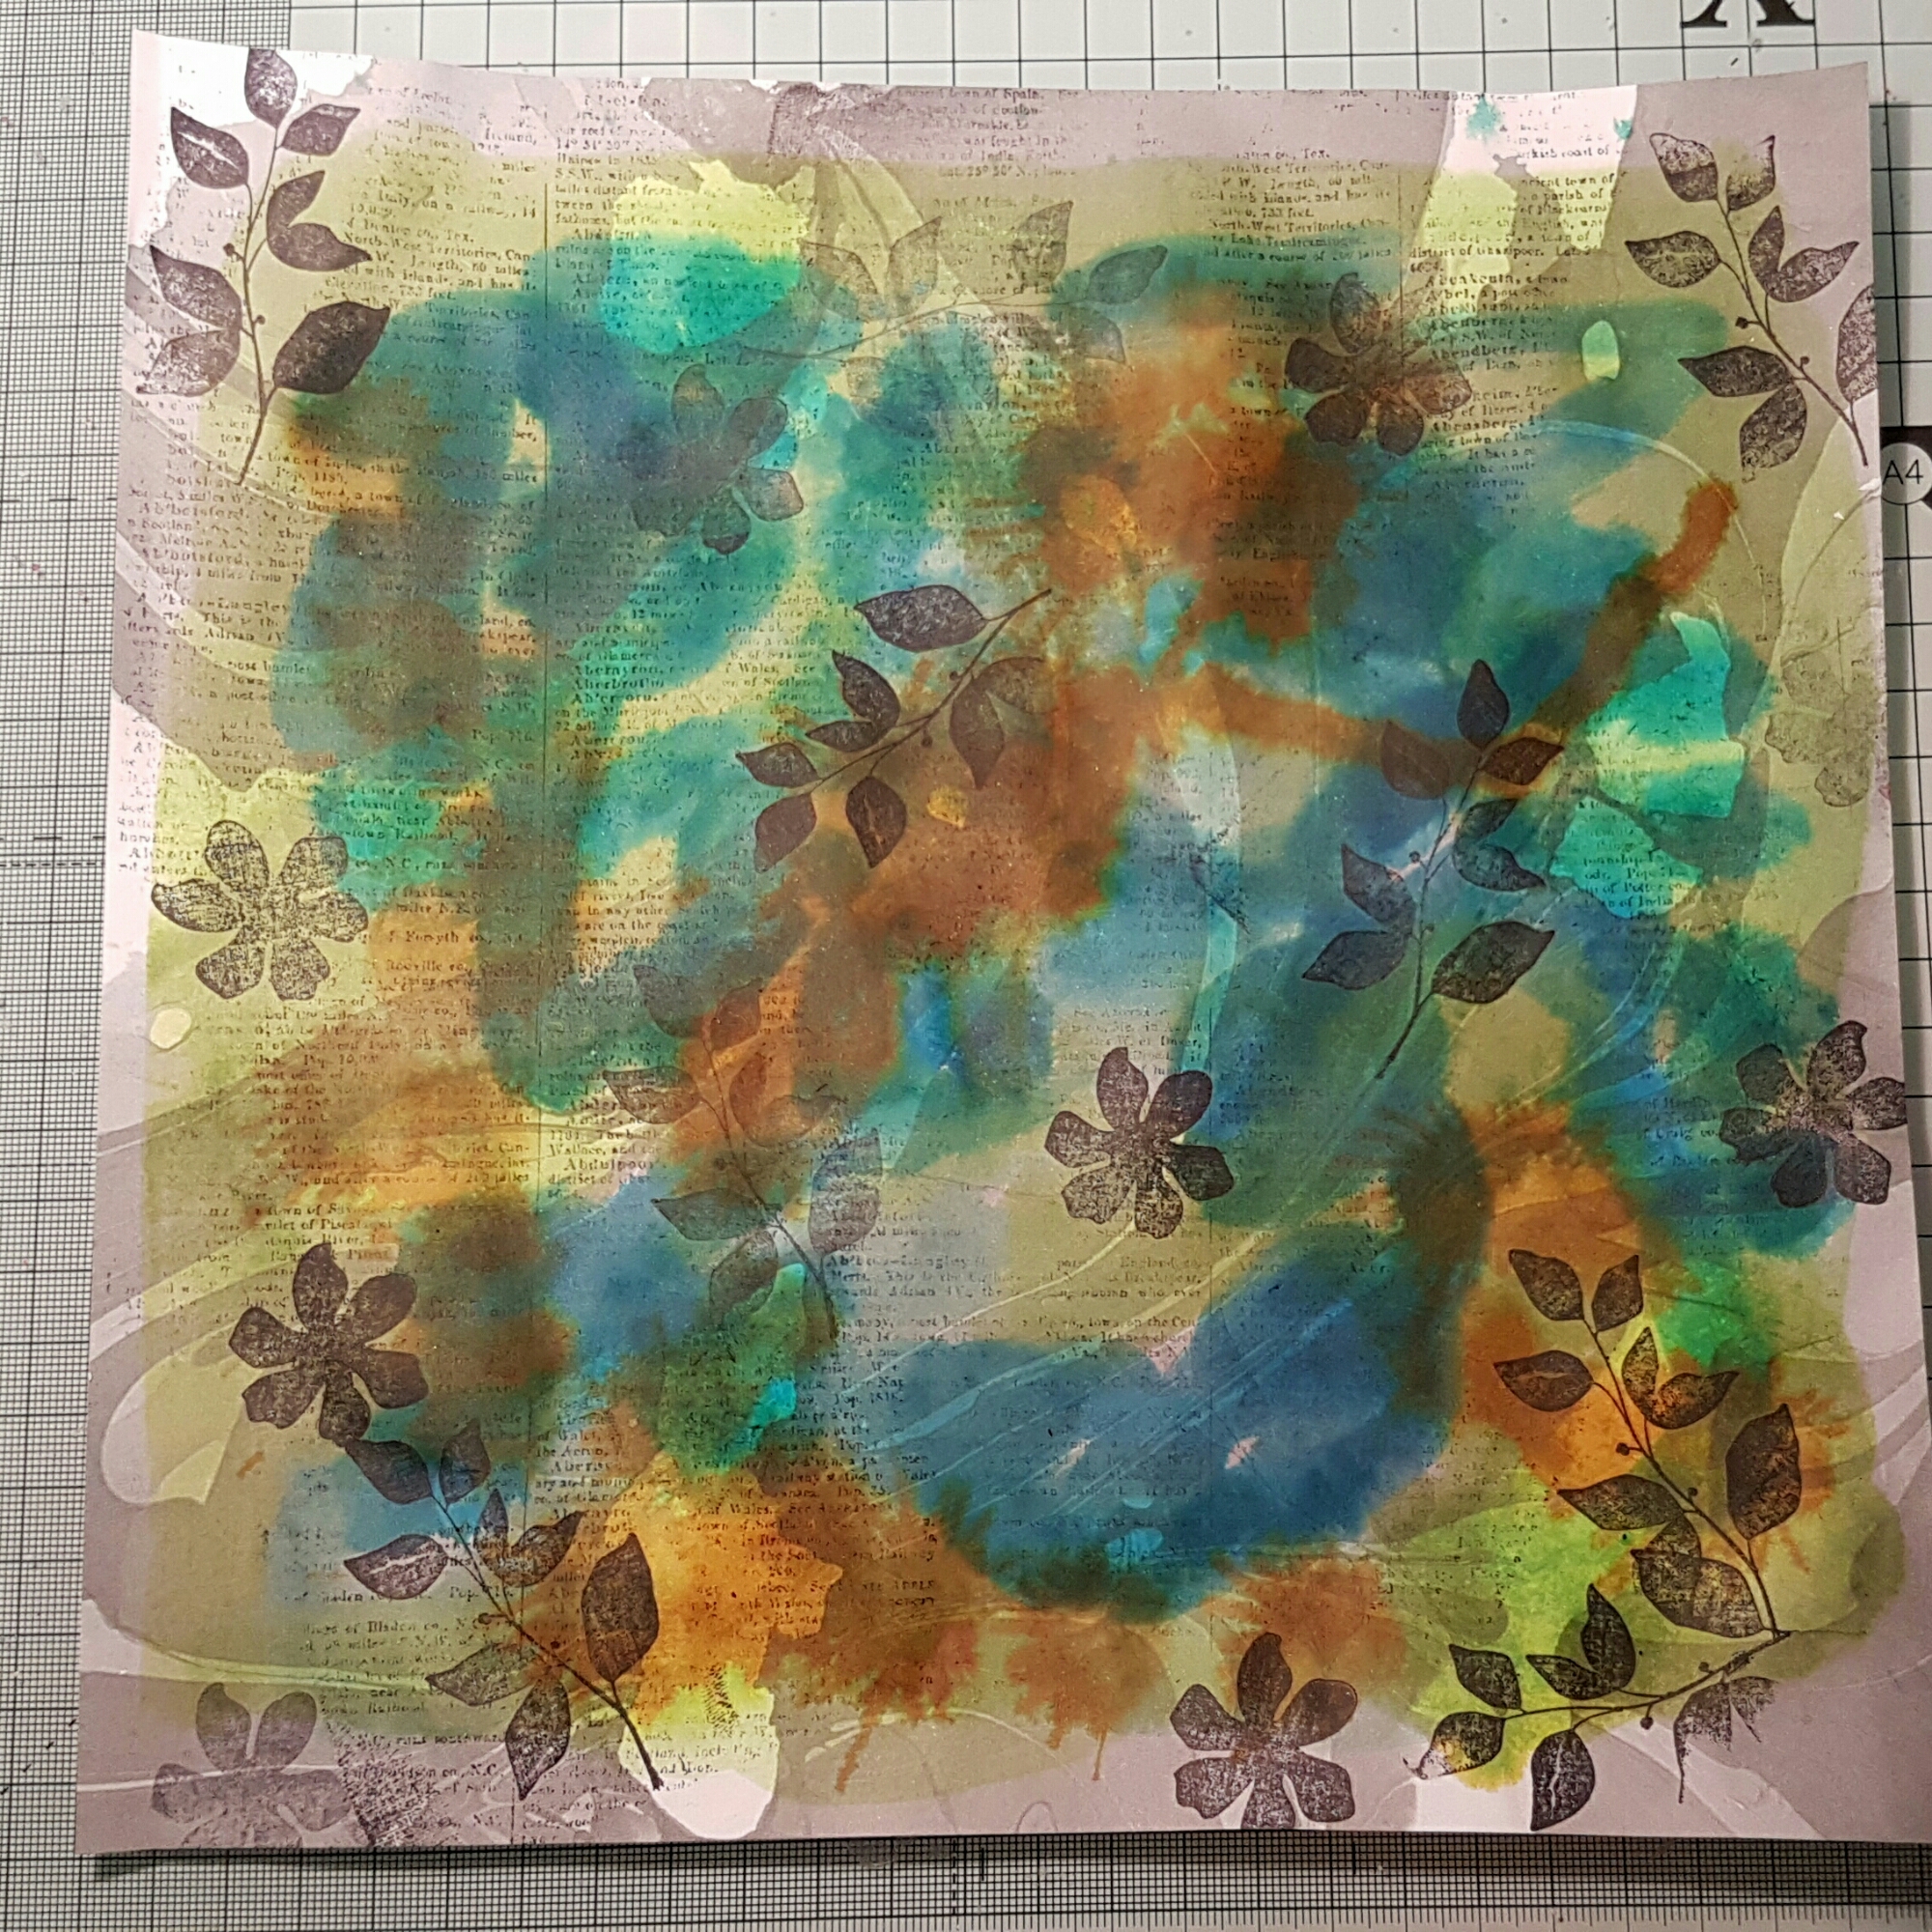
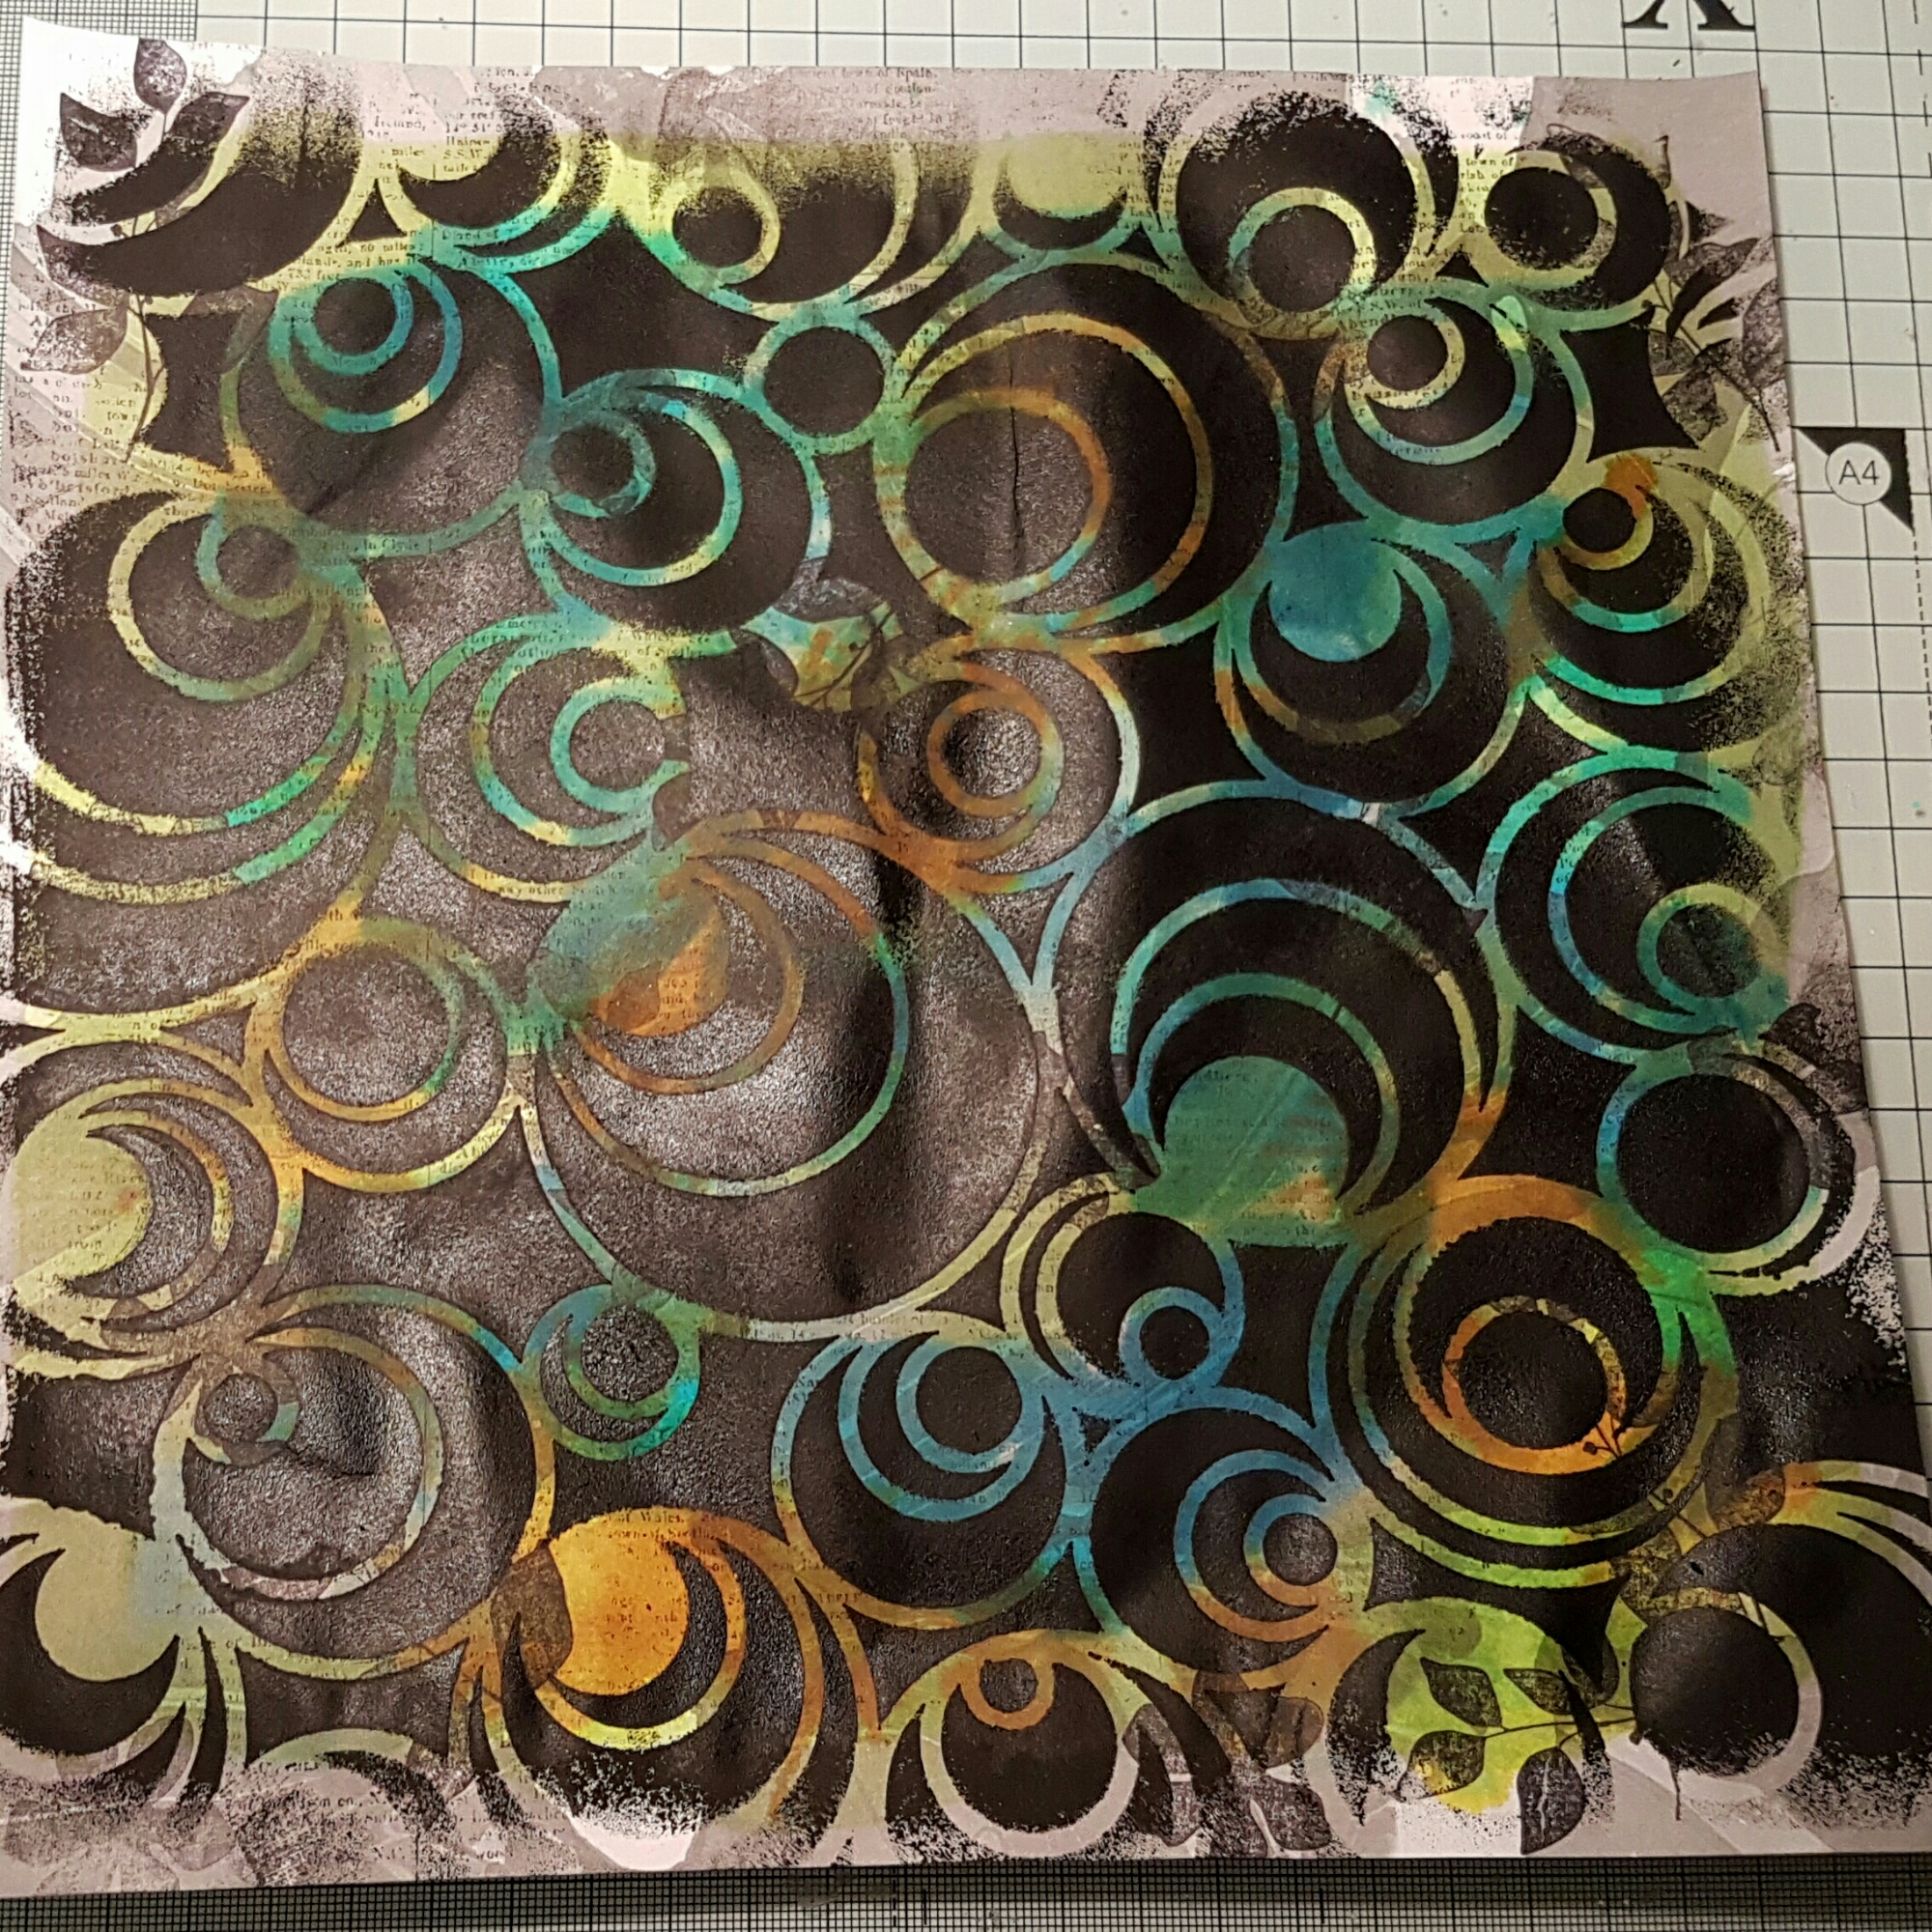
The paper itself was a grey and white marble effect. I started by stamping some leaves, flowers and dictionary print. Then I added distress stains in three colours.  I must admit I was disappointed with how it looked. It didn’t blend very well on the paper surface. 

So I did something rather drastic… black gesso and a stencil… 

Ooooh now I was happy.  I set it aside to dry for a bit. Then decided to use another another stencil and some white acrylic. 

Right time to cut it up into pieces for ATC’S.  I cut it into 2.25″ x 3.25″ pieces so it can be mounted on some backing card.

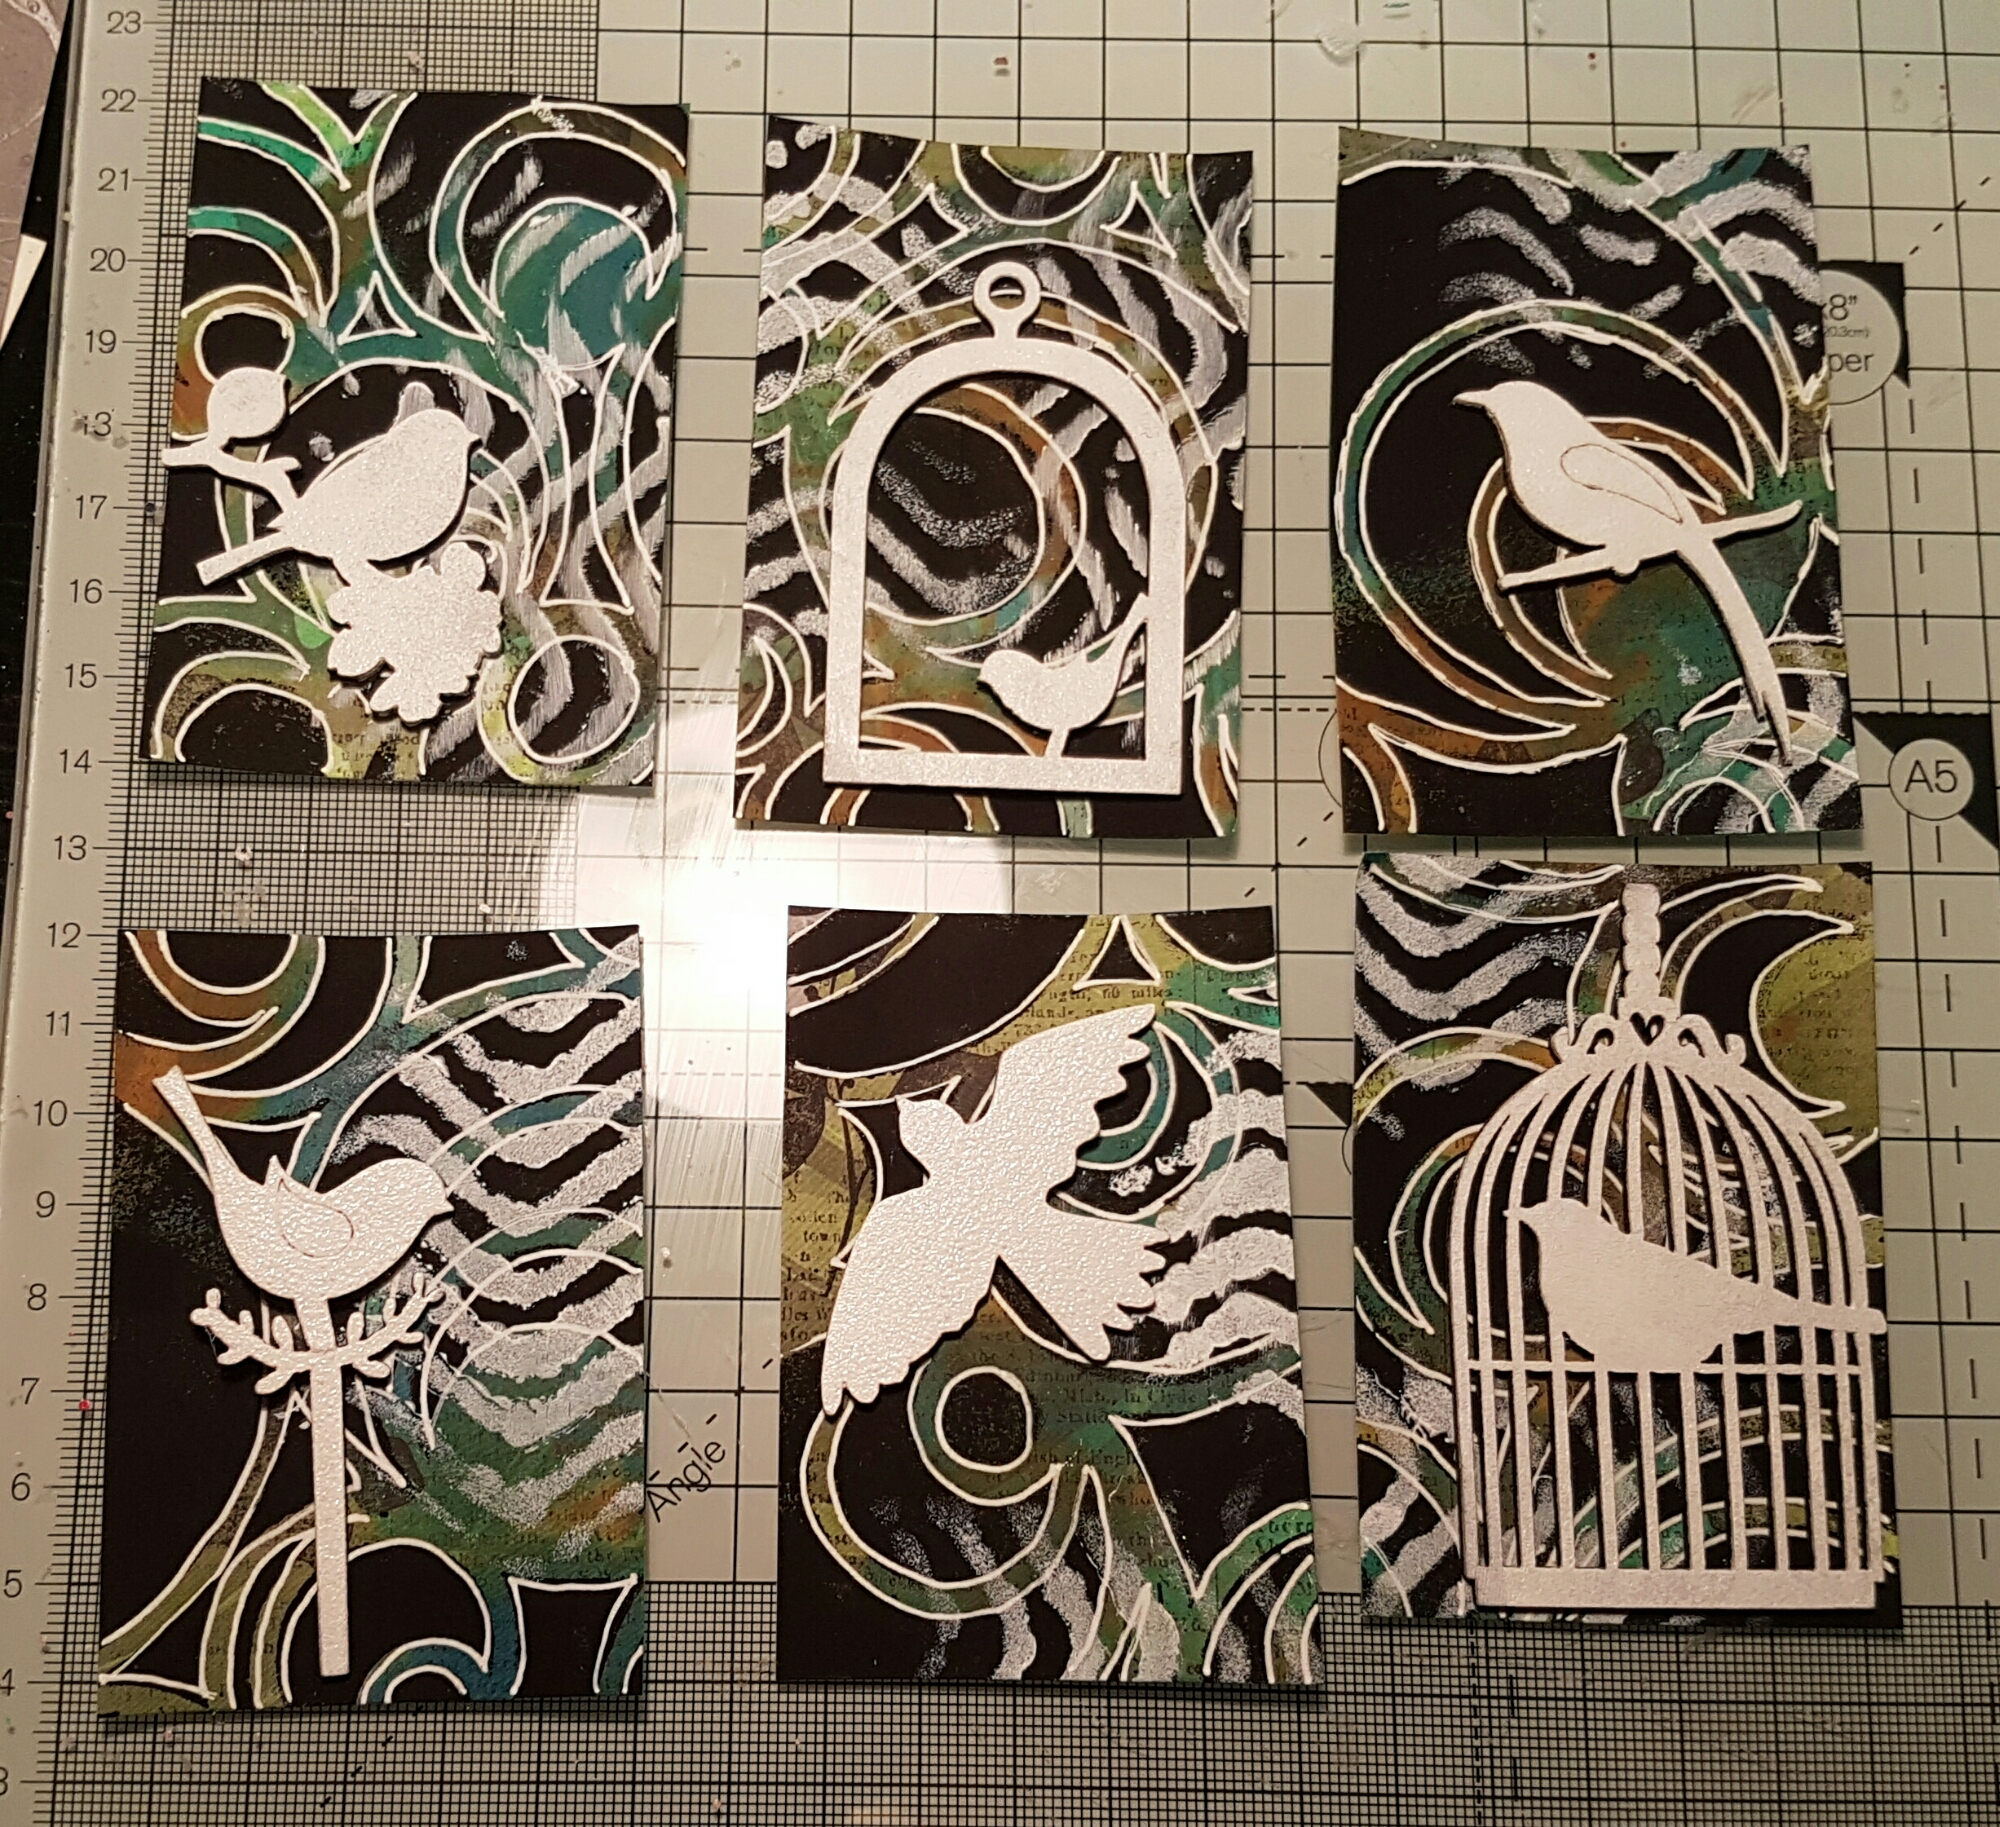
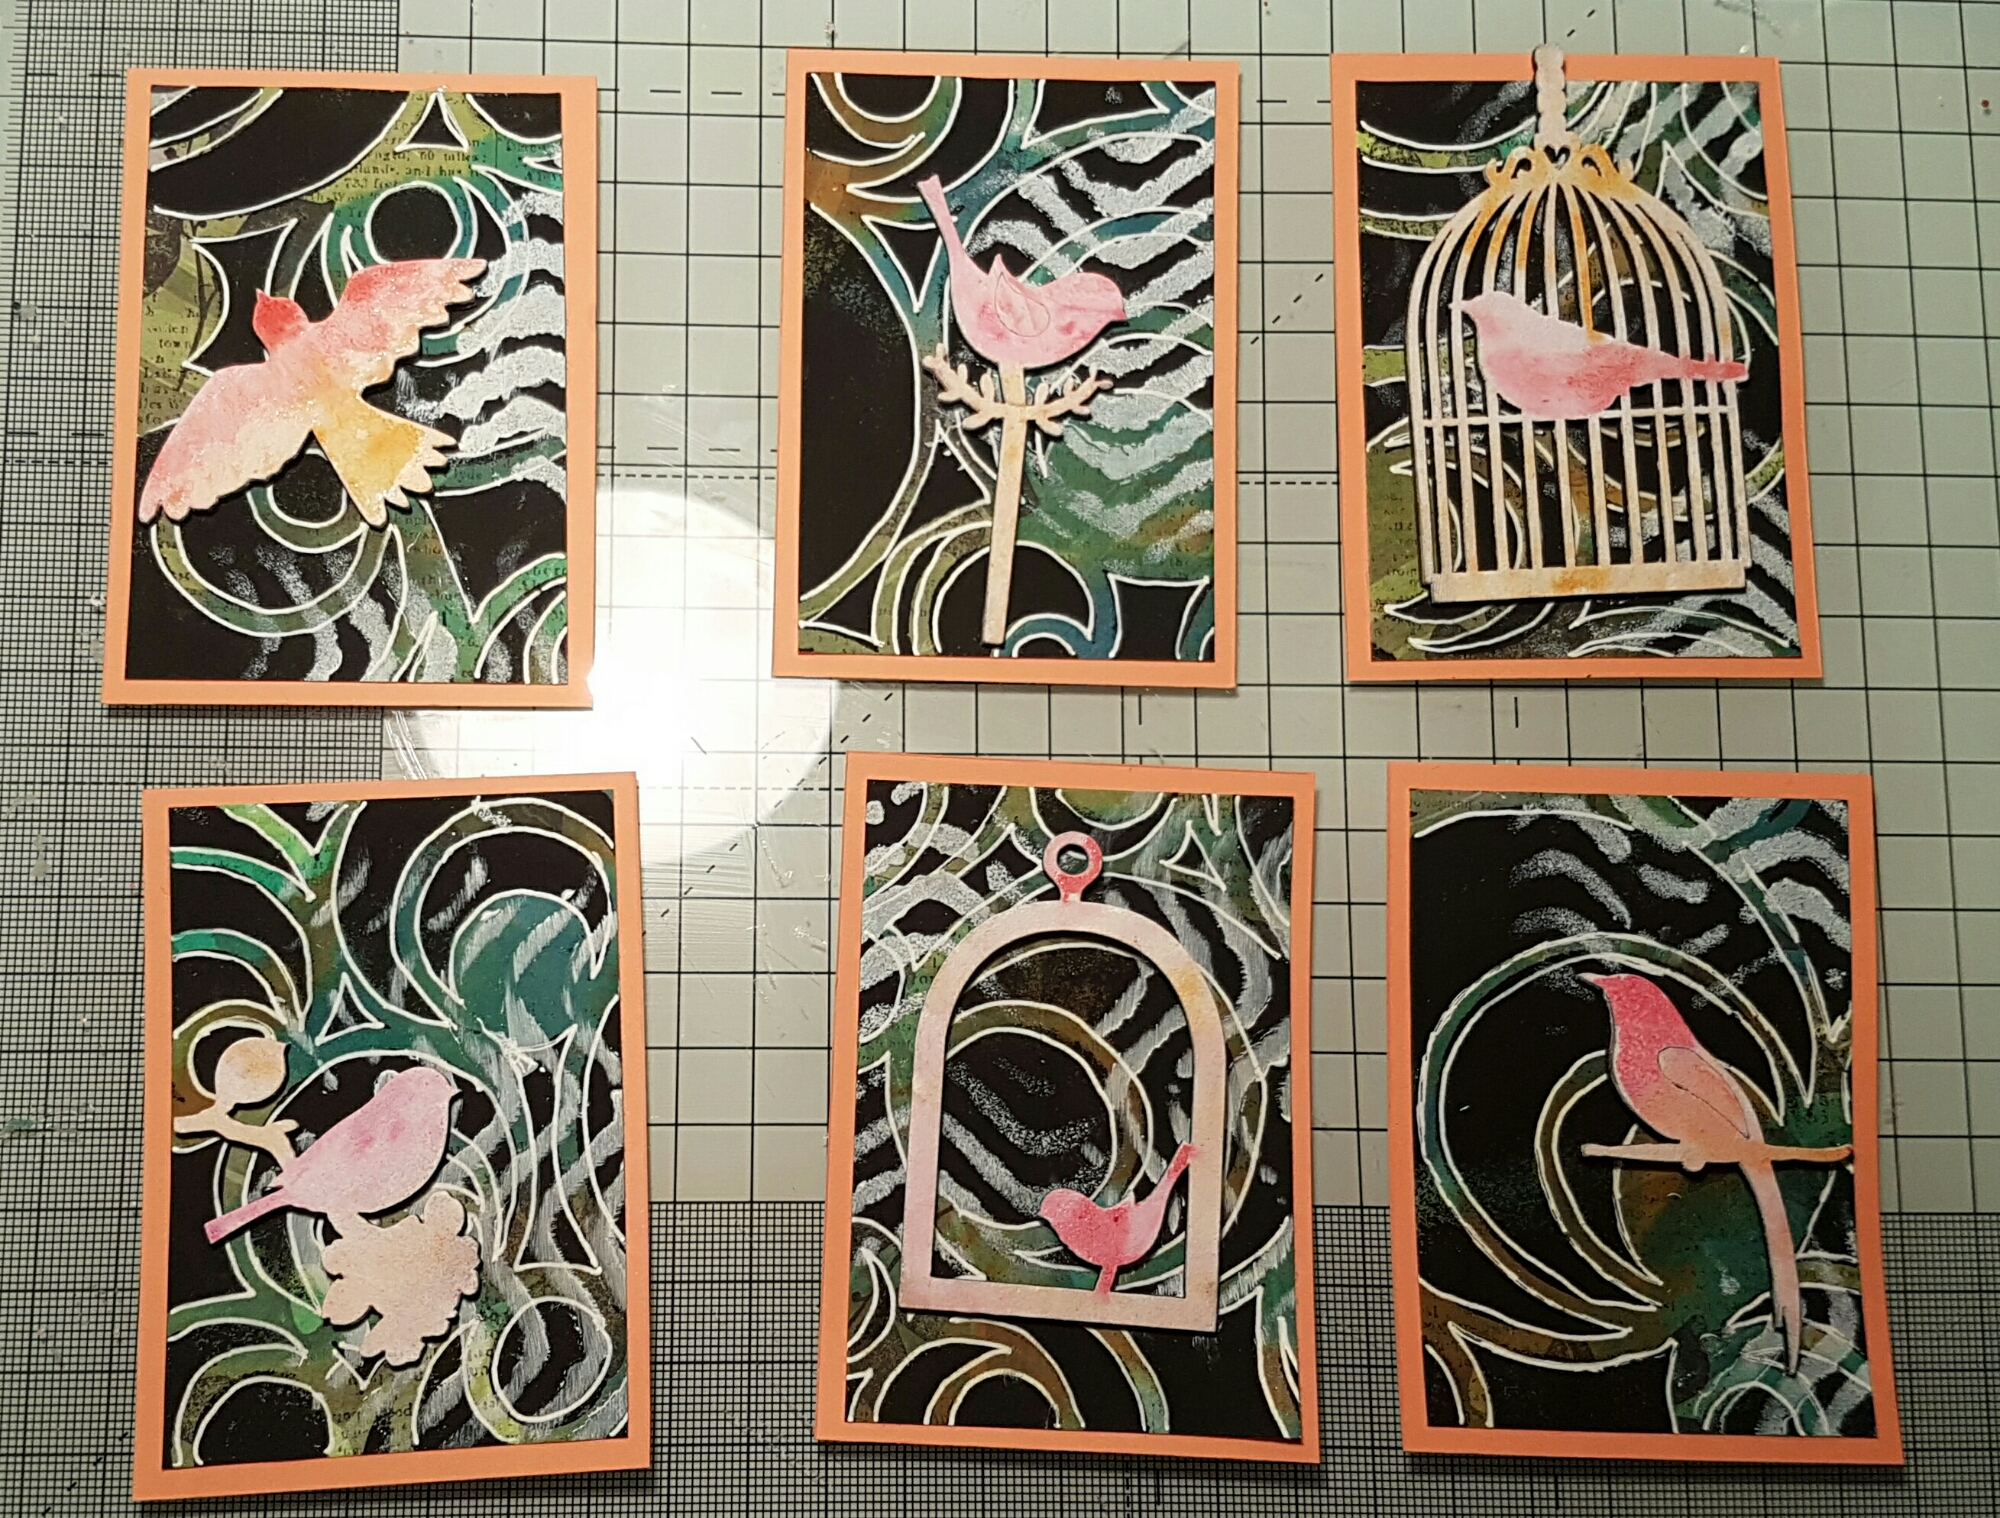
I decided that the circle motifs needed more definition and used a white pen to doodle round. I then had to work out what I wanted to use as the feature and decided to use some bird chipboard pieces I got a while ago from the Range. I painted them with a couple of coats of white paint first to give them a base. 

Then I chose a couple of ink colours to add colour to each of the chipboard embellishments.   They are subtly coloured and not as vibrant as I expected but I am really happy with them. The photo of them all together shows them when they were wet and a bit more vibrant.  I chose picked raspberries and spiced marmalade and then some orange cardstock to back them. I thought these colours added a nice contrast. 

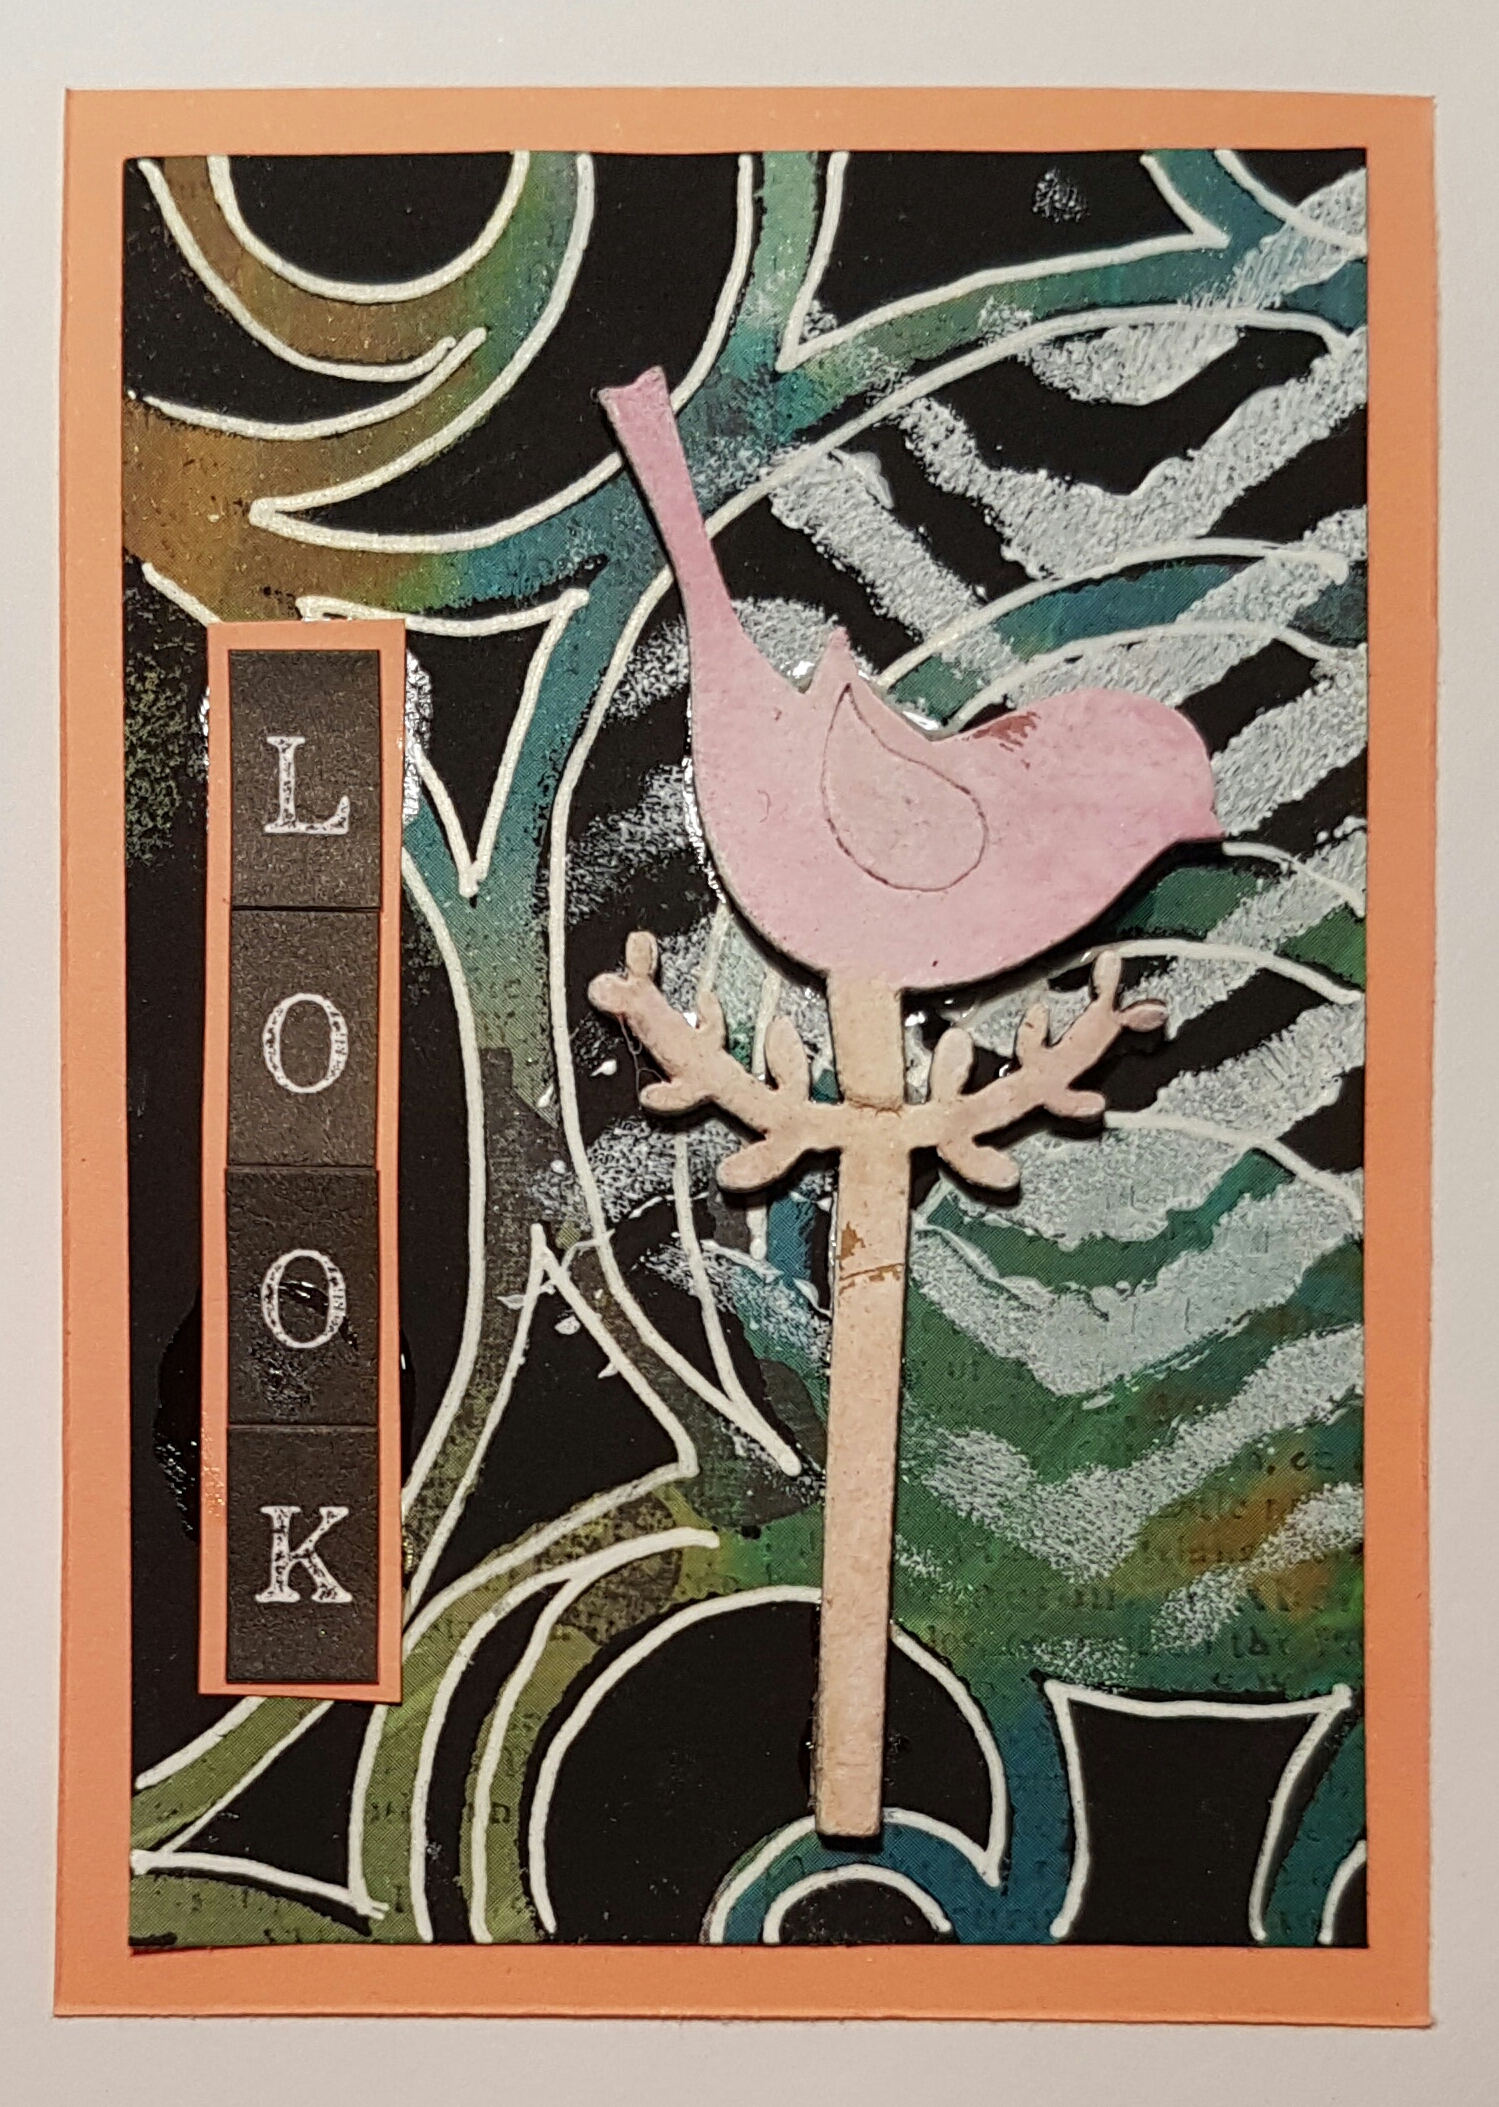
And next to choose titles and stick them down. I mixed them up and some had one word titles made from letter stickers, and the others a phrase made up of word stickers. For both I framed the titles with the same orange cardstock to make them pop! 

I must admit I love how these all turned out. 

And the last one… 

So I hope that these are liked by others… if not… well I get to keep them for myself! 

Happy crafting! 

Catherine 

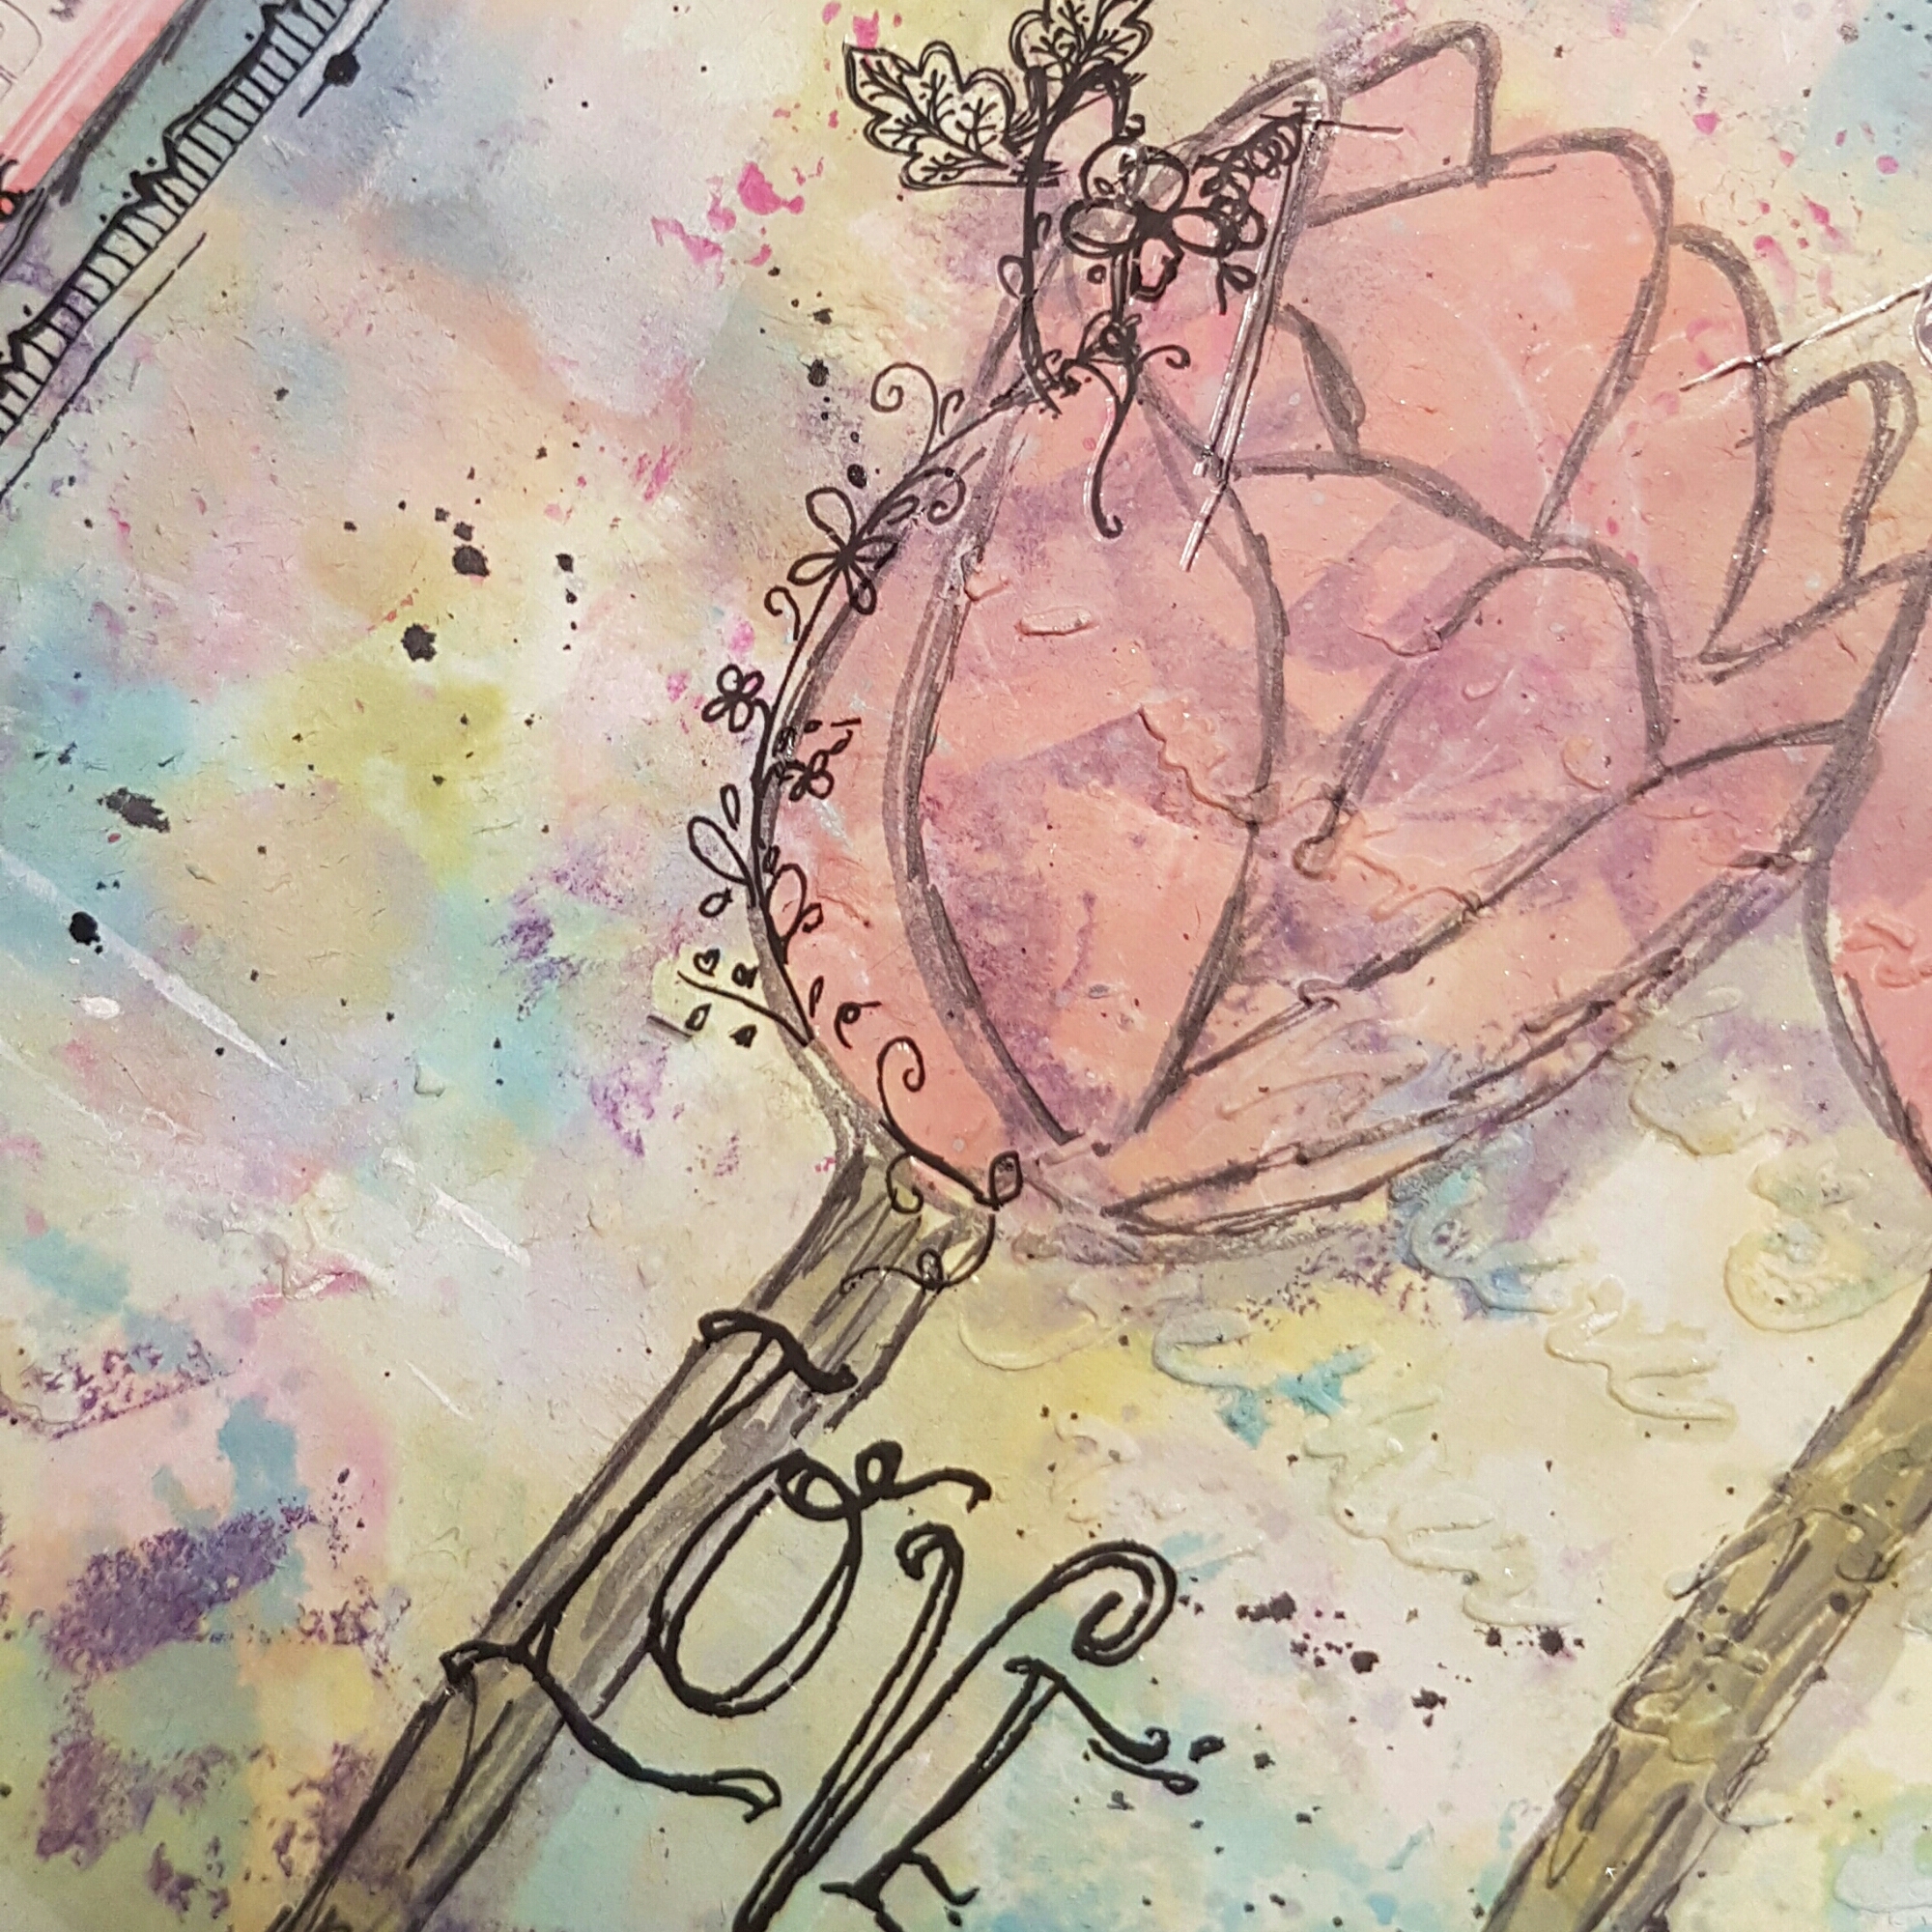
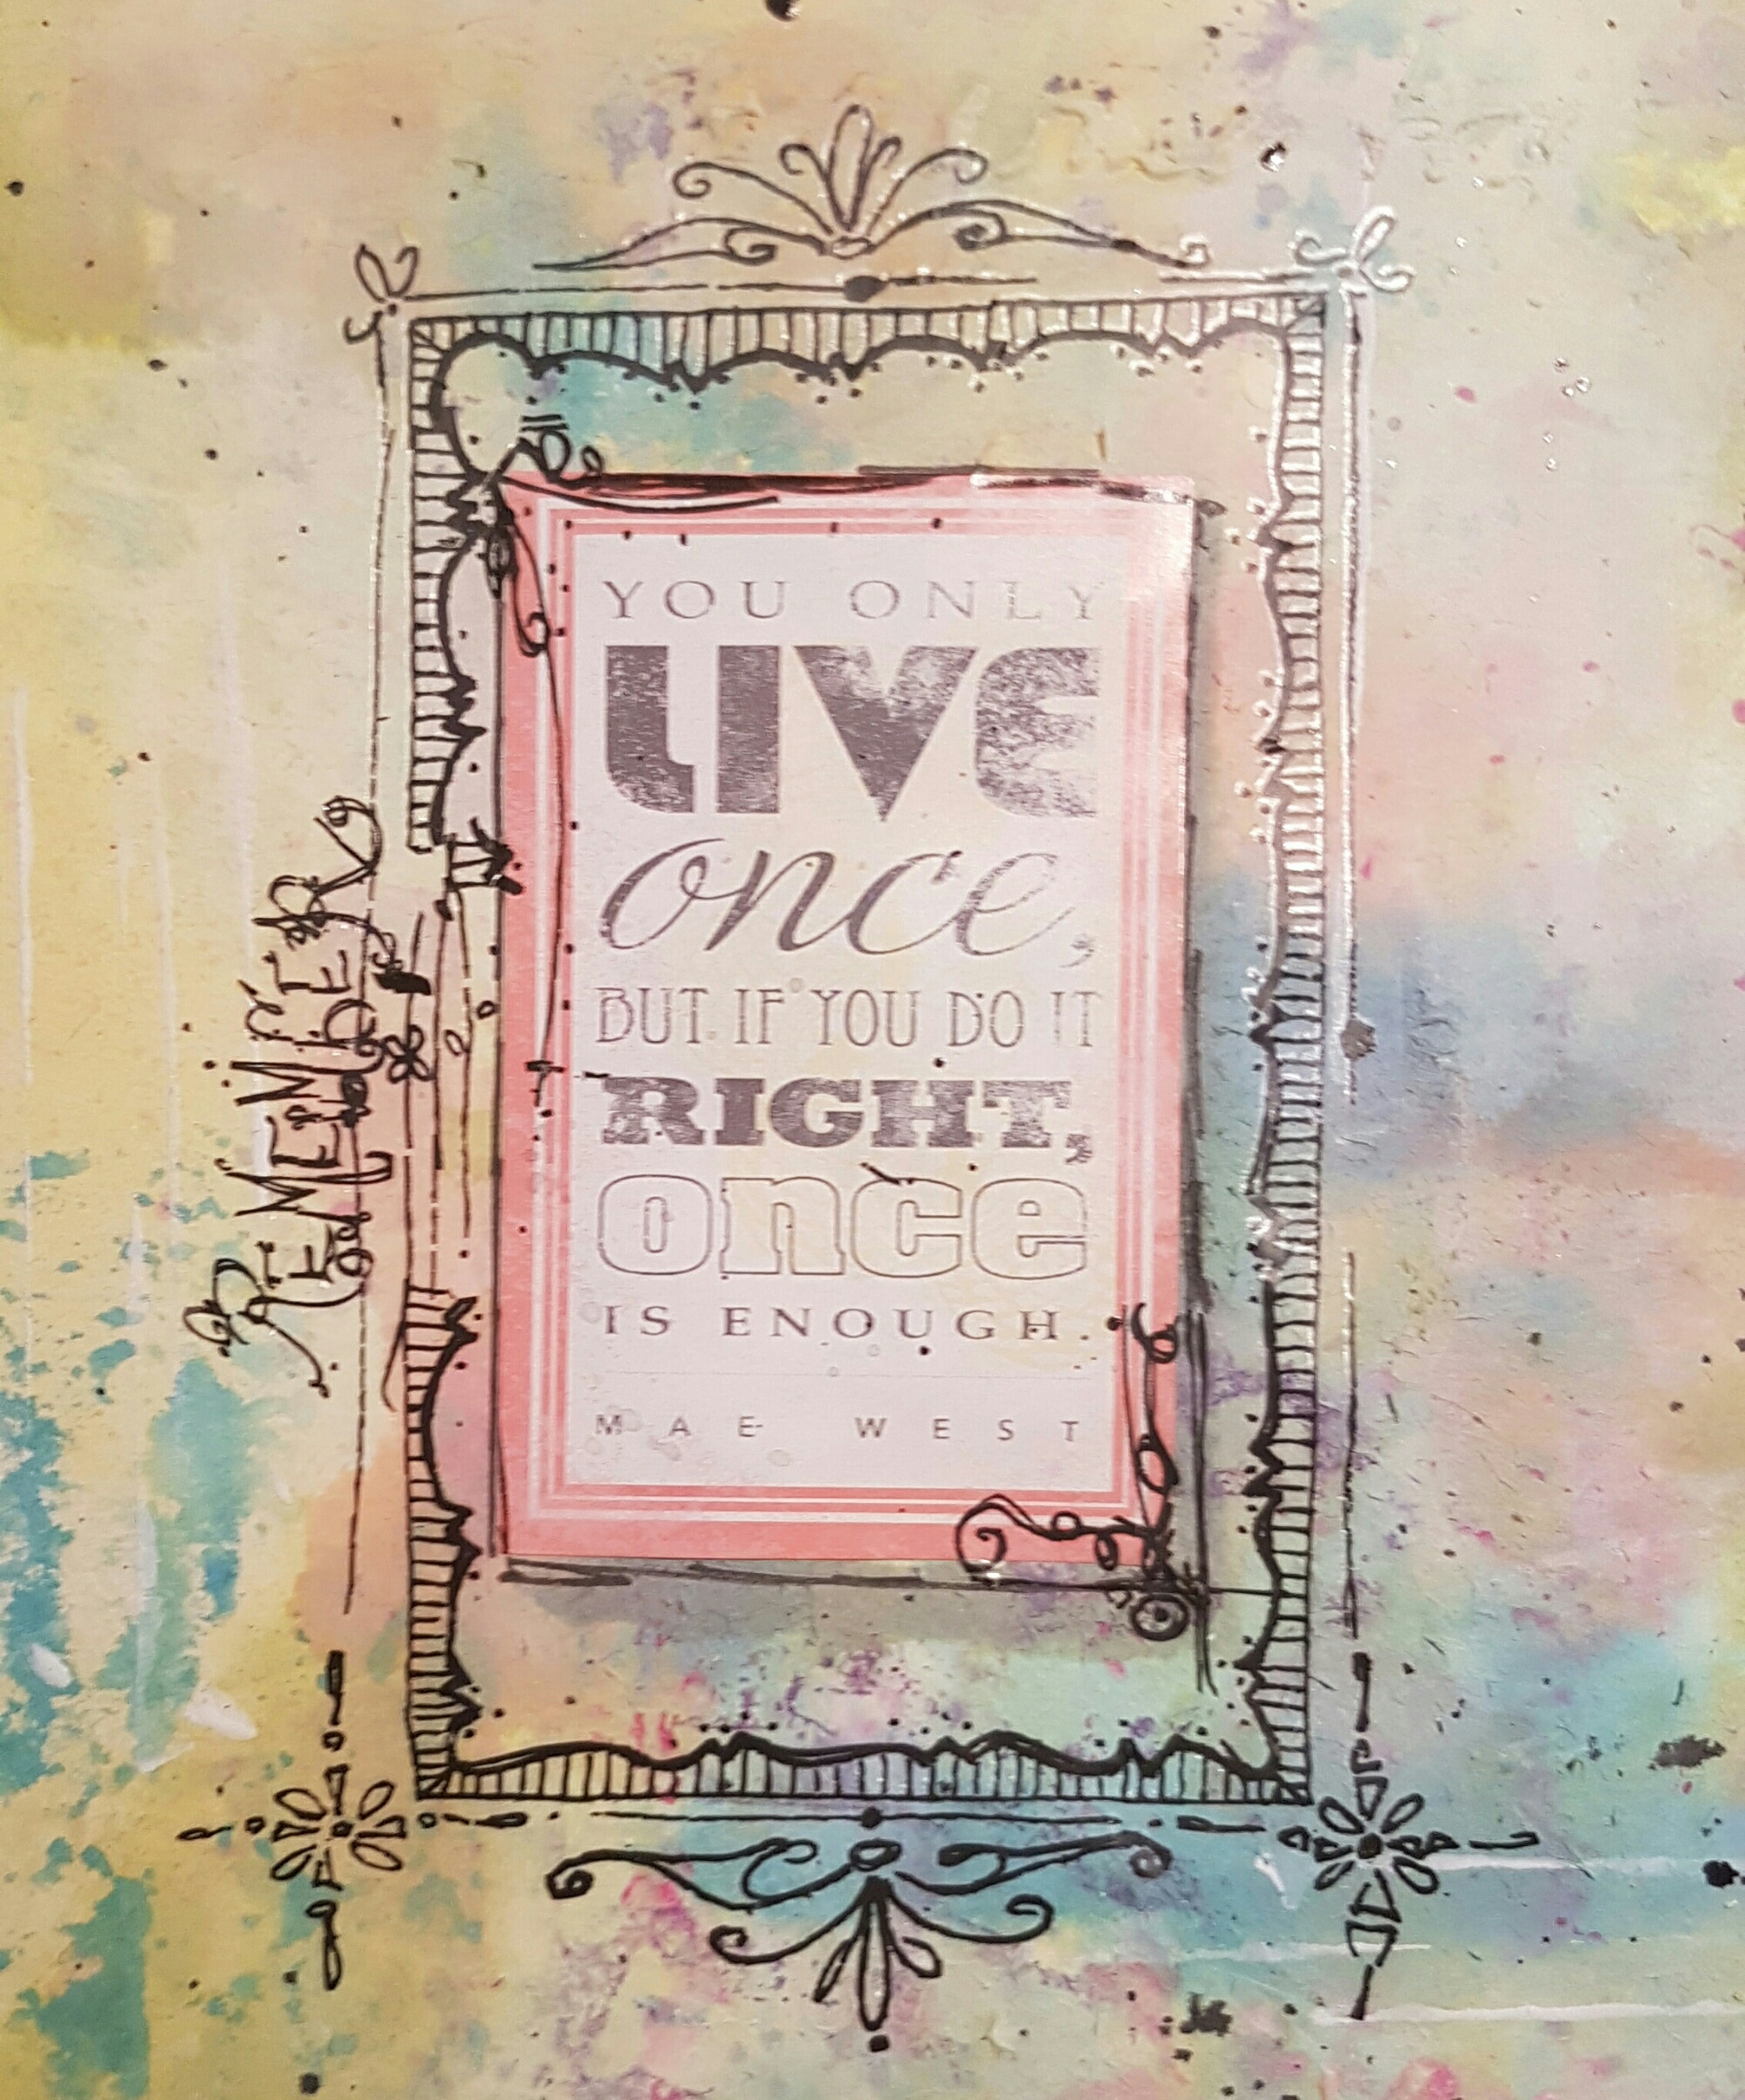
Spring journal page

Hi

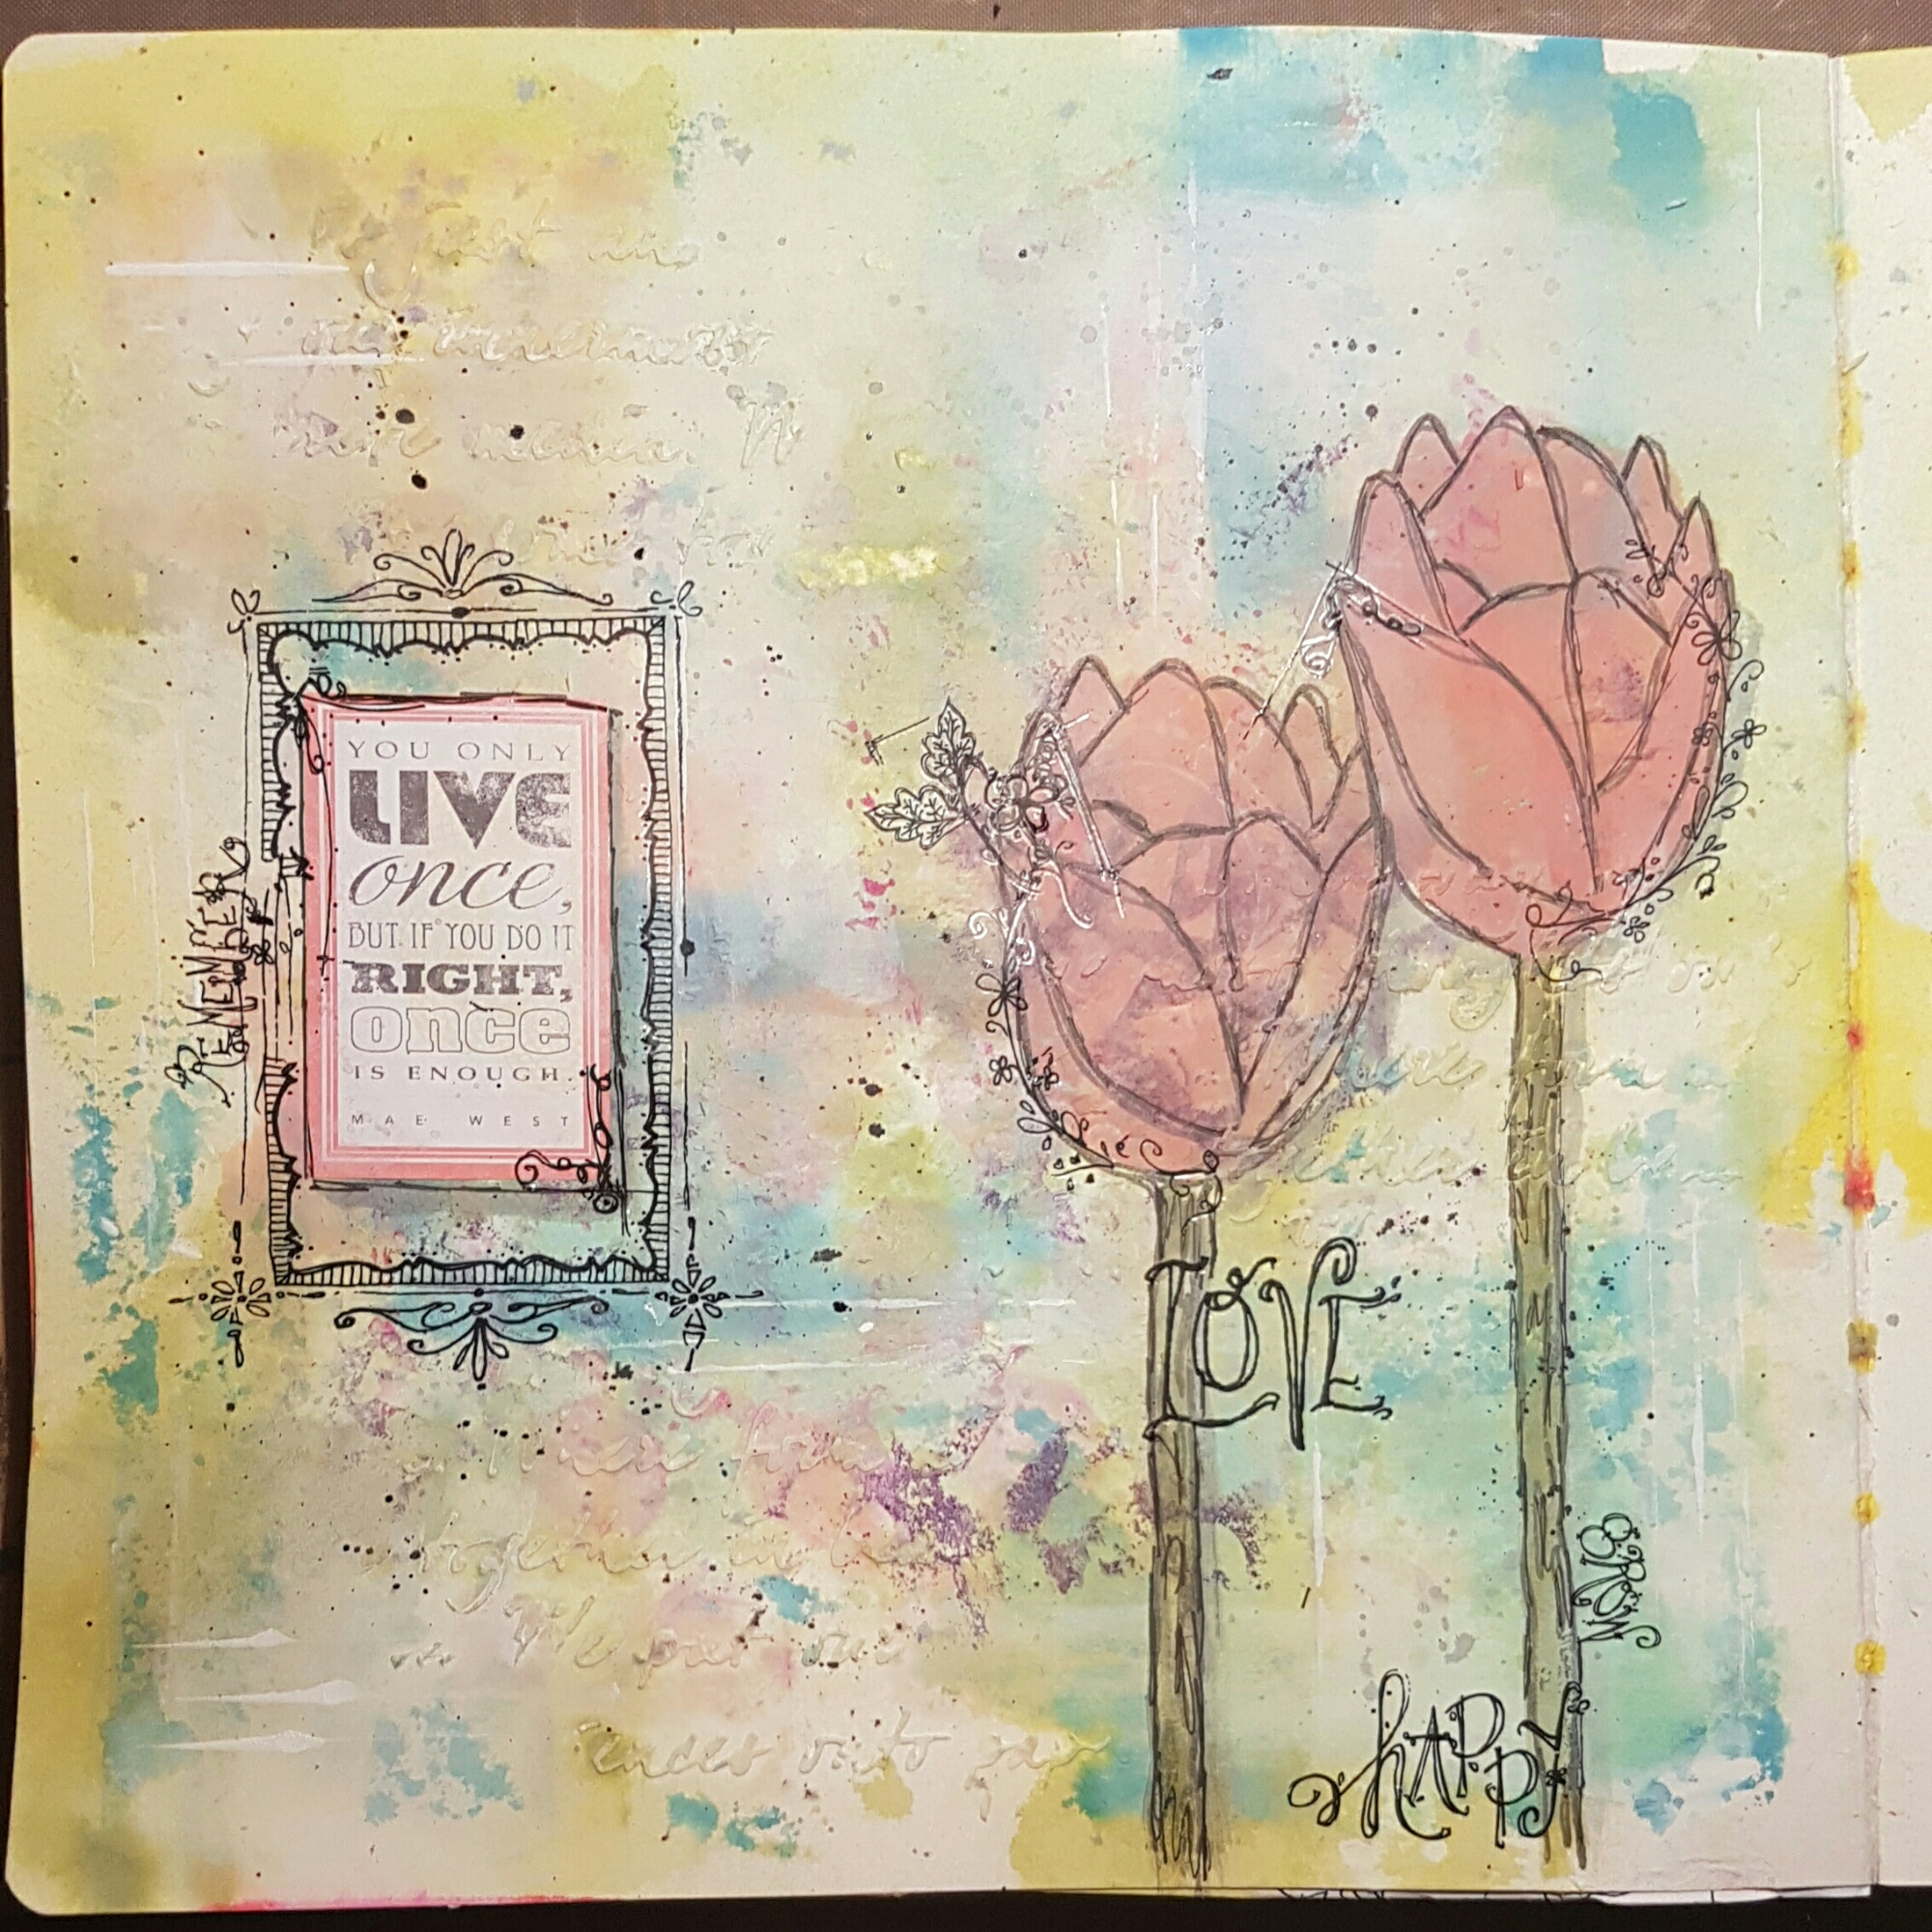
I have more distress oxide fun to share today. This is a journal page I made in response to the theme of spring and Holland. It is the closest I get to a tulip! 

The page is in my Dylusions journal and I had a fair amount of product on the page already wiped off from other projects. 

It has some texture paste and some paints and inks I think. I wanted to use my new distress oxides though and so decided to put them on straight onto the page. 

This created some blocks of colour… to which I needed to add water to move them and oxidise them.   

Once I had done the initial water spray I dried the page and then started adding more ink using the smooshing packaging application that Missy Widden uses in her YouTube videos. This softened and blended the colours and the beautiful oxide inks give such a pretty and chalk type look when they have been wet and dried.

Now time for the focal image. I used the flower stamps from Paperartsy and after stamping in archival I watercoloured using the distress oxide ink. 

I finished the page off with a sticker quote and some rub ons and doodling. I also flicked some black ink onto the page and added little white lines using gesso. 

Love how gentle this page ended up.  

Happy crafting! 

Catherine 

DT: Craftyhazelnuts patterned paper challenge 

Hello… it’s March the first… so happy St. David’s Day and even more importantly … Happy birthday to my Auntie M! X

Today I have my contribution towards the Craftyhazelnuts patterned paper challenge blog.

I found this fab paper (Print poetry from stampin up) in the stash and realised that the writing stamp from Paperartsy would work well with it! 

I decided to emboss the image and sentiment to add some texture to the card. I also made the card blank out of the soft suede cardstock that goes so well with the paper.

Now off to see what my team mates on the design team for the blog have been making… 

Happy crafting! 

Catherine 

For ATC’S sake … 100!

I used a scrap of textured cardstock that I had got some pattern and colour on already. Not entirely sure how I did this to be honest… it might have been gelatos? 

Anyway… I added the stamping using White acrylic.  Then added the shading using Inktense pencils and blended with water. I also added the little scrap of fabric and the stamped bird. 

Finished off with doodles and a stamped quote. 

Happy crafting! 

Catherine 
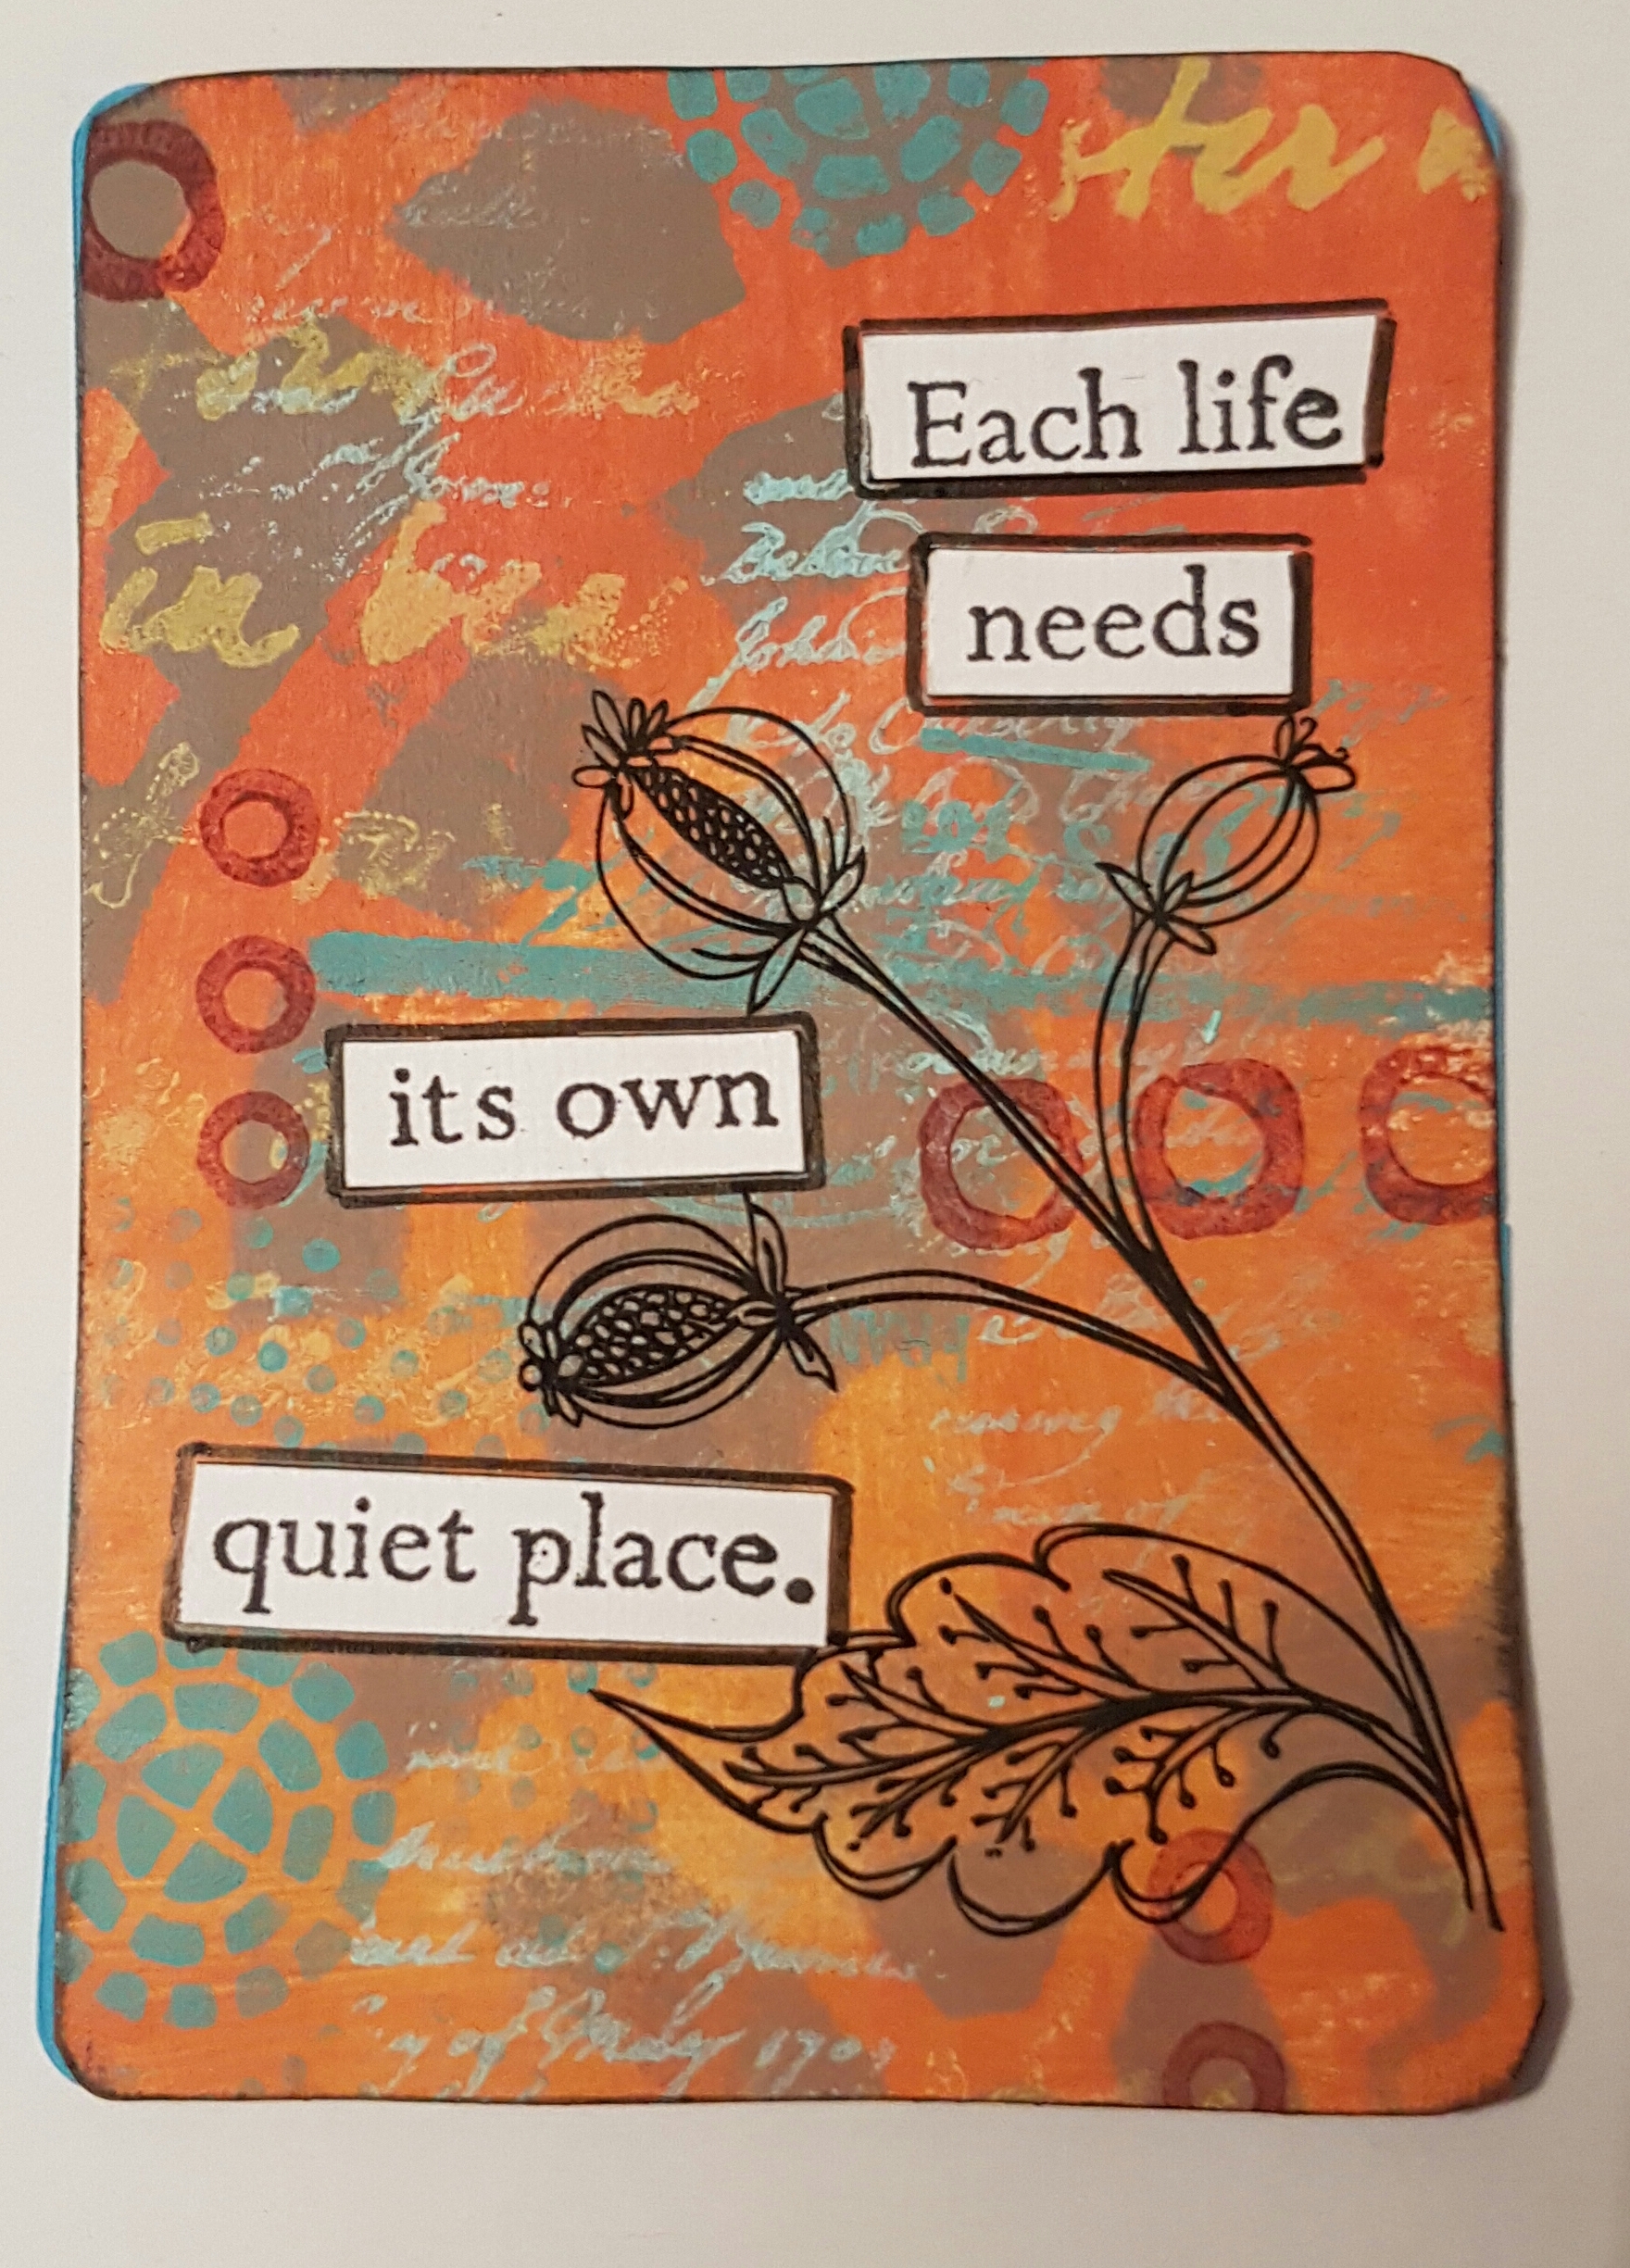
Distress oxide fun!

Well this post is a bit bittersweet for me as it was meant to be accompanied with a YouTube video. The only problem is that during the edit I managed to delete some of the video which meant it no longer made sense. So now no video! 

I loved playing with these inks for the first time and came up with some interesting backgrounds. This first one is the usual wrinkle free distress background but using distress oxide.

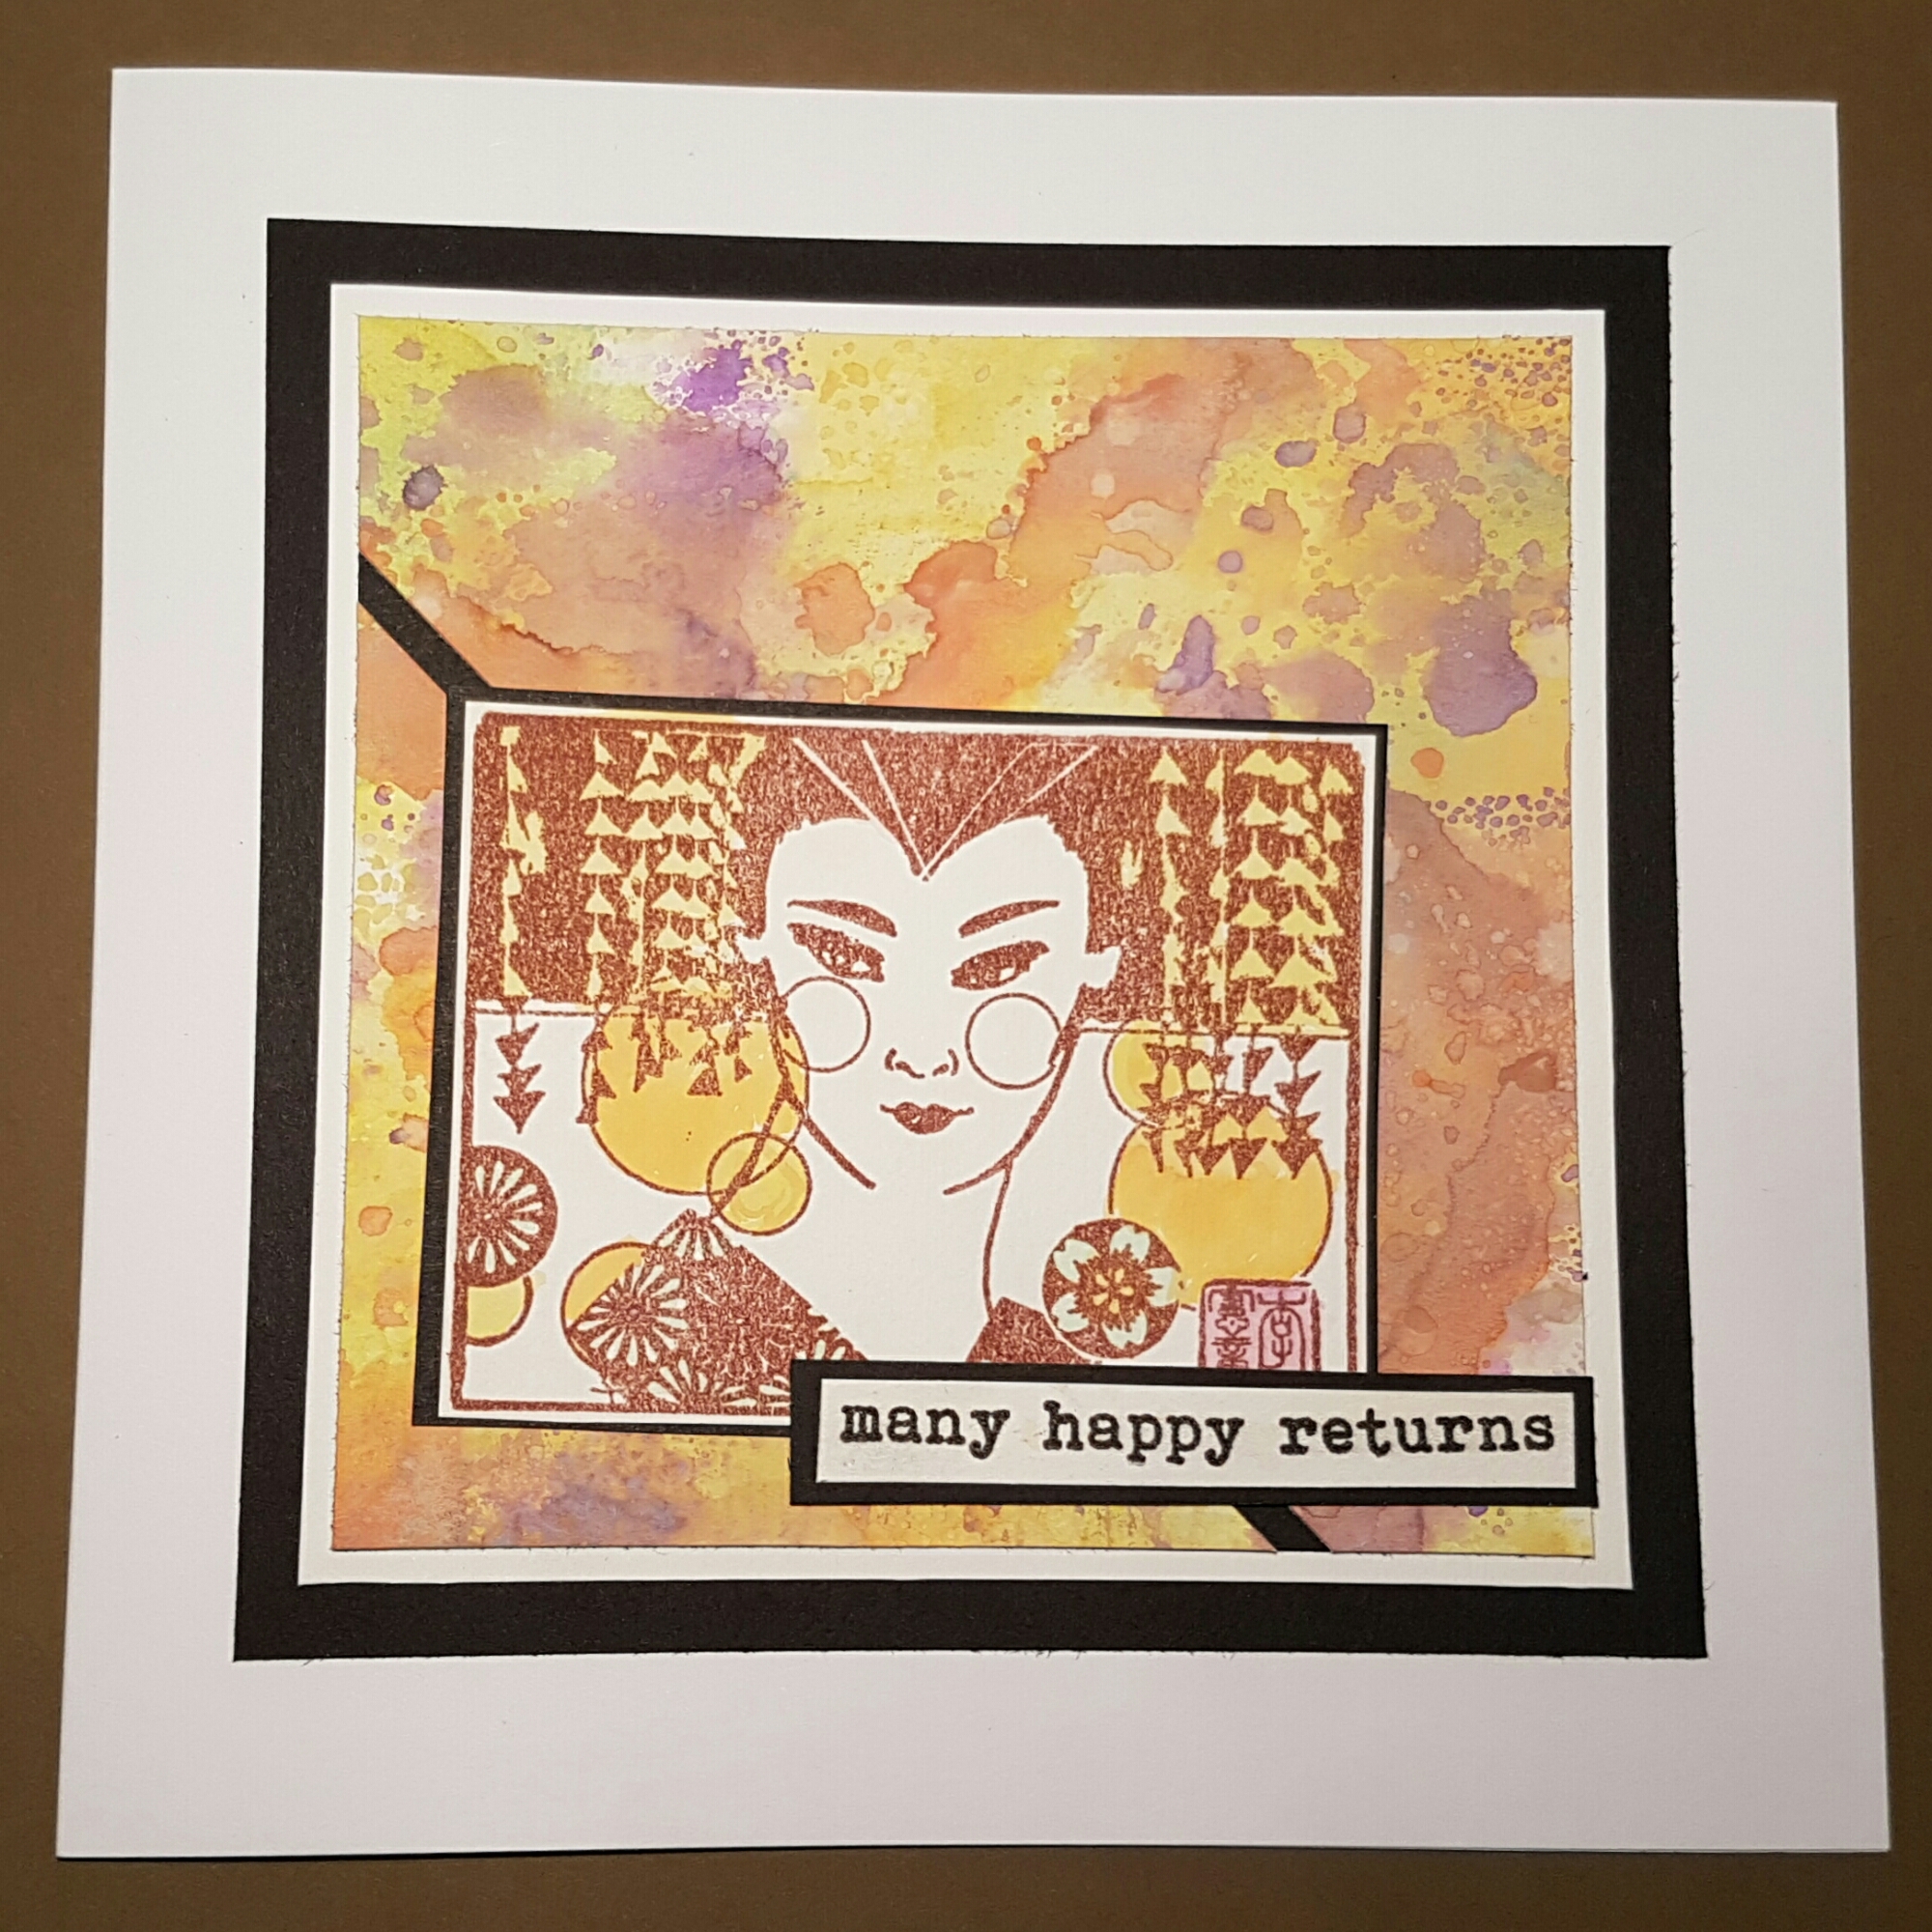
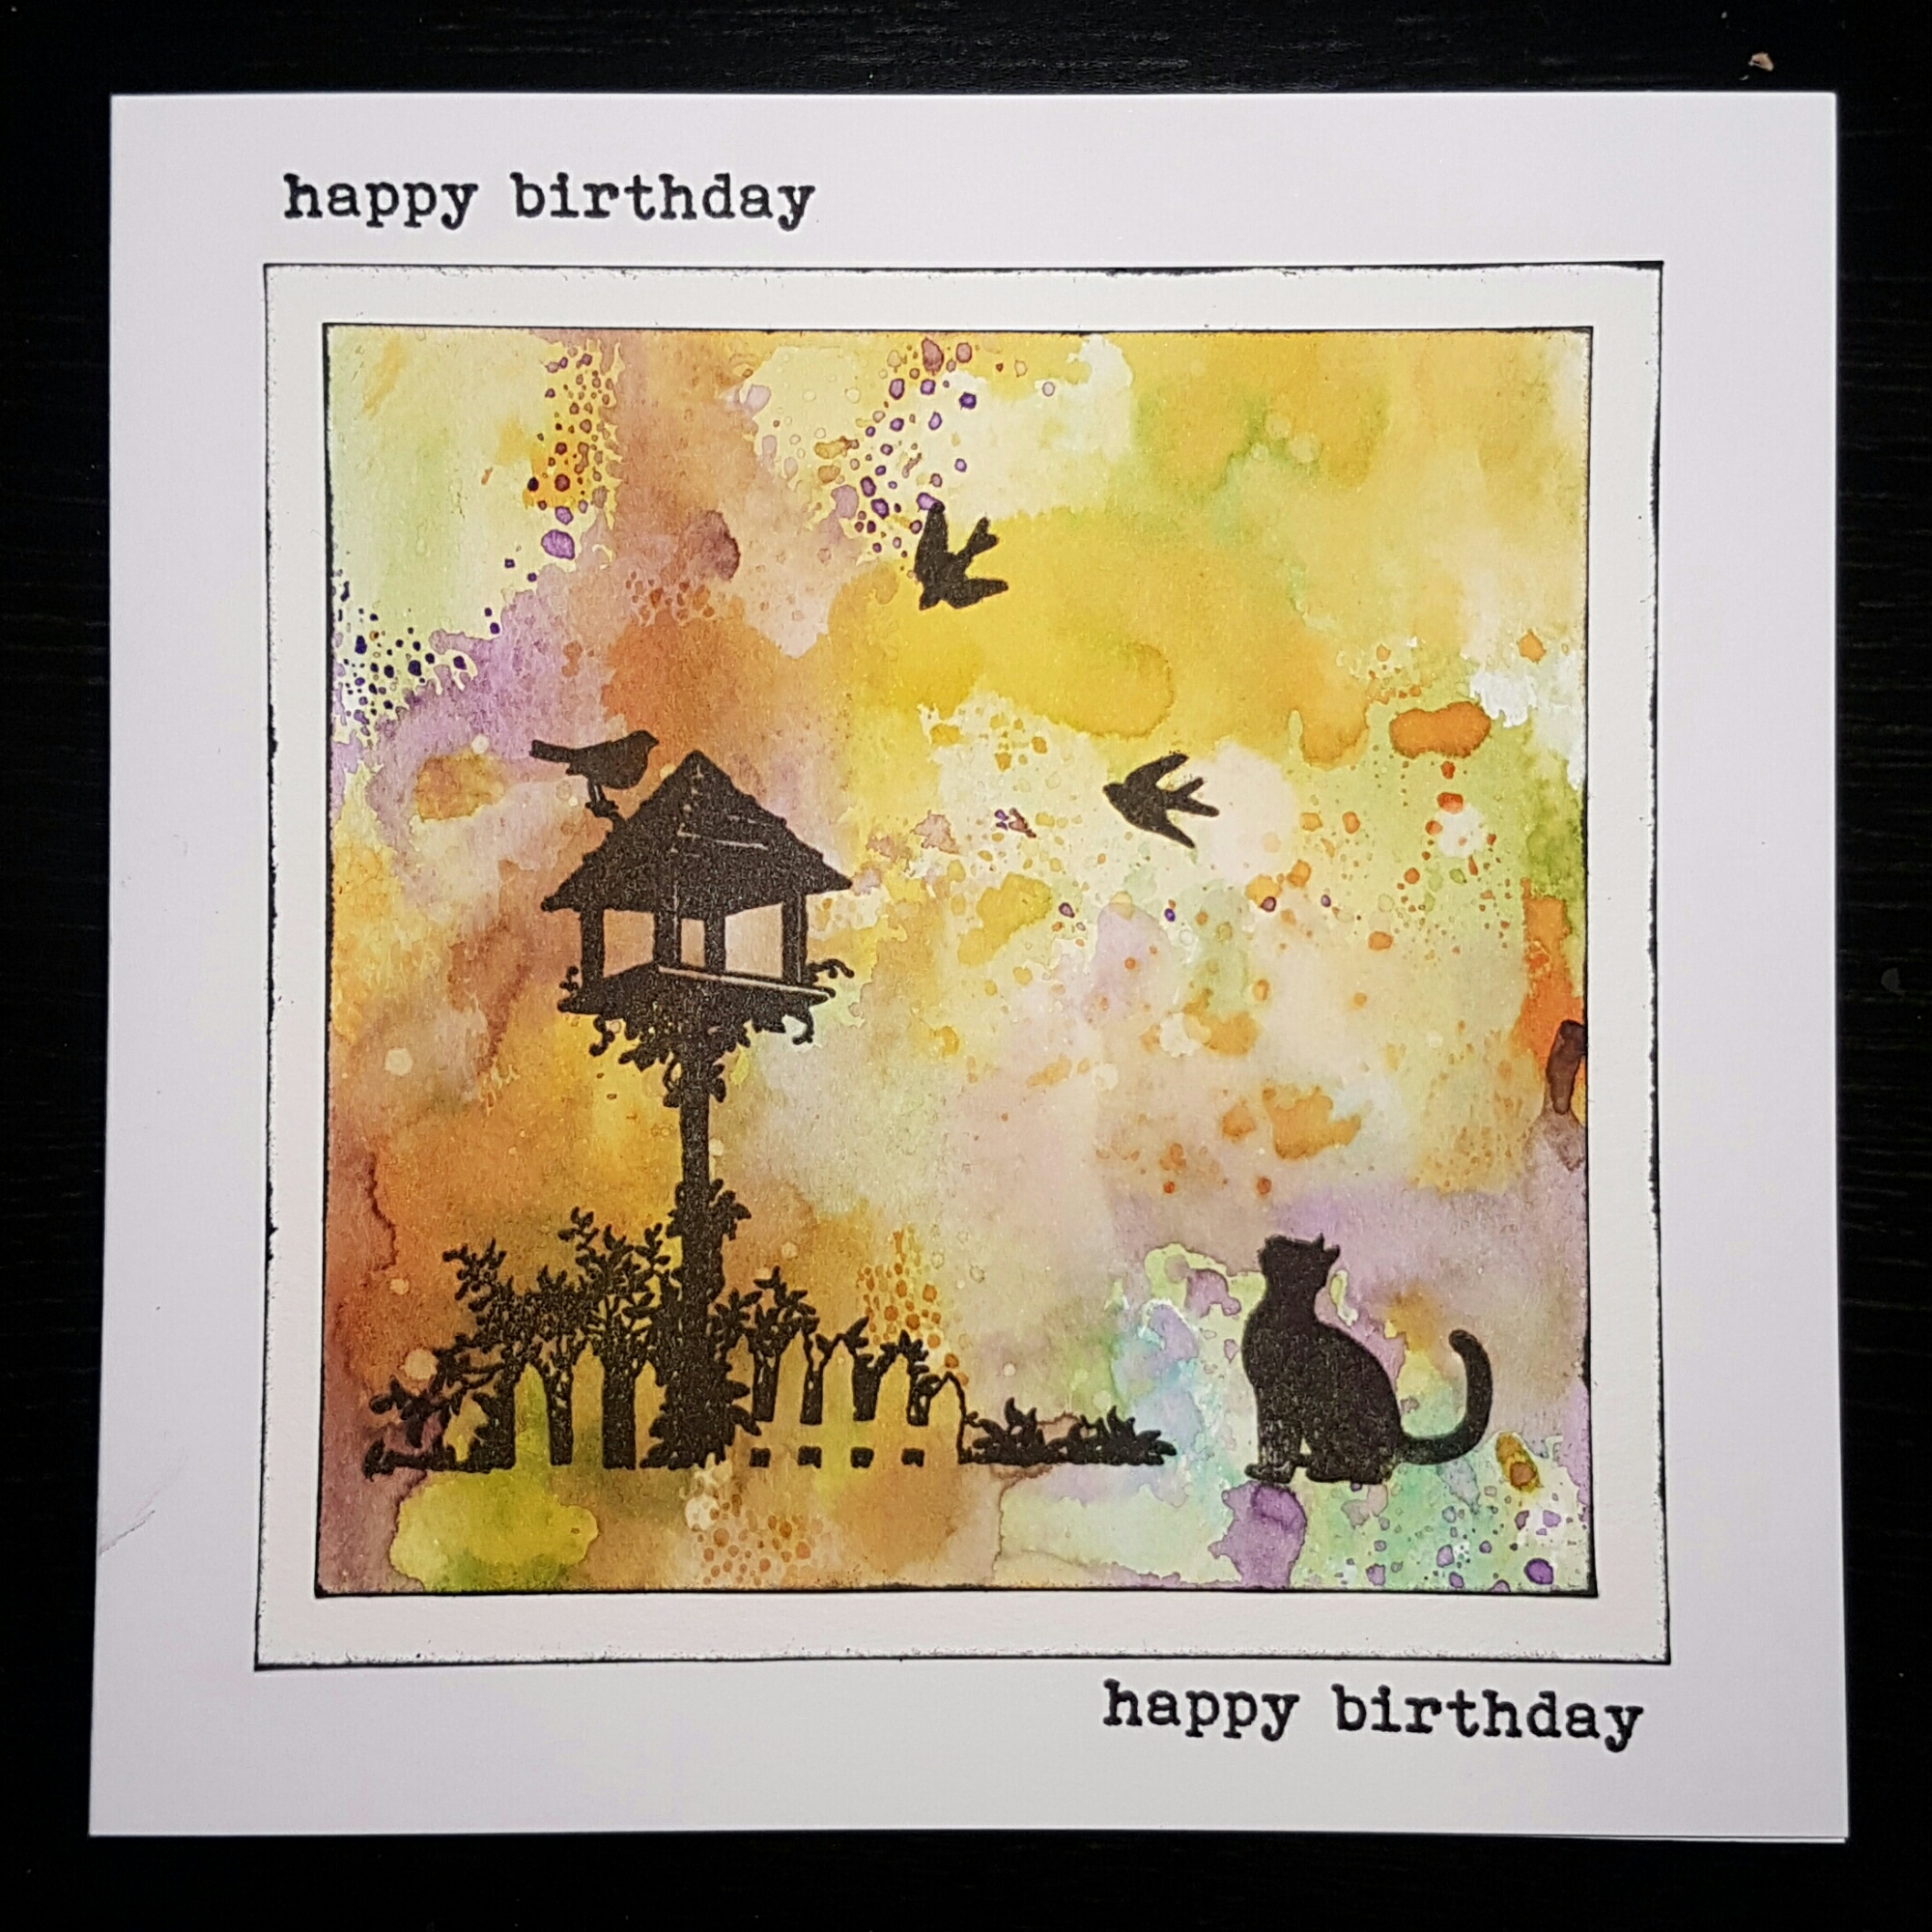
I then used a Lynne Perrella stamps and water coloured it using the same inks and made this card. 

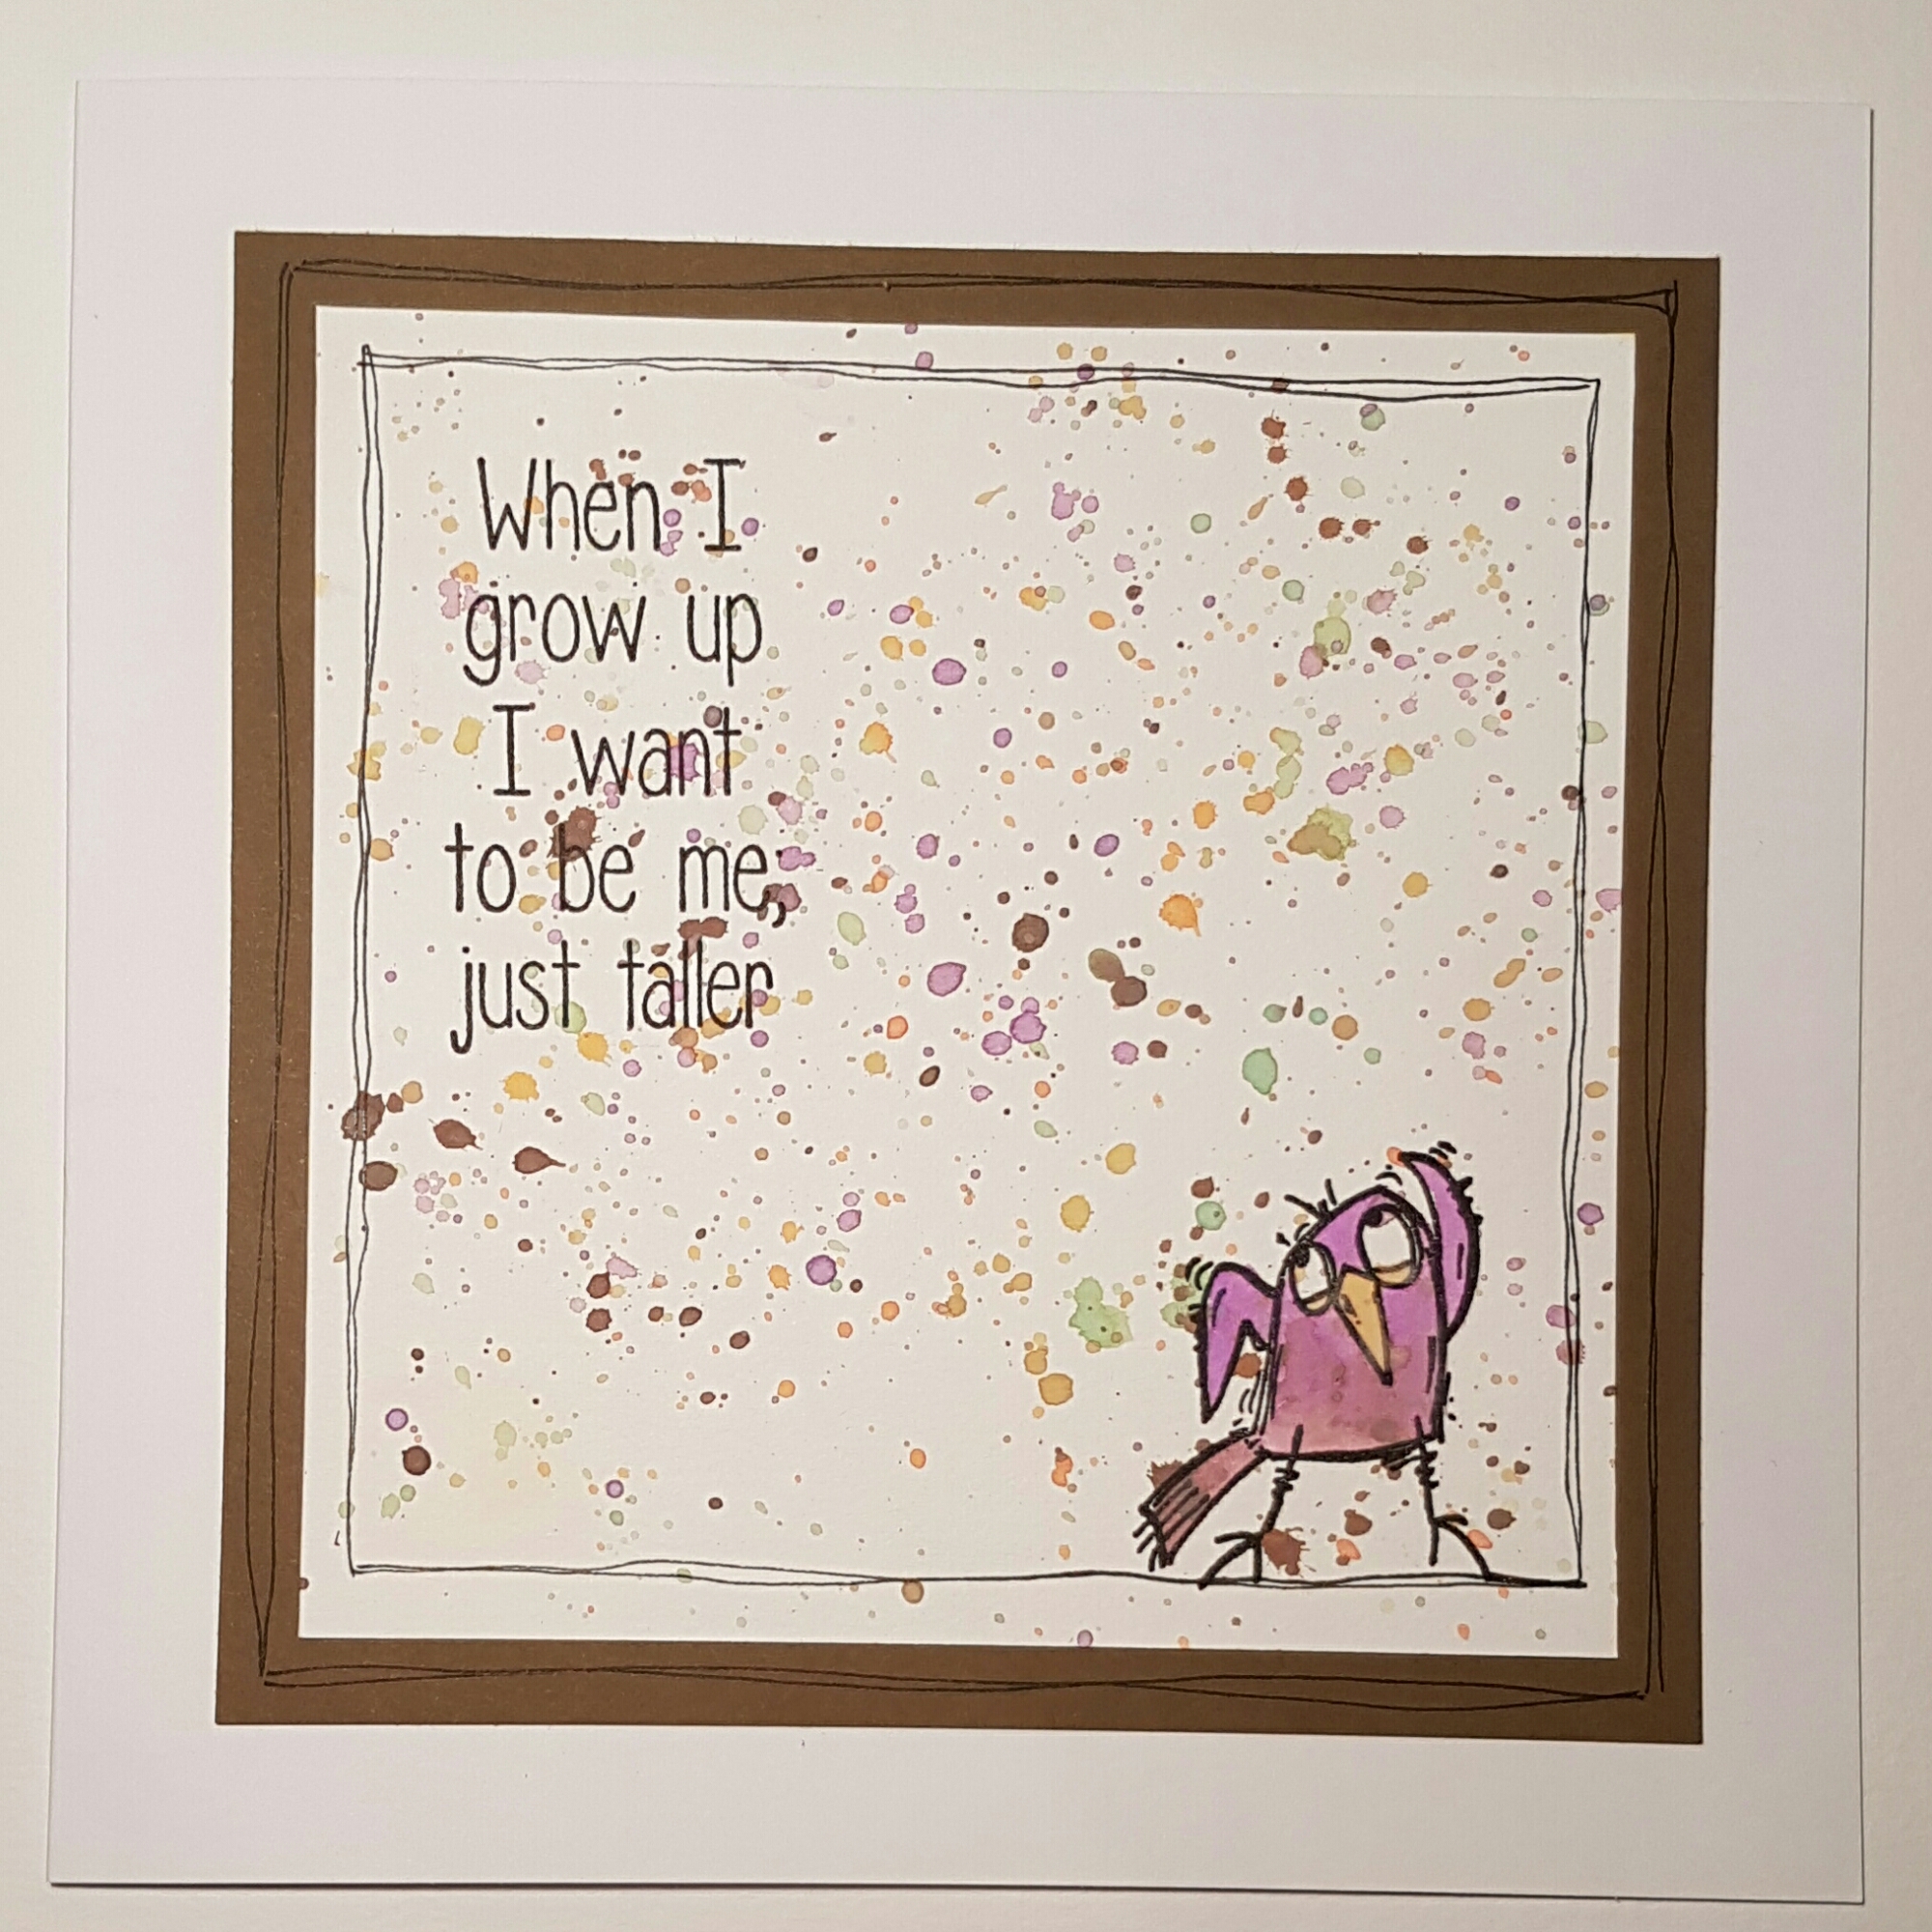
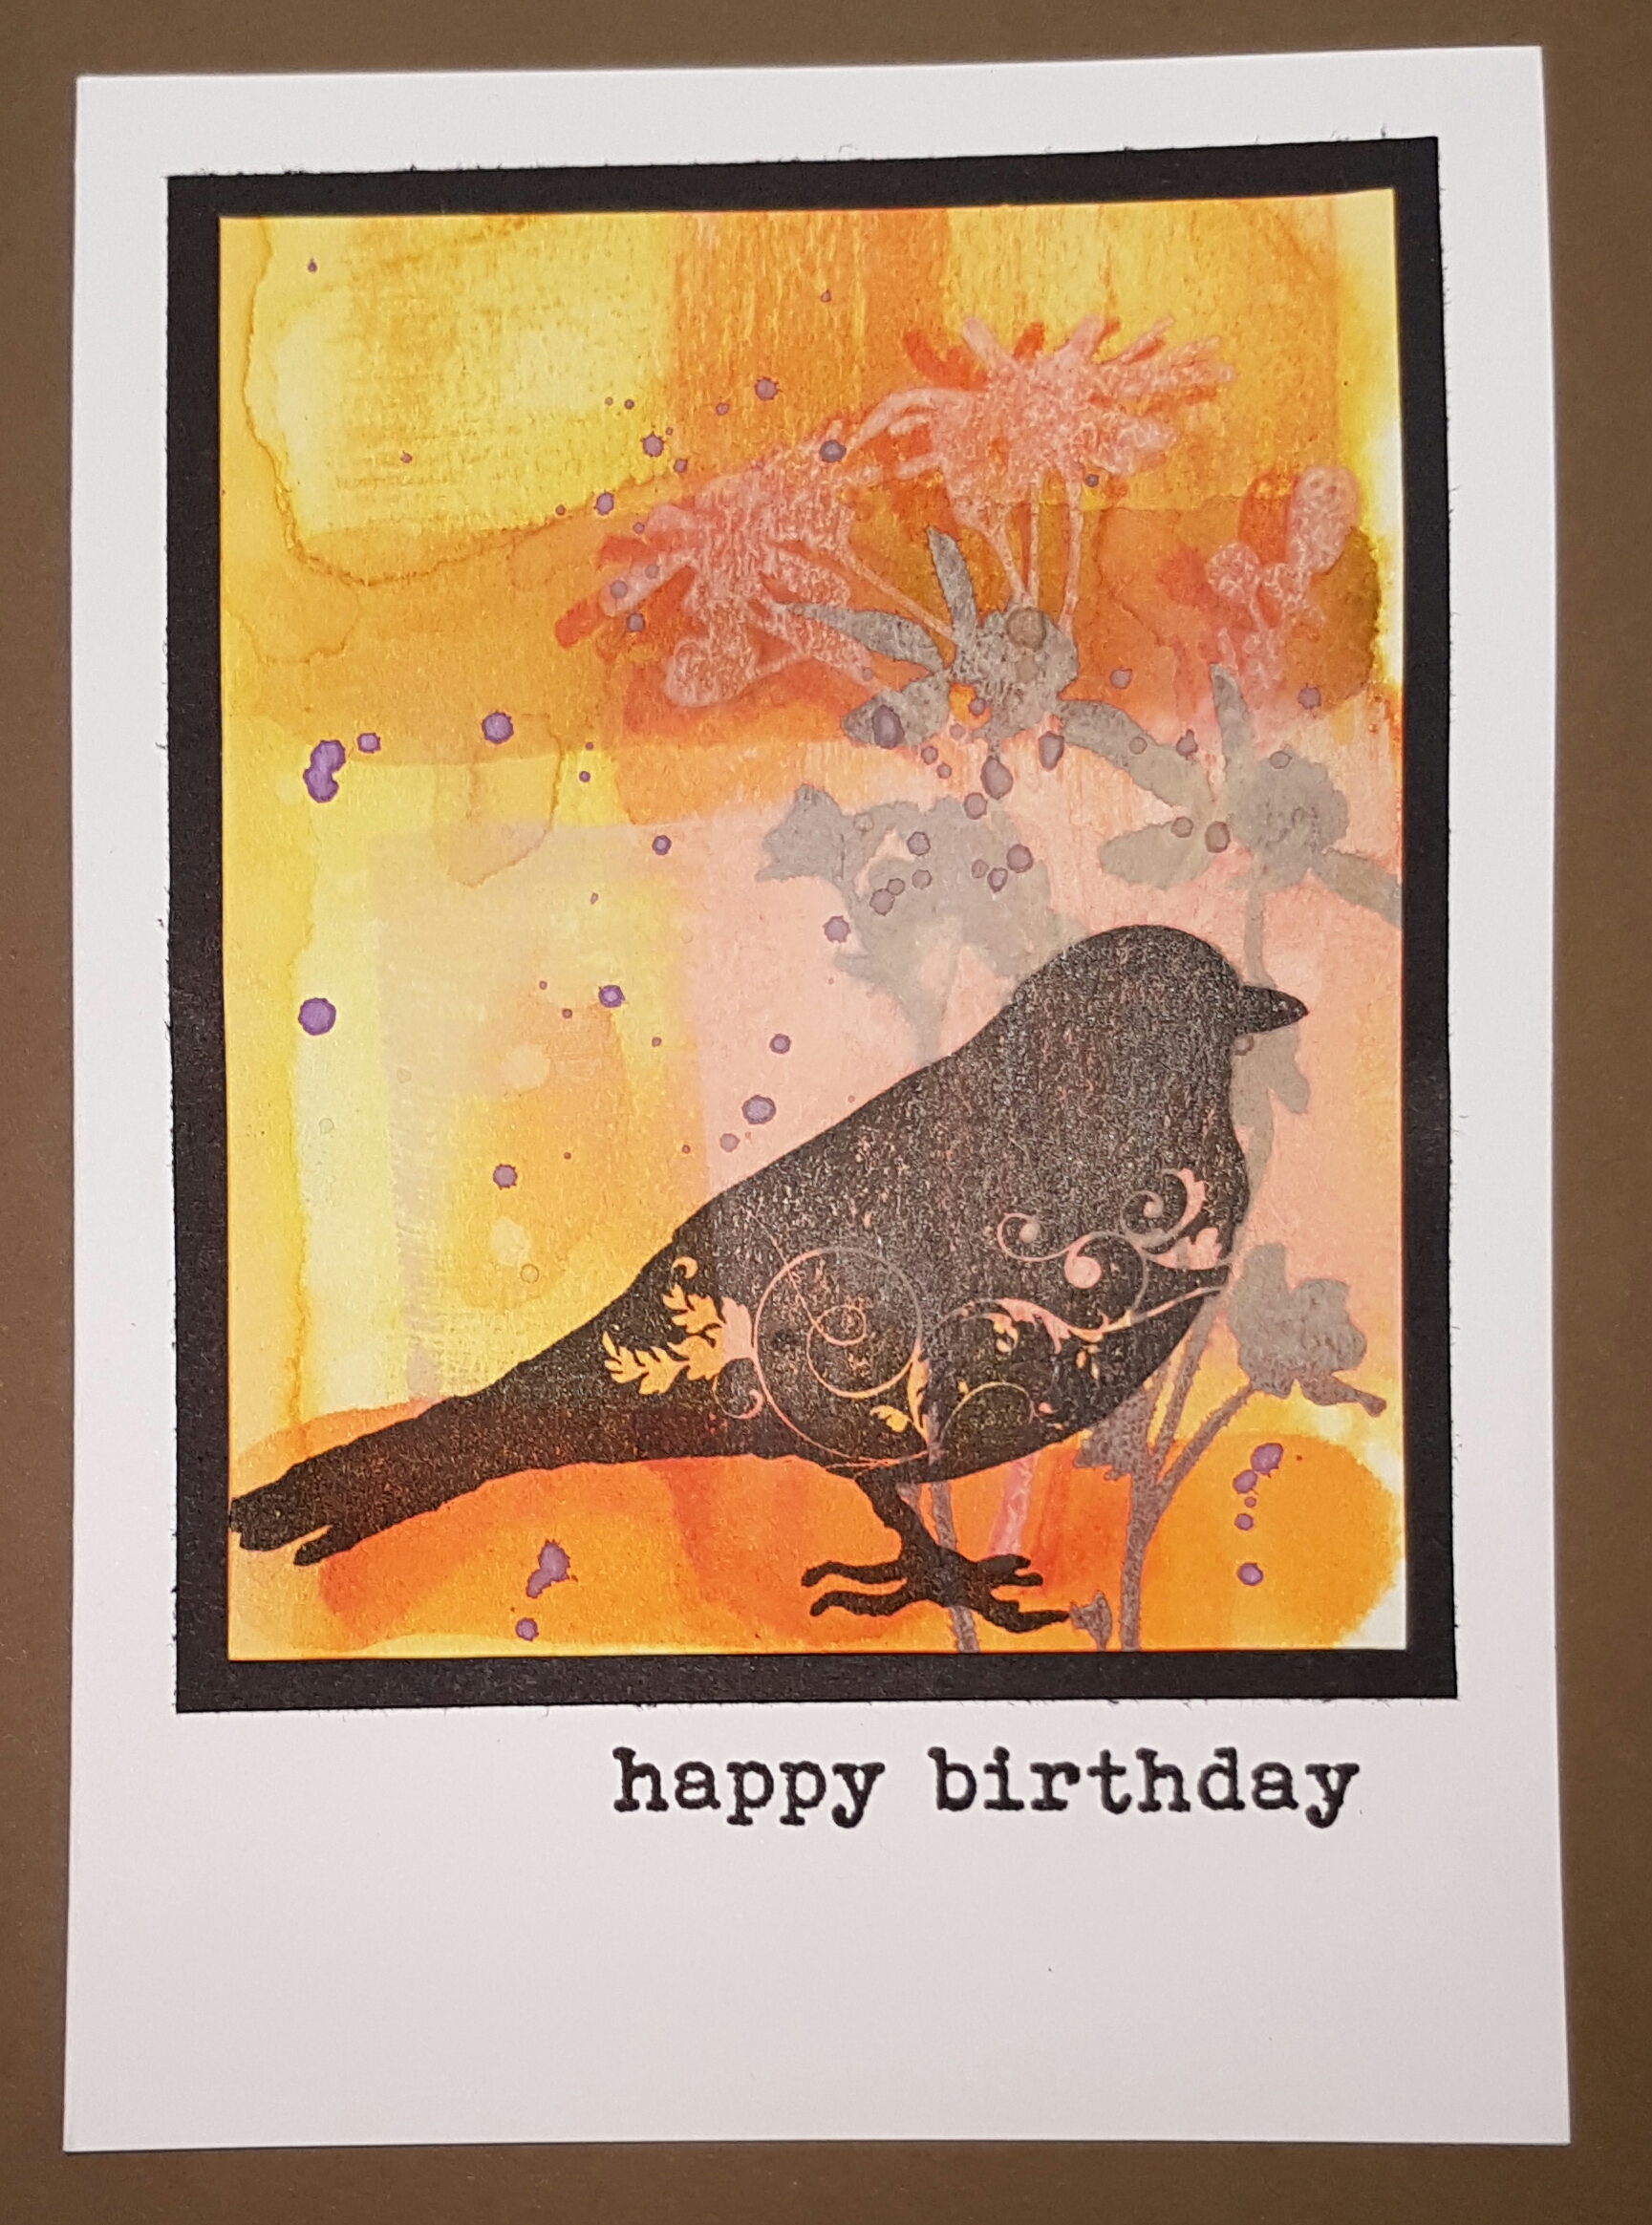
Next up is a splash background…. I saw this on a Jennifer Maguire YouTube video. This provided a fun confetti background … perfect for this Zinski stamped bird and sentiment. Once stamped the bird was coloured using the oxide ink too.

This next one was using the oxide inks and blending tools… I love this so much as so creamy and smooth a finish. I then also stamped with the oxide ink and again when adding a small spritz of water they also oxidised. 

Whilst playing with these inks also did some comparisons with distress inks and stains… 

From that I ended up with a really interesting panel which I finished with the bird from the Hot Picks Paperartsy stamps.

And finally I also did a distress ink version of the wrinkle free distress background. 

This I finished off with these Clarity stamp garden stamps… love it! 

So yes I love what I made just frustrated that the video didn’t work… of course I couldn’t let it be… and so late on Saturday I filmed another video… 
And from that made a card and a background for another project I can’t share yet! 

 here is the link to the video!

Happy crafting!

Catherine 
Scrapping again!

My lovely friend Helen has got me scrapping again… and courtesy of her class and Missy Widden YouTube videos it is a lovely mix of traditional and mixed media. 

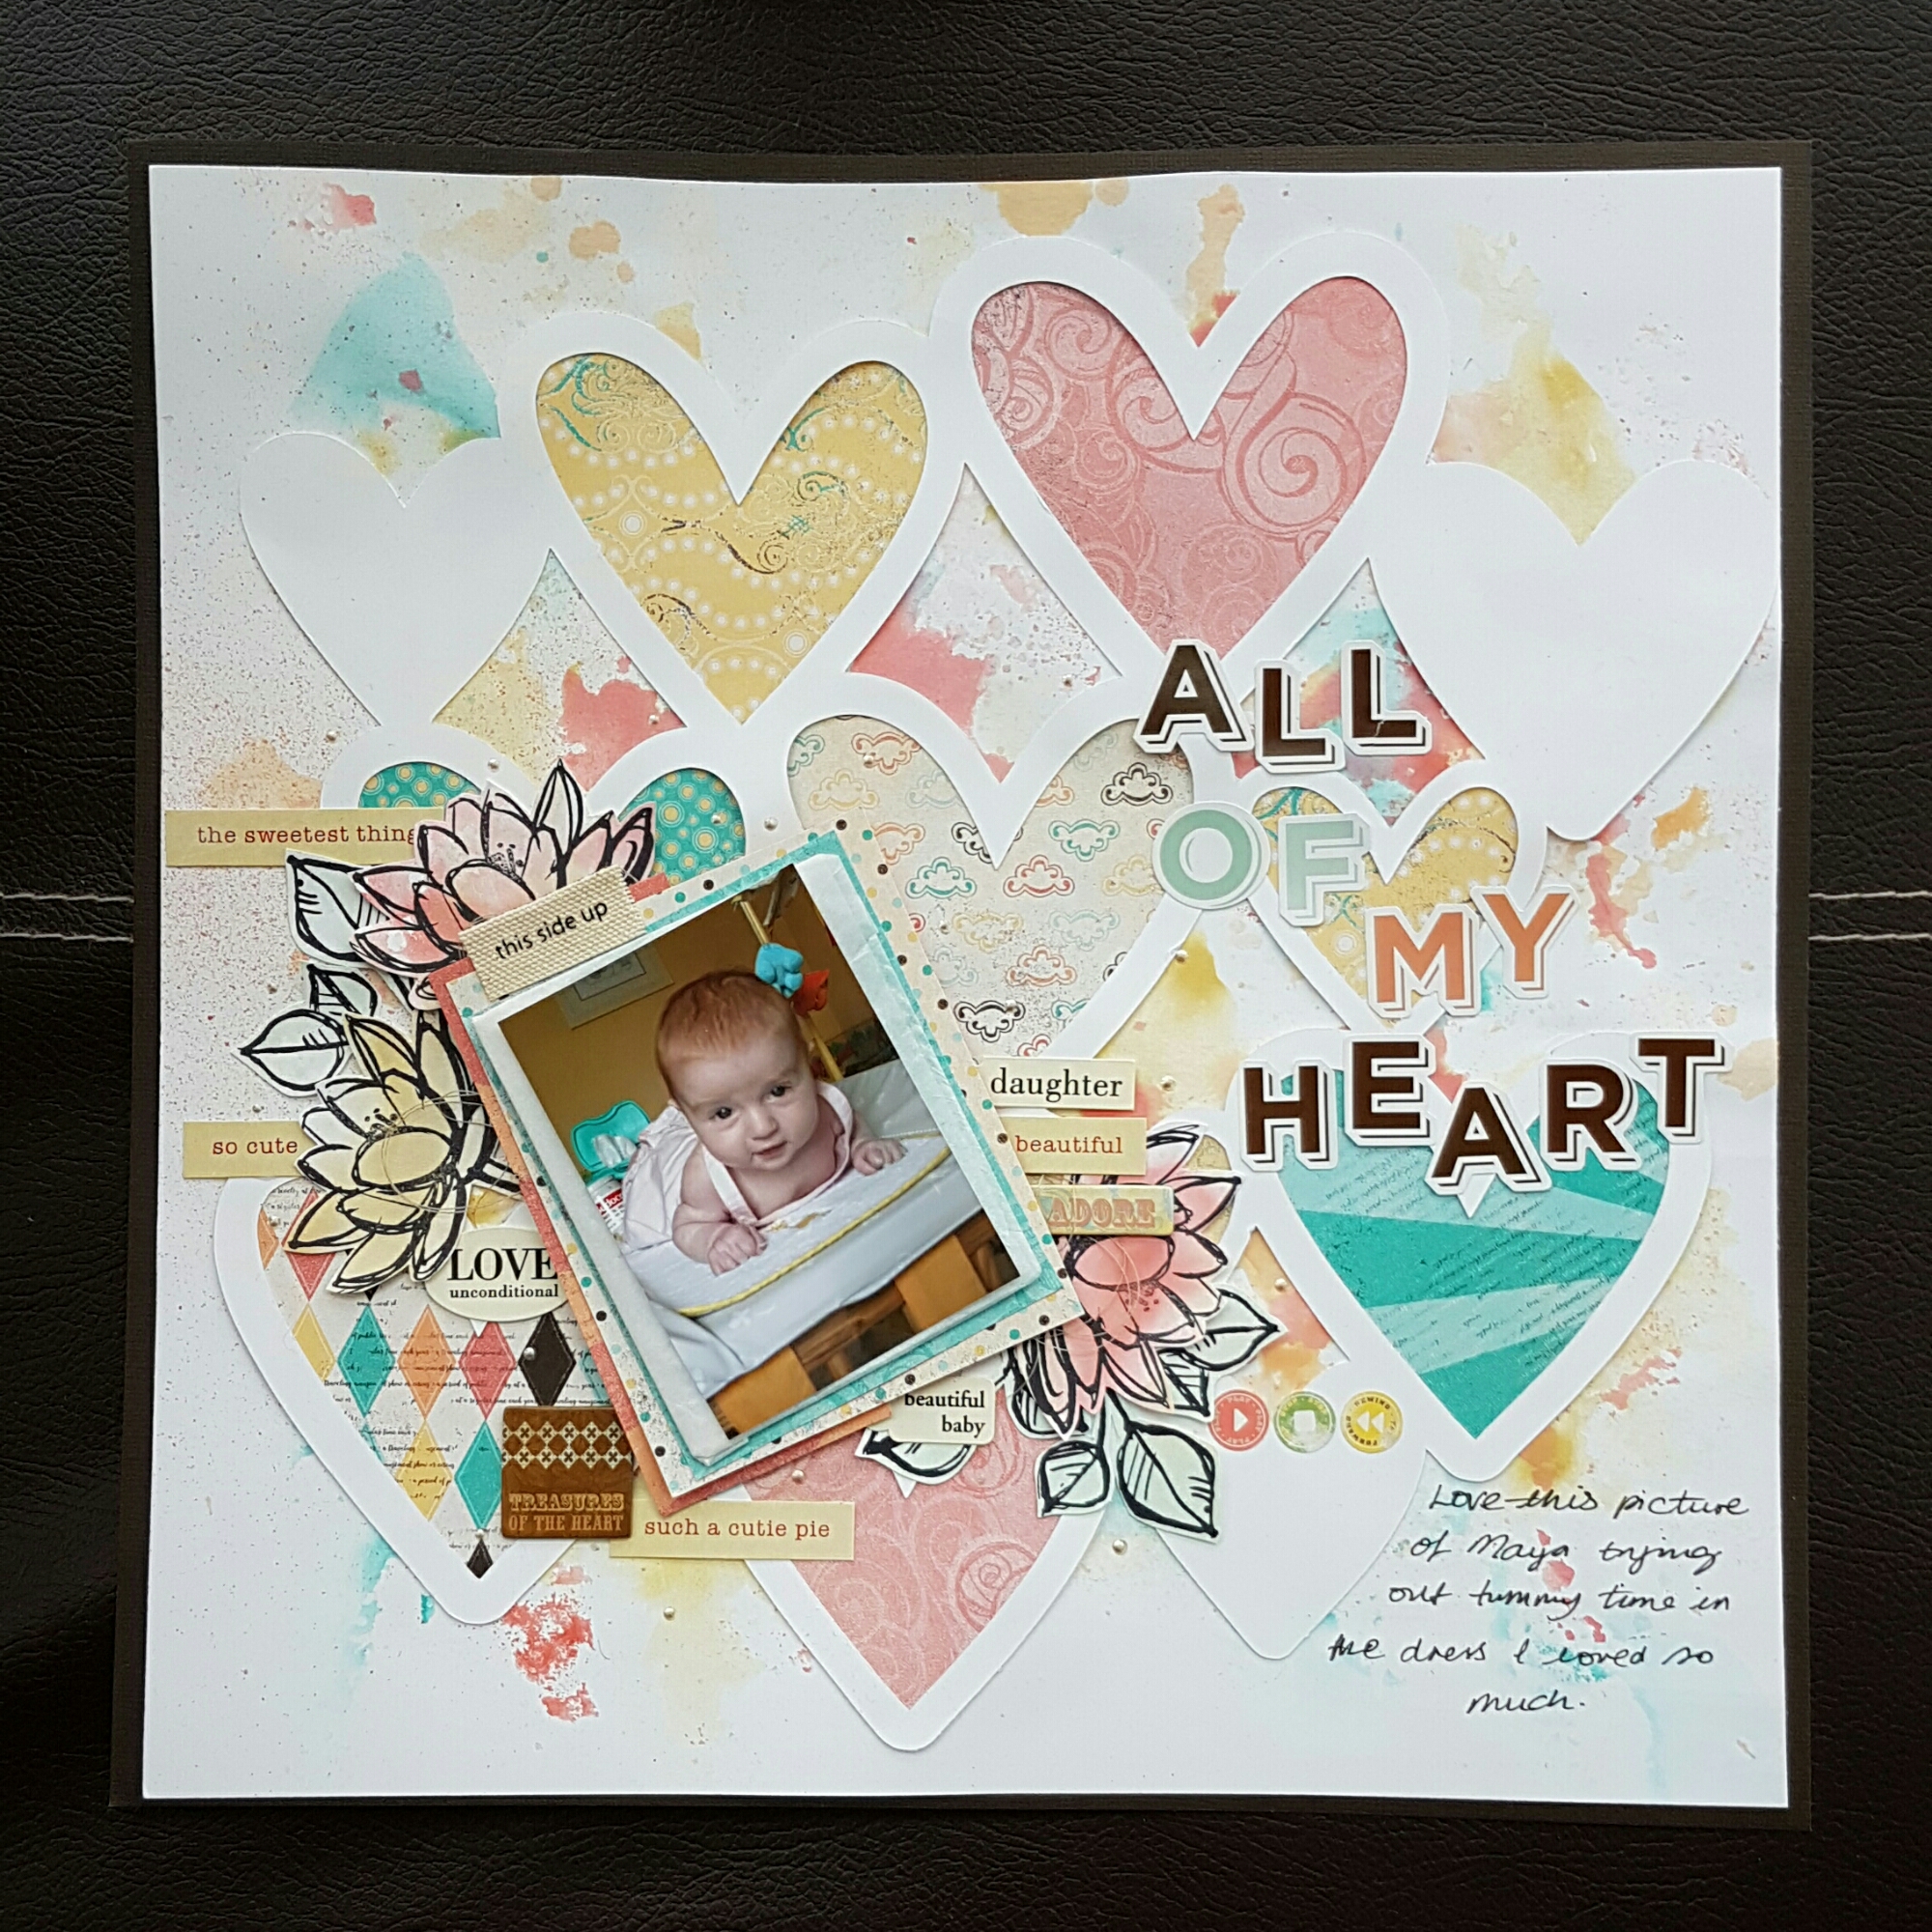
So this is a page in finished from Helen’s class a few weeks ago. 

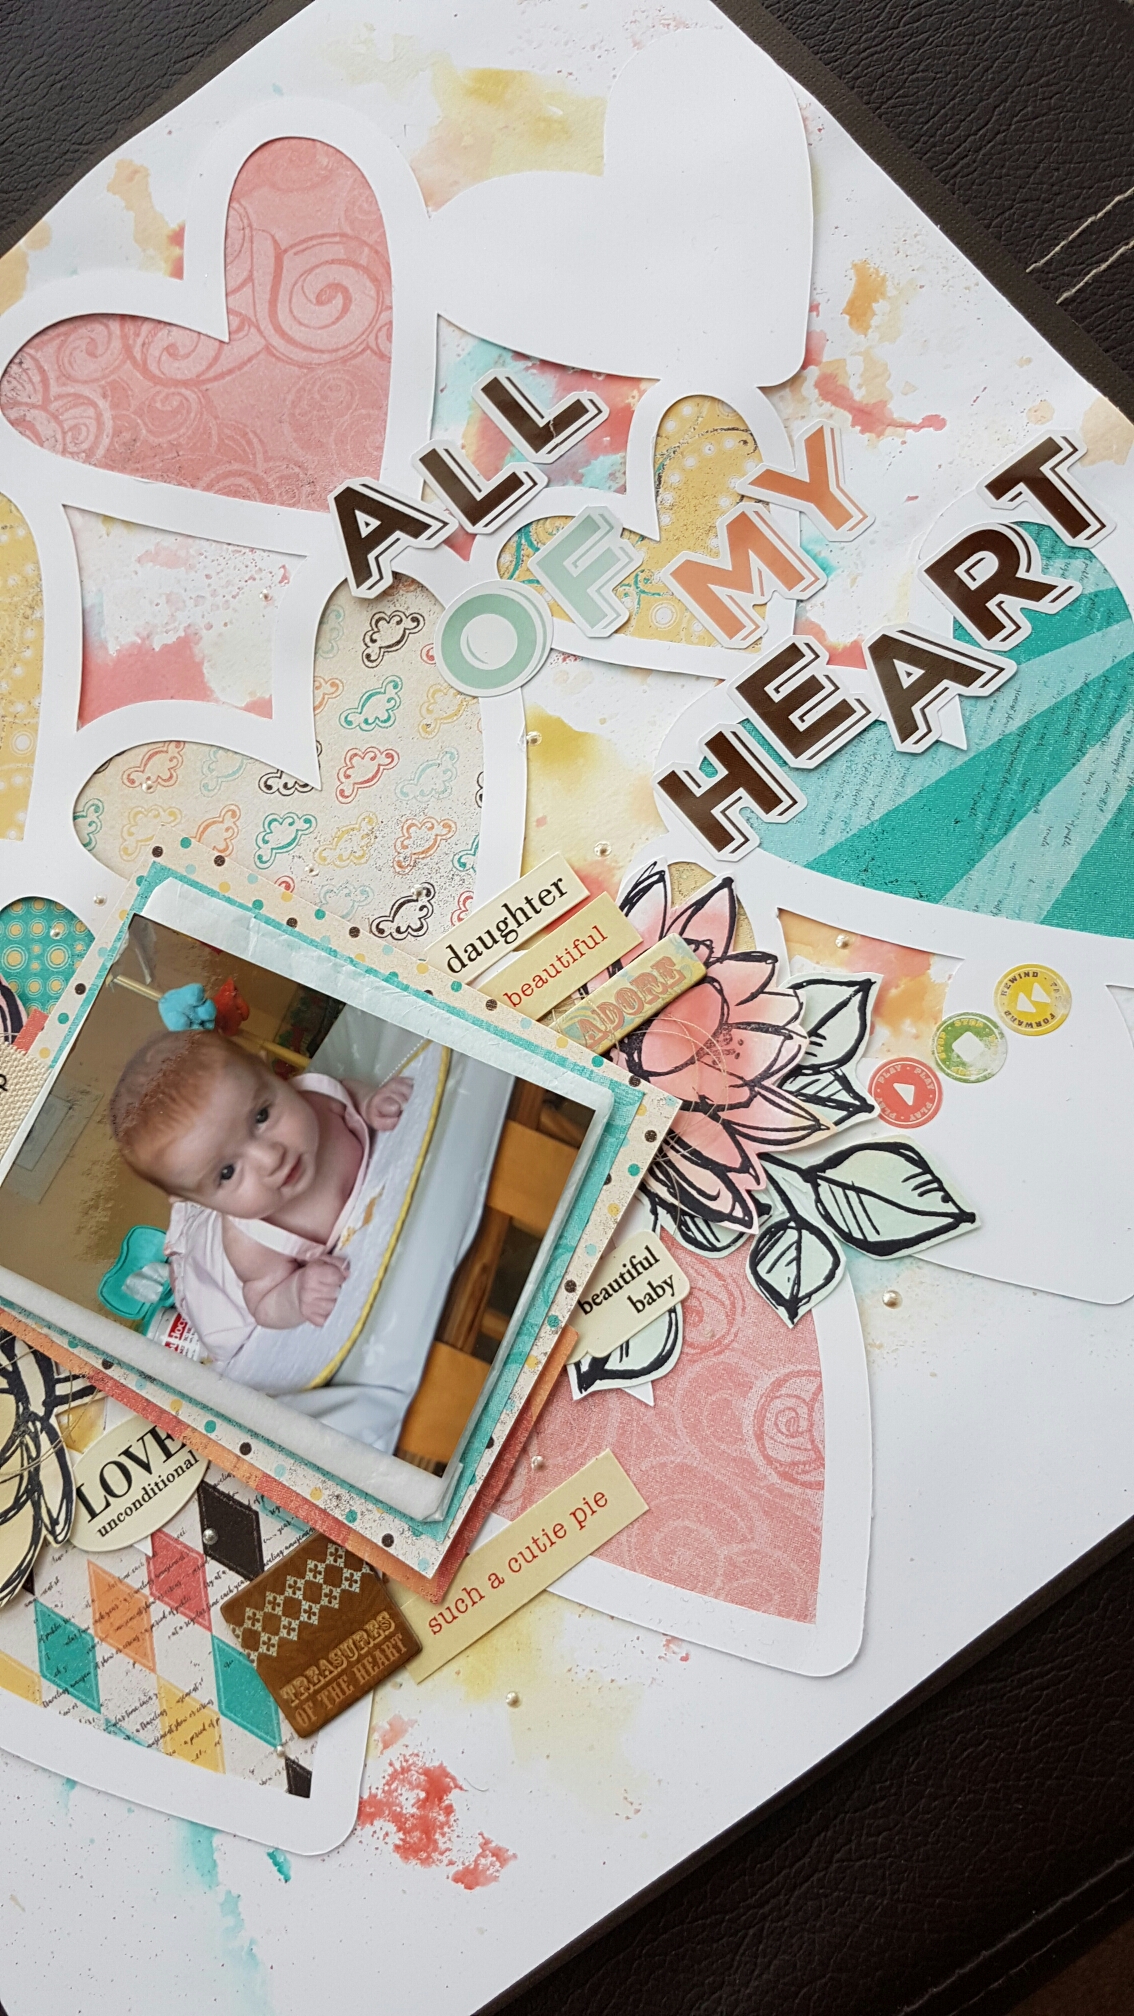
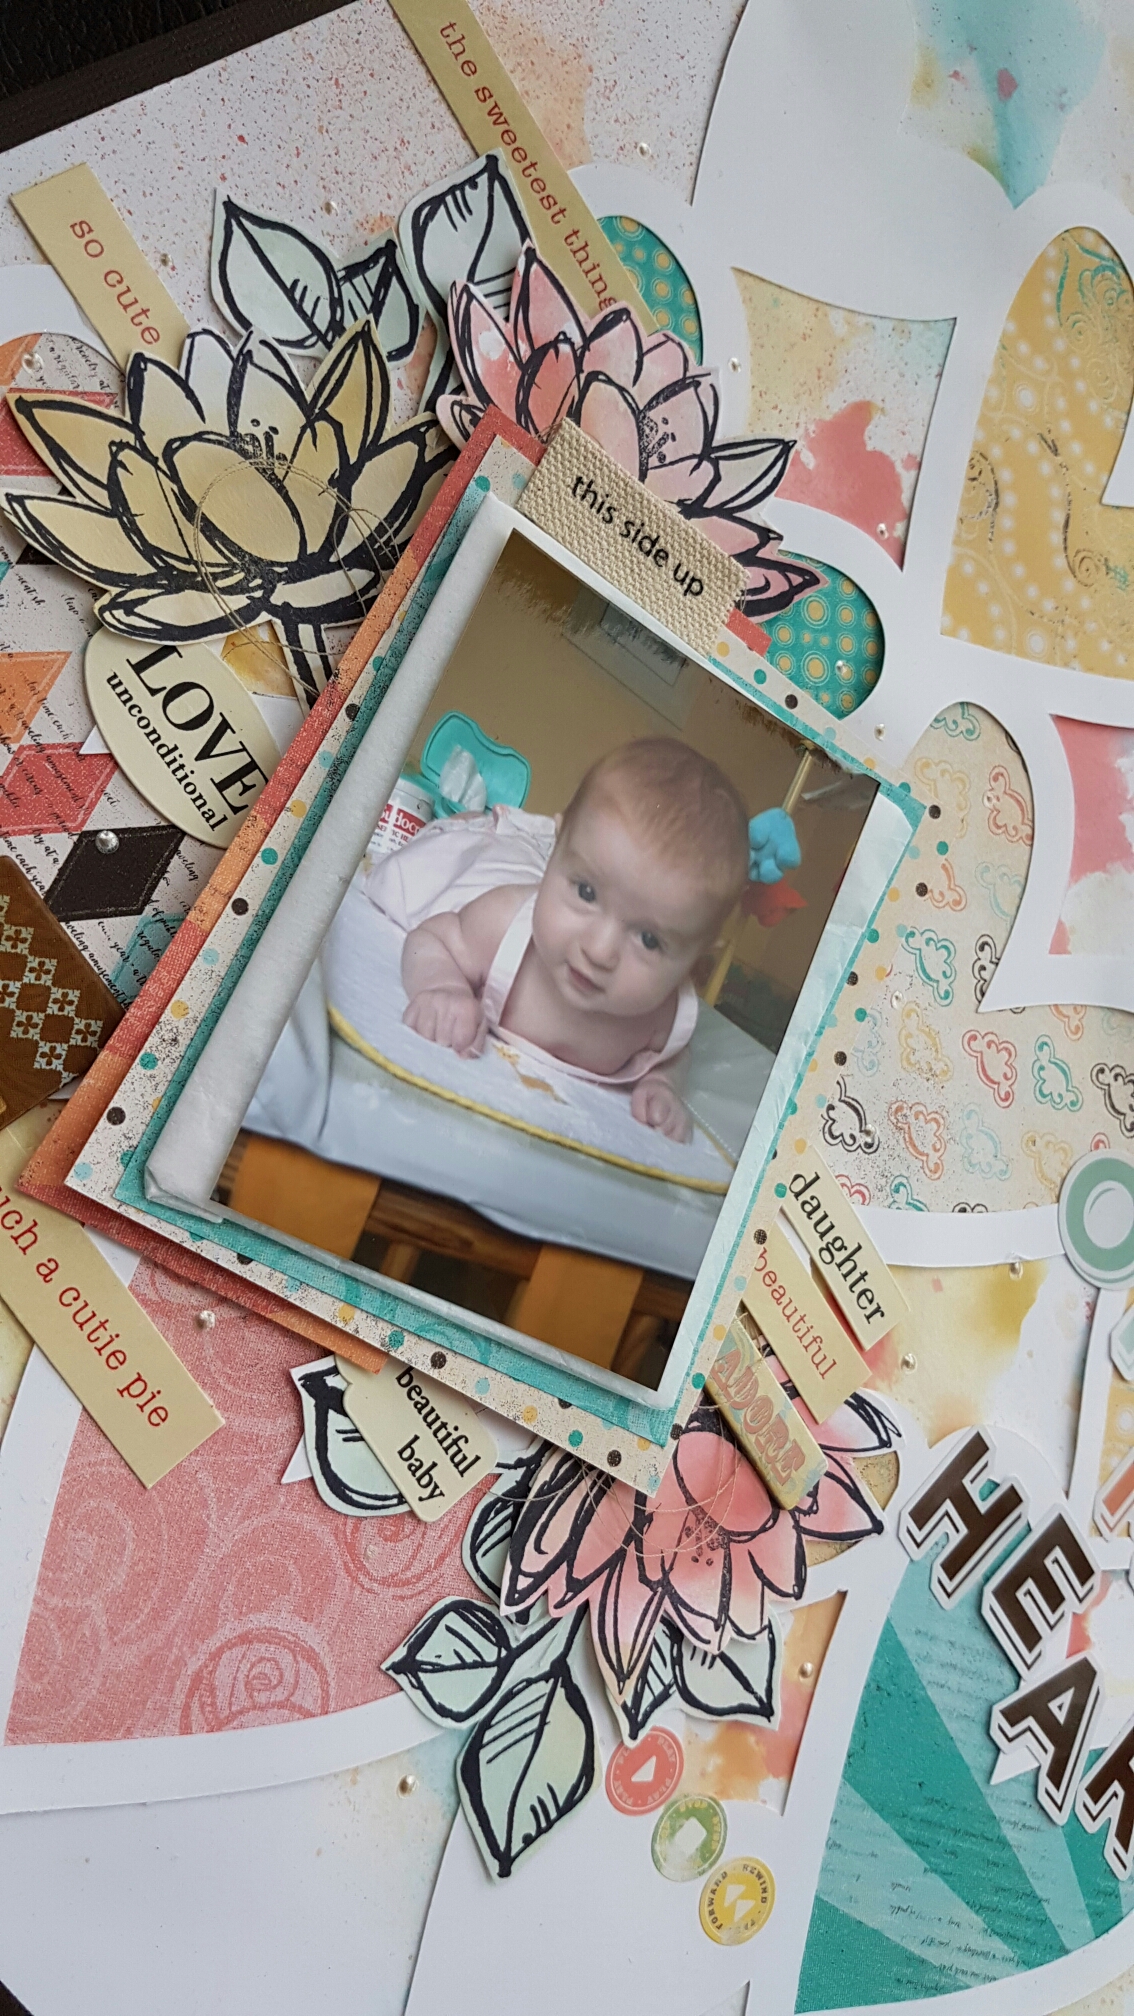
Helen had designed this using the heart cut file she had got and then using some Stampin up stamps and papers. I’ve finished mine off with thread and lots of word stickers from the stash box and some dots of liquid pearls. 

The techniques we employed were lots of smooshing of inks using packaging  (as per Missy style!) and spritzing inks. This was such great fun! 

I chose to place my picture (my princess when she was a tiny little cutie!) towards the bottom right of the page whereas Helen chose the top right… she also did lots of inking on hers. I had meant to do that too but stuck it down before I had a chance…  me and my eager sticking down! 

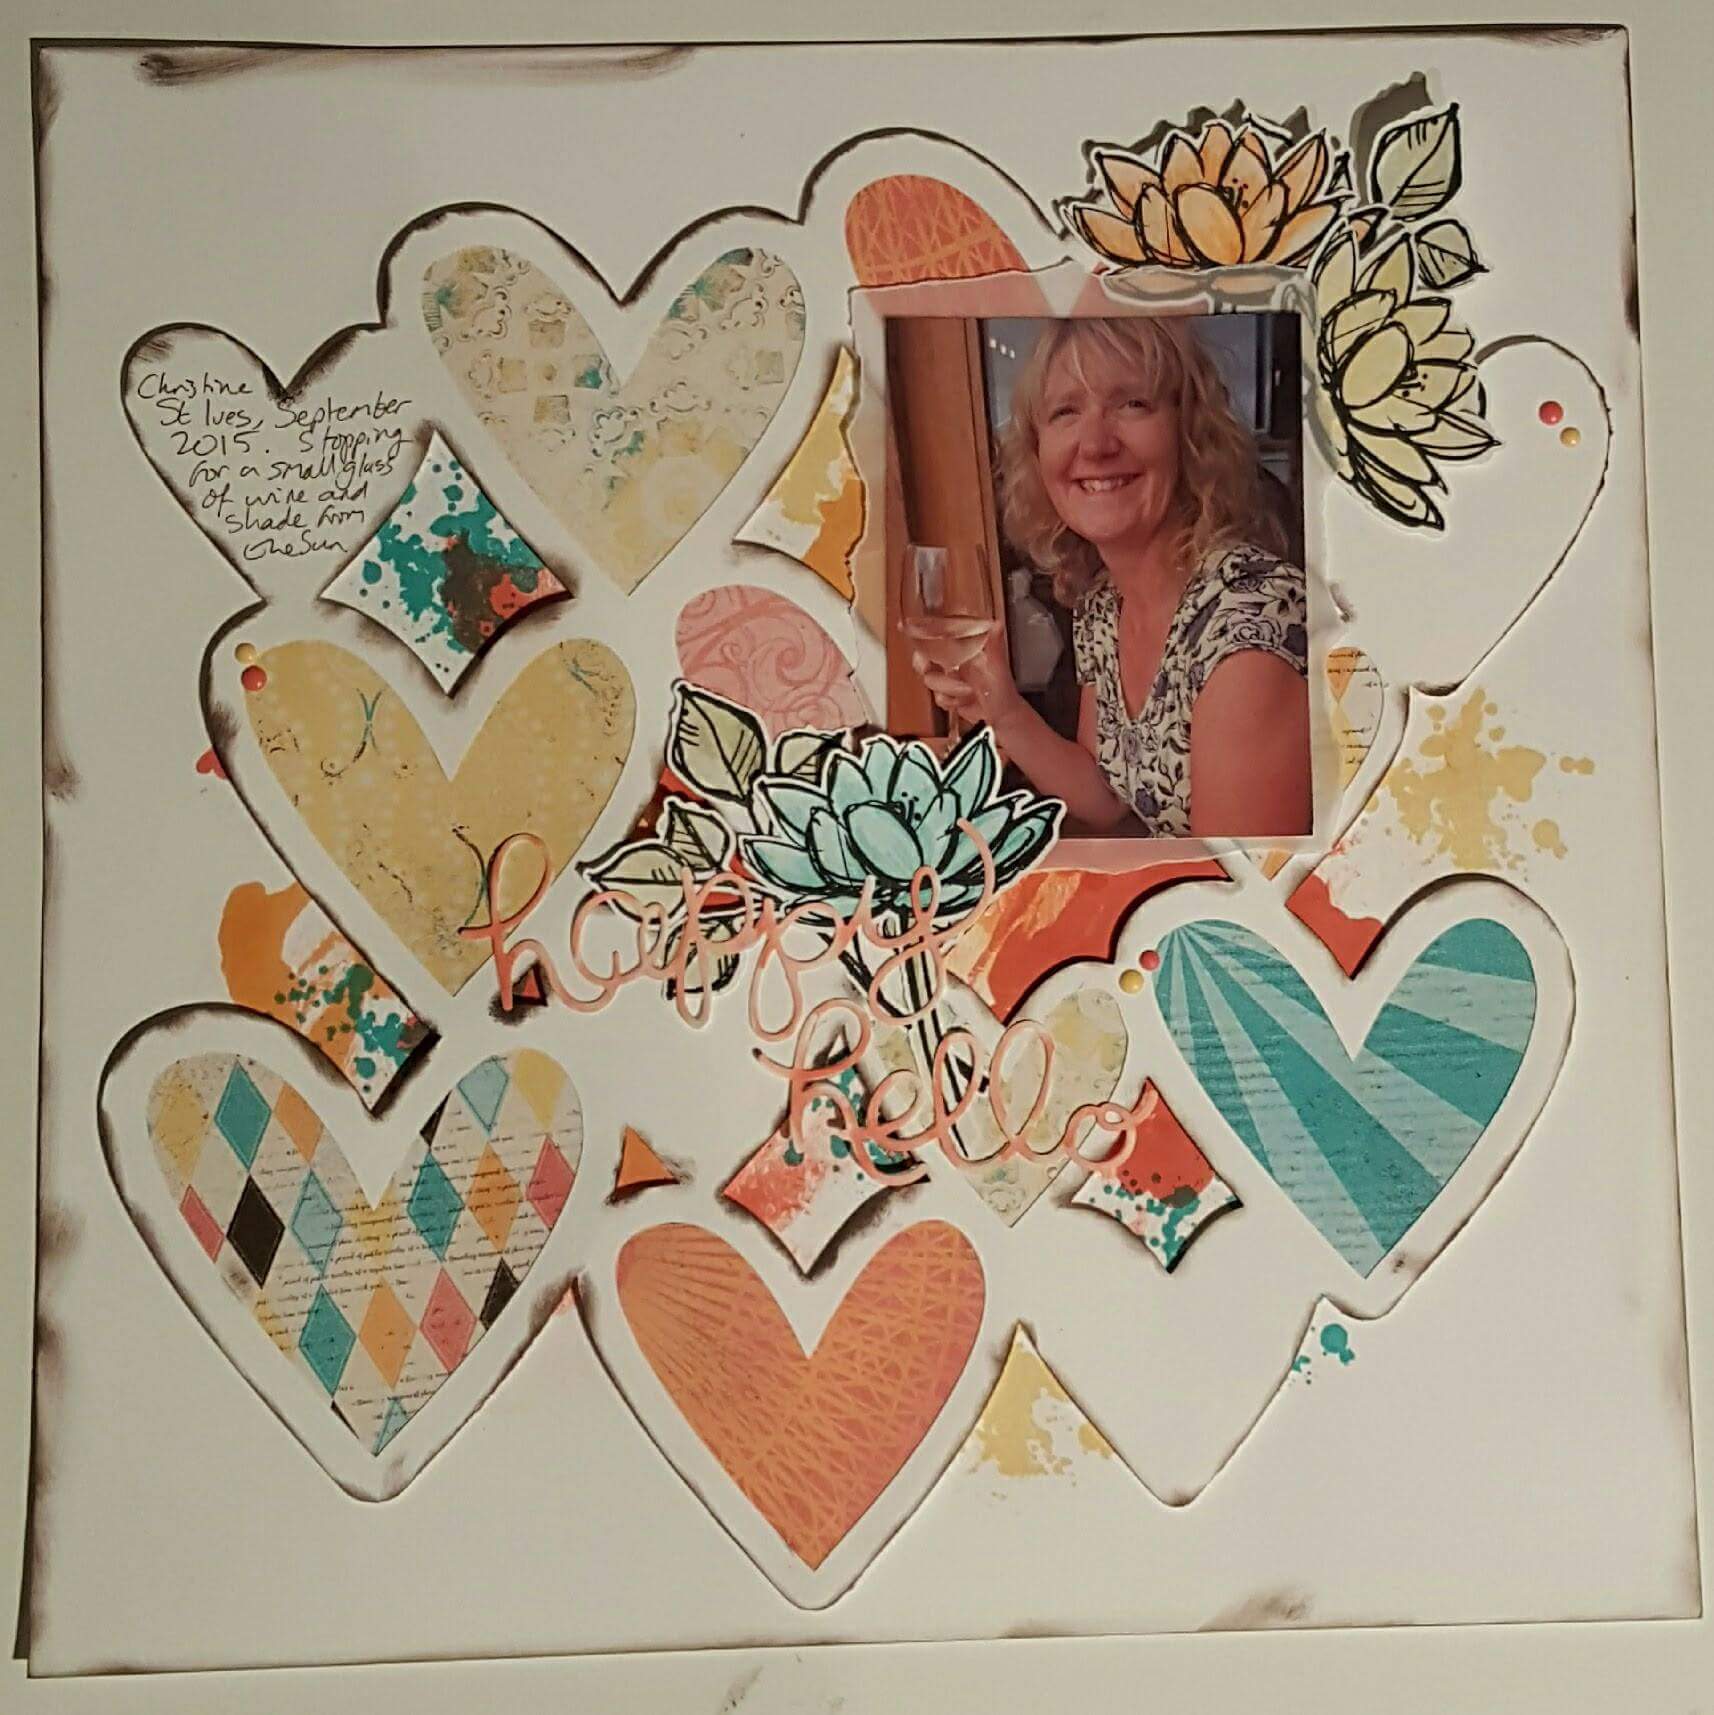
Here is a pic of Helen’s original…. isn’t it lovely?

I have two more pages to finish that we started in the class… looking forward to getting them done and really enjoying getting my scrapping mojo back! Thanks Helen… fun times make something big and not just an ATC! 

Happy crafting! 

Catherine 
For ATC’S sake … 98 & 99

Hello…. another couple of ATC’S to add to the tally… 

Again scratch paper cut up and used as the base. Over this I added texture paste through a Finnabair stencil. When dry it was time to add more colour.  I used Distress crayons in blue and green to cover the whole card, then used another stencil to remove some colour using a baby wipe. 

I then used both Inktense and pens to add doodling around the shapes and a little bit of white paint on a sponge to add some different tones. I decided against adding an image to these and instead stamped a Stampotique sentiment onto paper to cut out and added to the cards. 

The same sentiment for each but both done differently.
Really love the colours in these… and the fact that the layers underneath are still visible in places to give the cards some depth. 
So that’s 99 made… wonder if I can get another 1 in before the end of the month? 

Happy crafting !

Catherine