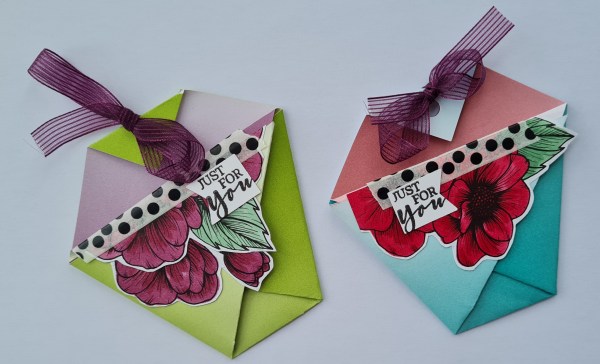
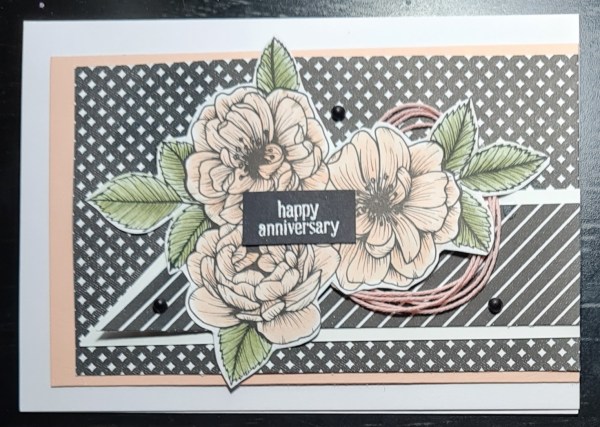
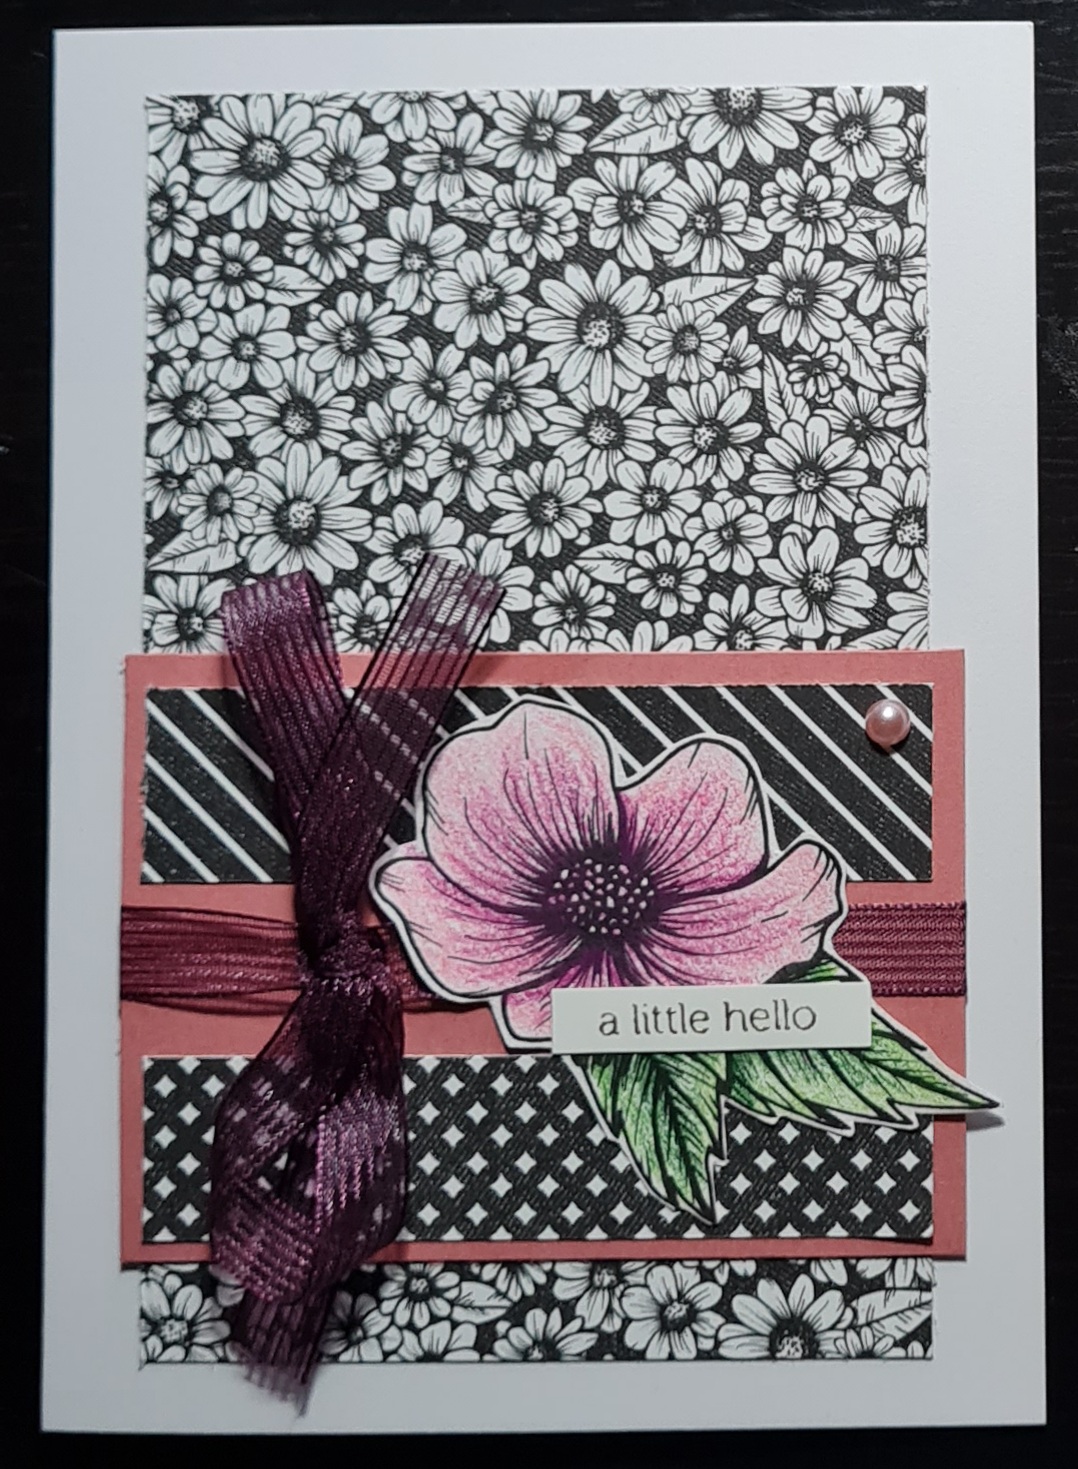
Two cards to share for today’s Stampin up Sunday both using the Oh So Ombre dsp (saleabration) and flowers from the True Love dsp. Both done as projects from leftovers from the craftalong I did with friends last week.
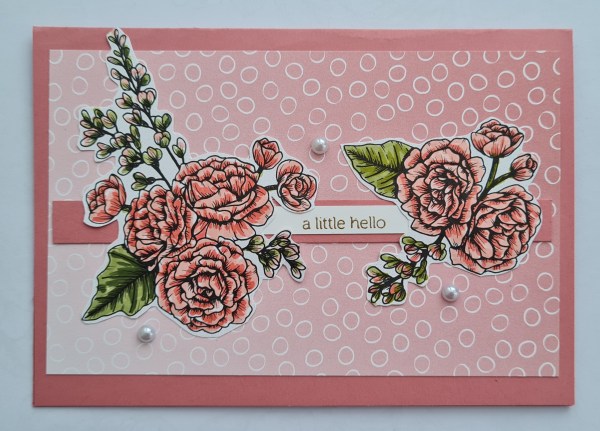
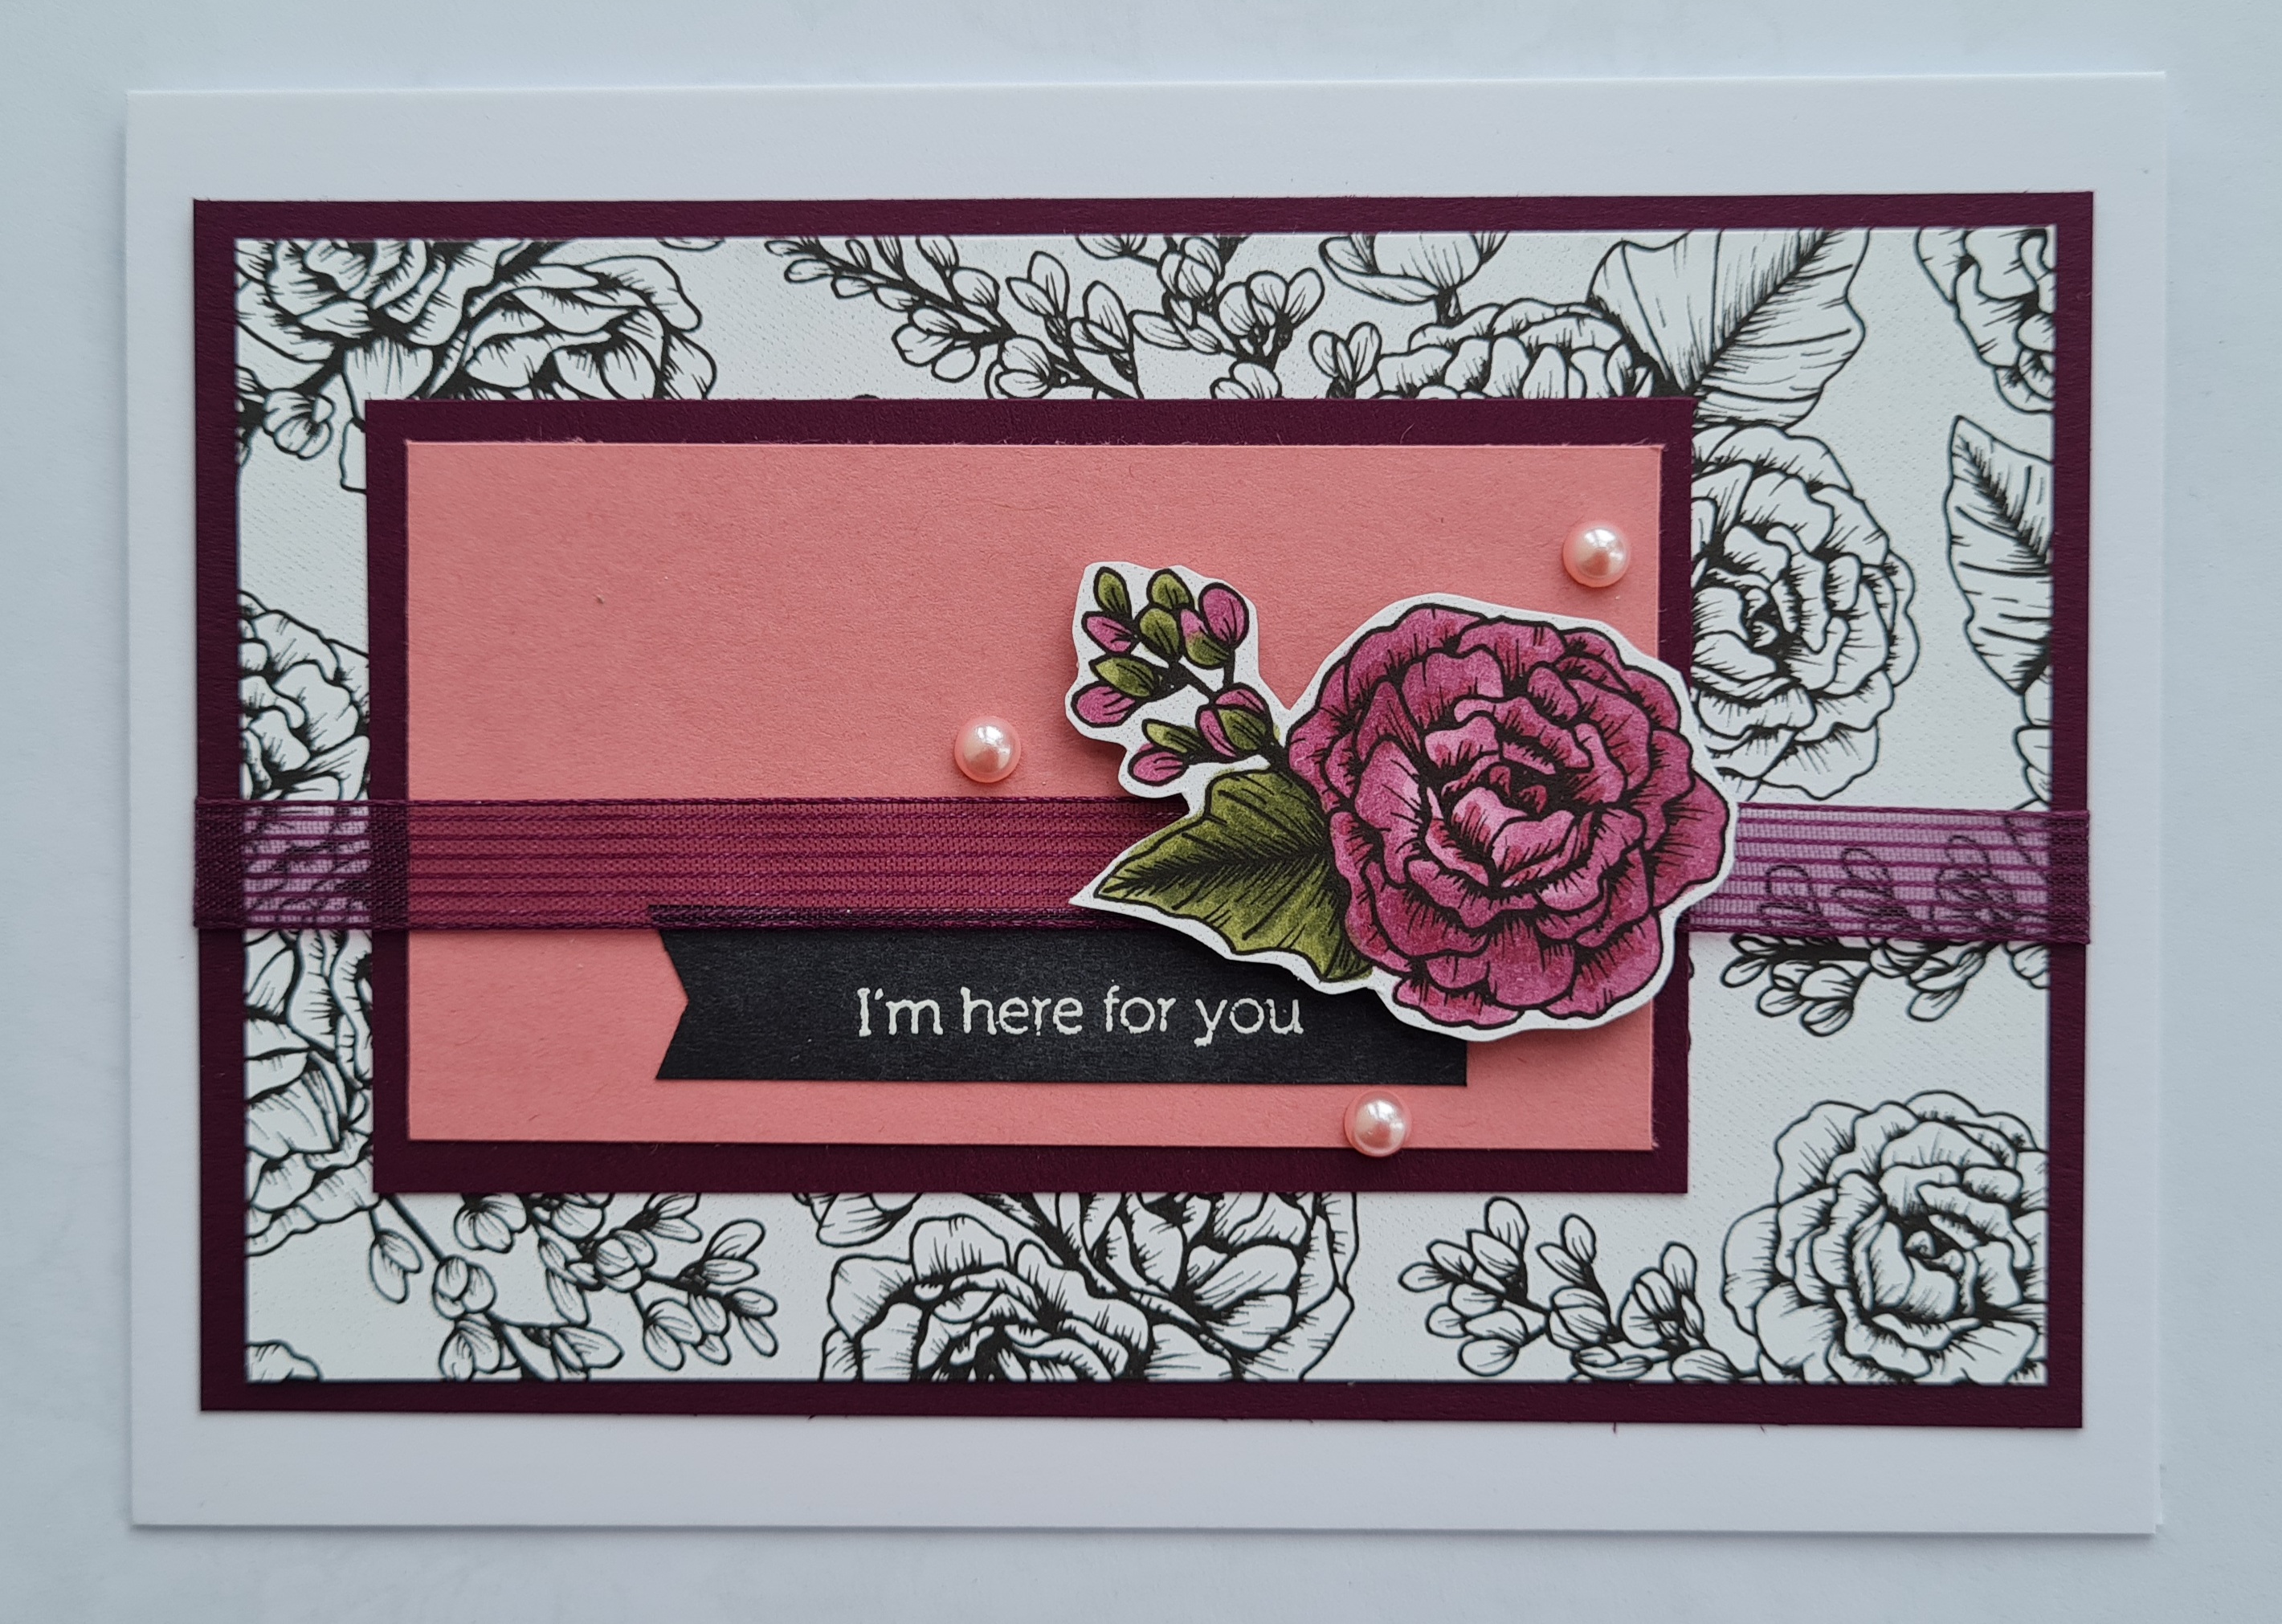
Firstly the Rococco Rose one. A really simple card… one piece of the ombre dsp and a strip of the cardstock. The card blank was made from the cardstock … I just love how SU colour coordinates perfectly.
Then a sentiment and the two floral elements cut from the true love dsp and coloured in using stampin write markers.
Embellished with the pastel pearls.
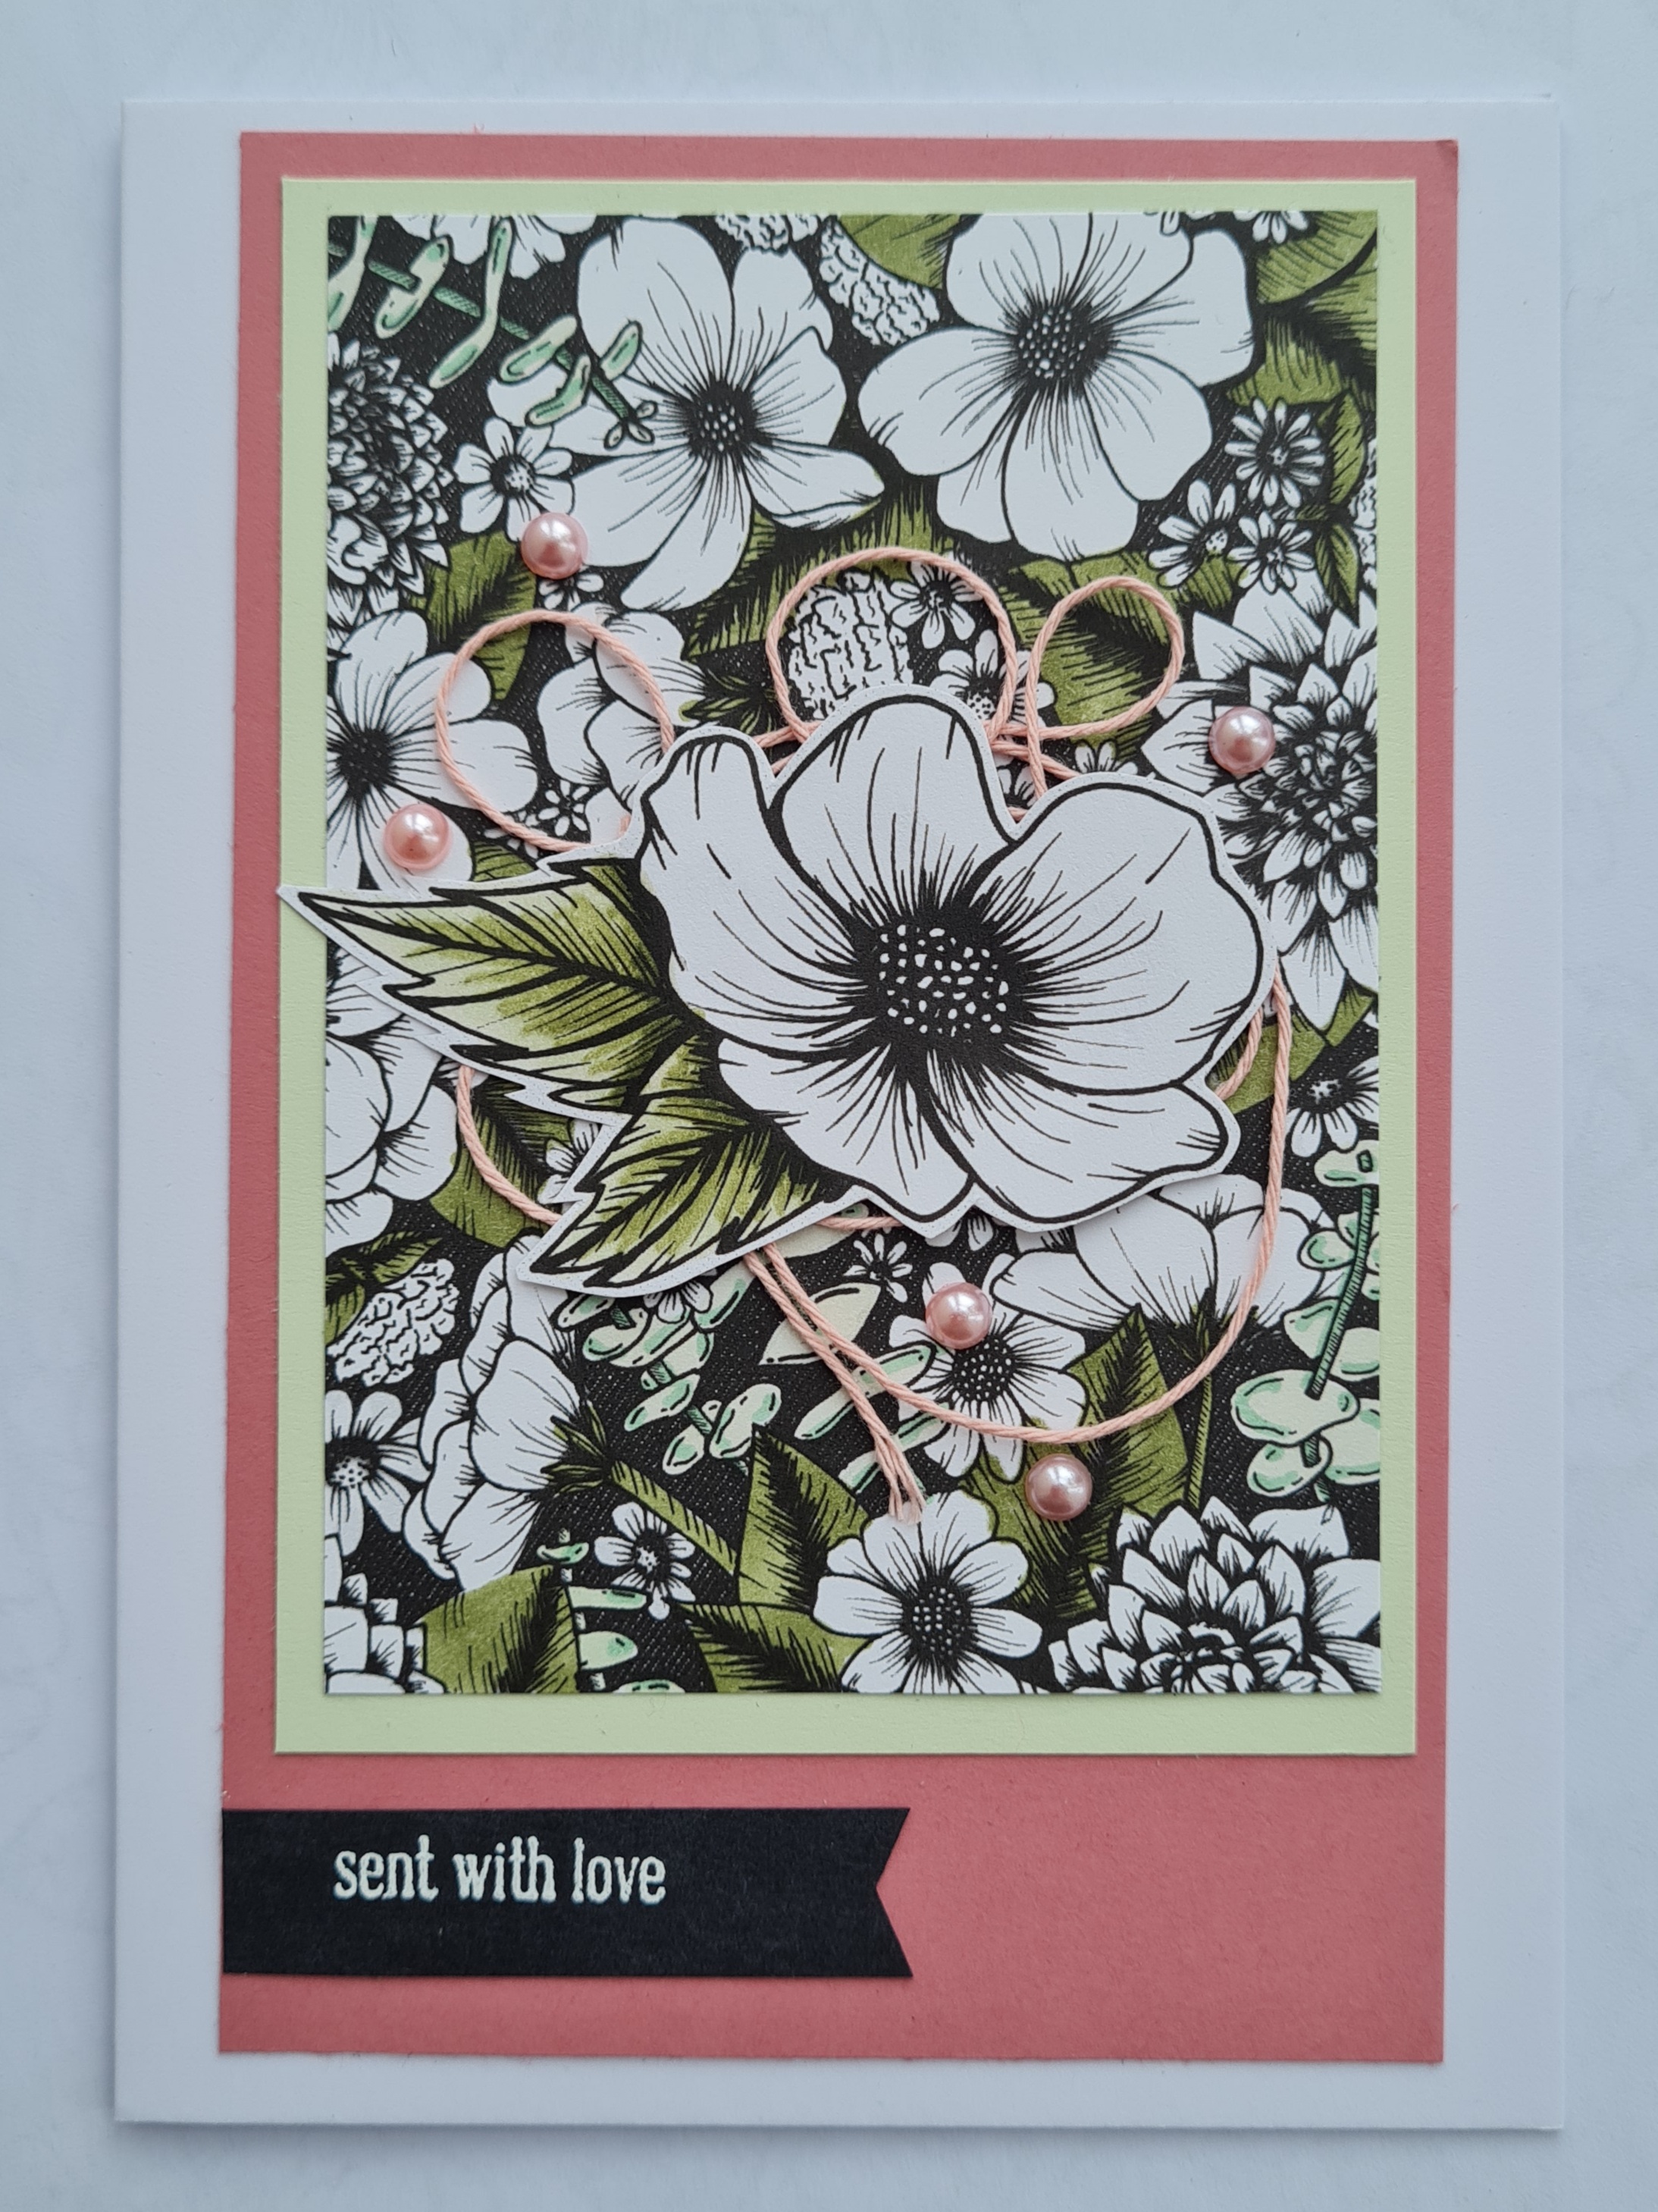
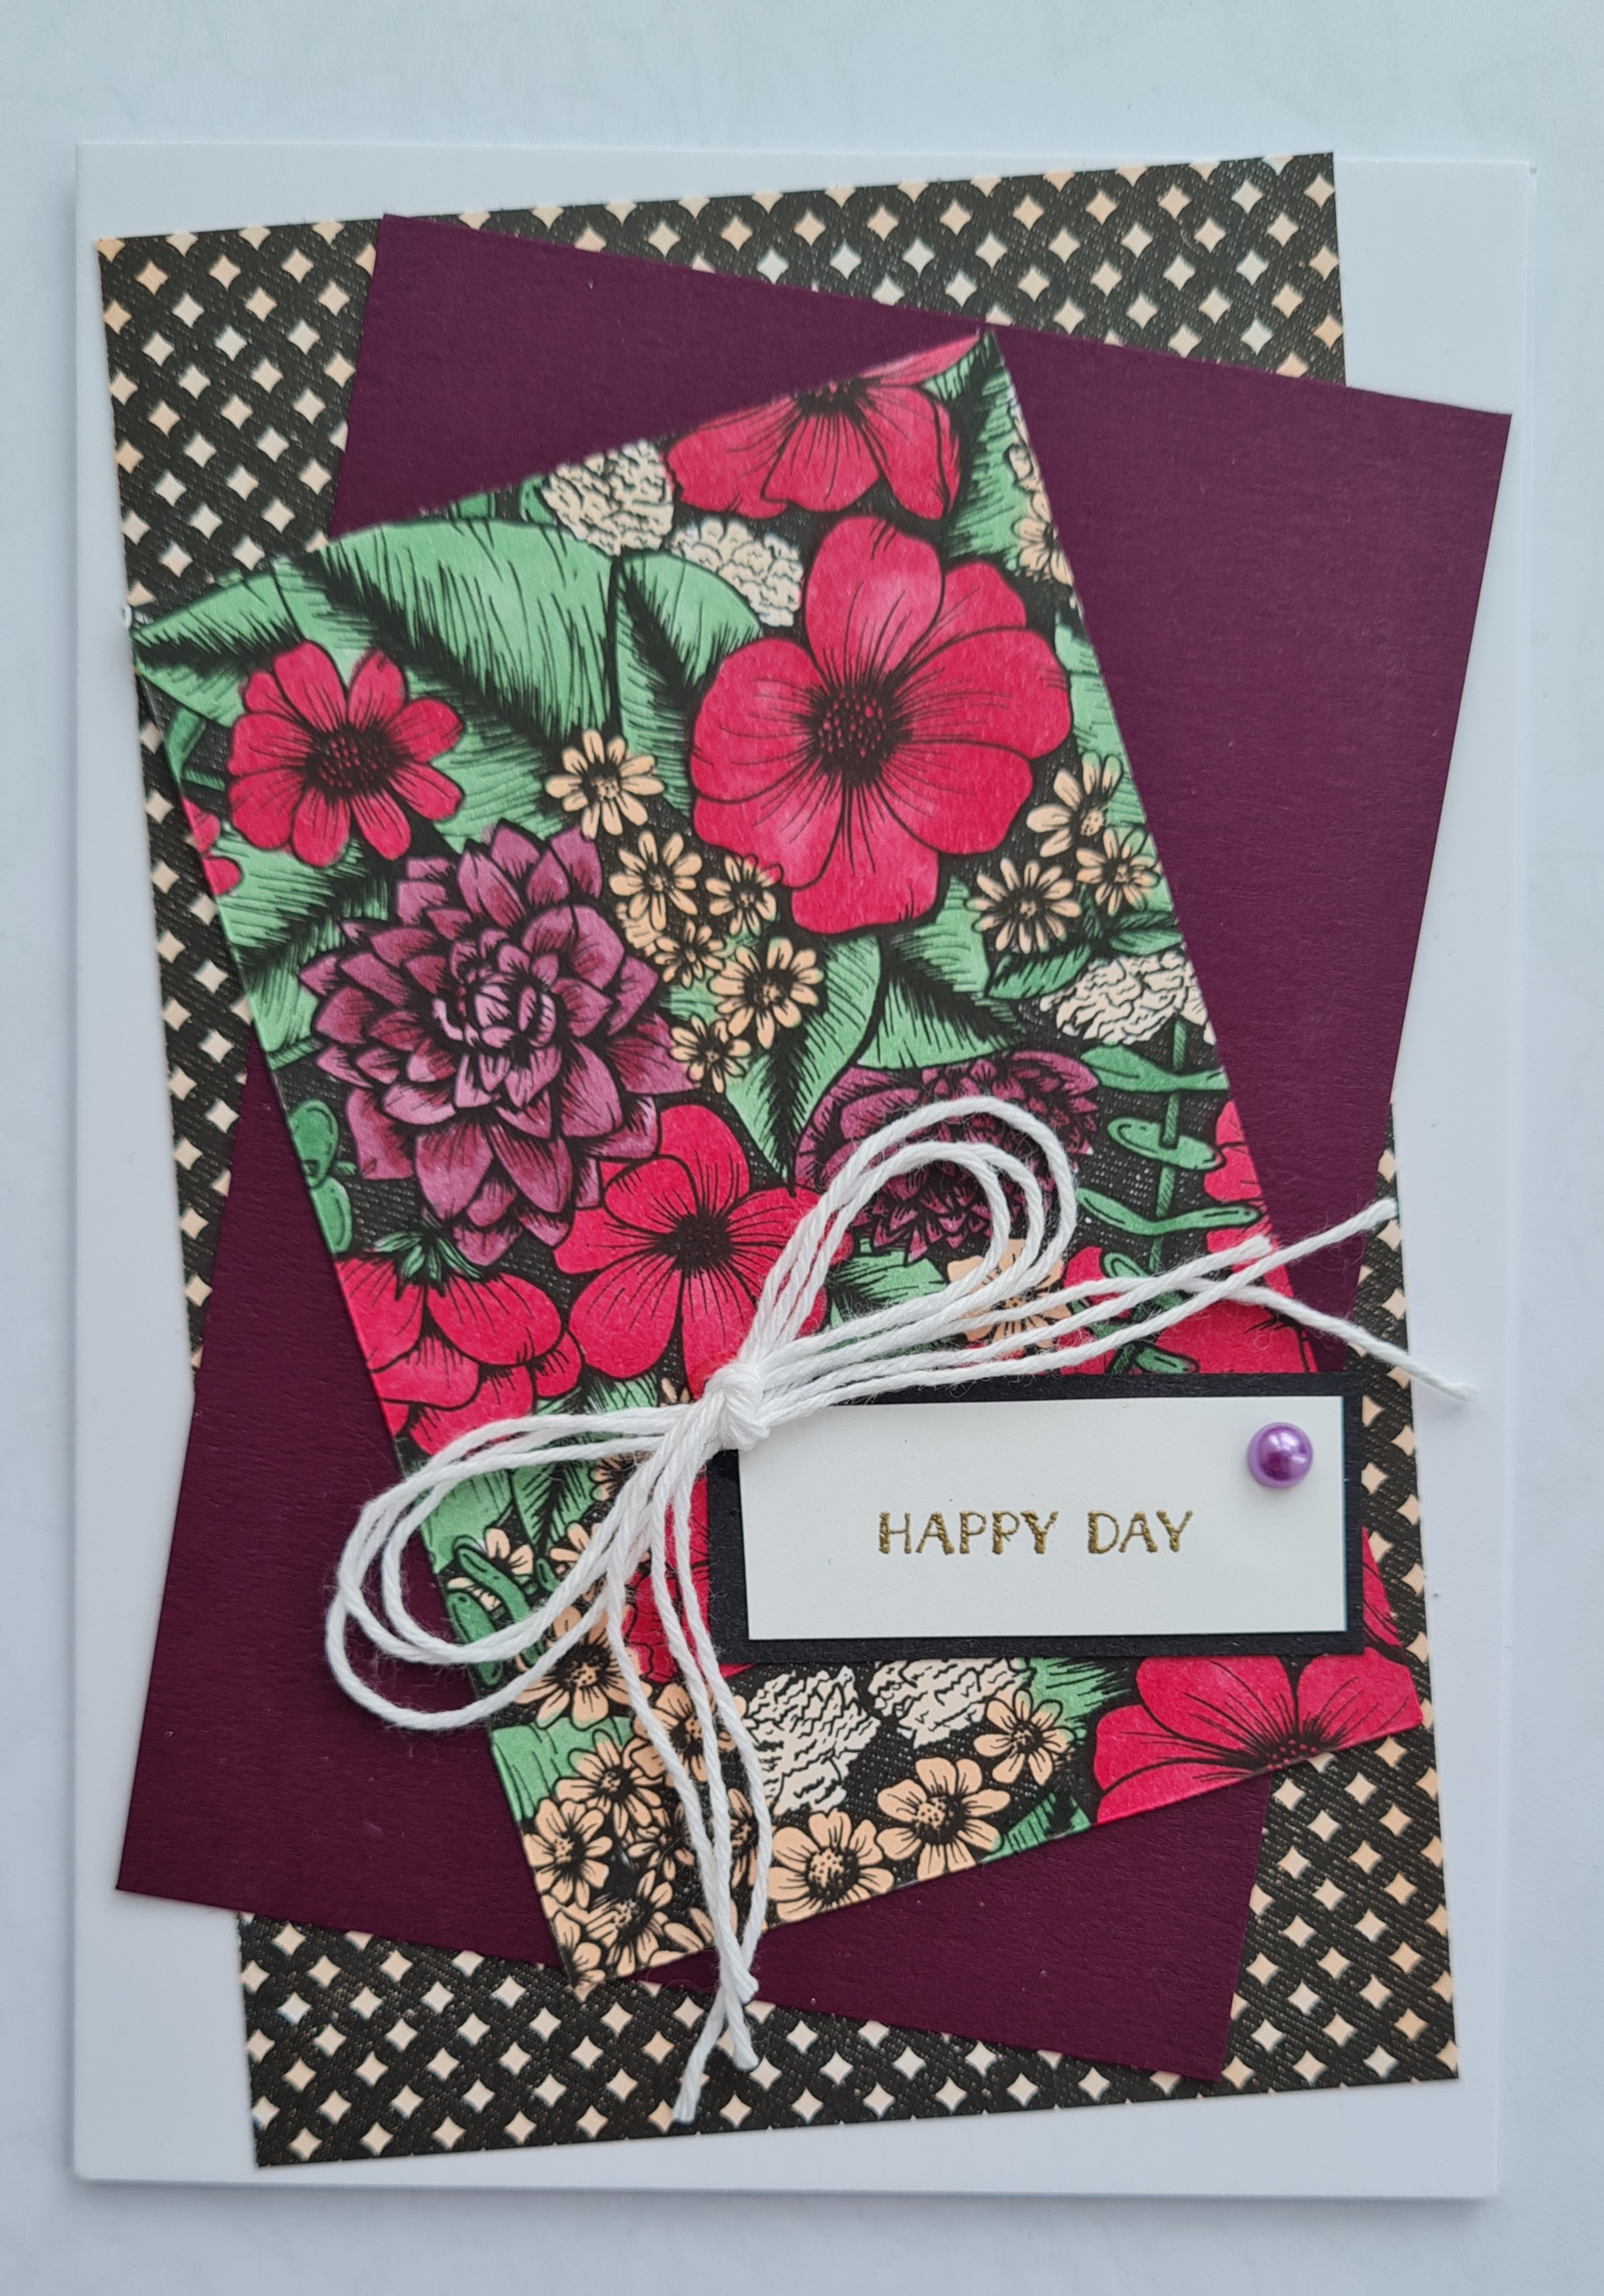
Next the Blackberry Bliss… again card blank made using the cardstock in the same colour. This time two pieces of the Oh So Ombre paper… the patterned one and the plain one, a sentiment strip and this time a flower cluster coloured with prismacolour pencils.
I may have told you this already…. I am OBSESSED with journalling at the moment and I’ve subscribed to the Lollipop Box Club so I get a box of goodies delivered each month. Well this week my first box has arrived and today I played with it… hence 2 blog posts today!
I filmed the unboxing, (link) and then put the box to one side. Today I brought it down to the table and made a start on creating a page in a handmade altered book journal (I will blog about creating this another day).
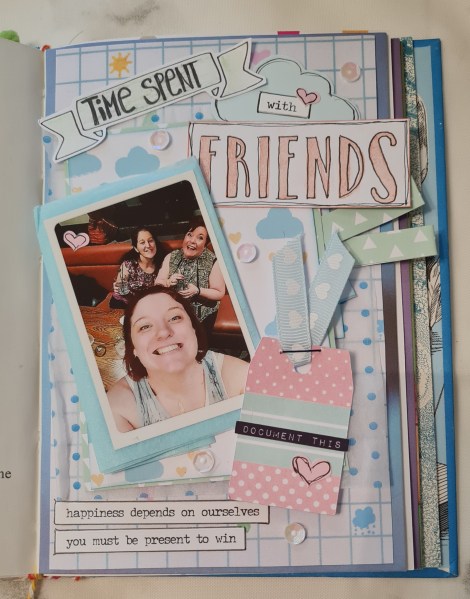
The theme for the journal is things that make me smile and so I decided to make a page about spending time with friends and feature a picture that came up in Facebook memories this week from 4 years ago. OK it hasn’t actually been this long since we spent time together… but it has certainly been a while! Ah well … it is what it is and hopefully before the end of the year we might be able to have a night together.
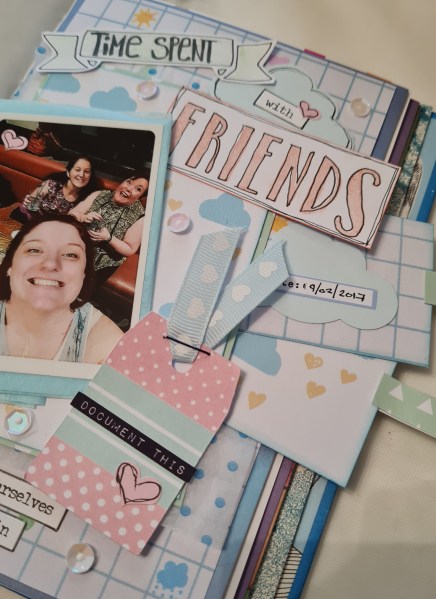
So I used supplies from the kit and added a couple of extra stickers and a stamped “friends” for the title and had a great time making this fun page, with such cute pastel colours. 😍
Love the box kit… so many fabulous goodies in it and I can imagine lots of fabulous pages and other things will get made using it.
Last year I was shown how to make these little treat pouches and I love them! I made these ones for the lovelies who were joining my online craftalong this month and added little treats for them both.
I used the Oh so ombre dsp for the pouch and then added some flowers cut from the True Love dsp which I coloured using the Stampon Blend markers. I then added some dotty washi tape and the little bow of the Blackberry Bliss ribbon. Because the Oh so ombre paper has a different colour on each side it looks so fun with the contrasting colours and the fun flowers.
I added the embellishment of the sentiment punched with a retired punch just to finish off!
Today I have two postcards to share with you because two separate groups had heart themed swaps this month… and I thought why not share them both at the same time! (Actually you will see this isn’t right … but read on to discover more!)
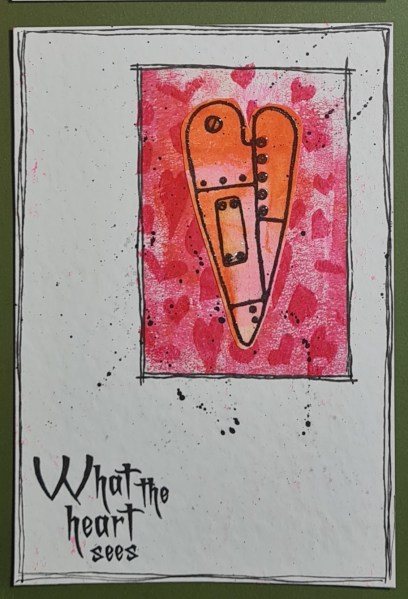
First up is the heart card I made for the Inchies, Twinchies and more group and I used the Darcy paperartsy stamp…
I embossed it onto a Gelli print and then added some colour to the cogs.
I decided to sew a border on the panel to add texture. I then embossed the title onto some card and added that too.
The base was some chipboard painted with black gesso. I added some doodling round the edge and called it finished!
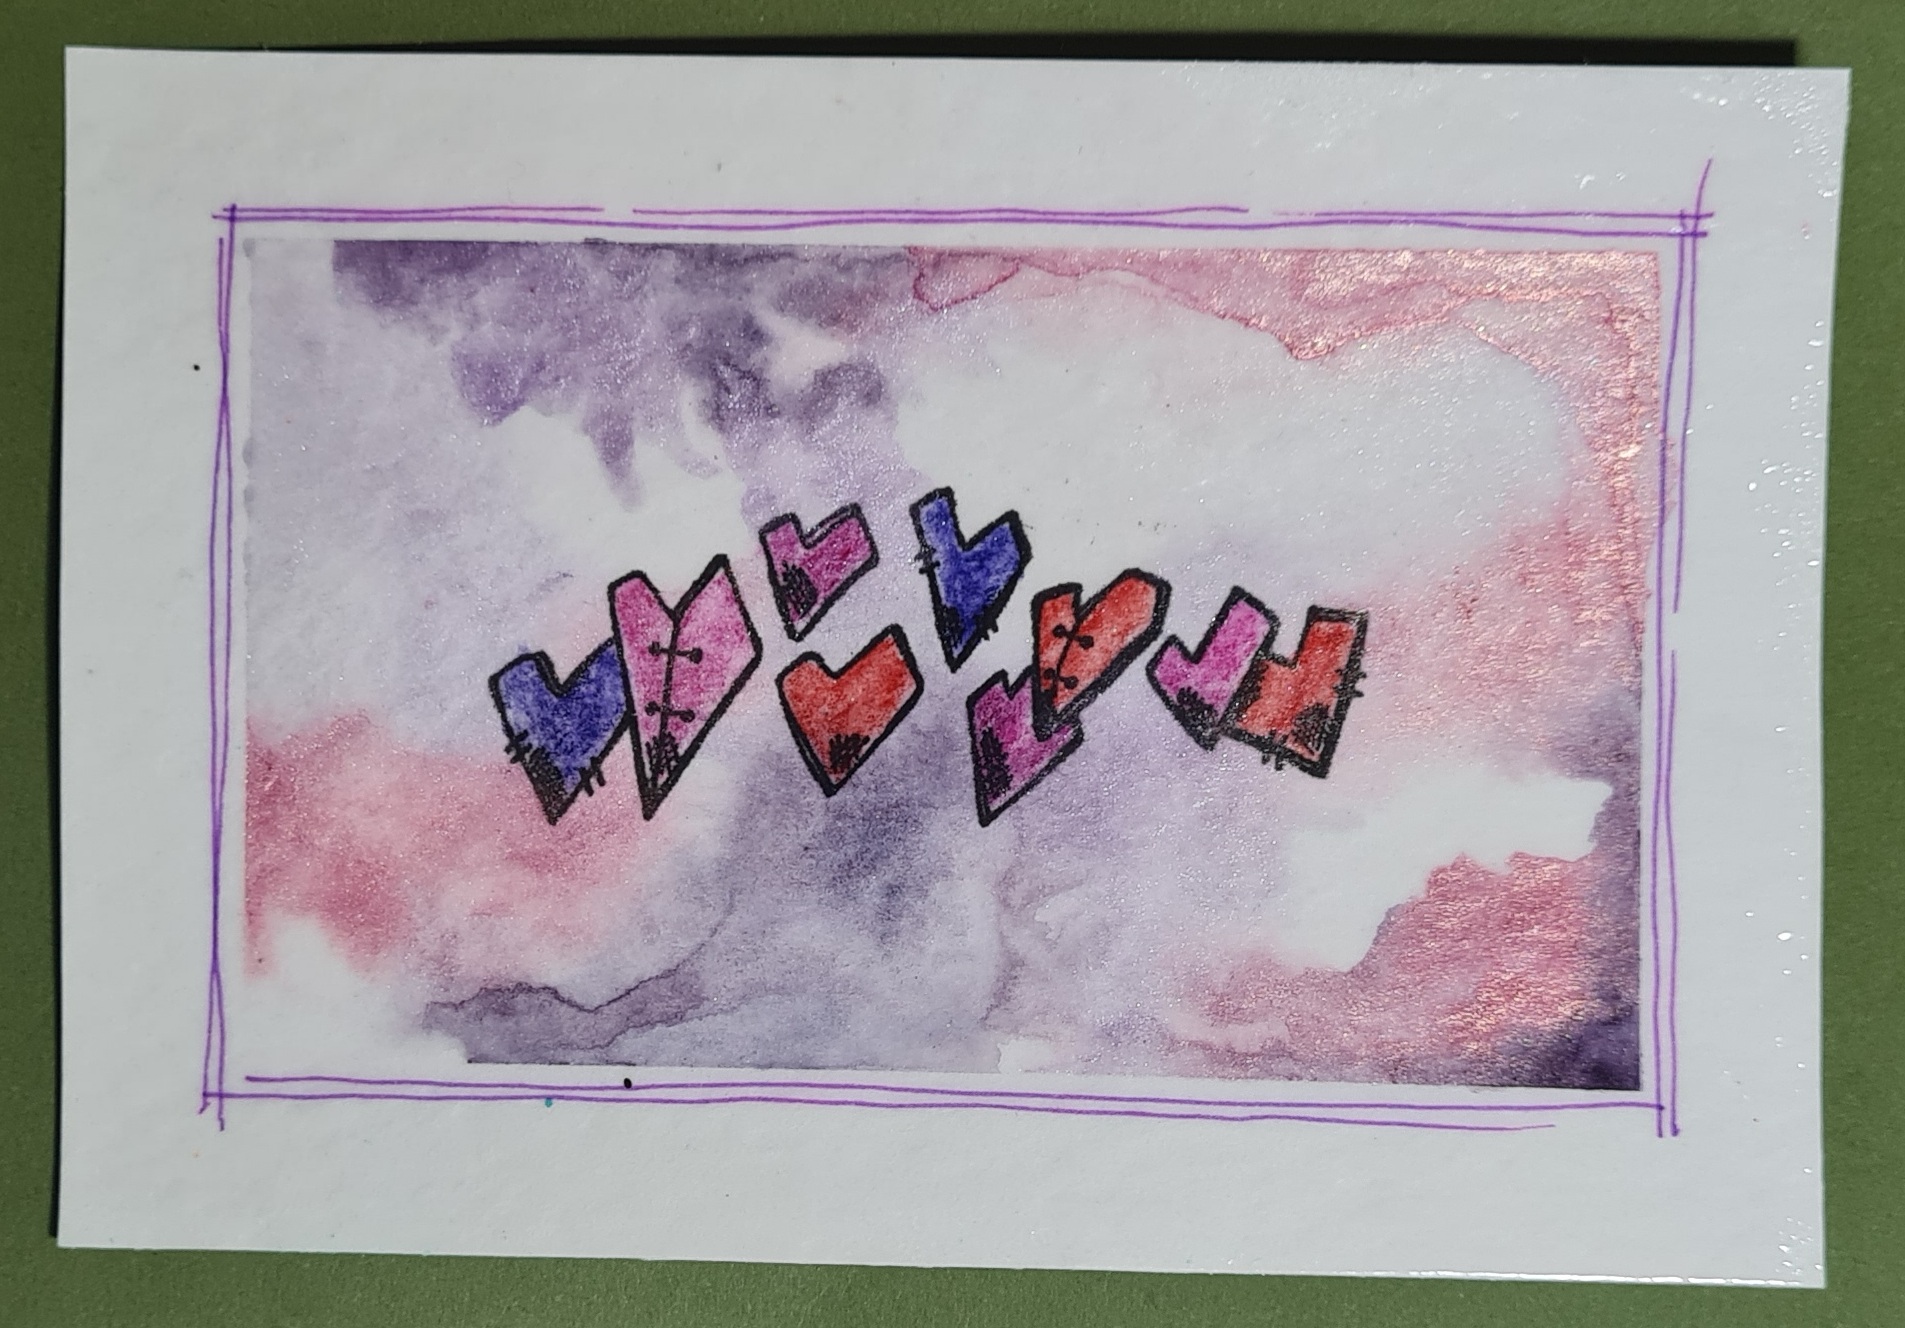
Next up I made this postcard for the Hearts a Flutter challenge at Postcard Art Swap…
I used distress oxides and the smooshing technique with different shades of pink and purple. I also did a bit of subtle stamping in the background.
Then I used Indigo Blu stamp for the wings and then using the wipe up from the oxides onto glossy photo paper I stamped and embossed the heart stamp (another Darcy one) and stuck that down.
I doodled and chose a sentiment from the stash and embossed that before glueing the strip in place.
I finished it off with some enamel dots and some glossy accents on the heart.
So that was me thinking I was done with heart postcards but after I had posted them to the recipients I realised I had made a mistake and the swap for Inchies, Twinchies and More was actually for four postcards … doh!
So off I set again! I chose to use Darcy hearts and keep to the theme…
Card 1… a Gelli print using the mini Gelli plate and a heart stencil and lots of paint splatters and adding the panelled heart on top.
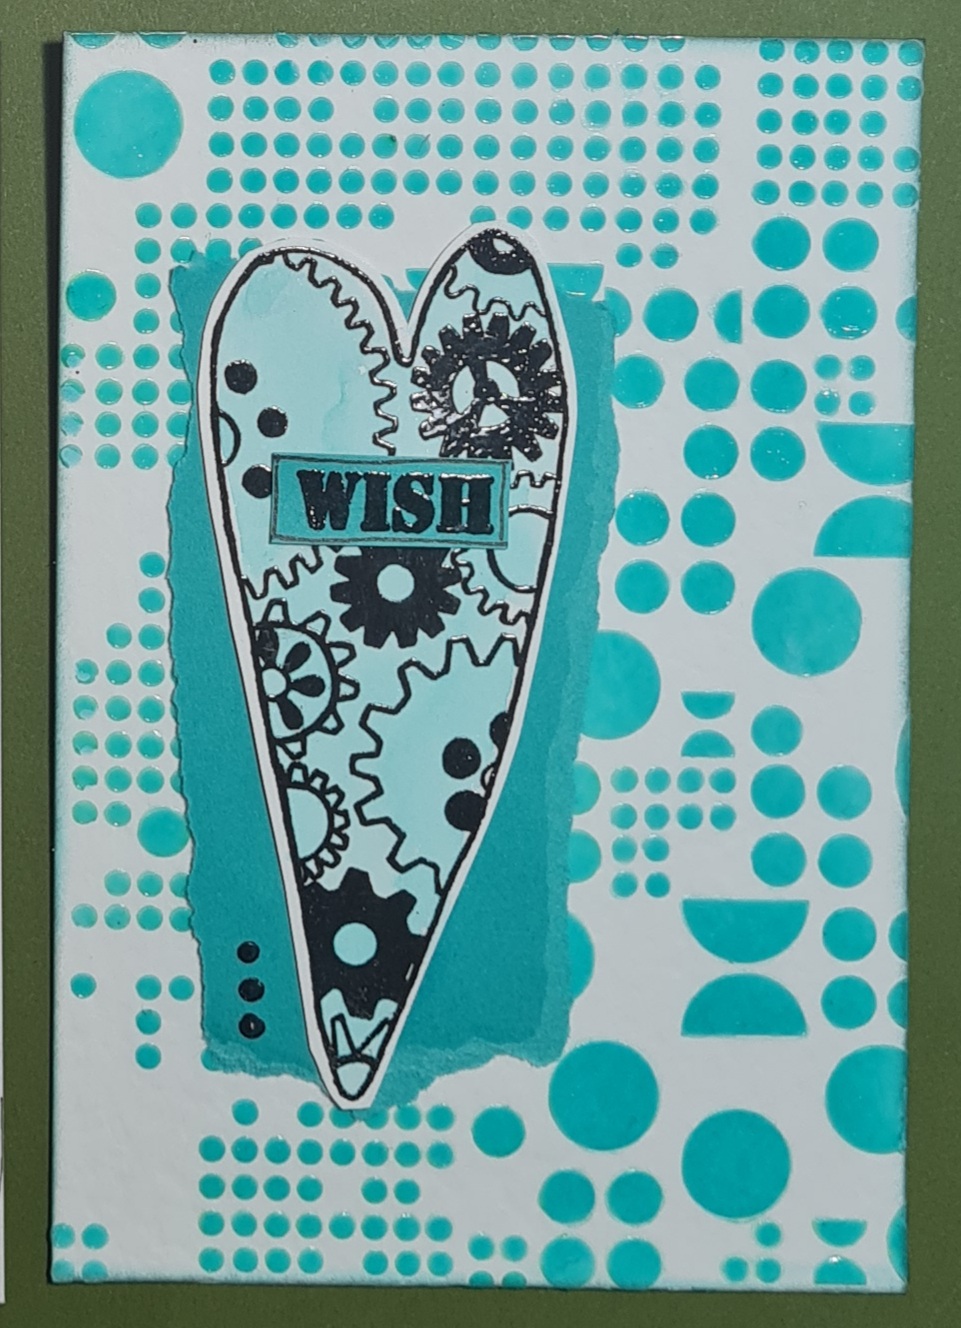
Card 2.. stencilled with distress oxides and gloss gel through an aall and create stencil. Then scrap of cardstock and the cog heart embossed and lightly watercoloured. I love peacock feathers.
I taped off the edge and then watercoloured using the metallic paints from a Rainbow Moon set I bought a while ago. Then when it was dry I stamped the funky hearts into the middle and coloured them with Inktense pencils. Then I added versamark and clear emboss over the whole postcard to give it a glossy finish.
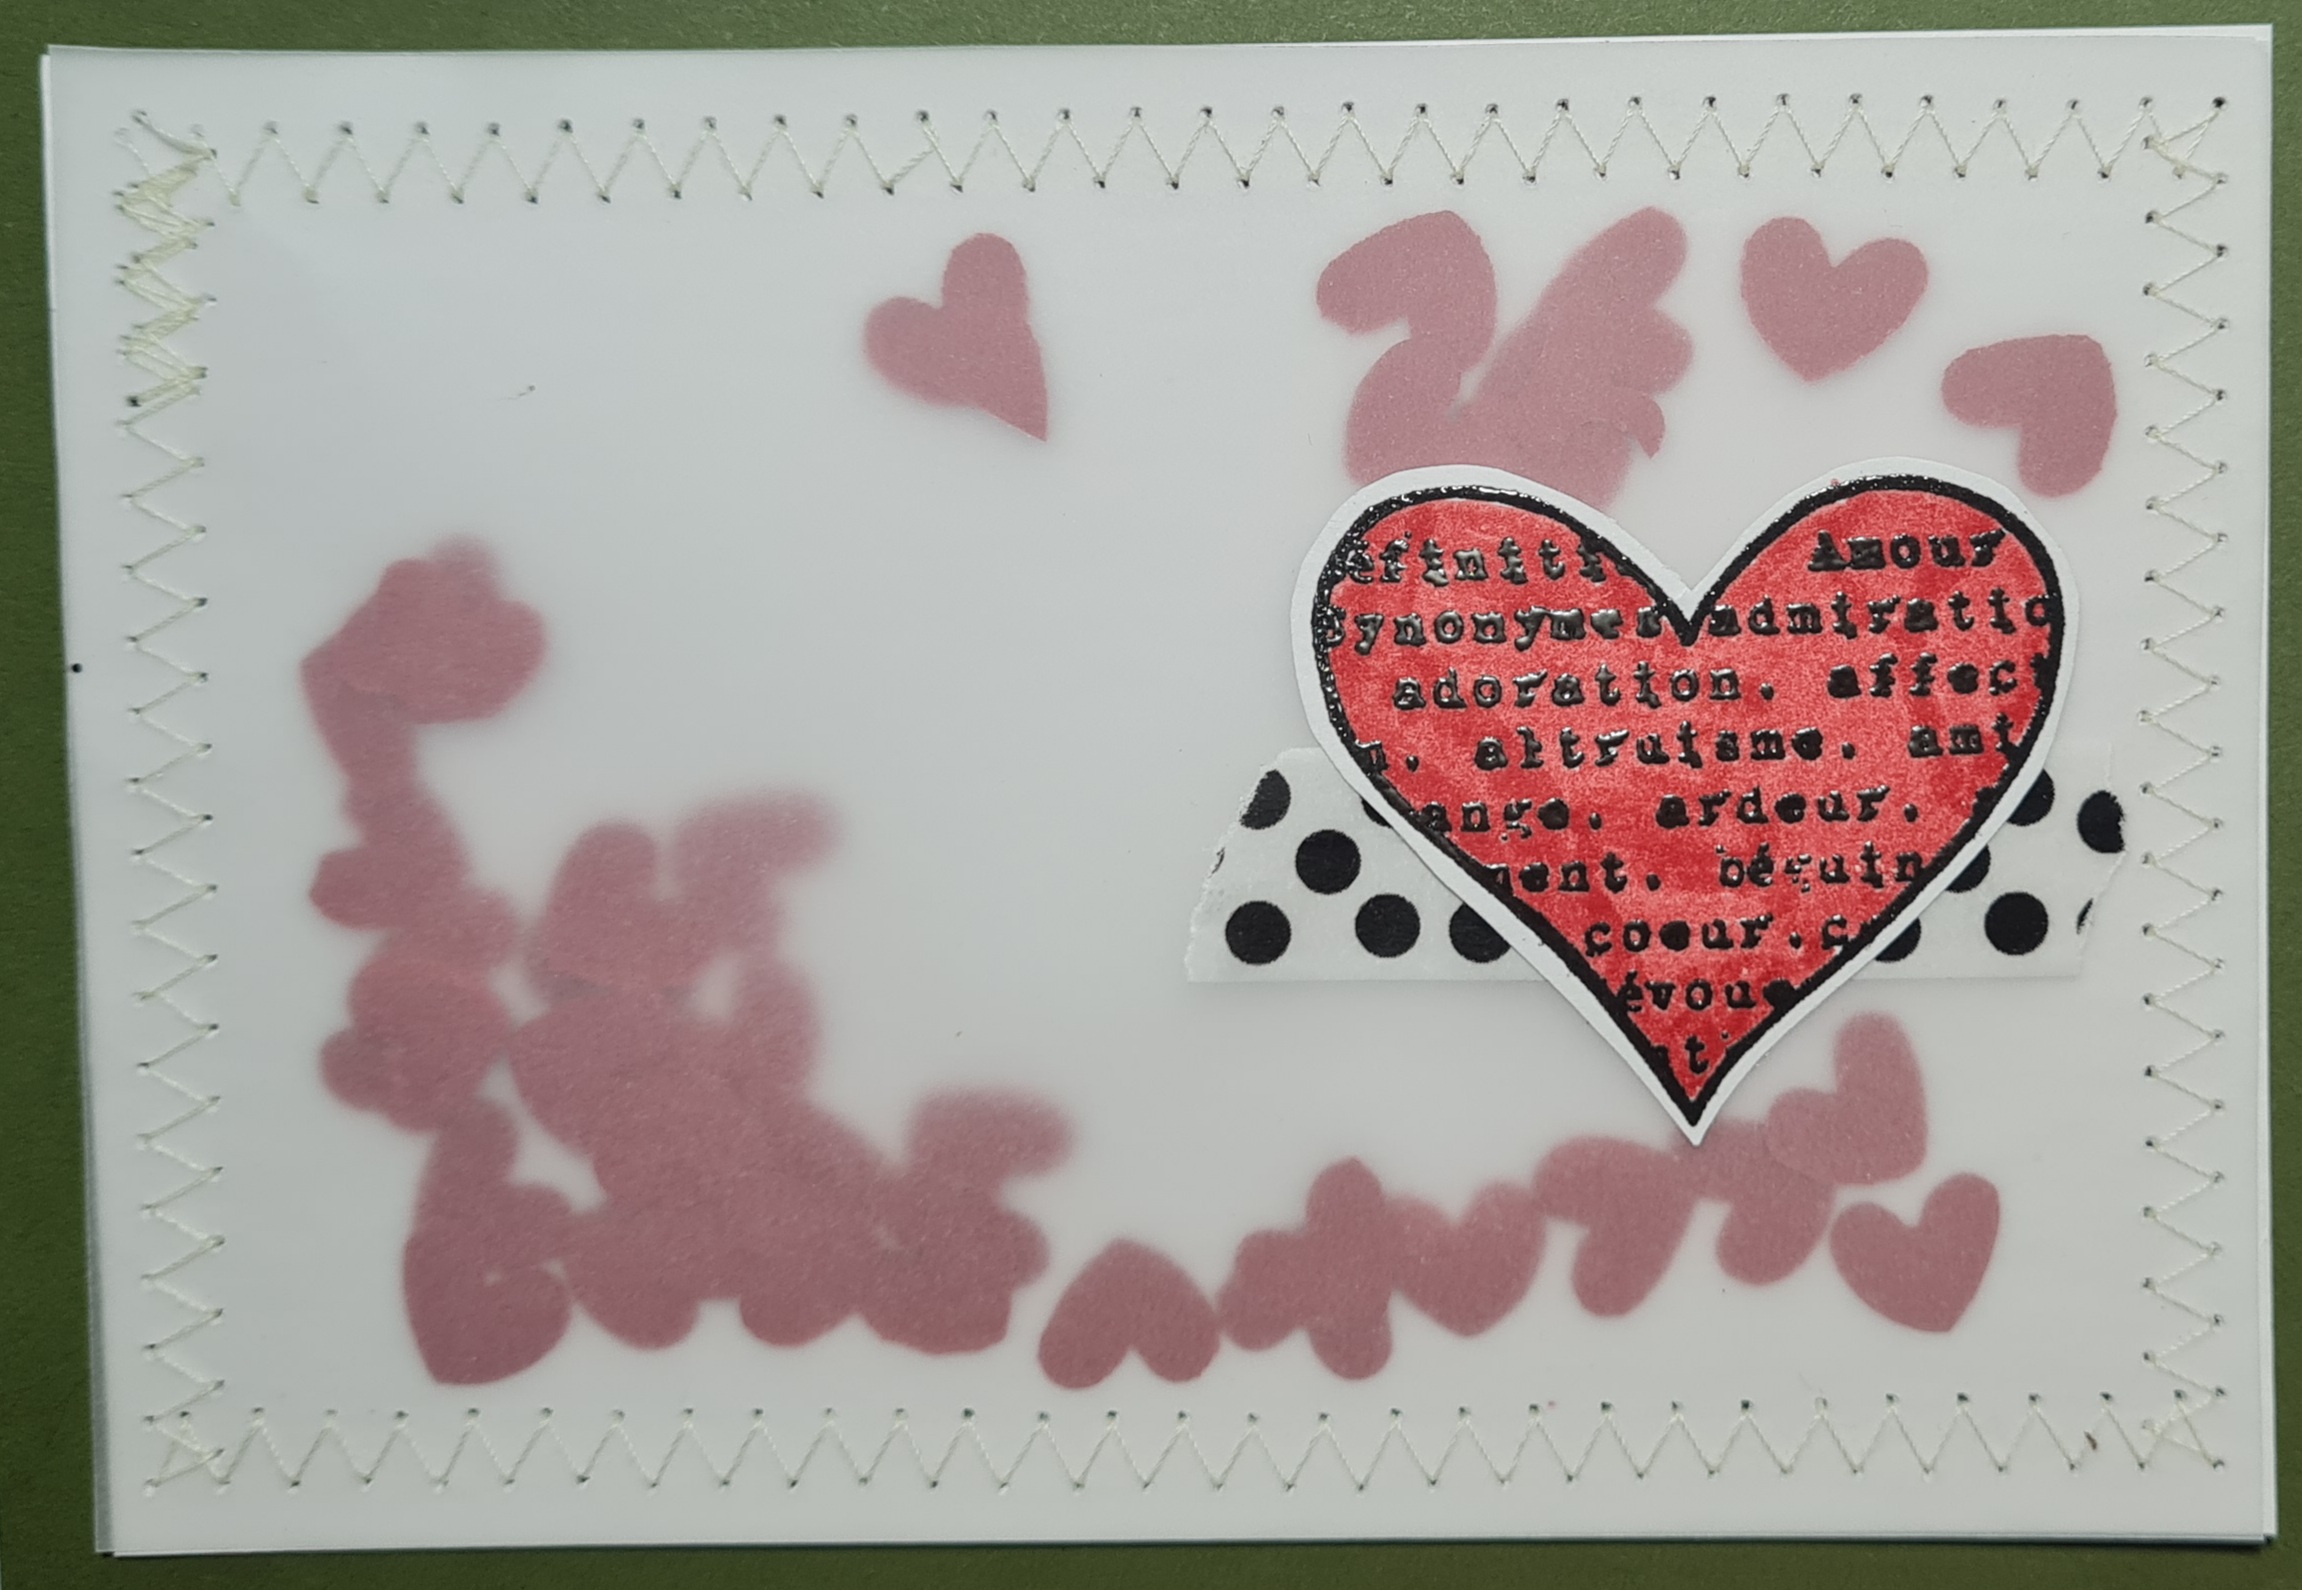
Finally I used vellum and created a pocket for the heart confetti and then sewed around the edge. I added the dotty washi and the embossed heart I coloured with a red pen.
OK think I have now come to the end of heart postcards…. but probably got a few more heart projects to blog about before the month is out!
My final project for UK stampers forum this month is the decorated tag… so of course that’s my Tag Thursday project for this week!
In keeping with the other swaps I made for UK stampers forum, I used the Berry delightful dsp, although the tag itself was covered with bookprint and gesso for the actual base.
I added strips of the paper and then an ATCoin I had covered with the paper. I chose the flower stamps for the main stamped images and coloured loosely with the Stampin Blends and cut them out.
I then stamped the sentiment and the panel with the sentiment I added some washi tape underneath to give some contrast.
I finished the tag with the gems and a bright red ribbon from the stash… a lovely fun project and I think a pretty tag!
Today I have a card I made for my parents sending them a box of goodies and their belongings left at our house.
I also wanted to send them a smile and virtual hugs!
I chose to use the Berry Delightful dsp and the Sweet Strawberry stamps. I also used the new to me Lawn Fawn die to cut out several in green and stack them up on the front of the card.
Love how this came out and it was so simple to put together.
Once again I gave the post a themed type of title … not sure if it will become a routine thing or not… let’s see shall we?
Well this particular Monday I am sharing a mixed media piece I made for the Mini Marvels house themed swap. I already made a couple of houses but then volunteered myself to make another project for a different recipient. This is what I made!
Both the back and the house pieces are made from chipboard and were in my box of Art Parts I’ve had for ages! I used the fabulous fresco finish paints to decorate them which lots of rough stamping to add texture.
I decided for the hole in the house to add some bookprint onto which I had stamped the paperartsy stamp.
Unlike the other houses I made I added some details to this house (a door and window) with doodles … I also added grass doodles to the background.
I decided to add emphasis to them by adding glossy accents and also to the triangle part of the roof and the centre of the flower.
I also really wanted to use the stamp for the title that is a Paperartsy HotPicks stamp. I stamped it on white and the cut it up so it would fit on the panel.
I decided to also paint the little easel stand so it coordinated.
I made sure that the back of the house and panel also looked decorated with bookprint and some paint.
So I am hoping the recipient likes the little panel and easel I made for her.
Yup it’s the heart day! We don’t really do anything exchange cards for valentines day… although this year it being all weird with lockdown etc I did order a special cheesecake to celebrate!
Anyways I did make a card for both the hubby and one for the teenager… because well why not?
I used a scrap of the Tim Holtz collage tissue paper and then some stamping for my card for the hubby. I added some sewing and some splats of Cherry Cobbler and Black gesso.
As the focal point I added the embossed heart which is my favourite Darcy heart. I coloured the heart with the Cherry Cobbler Stampin Blends and then adding the ink around the edge of the panel. I found an old stamp with the right sentiment and added that too.
I added the panel and then some doodles round the card. I also added the star sequin for a finishing touch.
Entering this card into the hearts challenge at Addicted to CAS.
For the teenager I went for a completely different look but also a Darcy heart and some sewing!
I used dsp from the stash in several layers with a layer of the white cardstock. I also added some lace tape some stamped and inked card and a Darcy heart which I raised on dimensionals. I love the sewn element with the contrasting pink thread. I also added the gem and the sentiment.
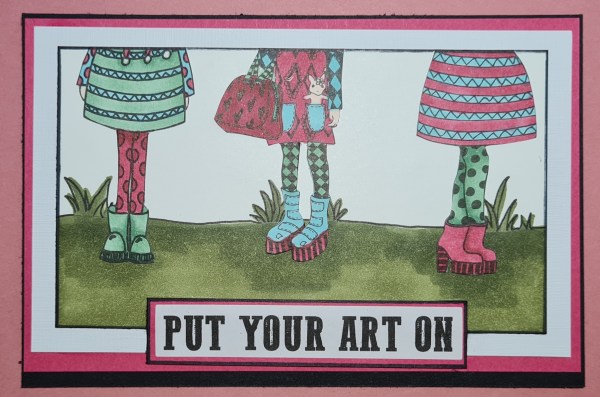
The theme for this months postcard art swap was boots and shoes so I went a bit crazy with three Dylusions dies cuts, promarkers and Stampin Blends to create mine.
I decided to create a scene but focus on the lower halves of the diecuts … I chose the stampin blends in Cherry Cobbler and Just Jade, which I added the promarkers for the blue and skin tones as I haven’t got the right colours in stampin blends.
After colouring in the girls, I created a scene for them to stand in…. sorry just realised I said girls but who knows what gender these characters are… afterall Johannes from strictly can walk better in heels than me!
Anyways back to the scene, I sketched a grassy scene and used the Mossy Meadow pair of stampin blends to colour it in. Then adhered the dies cuts, which I had actually fussy cut out to work better on the scene, and cut them off where the panel ended.
Next I edged the panel with black pen, and adhered it to a white panel, then the Magenta Madness.
I chose the sentiment from the Art By Marlene sticker book and mounted that on the magenta madness cardstock too and stuck that on.
Finally added it to a 6×4 postcard made from black to make the panel nice and strong for going through the post!
Last night I had fun crafting along with my friends using the True Love dsp.
The plan for this session was to enjoy colouring in some images and then assembling the cards around these images as the True Love dsp is perfect for fussy cutting and for colouring in with the black and white floral images. The plan was also for us to make six cards but we only managed 3 so will be having another session next Thursday to do the other three.
Here are the samples I made.
The first card is quite dramatic with the stripes and diamond patterned paper that is the reverse to the floral and is balanced by the large flower cluster. I chose the lovely Petal pink colour for colouring in and using as the accent colour with the twine and cardstock. I used Stampin Blends to colour this one. I chose to use Itty Bitty Greetings on all my cards as sentiments, either embossing in white on black or gold on white. I also embellished with black matt dots for this card.
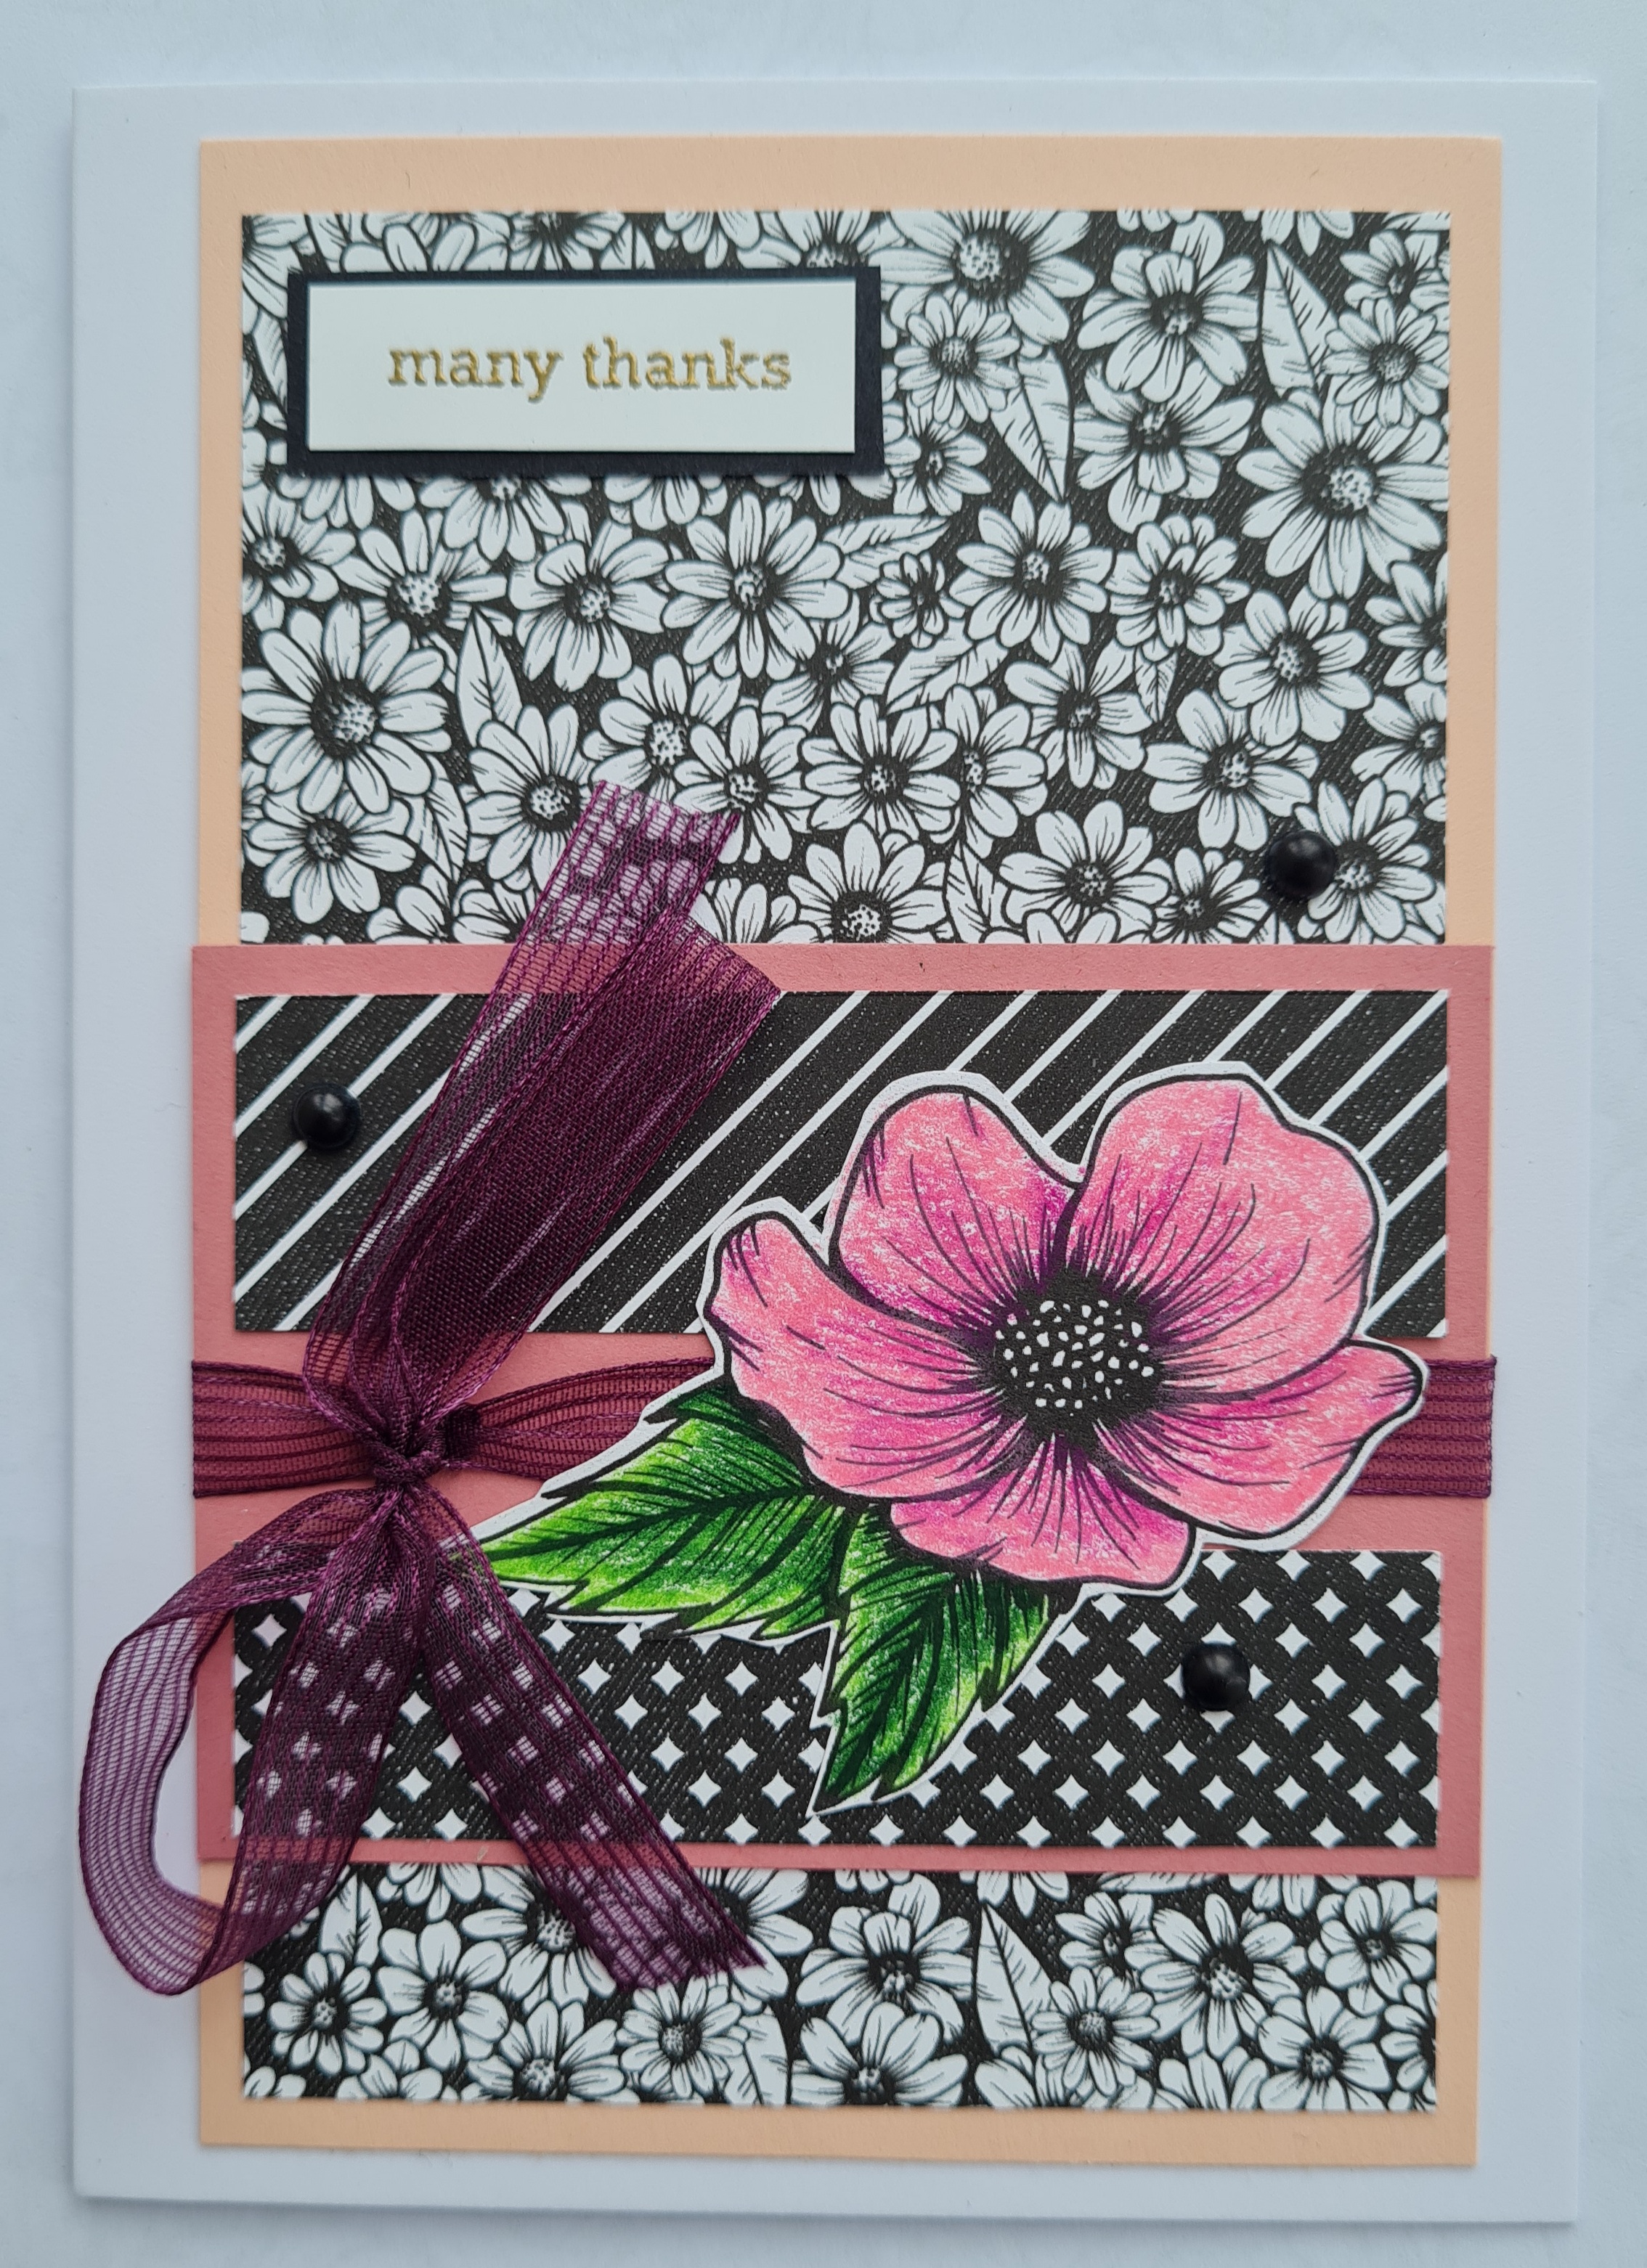
Next card is a very busy daisy like background with little strips of the reverse patterns. This time I chose prismacolour pencils to colour in the image. I added the Blackberry Bliss ribbon and a nice bow to finish this one off. The colours on the pic have come out a little strange as the flower is less neon in real life but even so I love this card with the contrasts.
This one is more subtle than the previous that’s for certain… a small image from the same paper as the background fussy cut and coloured (Stampin Blends) makes a nice embellishment and I raised it on dimensional to sit above the ribbon that wraps the card. This time I chose the Pastel Pearl’s for embellishment.
Entering this in for the challenge at GET CREATIVE
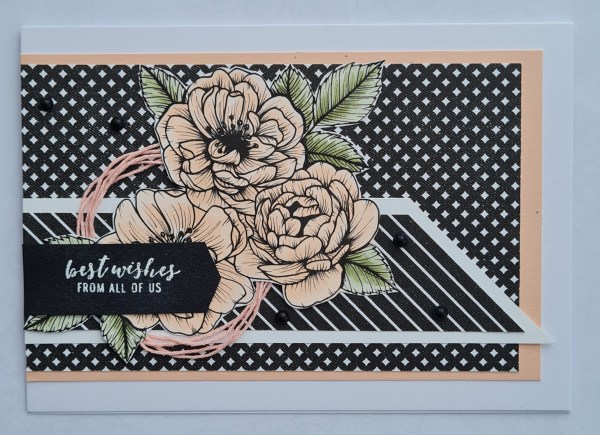
I love this next card… possibly one of my favourites from the set. This time I chose to only colour the green elements and leave the rest white and black. I then chose a similar looking flower from one of the papers and fussy cut that, again only colouring in the leaves. I added the twine for embellishment under the flower and mounted the panel on soft sea foam and then the Rococo Rose. I added the sentiment as a banner and the pastel pearls for further embellishment.
OK I know I said the one above was my favourite… but this is the one that it competes with as most favourite! Terrible English I know, sorry about that! This time I fussy cut the floral element I wanted to colour and used a waterbrush and the Blackberry Bliss ink pad to add some colour to the flowers in the centres and the Old Olive for the leaves/ stem.
I then chose the same paper as a panel but gave it a hand drawn border with with Stampin Blends and panel of soft seam foam for underneath. I laid them wonky and added a twist of the ribbon under the floral focal feature. I added the sentiment right in the middle and embellished with the pearls.
Really can’t decide which I prefer out of those two.
Finally this one I went mad with colouring in. This paper was so busy but I thought a small piece of it fully coloured in would be fun… I used stampin blends in cherry cobbler, blackberry bliss, petal pink and just jade to colour it in and it looks so rich… just love it.
The bottom piece of dsp I also added the petal pink colour … a reminder that all dsp can be coloured in not just the image based ones!
This time some simple white twine and a single pastel pearl did the job to finish off. This is a very different card… but fabulous in its own right!
Love this set of floral cards with the dramatic black and white and the beautiful colours of Petal Pink, Rococo Rose, Blackberry Bliss and Soft Sea Foam… a lovely combo.
Also really enjoyed the colouring in time… so relaxing!
The kit I put together had lots of leftovers after these projects… so look out for more projects using them up… not just the little tag I shared yesterday! Plus of course these are the samples I made… I did slightly change them on the evening for these three versions…