Artful ATC’S… weird and wonderful (87, 88, 89, 90)

Hello dear blog reader(s)

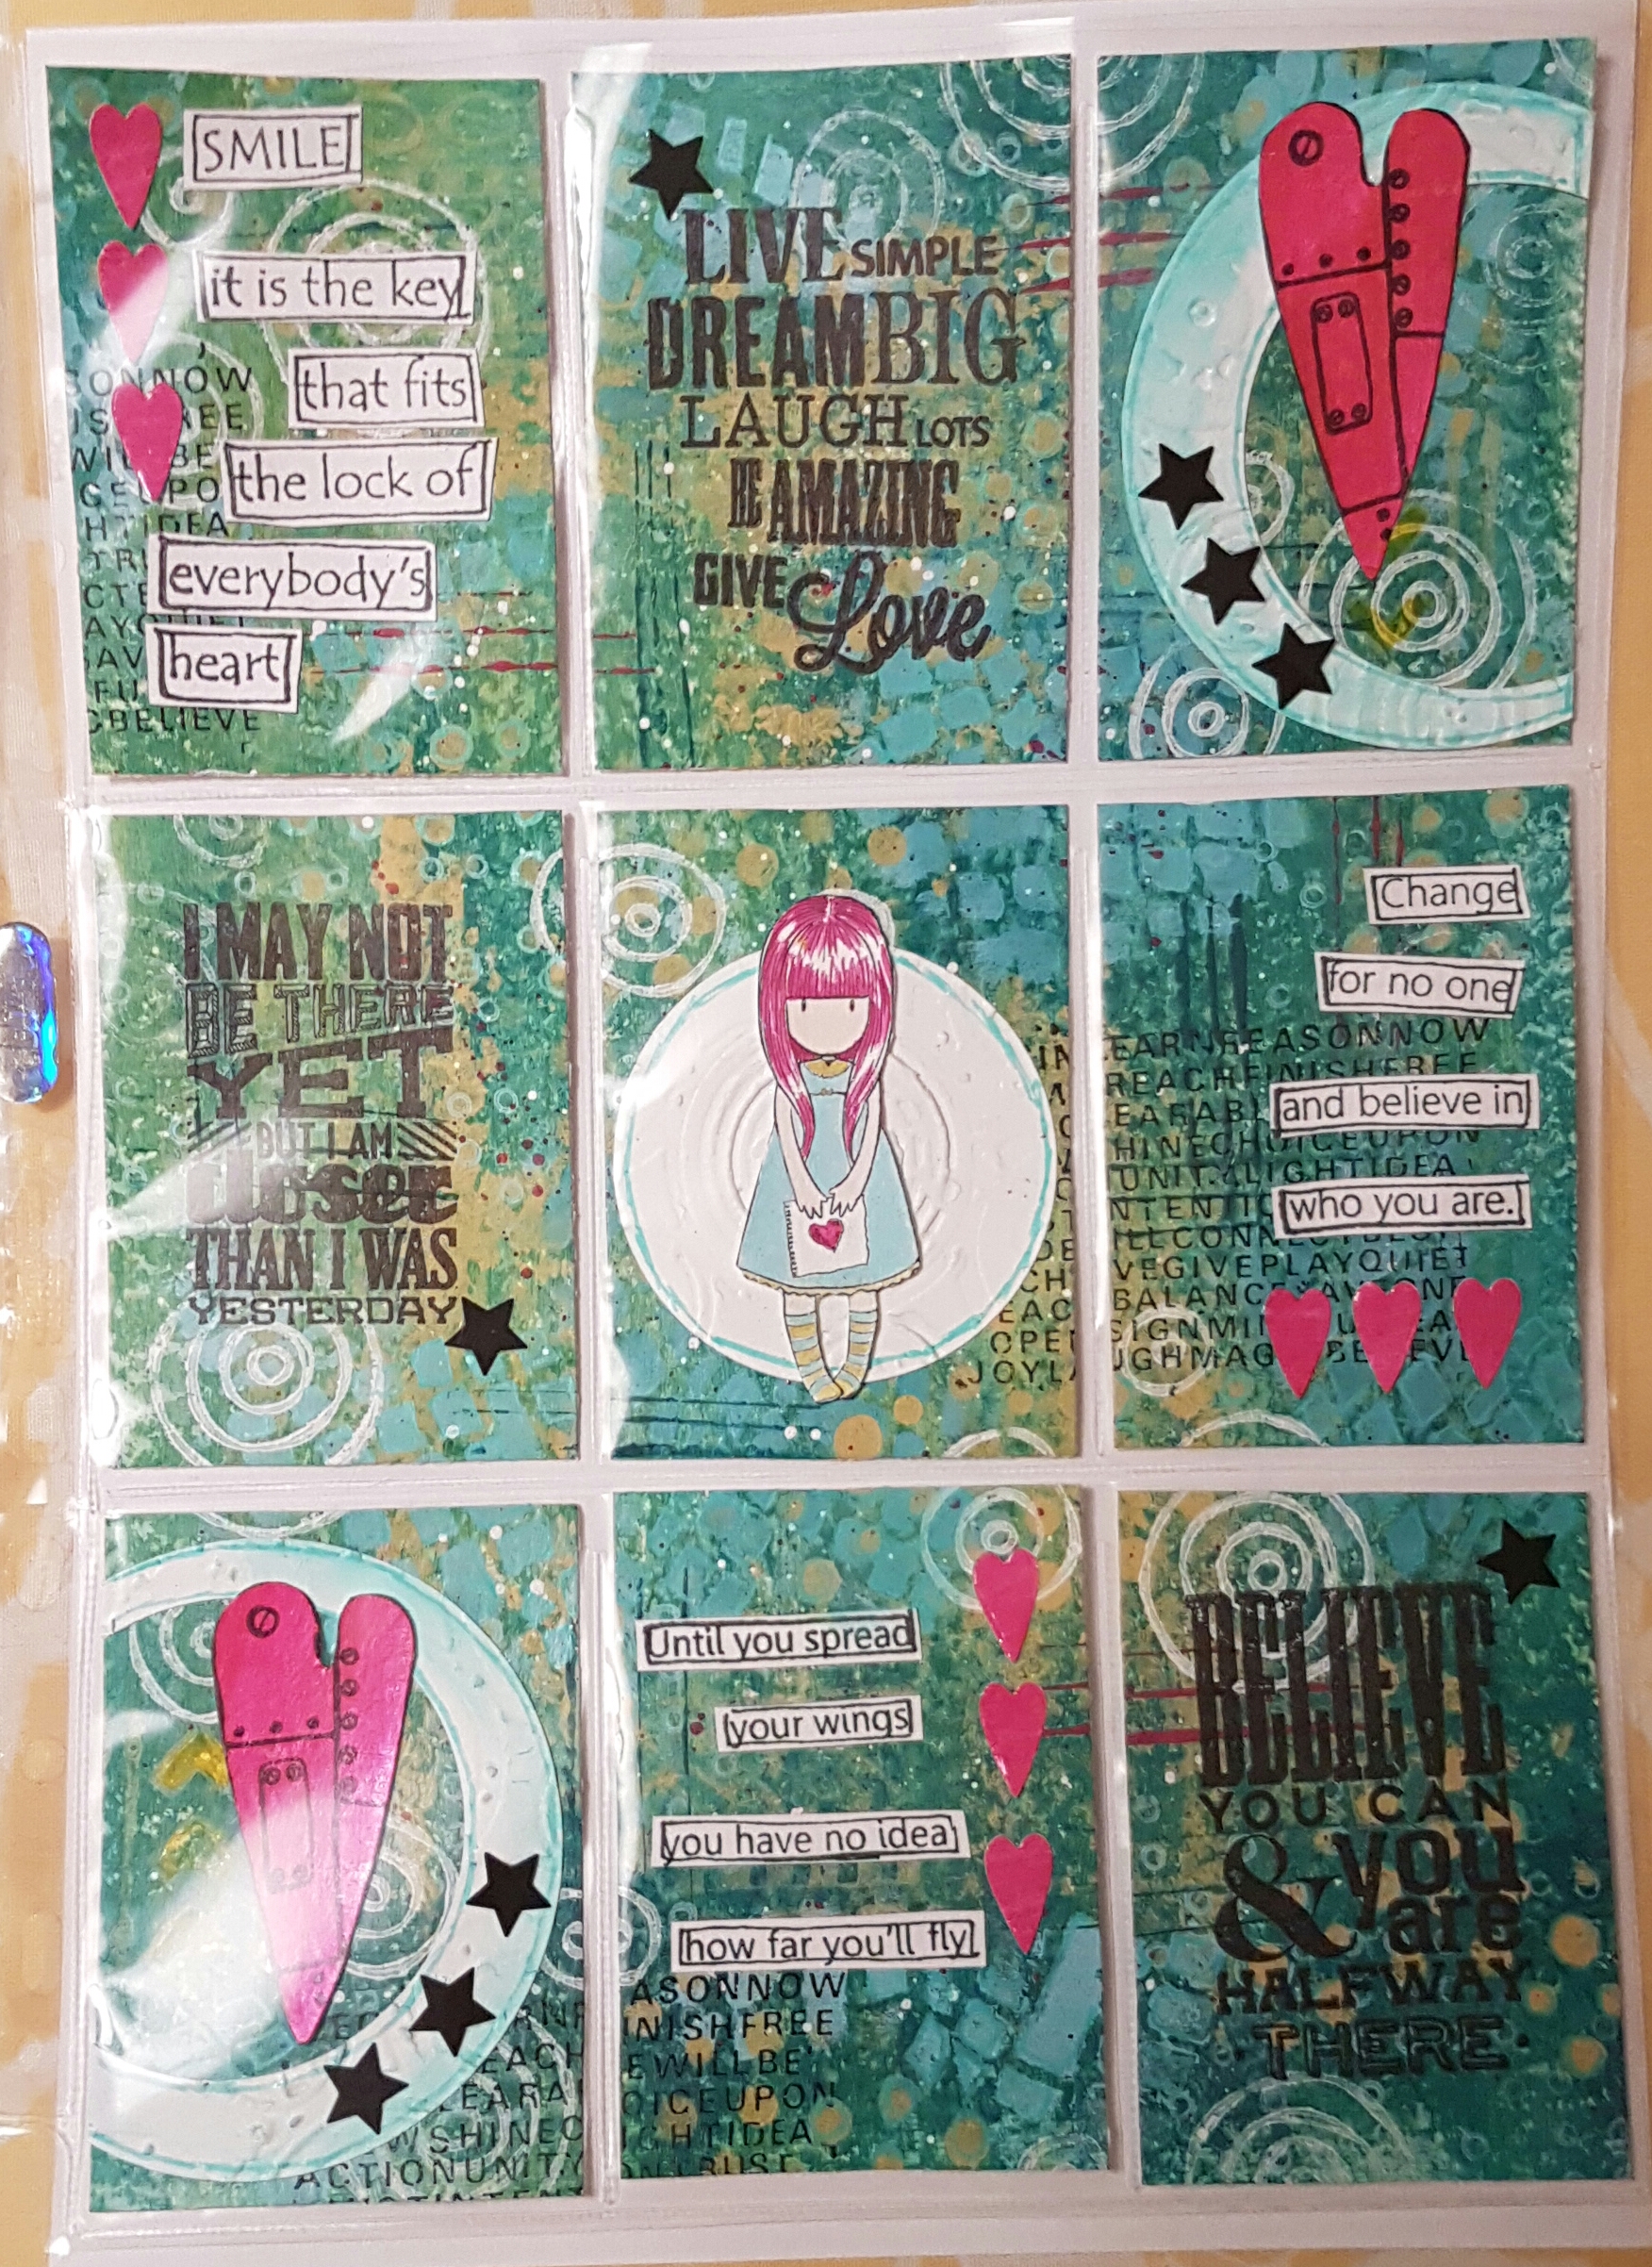
Today I have the swaps I made for February’s Artful ATC swap group… the theme was weird and wonderful. 

I don’t really have too many ‘weird’ things but then my lovely friend Darcy creates some pretty wonderful images to stamp with … so I turned to her designs. 

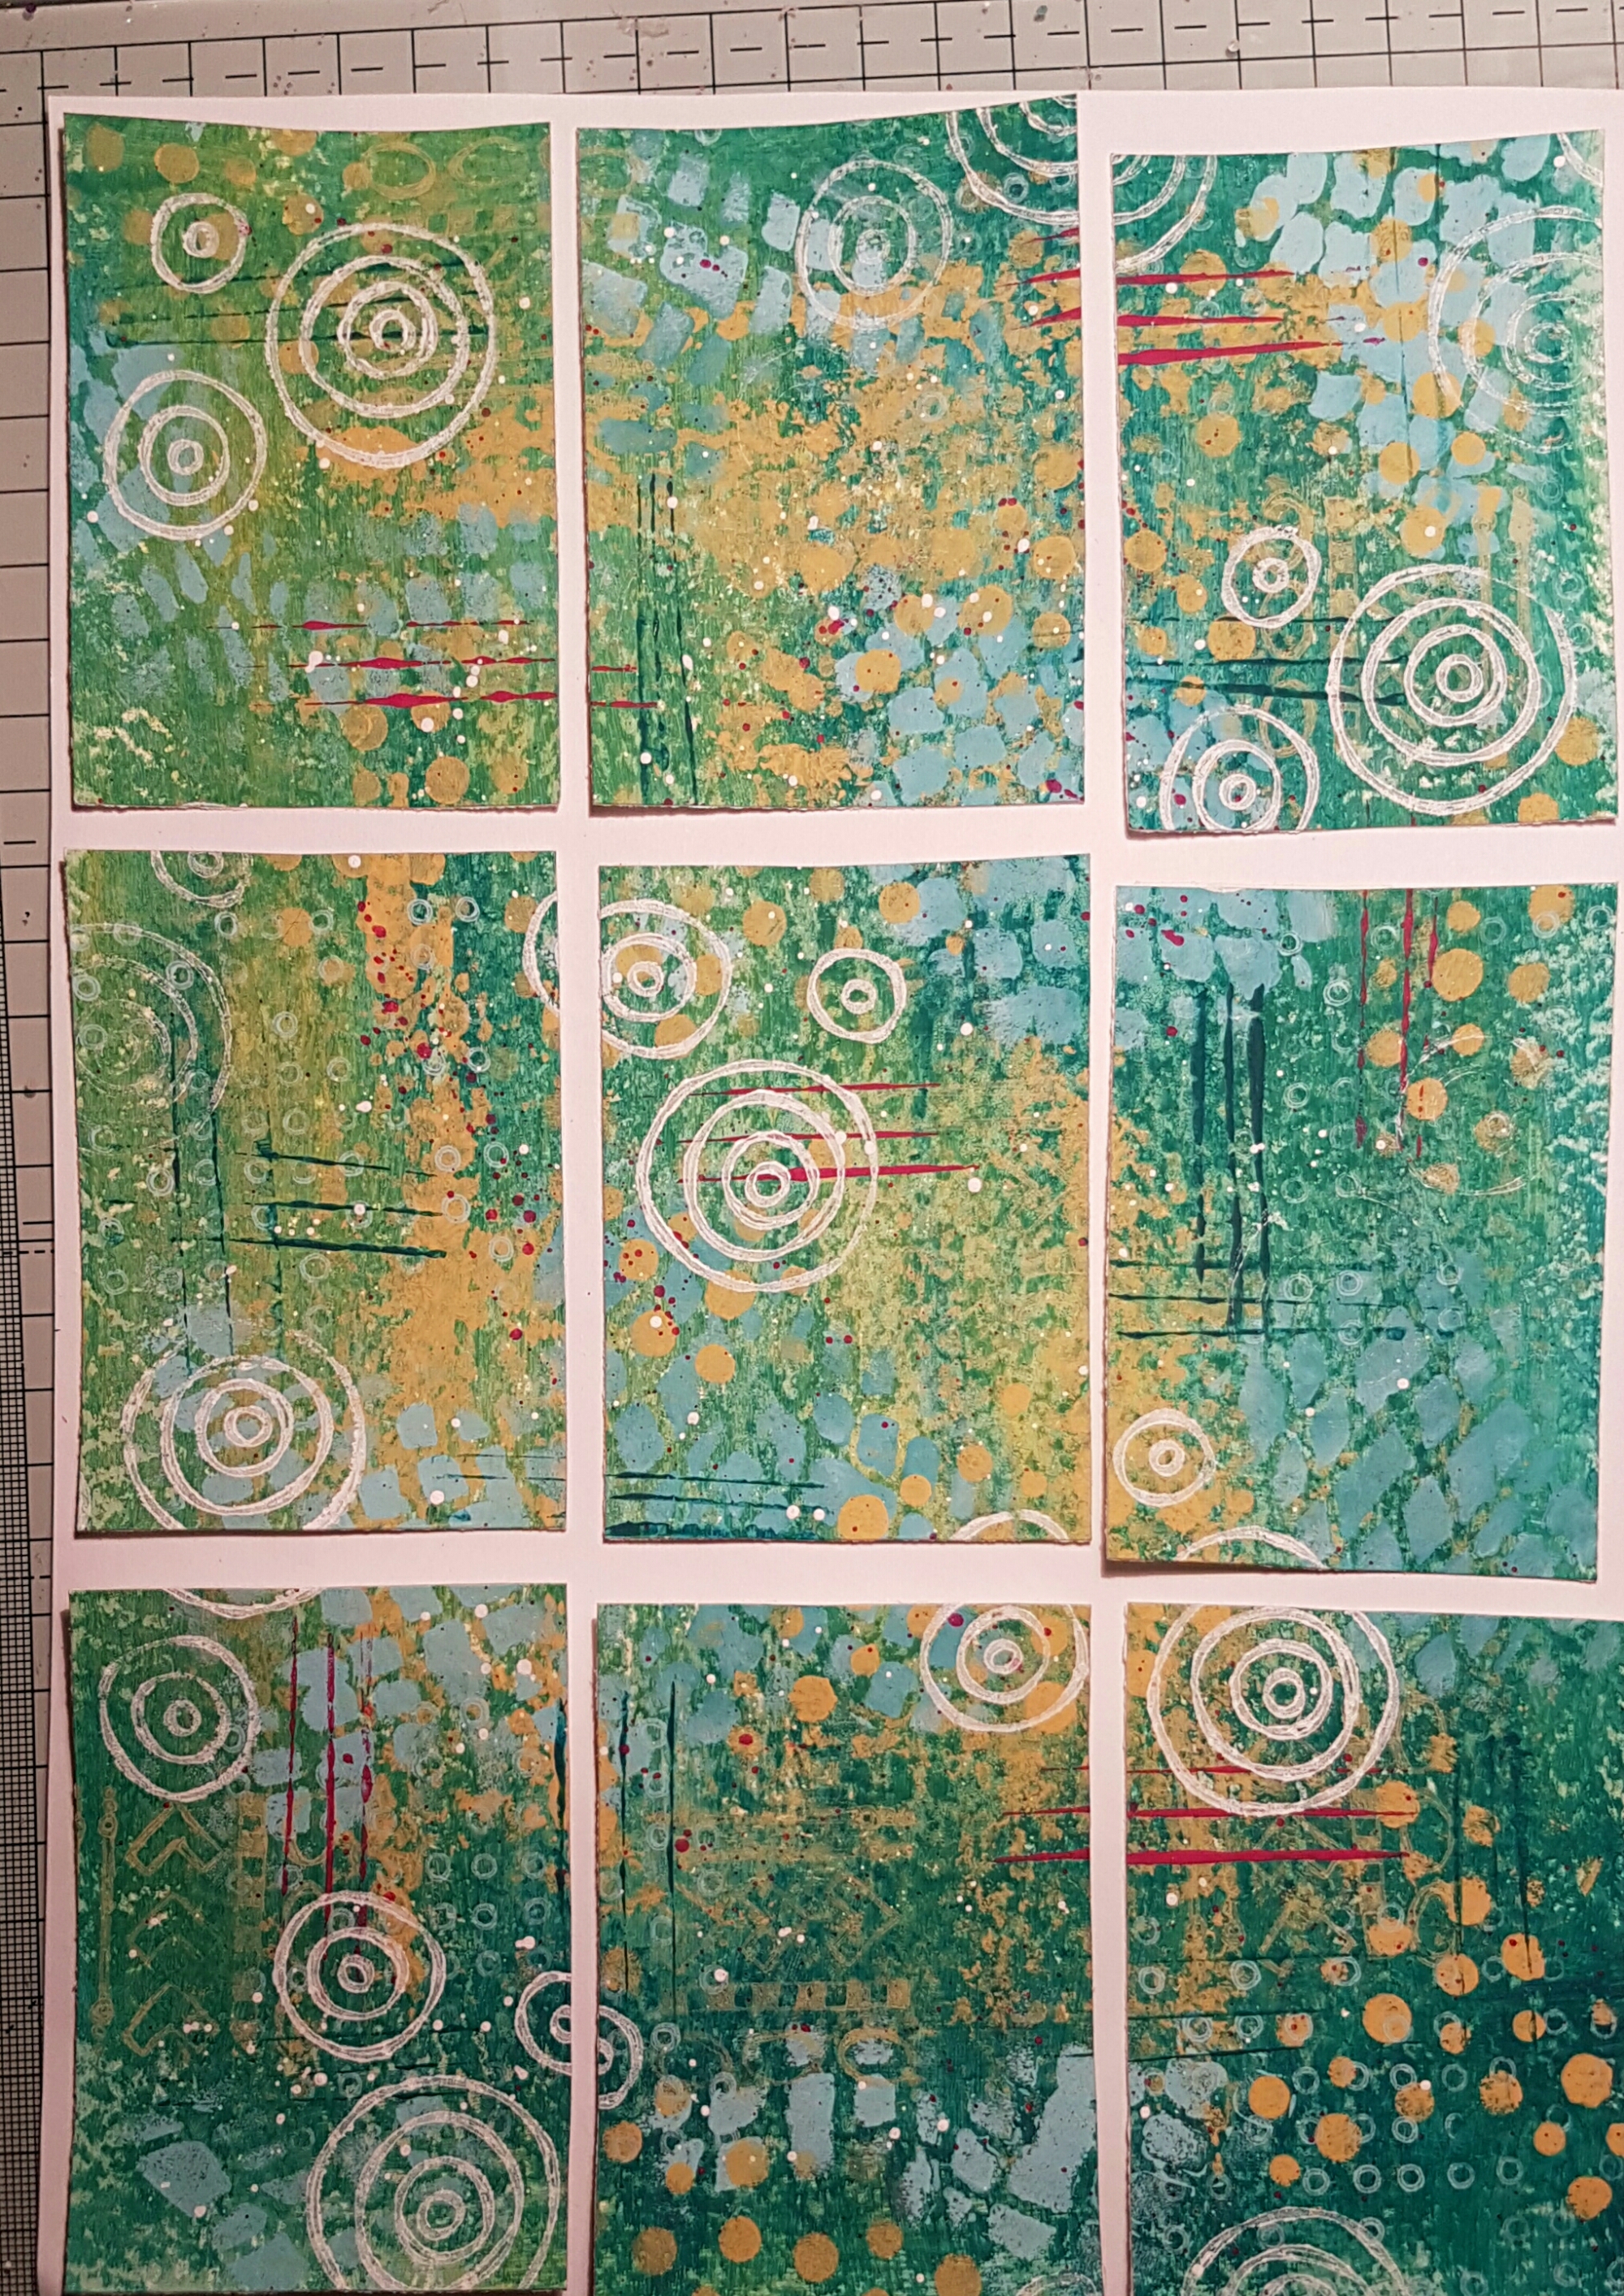
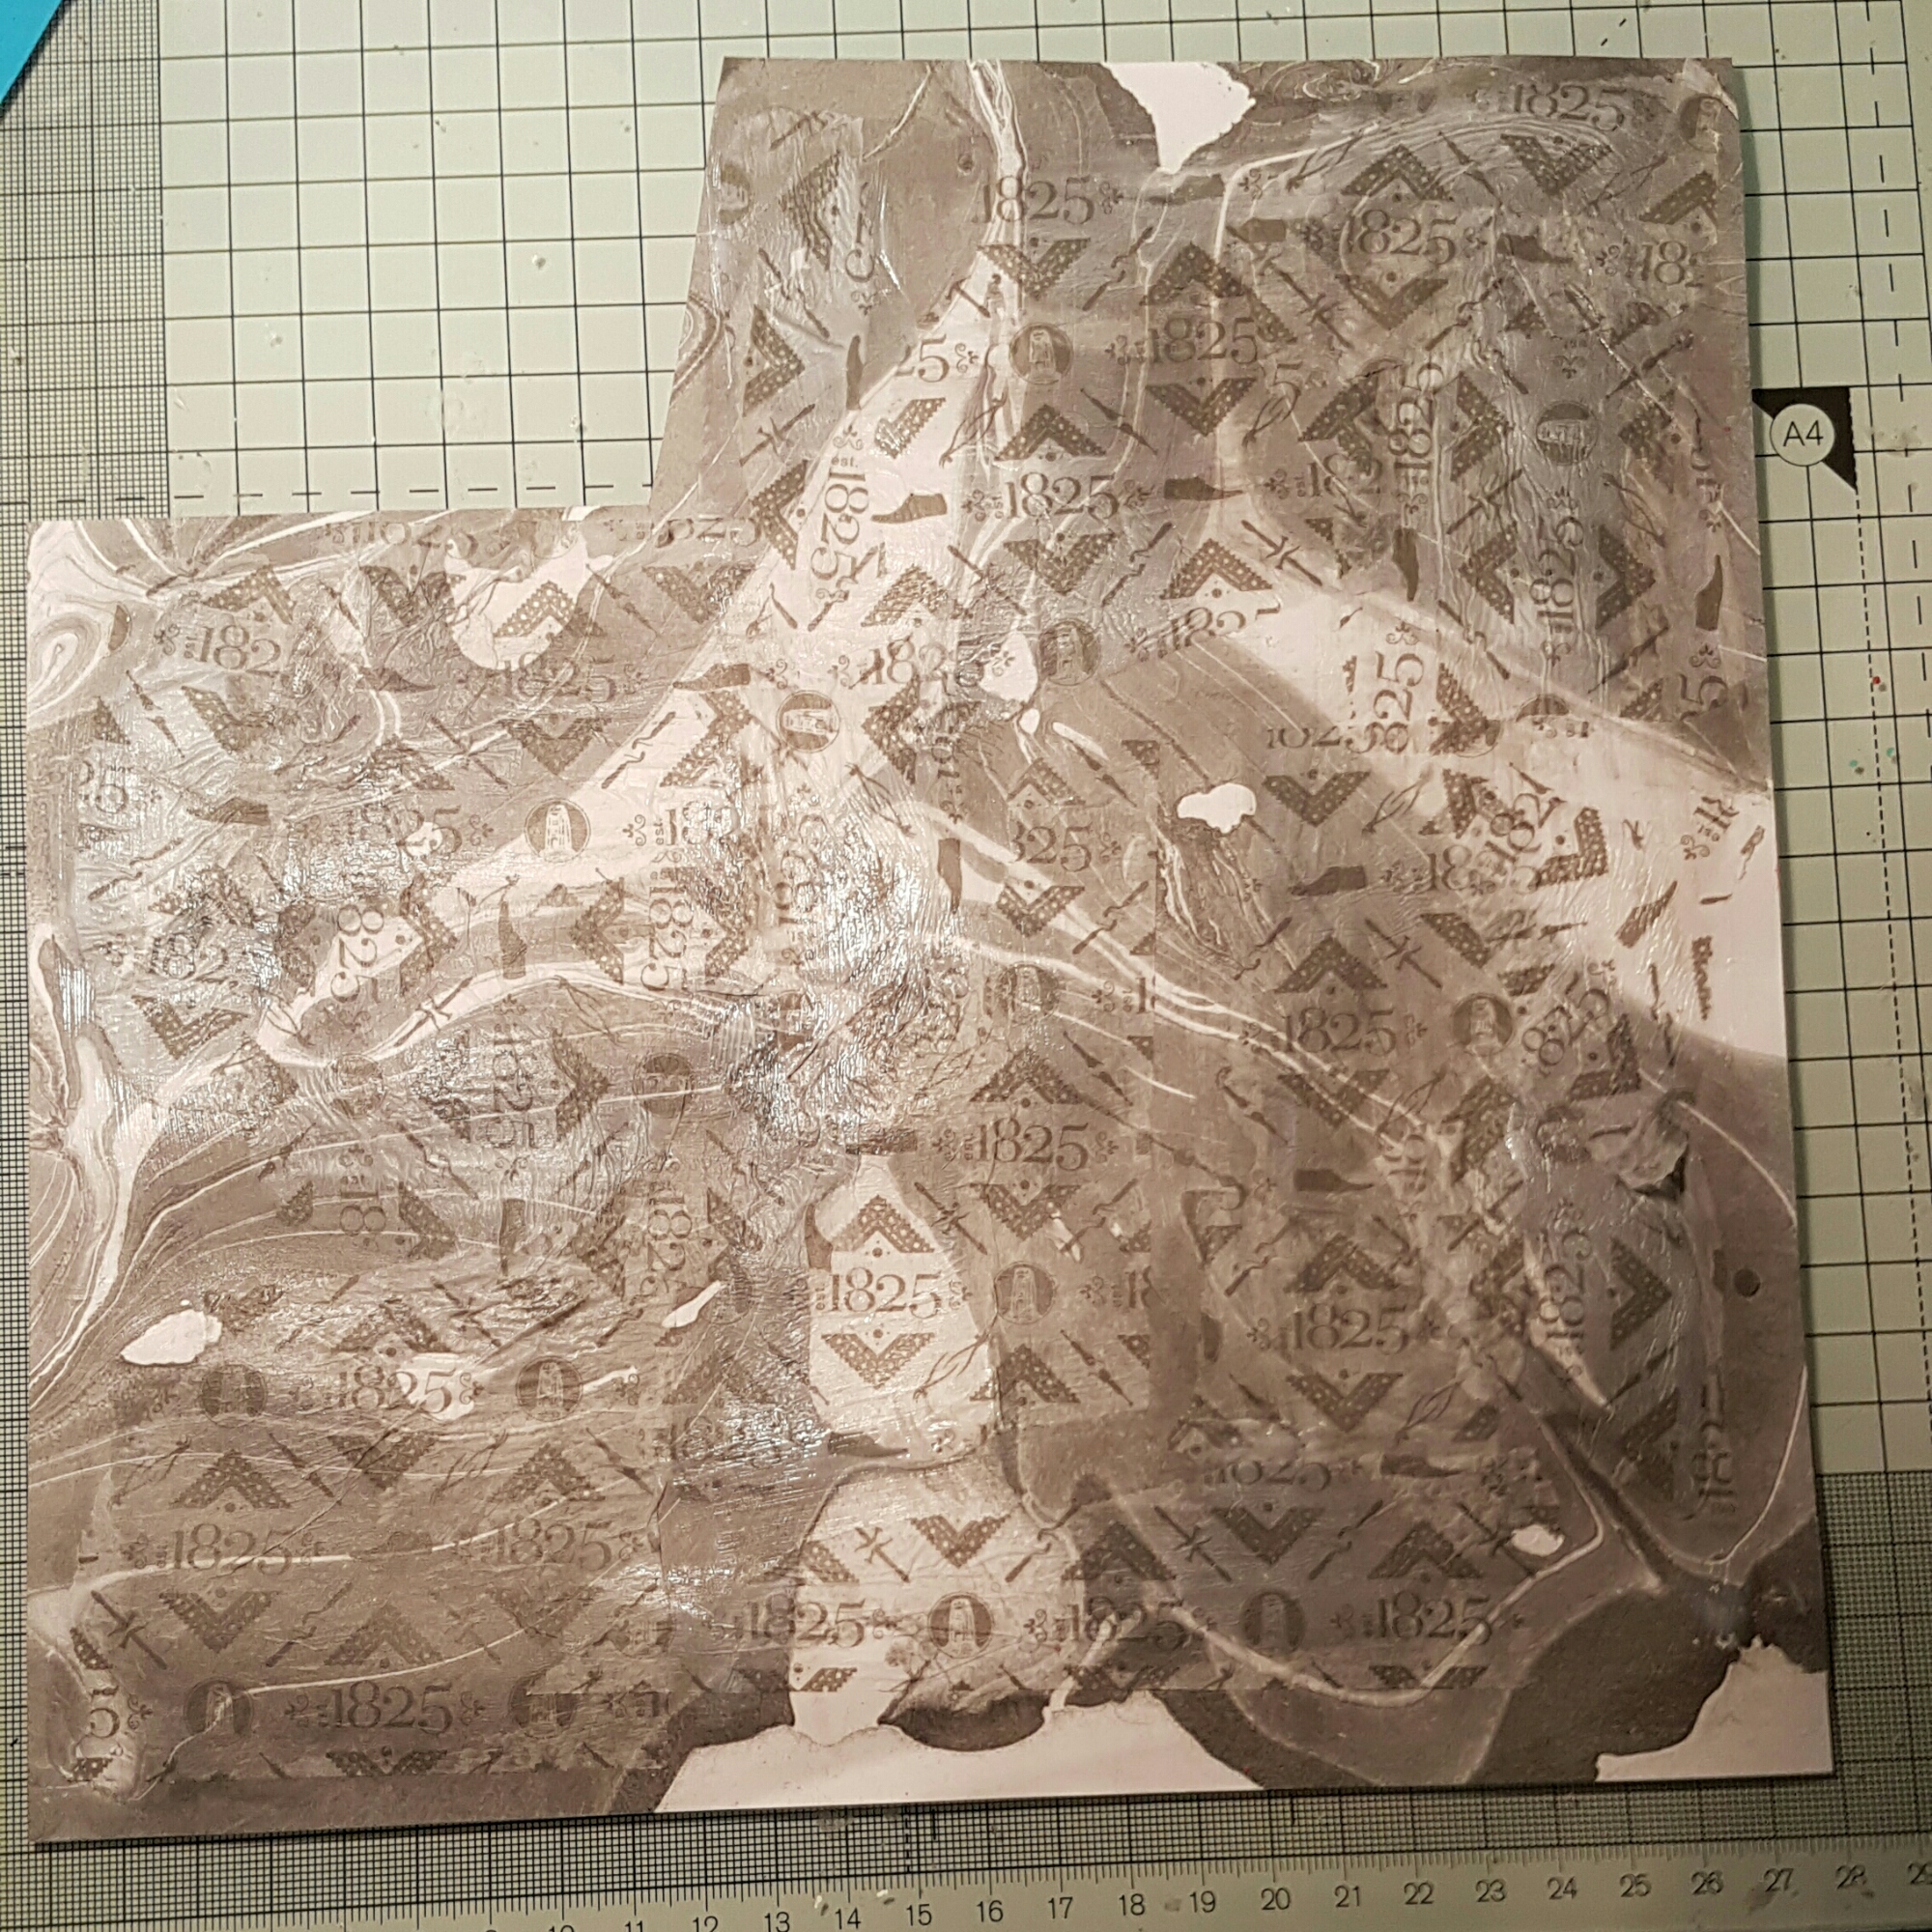
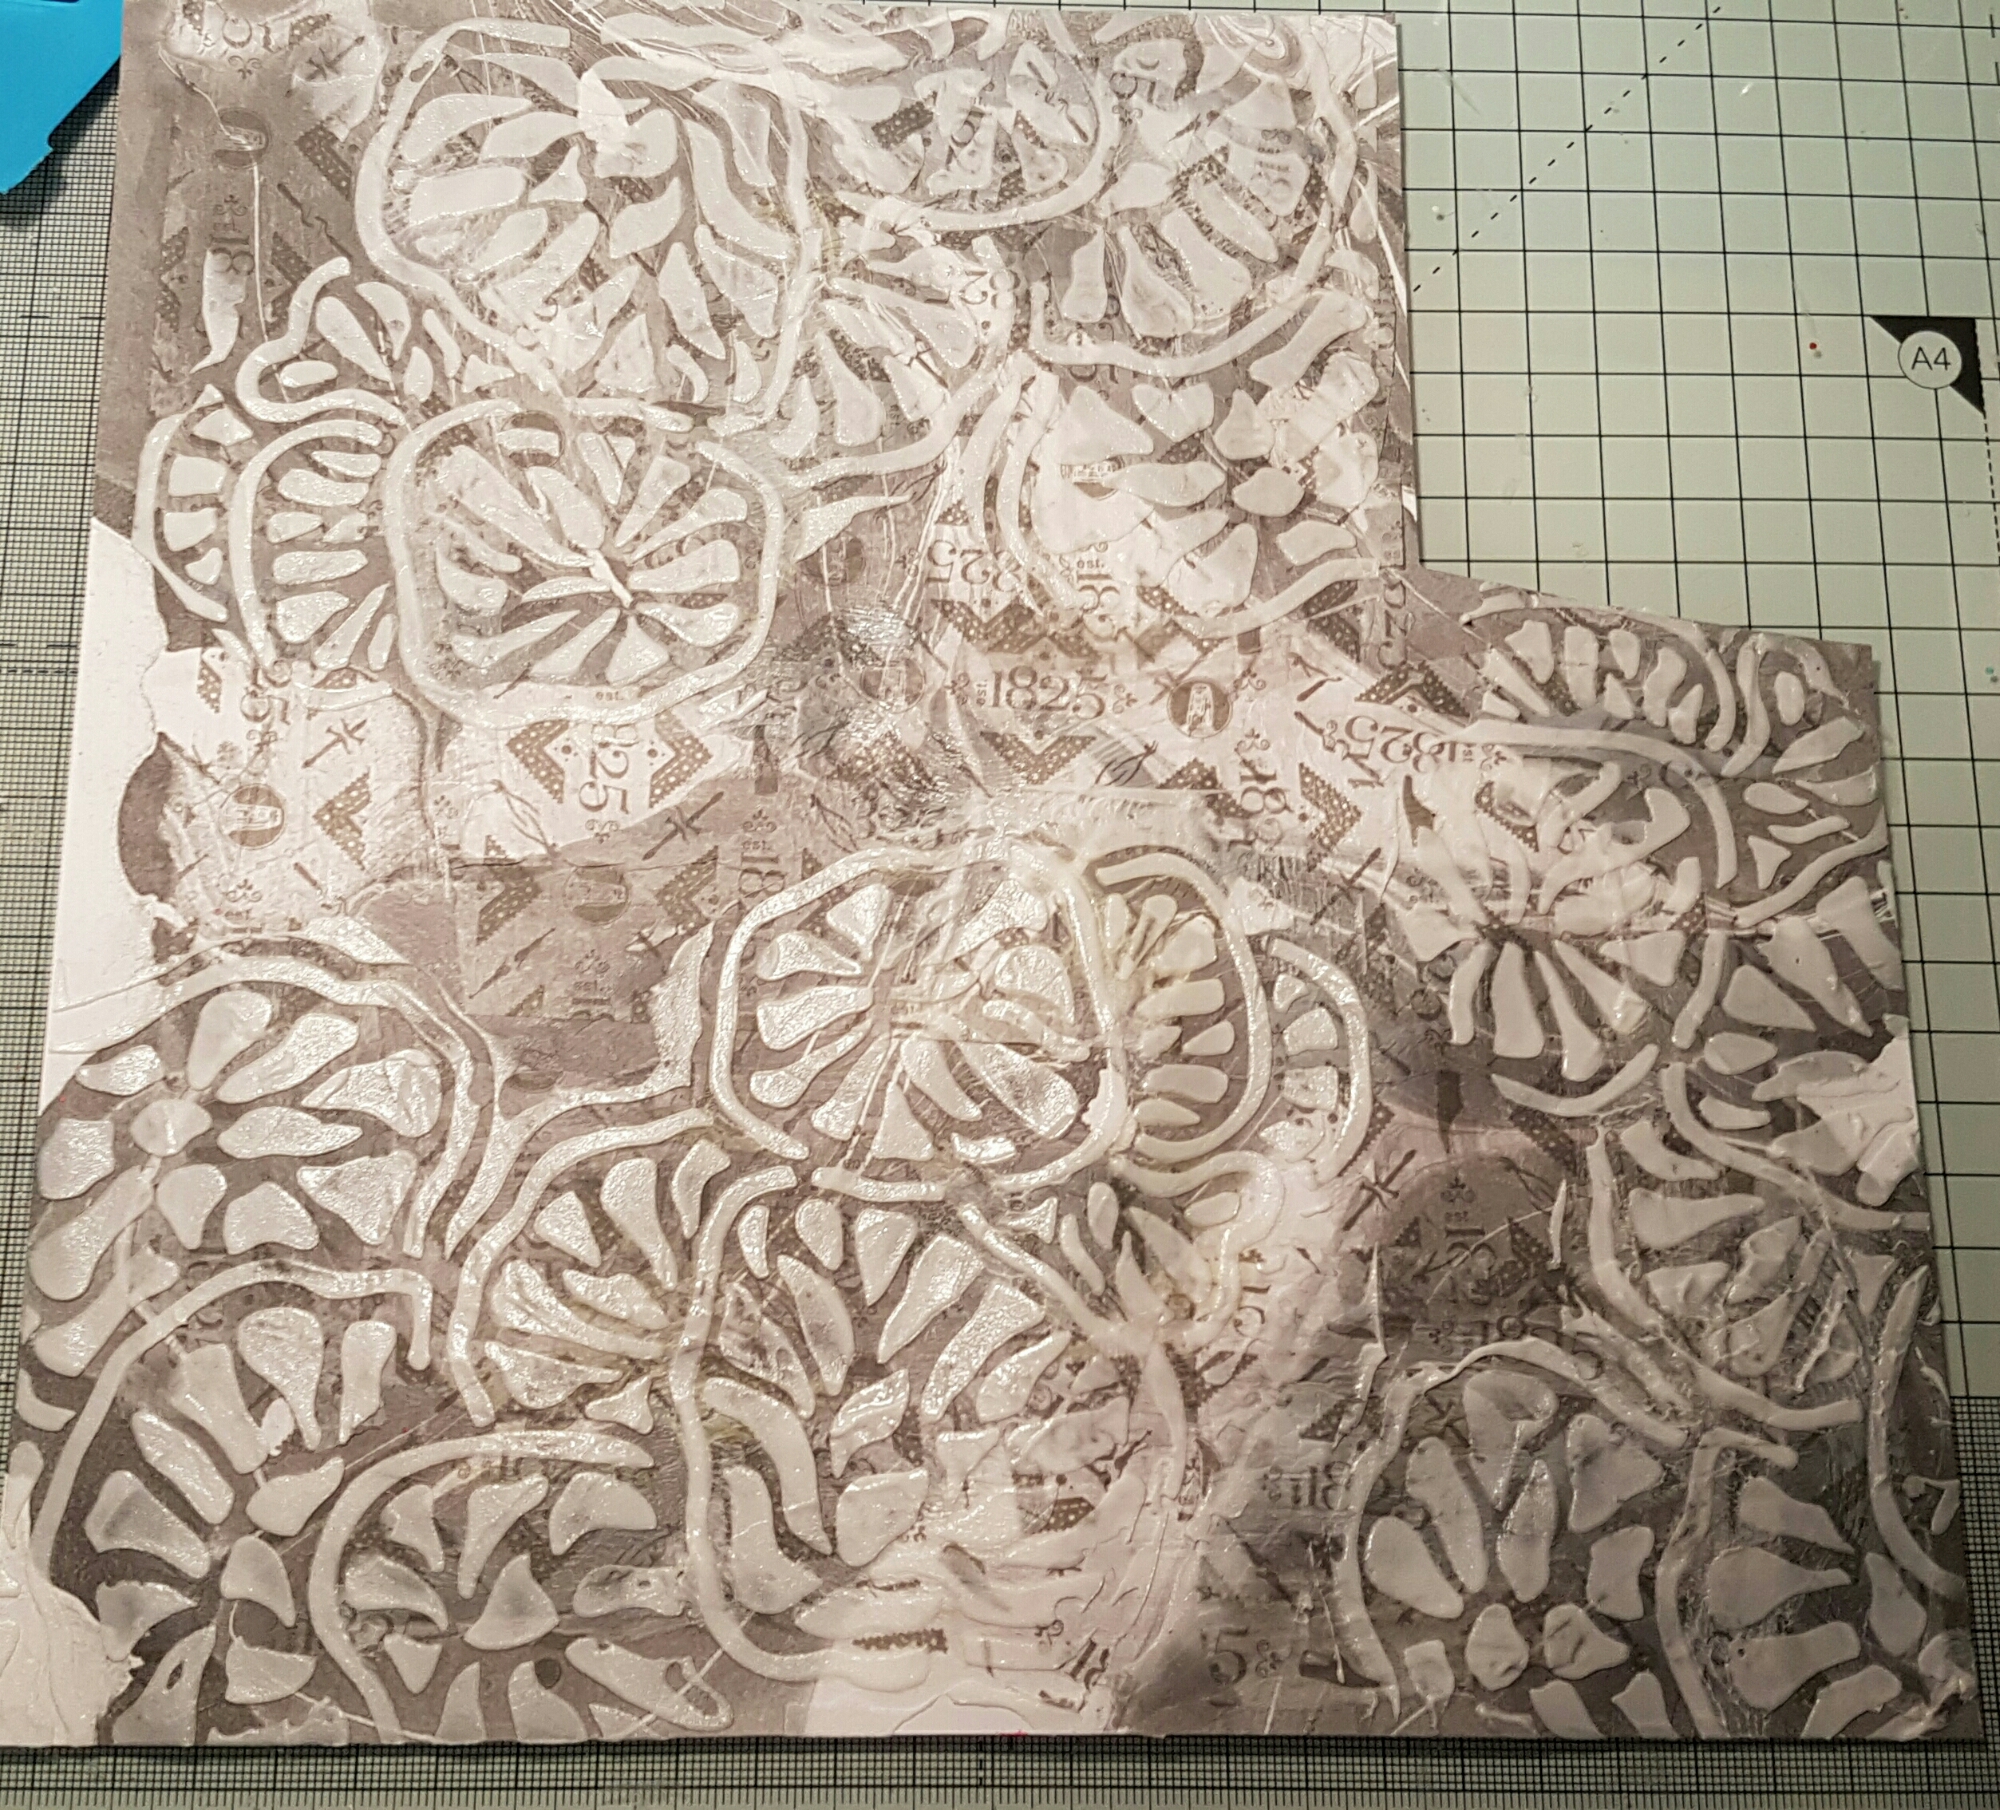
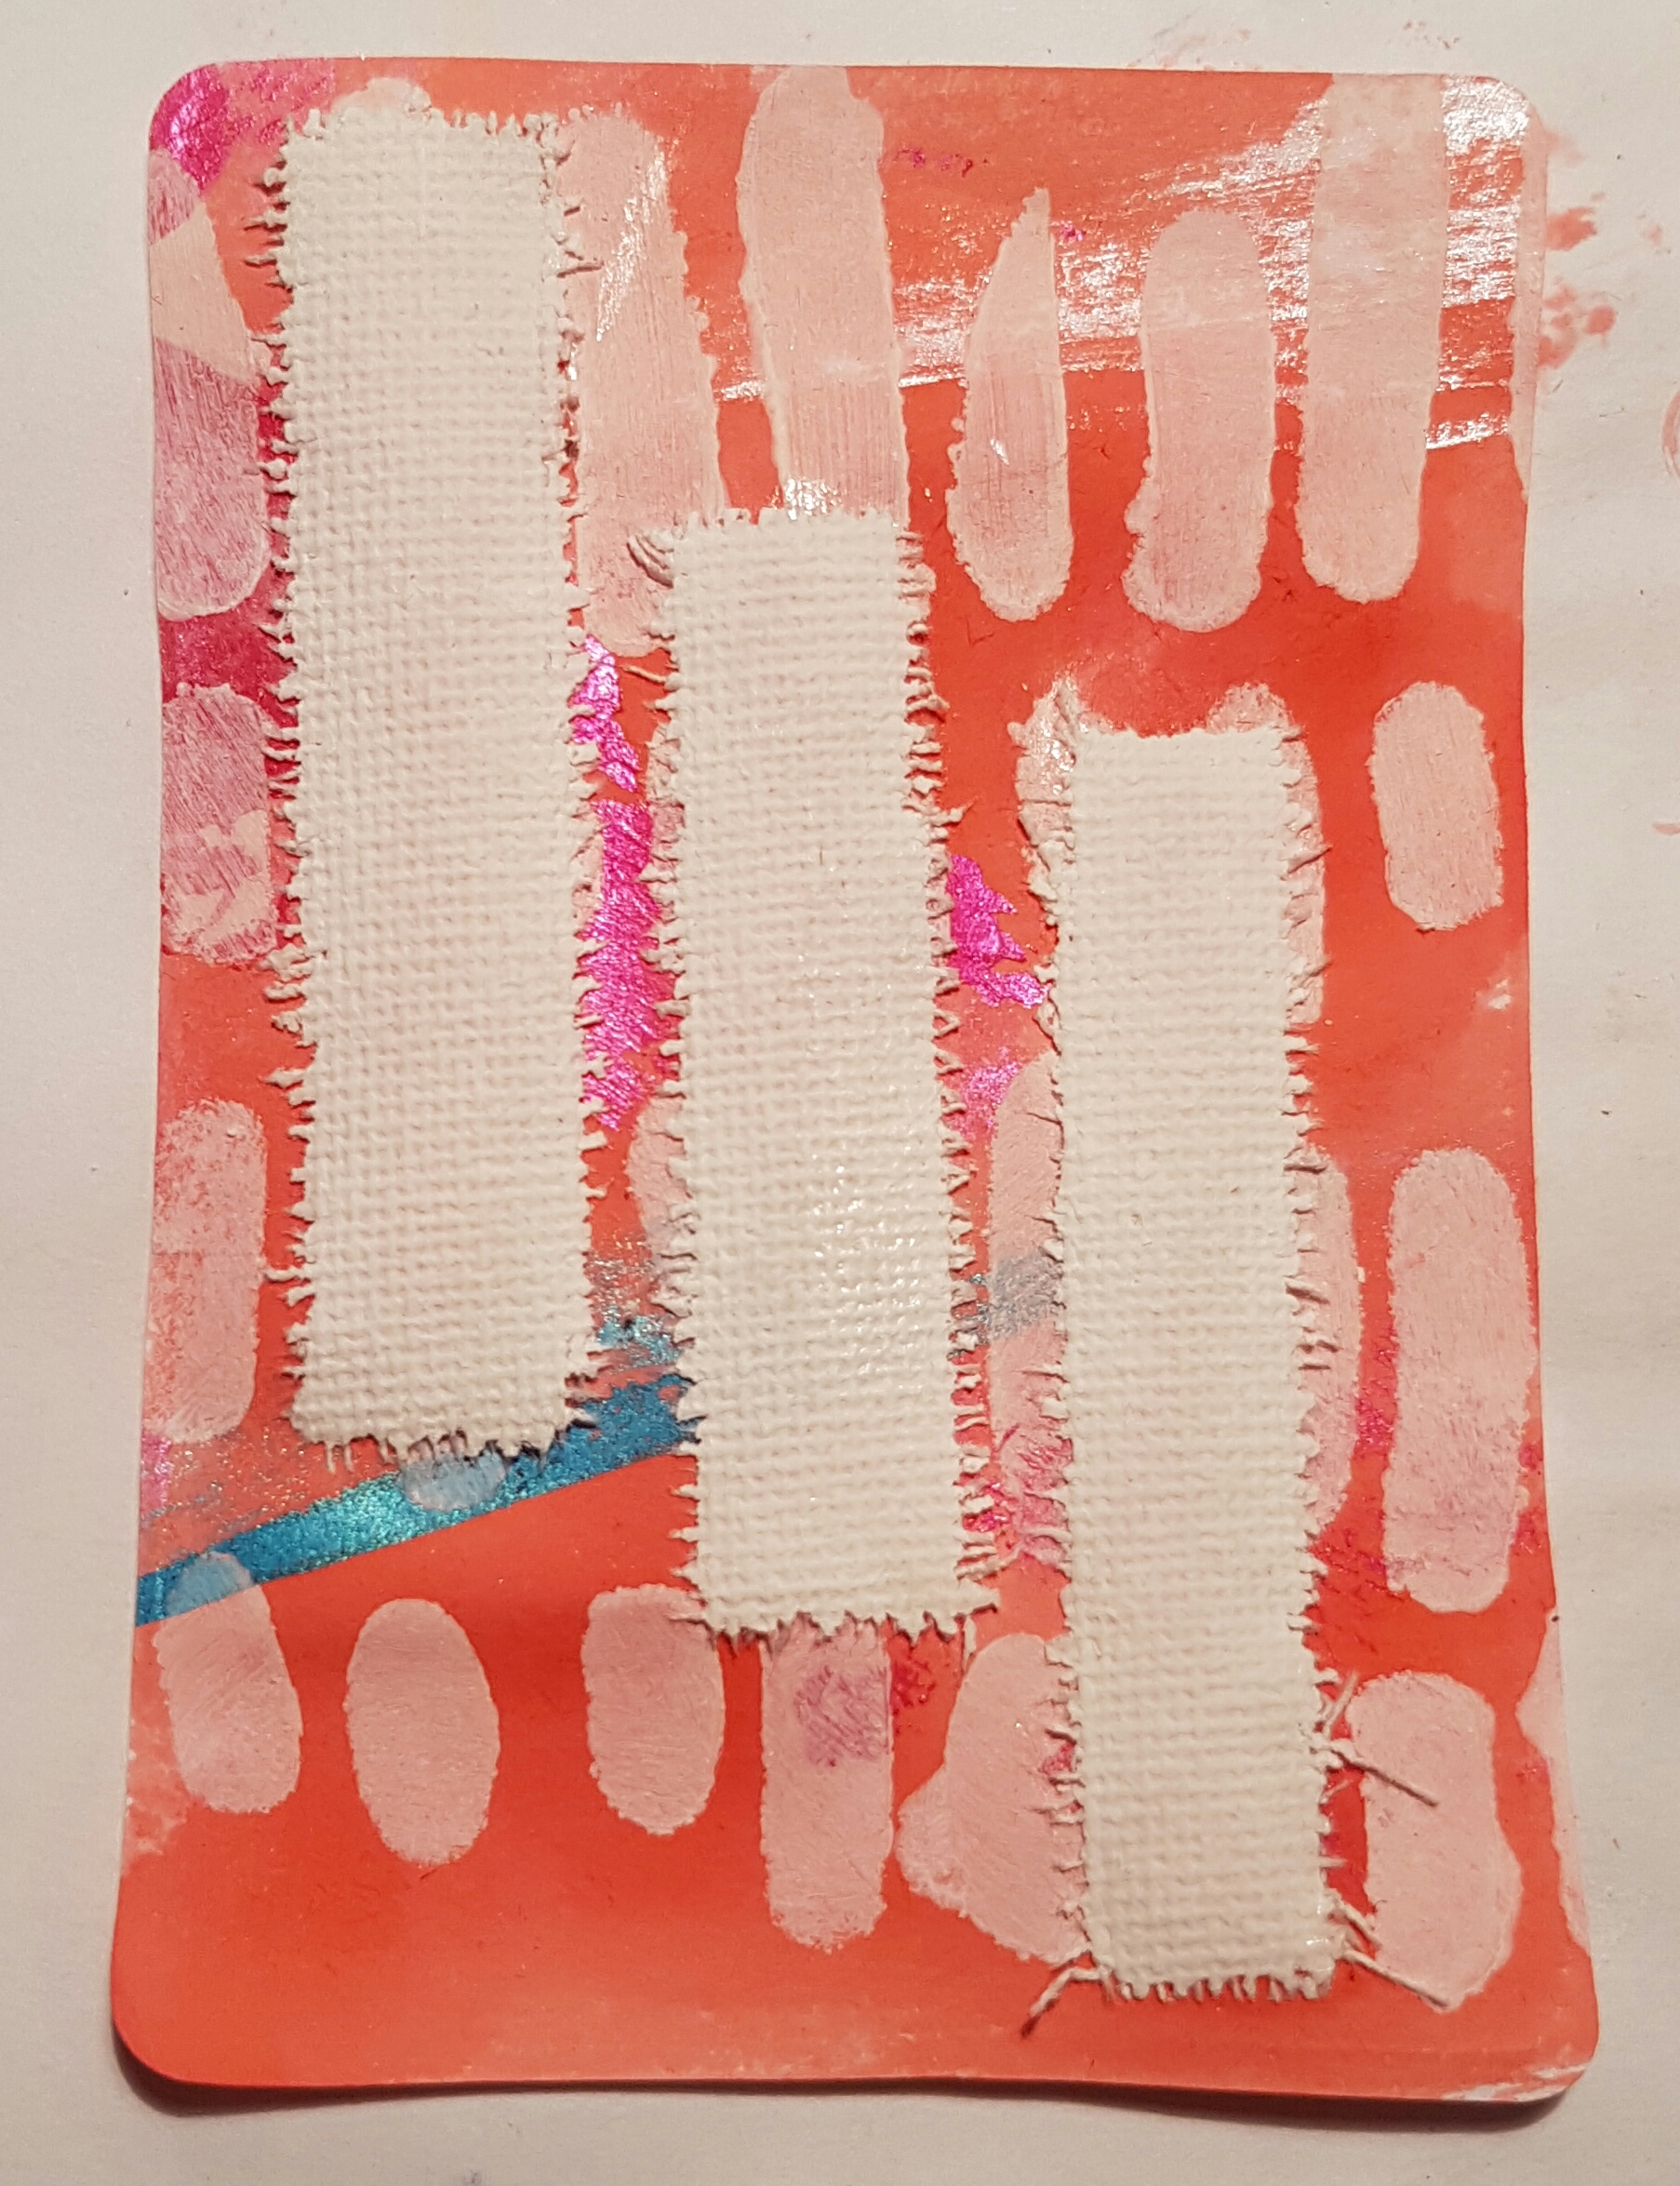
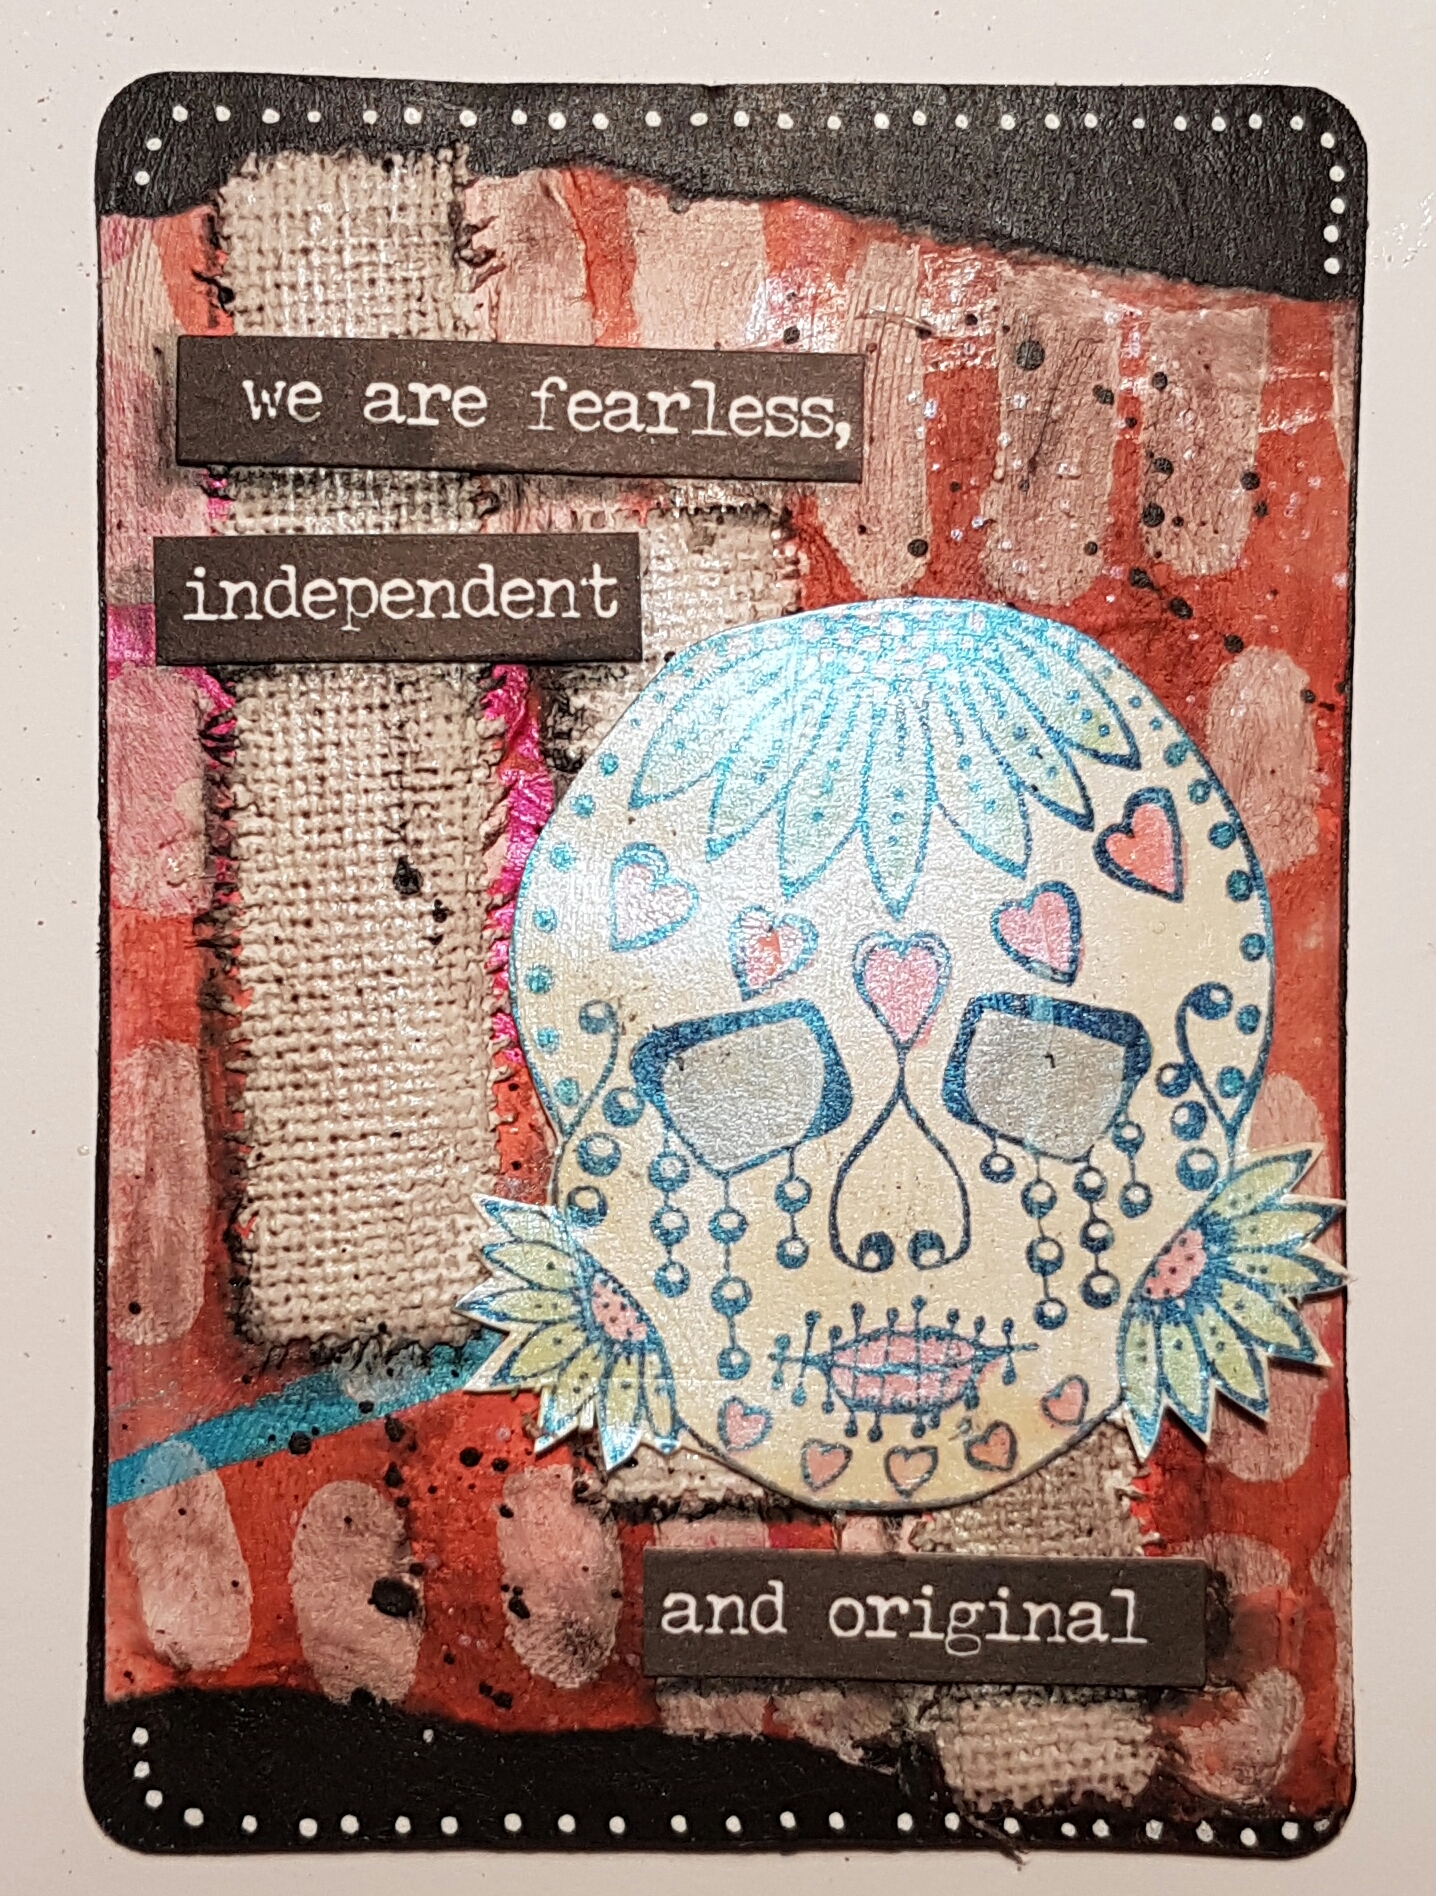
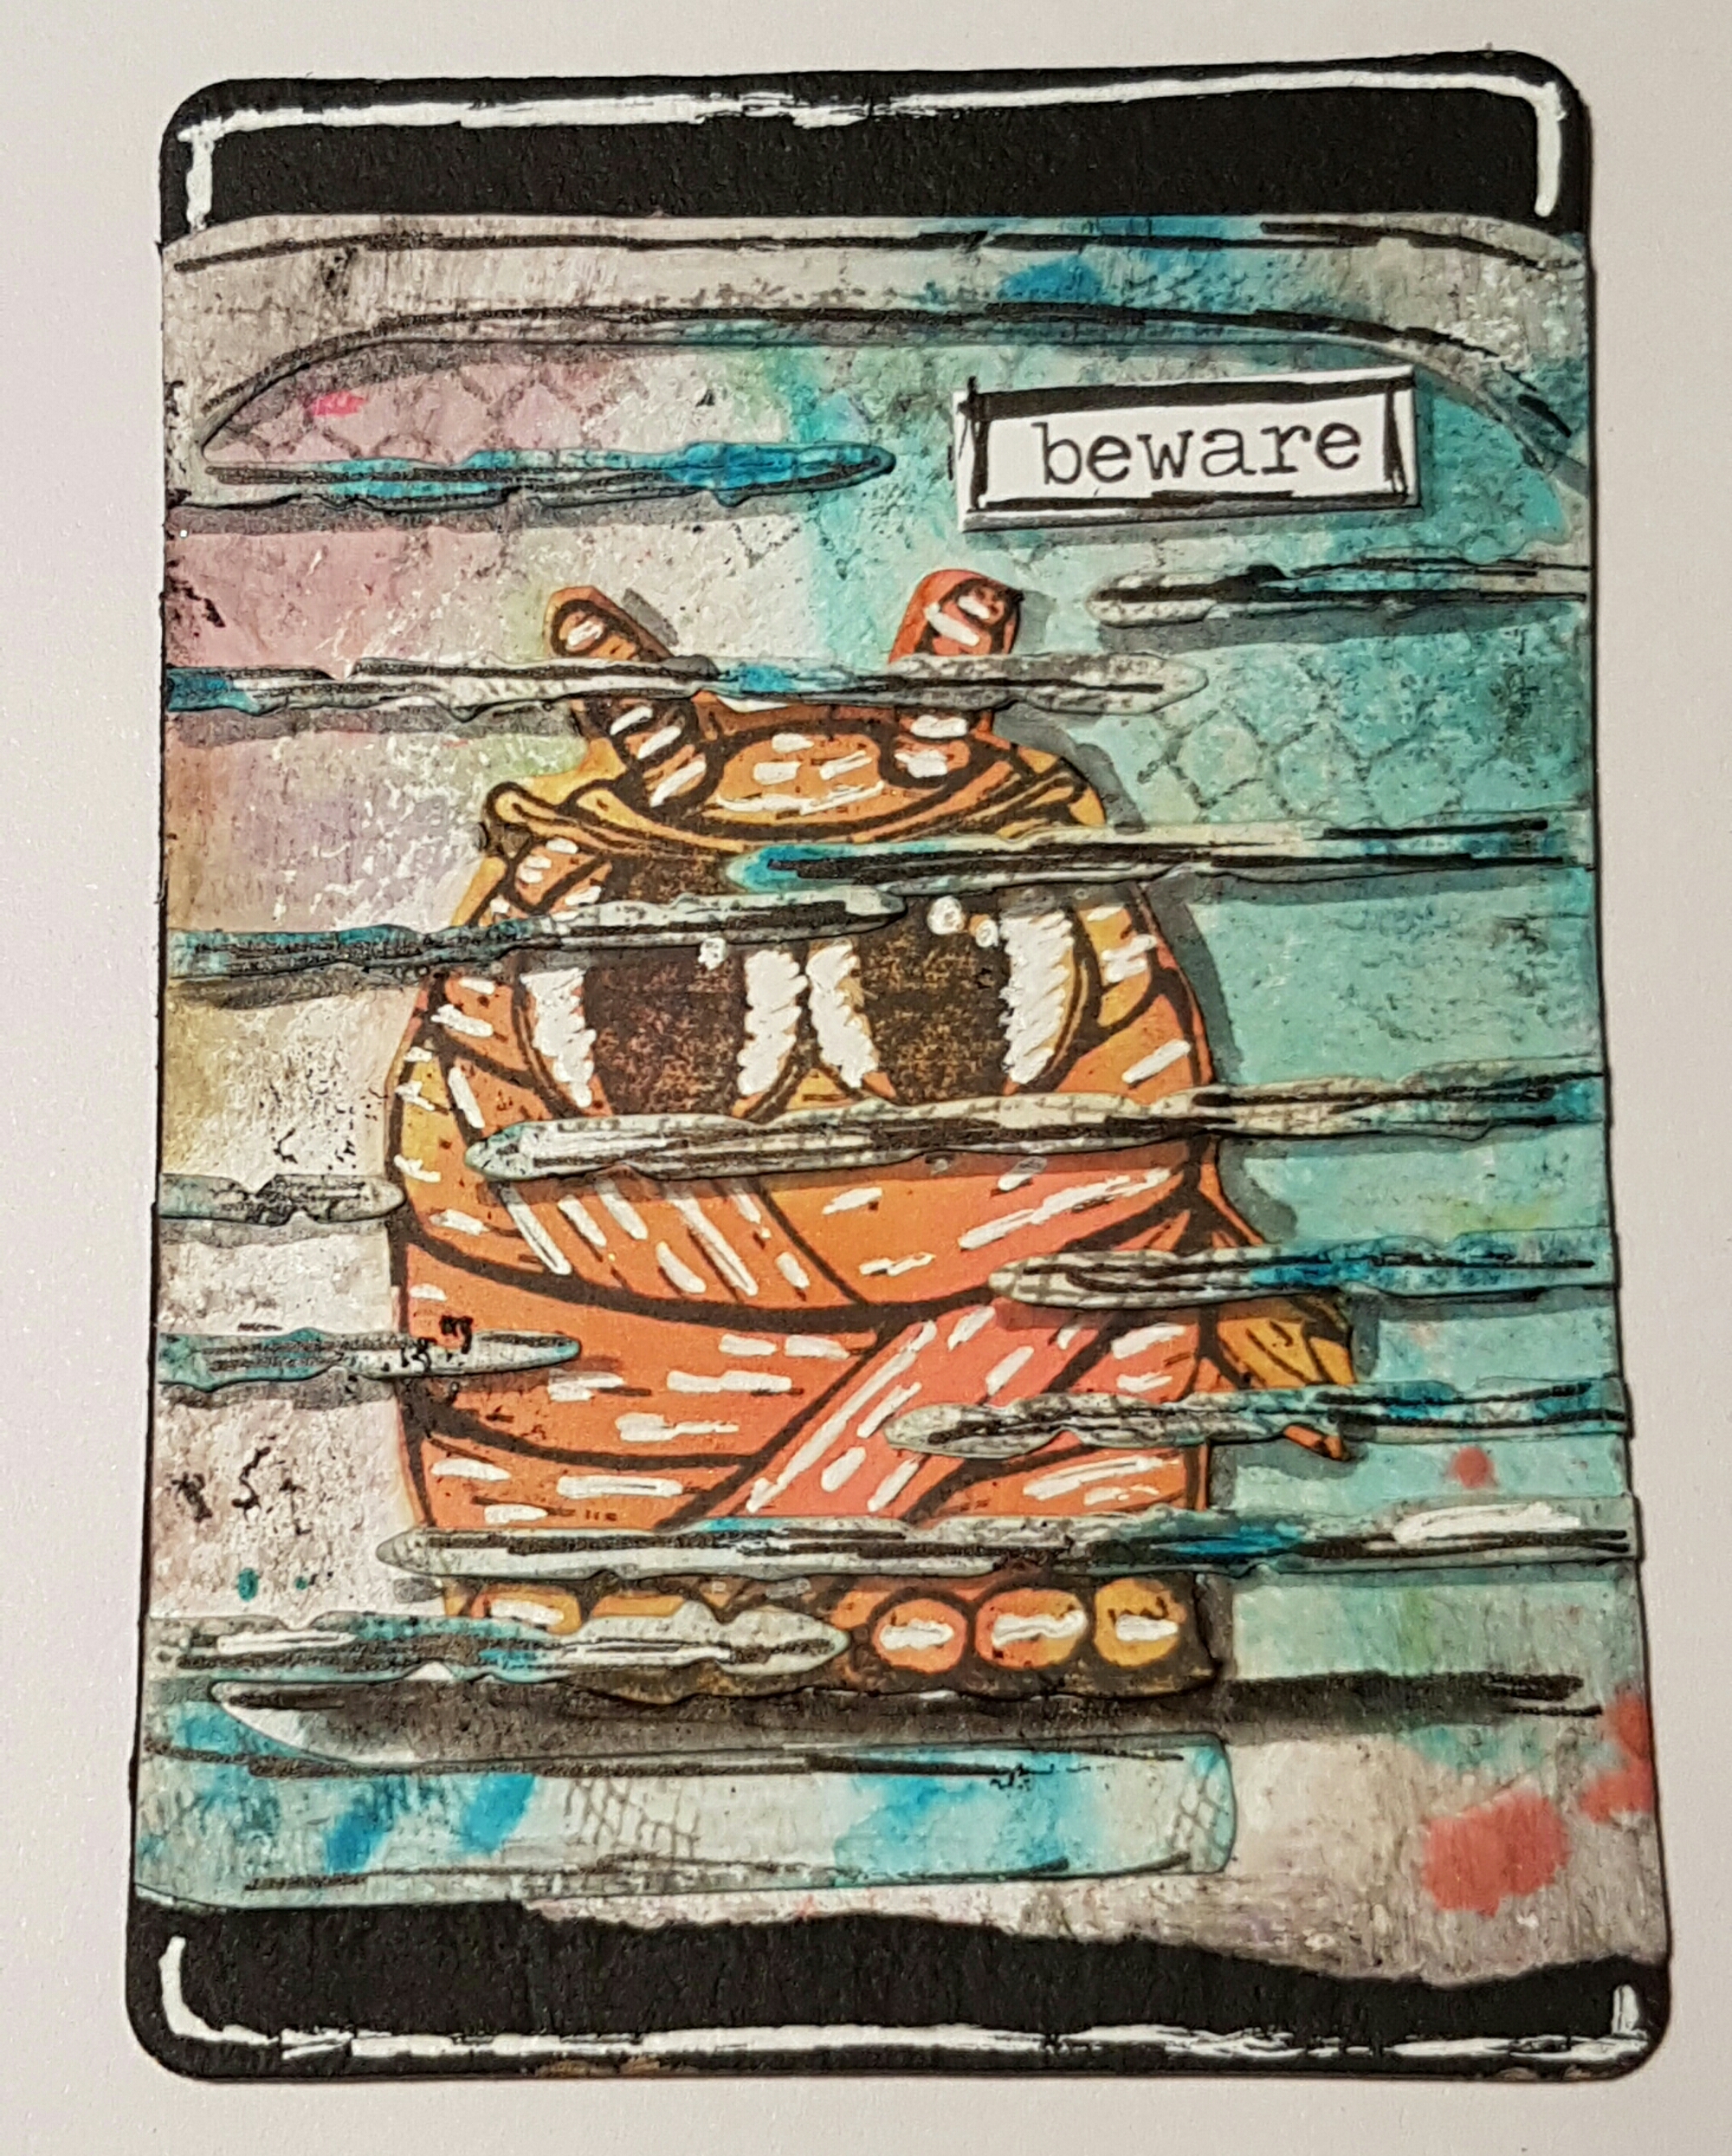
I actually started with the day of the dead stamp she created for Craft stamper magazine a while ago and I confess I hadn’t used it at all!  I created a background first using scratch paper and distress stain, gesso through a stencil and some strips of canvas. They reminded me of bandages which sort of goes with the dead thing! 

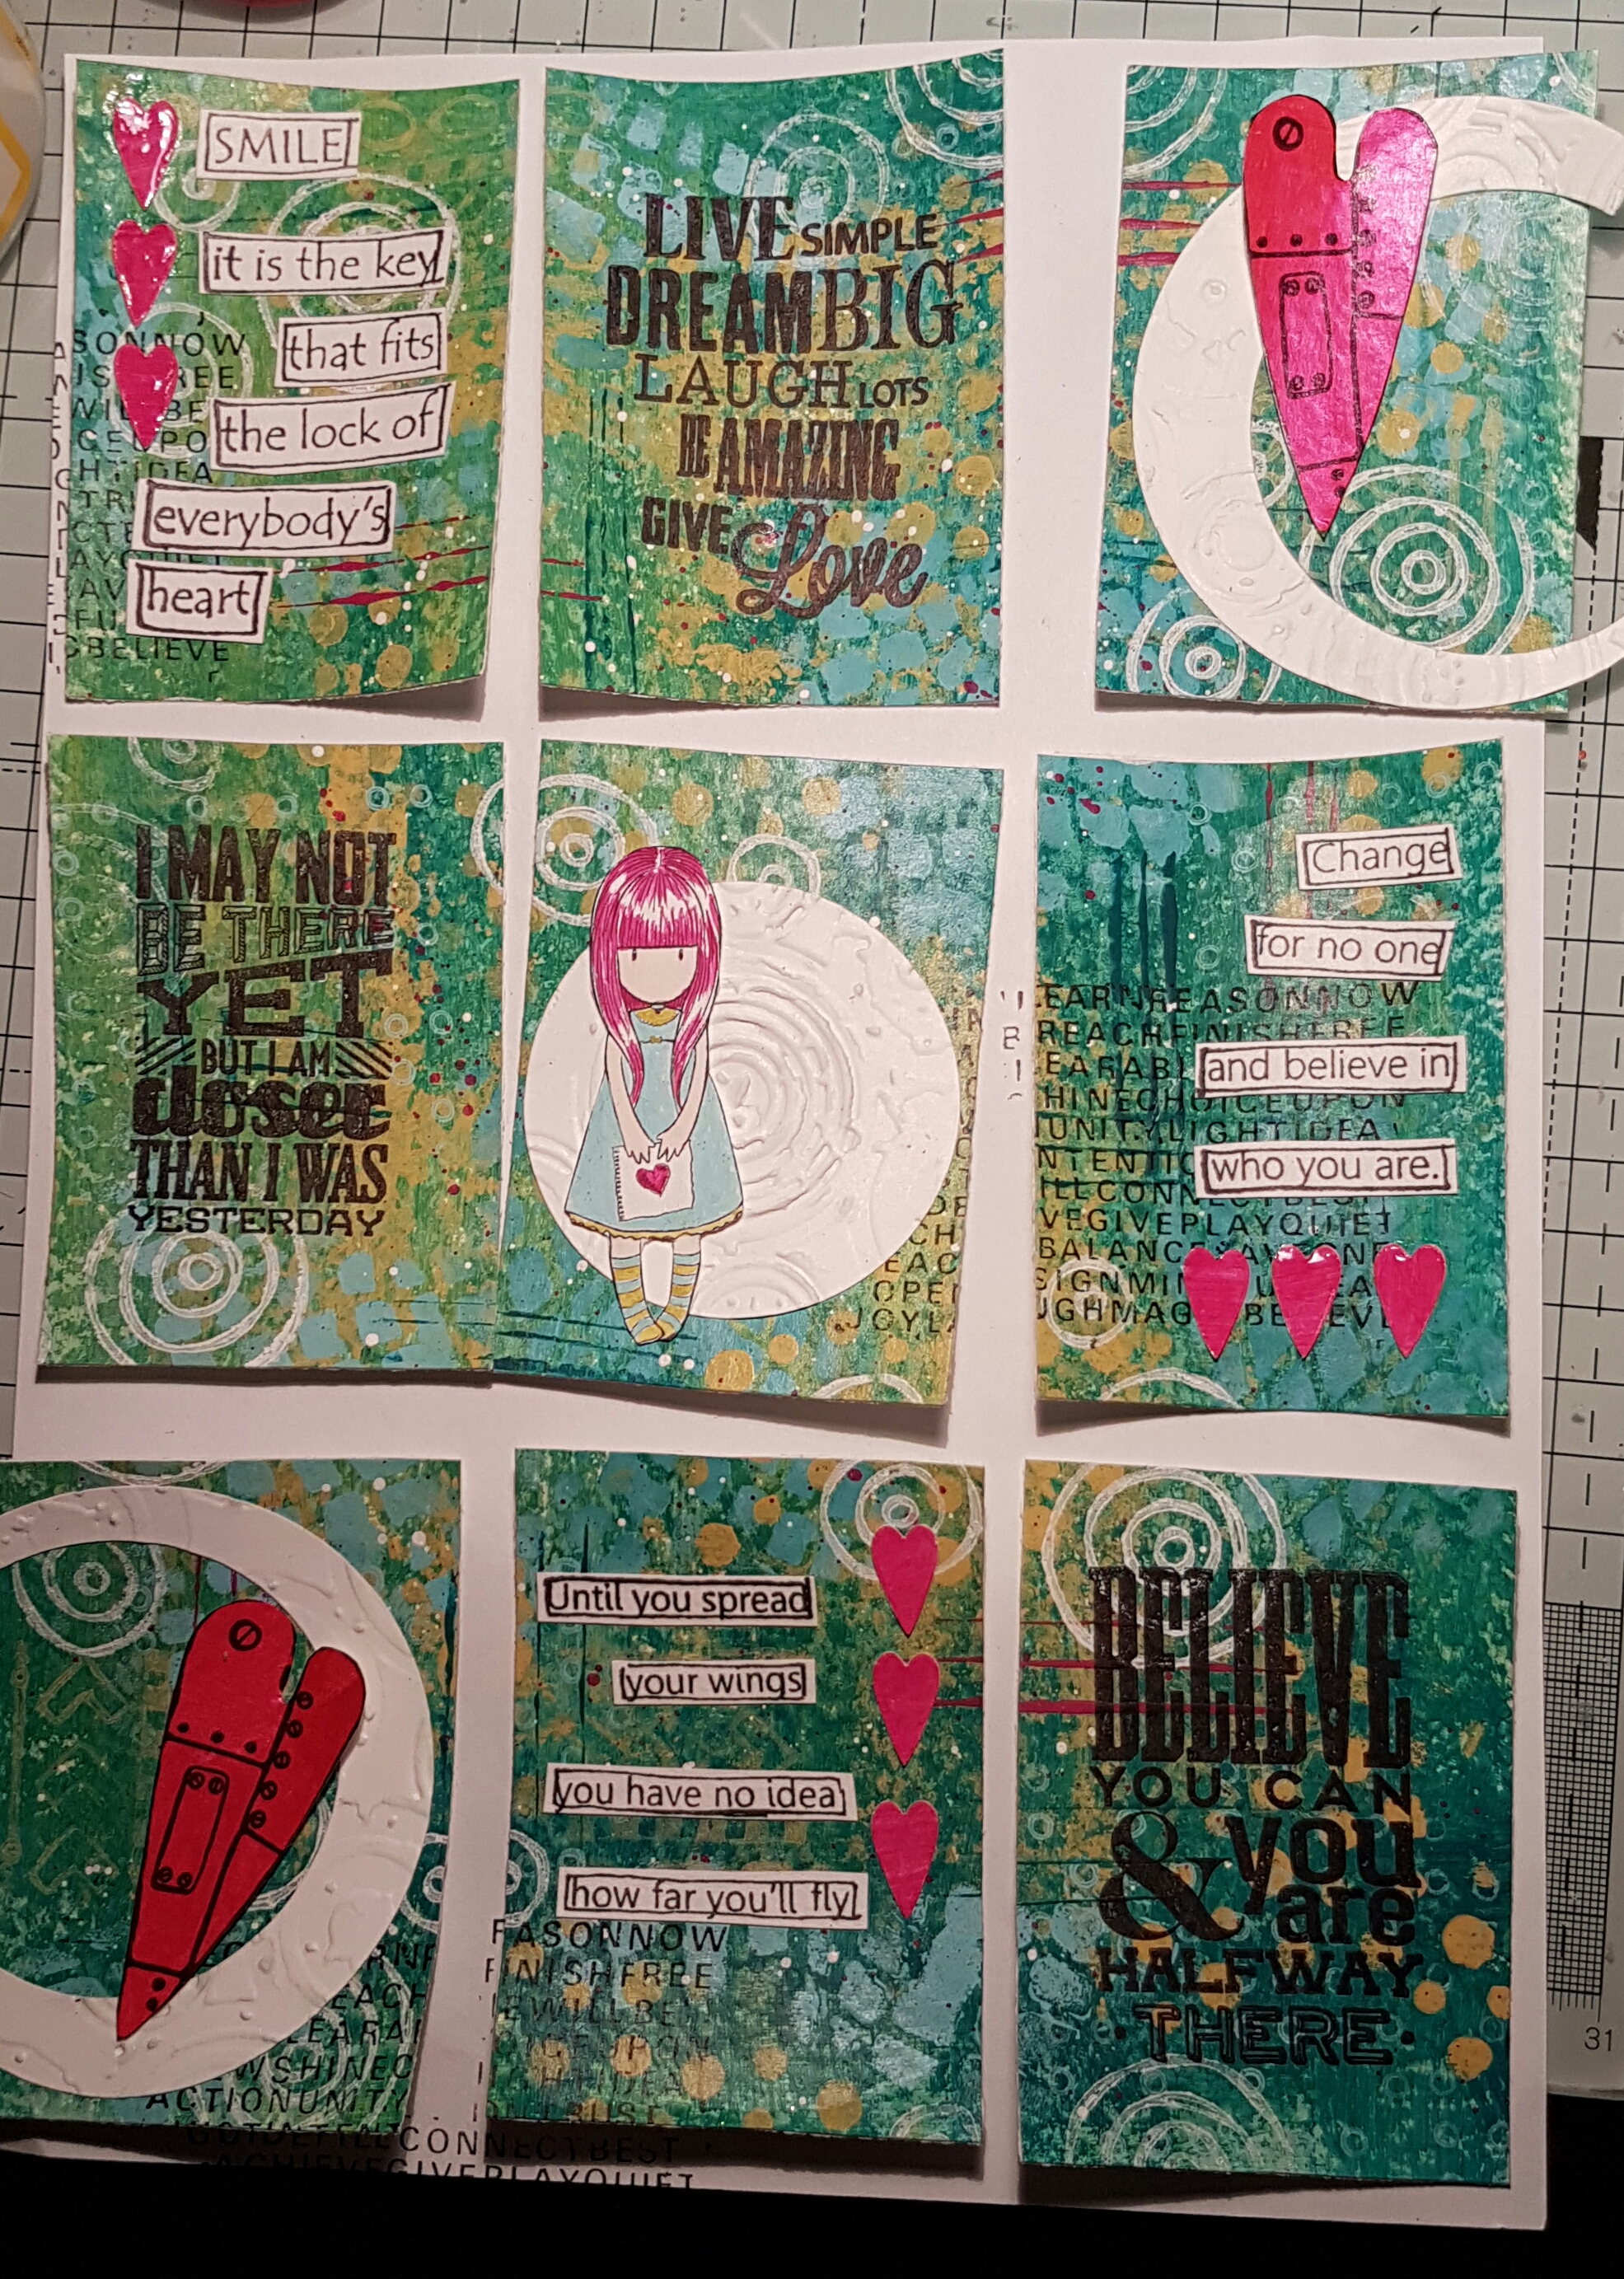
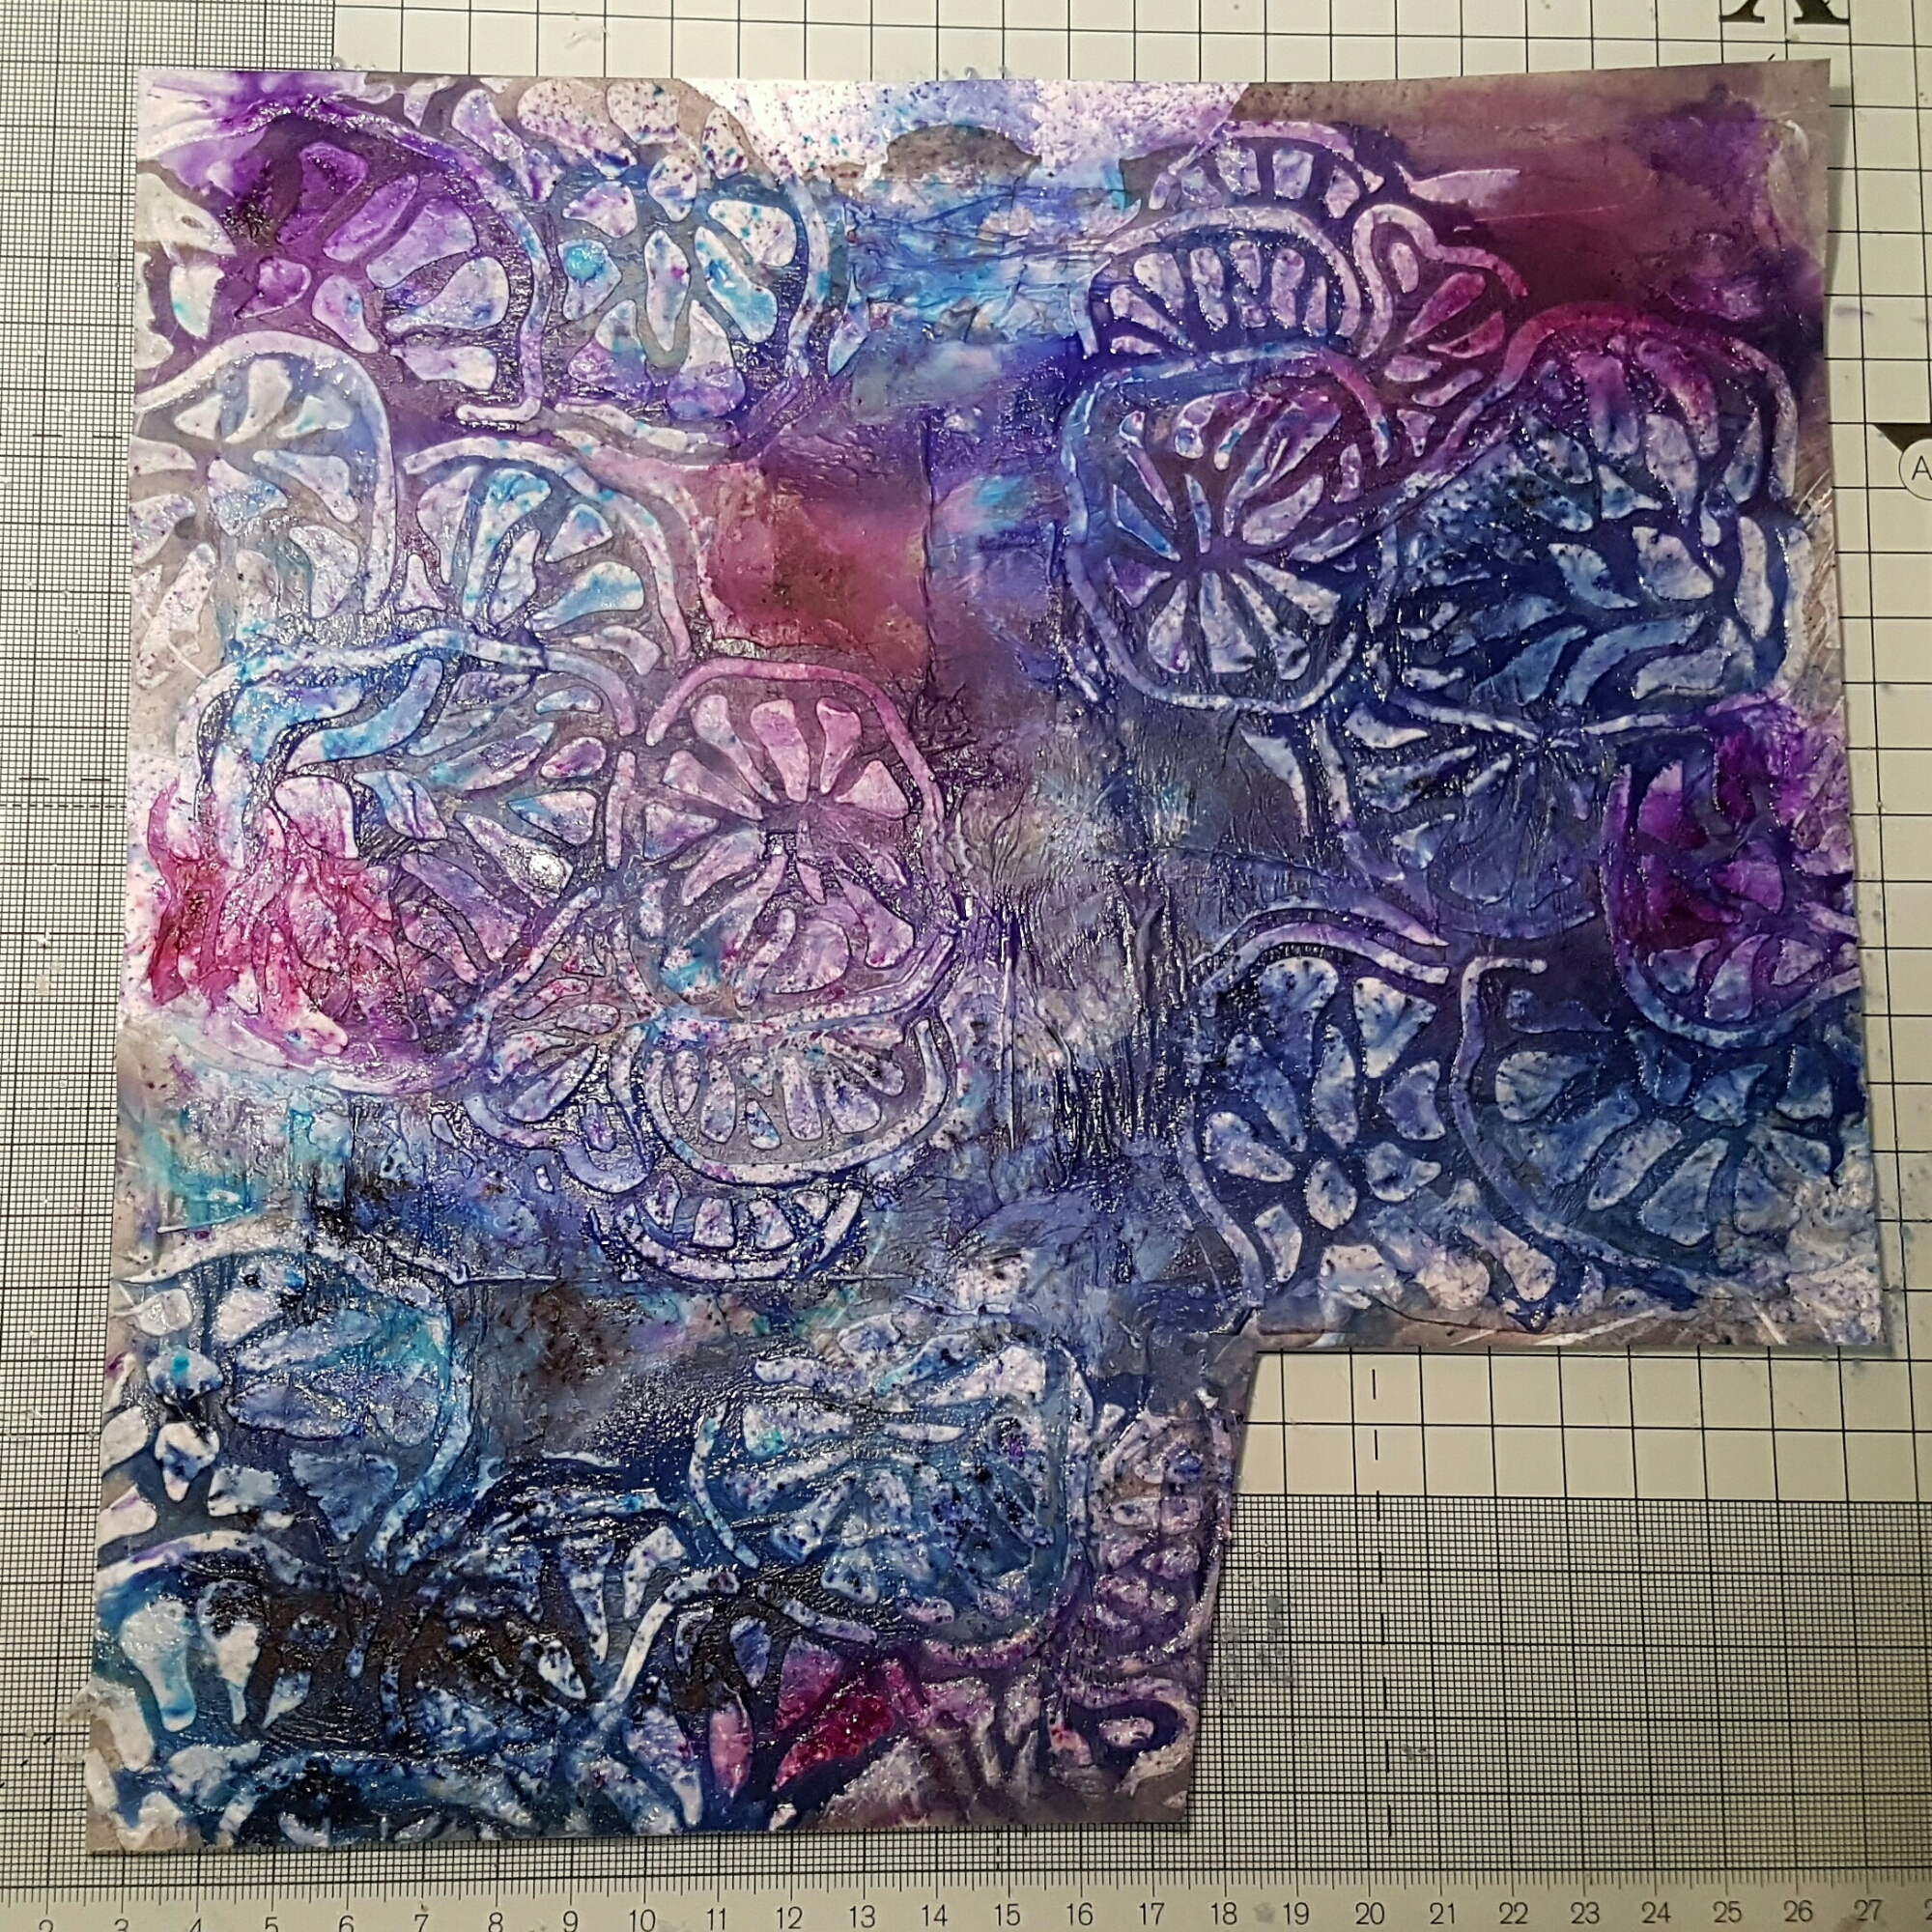
I then coloured the mask decorations and then glazed it with some opal magic paint. This gave it a lovely sheen and magical finish.  I then tore the background to add to an ATC base I had coated in black gesso. 

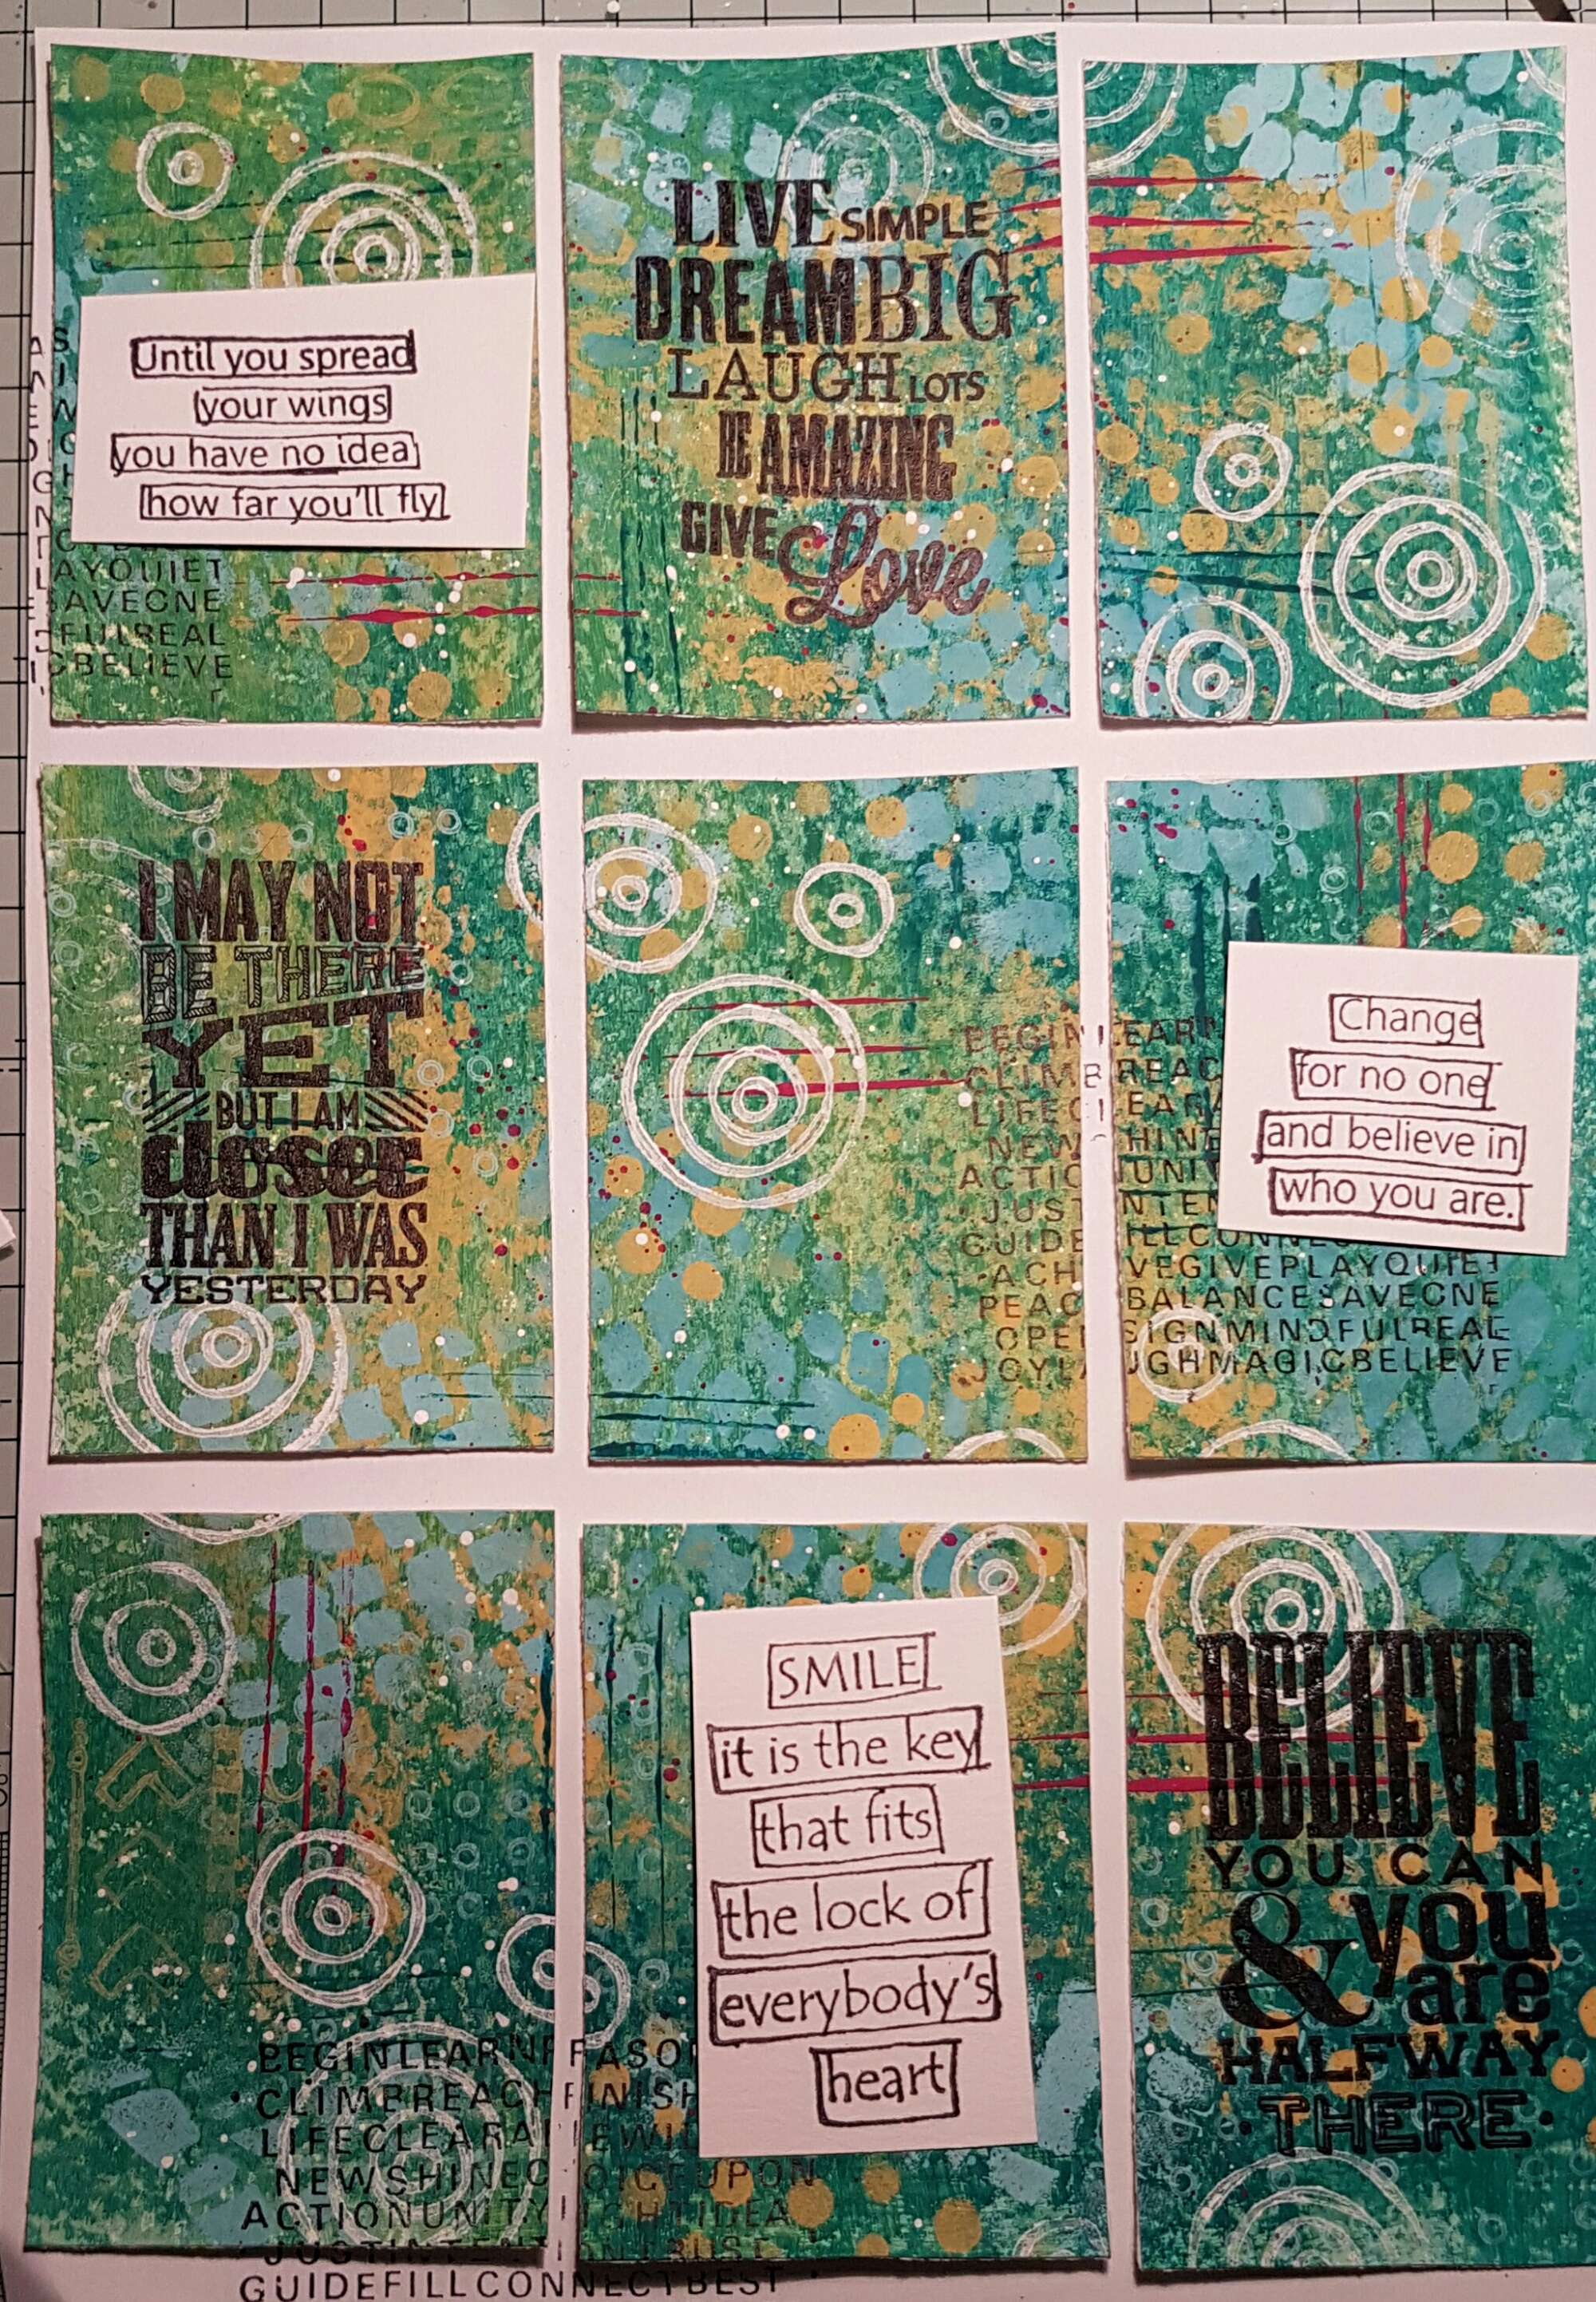
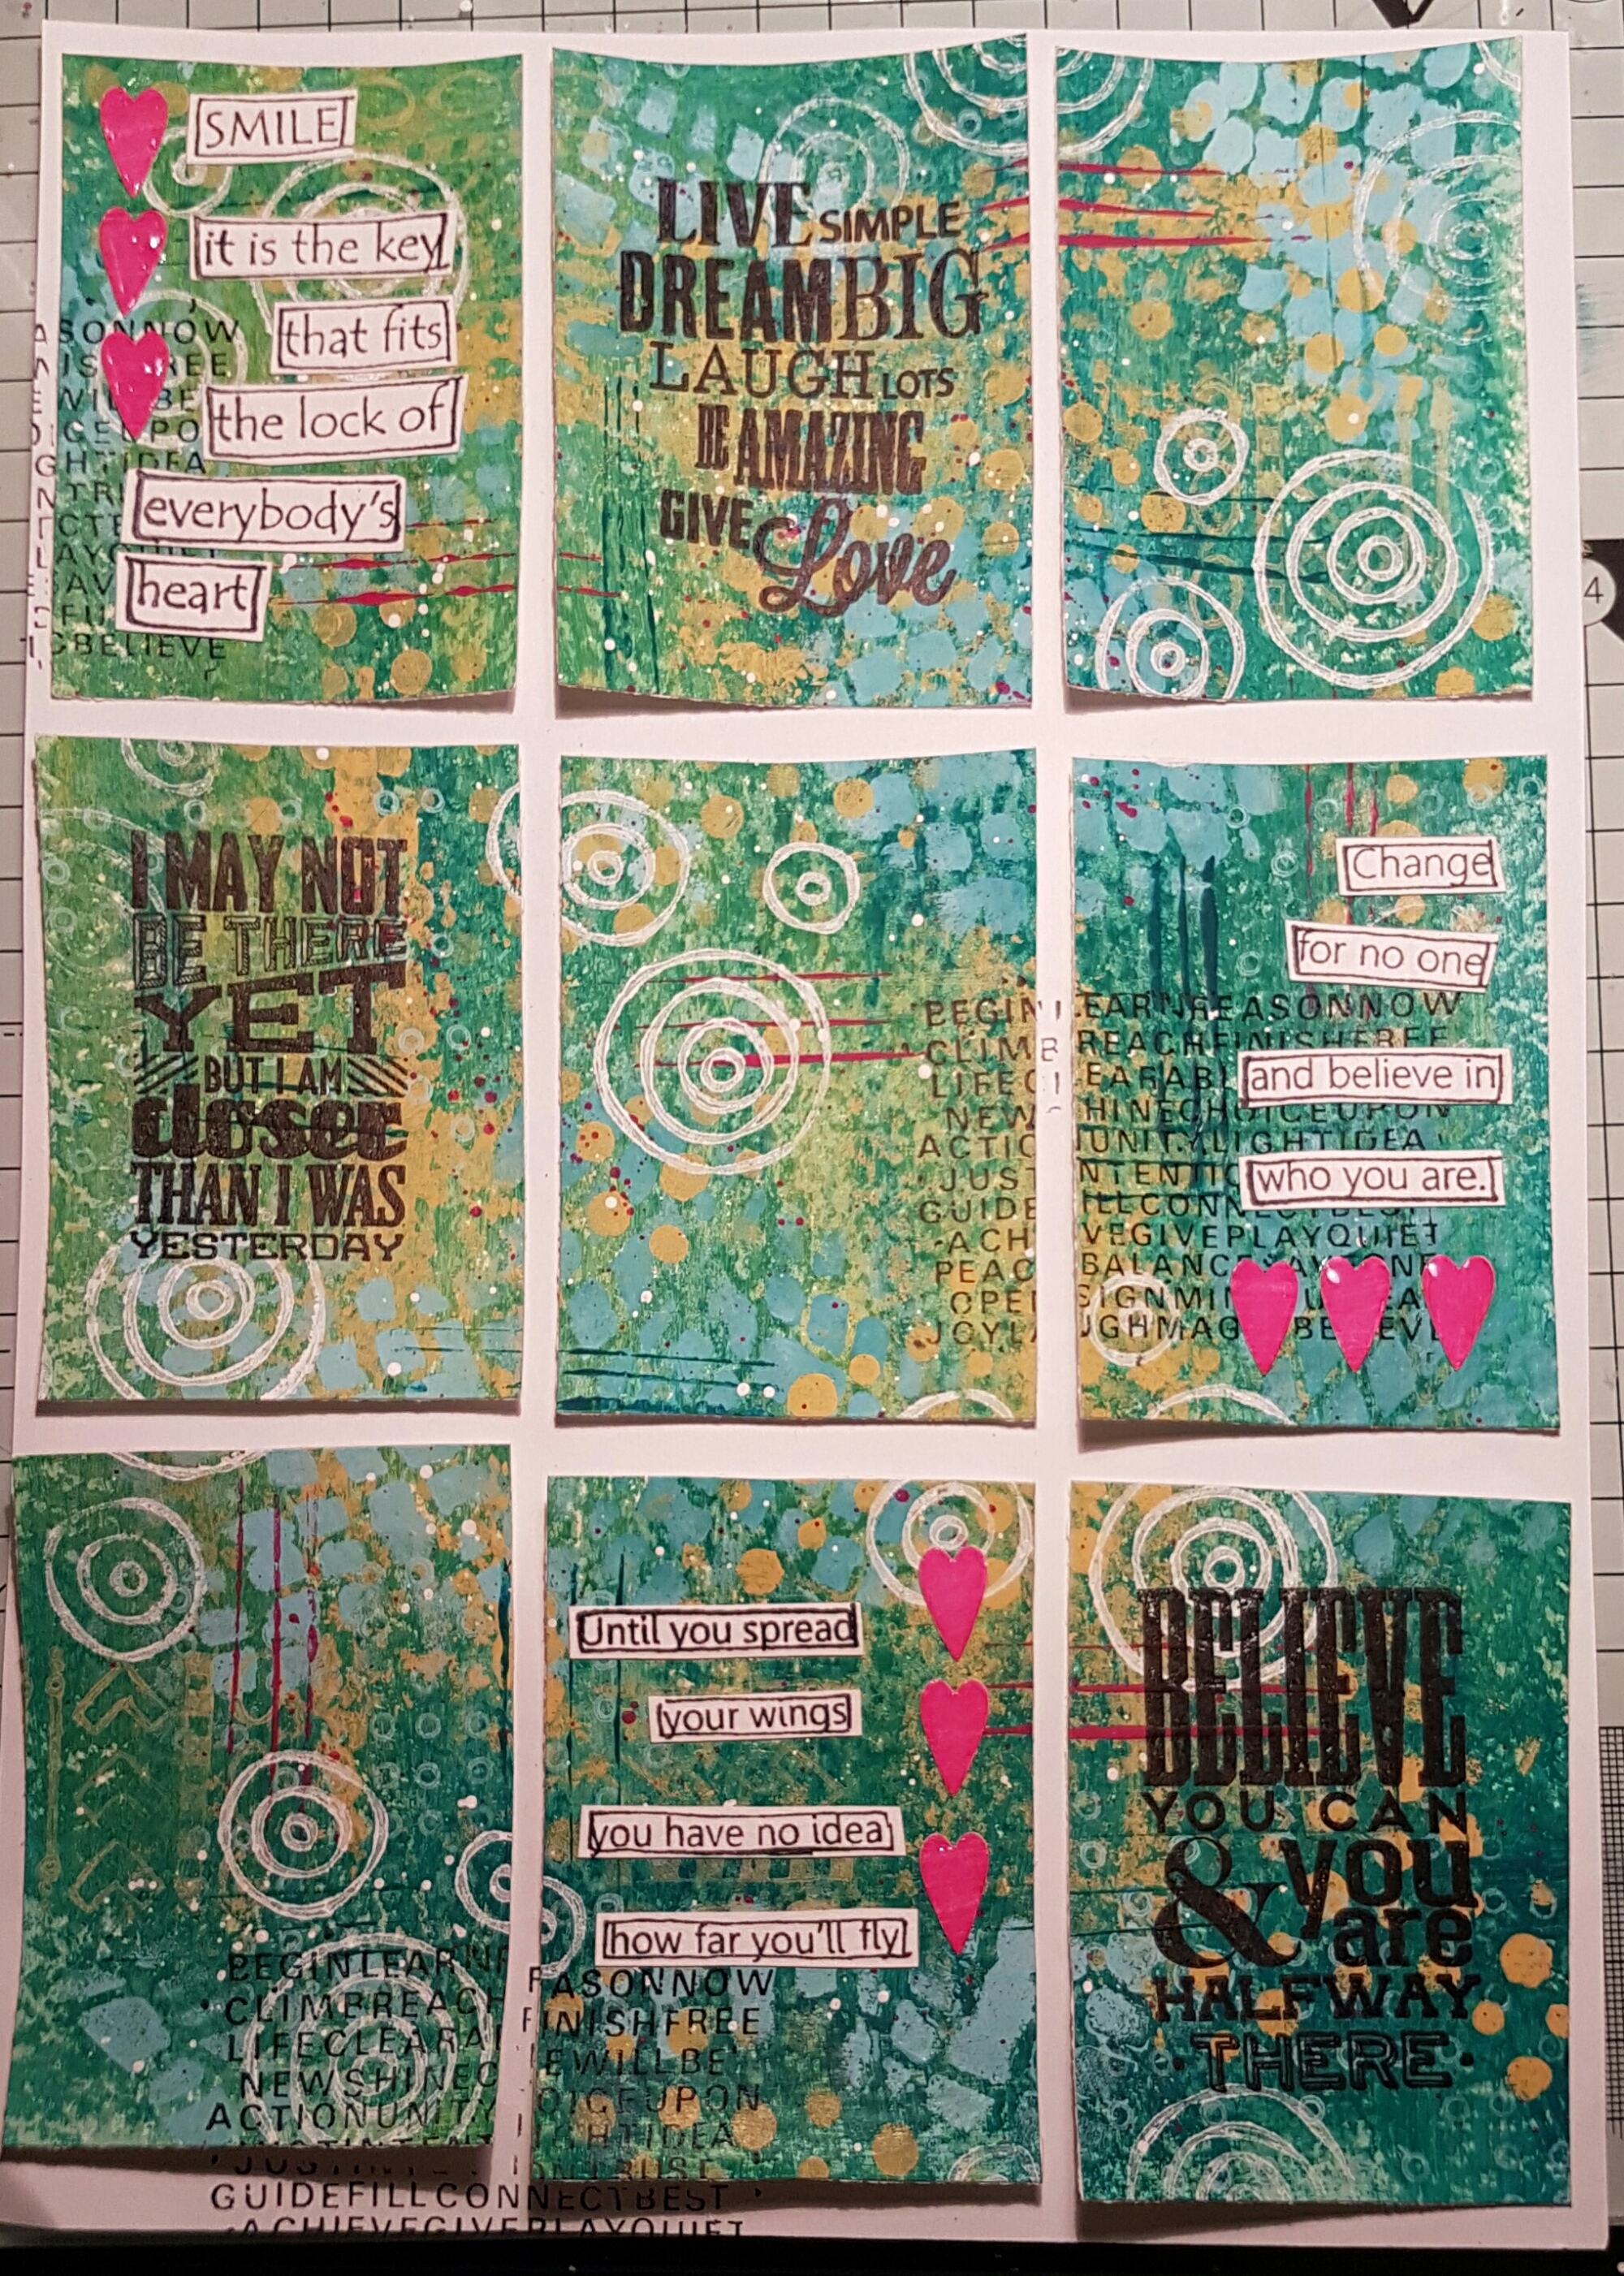
The final touches were some distressing with the black gesso, some splatters and white pen dots to frame. Then finally a Tim Holtz stickers quote which I thought worked perfectly. 

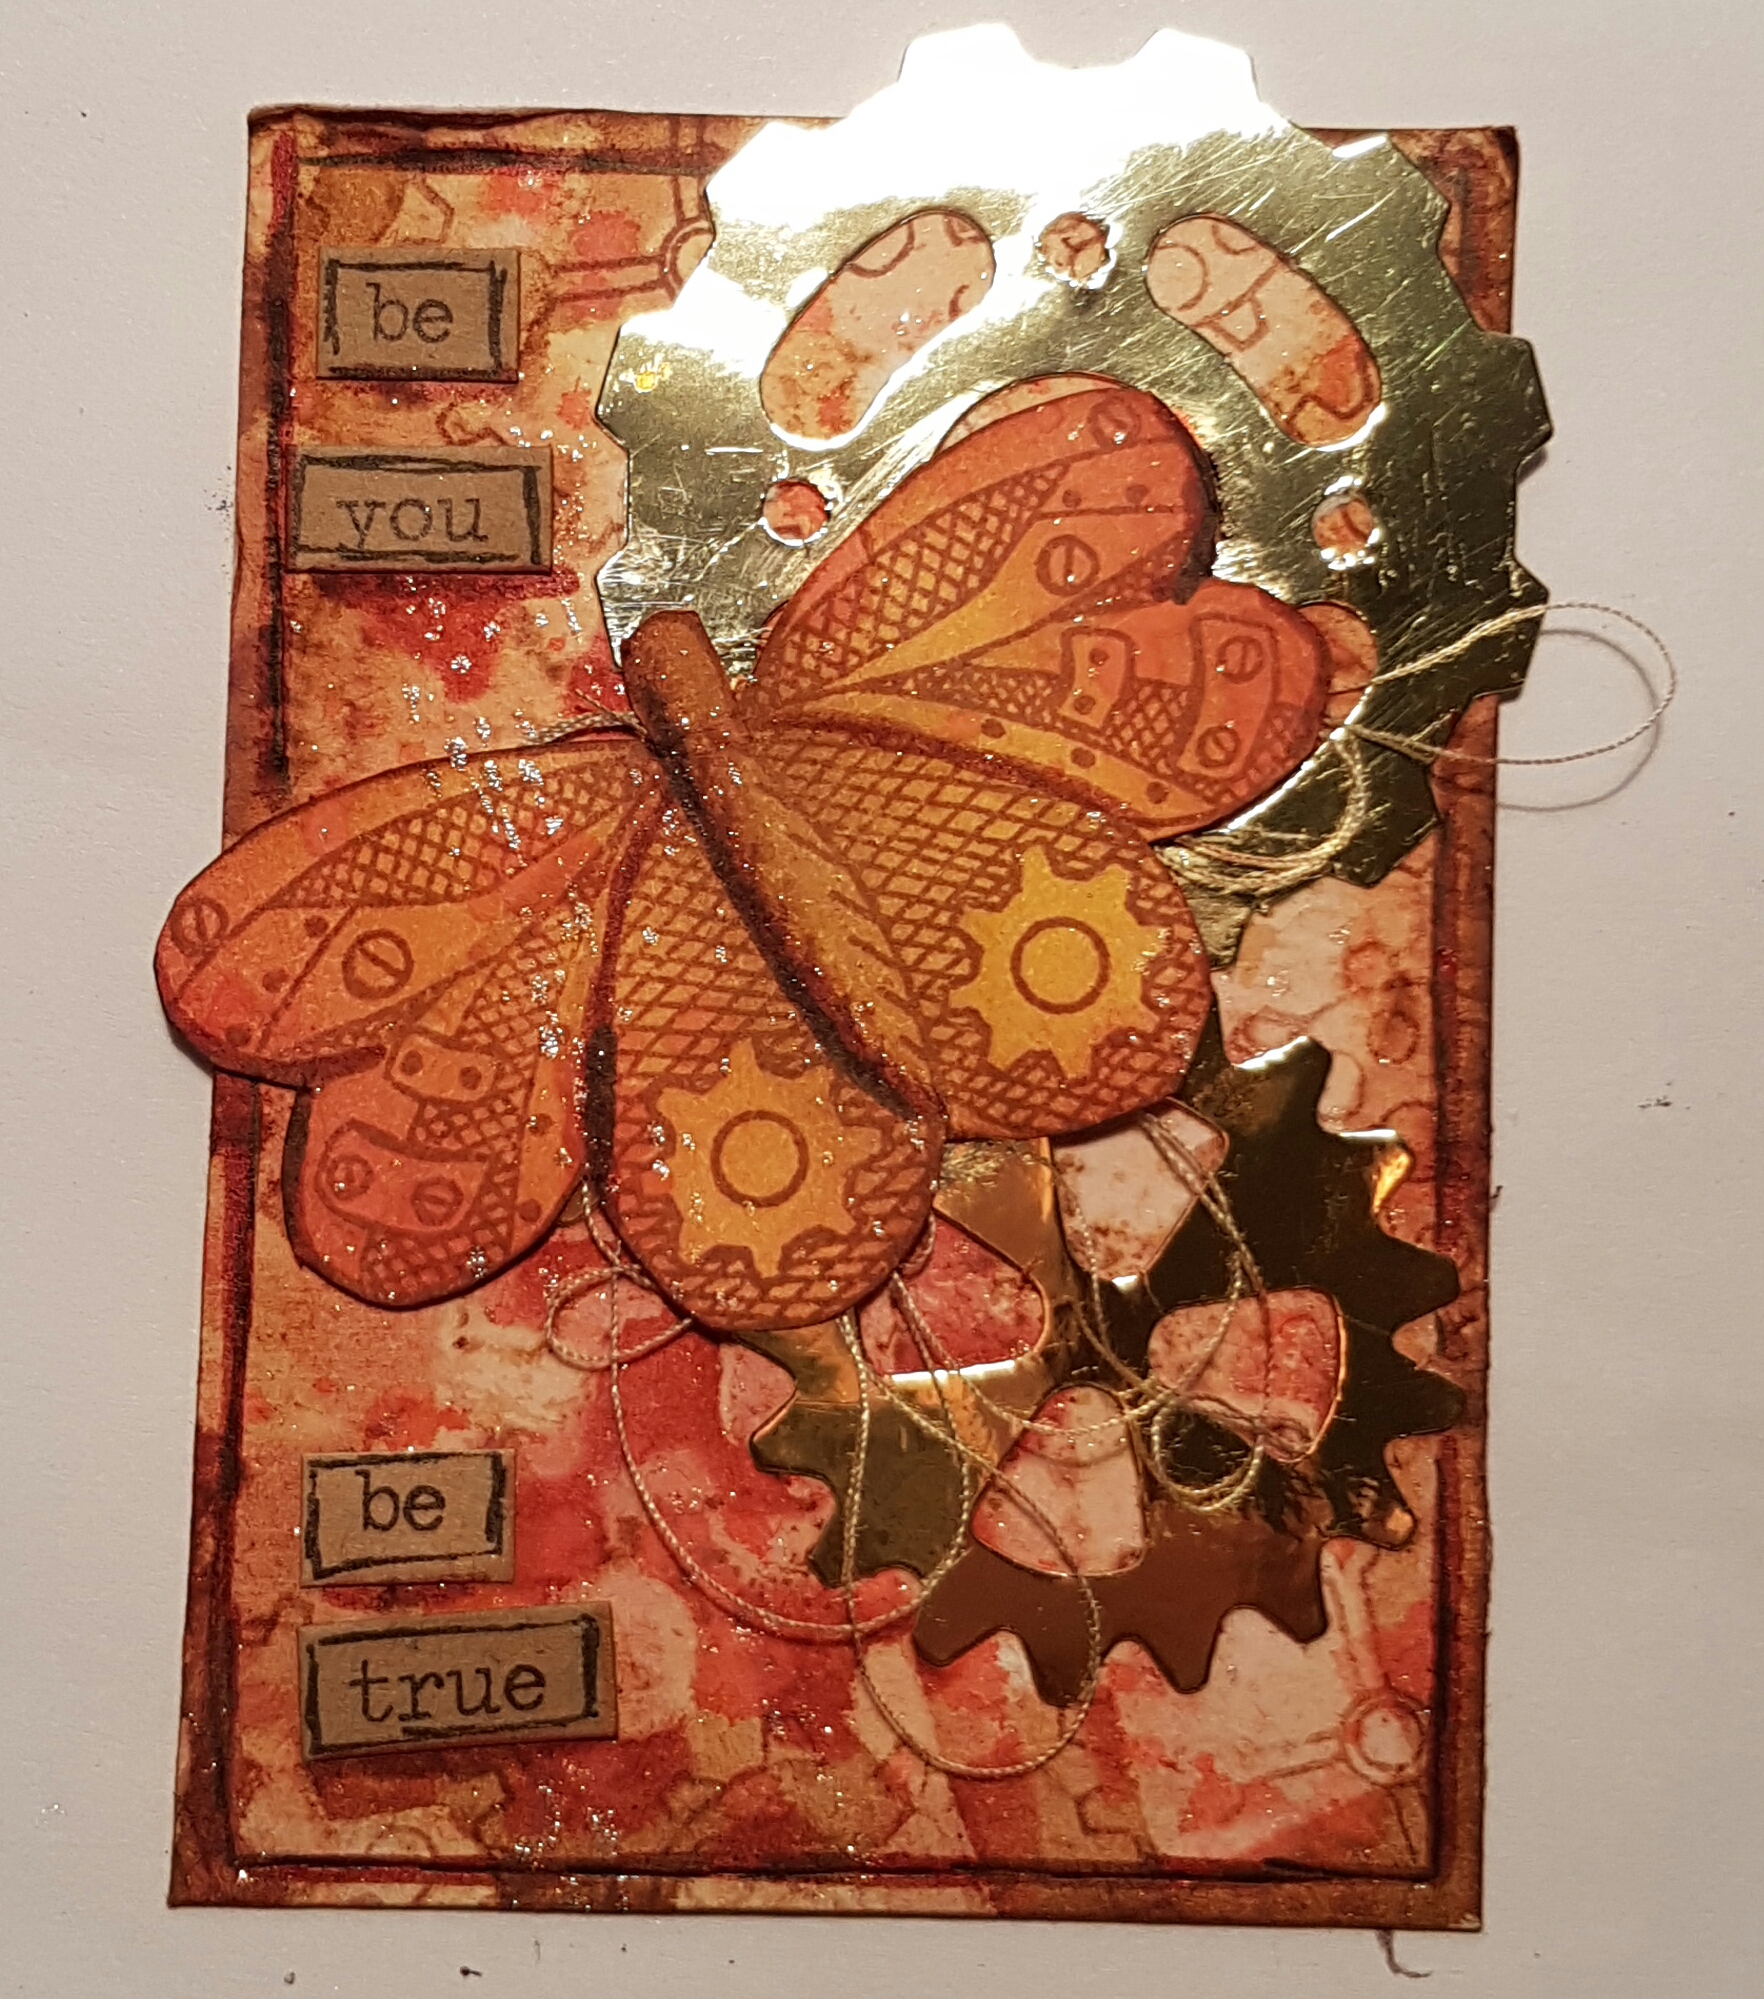
The next one had to be the steampunk snail! 

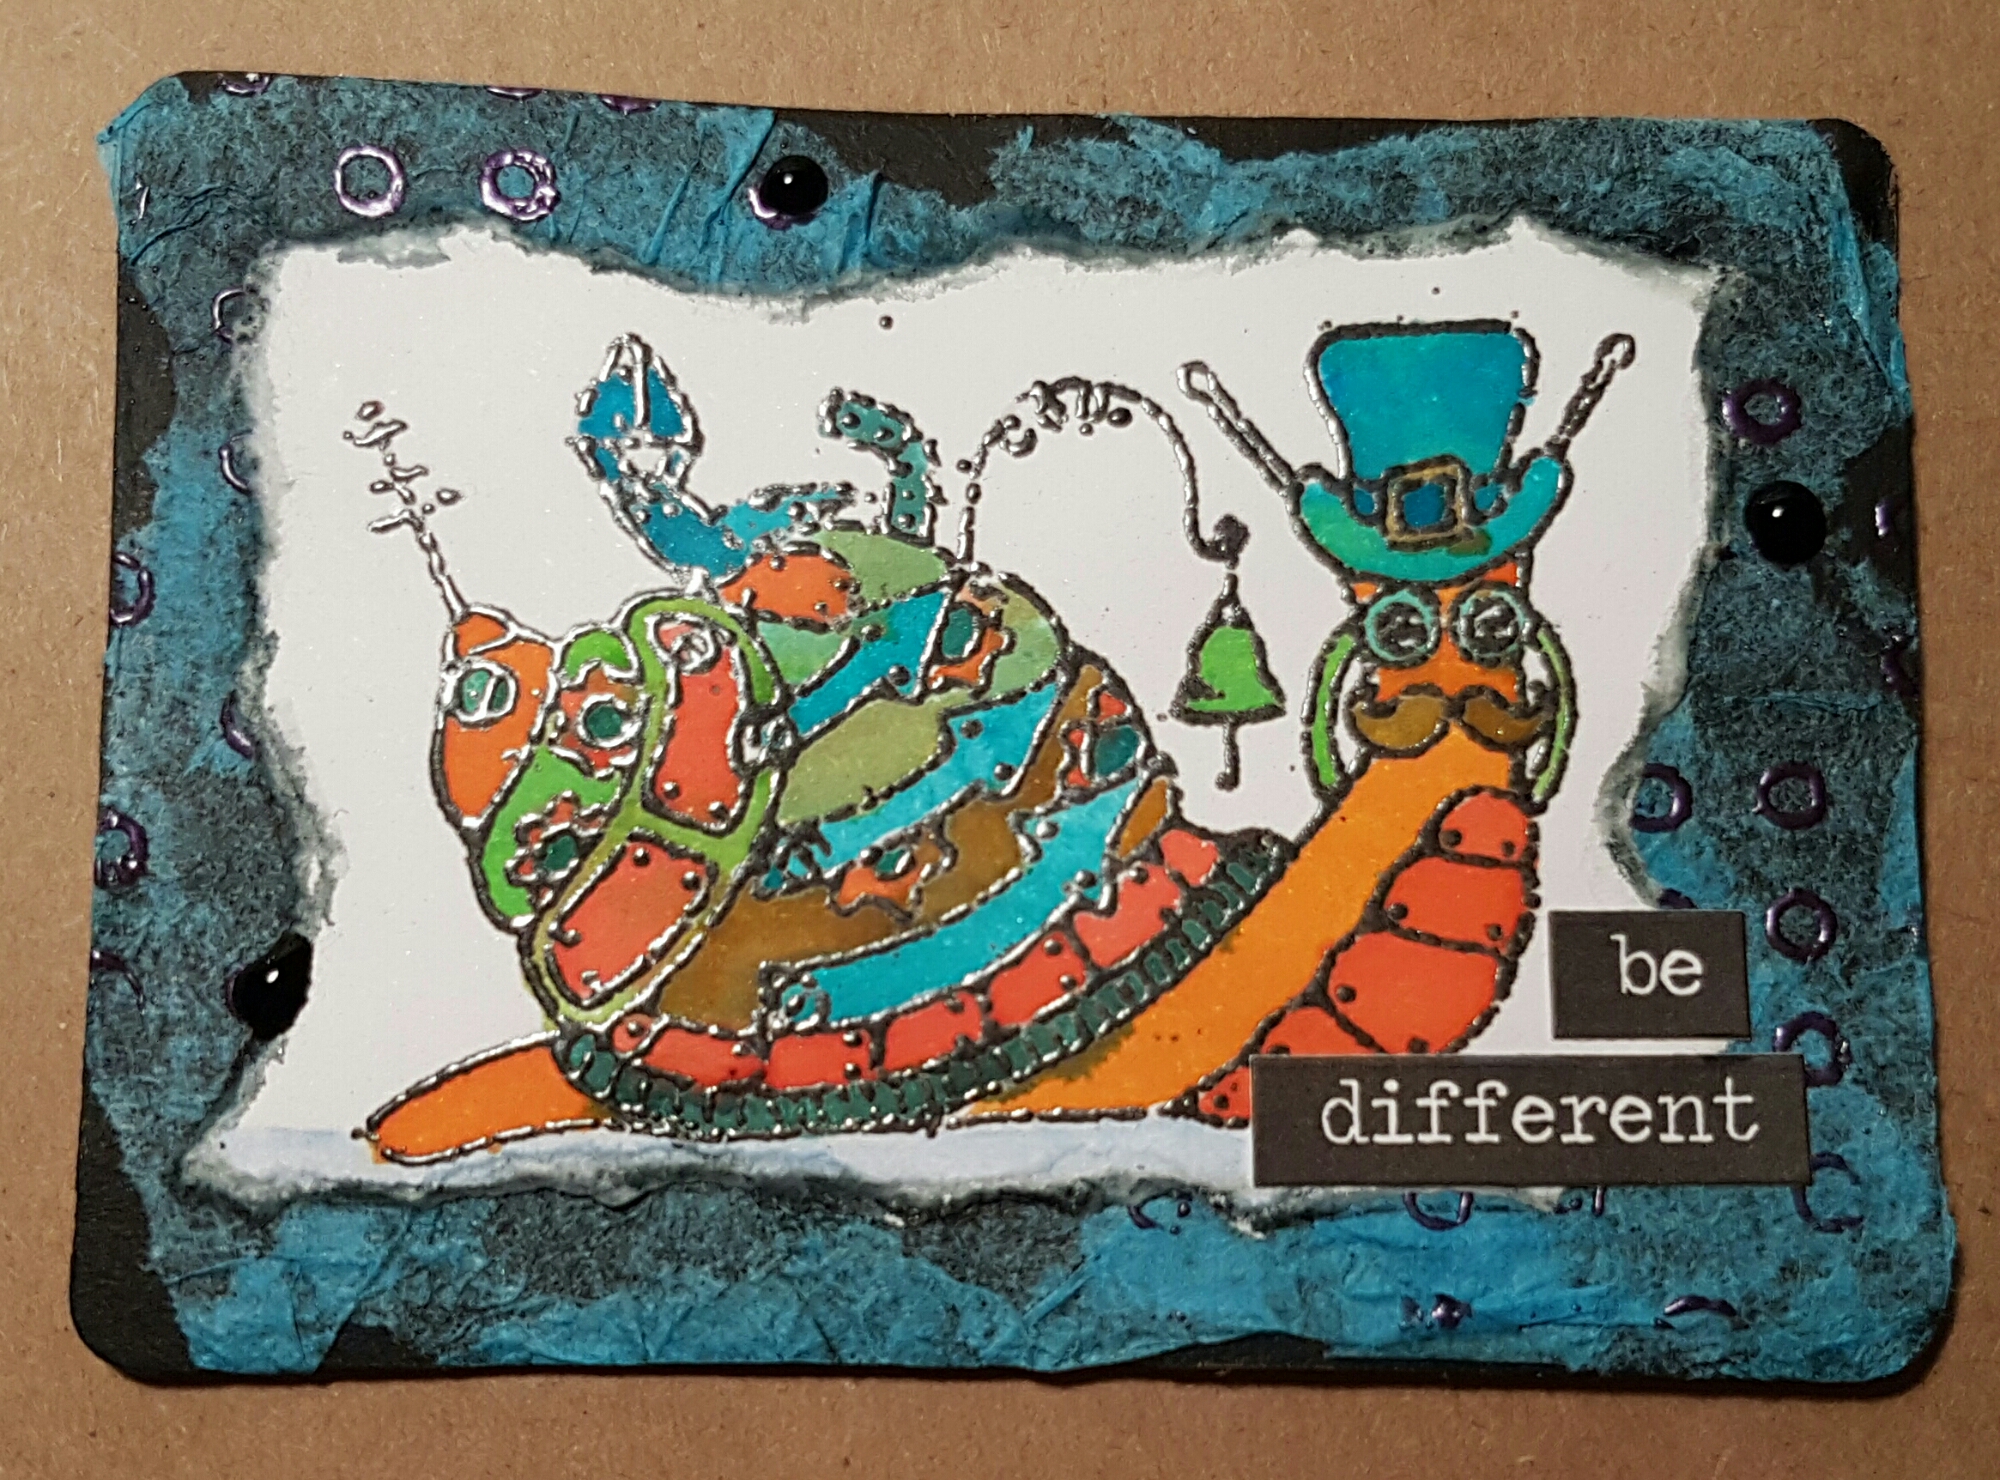
This time I used some tissue paper as the background onto card I had coated in black gesso. Once that was dry I added some spots using the Kim Dellow Paperartsy stamp and heat embossed them. Then I stamped the Darcy snail onto white cardstock and embossed that too. Then I added colour using distress stains and a paint brush. 

I tore the picture out and glued it to the background and then edged the picture with some watercolour pencils. Finally some Tim Holtz stickers to finish! 

Love how these turned out. Of course then I turned into a complete ditz! I sent them to the wrong person. Doh! 

Fortunately I did have two more ideas in progress that would work so I could send them to the correct person and these became RAK. 

OK… this critter was gifted in another swap as was the Seth Apter die cut which provides the bars for his cell! 
I thought he worked perfectly as a weird little critter.  

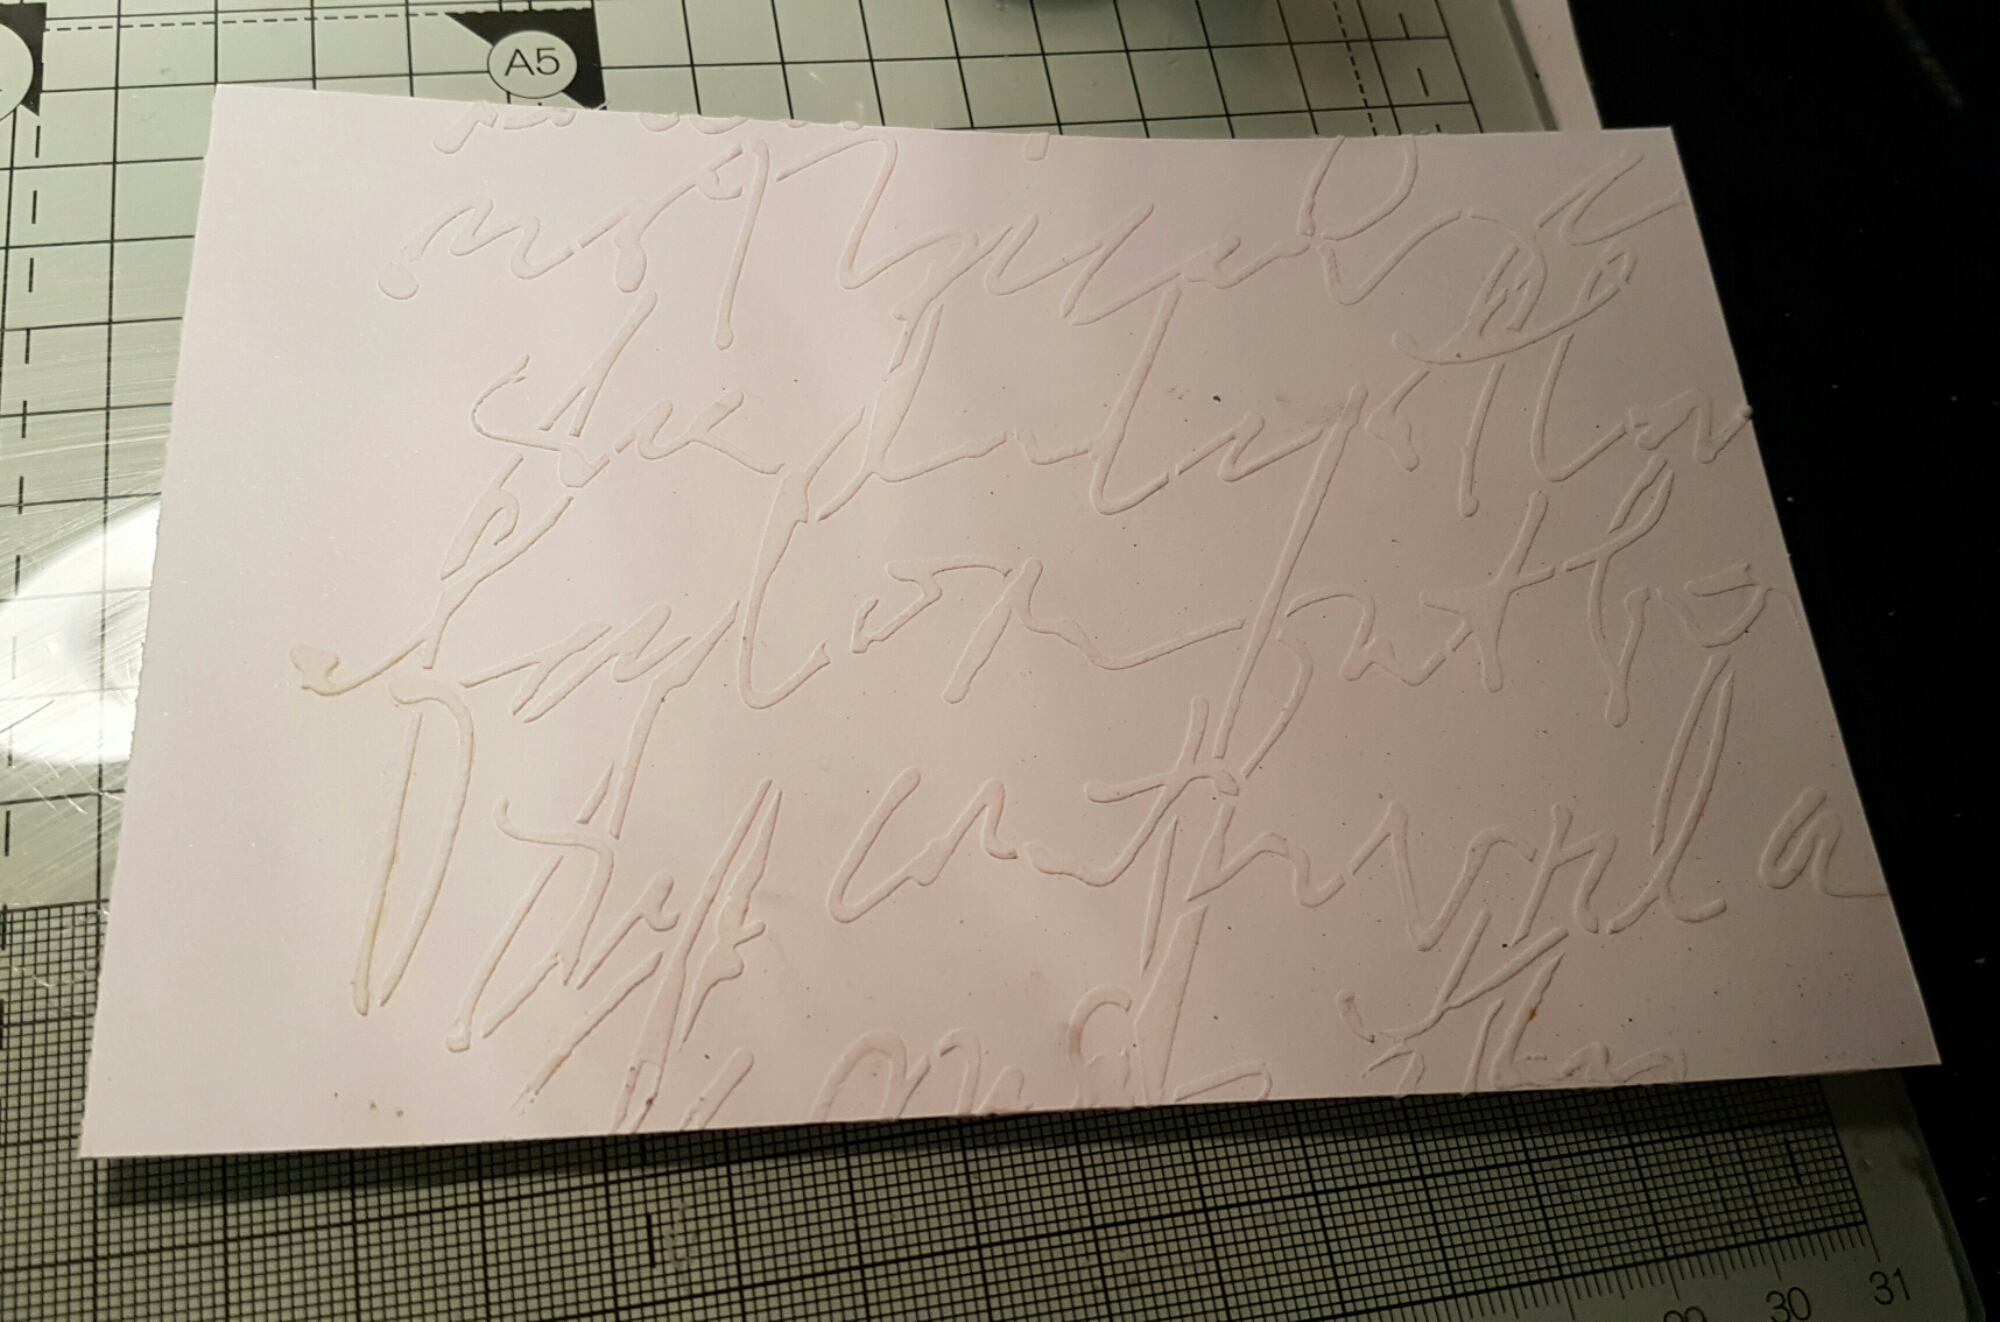
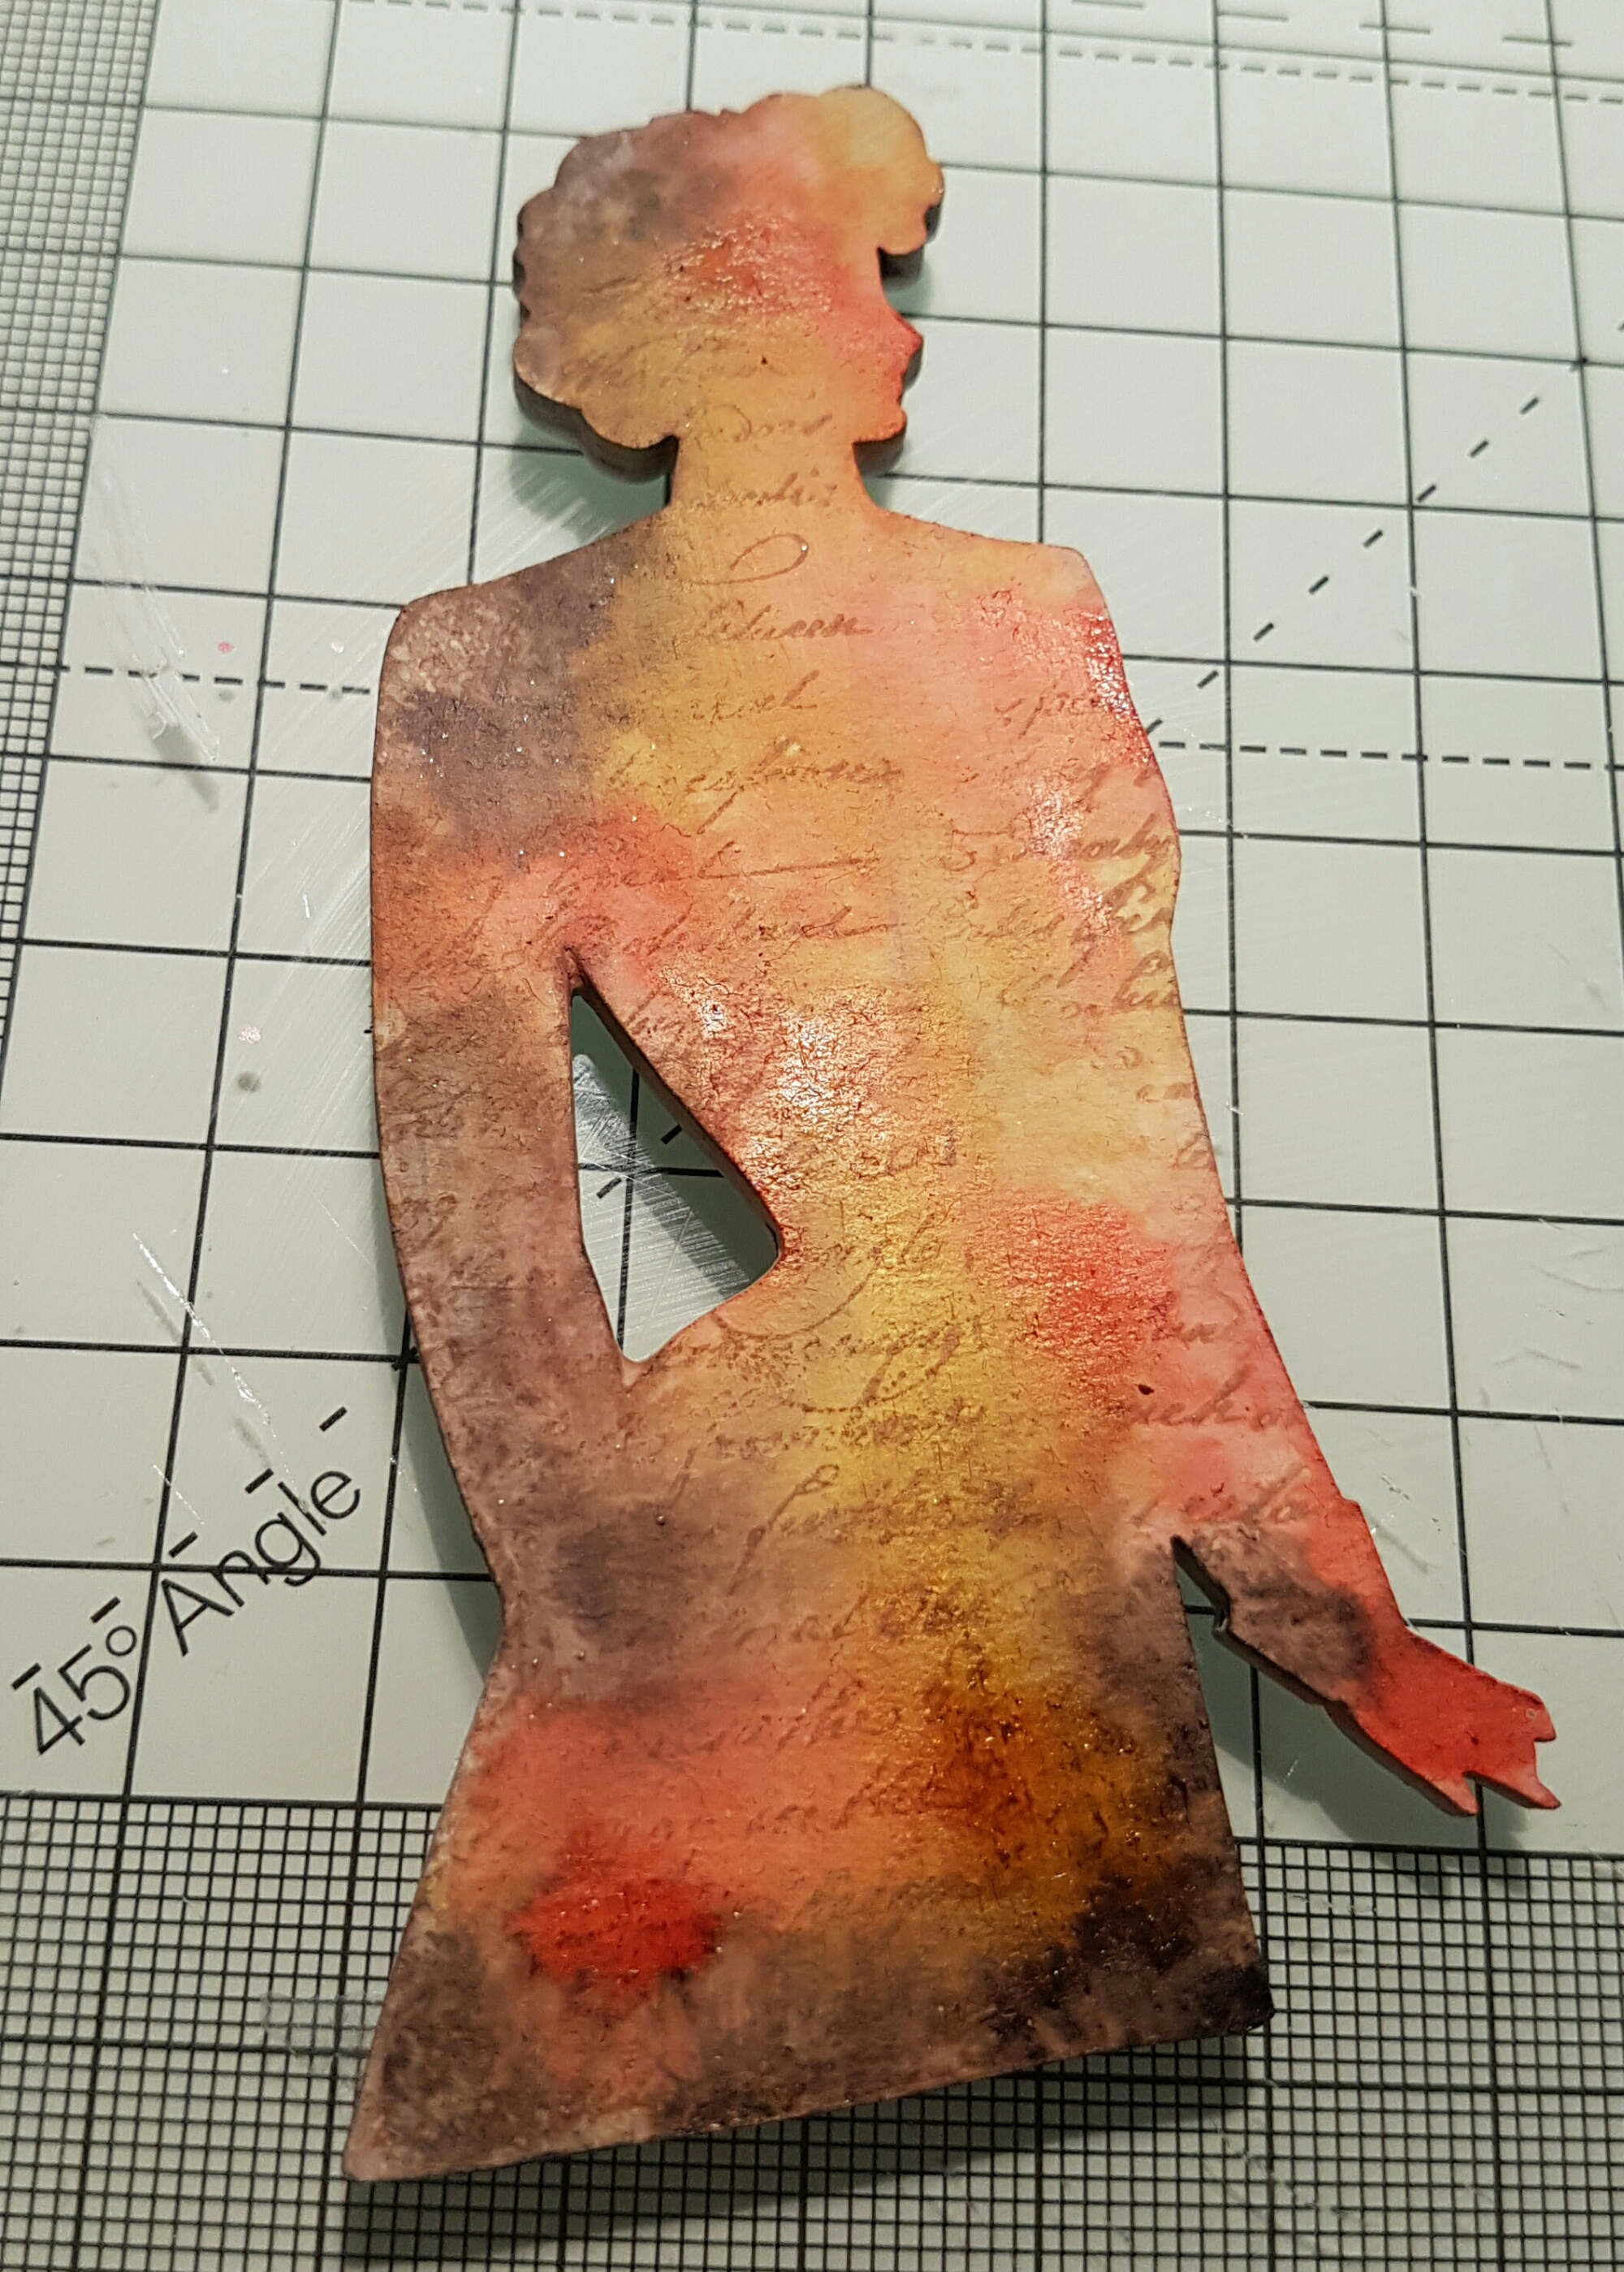
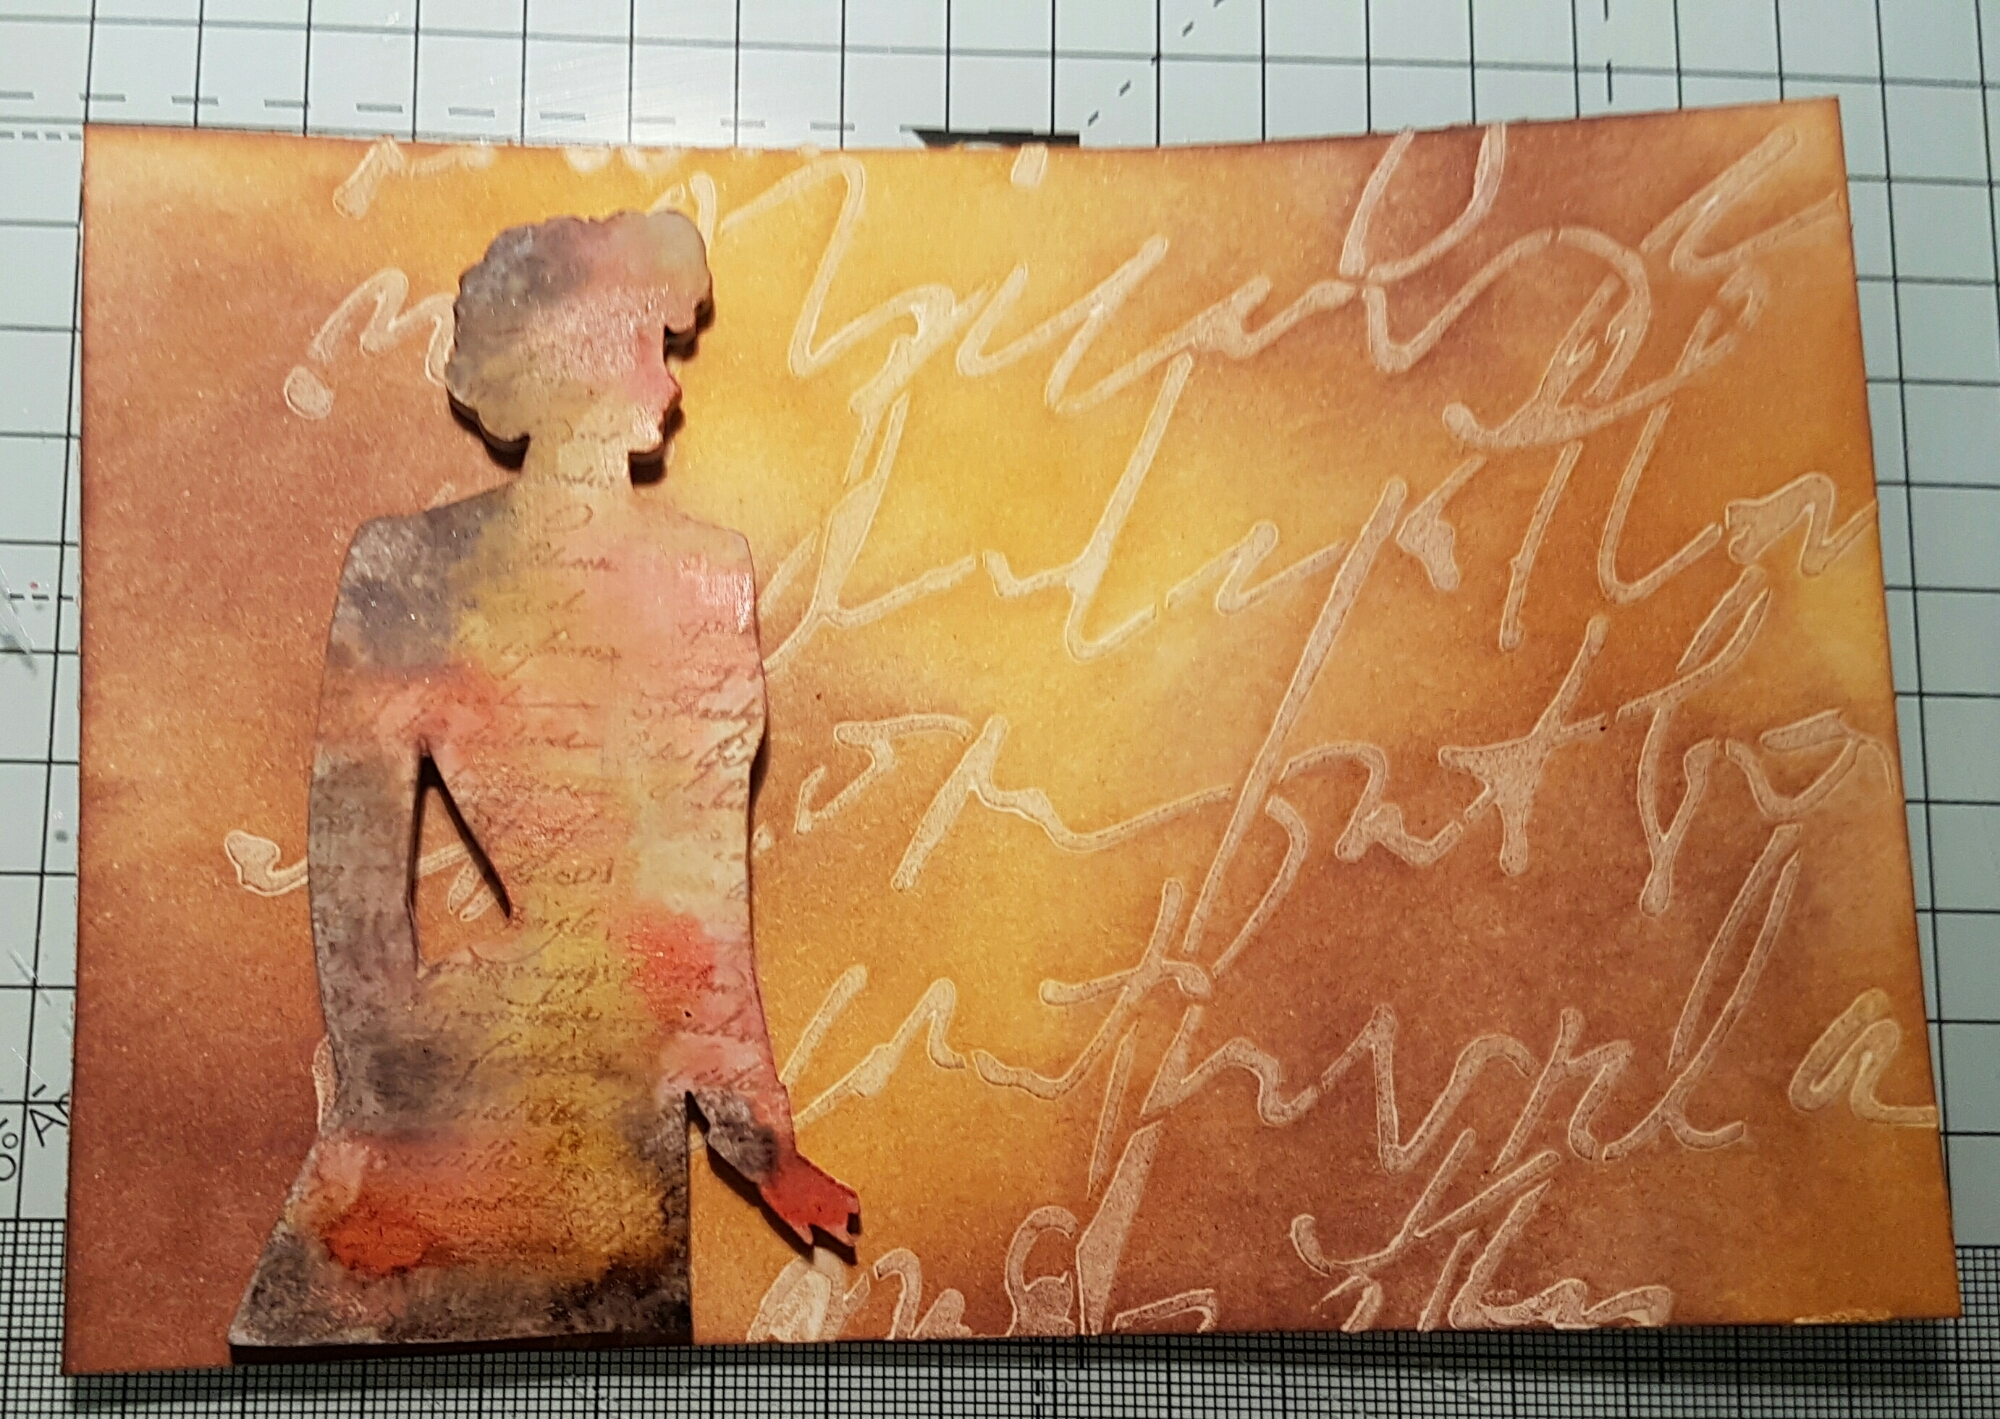
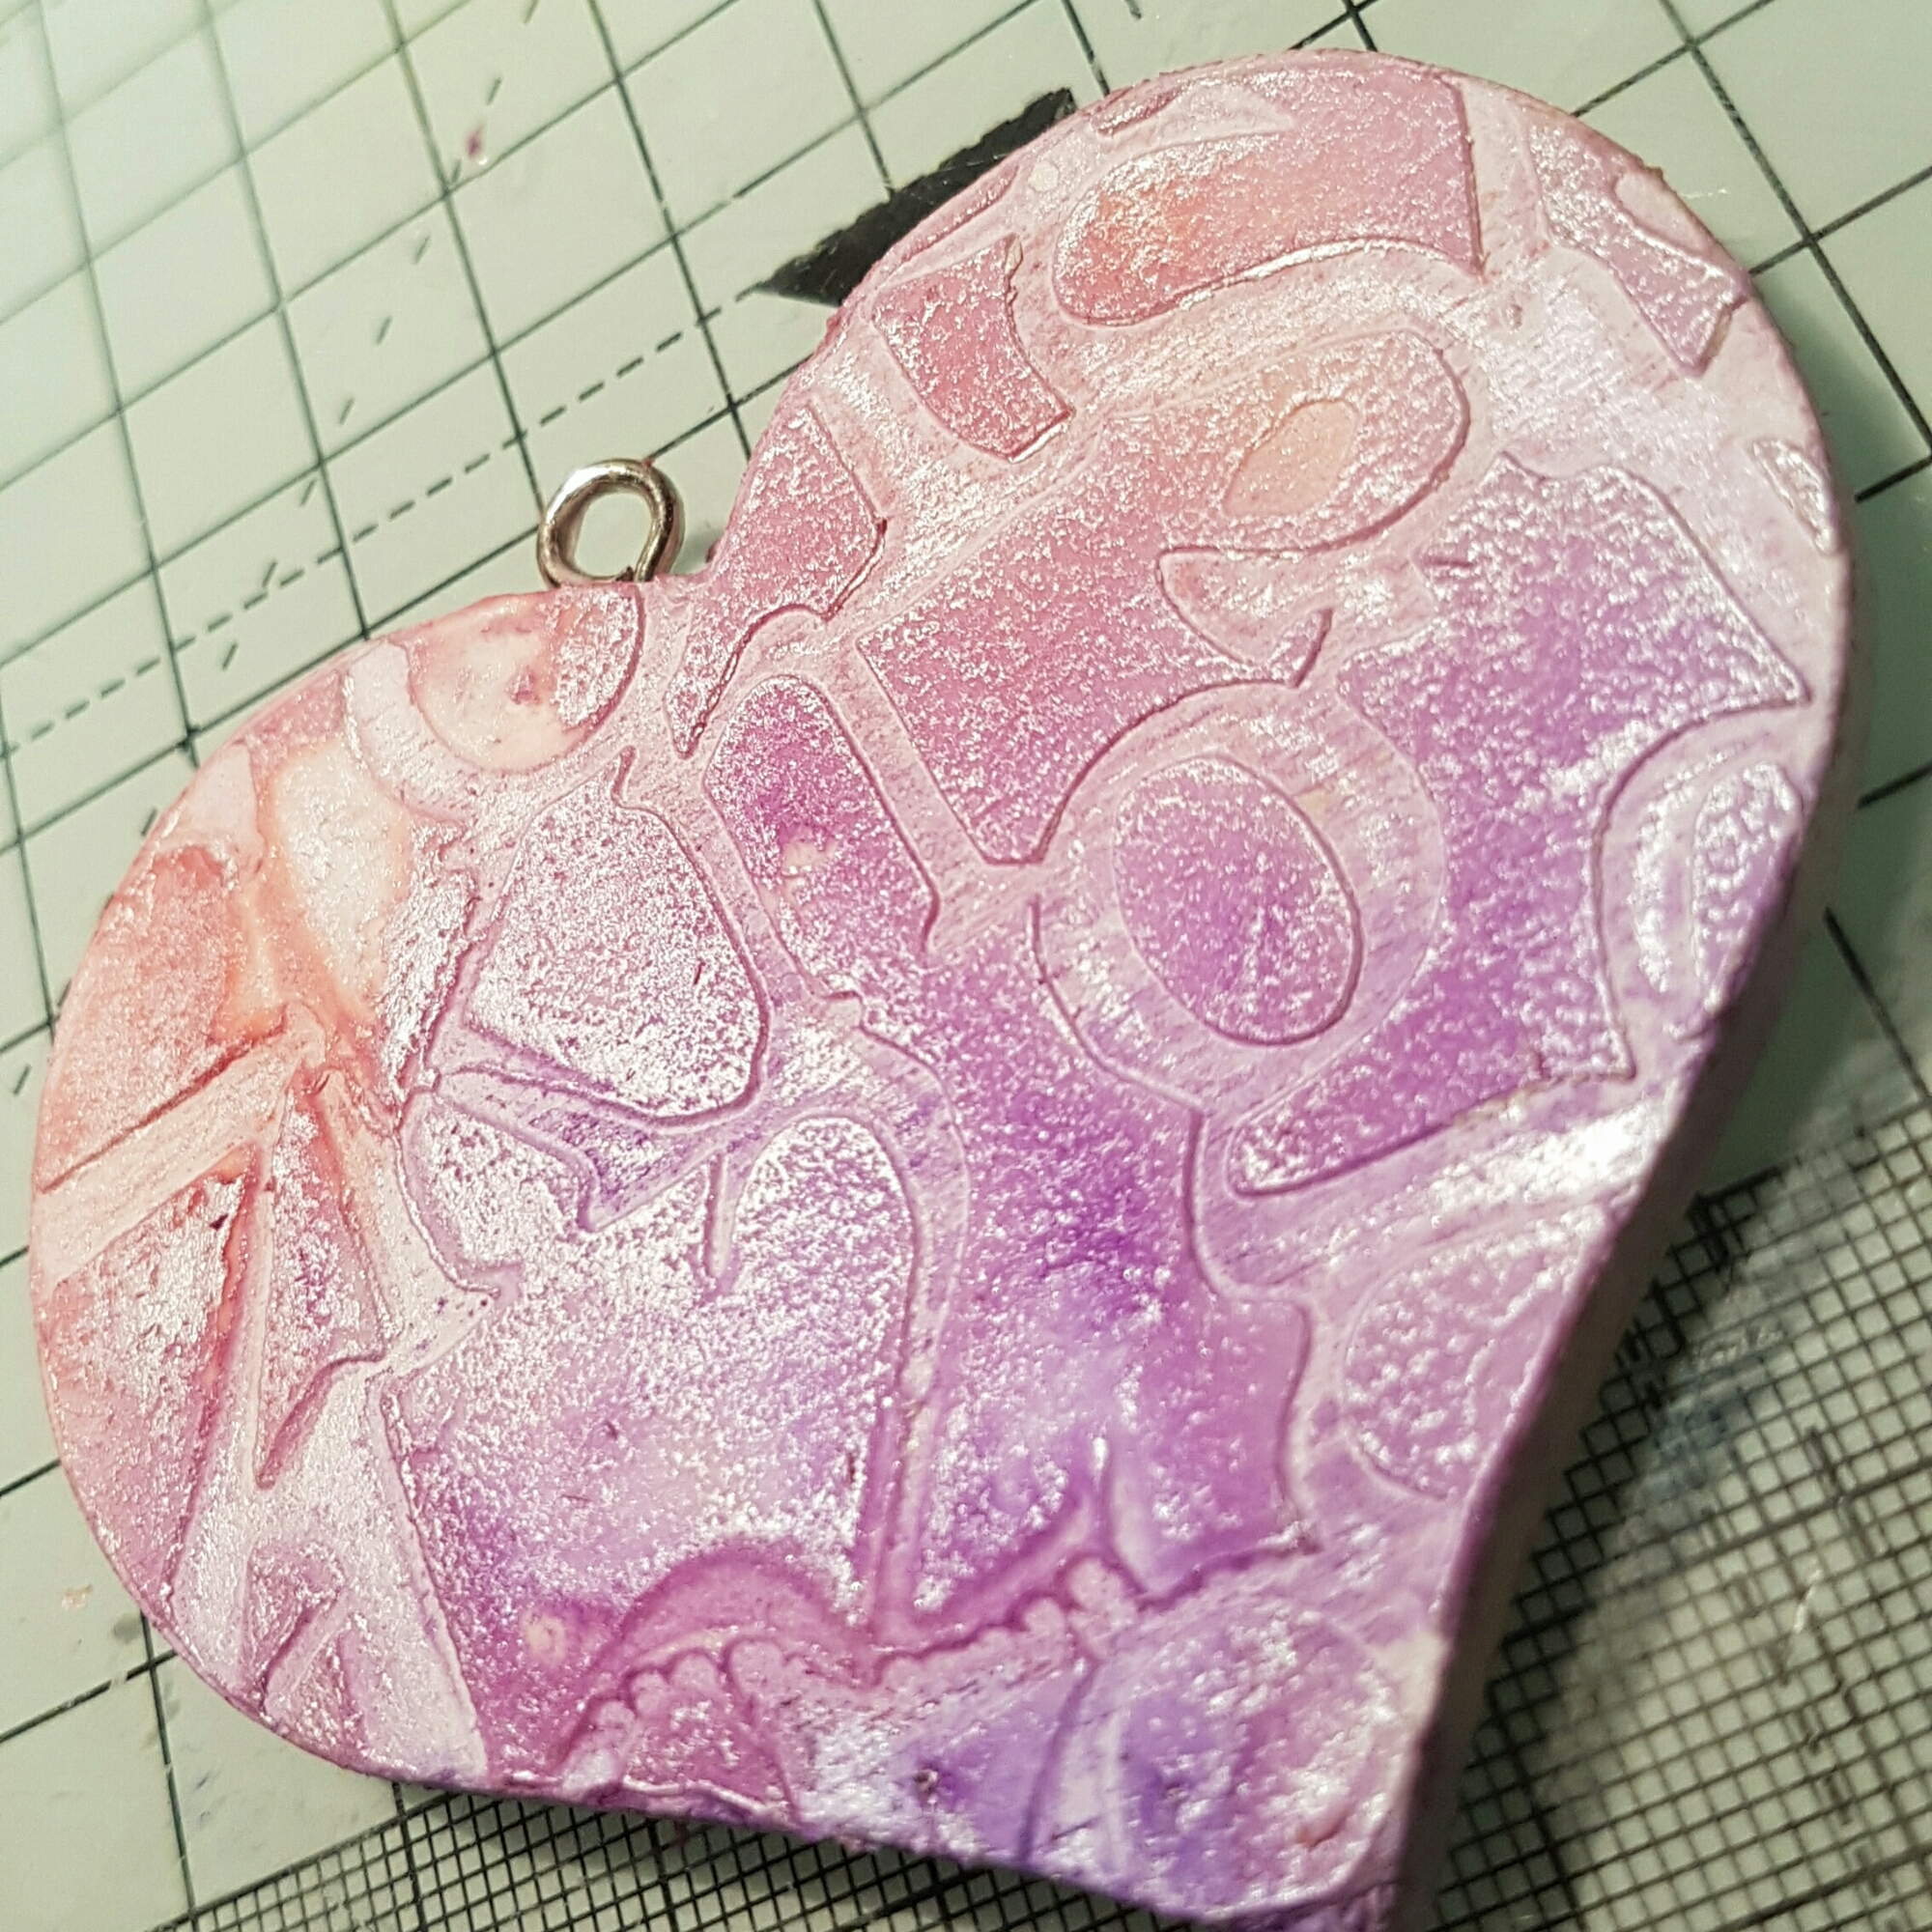
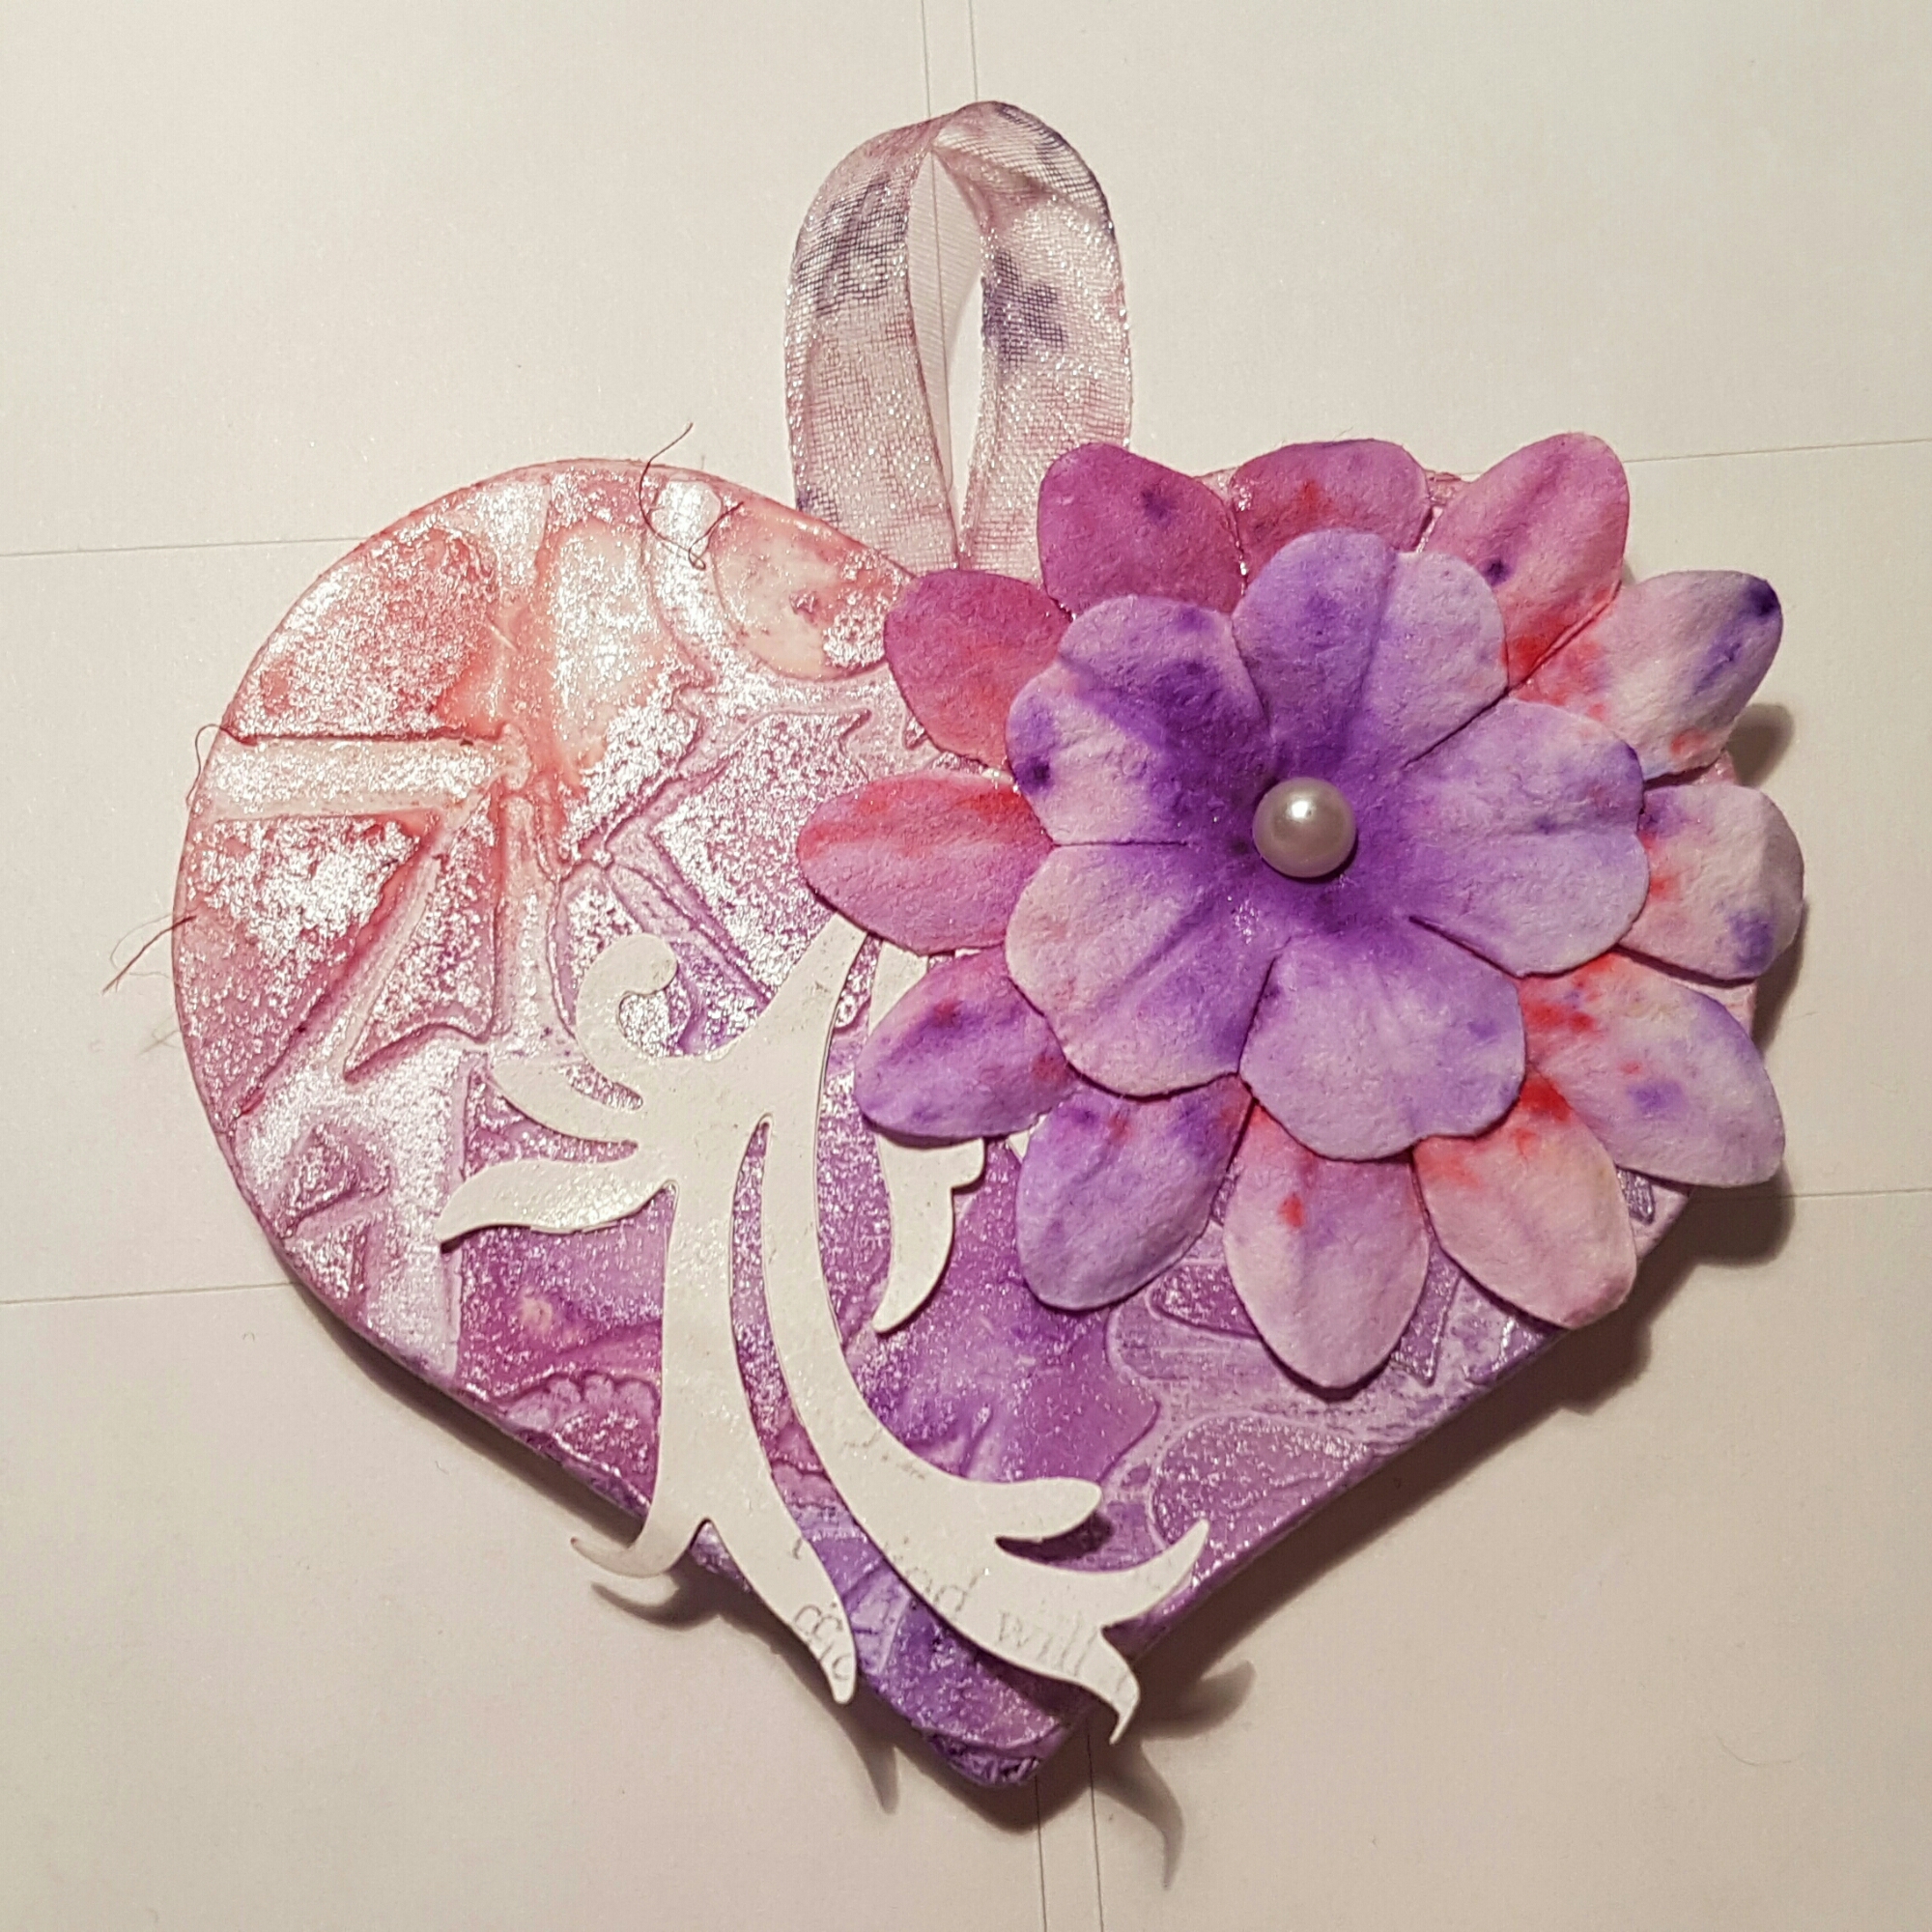
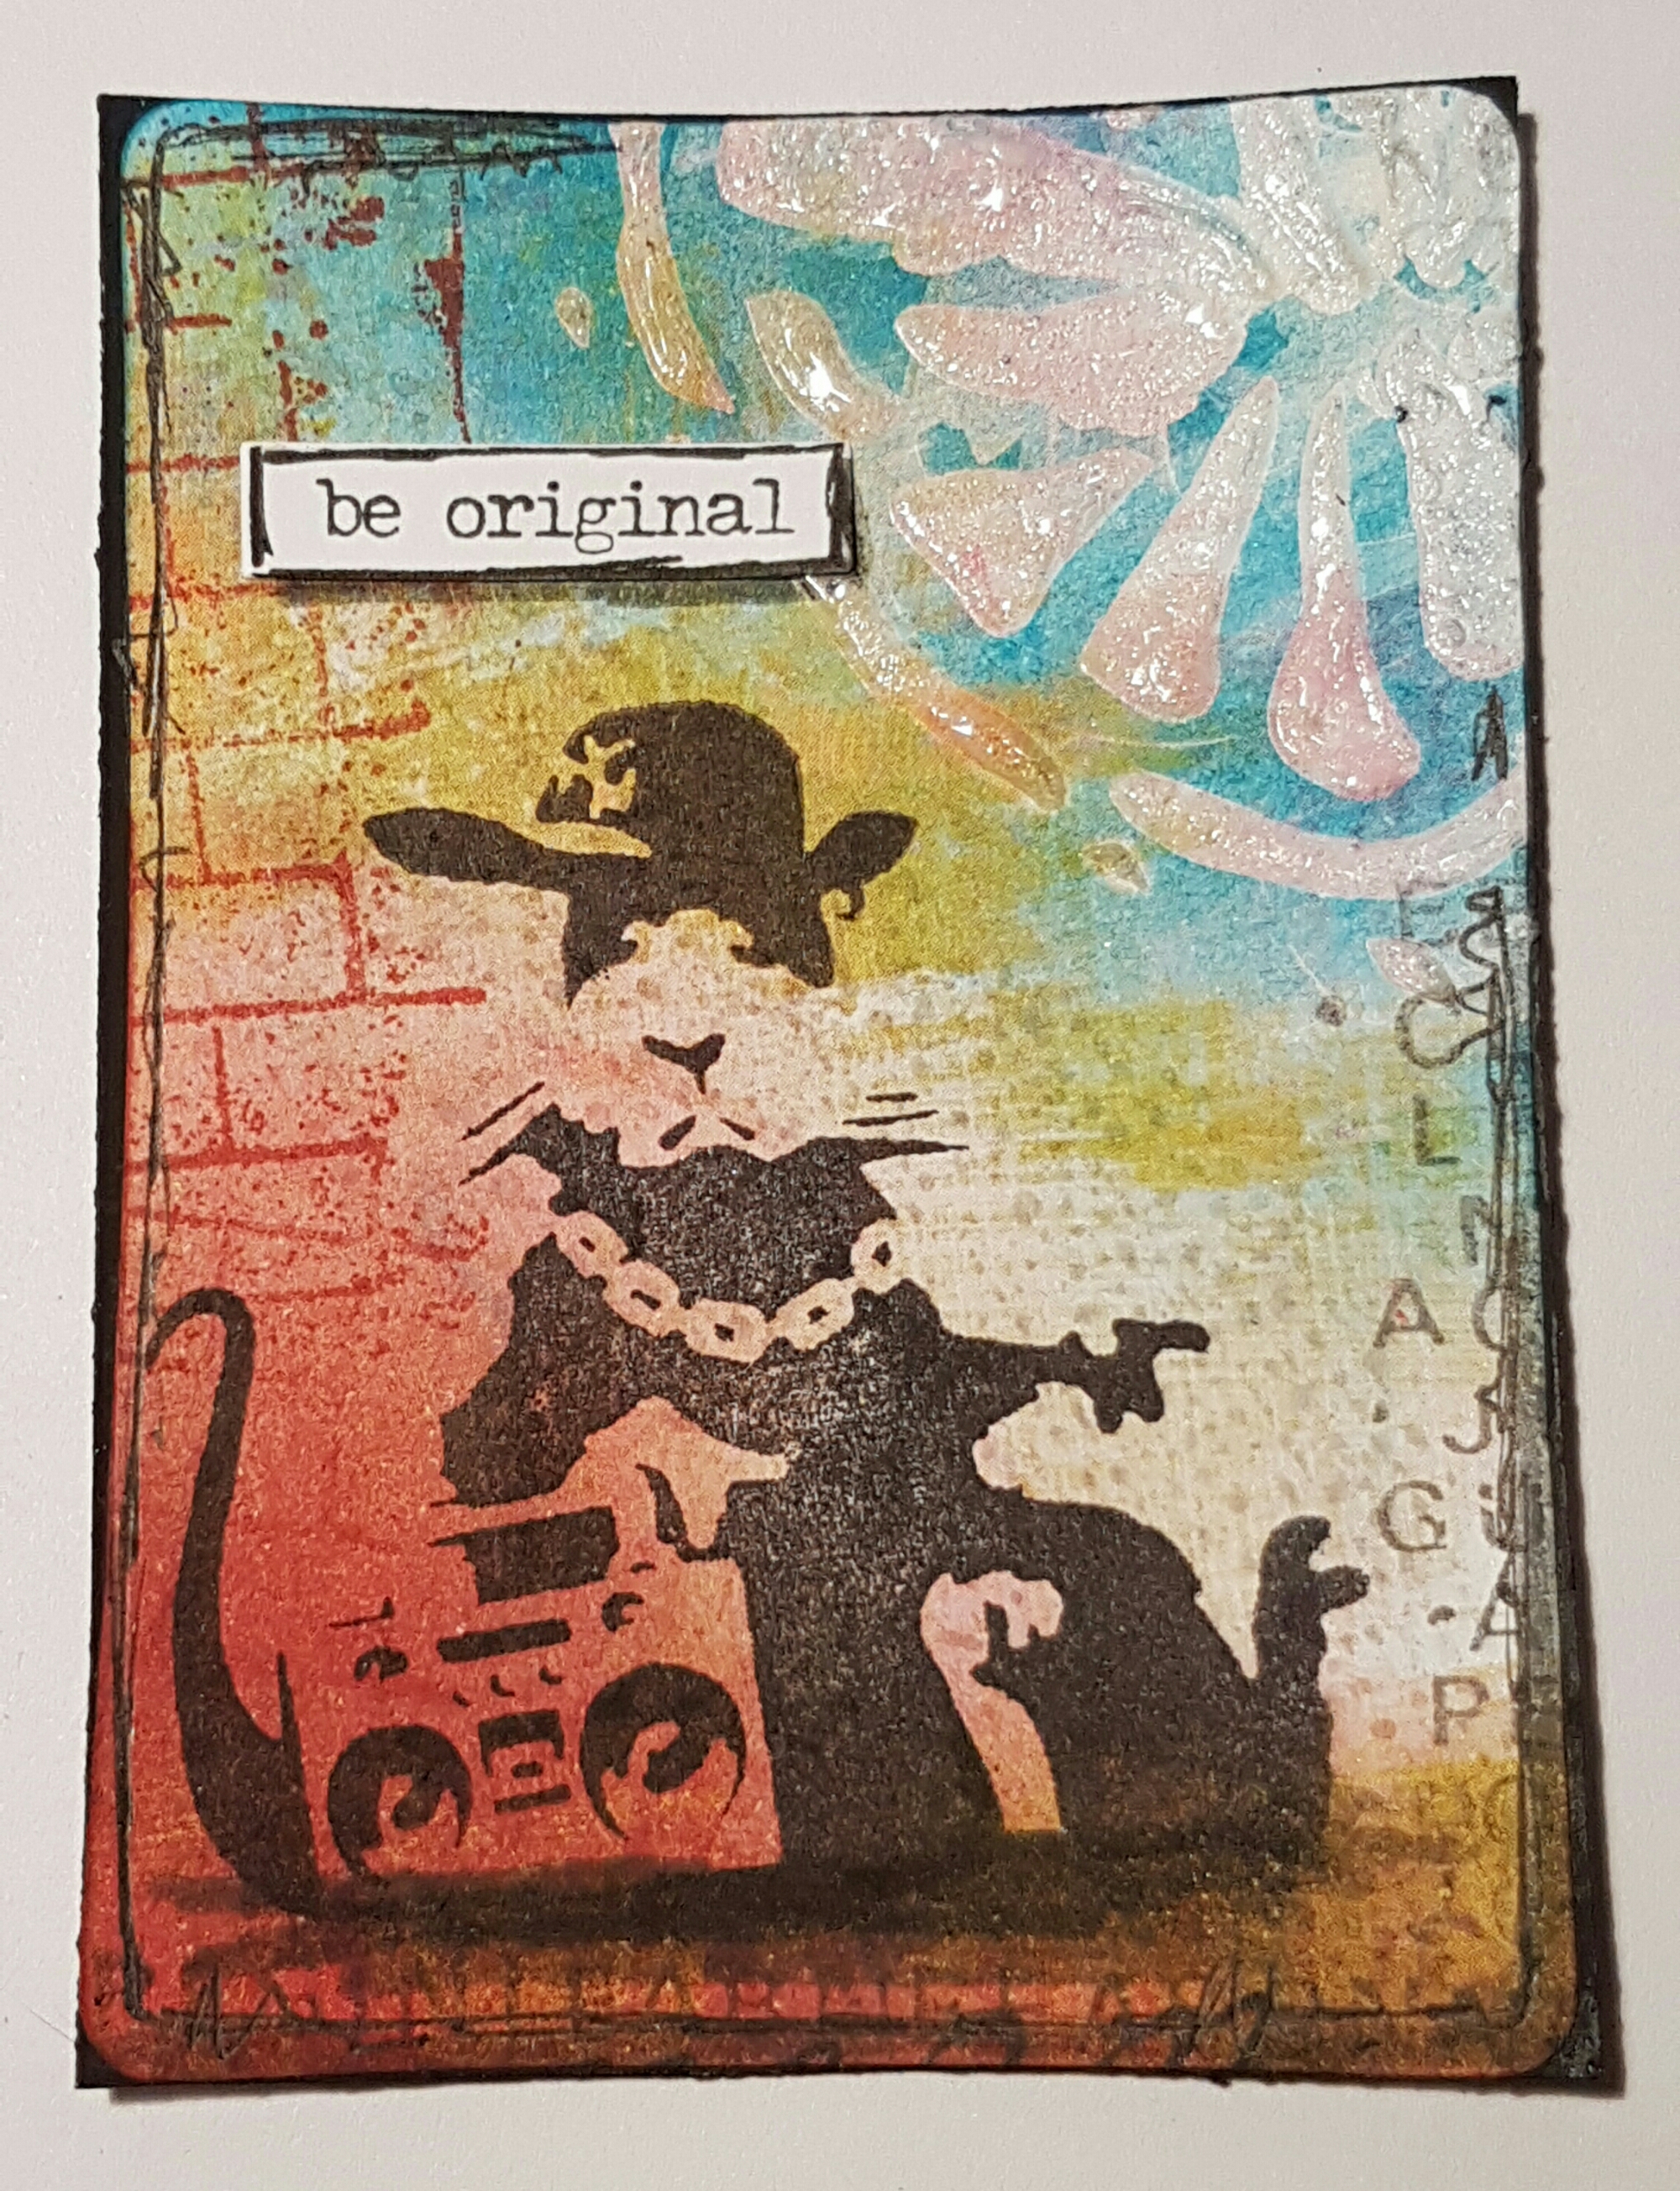
The next one was similarly a piece of scratch paper which I stamped and added some texture paste to through a stencil. I then added distress ink to it ad the wonderful Banksy image (my secret santa gift from a member of the group this swap is organised through).  I figured this counted for both weird and wonderful!

Love how these two came out too… hopefully the recipients of both sets likes them too! 

Happy crafting! 

Catherine 

For ATC’S sake … 86

Just a single ATC to share today. 

I used some Gelli printed dsp for this one… it was a spotty paper and then has some fun patterns printed on the top. of course I forgot to take a picture of that! So to start this one I added some stamping using White acrylic.  Next I added added lovely circle die cut I got in added swap. Next the script bird stamp which I stamped on another piece of scrap which had some ink on it. I added shading and depth using the Inktense pencils and then the sentiment I inked using the alphabet stamps. 

Really love how all the colours work together and the white paint pops on the background. 
Happy crafting! 

Catherine 

For ATC’S sake … 83 – 85

Today another three ATC’S to share. Again these are scratch papers cut up into ATC size. And two of them go into the Wicked Wednesday atc challenge blog theme of hearts! 

So I added some strips of Gelli printed paper and then I added a pale pink paint over them to tone them into a background. Next some Inktense pencil outlining and shading. I love how different they look already! Love the layers are still visible to some extent but that they become one piece of art. 

Next I took some texture paste and some mother of pearl paint and added it through the stencil to create the leaves. I must admit this didn’t quite have the effect I was hoping for as the pearlescent effect disappeared in combination with the texture paste… ah well… you win some, you lose some. 

I decided to outline things with a black pen.  Not entirely sure at this point that it is a waterproof ink …. but again lessons to be learnt. 

Next to choose some focal images… I had a rummage through the embellishment box and came up with three different finishes. 

Wooden hearts and embossed dotty legs make the first one fun. 

Flowers and a floral printed picture for a pretty finish.

Vintage picture and a flower for the final one. 

Love how different they all look from the same base. And another three done! 

Happy crafting! 

Catherine 

An ATC and a YouTube premiere! (82)

Hi 

I’m super excited! I’ve done a crafting video and edited it and added some captions! So proud of myself! 

What did I make? 

Well I made this…  

It’s an ATC using the theme of Gear which is the latest #52cafecards challenge in #maremismallart creative cafe group on Facebook.  

link to video 
Loved making it. Still finding it weird to talk to myself out loud whilst crafting! Hopefully you will find it informative and enjoyable.  

I did cut some waffle out and some of the faffing around but otherwise it’s pretty much as it happened. 
Hoping to make more videos … maybe aim for one crafting one a month? … but only if people find them useful. I’m still experimenting with the desk set up but starting to understand a bit more how much space I have for the camera picture.  

Anyways…. one more ATC towards the 365 challenge done. 

Happy crafting! 

Catherine 

Postcard Art exchange… love letters and old lace

I have another postcard to share with you that I made for a swap. The theme was love letters and old lace. 

I started with modelling paste through a Donna Downey script stencil and then let it dry. 

Whilst it was drying I decided to use one of the Wendy Vecchi art parts I bought in the sale ages ago for the main feature. I covered the lady in gesso then stamped script in archival sepia and then added distress stain in several layers. 

Next to add colour to the postcard base. I used Distress inks and blended them with the blending tool. 

Now time to add the lace … 

I chose a piece of very wide lace and some trim and decided to add some glass bead gel too. This was it still wet.  I also added the lady using silicone gel glue. 

The next day once it was dry it was time for the title and some dots of liquid pearls. 

Love how the bead gel has brought through the colour of the distress inks and how vintage this looks.  

I also finished off with some gold pen.

Hopefully Alison who is the recipient will like it too! 

Happy crafting!

Catherine 

Pocket letter… 9 ATC’s in one go! (73 – 81)

Tonight I have something a bit different… but still ATC based! My friend Chris runs a fb group called mini marvels which focuses on small art… perfect for atc obsessed me. 

Anyway she has organised a pocket letter swap which consists of 9 ATC’s and they are all themed and put into a sleeve with a hidden letter… so as the meet my ATC challenge and are 9 in one go I couldn’t resist joining in. 

So here was my starting point… a piece of cardstock with layers of painty goodness! Stencils and splashes and card swipes galore! 

Then time for stamping… Kim Dellow and Clare Lloyd stamps. 

Next step is to chop it up into the ATC pieces.

I decided once I had chopped them up they needed more stamping to connect them so put them into order and tacked them to a piece of copy paper to keep them in place. Then out came the archival and some stamps.

I started with some Kaisercraft quote/affirmation stamps. I stamped these straight onto three of the cards. I then grabbed some Seth Apter stamps for the background of a few of the others… linking a few cards together.

Then I grabbed some white card and used some of the Dylusions stamps onto that so I could add those to three of the other cards… this is me trying out the layout. 

Next to decide on how to embellish and add features… pink hearts became my theme to go with the positive sentiments. 

These were punched out of cardstock painted with bougainvillea and then I added glossy accents to raise them and add some shine.

And now for more hearts … and circles.

Some Darcy hearts and some die cut and embossed circles. Then I decided to use a Gorjuss girl for the central feature.

OK onto the final steps… some doodling, some additional colour added to the circles and some stars. Sticking it all down and deciding if it is finished or not but putting it into the sleeve. 

I thought at this point it needs something else…. so I left it another day to think about it.  

Happy belated birthday Darcy!

Last weekend was Darcy’s birthday but with one thing and another I was late making her a card. I finally got there though and this is what I made. 

I will go through the process for this below but I must admit there are 6 atcs not yet finished that go alongside this! 

I decided to have another go at the masks and texture paste idea for the Paperartsy blog challenge that Ingrid had inspired me with.  

The starting point was a piece of dsp which I had cut a chunk out of for another project. Then some patterned tissue adhered to it. 

Next the modelling paste through a stencil.  The stencil is a Clarity stencil and definitely counts as a mask in my book! 

Whilst the paste was still drying I added Brushos and water to blend them. I chose ultramarine, purple, violet and prussian blue.  Then I left it to dry. 

Once dry I cut 6 panels for atc and a panel for Darcy’s card. 

I dry brushed the panel with some gesso to tone down the colour a little. I then decided to outline the texture with a white gel pen. Then I added a strip of ribbon and adhered it to a card blank.

Now for the feature image.  I chose a flower stamp and stamped it onto book print three times.  I added Brusho scarlet and violet to each of them and then decoupaged them as three layers. 

I finished with a bow and the sentiment and a little doodling. 

Love how this came out.  I love the texture and the pigment variations and the layers I got with the flower. Hopefully Darcy doesn’t mind she received it a bit late! 

Happy crafting!

Catherine 

My first YouTube video… unwrapping Feb Artful Days goodie box 

Yes… my first YouTube video was filmed and uploaded this morning. Nothing made just unwrapping Artful Days goodie box…. prepare for lots of oohs! 

Mainly done to test out desk set up for recording… some more experiments to be made to get that right before I create and film. Plus no snazzy stuff going on with captions etc… just a plain upload of the film as is! 

Exciting… and equally aware of how incredibly weird it is to talk to myself whilst doing something. Lol. 

Not sure how to add the video here other than as a link so will add the link for now and then work out the video when I get home tonight.  

Link to YouTube

Enjoy… or not as you wish! 

Happy crafting! 

Catherine  

For ATC’S sake … 71 & 72

Another couple of ATC’S to share today. The base for these was some packaging from some embellishments I bought. It’s quite sturdy board but I still managed to cut it with my rotary trimmer. It’s also quite glossy cardstock so needed gesso to give it some tooth!

I decided to grab my Distress crayons to create the background and keep to the blues and greens colour scheme. using gesso as the base is definitely the answer for this as it helps them to blend together.  This is how I scribbled them on but once blended with my finger and a little water they are more of a green all over! 

I wanted to have a floral look to the background so grabbed a Clarity stencil and a baby wipe and removed colour through the stencil aperture. In one I went for a focal image and the other just went for the overall background of flowers.

I edged both of them with black gesso to start the process of ‘framing the artwork’.

Decided to do some doodling on them both… ithe was a bit of a random decision to do this… as wasn’t entirely sure where to go with them. So pleased I did! I loved both the process and how they then looked! 

I am particularly pleased with the bottom one… but the top one is also really cute.  I then added some colour to the flowers and leaves in the first one, and just a tiny bit of colour to the centre of the flowers for the second one.  the colour is ink added with a water brush.

Didn’t want to add much else, so will probably add a word to these and consider them done. 

In other news I’ve filmed and uploaded my first YouTube video! Not making anything but instead unwrapping my latest Artful Days goodie box! 

link to the video on YouTube
Happy crafting! 

Catherine 

Masked heart

Today I have a project to share that I started at the weekend inspired by the project that Ingrid Vichova shared on the Paperartsy blog.  Such a lot of details and beautiful layers. And of course because it’s valentines day… it had to have a heart! 

So although my heart is nowhere near as beautiful or amazing as Ingrid’s journal page it was inspired by her work and is my entry for the mask challenge. 

I started with a wooden heart that I’ve had in my stash for quite some time. I put some modelling paste through a stencil … which provided some masked letter shapes  

Once it was dry I then added Brushos to the heart (scarlet and violet) and some water. 

The colours blended beautifully and after drying with a heat tool the pigment settled into the texture really nicely. 

I decided I wanted some shine so grabbed some treasure gold and added that with my finger. 

Next I added Brushos (the same colours) to some flowers and die cut a flourish from a piece of painted paper. I layered them up onto the right hand side of the heart.  Then I removed the ring from the top as it was wonky and added some sheer ribbon to the back and then added some paper to cover the ribbon fastening. 

And so this is the finished little decoration. Unsure that it needs anything else… but maybe a word to finish off? What do you think? 

I loved making this and it really just came together quite naturally. 

Off to see what others have been up to for this challenge. I know I have another entry to make … just need someone to receive the card I made before I can blog it! Lol. 

Happy crafting!

Catherine