Here is a video of the process behind making the card I am sharing today. I hope you enjoy it!
Happy crafting!
Catherine

Being inky and creating pretty stuff
Here is a video of the process behind making the card I am sharing today. I hope you enjoy it!
Happy crafting!
Catherine
So I can’t believe how close I am to my target of 365… and there are still 3 months to go before the end of the year. Not sure I’ve ever managed to fulfil a challenge before. I am amazed!
Anyways … the idea for these ATCs came from Wanda who shared a project on the Paperartsy blog using distress oxides and transparent gloss texture paste. So I had to have a go!
I took some pieces of mixed media cardstock and layered the fired brick, candied apple and black soot distress oxides until I was happy with it. Then I added the texture paste through different stencils.
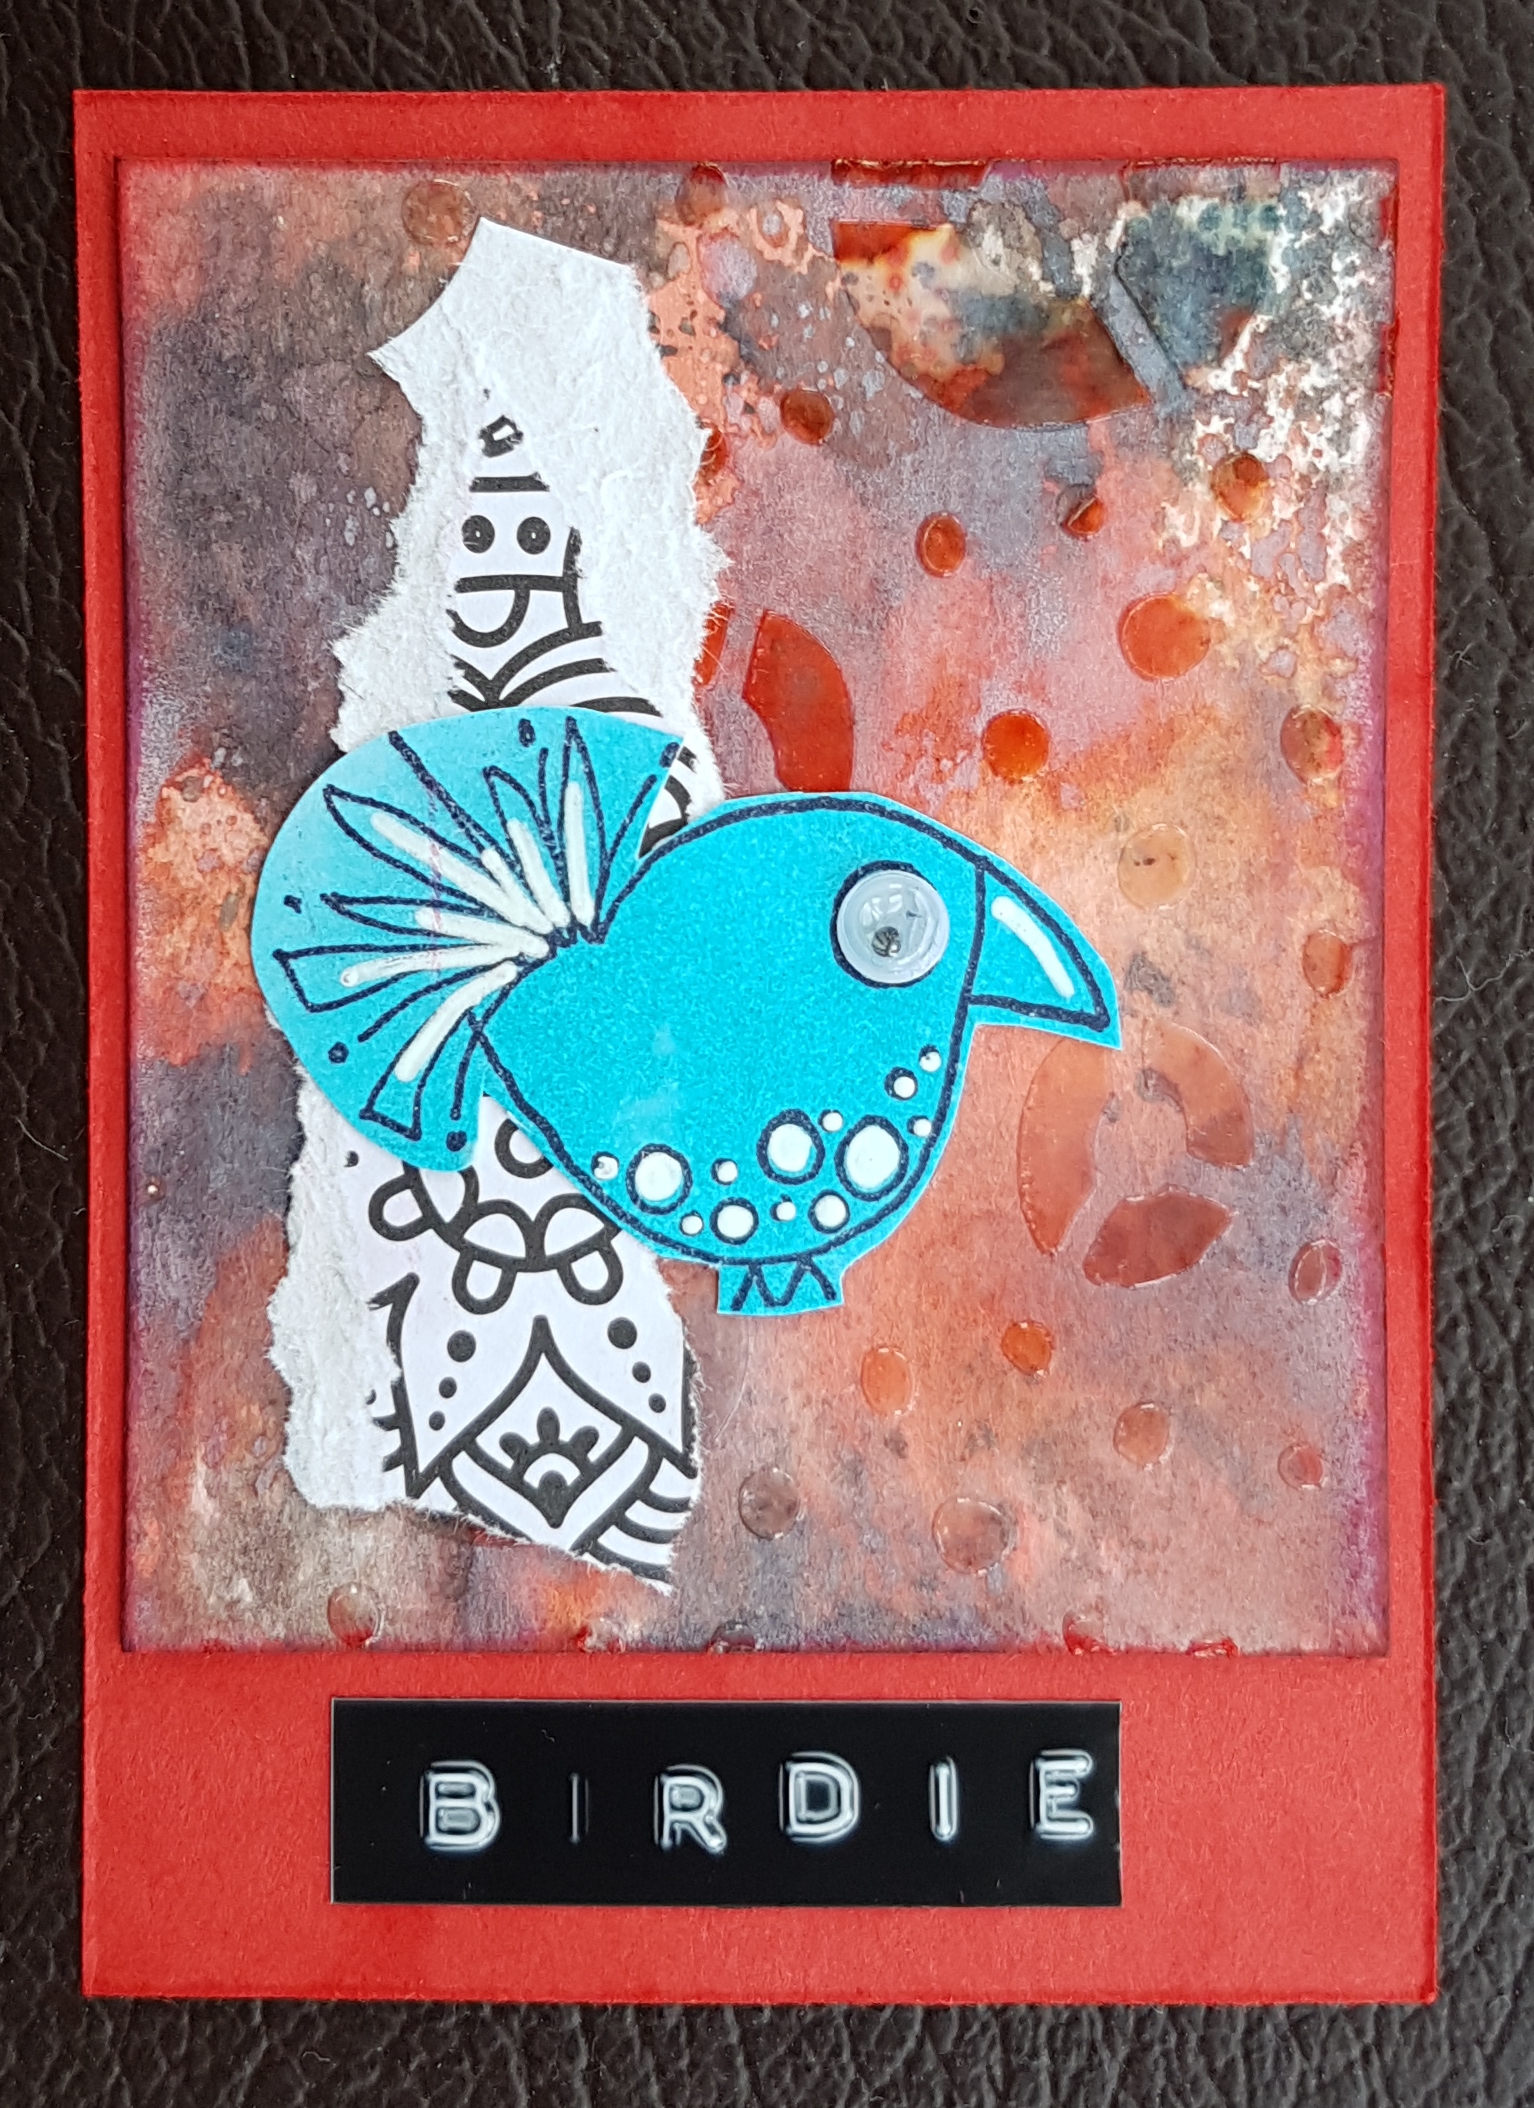

I finished them all off with stamps and doodles, mainly using the Paperartsy stamps.
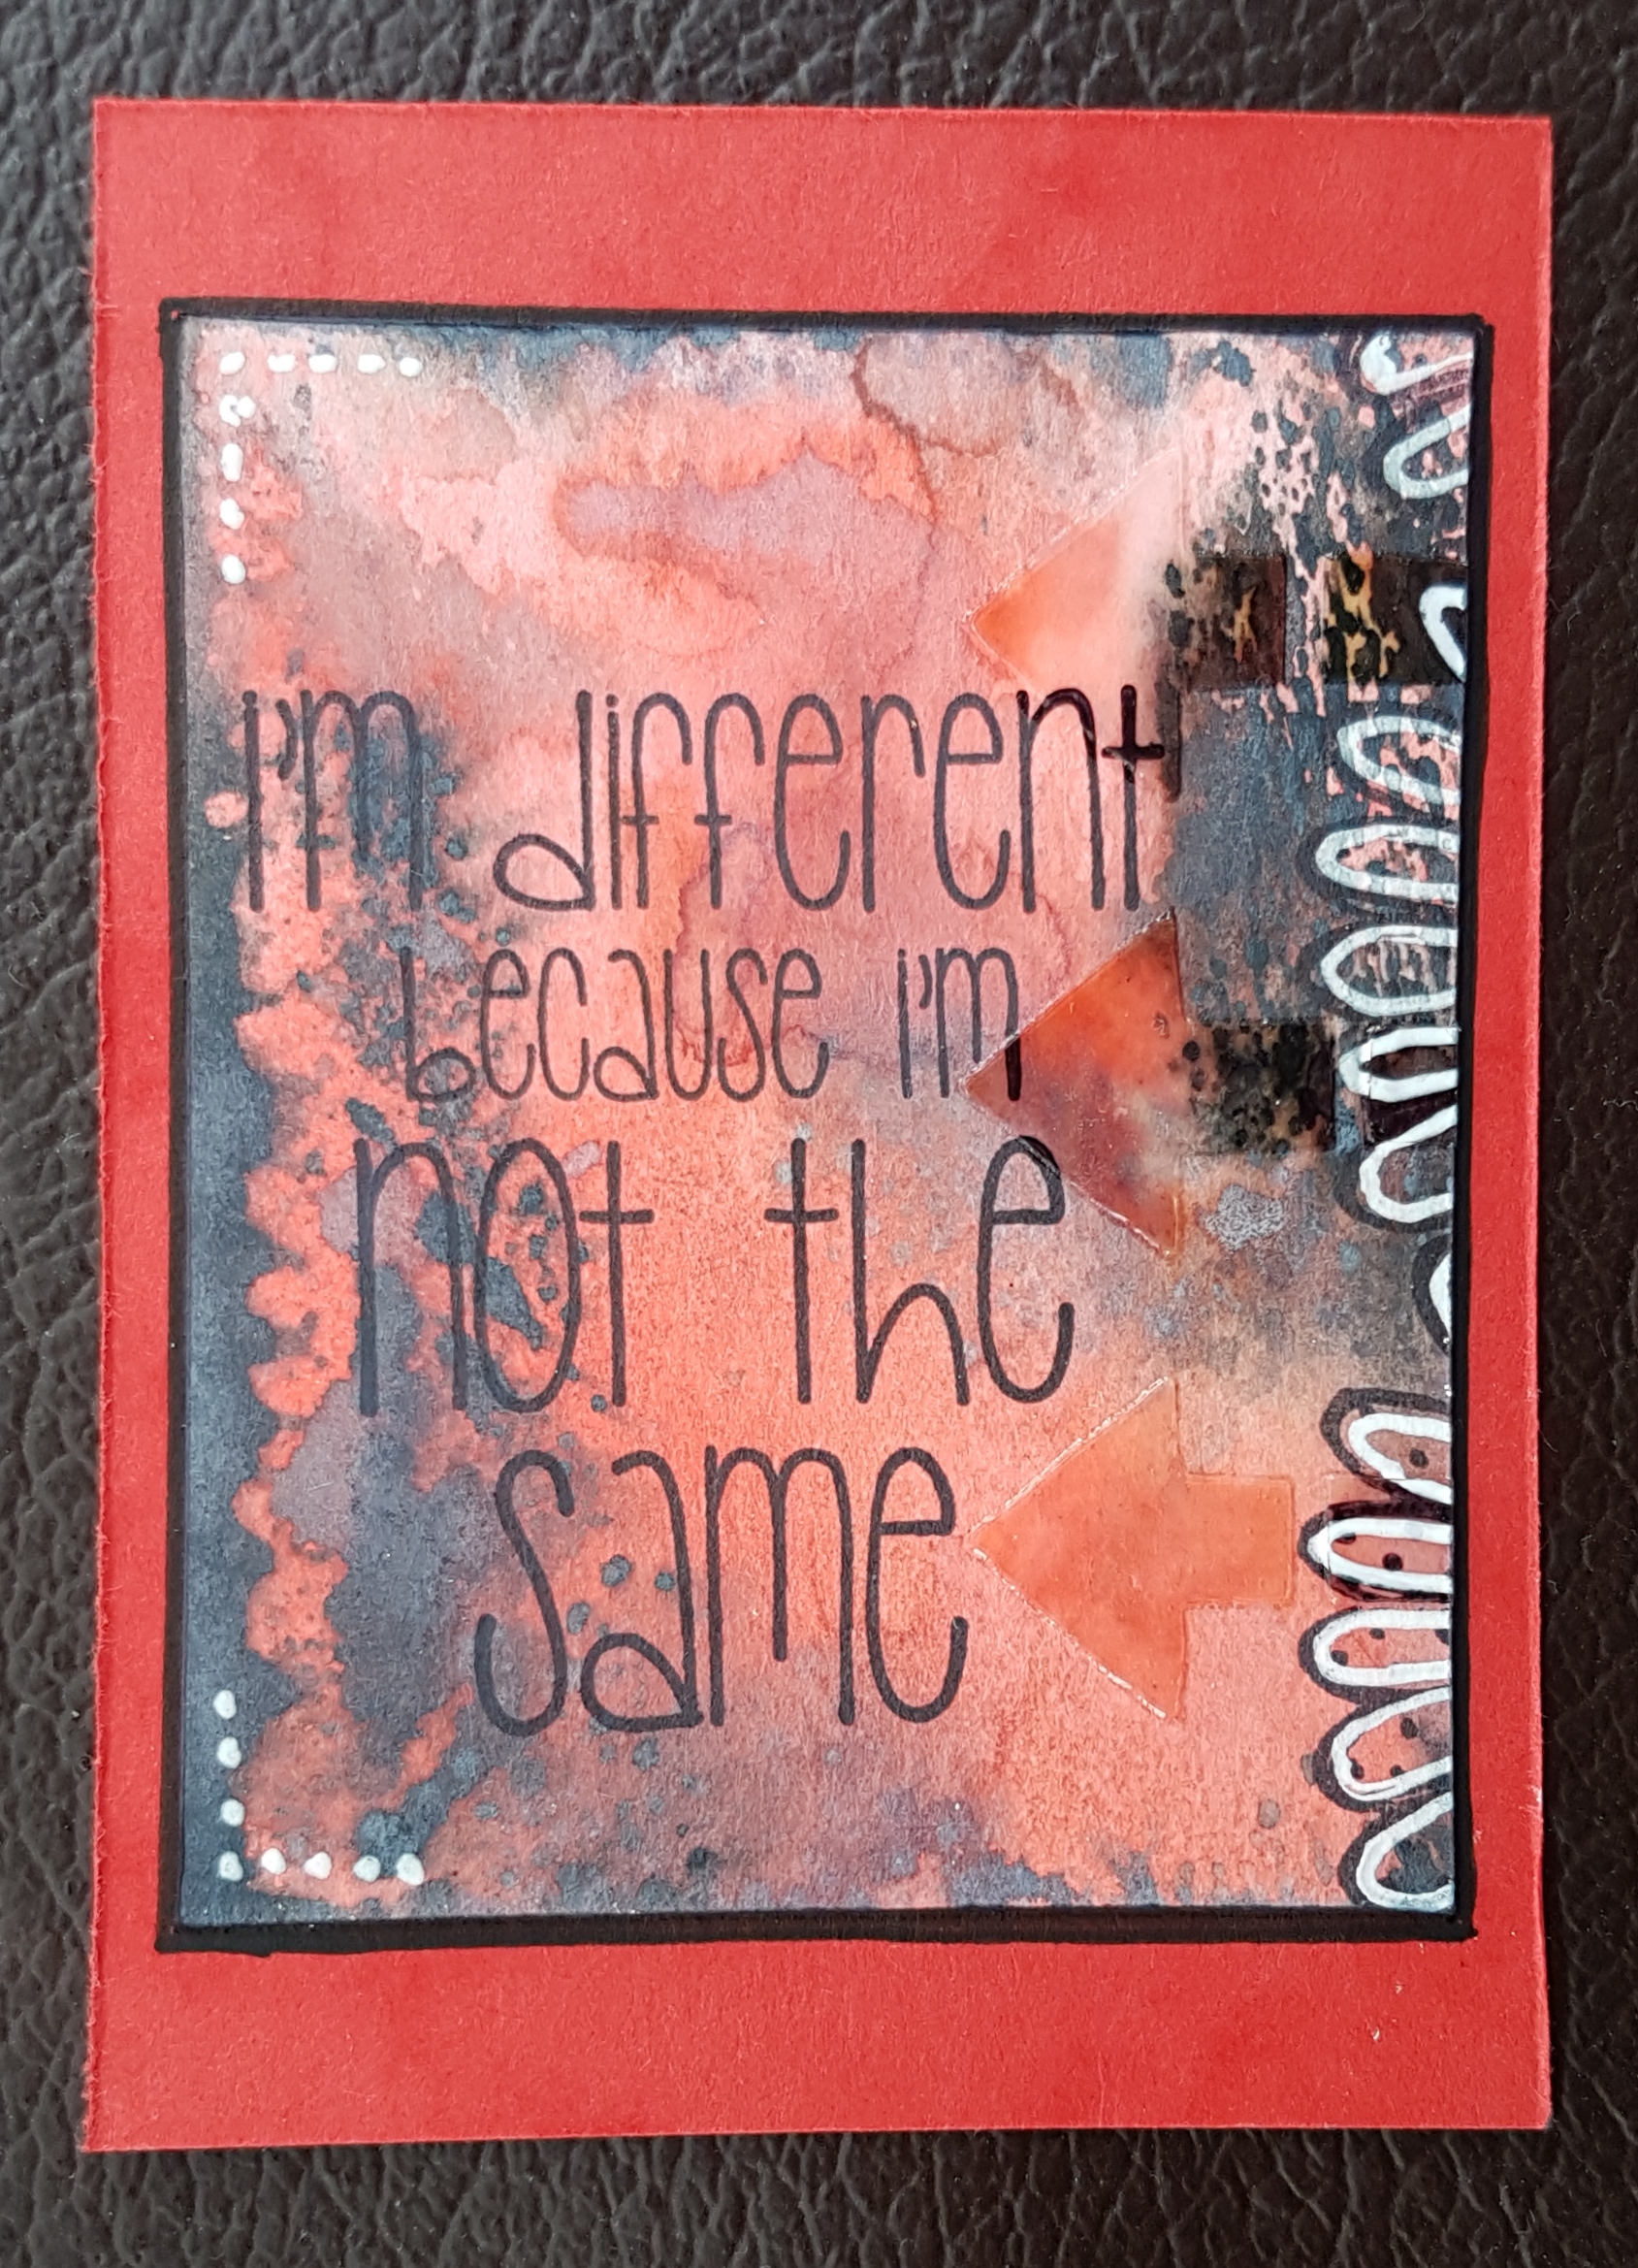
These first three are all for a UK stampers forum swap.
The final one I treated slightly differently.
Once the texture paste was dry I took a baby wipe and wiped off a lot of the colour. I LOVE how this came out. So different. Will definitely be trying this again.
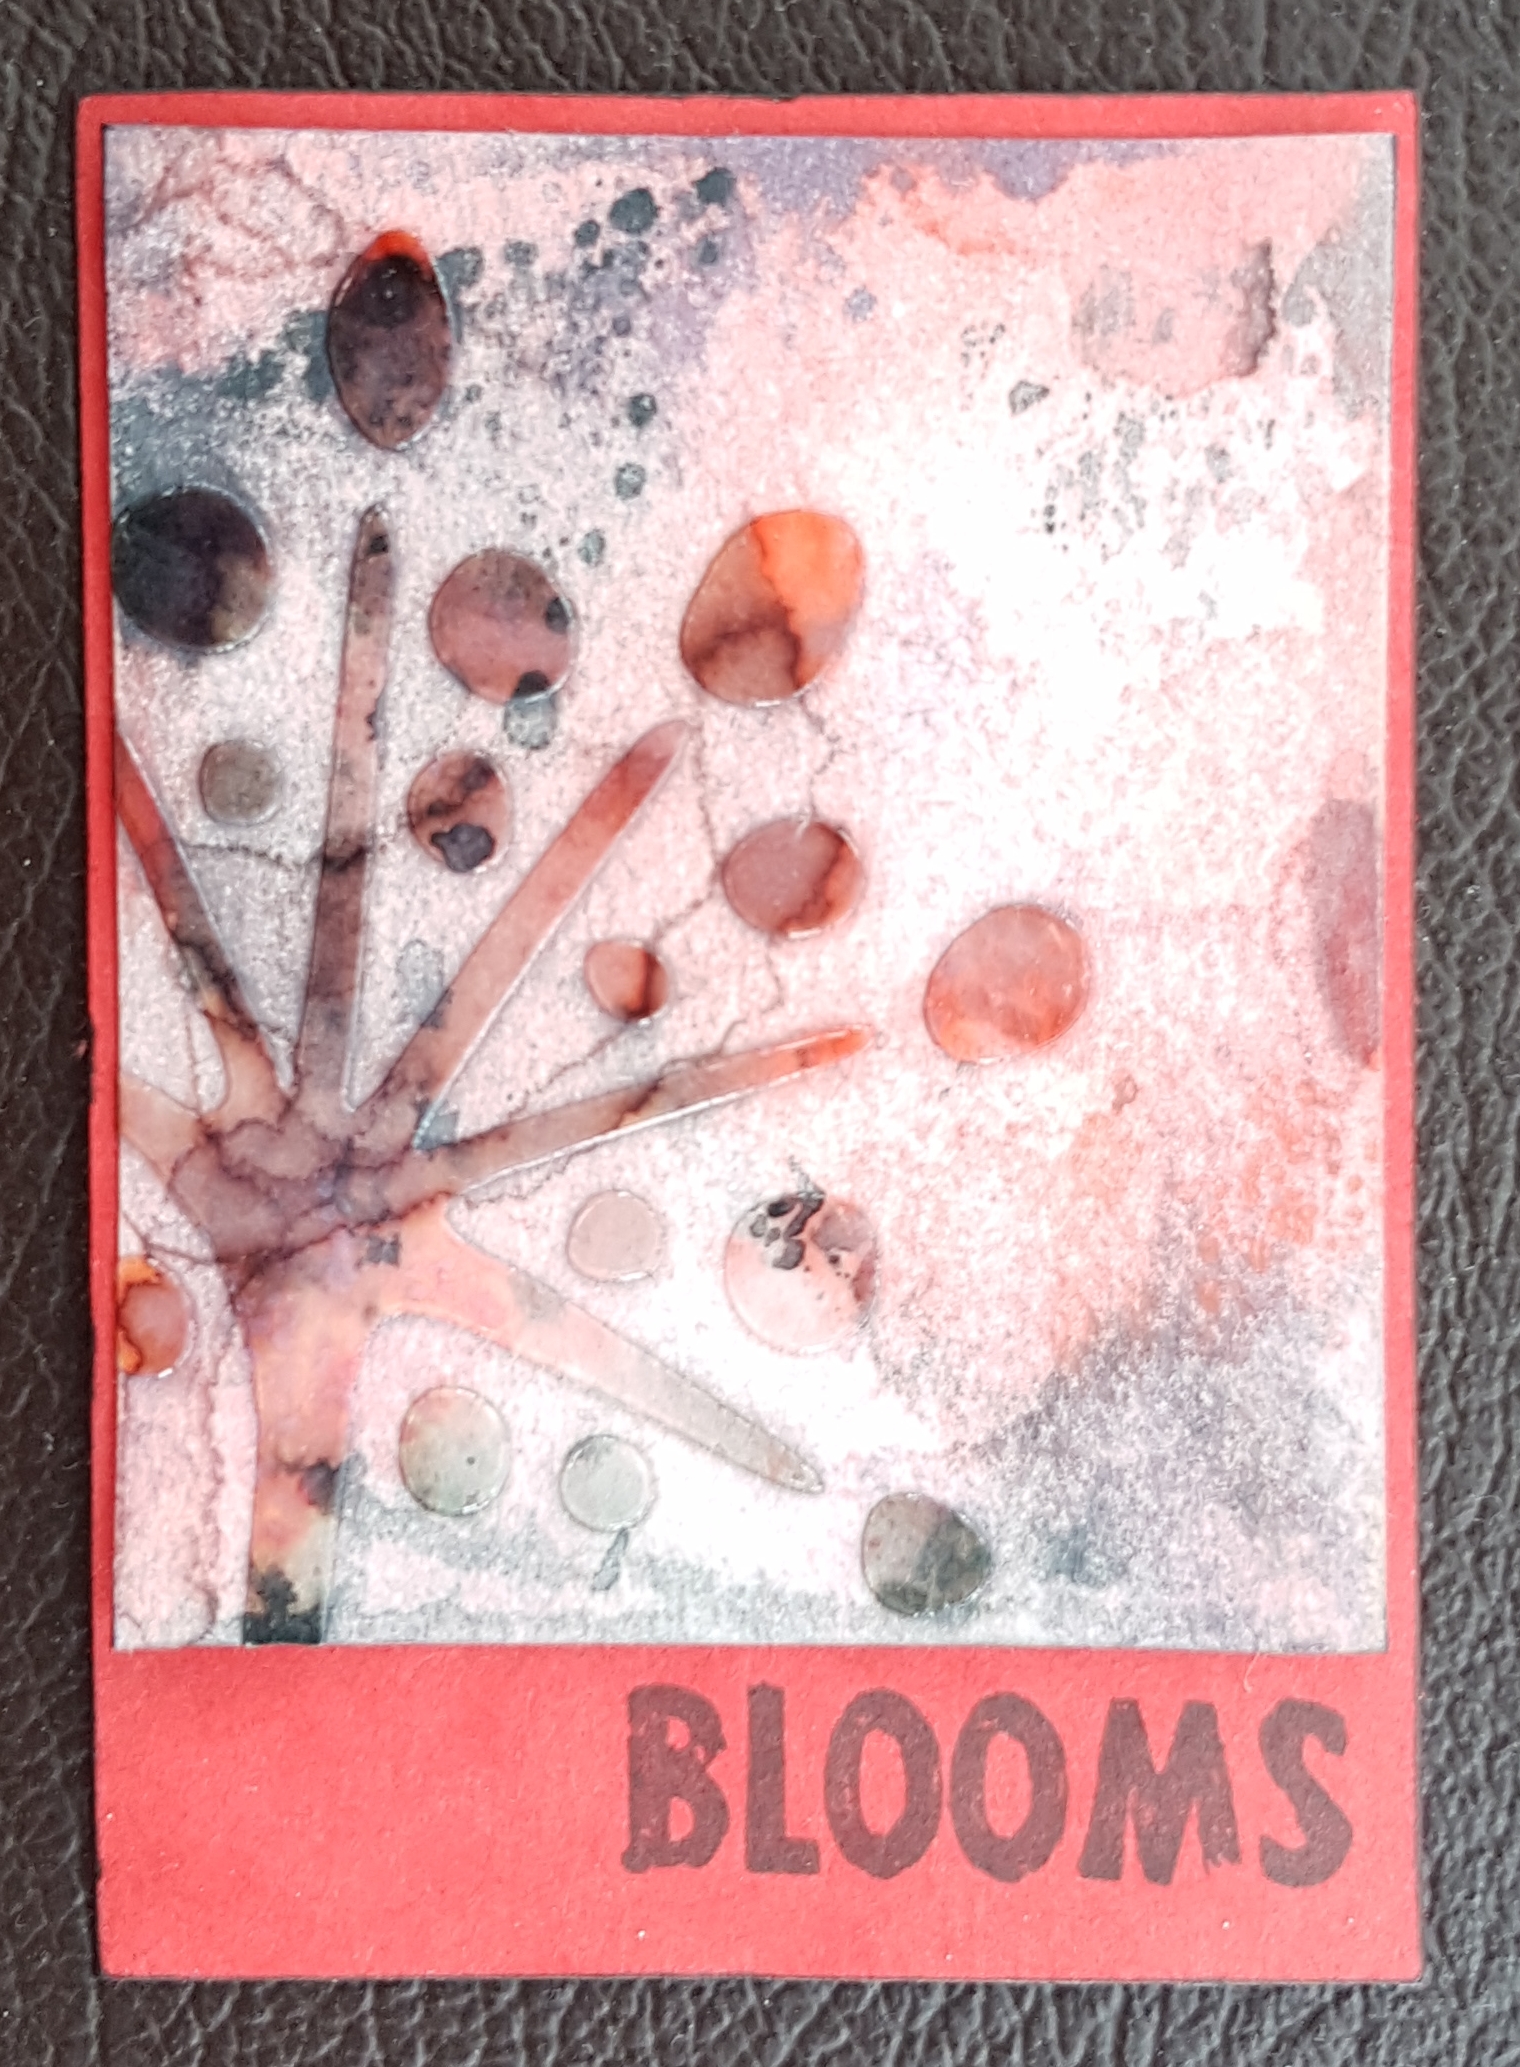 So that’s 4 more towards my target!
Happy crafting!
Catherine
The theme for September in the Facebook postcard art swap group I am part of was “Let them eat cake, or bread” or “Marie Antoinette”. So I had to use the fabulous Marie Antoinette Octopode Factory digital stamp!
Of course it is very unlikely that Marie Antoinette uttered the infamous phrase “Qu’ils mangent de la brioche” herself… in fact no proof at all that this was attributed to her… and that was why I went with the title I did for my postcard.
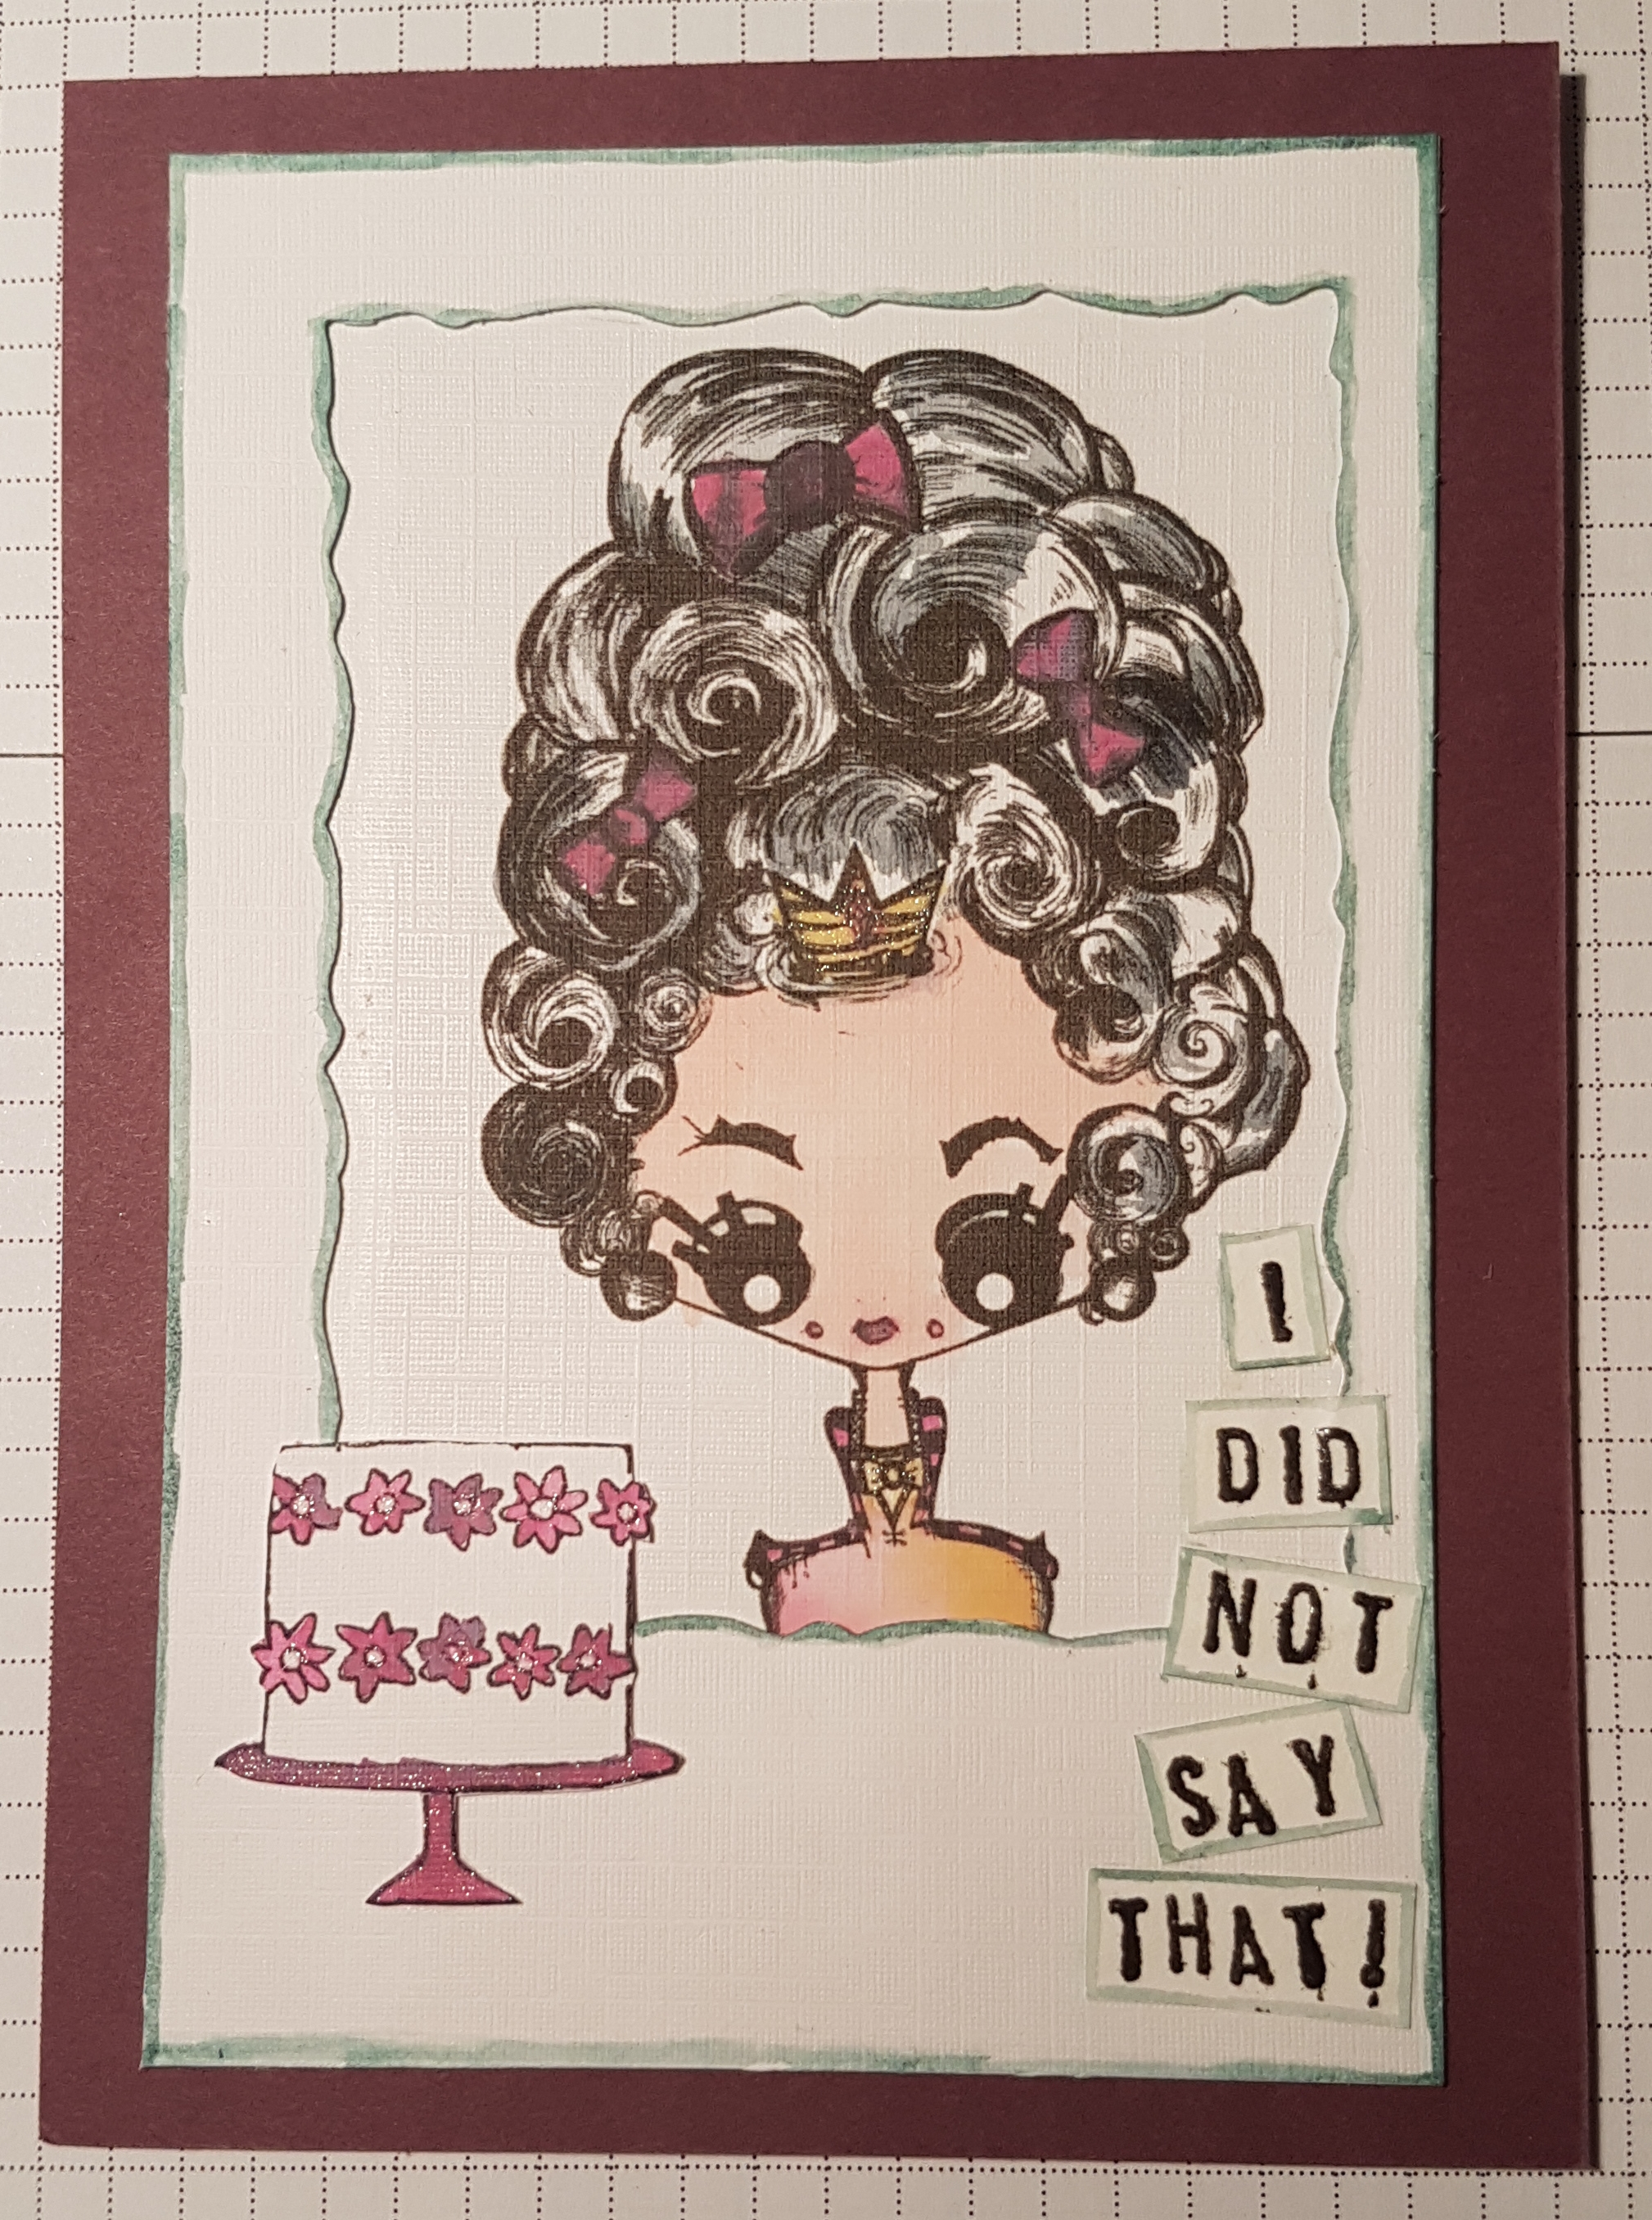
I printed her off on the linen cardstock and then coloured her using distress oxides and my waterbrush. I then diecut a frame from another piece of the cardstock and sandwiched them together with glue. This was she looks like she it looking out of a frame. I added a little ink to the edges with a waterbrush to add some soft definition.
Next I added a cake that I stamped and cut out from the Happy Moments stamp set. I did cut the candles off though and then added colour using the distress oxides and a waterbrush again. Next I added the hand stamped sentiment and edged that with the same colour ink as the frame.
I then added the topper to a piece of Berry Burst cardstock that went well with the Seedless preserve distress oxide ink I had been using.
Finally a little wink of Stella for Marie Antoinette’s crown and the cake flowers and stand to add that little bit of sparkle!
Love it! And hopefully so will Sally-Ann, the recipient of the postcard.
Happy crafting!
Catherine
Hi
Tonight friends will be gathering at mine for a crafting session where the theme I chose was watercolour! Now given I am not an art teacher nor do I know how to watercolour in the way you might be thinking…. I instead chose to add colour in a watery way… or use stamps designed to give a water colour appearance.
So here is what I have got prepped…
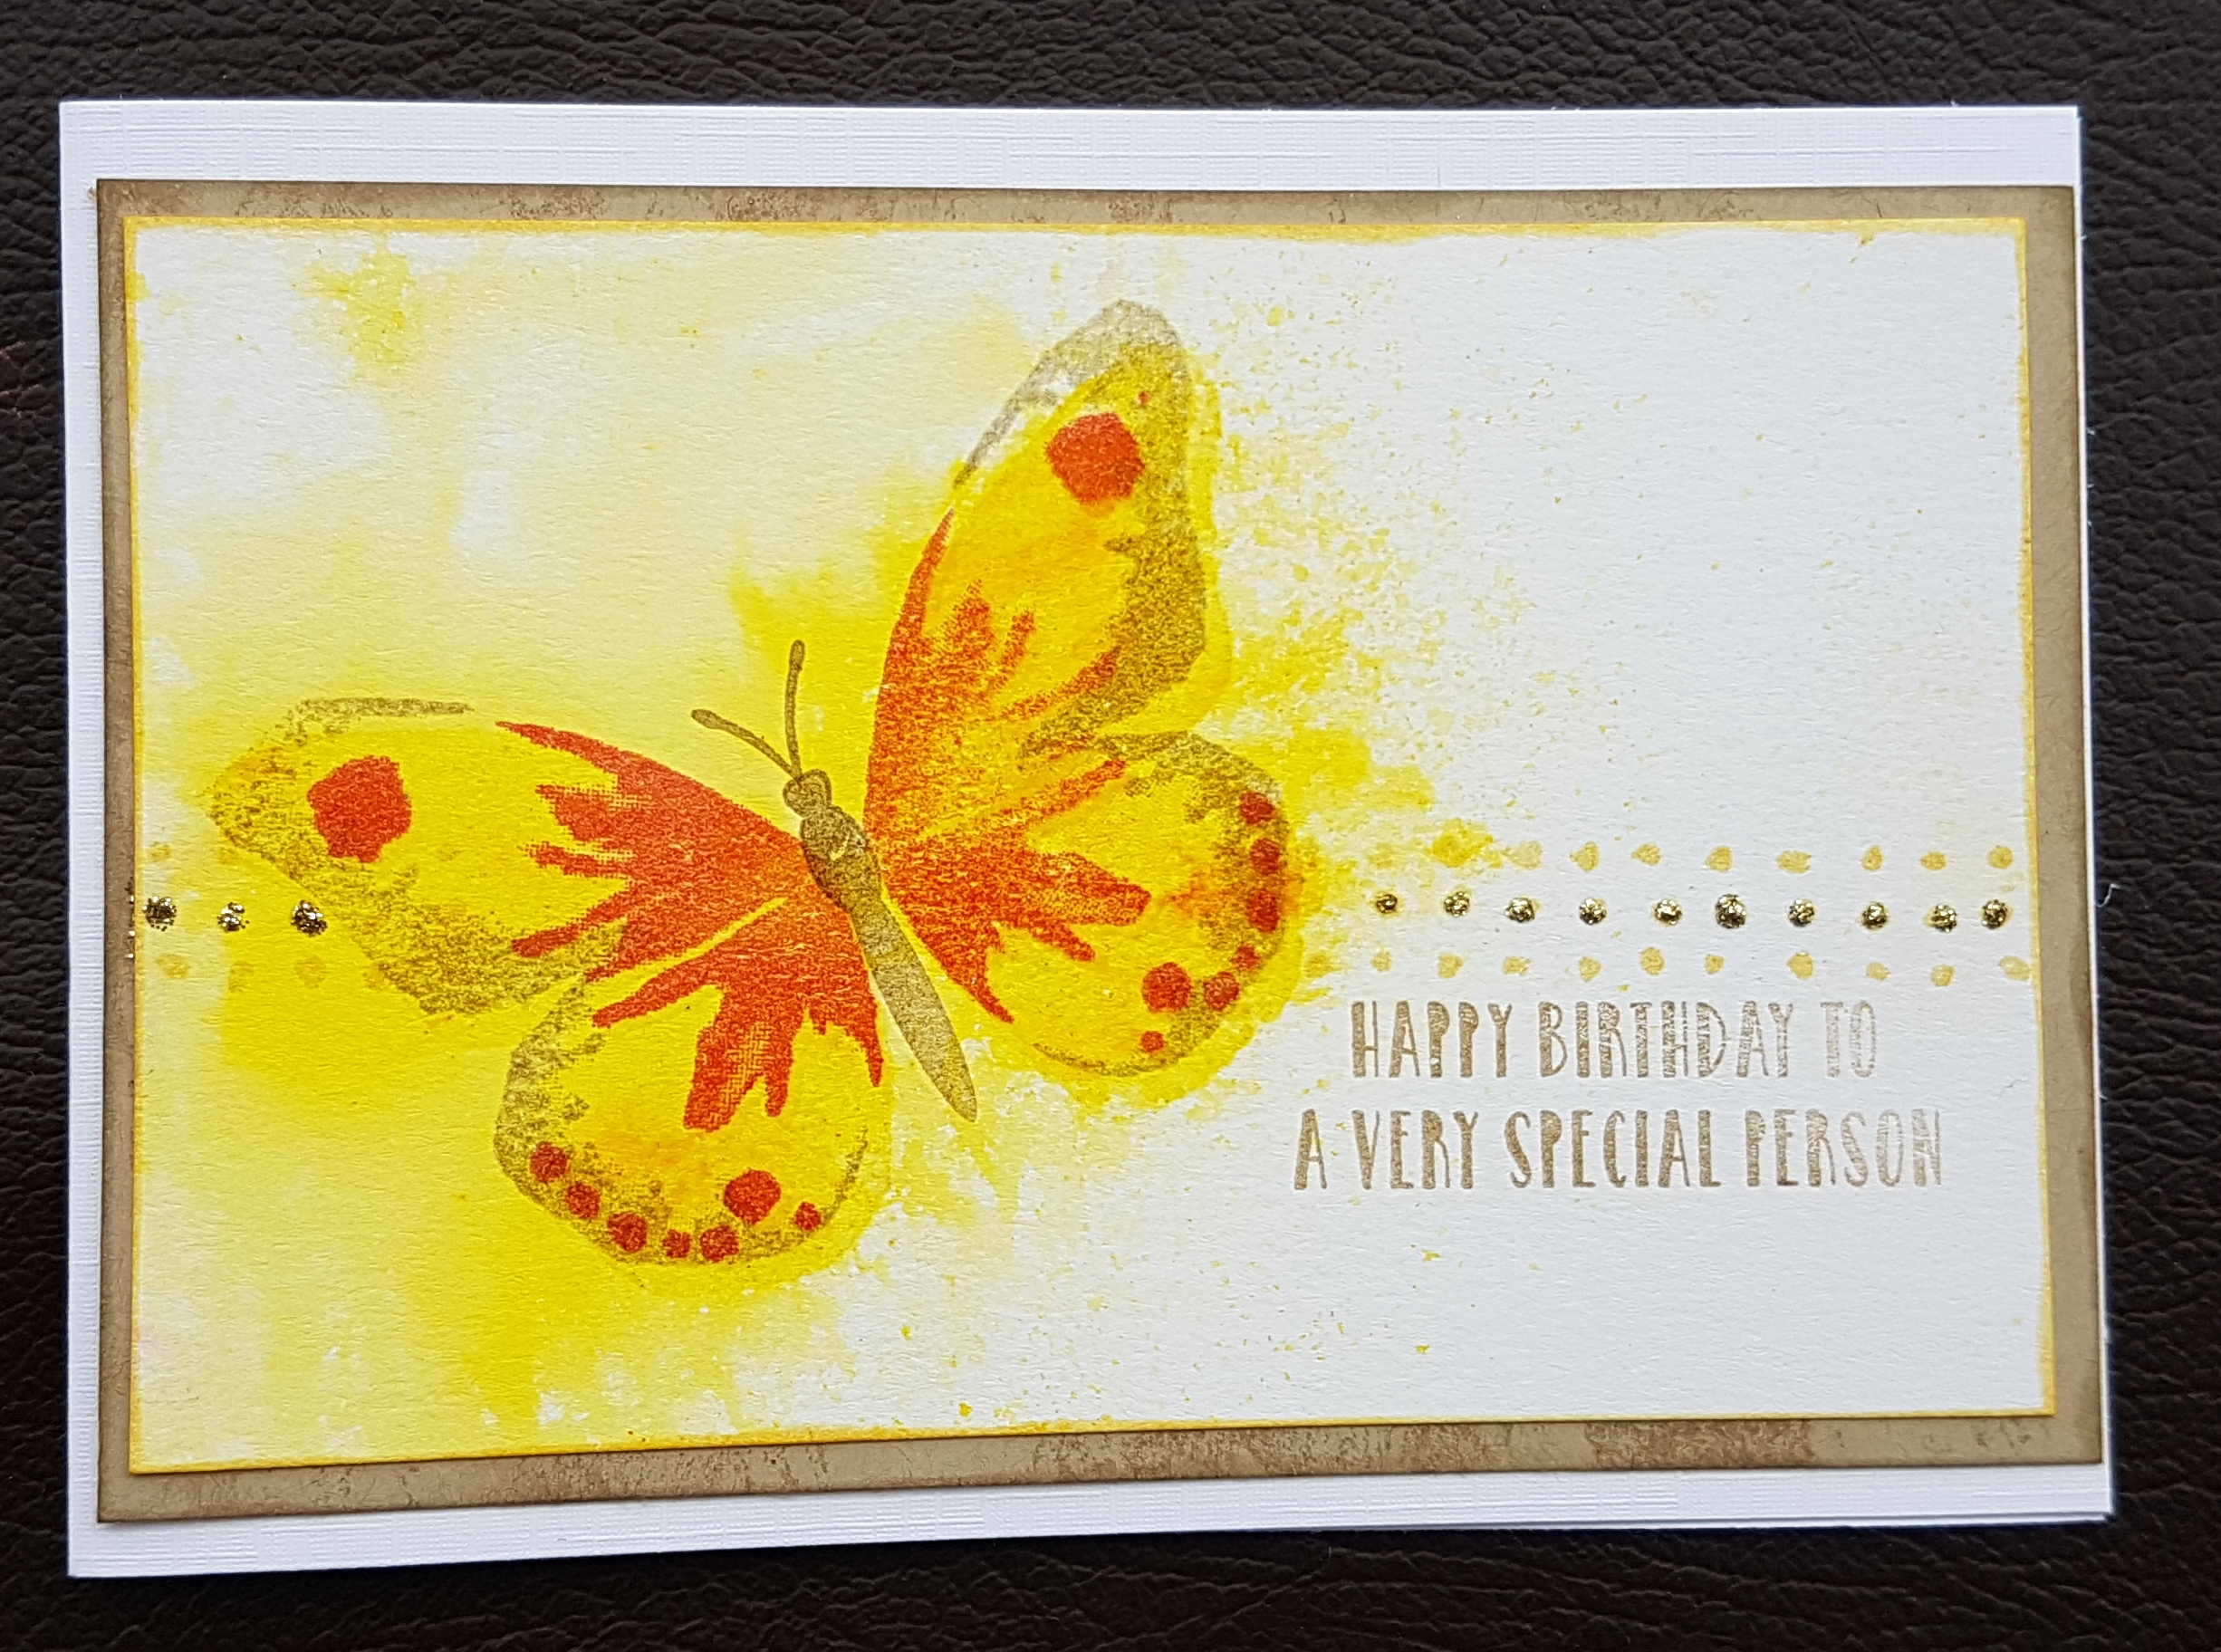
Watercolour wings with brushos and some embossing. 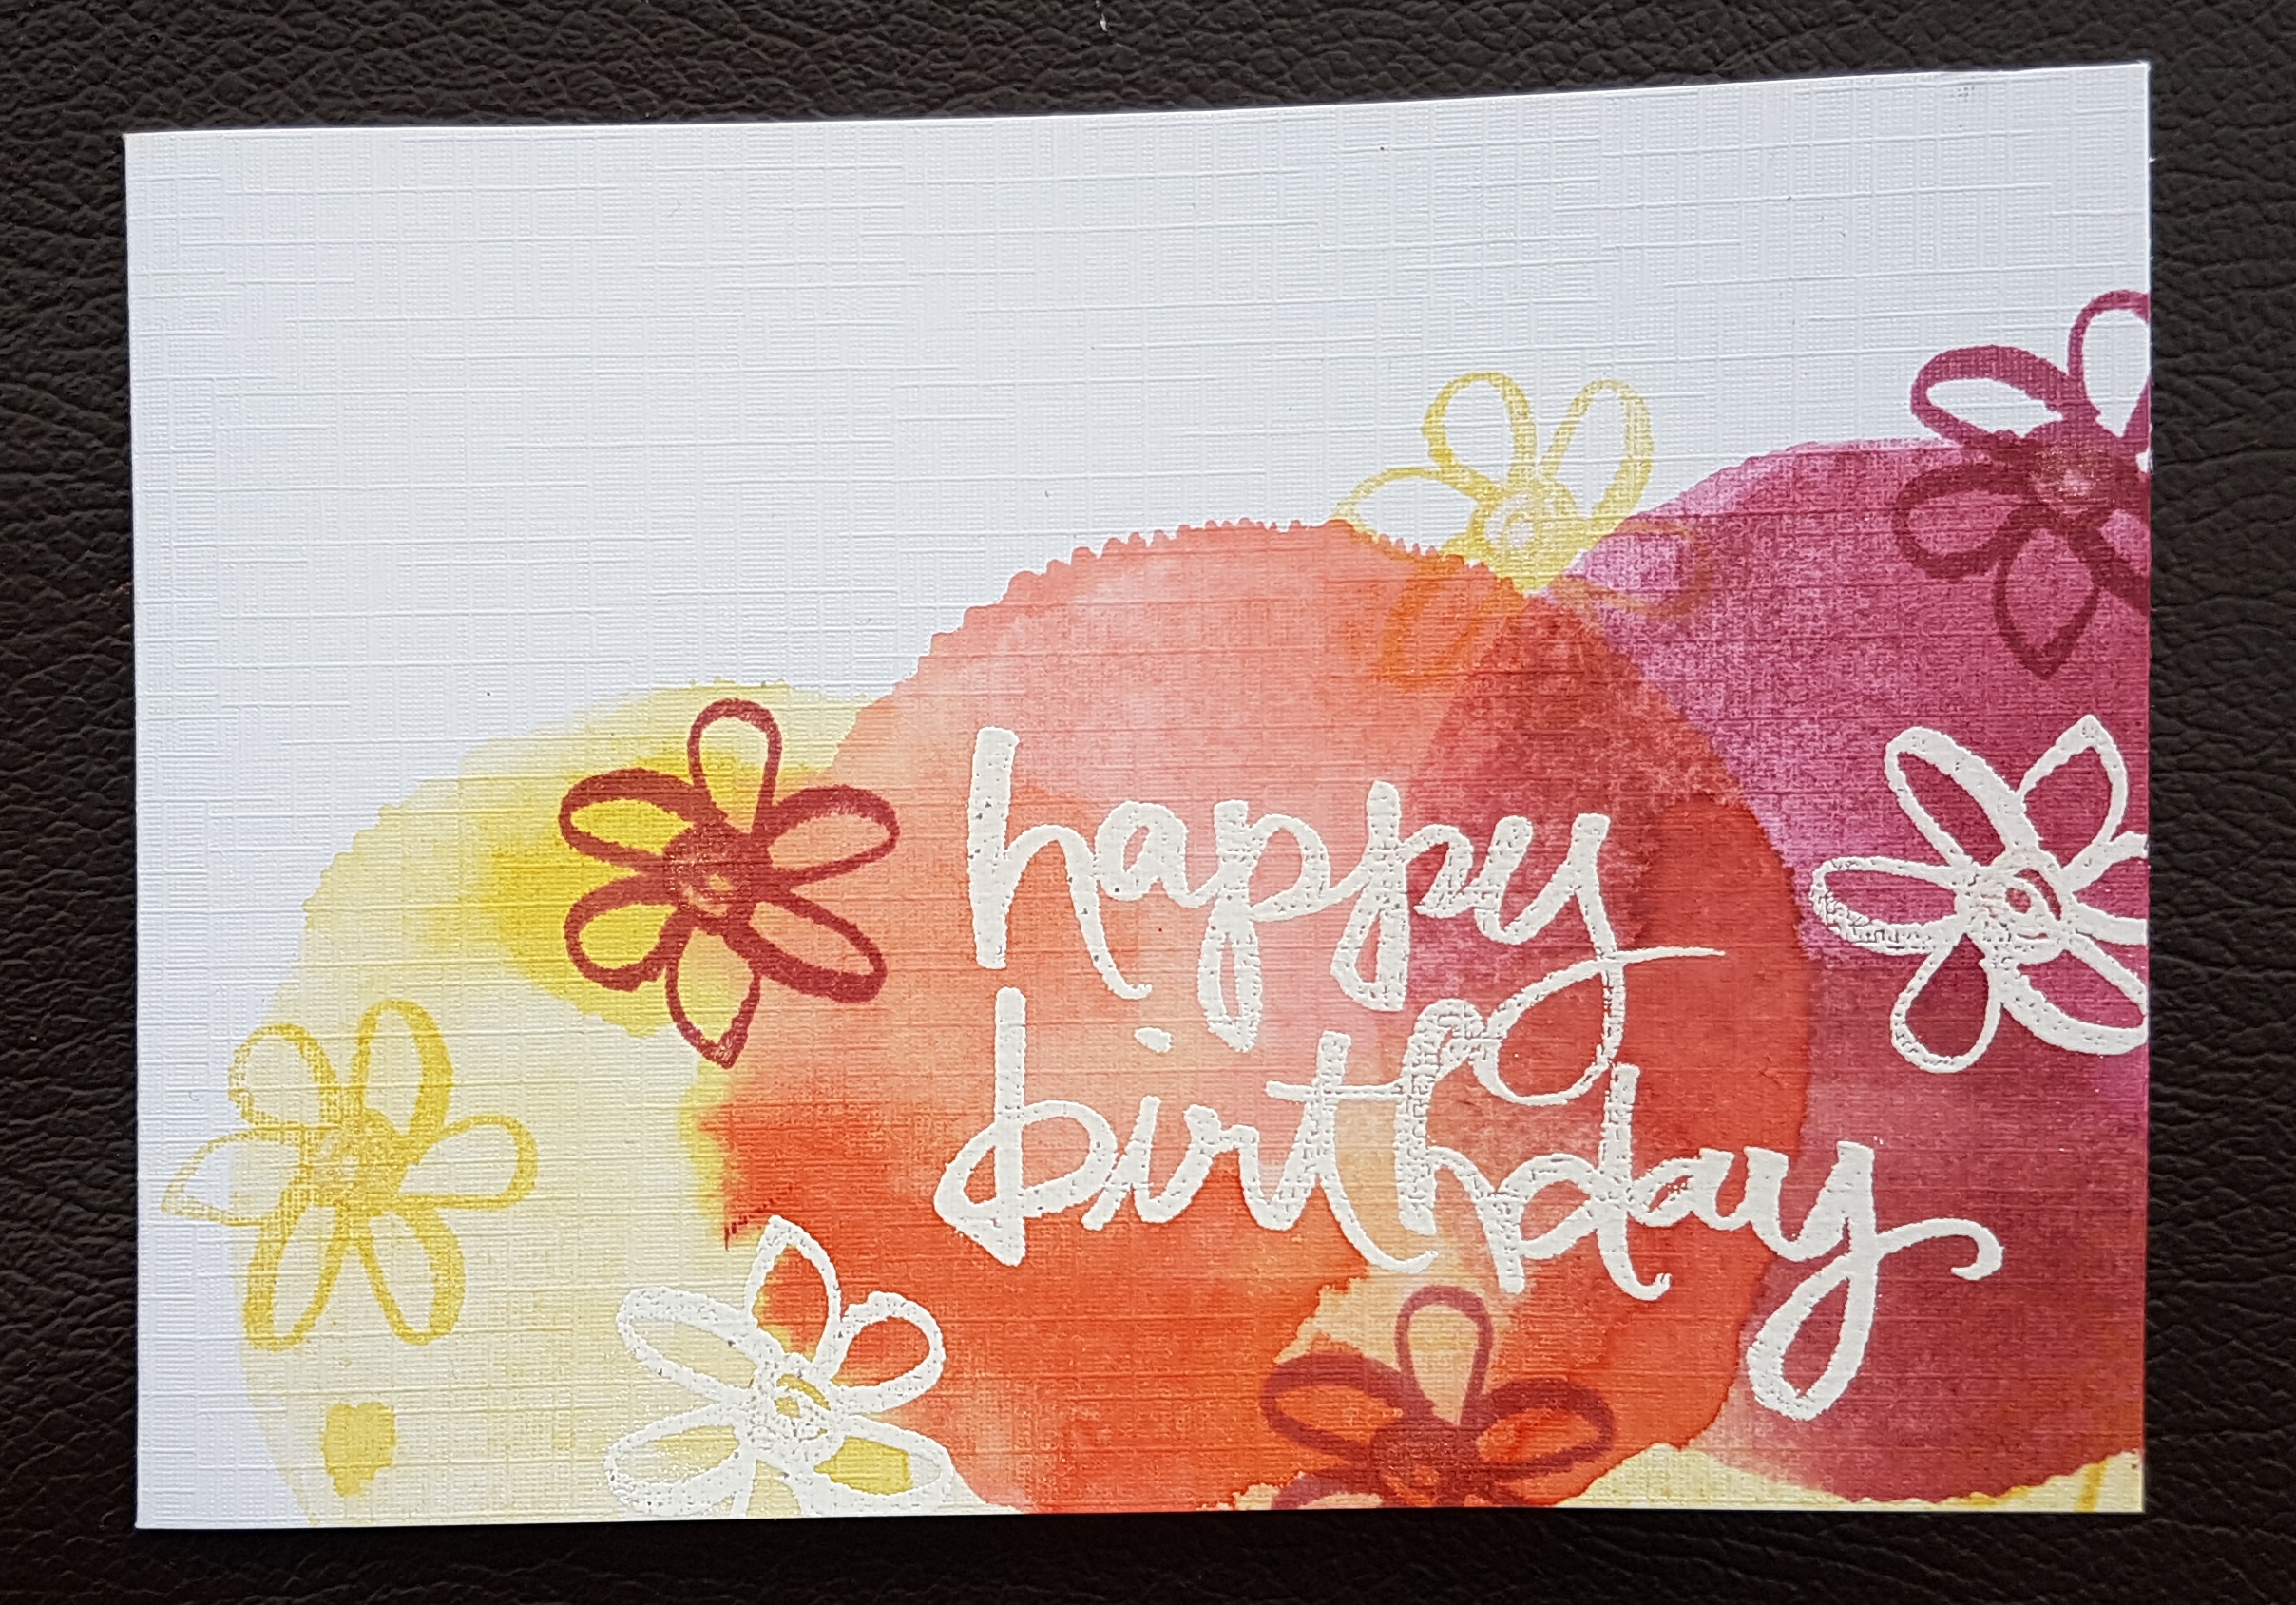
Watercolour words with some inky circles using a gelli plate.
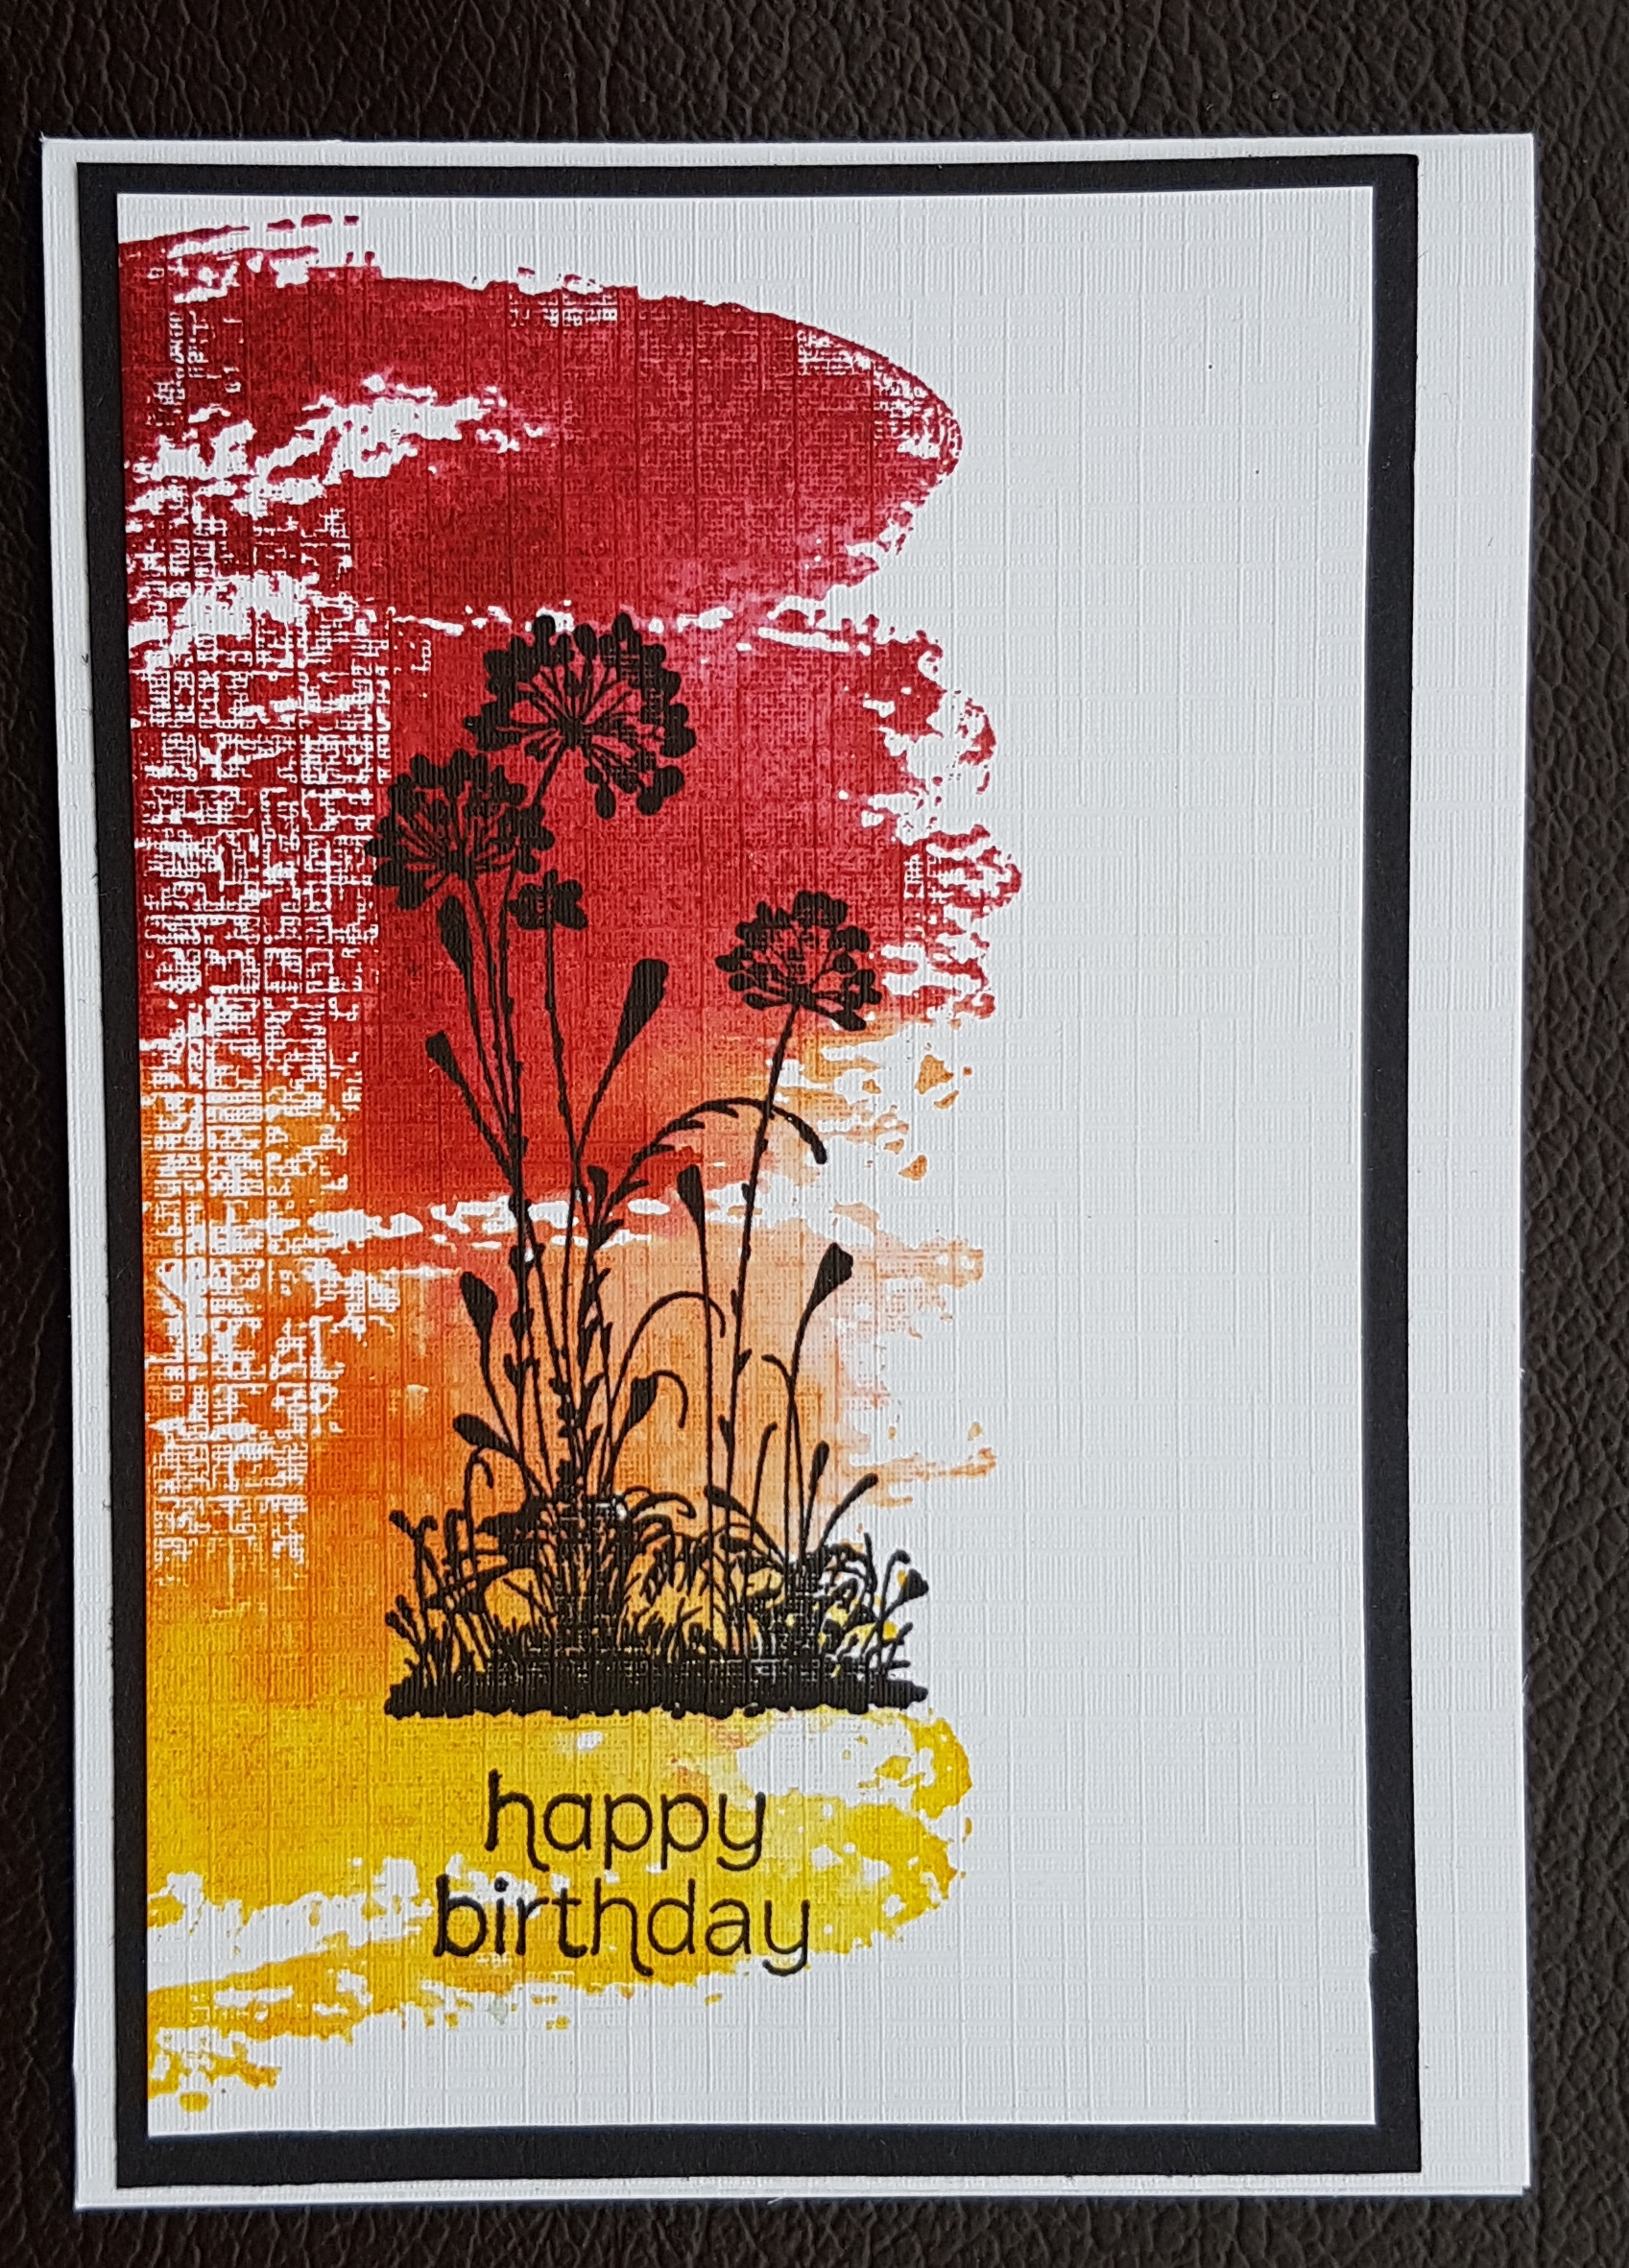
Watercolour wash background stamp with a silhouette.
And finally…
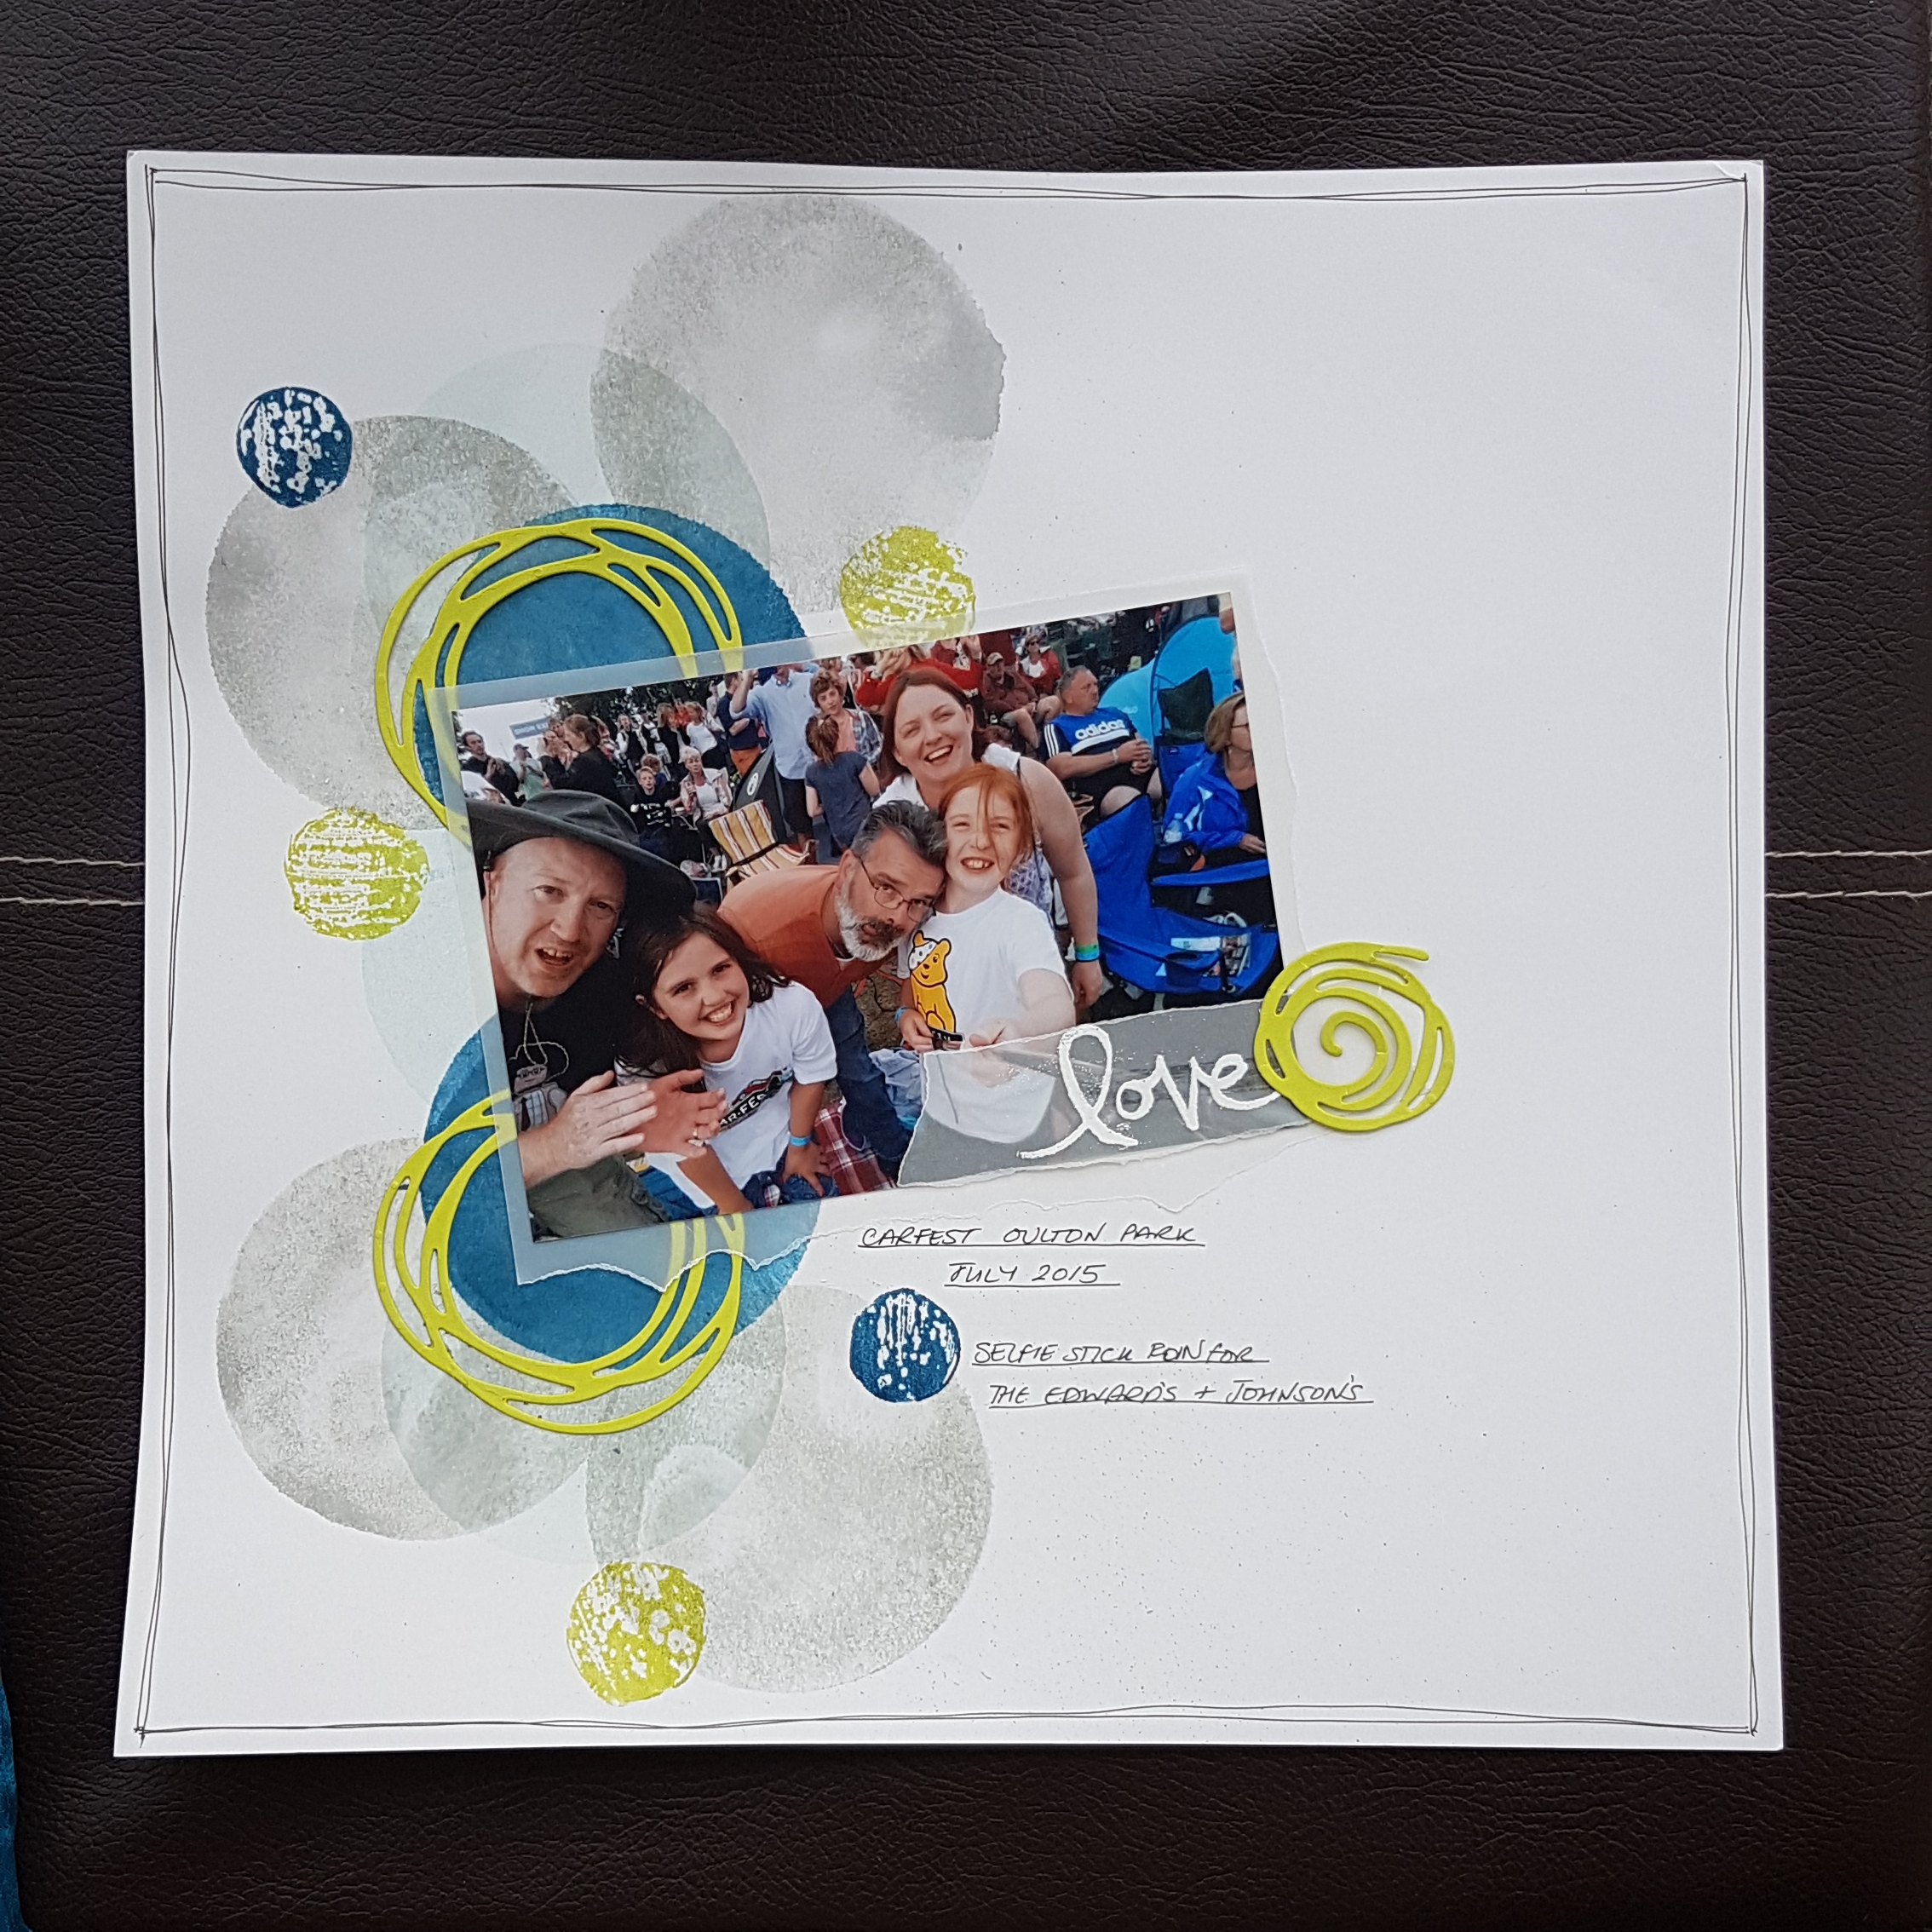
A scrapbook page just for a change. Using the gelli plate to add the inky large circles and the circles from Happy Celebrations set which I applied ink to using the Stampin Write markers to keep with the sketchy look.
Hopefully we will get through these projects in no time at all… or at least get most of them done! Regardless I am sure we will have fun!
Happy crafting!
Catherine
I made this tag using some leftover distress oxides from other projects and stamping using the Happy Celebrations set.
I then used timeless textures too and the Layering the Love for the main sentiment. I then added dragonflies from the awesomely artistic set.
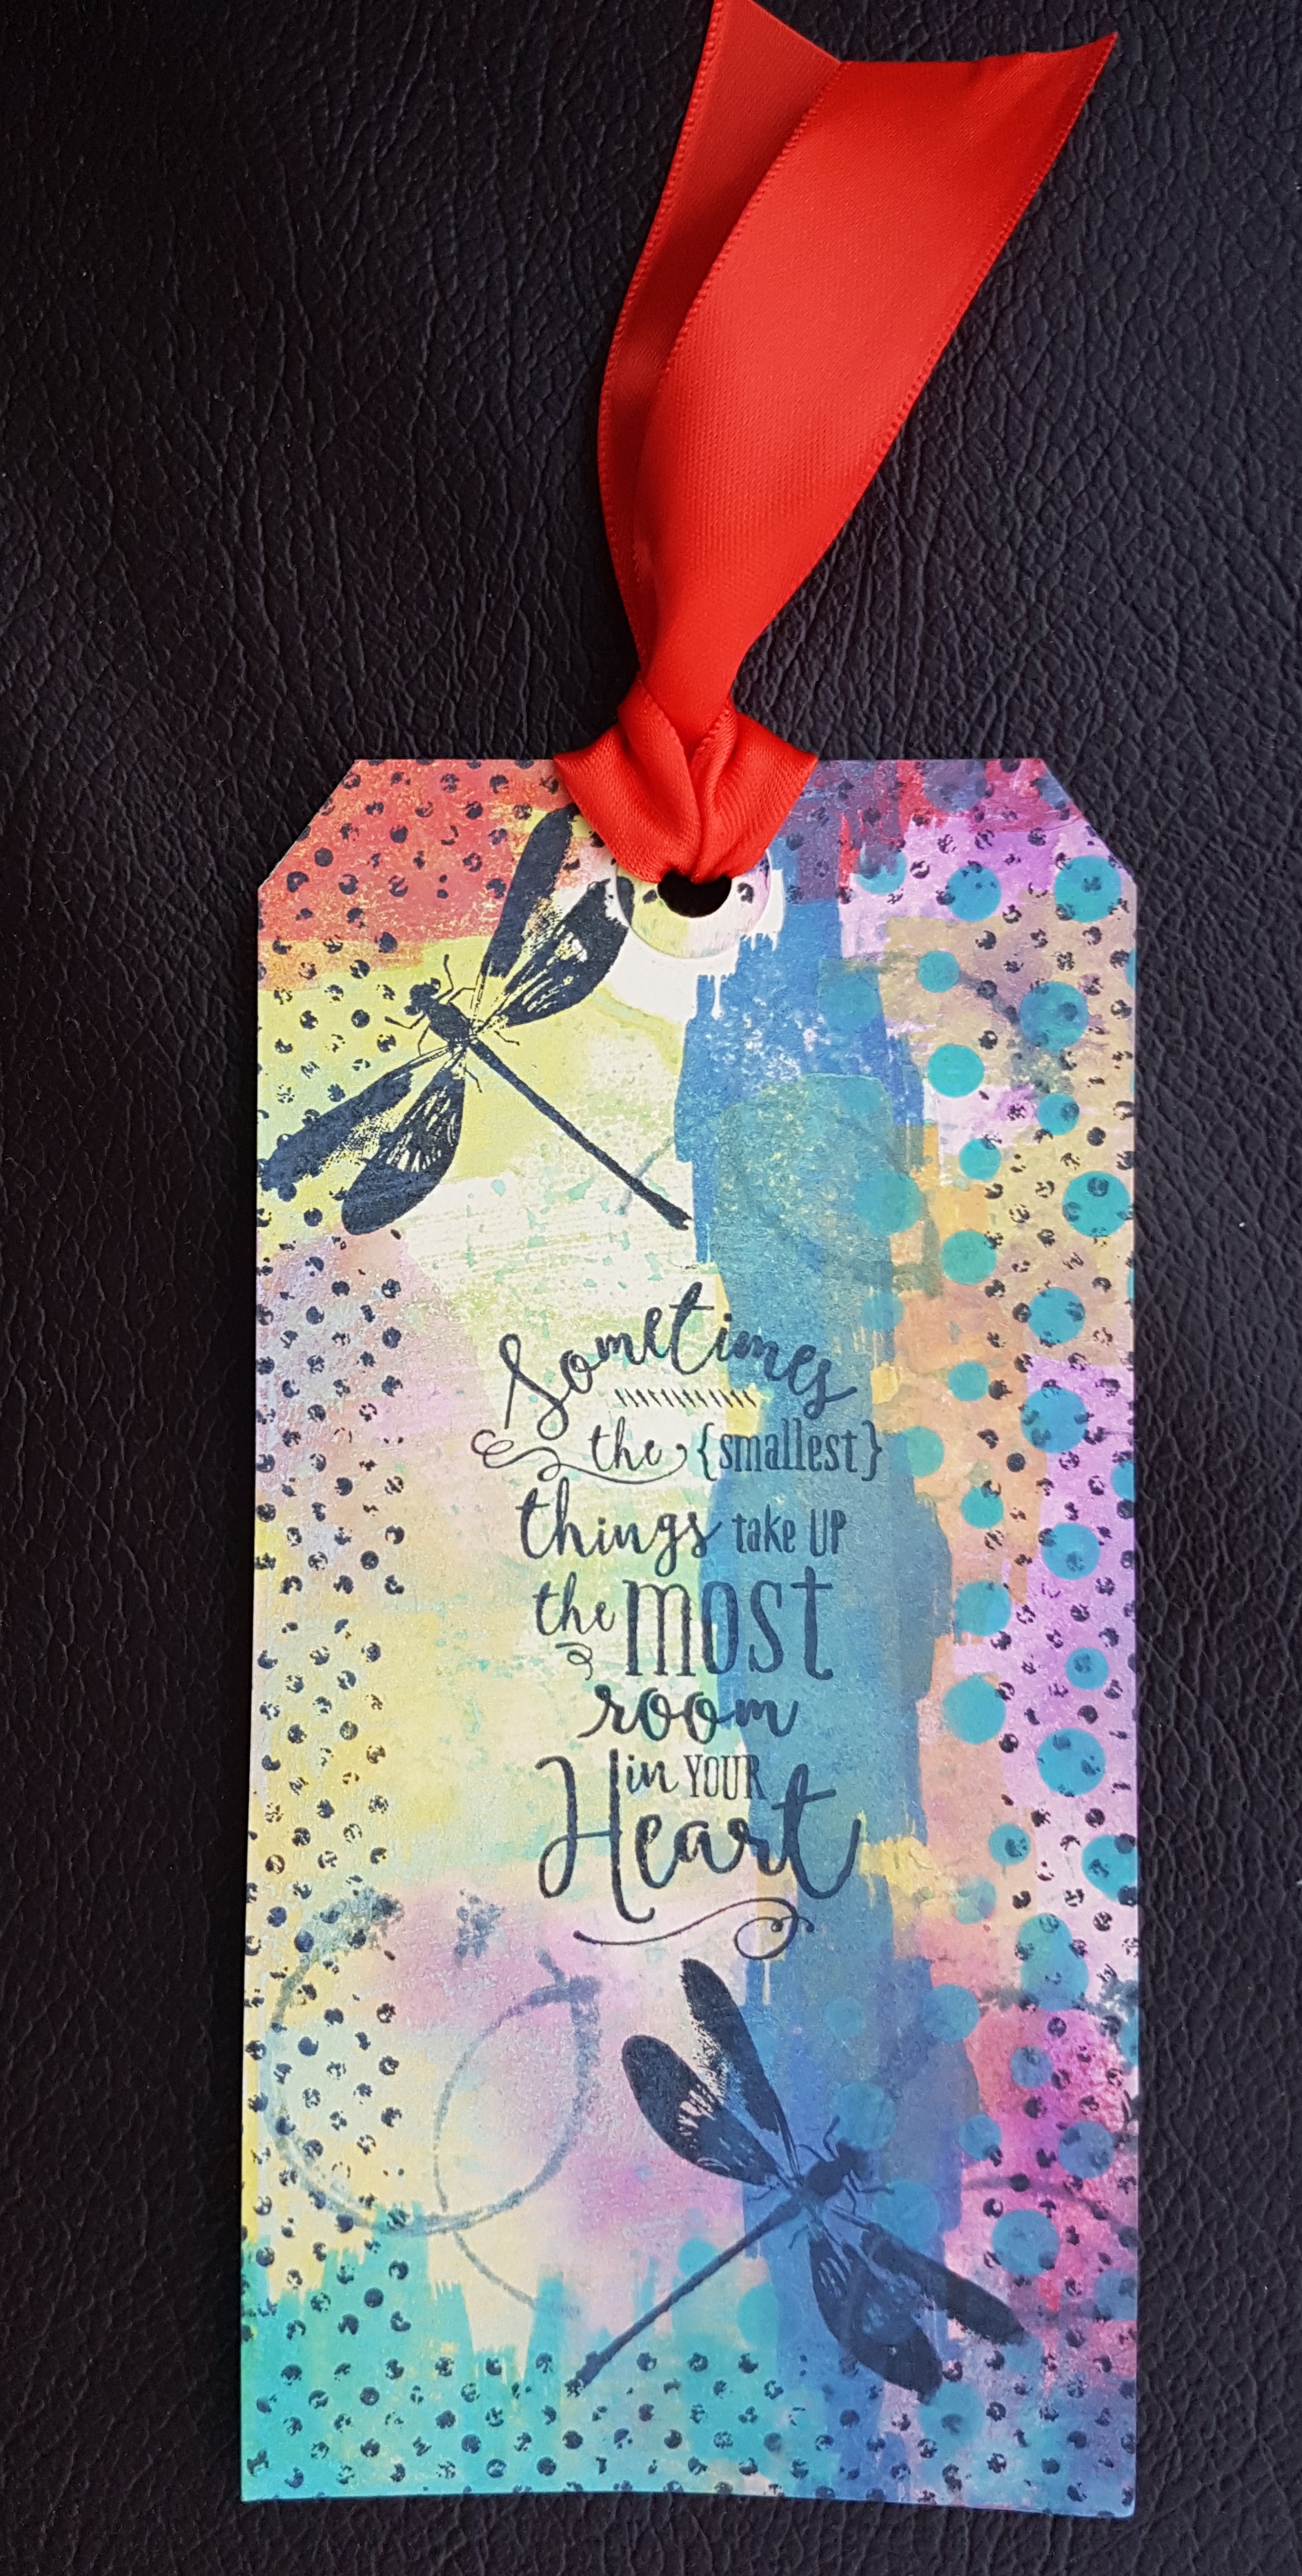
I am so in love with Distress Oxides and how they layer. So much fun!
Happy crafting!
Catherine
Hello … how is it already the 1st of October? Wow! This year is zooming past! And apologies no blog posts for the last couple of days… but I am back up and running (well stumbling along may be a more accurate description) again!
Well as it’s the first of the month I have a Design Team contribution for Craftyhazelnuts patterned paper challenge.
I used Memories and More card pack from the Colour Theory suite and made an anniversary card.
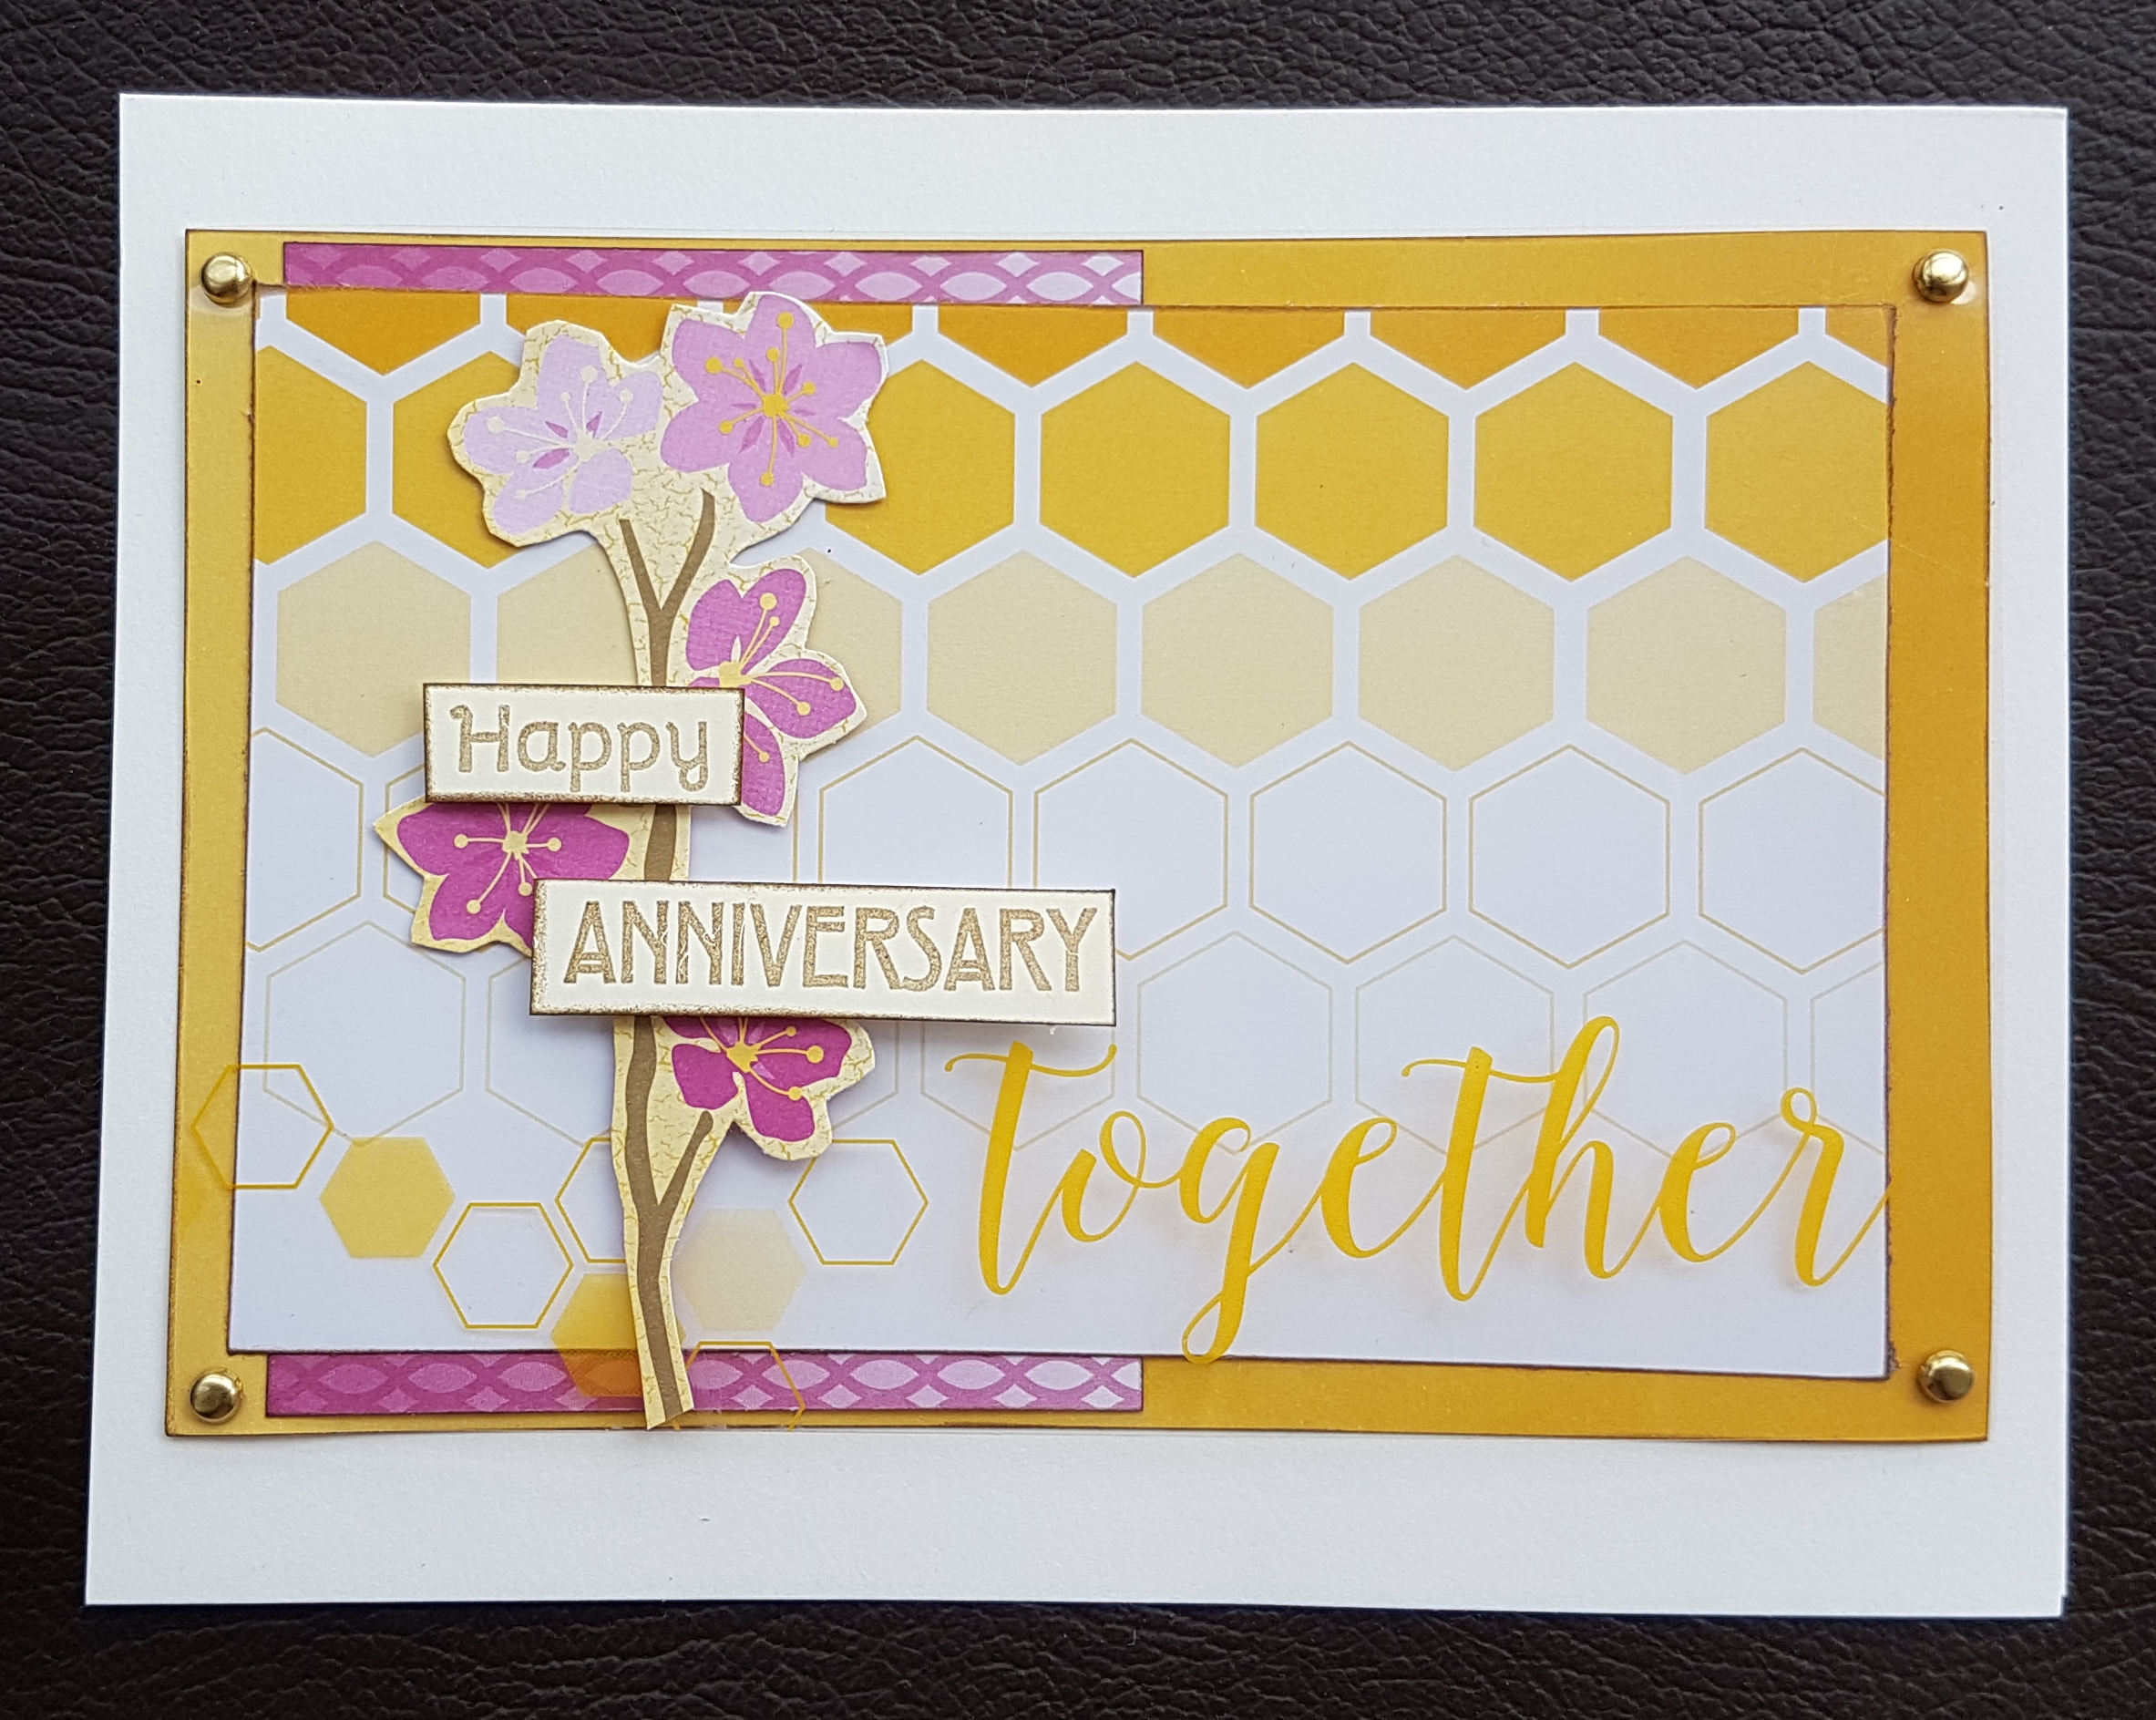 I love how this came out, especially with the acetate overlay. Nice to use these project life style cards that I know I am unlikely to use for the reason intended!
Rightio… with that card shared it is now time for me to go check out what my fellow team mates have been up to with their stash of patterned paper!
Happy crafting!
Catherine
Ok so the title of the post is a little uninspired… but given how I still feel pretty grotty it is the best I can do!
I managed a while in the craft room though and made a card. I had no plan and just set my camera to record and this is what I came up with…
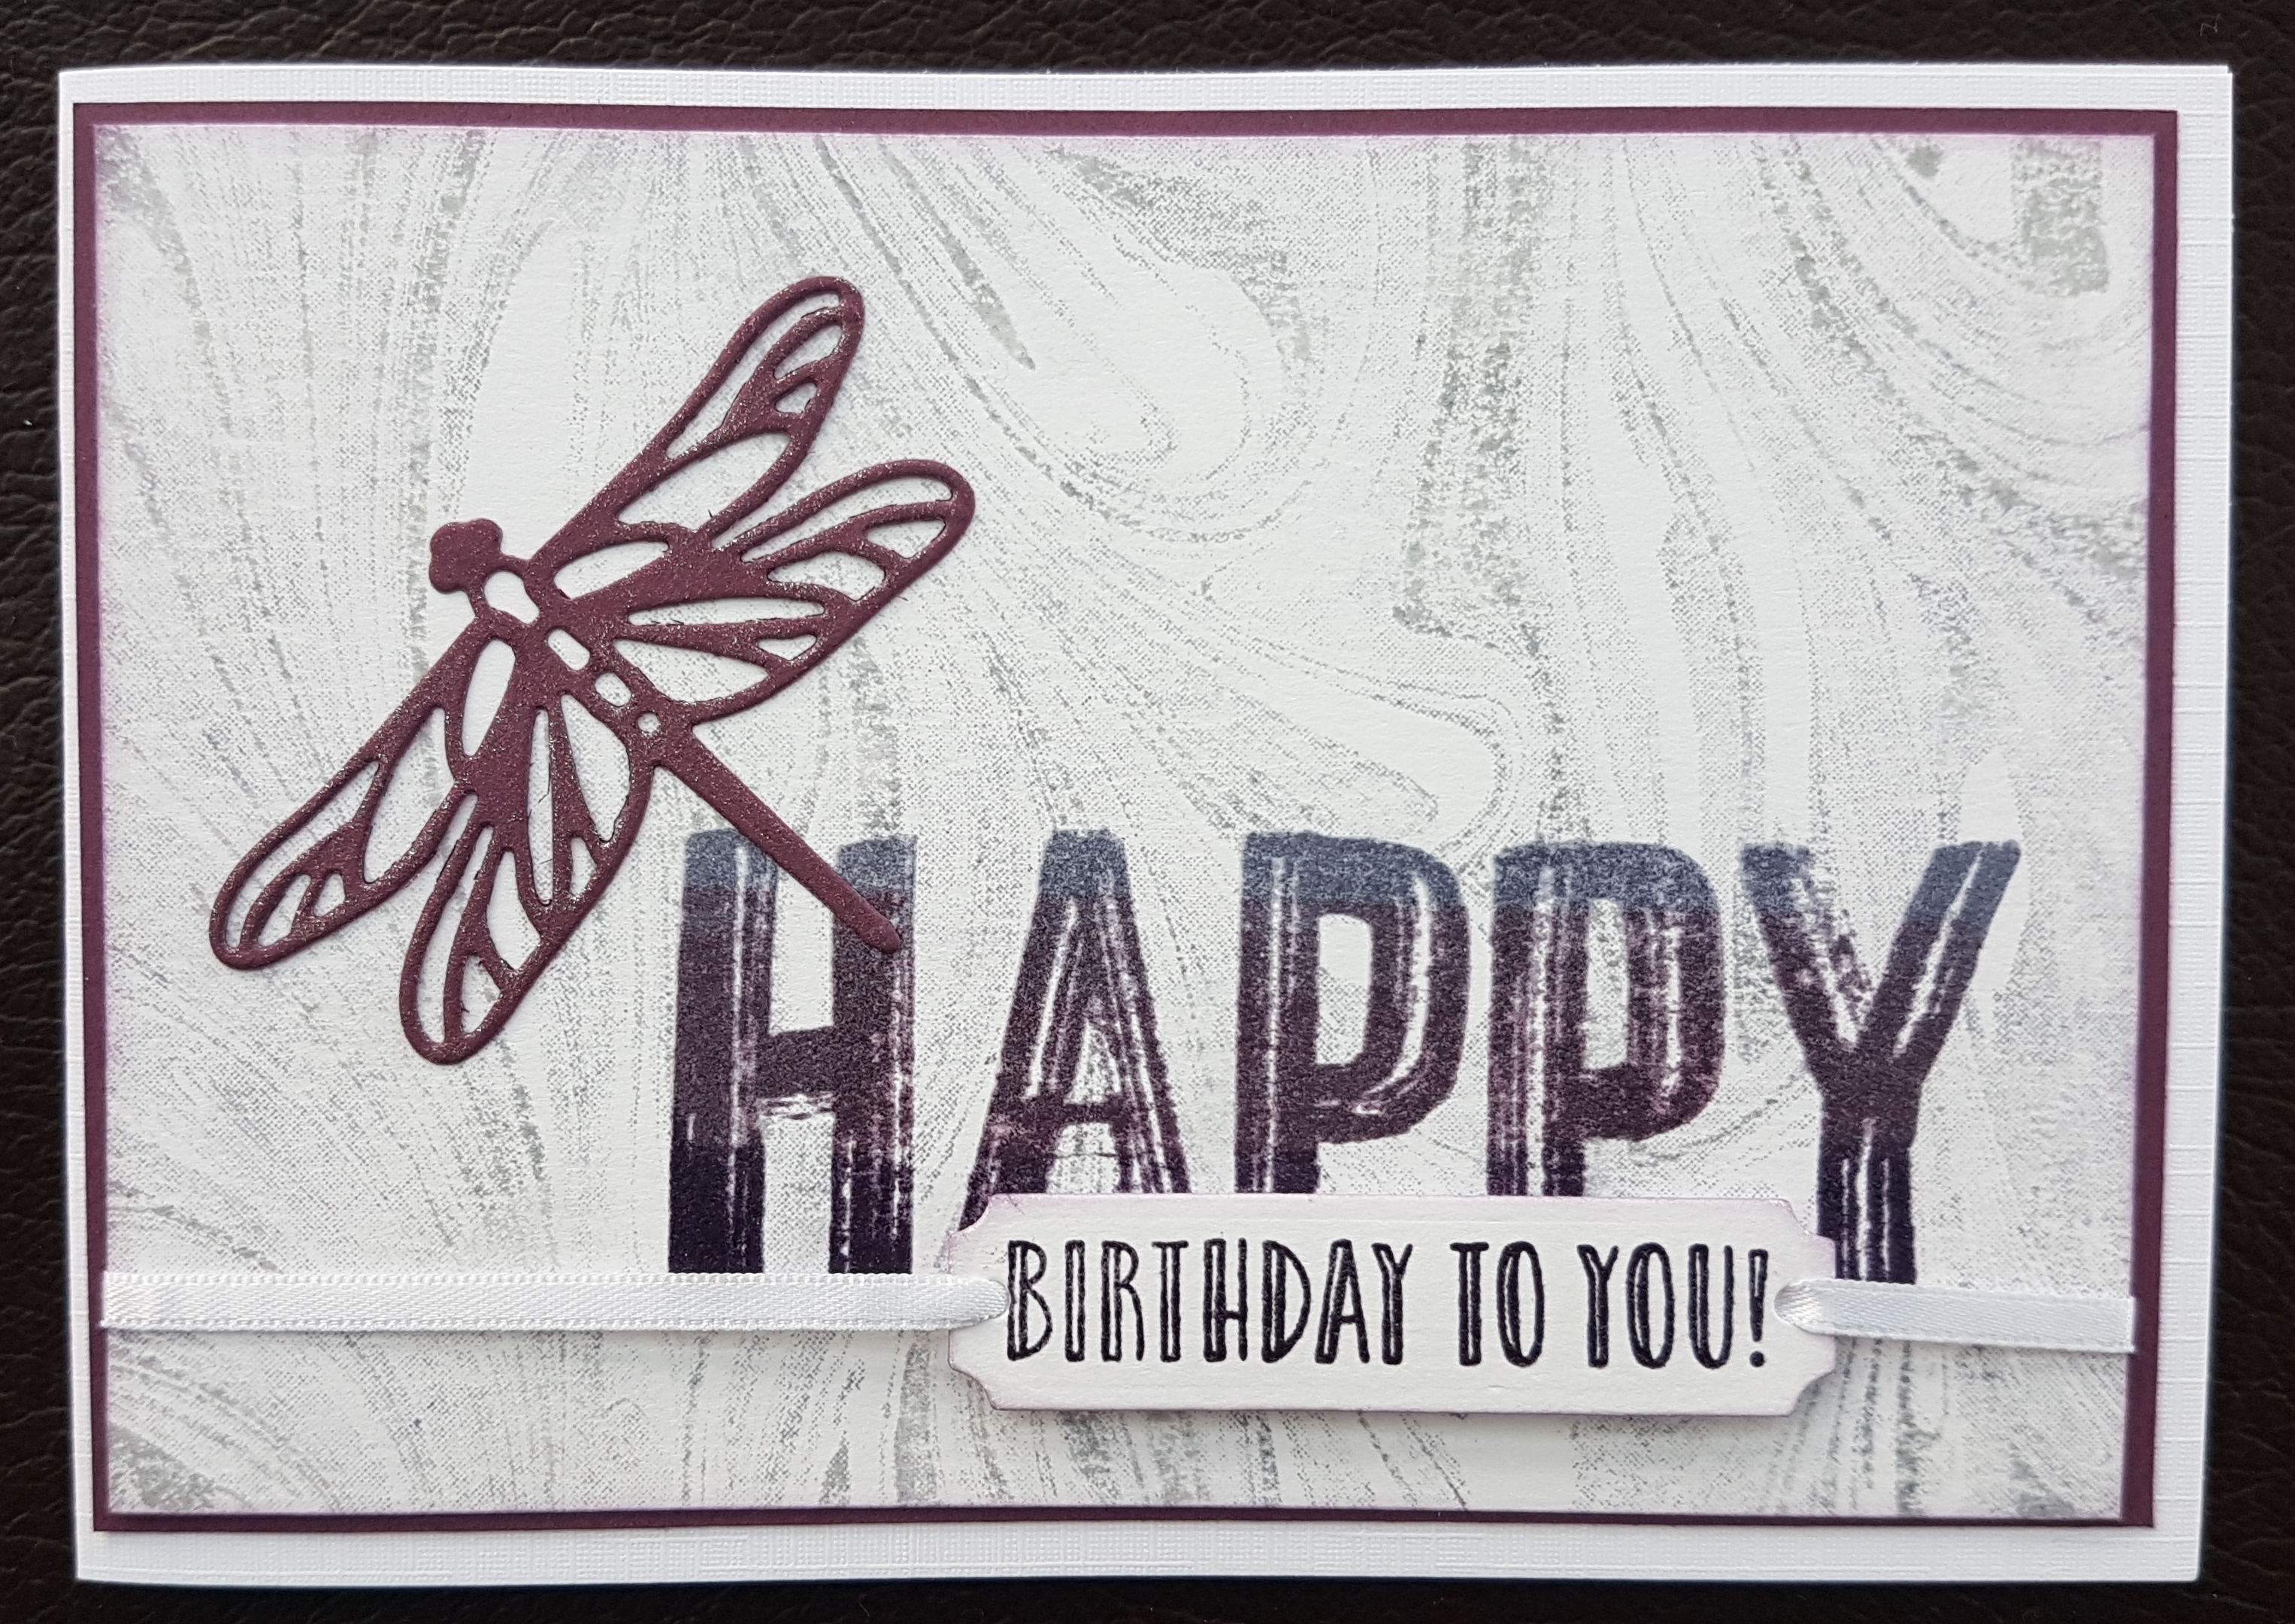
Loving the marbled background (so elegant) and the ombre Happy and then the shimmery die cut dragonfly. Such fun!
Enjoy watching my jabbering on video here!
Happy crafting!
Catherine
I made another two ATCs using a similar Mini gelli plate to add the ink to the ones I shared a few days ago…
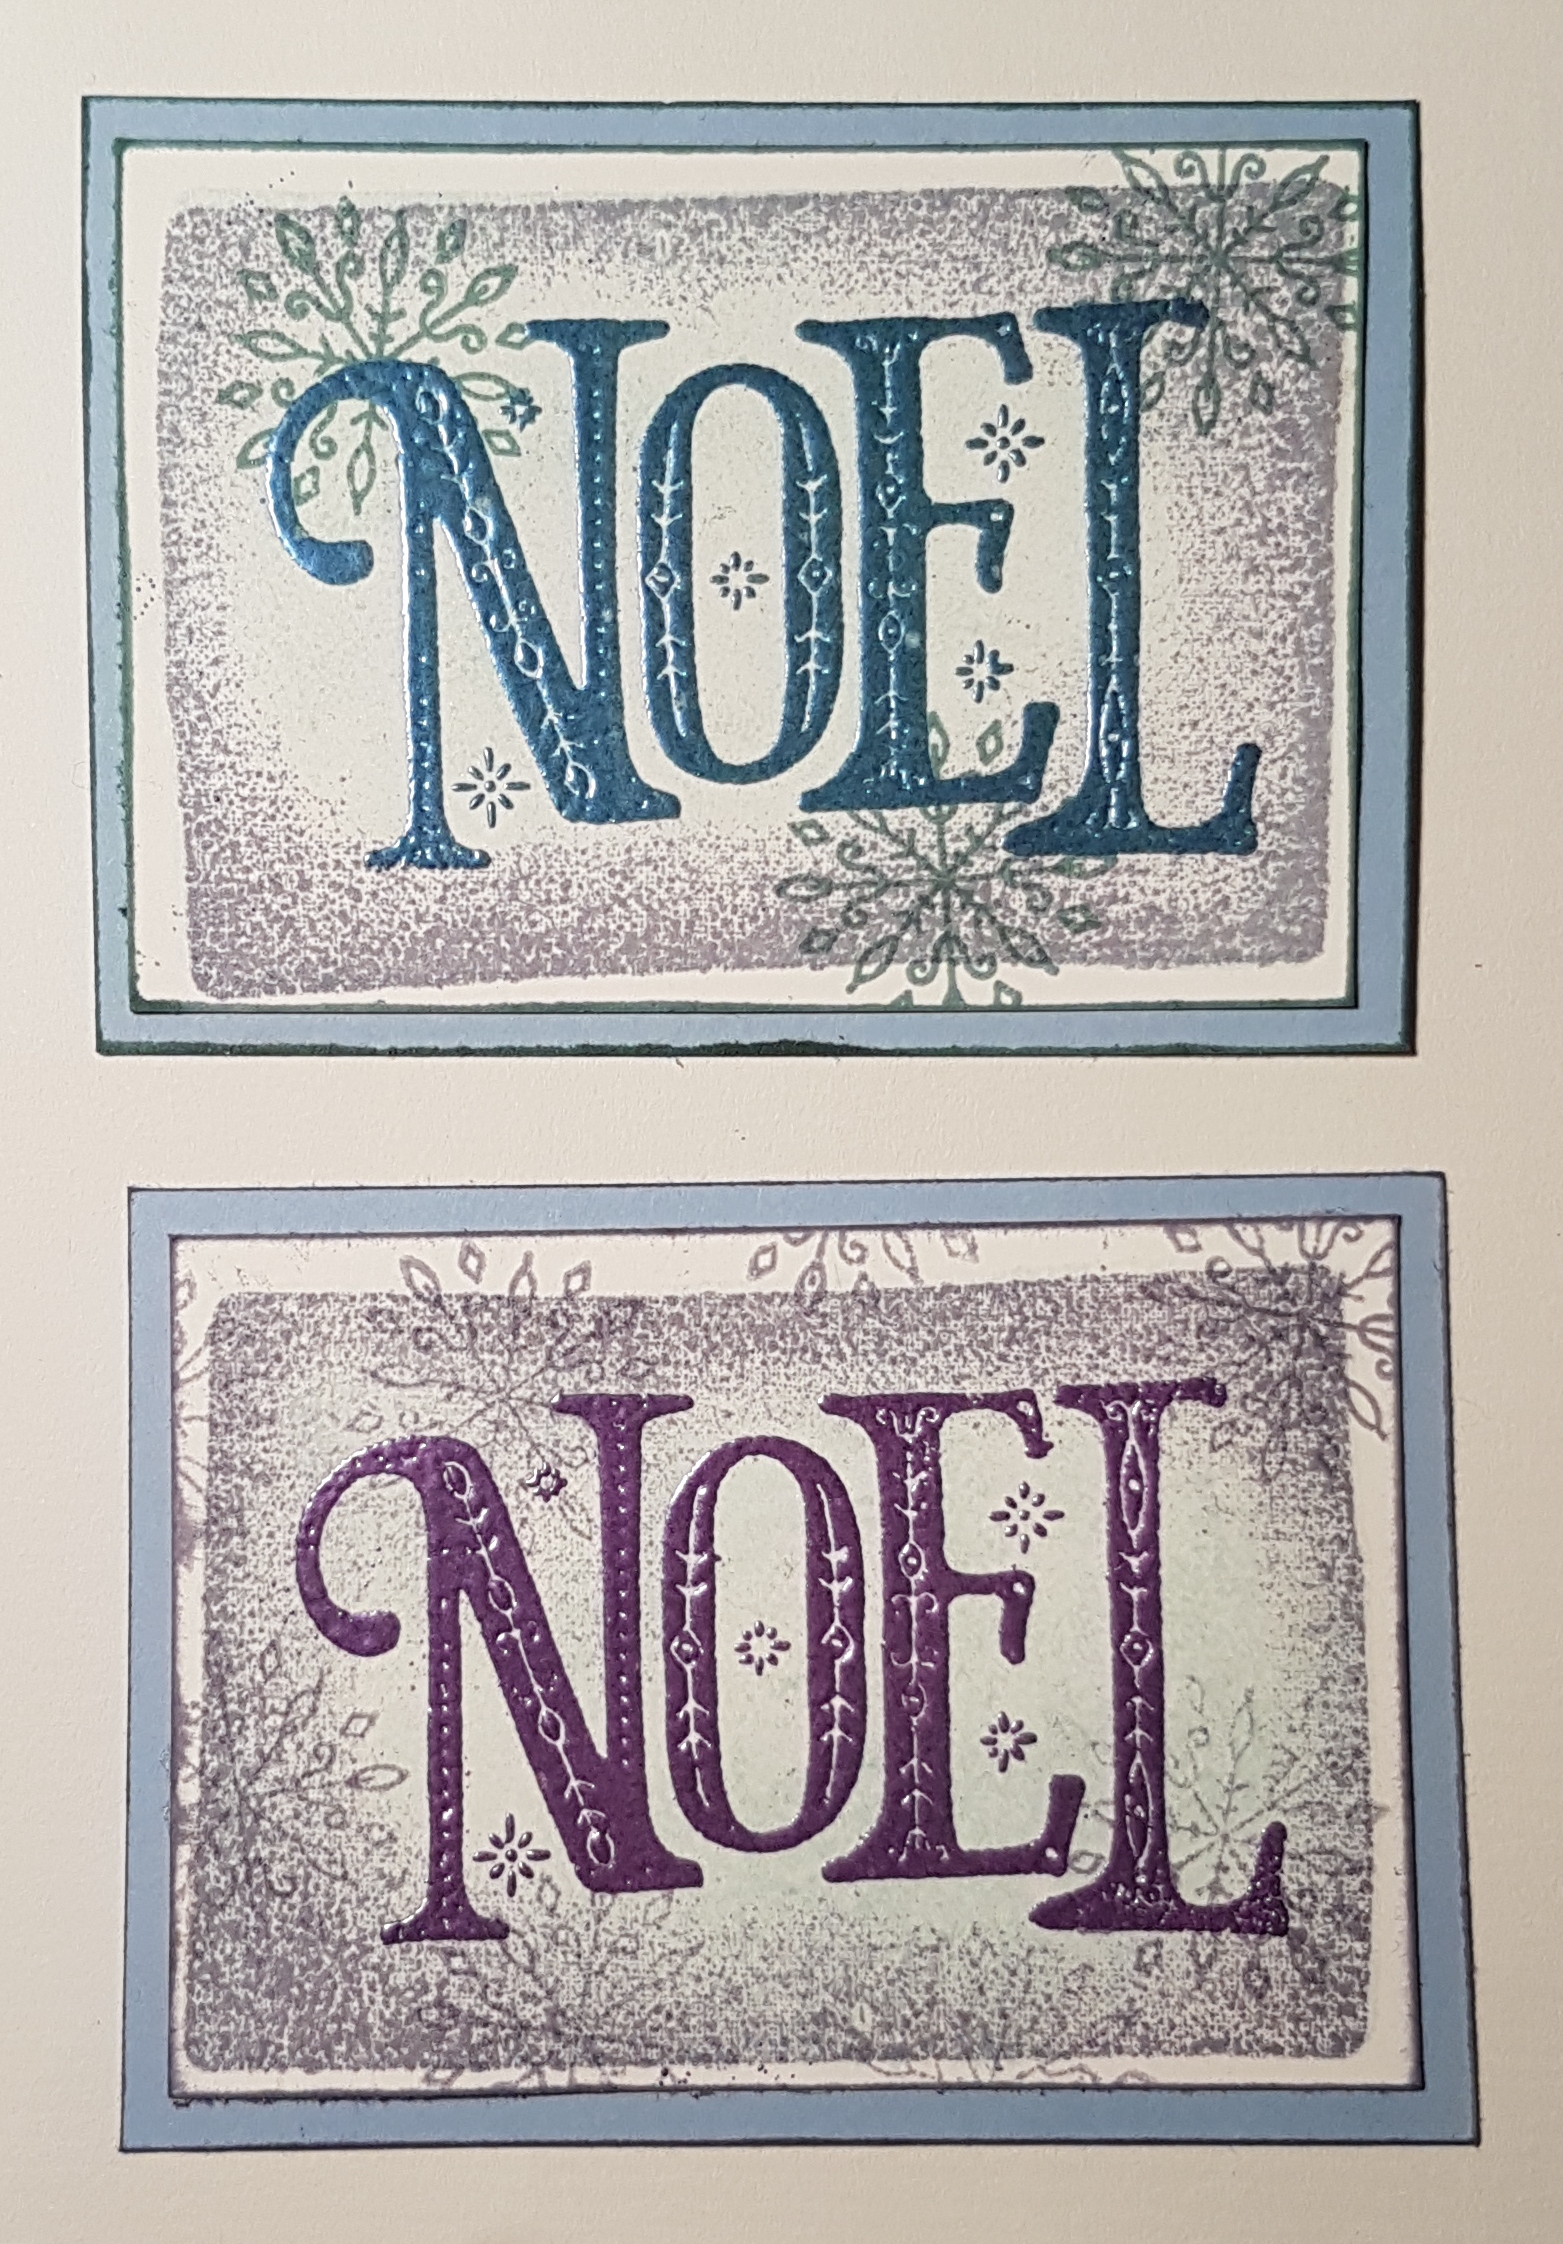
I kept these quite simple with the focal image of the sentiment and some snowflake stamping. I chose a different colour of embossing powder for each and then different colour for the snowflakes and the edging.
I also added very little water to the gelli plate before stamping it. This gives a different texture from the other ones I shared where they were watercoloured. I did however use two different inks for the gelliplate using the same technique of adding the darker colour only to the edge so provide some depth to the colour.
Happy crafting!
Catherine
Hi.
Today I have a YouTube video to share with you of the process behind these three ATCs…

I used Memories and More Color Theory card pack and some stamps to create these different ATCs.
Happy crafting!
Catherine
Another christmas ATC to share today…. although this is a one off rather than a series.
I decided to create a simple one using this fab image of the elf with a present. I started with the blended background using the distress oxides and then sprinkled some water and removed some colour.
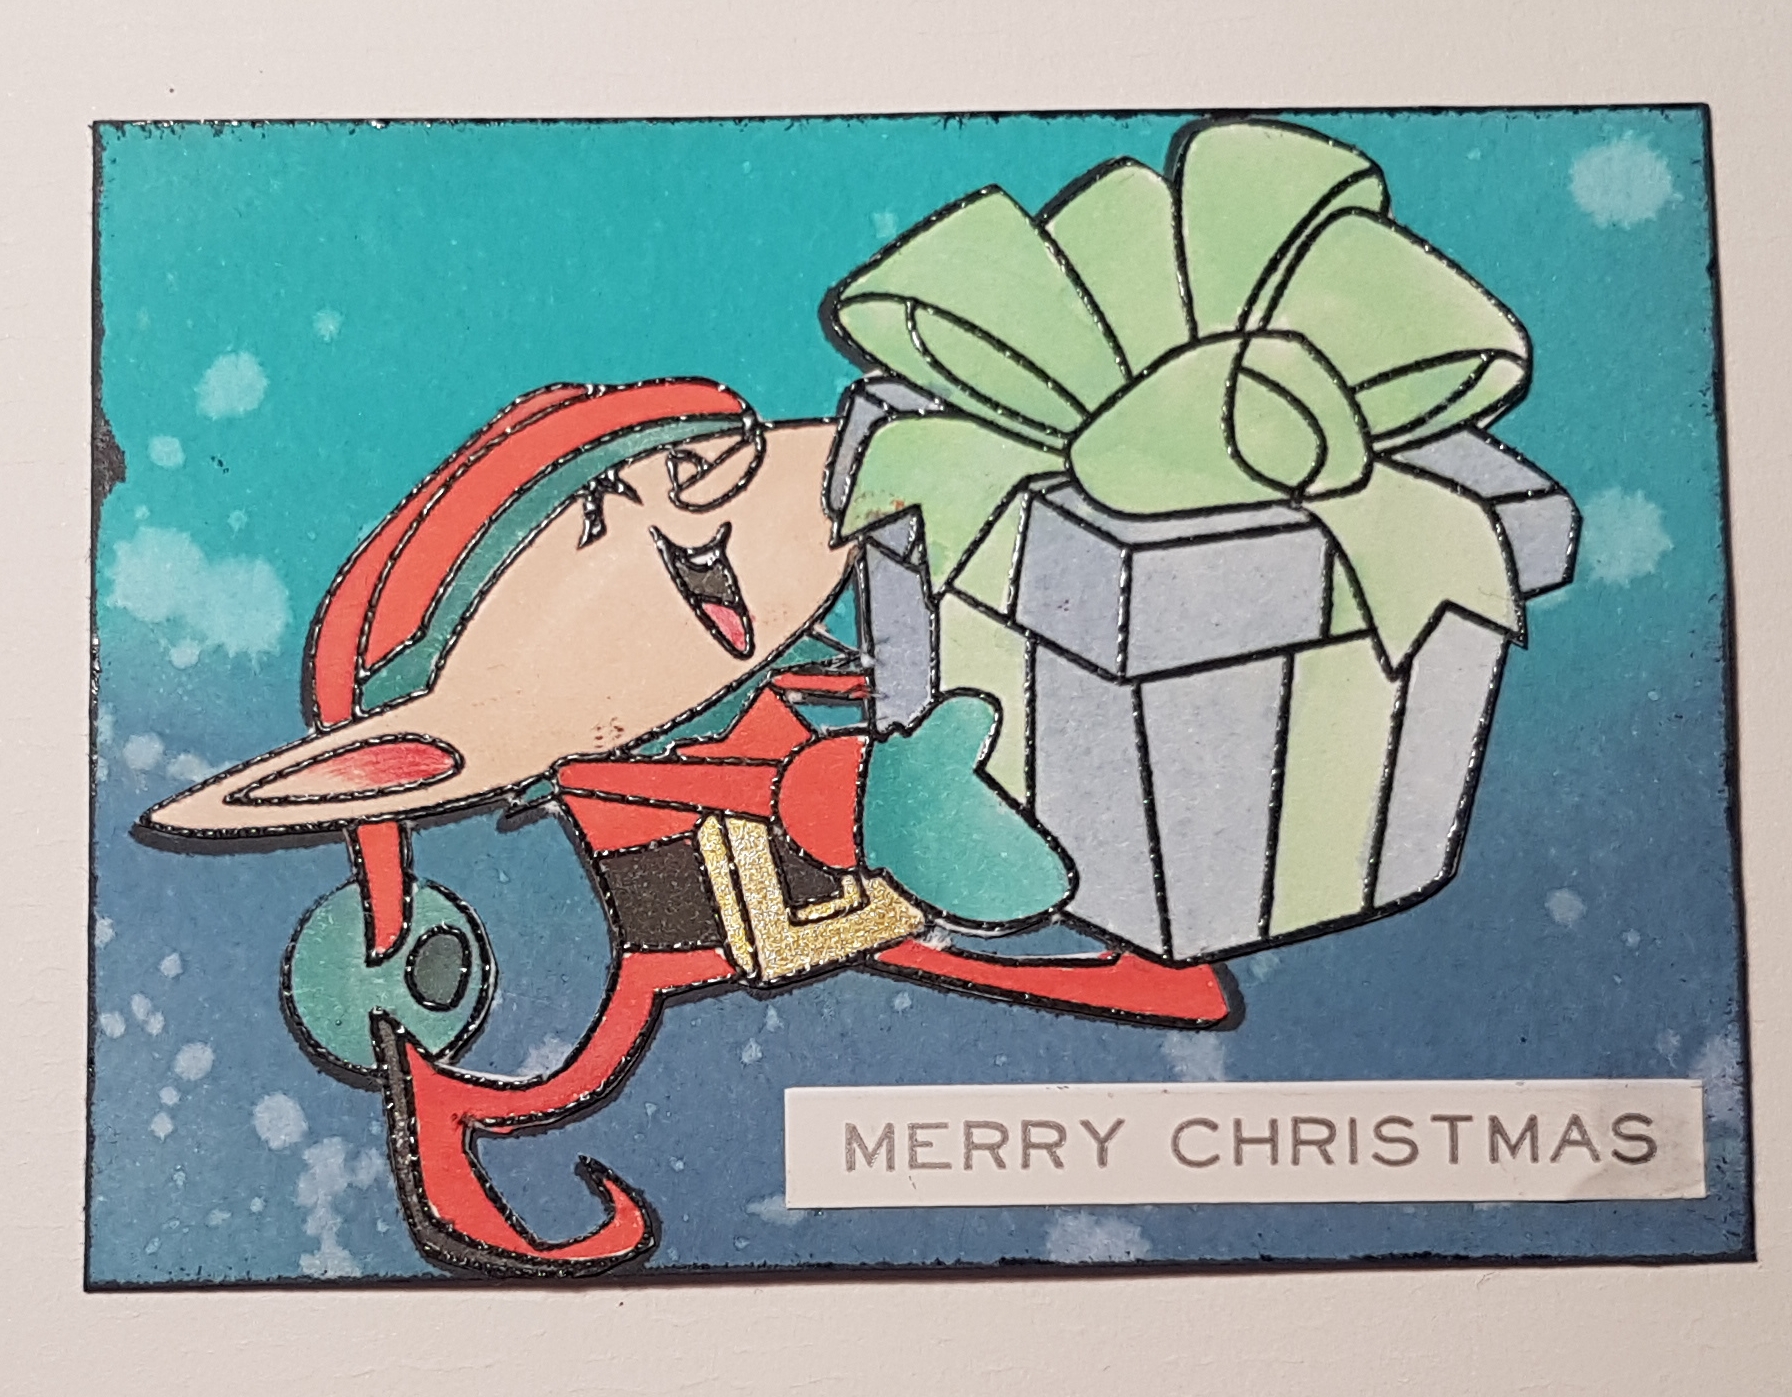
Then I stamped the image onto the base and again onto some white paper. The paper one I added clear embossing powder and heat it. This provided an easy cut line and an easier way to colour the image.
I used distress oxides to add the colouring for all except the face which I used a SU write marker and the belt buckle where I used a gold gel pen. I then fussy cut and stuck the elf down on the card.
I added a dark edge and then added the sticker sentiment.
Cute and unlikely to be repeated as the fussy cutting doesn’t lend itself to batch making in any way!
So another card topper made and another ATC towards the target!
Happy crafting!
Catherine

