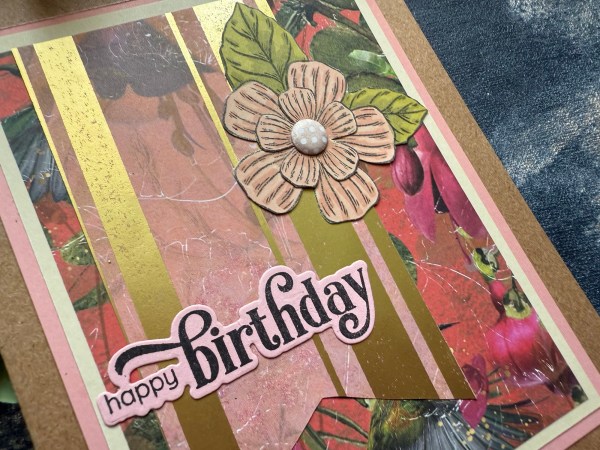
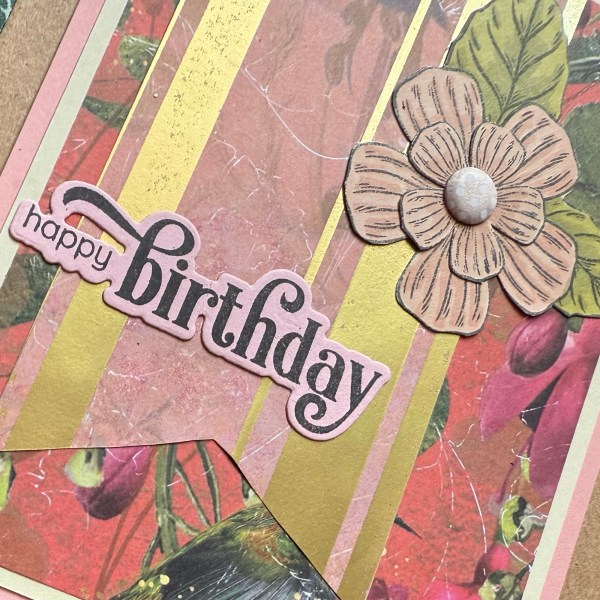
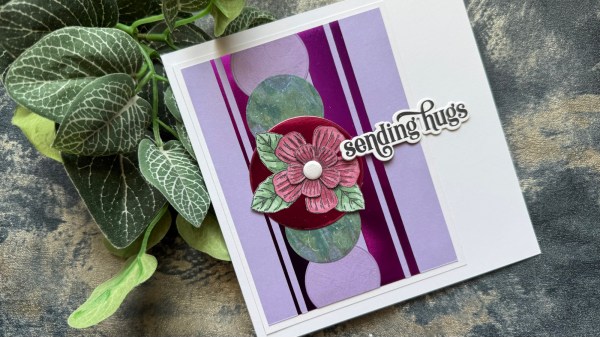
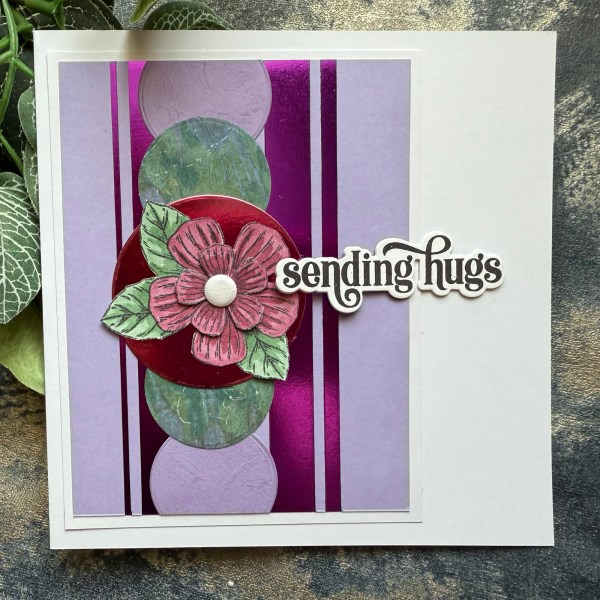
My stash of birthday cards has been depleted recently (I sent some to a charity shop) so decided to make some cheerful cards using the Spring Slimline Kingston Crafts papers as the base of the background.
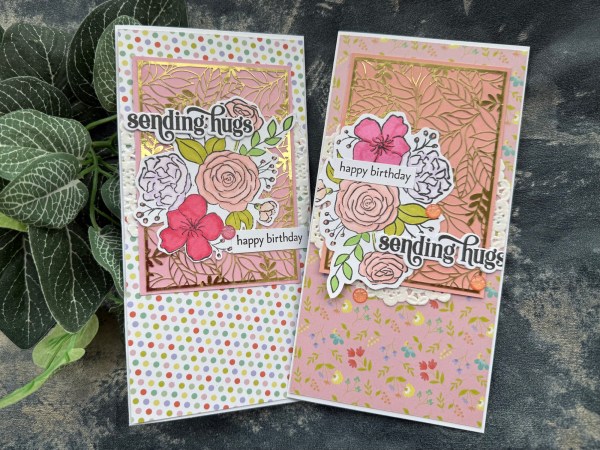
Once I had cut them down into the panels for the DL sized cards I then grabbed the gold laser cut panels which have been in my stash for a while. I mounted one on peach cardstock and the other one onto pink cardstock. These became the base for the floral elements.
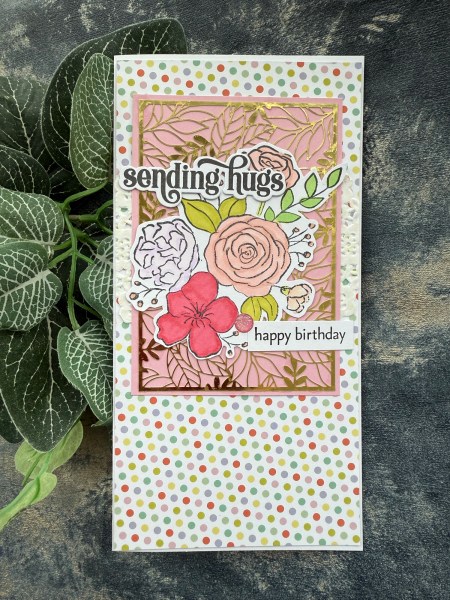
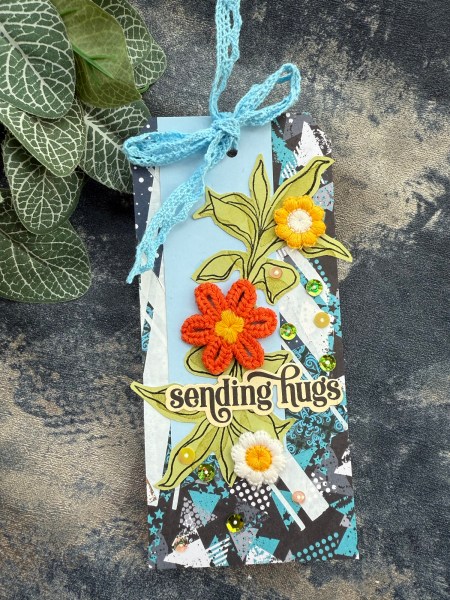
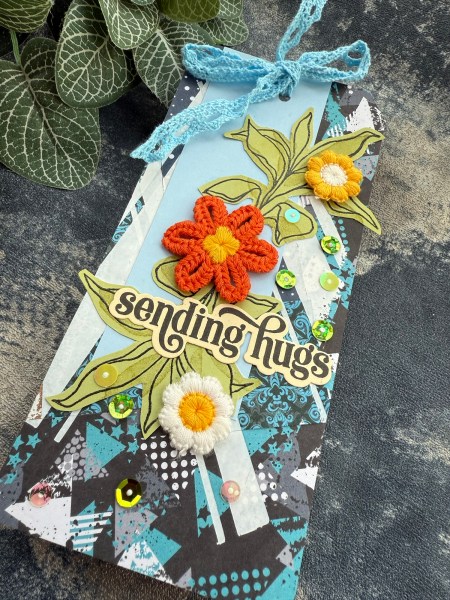
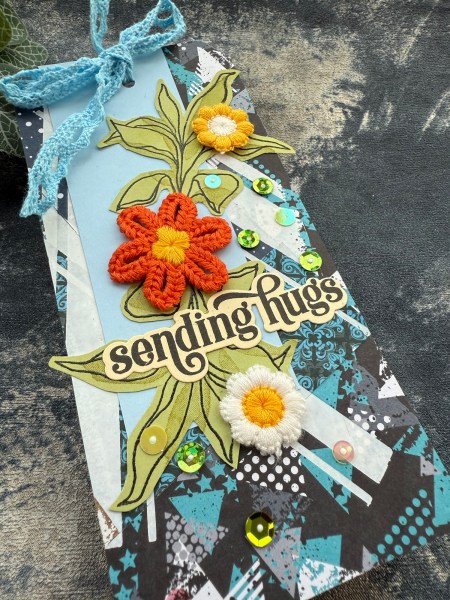
The floral cluster is a magazine stamp which I coloured with my alcohol markers.
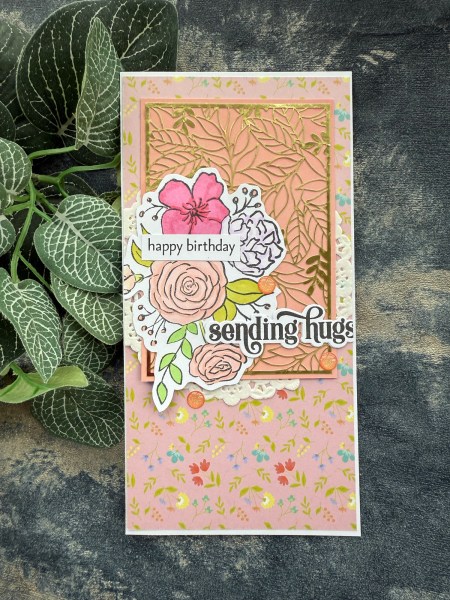
I fussy cut both out and then decided to use a little doily to also add some texture and softness to the cards.
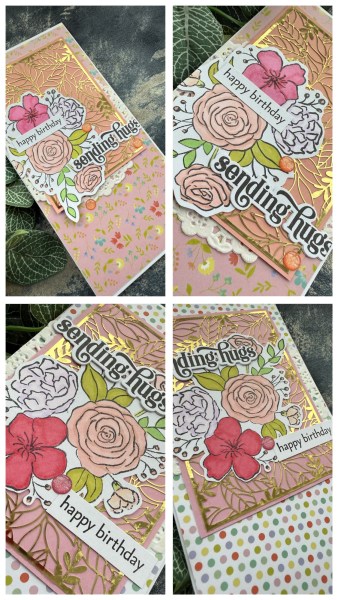
I used the Altenew die cut sentiment for the main sentiment but with an additional sentiment of the stamped happy birthday.
Finishing touches of the gems and hey presto two pretty cards!
Must admit I’ve not been feeling the love of making birthday cards and so ordered myself a few new bits to play with that may get me back in the love of birthday card making as my stash of them is so depleted – my new stash has arrived and I’ll post about it soon- but it was nice to also get some use of older stash and make these pretty cards whilst I was waiting for the new goodies to arrive!
Happy crafting!
Catherine