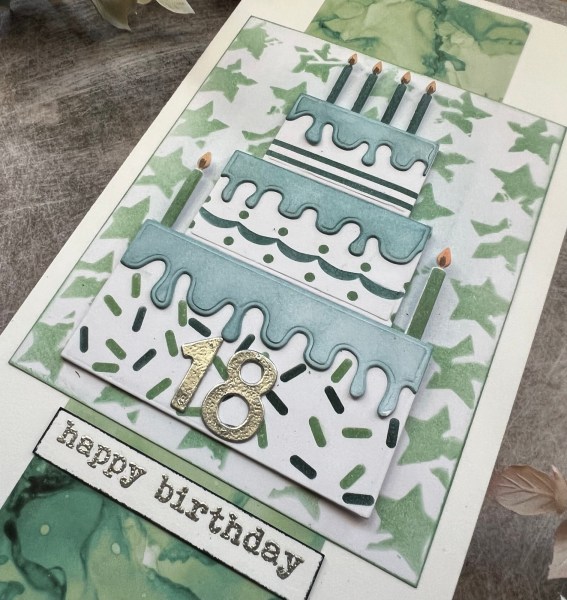
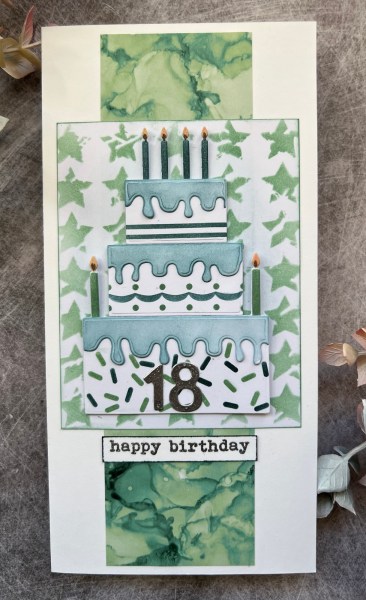
Yesterday I shared the first card I made using two focal points I had created inspired by these cards I watched Amy create on YouTube.
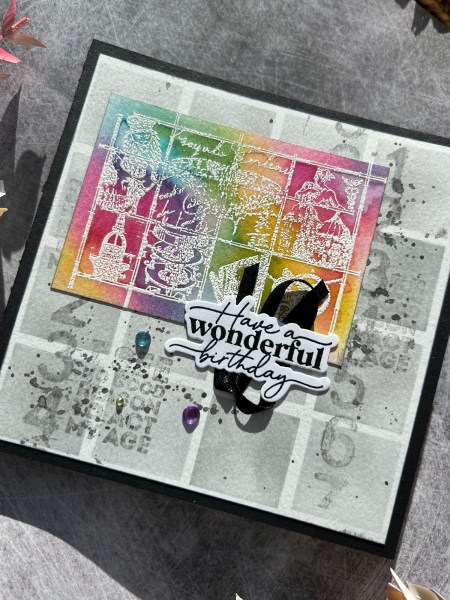
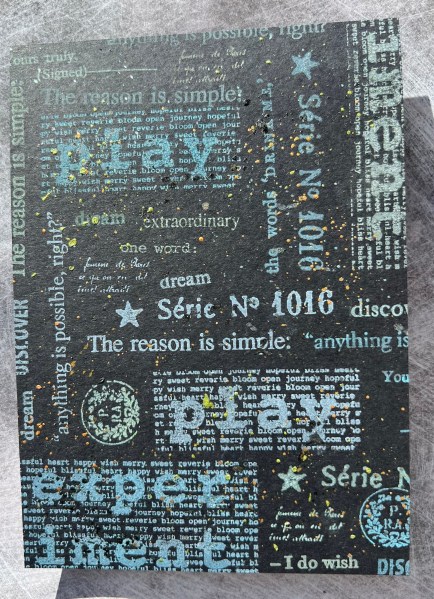
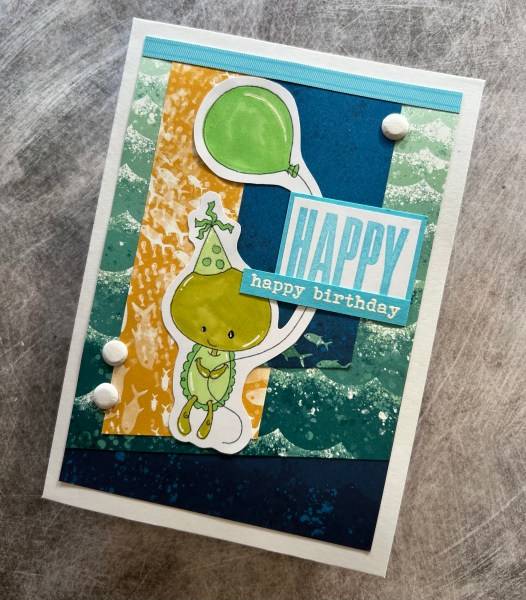
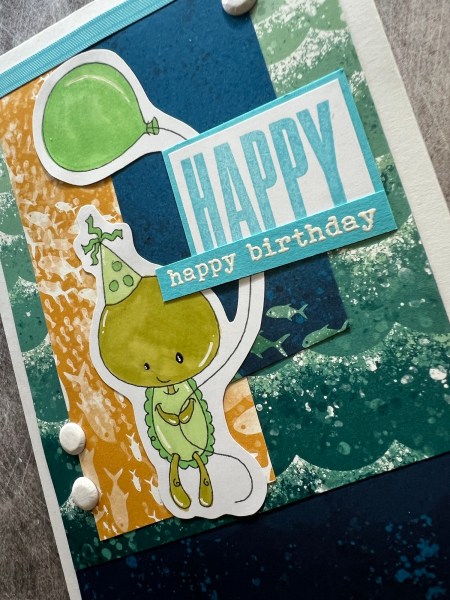
Now it’s the turn of the second card. This time I went to town with colourful stamping on some cardstock to create my own background paper. I used the same colour distress inks but sometimes stamped them off so lots of different shades. I also added in the Hickory Smoke too for a subtle grey.

I mat this panel on to block cardstock. I then used some of the same black and created a panel I ran through the big shot with the Old paper embossing folder. I then used the shimmer paint and brayered it over the texture so just pick up a bit of the shimmer on the raised elements. I placed this onto the panel to be a contrast for the focal element to sit on.

I then created the sentiment using the Waffleflower stamps and dies and die cut it a few times to stack up. I love the white sentiment on black.

I finished off with the blue gems in different colours and sizes to add that bit of bling!

Pleased with how both cards ended up – and it was fun to try a different technique for creating a rainbow with a difference … still want to have a go at a floral image like Amy did but for now this was fun to do and good to make me move away from Altenew florals if only for a short while!

Happy crafting!
Catherine